

How to Make a Castle Dungeon Kid’s Bedroom
This post may contain affiliate links, view our disclosure policy for details.
Since my kids are SO into Minecraft and I figured they are only young once we decided to go all out this year and do an entire Minecraft themed Christmas that they won’t forget – and that includes a complete room makeover!
Of course we’re on a budget and I did NOT want to spend a lot of money on these projects so my main cost is strictly the cost of basic supplies. And paint for the room which we combined with a sale and a rebate at Home Depot.
We’re still working on it but I wanted to show you guys how insanely simple it was to paint castle dungeon walls in a room!
1. Paint the wall(s) completely grey – the darker the better. I promise it will lighten up! (NOTE – you will need to accent the walls with a color DARKER than the walls so do not choose the absolute darkest grey you can find – just a really dark one. Personally I use Frog Tape to help trim around baseboards, doors and ceilings when painting since I’m messy.
2. Cut a square or rectangle out of cardboard. Just one! This will be your “base” template for your bricks. I chose a rectangle instead of a cube shape even though we’re basing it on a Minecraft room simply because I figured if the kids outgrew Minecraft as they got older they could turn it into a cool dungeon. You do NOT want your “brick” to have nice clean edges – I incorporated some crooked cutting into mine to make it look more natural as you can see below!
3. Trace your brick template with chalk – directly onto the wall! Make sure to stagger the brick rows as you go like I did above. I’m not going to lie – this is ridiculously EASY but time consuming! I’m completing the whole room over a period of months since I blog (mostly) full time and have a baby at home I can’t keep in a room with wet paint but you could easily knock it out in a week or so if you stay on top of it.
4. Using an artist craft paintbrush DAB, don’t streak, a DARKER color grey than your walls to form an “L” shape that outlines the left and bottom of each and every brick like I did above. DAB DAB DAB DAB DAB. LOTS of DABBING! It gives a more textured appeal to the brick. It does NOT need to be perfectly neat or fancy or the same on each brick. You can see that from a distance you’re definitely being able to recognize a castle wall now! When I say artist paintbrush I mean something like this or this, not a regular wall painting brush.
NOTE – for the 2 other grey colors you need (darker and lighter colors) I didn’t want to spend the money to buy whole gallons of them so I purchased the small “sample” cans for about $3 or so each and had them colored to what I wanted them to be. HUGE money saver!
5. Using an artist craft paintbrush DAB some more – but this time with a LIGHTER grey than the wall on the top and right side of each brick as you see above. DAB DAB DAB – lots more dabbing! It’s a labor of love! You can see my textured dabbing above, NOT streaking! I painting right over all the outlets and everything.
6. LOTS MORE DABBING! This is ALMOST the final step!! NOW grab your brushes and DAB the dark grey and light grey colors everywhere inside the brick! I did the wall all in dark grey and then all in light grey so I didn’t have to go back and forth between my paints. VOILA! Pretty amazing huh?!
7. Wipe OFF the chalk with a wet washcloth and you’re done! Don’t forget to pull your tape off the borders!
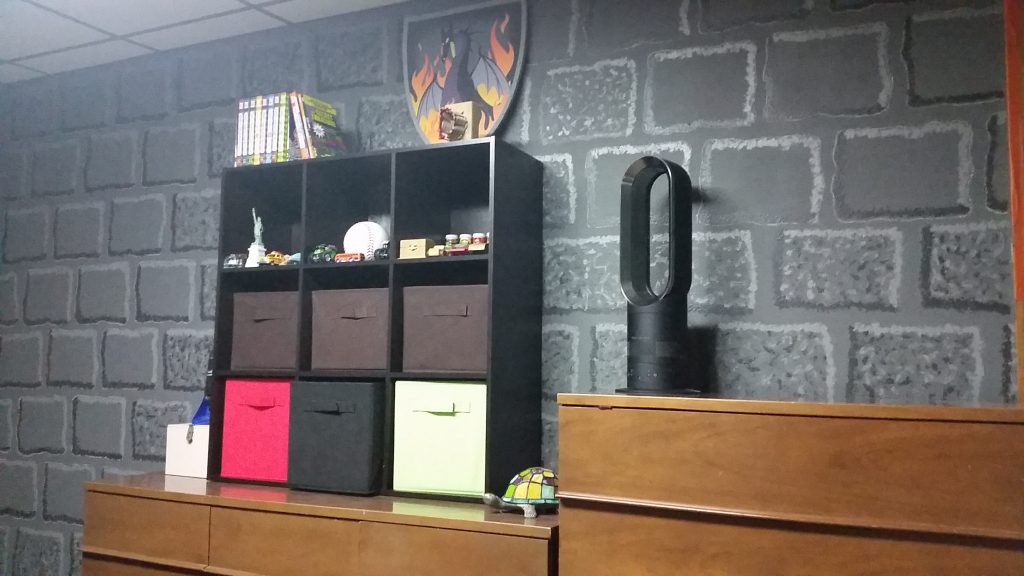
We did invest in some good cubed bookshelves and fabric drawers which I’ll eventually be decorating as Minecraft characters since my boys have absolutely NO sense of order in the SLIGHTEST! Hopefully these will help control the madness!
And as you can see above once I finished a section of the wall I was able to place all the furniture back and work around it easily which was awesome. I’d LOVE to add these Minecraft Torches or these COOL Wall Torches all around the room but it’s just not in the budget yet!
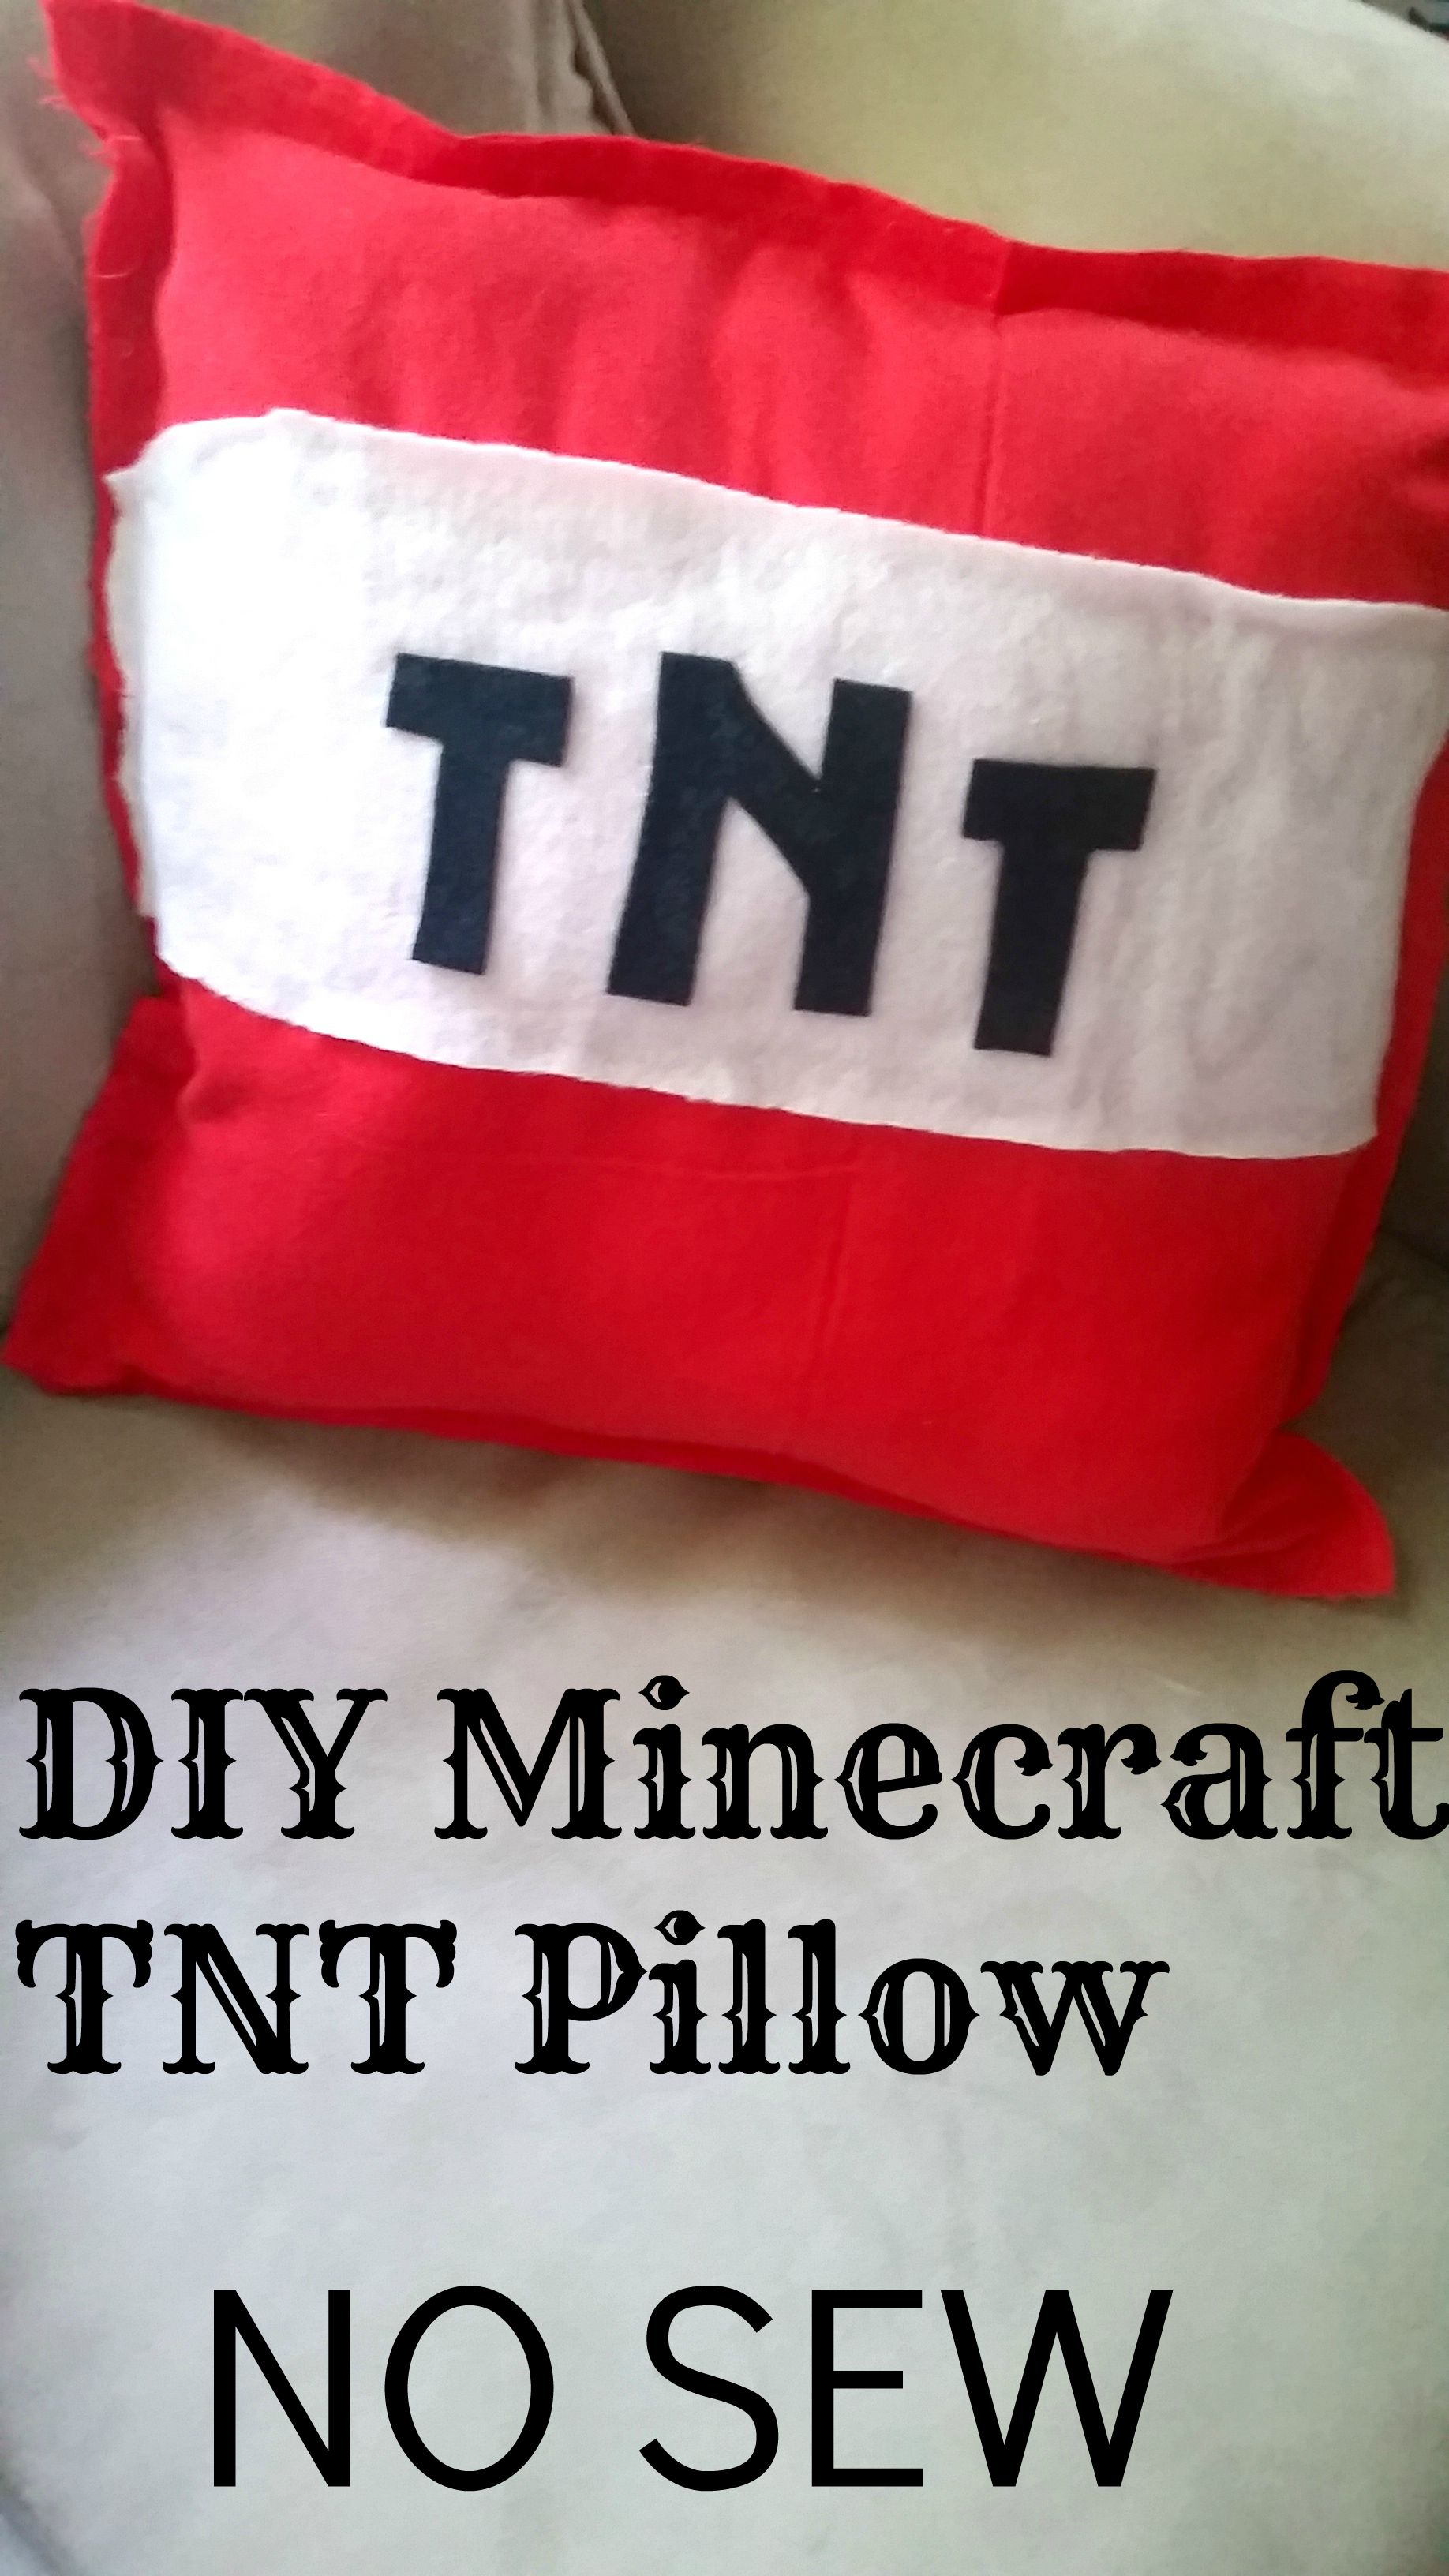
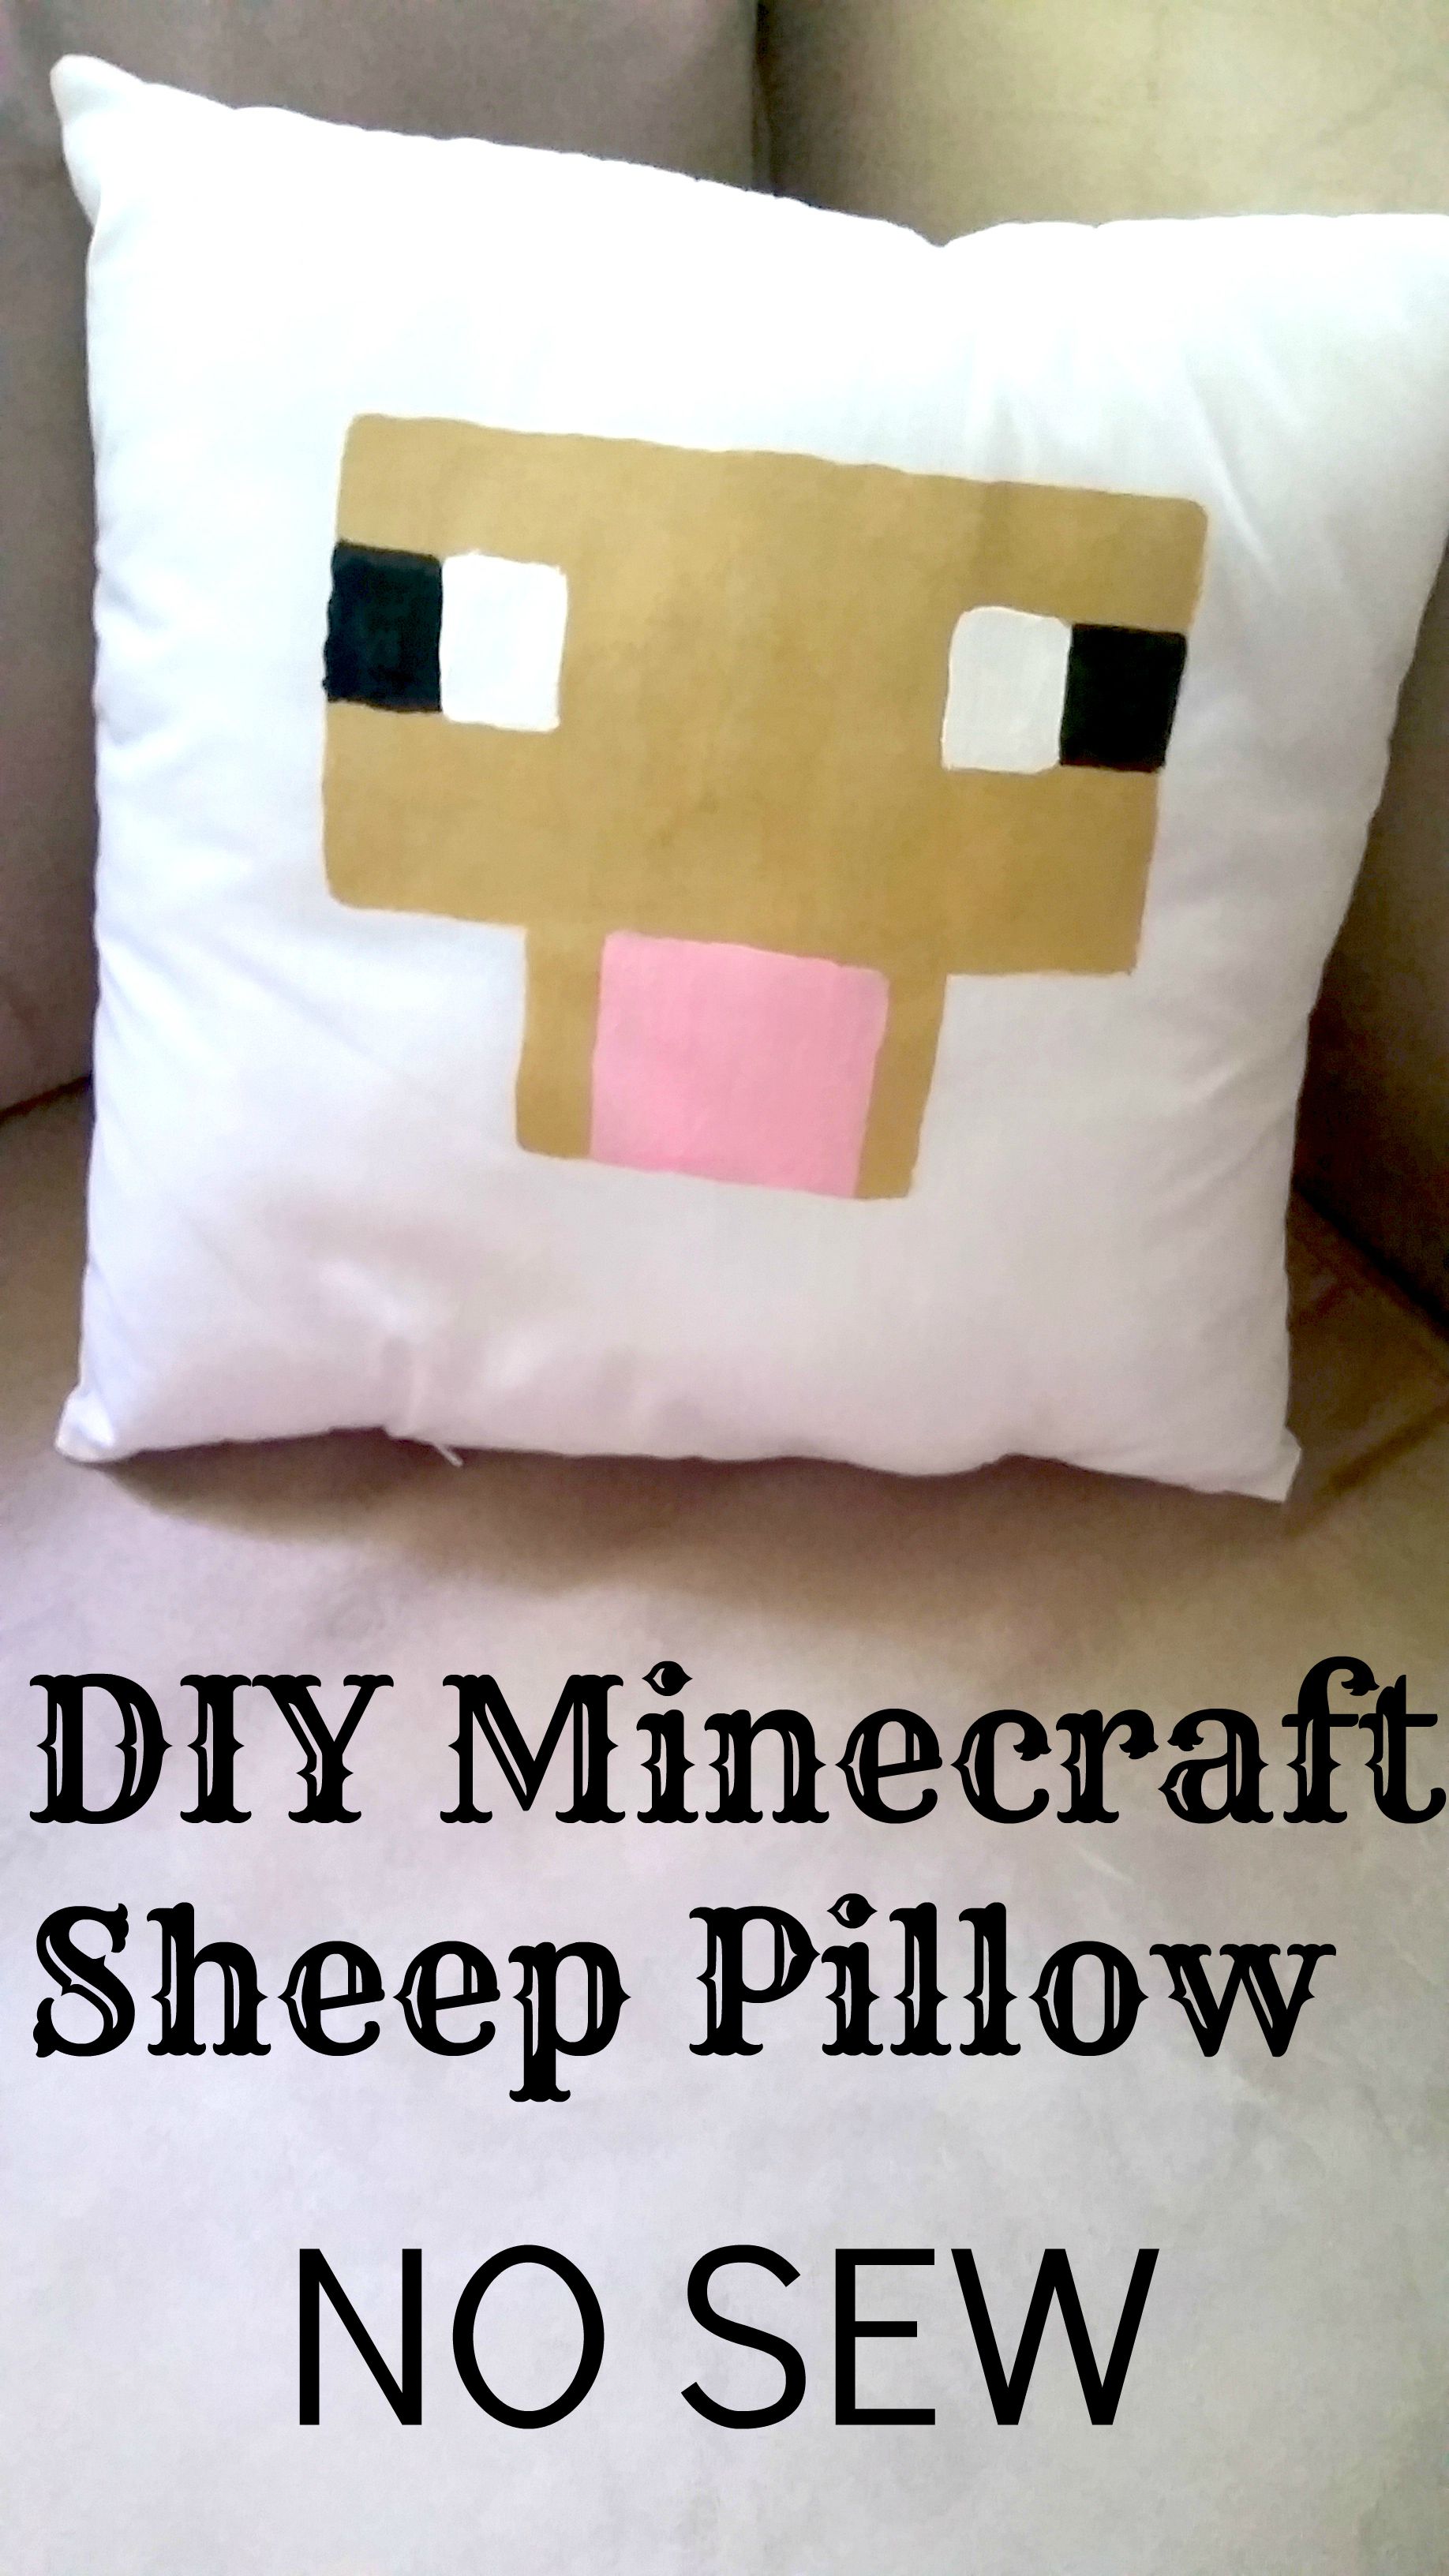
Check out our DIY No Sew Minecraft Pillows here!:
DIY Minecraft Tutorial Ideas
I’ve been working on DIY Minecraft gifts for my boys for the holidays so if you’re into Minecraft you simply MUST check out our easy NO SEW tutorials:
DIY NO SEW Pillows
DIY Creeper T-Shirt
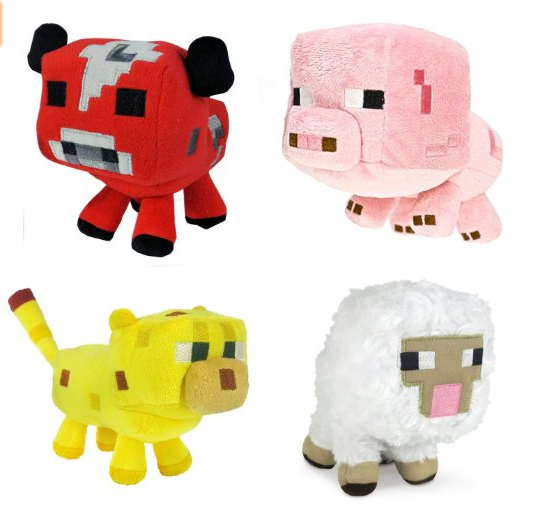
DIY NO Sew Pig Plush
DIY NO Sew TNT Plush
DIY NO Sew Sword
DIY NO SEW Torch Plush
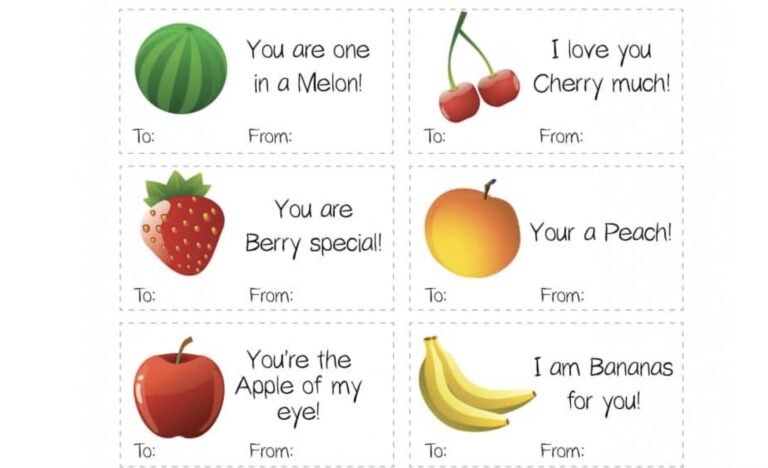
FREE Printable Minecraft Gift Tags
FREE Minecraft eBooks
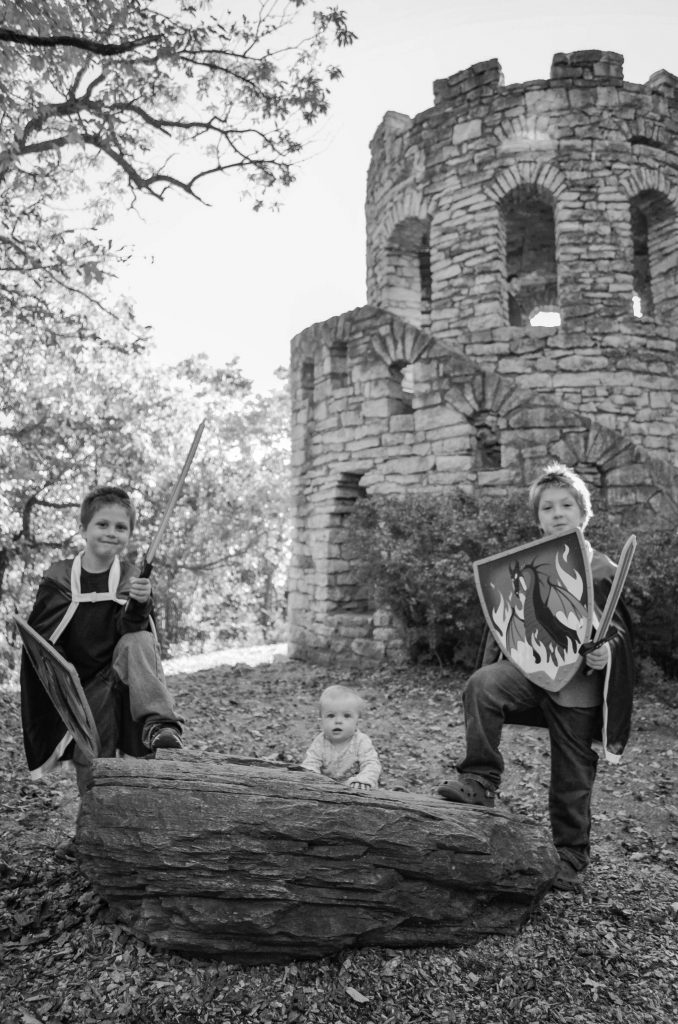
And just because I can I wanted to show off a few creative photos I took of my kids to go along with the whole castle theme! While on a road trip I came across Clark Tower in Winterset, Iowa that we would be passing and I KNEW that I absolutely had to get some photos of my kids there!! SO I included a few of those below to spur even more ideas for you!
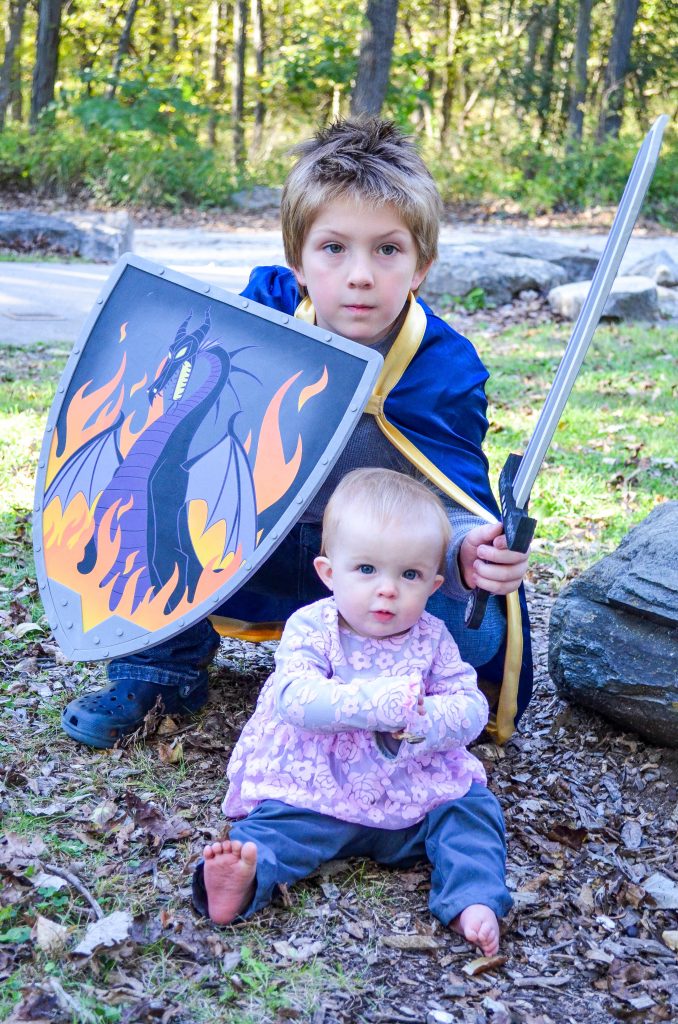
JUST for the record – this is ABSOLUTELY my favorite picture of my oldest & youngest!!!!!!!
 |  |  |
 |  |  |
Great tutorial! My son wants a Mine Craft themed room and the pixelated look seems daunting to me. You made this look so easy. Pinning to my Mine Craft board for future reference.