DIY Minecraft Torch Plush – NO SEW Tutorial
This post may contain affiliate links, view our disclosure policy for details.
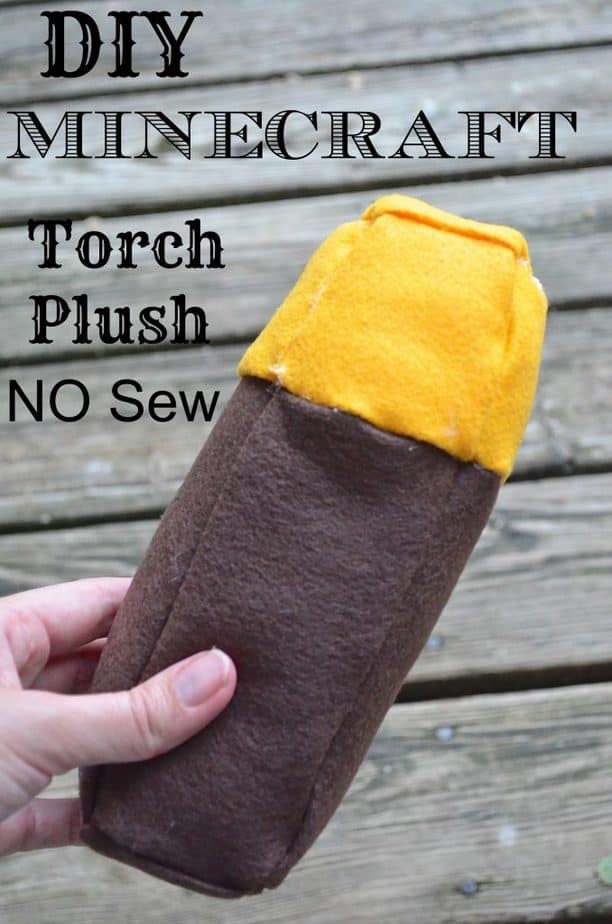
This DIY Minecraft Torch plush toy is NO SEW – I promise! Not even a stitch! My kids are obsessed with Minecraft (as are many of yours I’m assuming!) and after seeing the (non sale!) prices on Minecraft stuff – ouch! I was trying to figure out holiday gift budgets to keep an eye on sales and with the prices of Minecraft toys they wouldn’t be getting much so I decided to go all out and do it all myself!
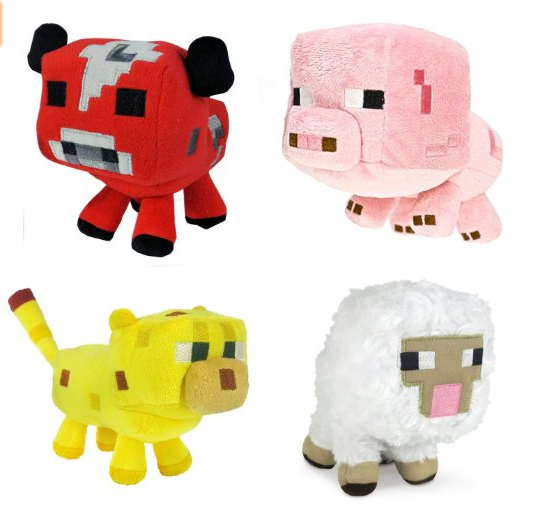
Yes – we are turning their entire bedroom top to bottom into a Minecraft room – completely DIY! But before we get started I WILL tell you I found a LOT of knock off Minecraft plush toys from overseas that are CHEAP and really pretty decent plush. I’m talking $2-3 per plush, but they take a few months to come in. I almost just bought all of those instead but I think I like the handmade look better for this project. Scroll through here and look for them!
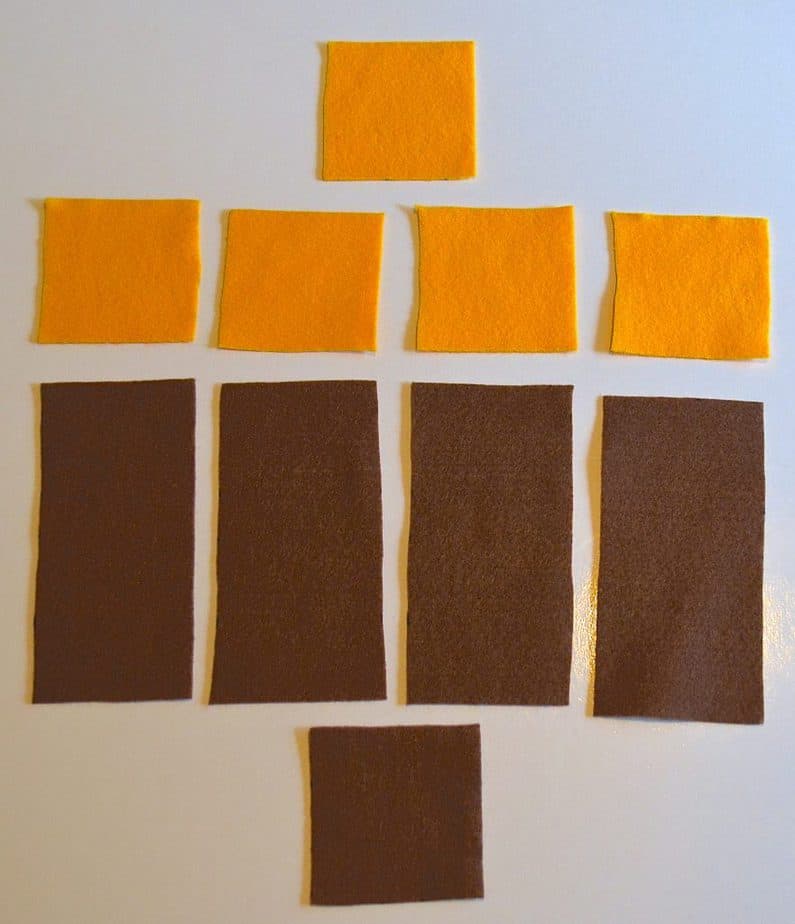
To make your own no sew Minecraft torch plush you’ll need brown felt, gold/yellow felt, cotton batting and hot glue. Cut out as shown above:
5 Yellow/Gold Squares 3″x3″
1 Brown Square 3″x3″
4 Brown Rectangles 3″x5″
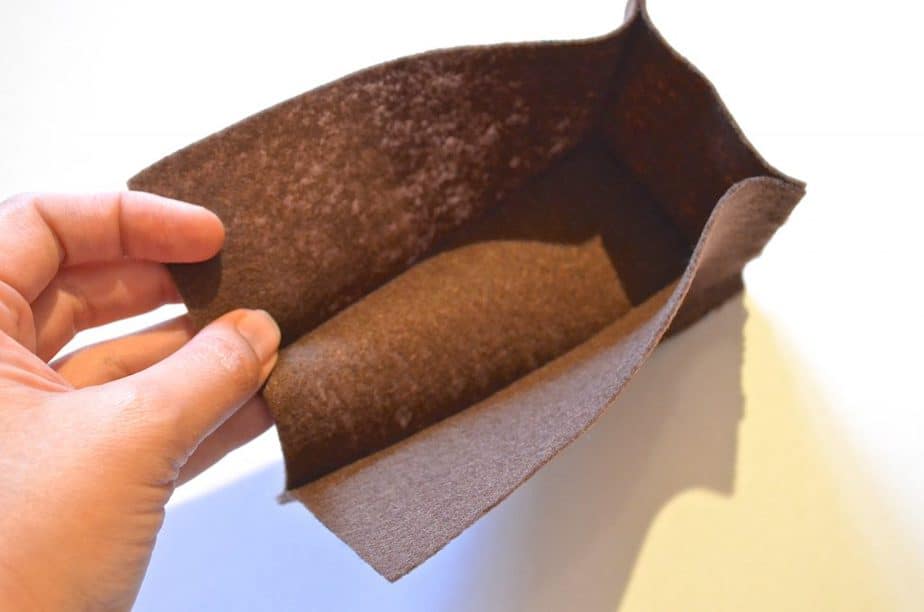
The tricky part is deciding whether you want your seams to be inside or outside the plush. I’m not going to like, outside is MUCH easier but I think inside looks nicer so I went with inside. Every piece you glue double check that it will be turned exactly as you want it otherwise you’ll end up with seams inside and outside! I started by glueing 3 of the brown rectangles together to the brown square on the bottom to form most of the torch base. Above you can see that the seams are showing on the outside.
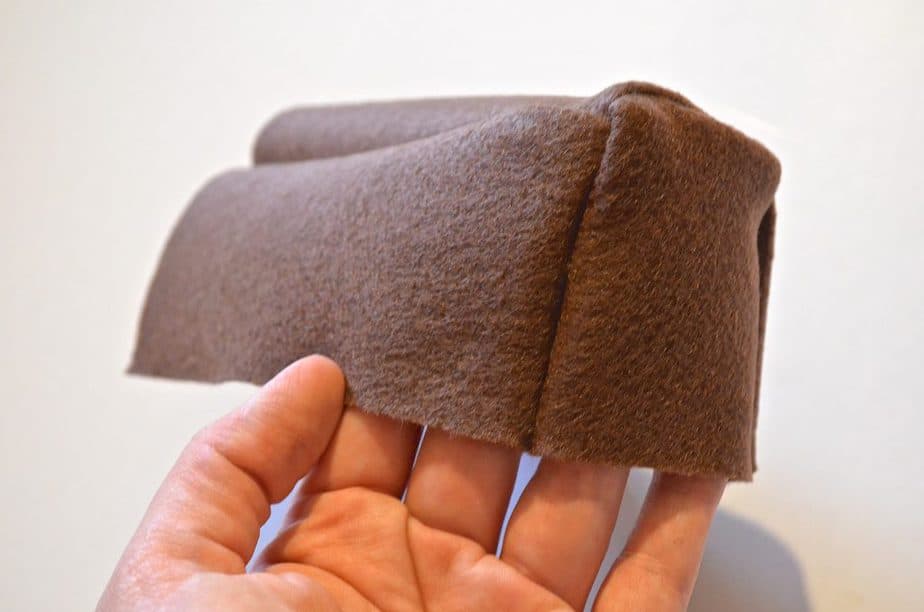
You can simply flip it inside out to have the seams facing inside. Glue on the last brown panel. At this point I realized I probably should have glued the gold cubes onto the brown rectangles before doing all of this to make it easier but you can definitely do it either way. I repeated the same steps glueing the gold cubes into a box formation (sides only – leave the top box for last!) and glued onto the brown section. Again – watch out for your seams!
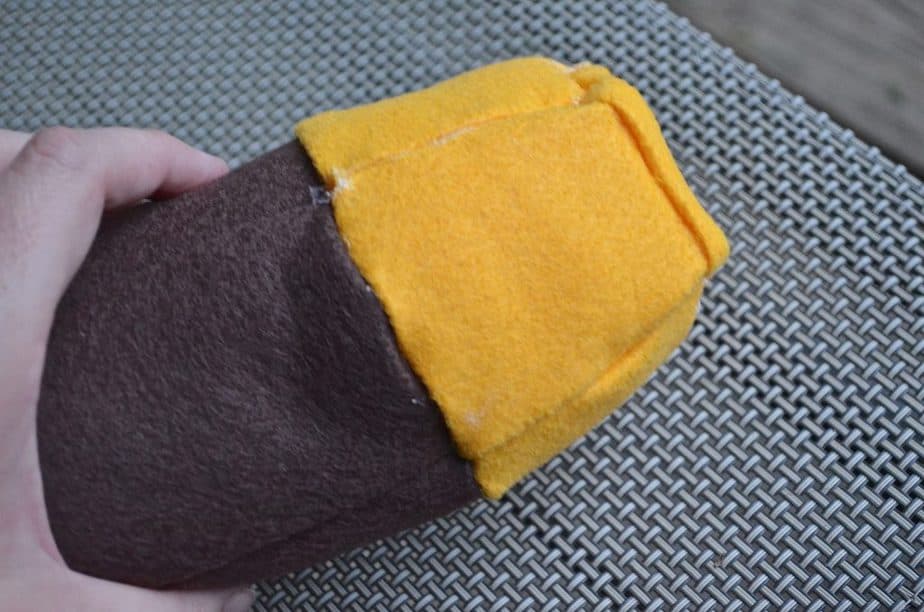
The last piece is always the hardest if you’re doing seams in. I am NOT a sewer so I do not know good tricks for doing this so consider my torch worst case scenario! BEFORE gluing the last piece though make sure you don’t forget to stuff in your cotton batting! Make sure it’s tucked down in their firmly and filled as much as possible! Once you’ve got it to the desired firmness you can glue on your top panel.
NOTE – Order is VERY important and double checking every step of the way! This is not a difficult project! If I were to make it again I SHOULD have and will glue the gold torch panels onto the brown ones BEFORE I started glueing the torch together, it would have saved me some steps! SO consider this before you start!
I’m currently working on a Minecraft pig, sword, TNT and creeper to start with. I’d like to add an enderman in there and maybe Steve. I’ll be sharing each of them as I create them and then at the end a post of everything together!
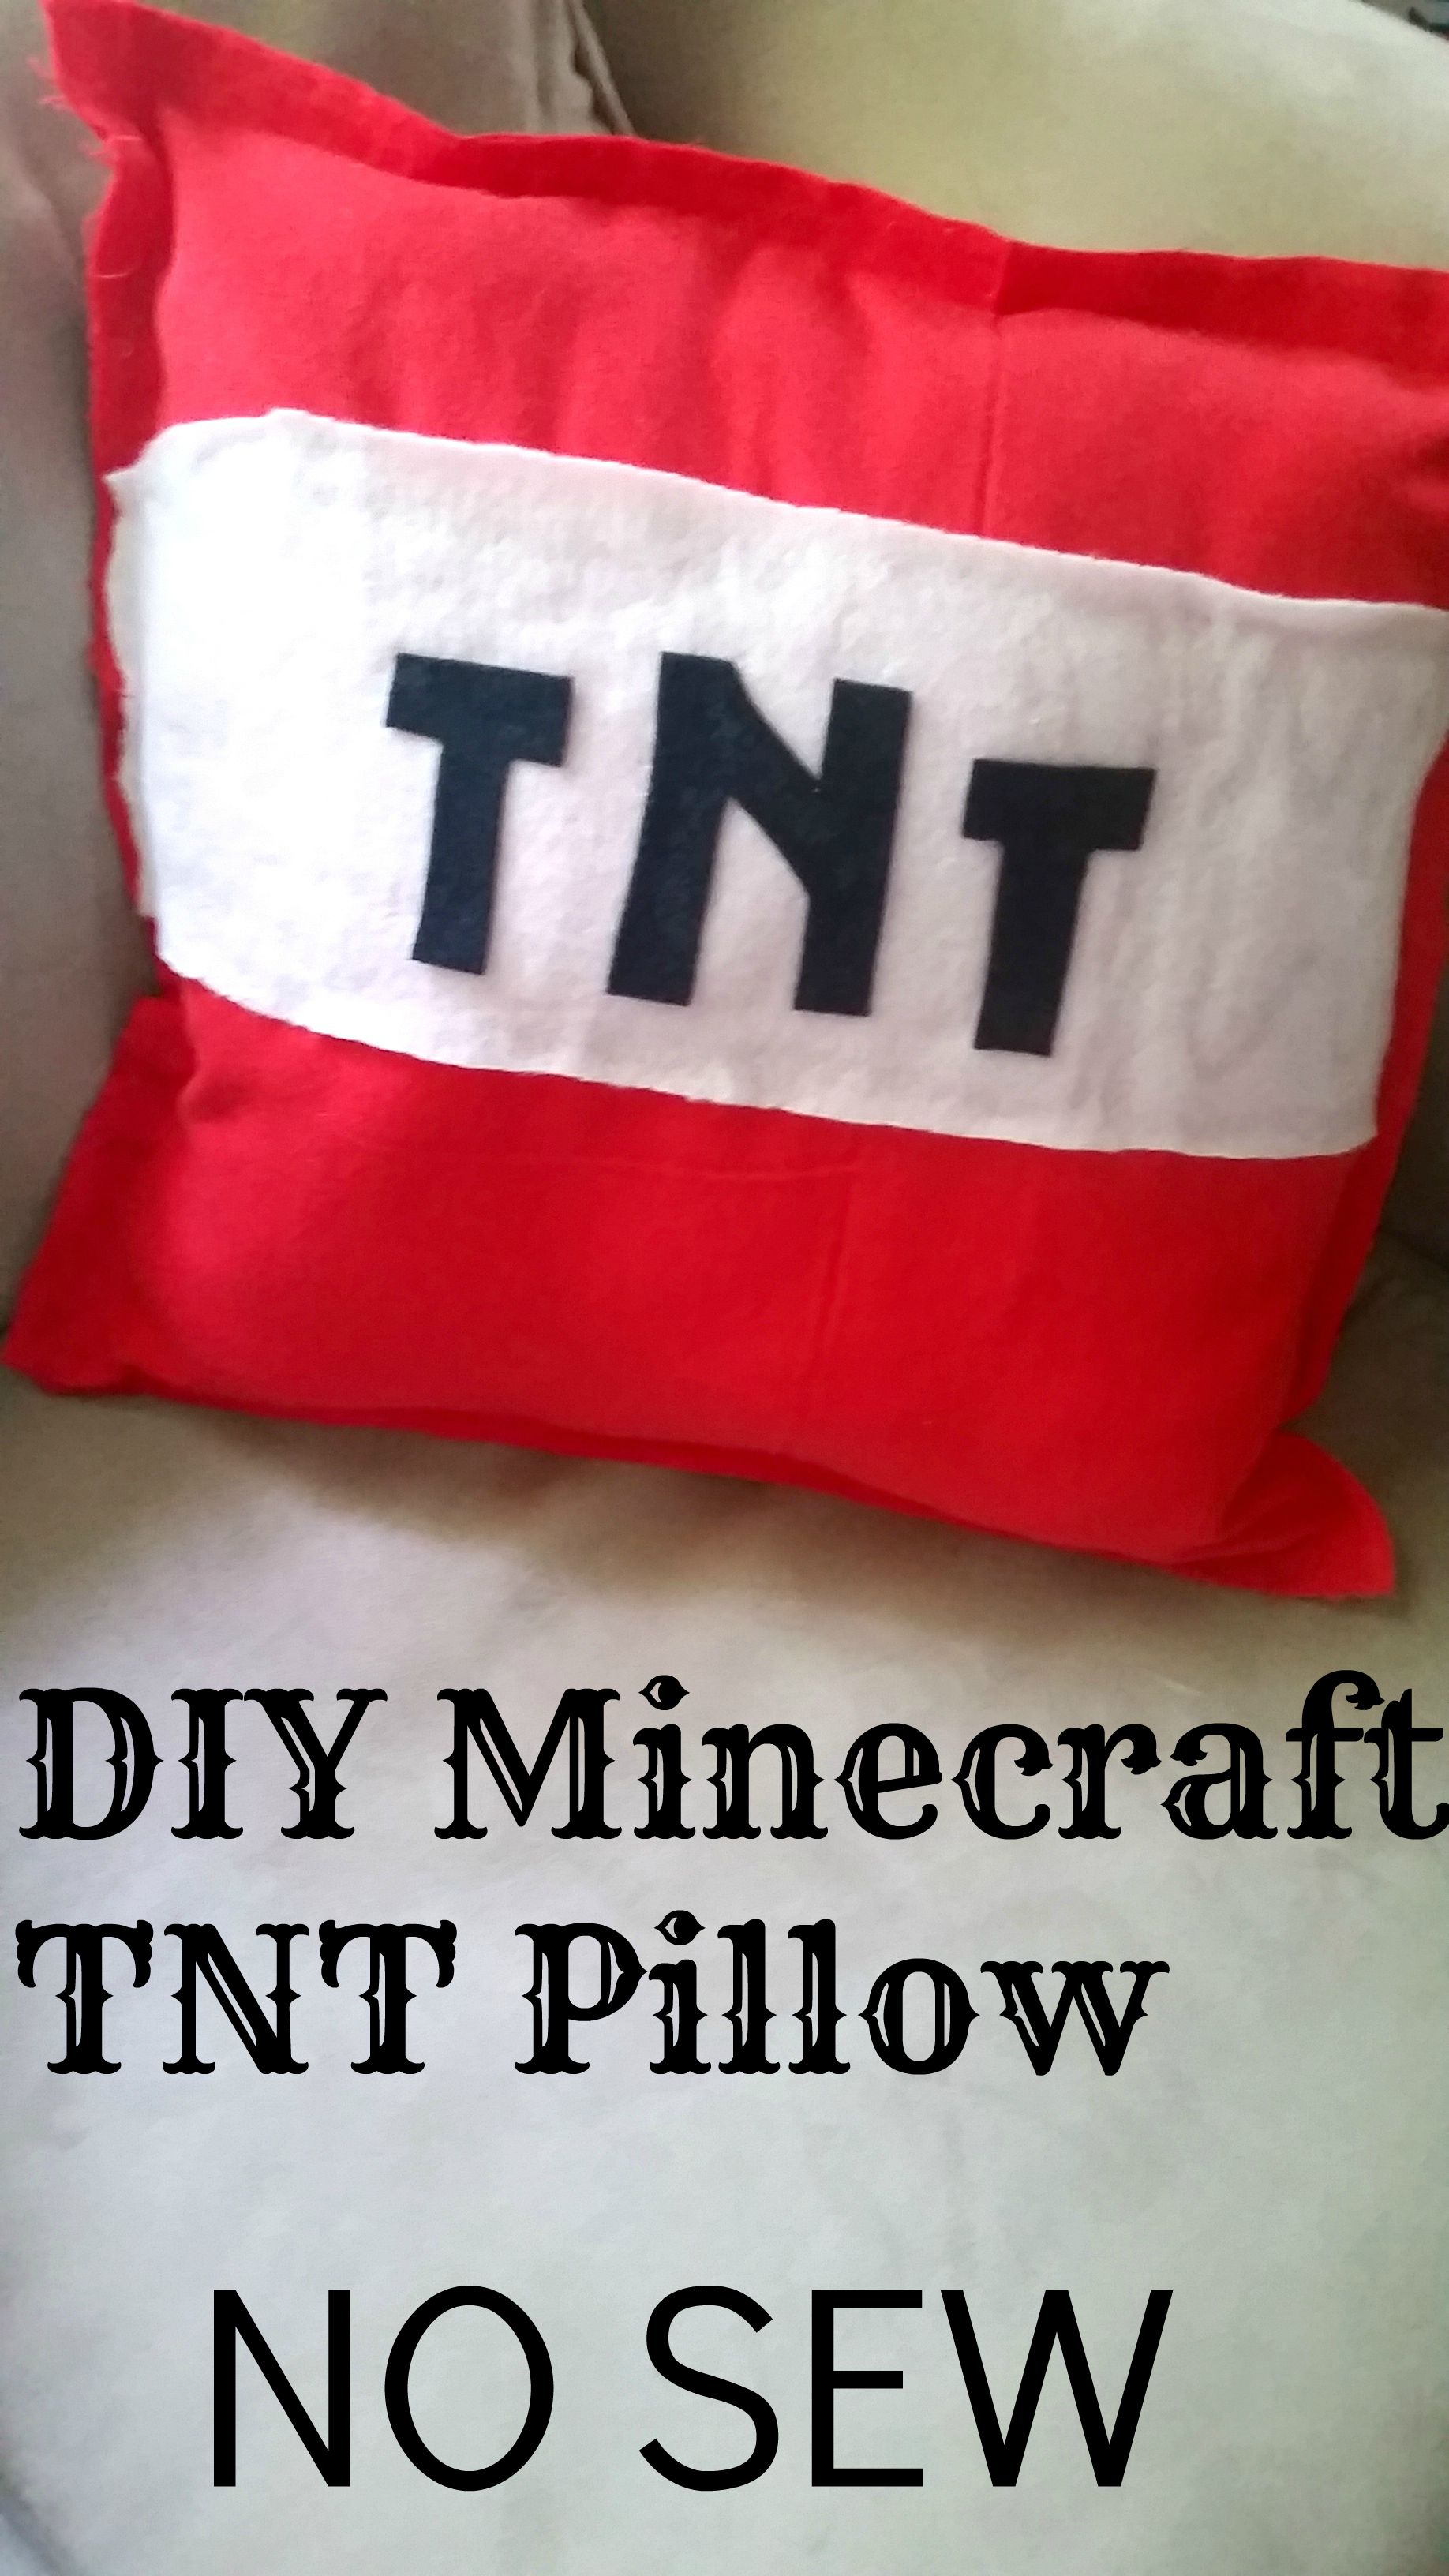
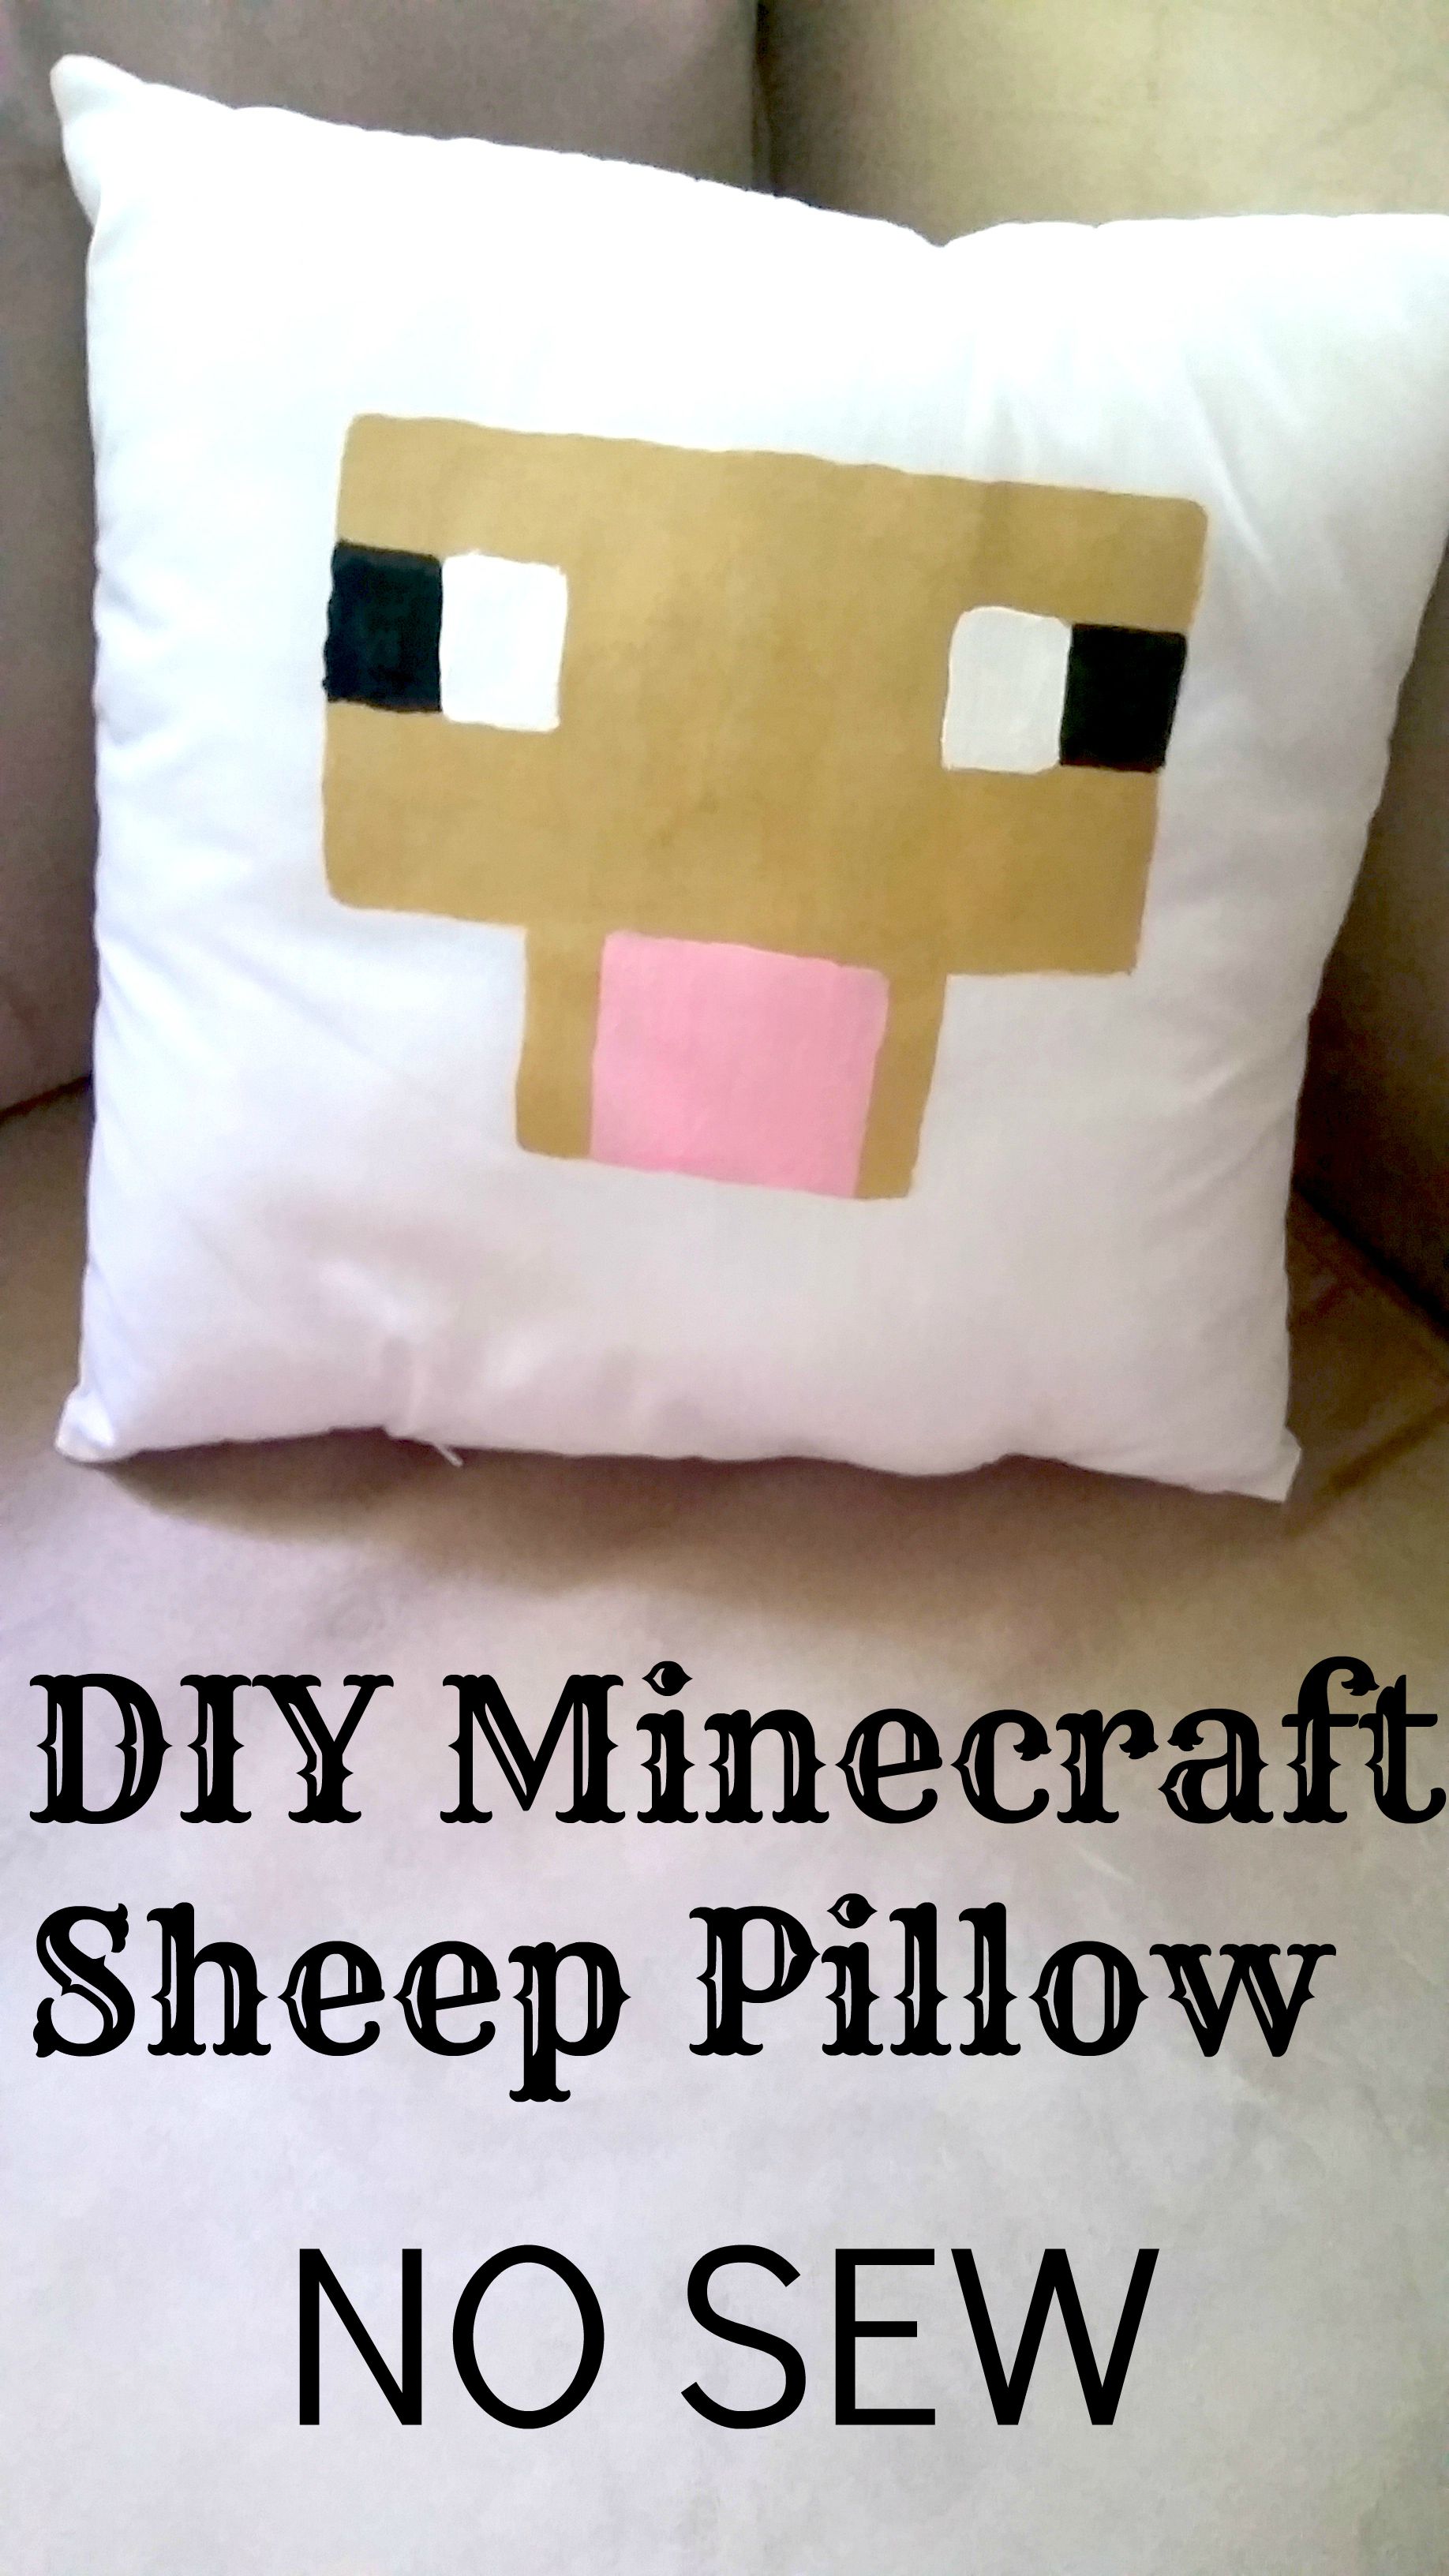
Check out our DIY No Sew Minecraft Pillows here!:
 |
 |
 |
 |
 |
 |