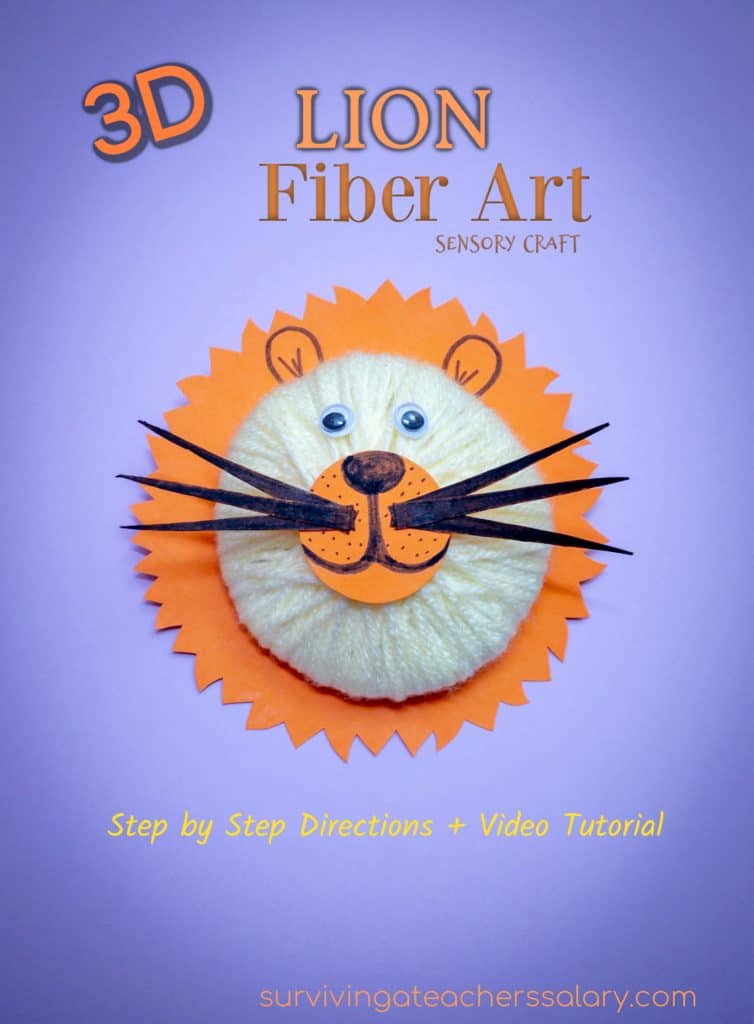
3D Lion Yarn Fiber Art Wildlife Craft Project for Kids
This post may contain affiliate links, view our disclosure policy for details.
Recently I took a course on Spatial Thinking which encouraged teachers and kids not to use pre-made craft templates that are cut out and ready to go for classrooms.
The idea of 3D crafts was a fascinating concept so I wanted to share this AWESOME 3D Lion yarn fiber art idea as an animal and wildlife craft project for kids! You can use this concept to make just about anything you want! Just swap out the colors and some key features (like the whiskers, ears, etc.).
We also have a free printable template if you need it and a great video tutorial for you too below.
If you need some other great animal crafts and projects check out our easy Memory Match Game, peacock paper plate craft, bunny & chick wooden spoon puppets, Wetlands Sensory bin, animal tracks art, paper mache penguins, science anatomy model kits, free wildlife conservation lesson plans and yes, even no sew Bigfoot & Yeti puppets!
Watch our quick video tutorial here:
3D Lion Craft Project Materials:

Yellow yarn
Scissors
Tape
Glue Stick
Cardboard
Googly eyes
Compass or circle to trace
Optional – printable template here
How to Make a 3D Lion Fiber Craft Directions:
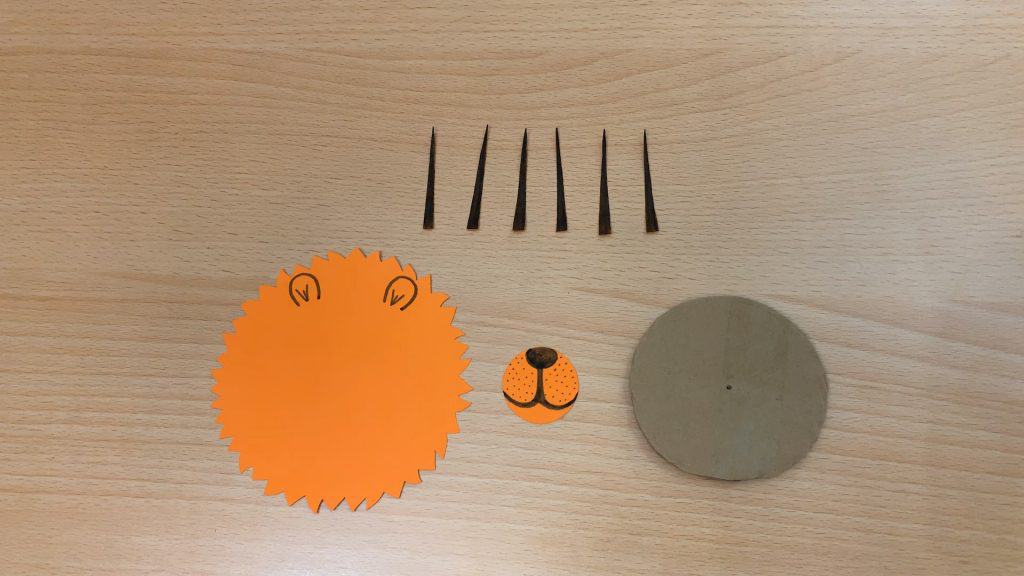
- Begin by either printing out our easy lion template OR creating your own paper main with ears, nose, and whiskers. You’ll also need a circle piece of cardboard to match the size.
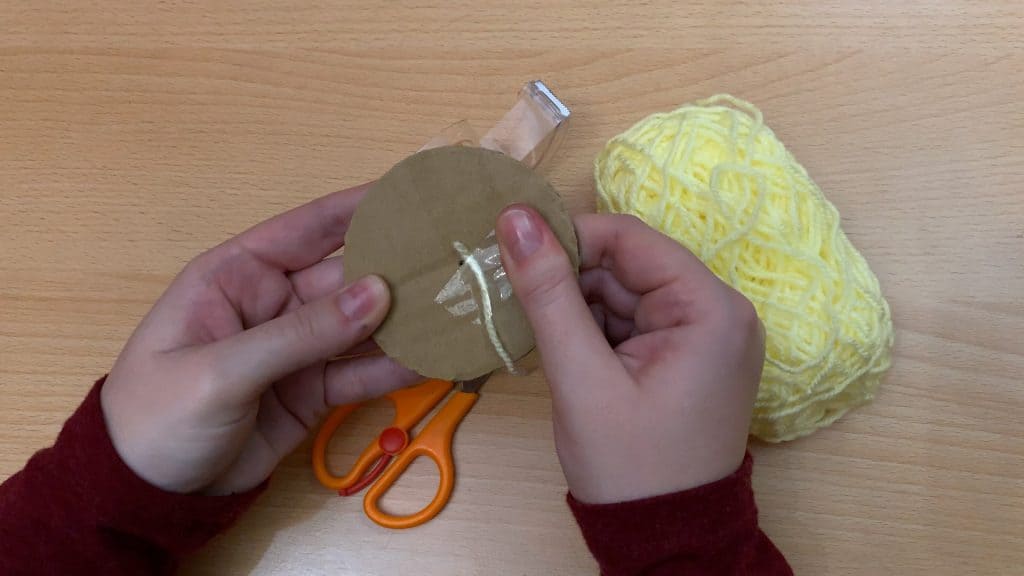
2. Tape one end of your yellow yarn down onto your circle cardboard piece and begin to wind the yarn around the cardboard as shown in the photos or in our video.
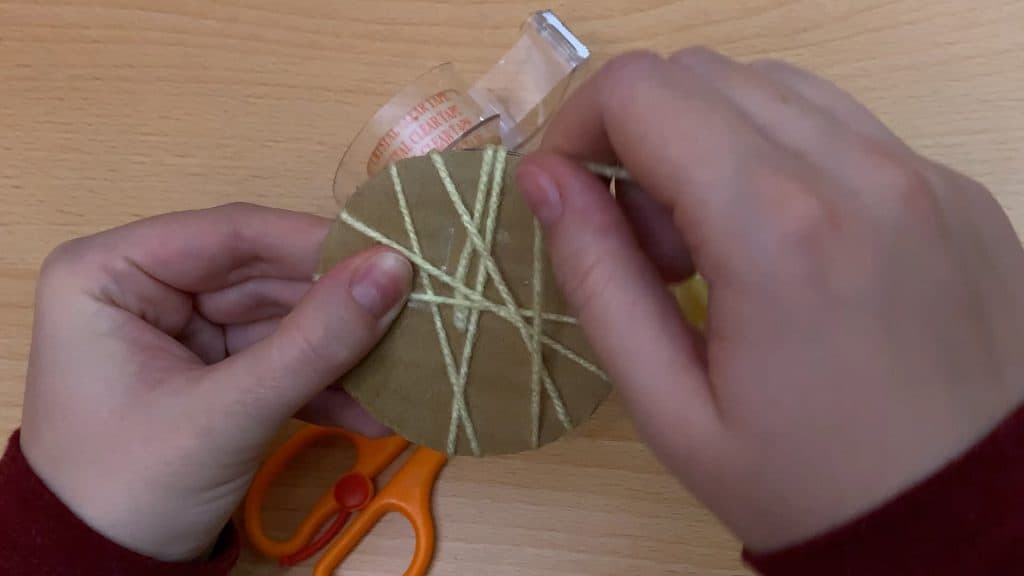
Keep on winding! You’ll want the cardboard circle completely covered with yellow yarn. This is a great coordination project for kids. Once your yellow yarn has sufficiently covered your circle then tie it off in a knot and cut off the excess yarn.
You should have a circle of yarn that is slightly thicker in the middle from all of the yarn overlapping.
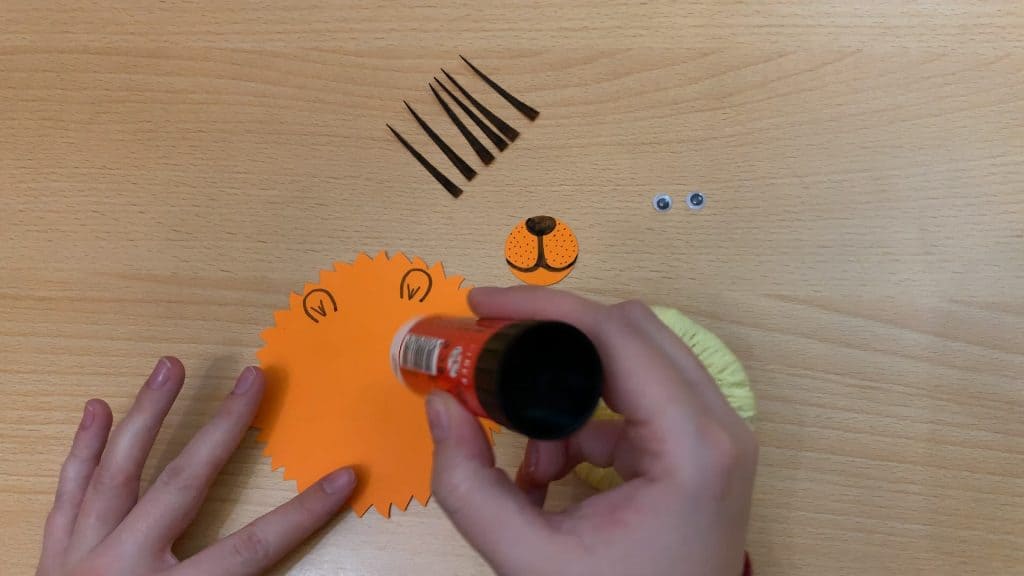
3. Now you’re ready to put your 3d lion craft together! Using your glue stick (or hot glue if desired), glue your lion’s mane to the bottom of your yellow yarn wrap. If you want you can choose to make your own 3d lion ears out of bits of leather, fur, or bent paper.
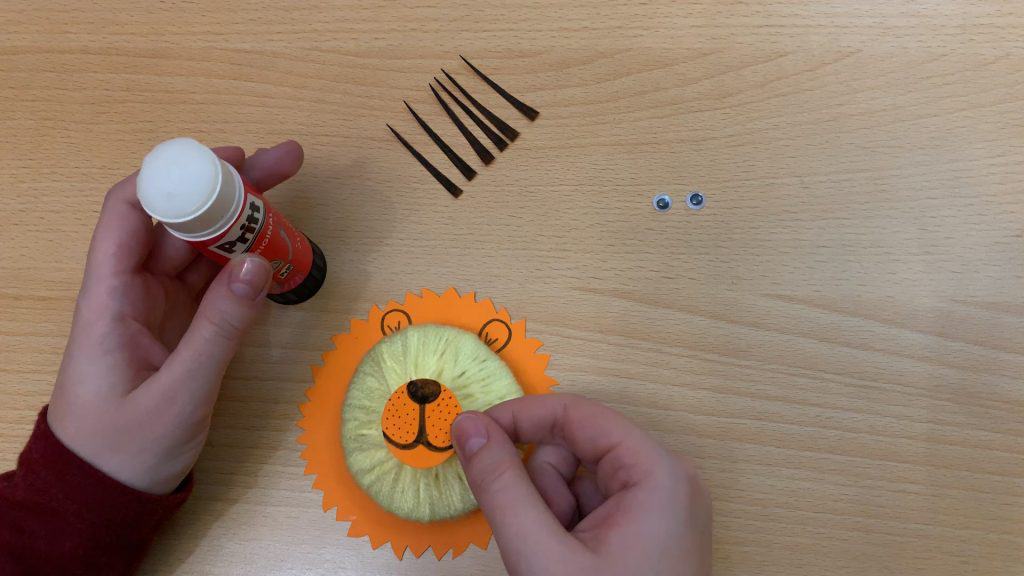
4. Glue the nose right onto the top! This can be tricky for some kids as you’re now working on a 3d rounded surface and not a flat piece of paper.
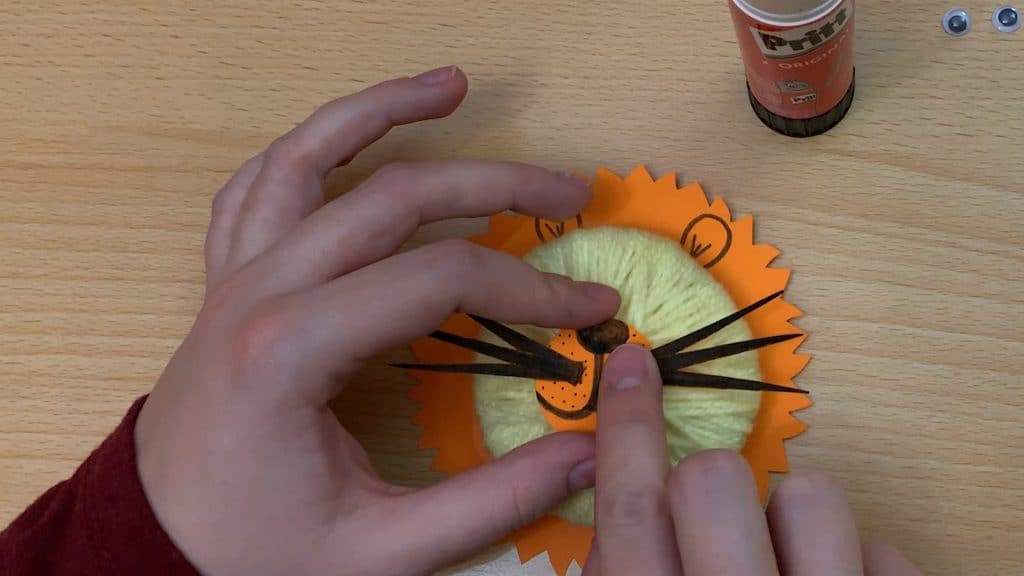
5. You can choose to glue your lion’s whiskers on before or after the nose is attached. We used paper whiskers but you can certainly use black pipe cleaners if you want.
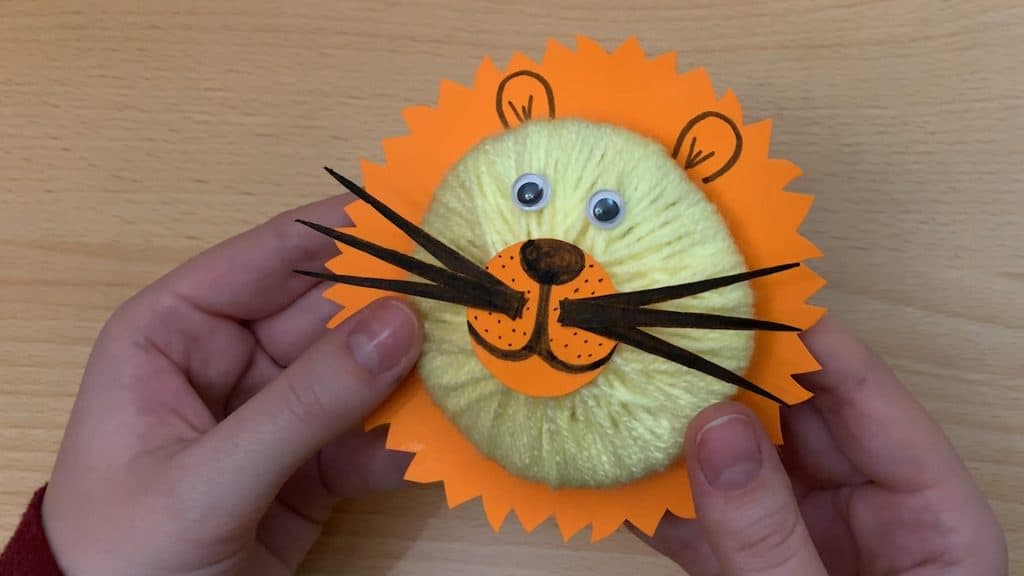
6. Don’t forget the googly eyes!
Mount your lion head onto a jumbo craft stick to use as a puppet. Glue on a bit of ribbon to hang as an ornament. Or design the rest of the lion body and make a full set of wildlife animals! The options are limitless!
Love this project for kids? Check out some of our other popular posts:
 |  |
 |  |