Paper Bag Craft: 3D Lincoln Log Cabin Instructions
This post may contain affiliate links, view our disclosure policy for details.
We have a ton of President’s Day activities for kids but I had some requests for STEM activities for kids that involved presidents. Below is a simple paper bag craft tutorial on how to make a 3D Lincoln Log Cabin!
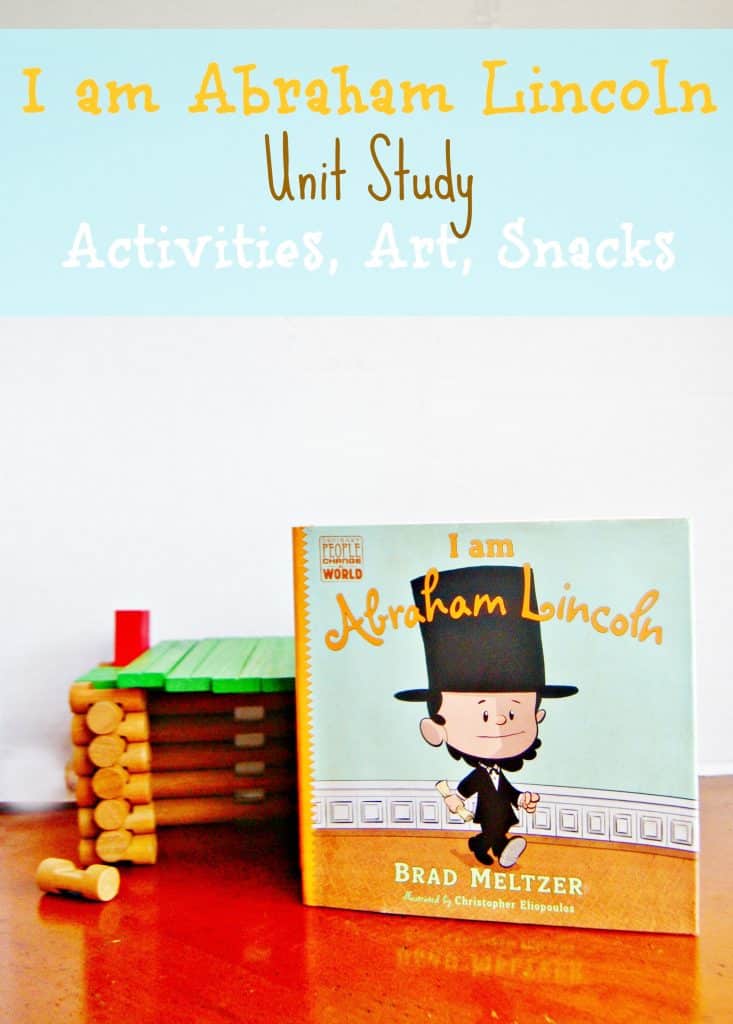
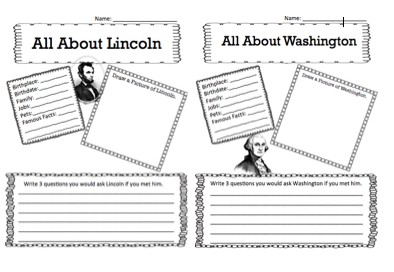
Templates shown below come from our “I Am Abraham Lincoln” Literary Guide or you can easily make your own! Our NEW “I Am Abraham Lincoln” Literary Guide is geared for 2nd-3rd grade with 5+ Days of Teacher Guided Reading, Worksheets, STEM activities, crafts and MORE! ALL Common Core aligned!
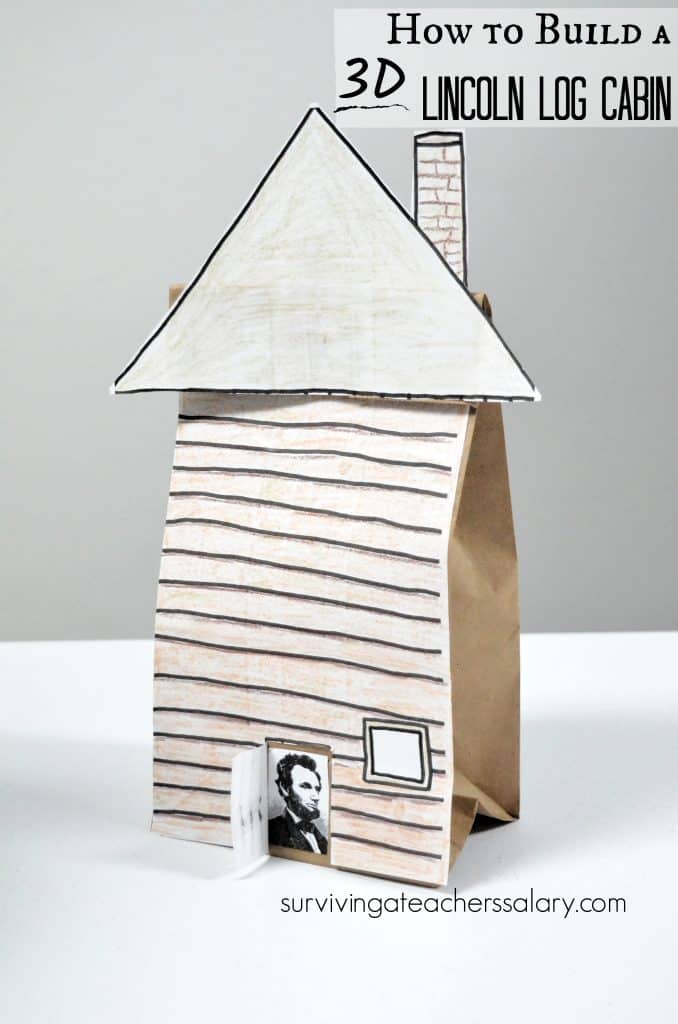
This President’s Day activity is great for history lessons all year long! My son’s classroom is taking a field trip to Springfield, Illinois this year to see the home and gravesite of Abraham Lincoln (as well as the capital buildings) as well as the presidential library. This activity can be modified from preschool through 5th grade!
You can choose to fill up the “log cabin” paper bag as a history project or simply keep it a craft by itself. You can see above that we made ours interactive by adding a door flap with Abraham Lincoln peeking out from inside! Check out our video below for a quick overview of our project.
Quick 3D Lincoln Log Cabin Instructions – Paper Bag Craft Video Tutorial:
3D Lincoln Log Cabin Materials:
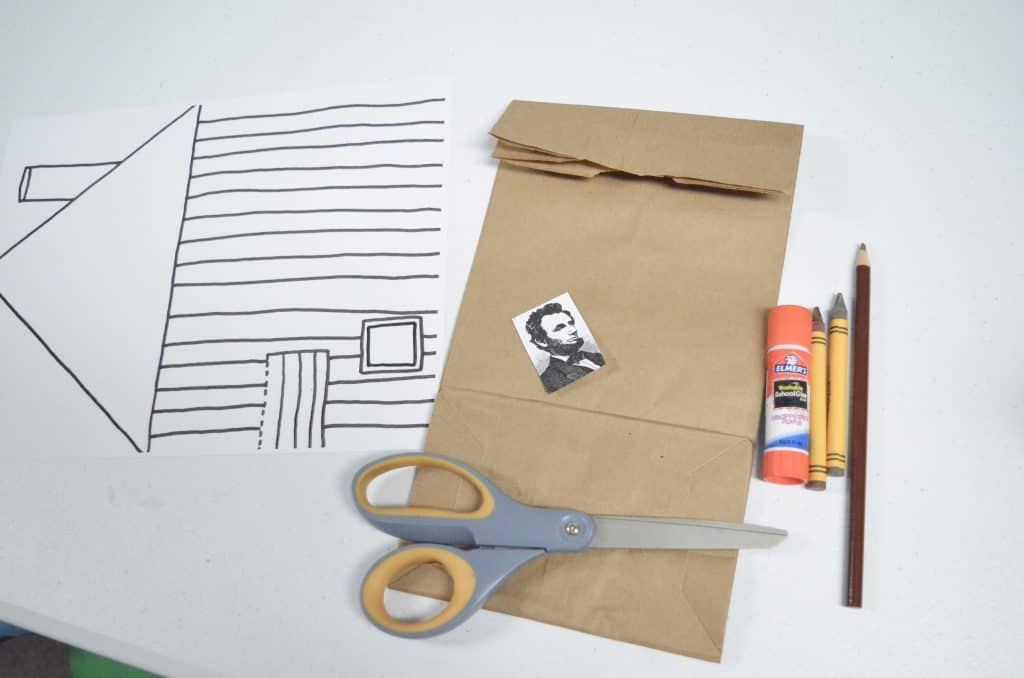
Paper Bag
Scissors
Elmer’s Glue Stick
Crayons or Colored Pencils
Optional – printable log cabin template from our Literary Guide
3D Lincoln Log Cabin Instructions:
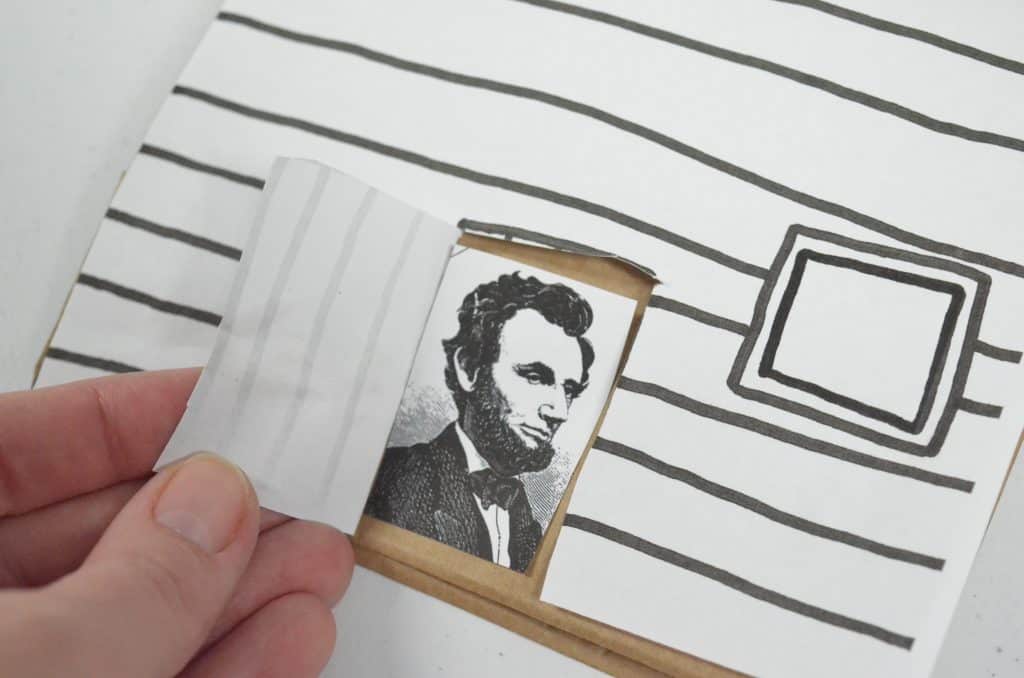
1.Our video above has the complete steps laid out for you. If you are using the printable log cabin template from our Literary Guide then print that out. Otherwise you’ll need to cut out one rectangle sized piece of paper to glue onto your brown paper bag and one large triangle for the roof. Don’t forget about the chimney!
2. Fold the top open section of the bag down about 2 inches. This is where you will glue your roof onto.
3. Glue on the front of the house right onto the bag. Be careful to ensure that you can actually open up the bag when the project is completed and that you don’t glue over the folds that allow the bag to open! *See below for interactive door option.
4. Glue the roof onto the top fold of the paper bag. Just fluff up the bag to stand and you’re done!
Optional – Cut along the right side and top of the “door” area to create an interactive flap so that the kids can open the door and “look” inside. Here you can actually cut into the paper bag if you want to peer into the bag, or simply glue an image of Abraham Lincoln (or whatever you want) inside the door! You could also paste a penny or photo of Abraham Lincoln in the window to “peer” out as well.
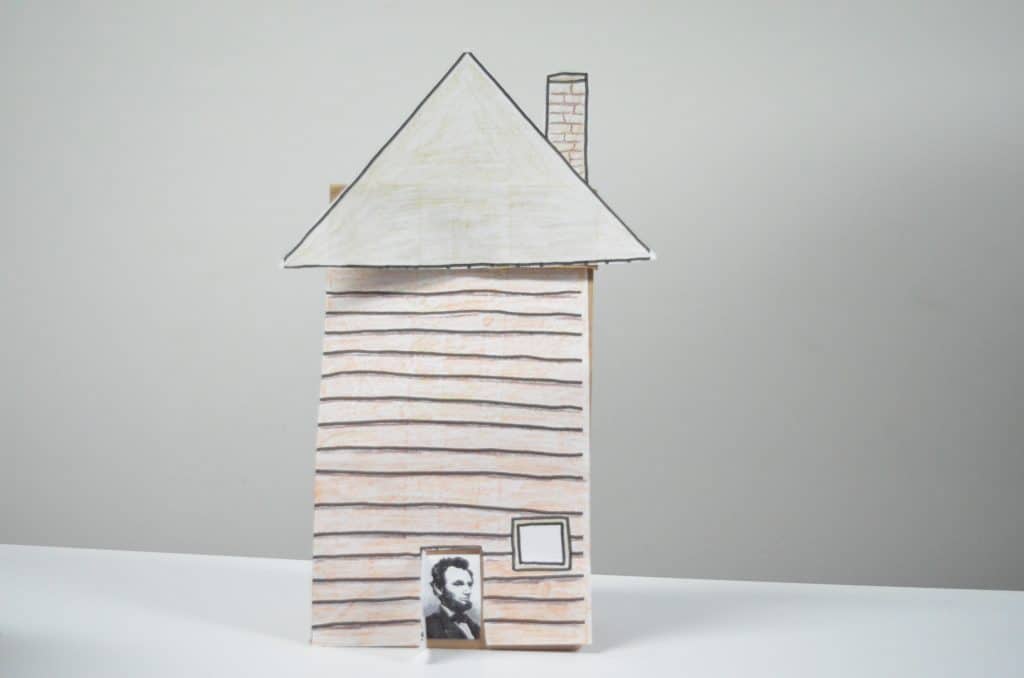
It’s pretty easy regardless of grade level! You can use this same method to create everything from a carriage house to Independence Hall, a library, or any other building structure that you want to turn into an interactive 3D project for kids! Below are some other popular President’s Day activities for kids that we have tutorials for on our blog!


