How to Paint Stained Glass Windows at Home
This post may contain affiliate links, view our disclosure policy for details.
I saw this incredible stained glass window art activity shared in my Sensory Ideas for Kids Facebook group and I KNEW we had to try it at home! It’s EASY to set up and yes, it’s easy to remove too! Check out our step by step tutorial below on how to paint stained glass windows at home!
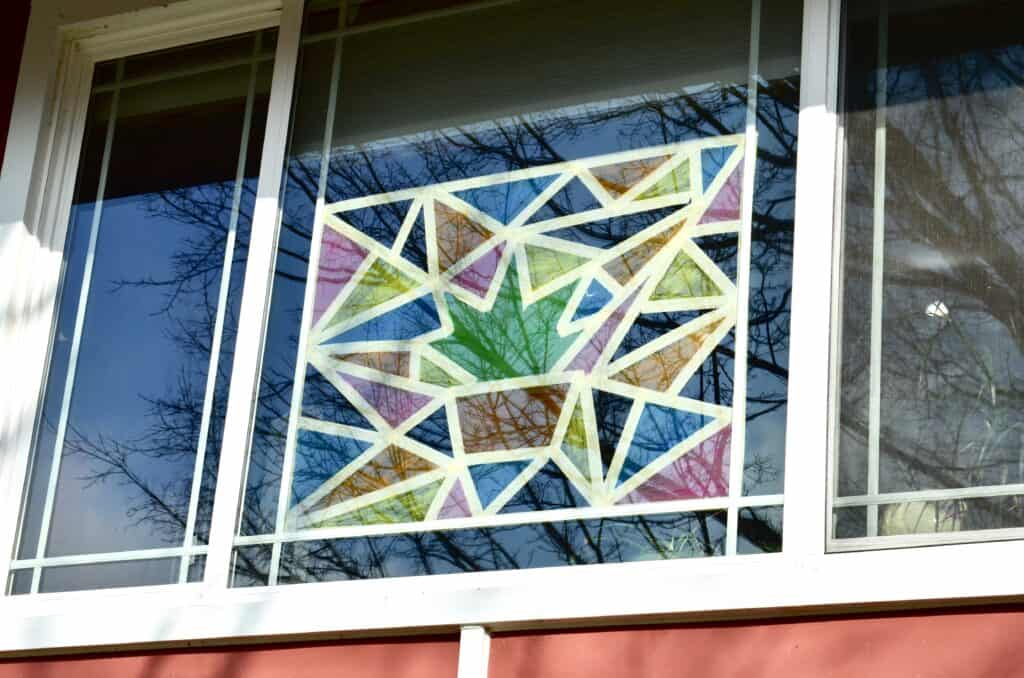
I am in the process of doing this to most of our windows – for myself! My kids have done some windows and I am doing some! I am in absolute LOVE with the way it turned out – these pictures do NO justice and I’m hoping to snag some better ones in different lighting.
If you LOVE stained glass activities you’ll definitely want to spend the time to make this stained glass jello recipe too!
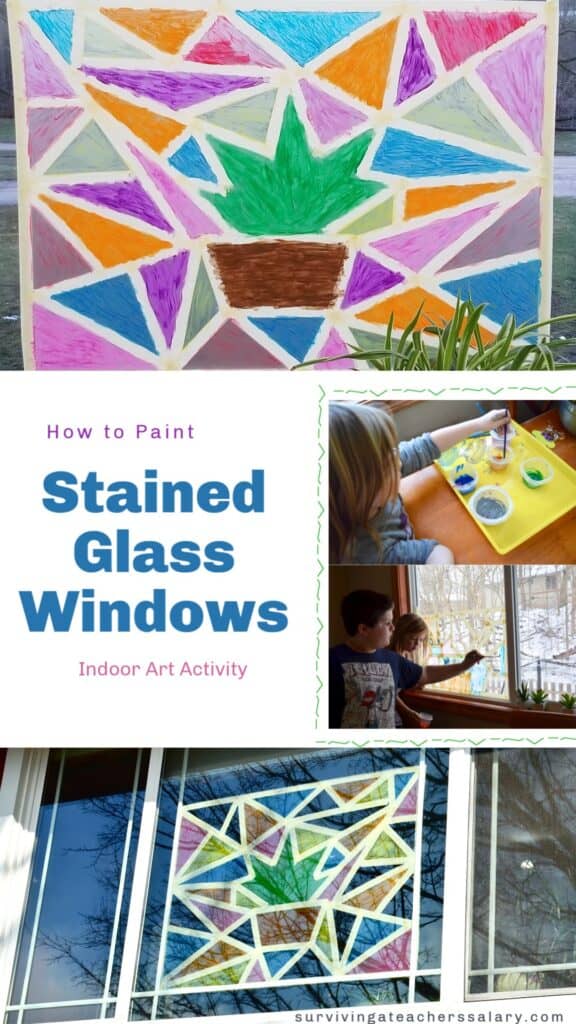
QUICK Video Tutorial:
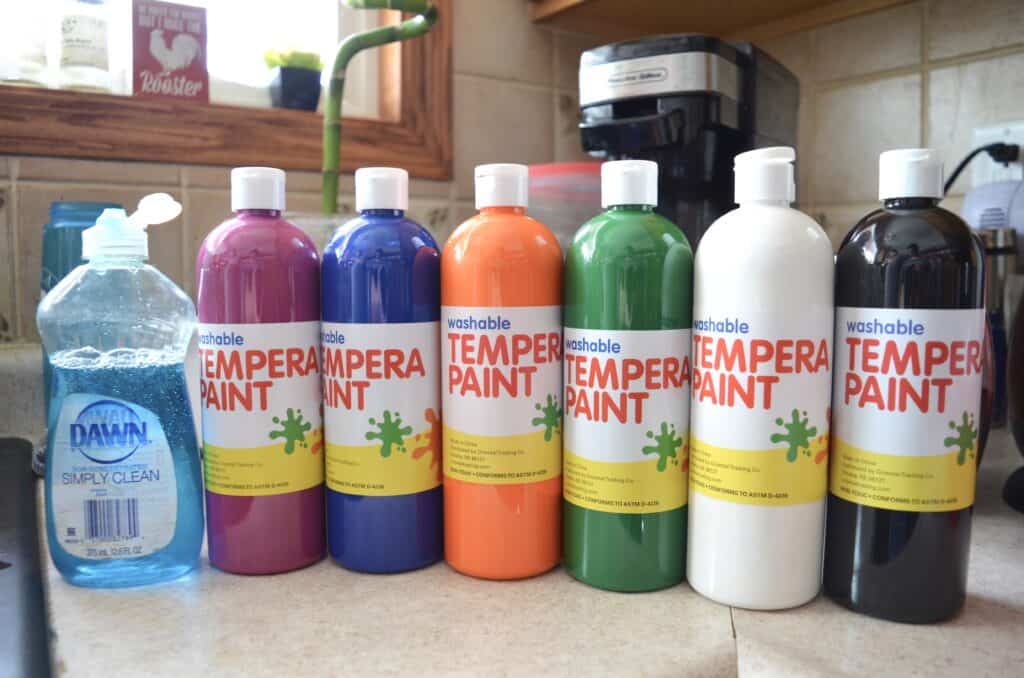
Materials Needed:
-
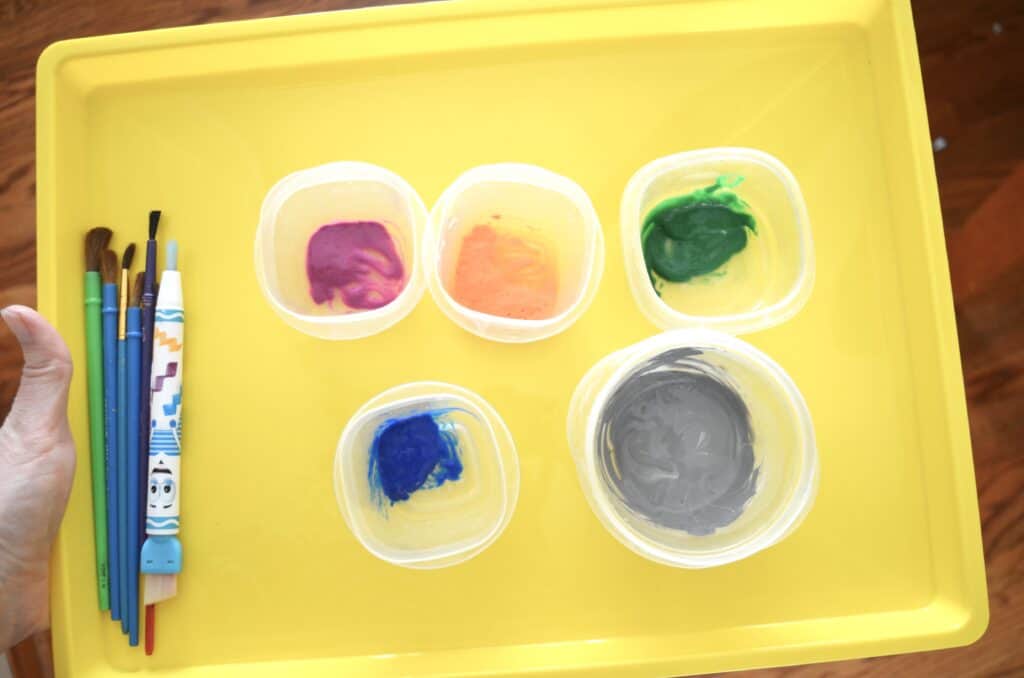
Washable Paint
-
Liquid dish soap (we used Dawn)
-
Water
-
Paint Brush
-
Masking tape
or Painter’s Tape
How to Make the Stained Glass Window Paint:
-
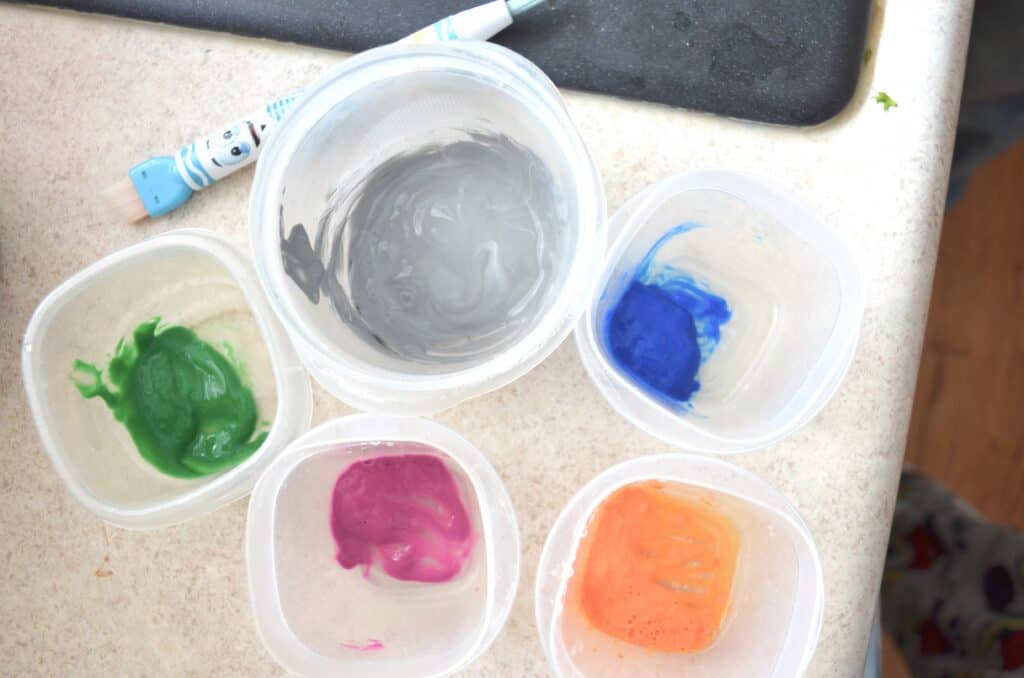
Choose one small tupperware or container per color paint you are using.
-
Squirt in the paint needed. We started with a tablespoon or so of paint to start with.
-
Add in 1-2 drops of dish soap.
-
Add a quick squirt of water. I just ran the tap water lightly and gave the entire container a quick swipe.
-
Adjust the paint amount or soap/water as needed.
How to Prep the Stained Glass Window Area:
This is a great time to clean your windows! Start with a nice clean surface area!
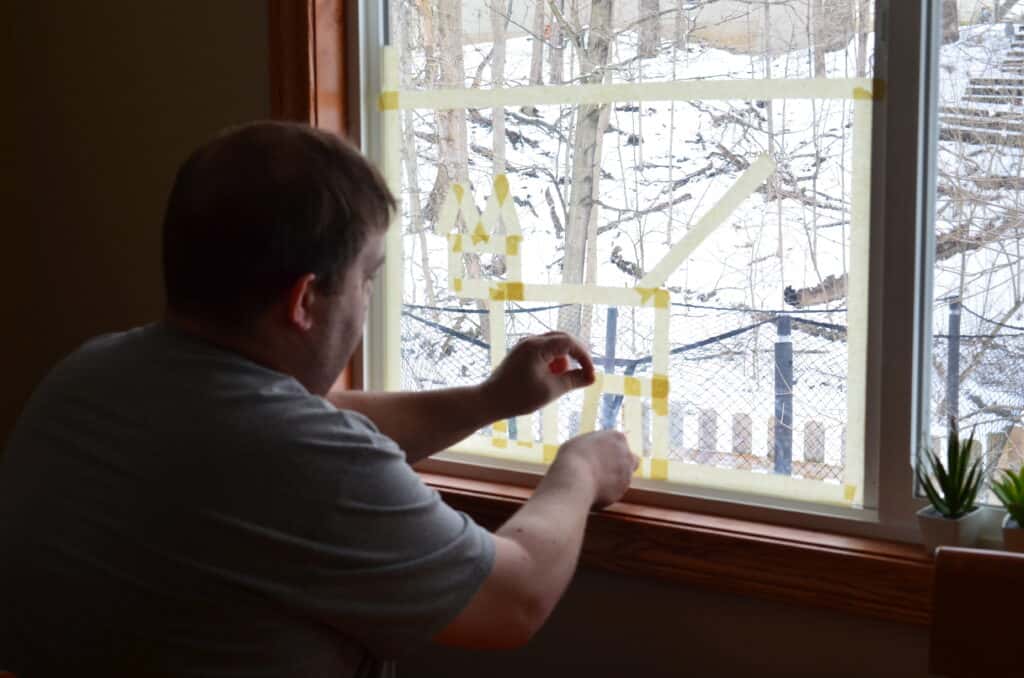
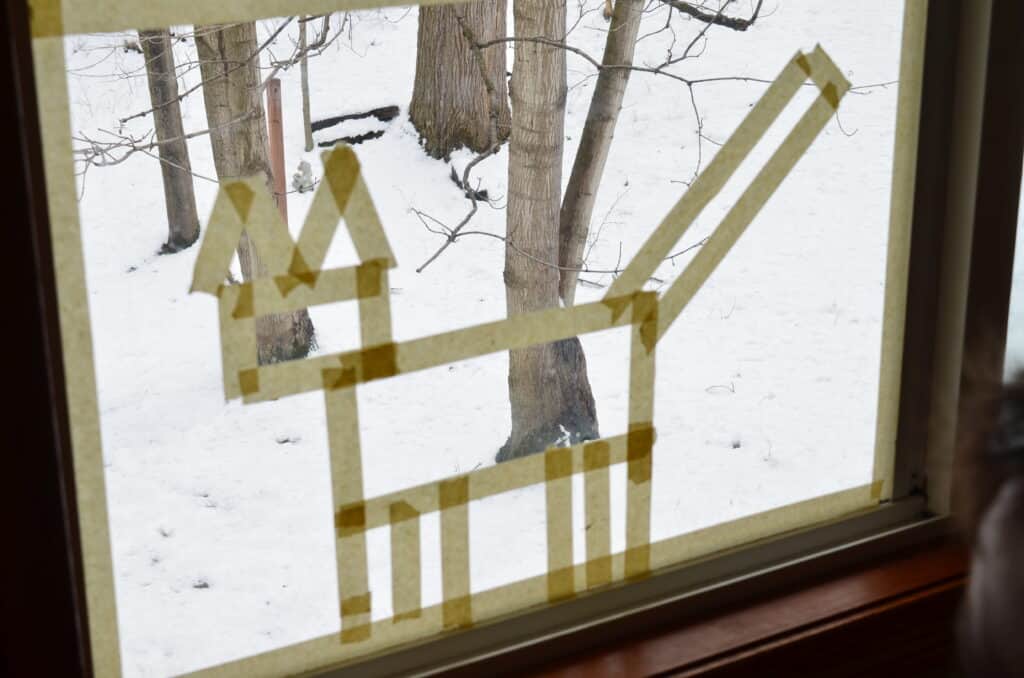
Begin by outlining a square or rectangle space on the window with painter’s tape or masking tape.
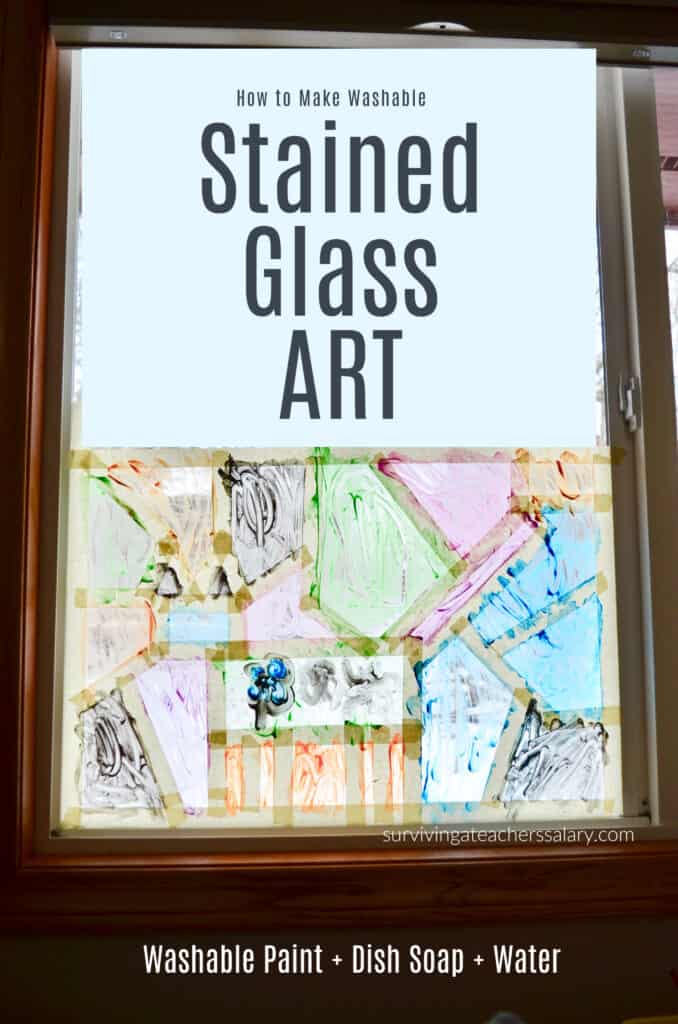
Since my daughter is just 5 and cannot reach the top of the window we just started with the bottom half of the window for her. Otherwise go ahead and outline the entire window!
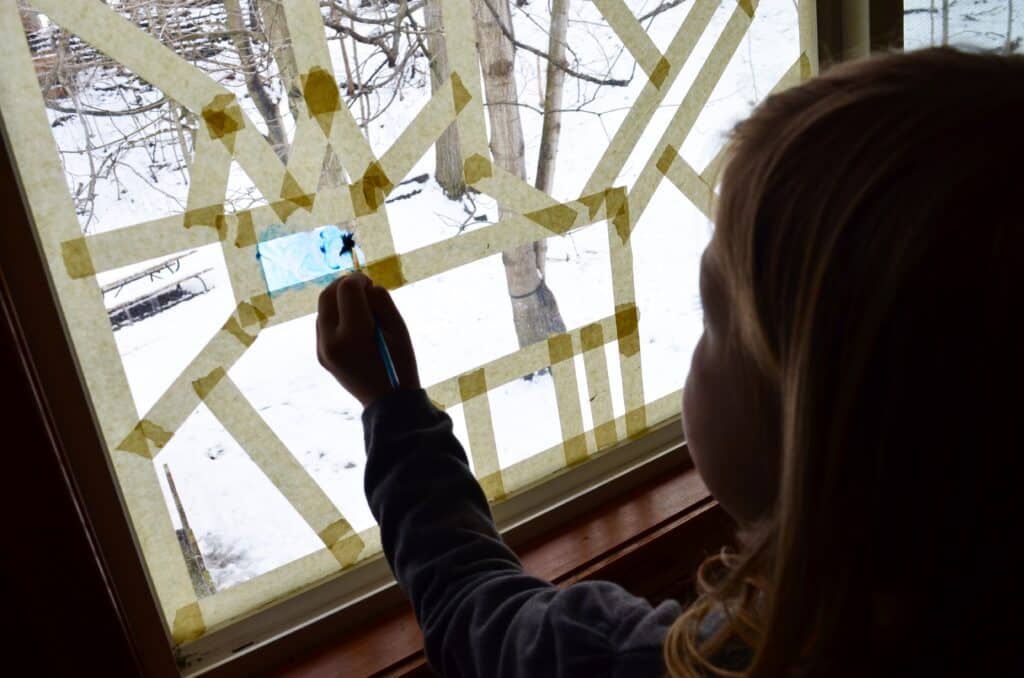
Next fill in the design! Check out our tips below on how to make stained glass window art designs but as you can imagine, you’re creating outlines with tape so the simpler the better! Our daughter, however, didn’t quite catch that concept so we tried making her a kitty cat!
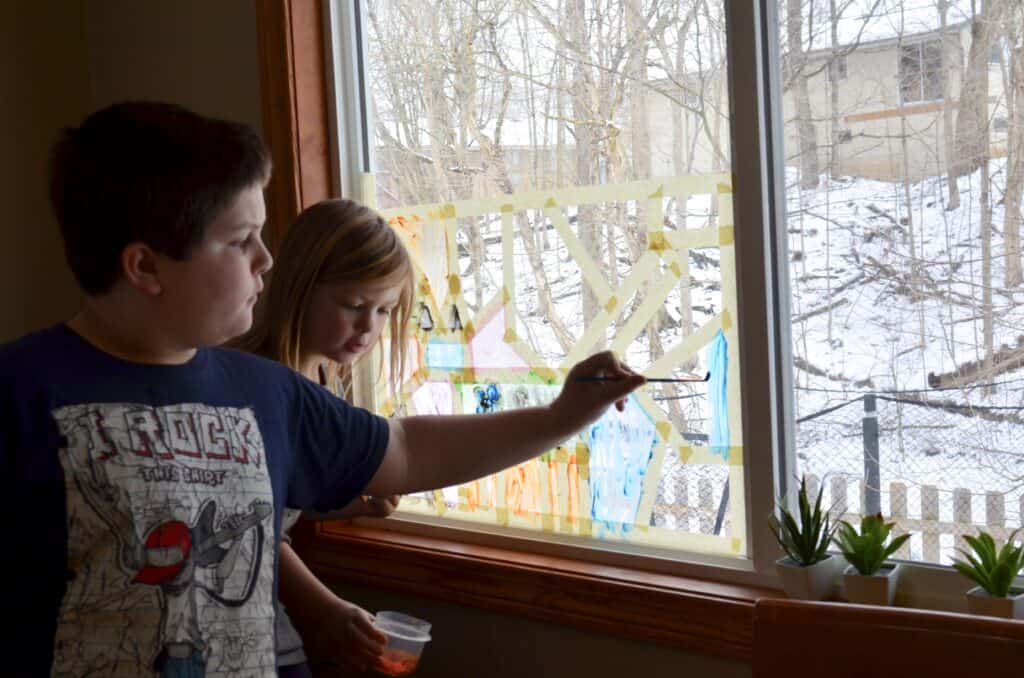
Next, grab the paint that you’ve prepared and get started painting! Just paint directly onto the window trying not to paint on the tape strips.
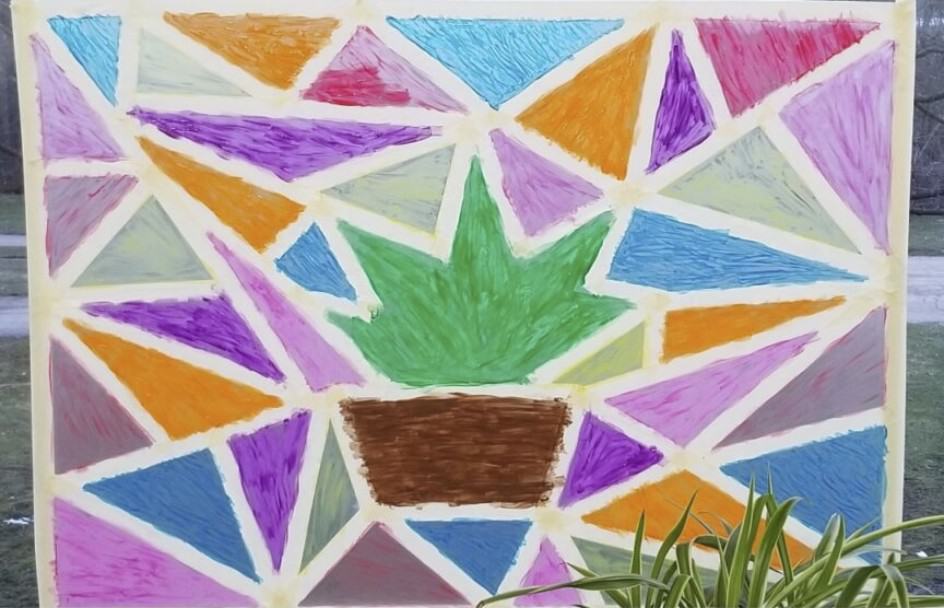
You can choose to paint an abstract stained glass window of “shards” and geometric shapes or try your hand at a creative art design! There’s no wrong way to do it!
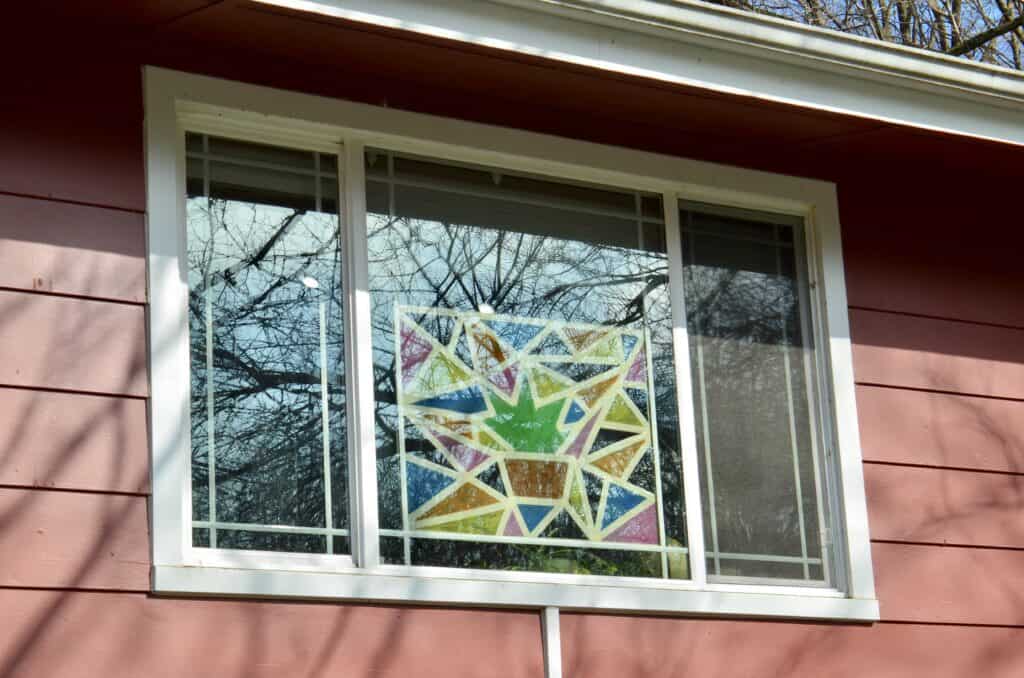
Let your paint dry. If you want a darker bolder stained glass window art look then you’ll just need to paint 2-3 coats of paint letting each one dry in between.
How to Remove the Stained Glass Window Paint:
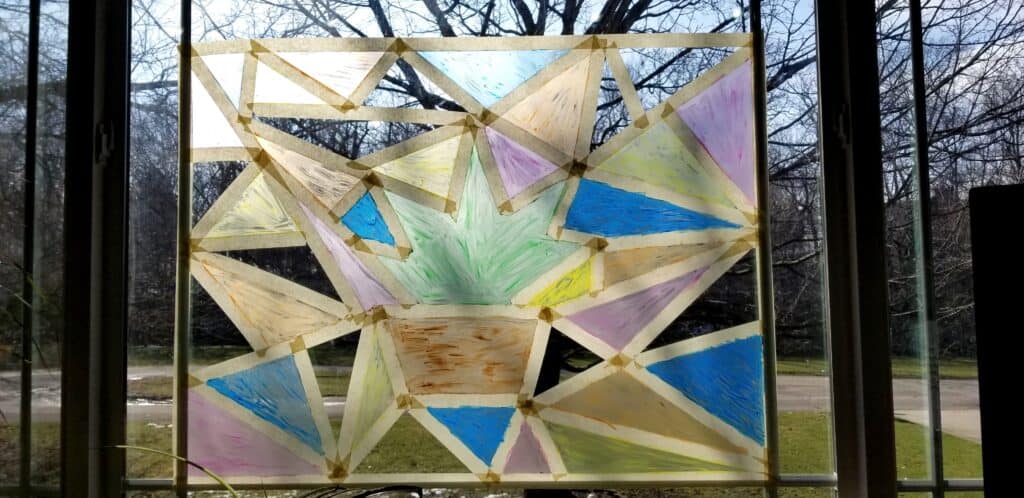
-
First start by removing the masking or painter’s tape.
-
Using a dishcloth and container of warm soapy water just wipe the cloth across the paint! Depending on how much dish soap you added to your paint you might be able to easily swipe the paint off or get it off with just a little bit of rubbing.
-
Dry the window with a paper towel or cloth before adding more tape and starting over!
Tips for Making Stained Glass Window Art Projects:
-
Make your paint and test an area on a window if you’re concerned about the colors or it being removable.
-
Use straight lines and solid shapes.
-
Less is more! The finer the details the more difficult it is to shape and see.
-
Create your initial design first (cross, diamond, etc.) then add tape around it to make into a mosaic pattern.
-
Add multiple layers to make the stained glass bolder and stand out more!
-
DO NOT WORRY if it looks weird or hideous from the inside!!! Let the paint dry a bit then go outside and look at it – it will be stunning!!!
Craft Supplies to Buy:





I like it