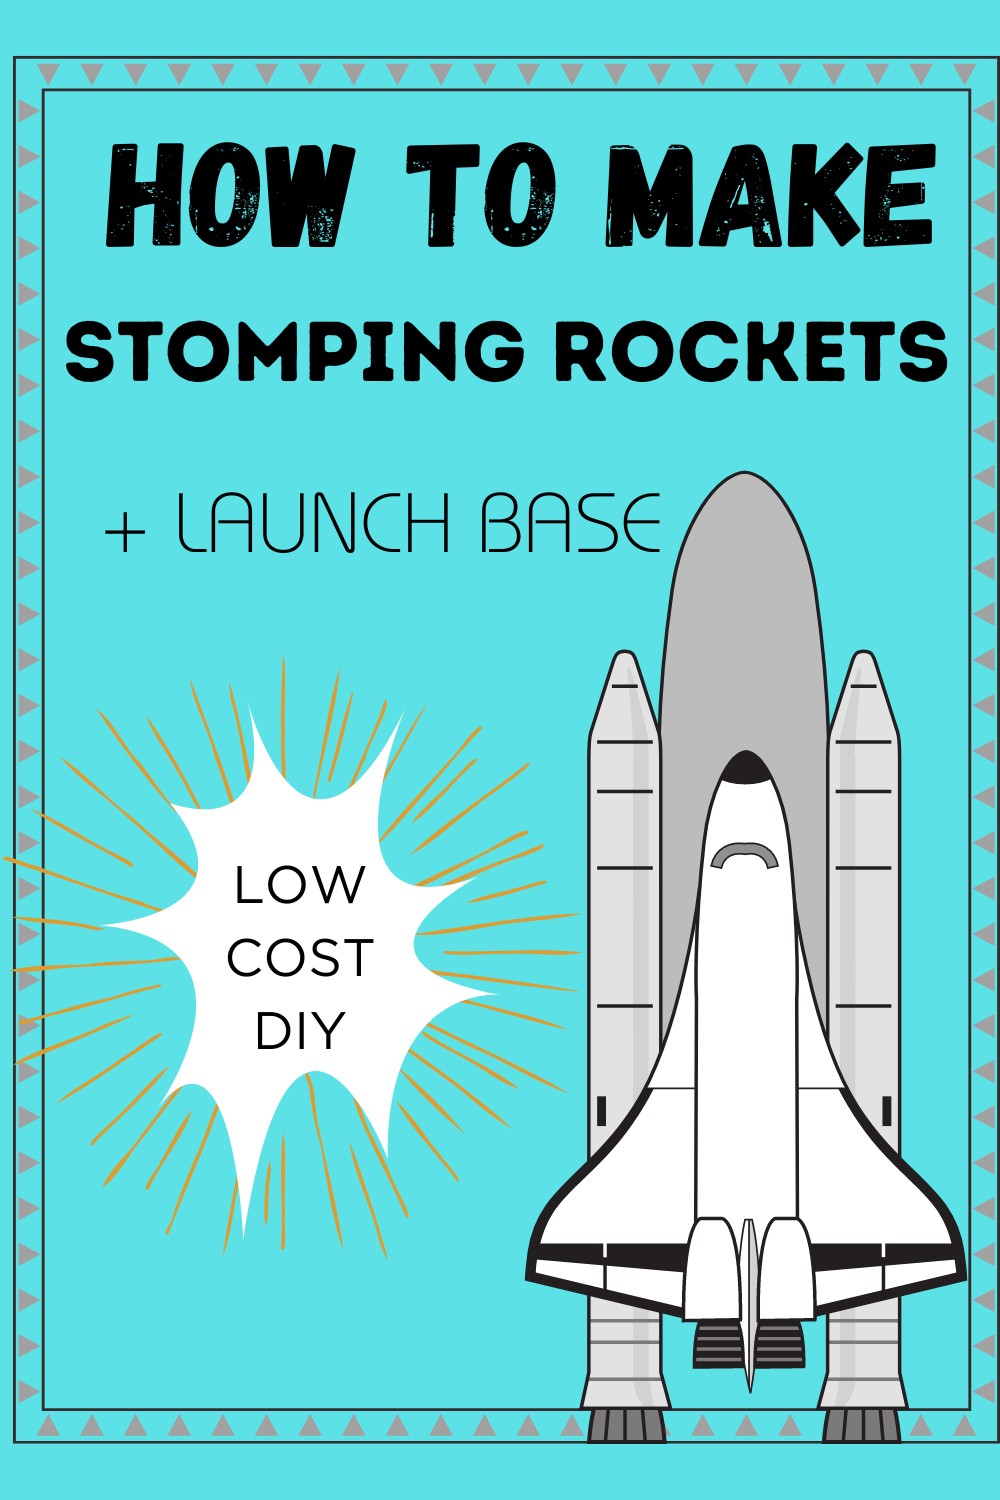
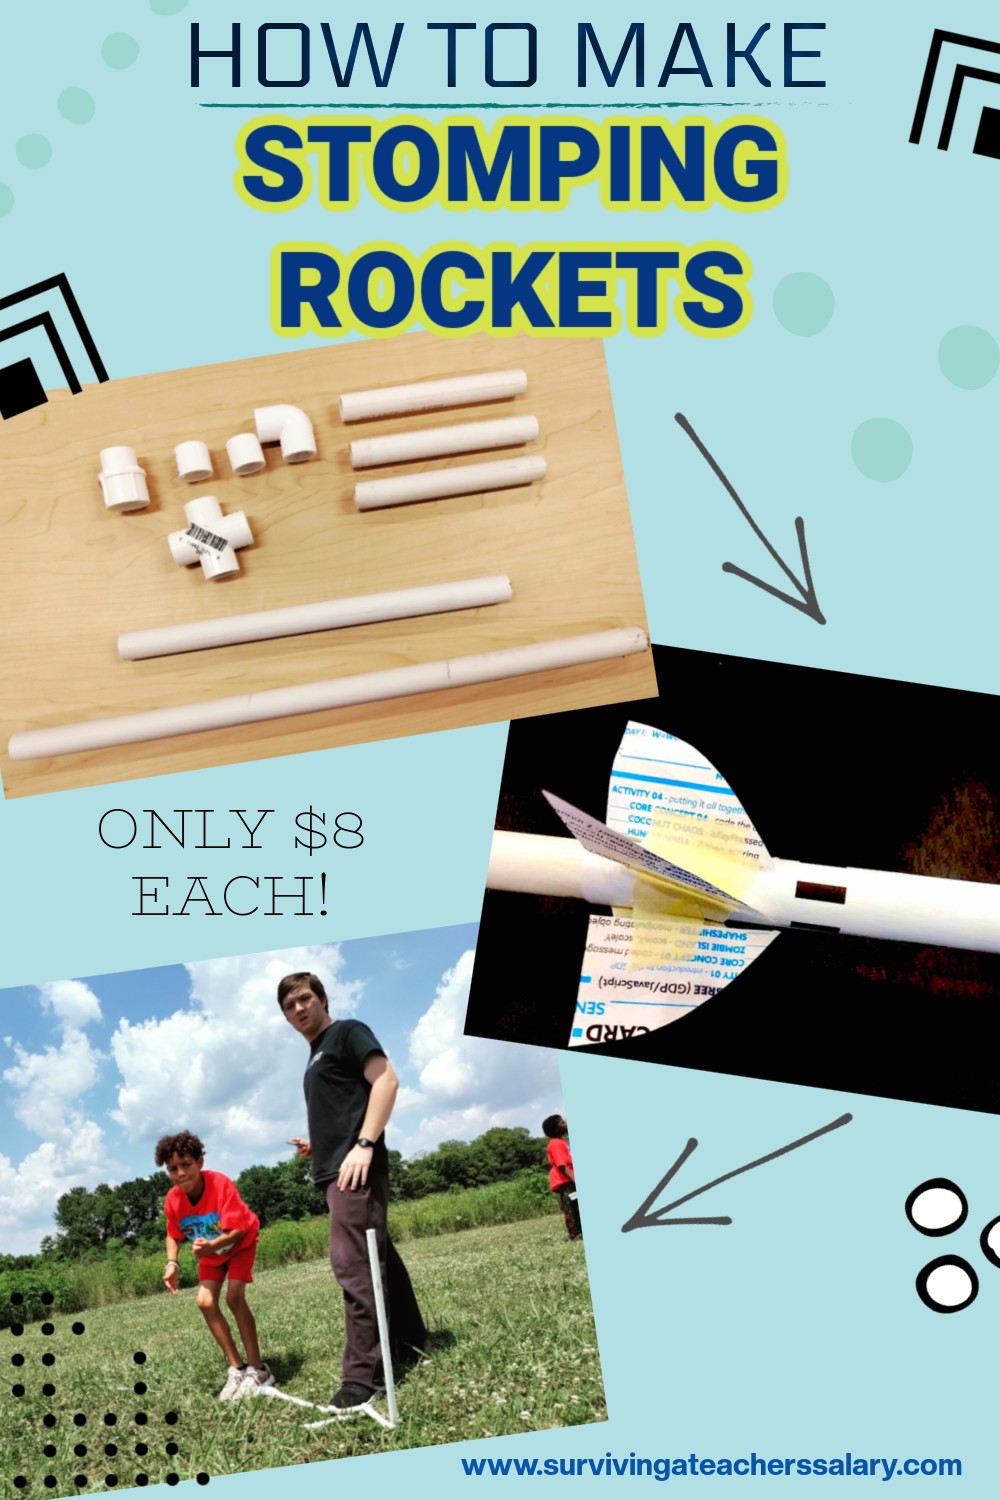
How to Make DIY Stomping Rockets Activity
This post may contain affiliate links, view our disclosure policy for details.
One of my most favorite lessons of all is learning about rockets because the kids get SO excited! We made our own DIY stomping rockets activity out of PVC pipes, paper and tape! It’s easy and cheap enough to build for large groups or to just make at home!
We’ve used the instructions below for multiple camps and STEM groups from ages 5 through middle school but you could easily use this for high school as well. If you don’t have time to make your own launchers, you can buy a pre-made air rocket launcher kit on Amazon or on this REALLY cool launcher set on Etsy.
There are two main components to build for making your own set up for your rocket lessons – the PVC pipe structure the adults can build and the paper rockets the kids can build!
Besides the fact that kids love rocketry, space and yes – even explosions – this is a great lesson because students need to think of a variety of things that can affect their rocket. They can tweak multiple variables to get different outcomes, and if they really apply themselves and design multiple rockets, they can learn a lot!
Out of hundreds of kids ranging from kindergarten to high school, I’ve never met a child who didn’t love this activity! The hardest part for the younger kids is usually just the fine motor skills that is required to roll the paper tightly and tape the rocket properly.
Rocket Lesson Plan Ideas:
First we go over the basic parts of a rocket and what each part does. I tailor this based on the age of my students. Generally for elementary age or younger I cover in detail the fins, nosecone and rocket body.
If I’m working with middle – high school we can go into engines, fuel, payload, etc. For this particular rocket activity though we keep it basic.
- Fins – help to provide stability and control direction of the rocket
- Nosecone – tip of the rocket that allows air to flow smoothly around the rocket, typically a conical shape
- Body – typically houses the fuel but the length (and weight) of the body can affect how the rocket performs
(If you’ve got access to a budget and a 3d printer you can extend this stomping rockets activity into designing and printing your own rockets, real model rocket launches, etc.)
How to Build the PVC Pipe Structure for Rocket Launches:
The instructions below are for one rocket launcher. When the kids are launching their stomping rockets, you’ll need to manually inflate your rocket launched (blow into the pipe) after each launch. So if you use more than one launcher you may want a helper.
If you’re working in a large group setting I would recommend one launcher per four kids if possible to hold the kids interest while waiting. You can absolutely have more kids per launcher, but the wait time for each student will be longer.
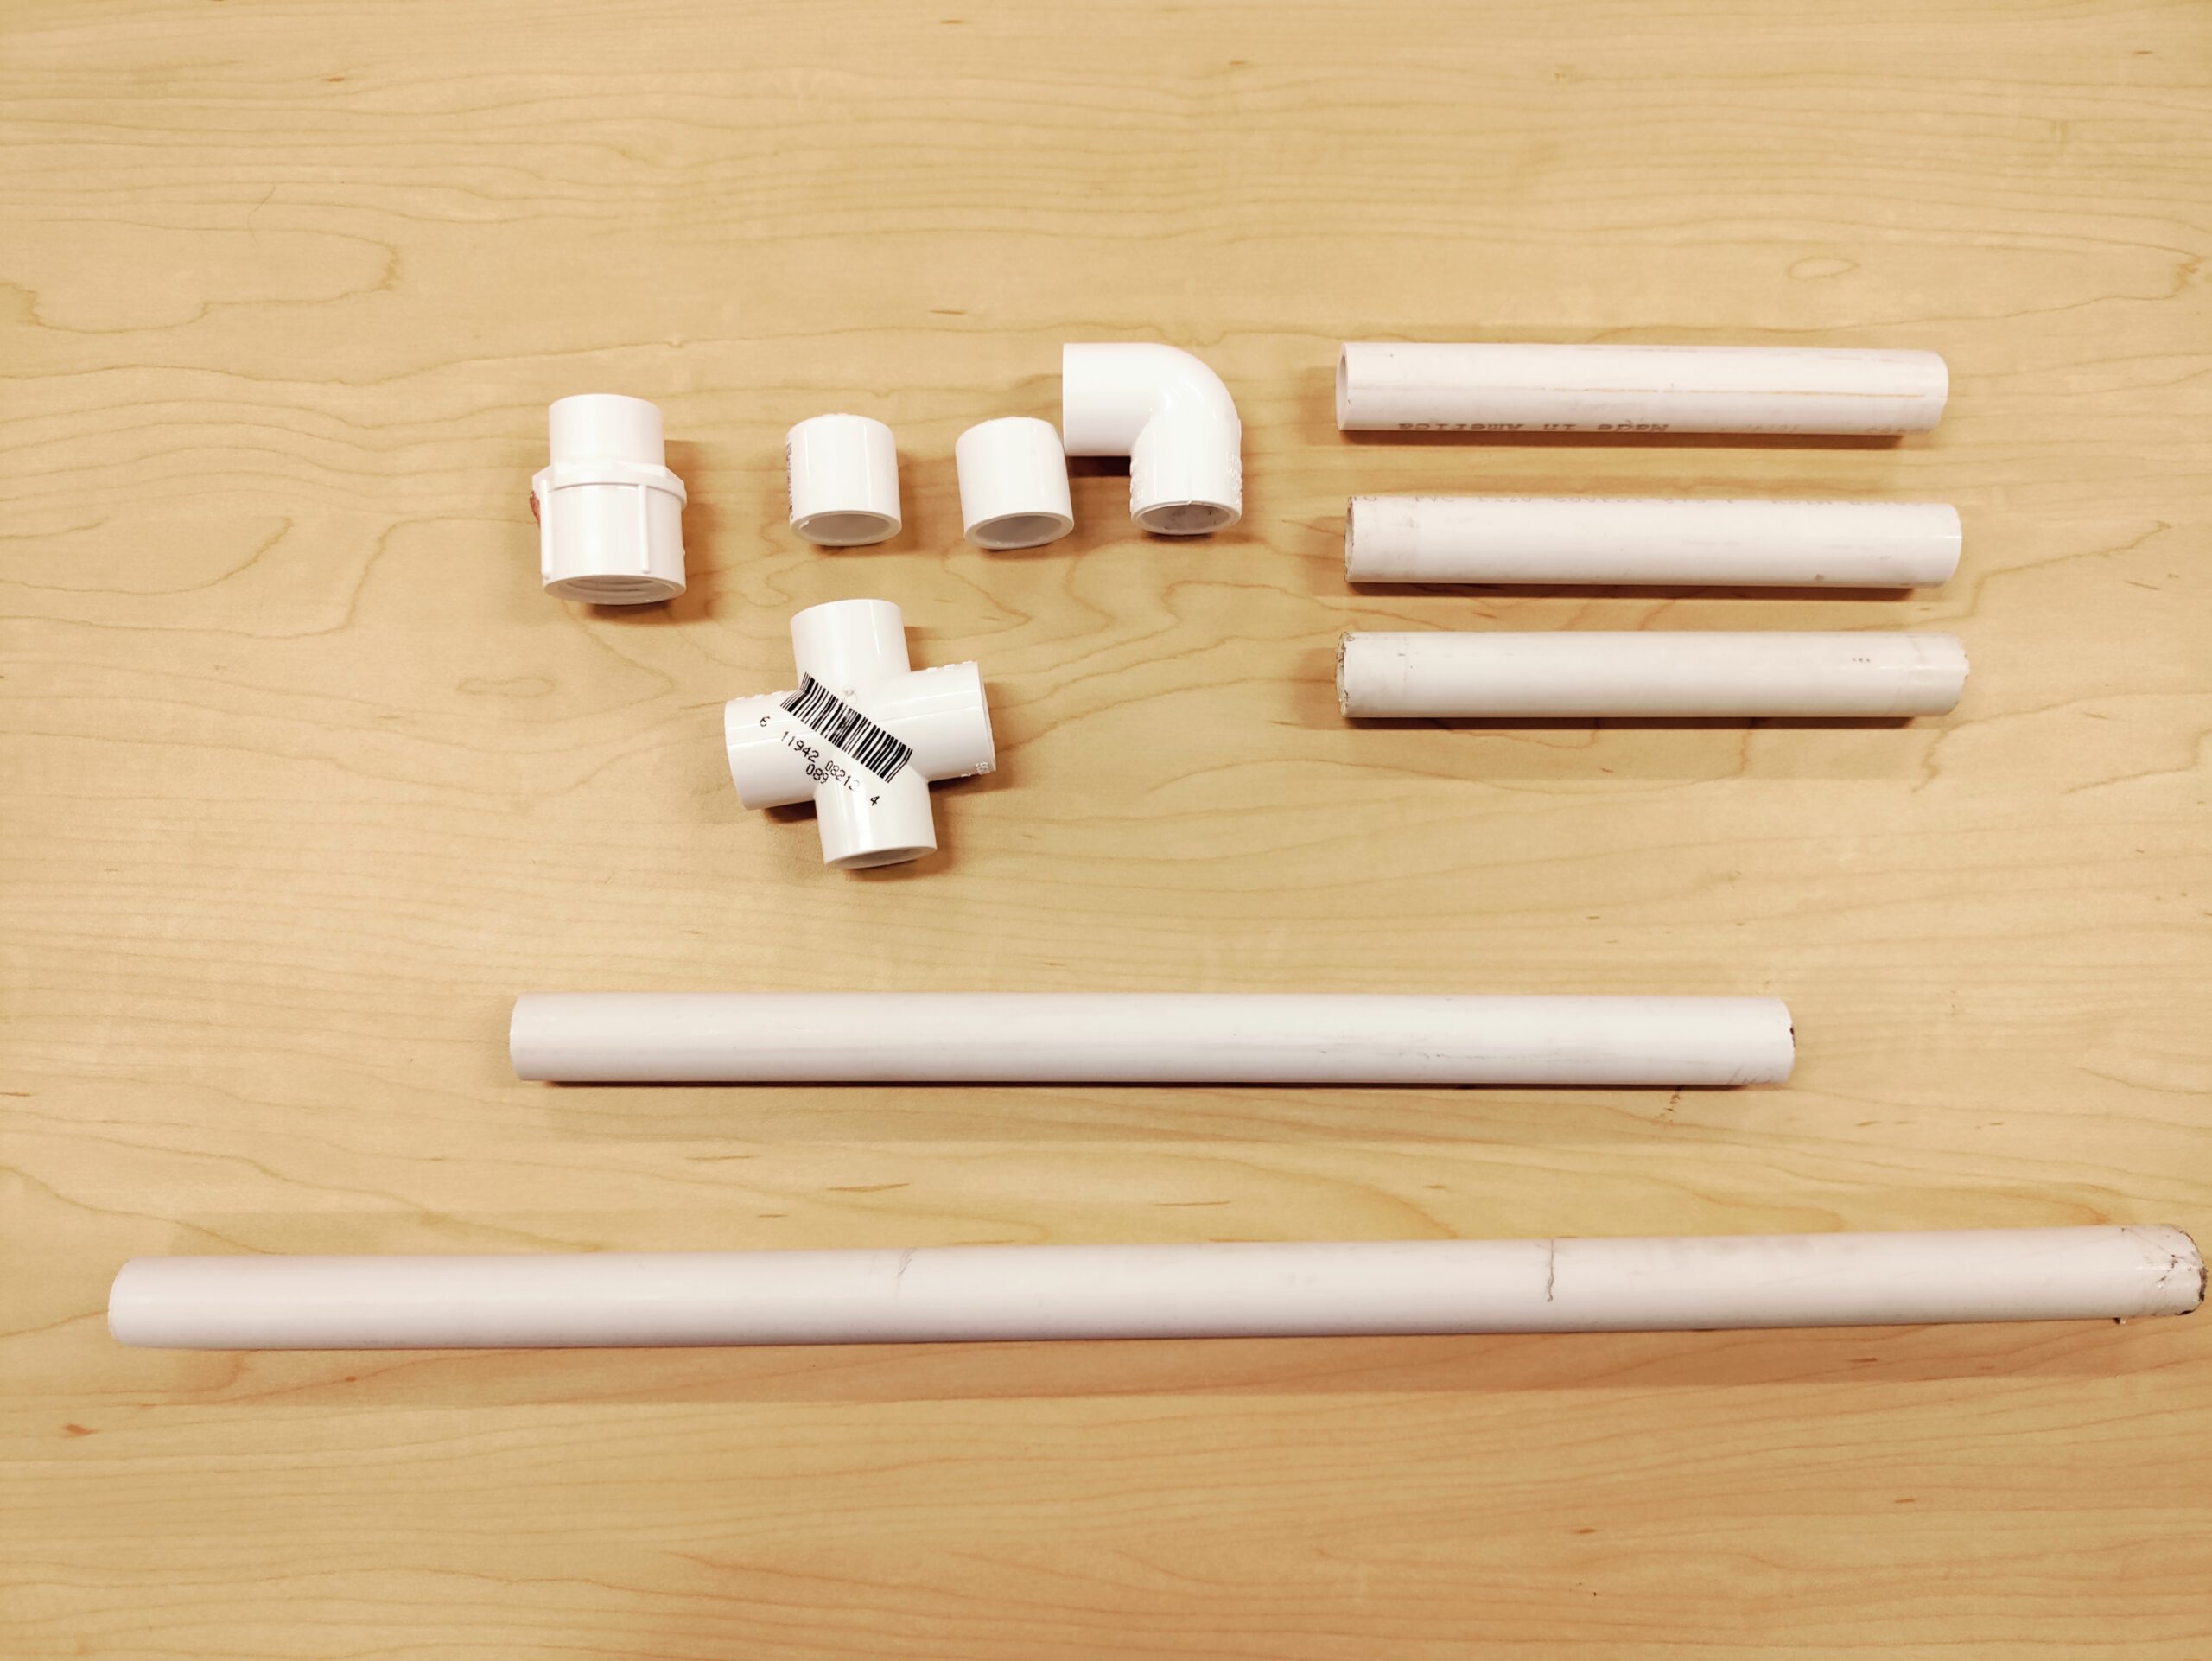
Above is all of the materials needed for your stomping rocket launcher except for an empty 2L bottle.
Materials Needed:
- 5 ft. three-quarter inch PVC Pipe
- 2 end caps
- 1 90 degree angle
- 1 four way
- connector piece
- empty 2L bottles (1 bottle per PVC launcher)
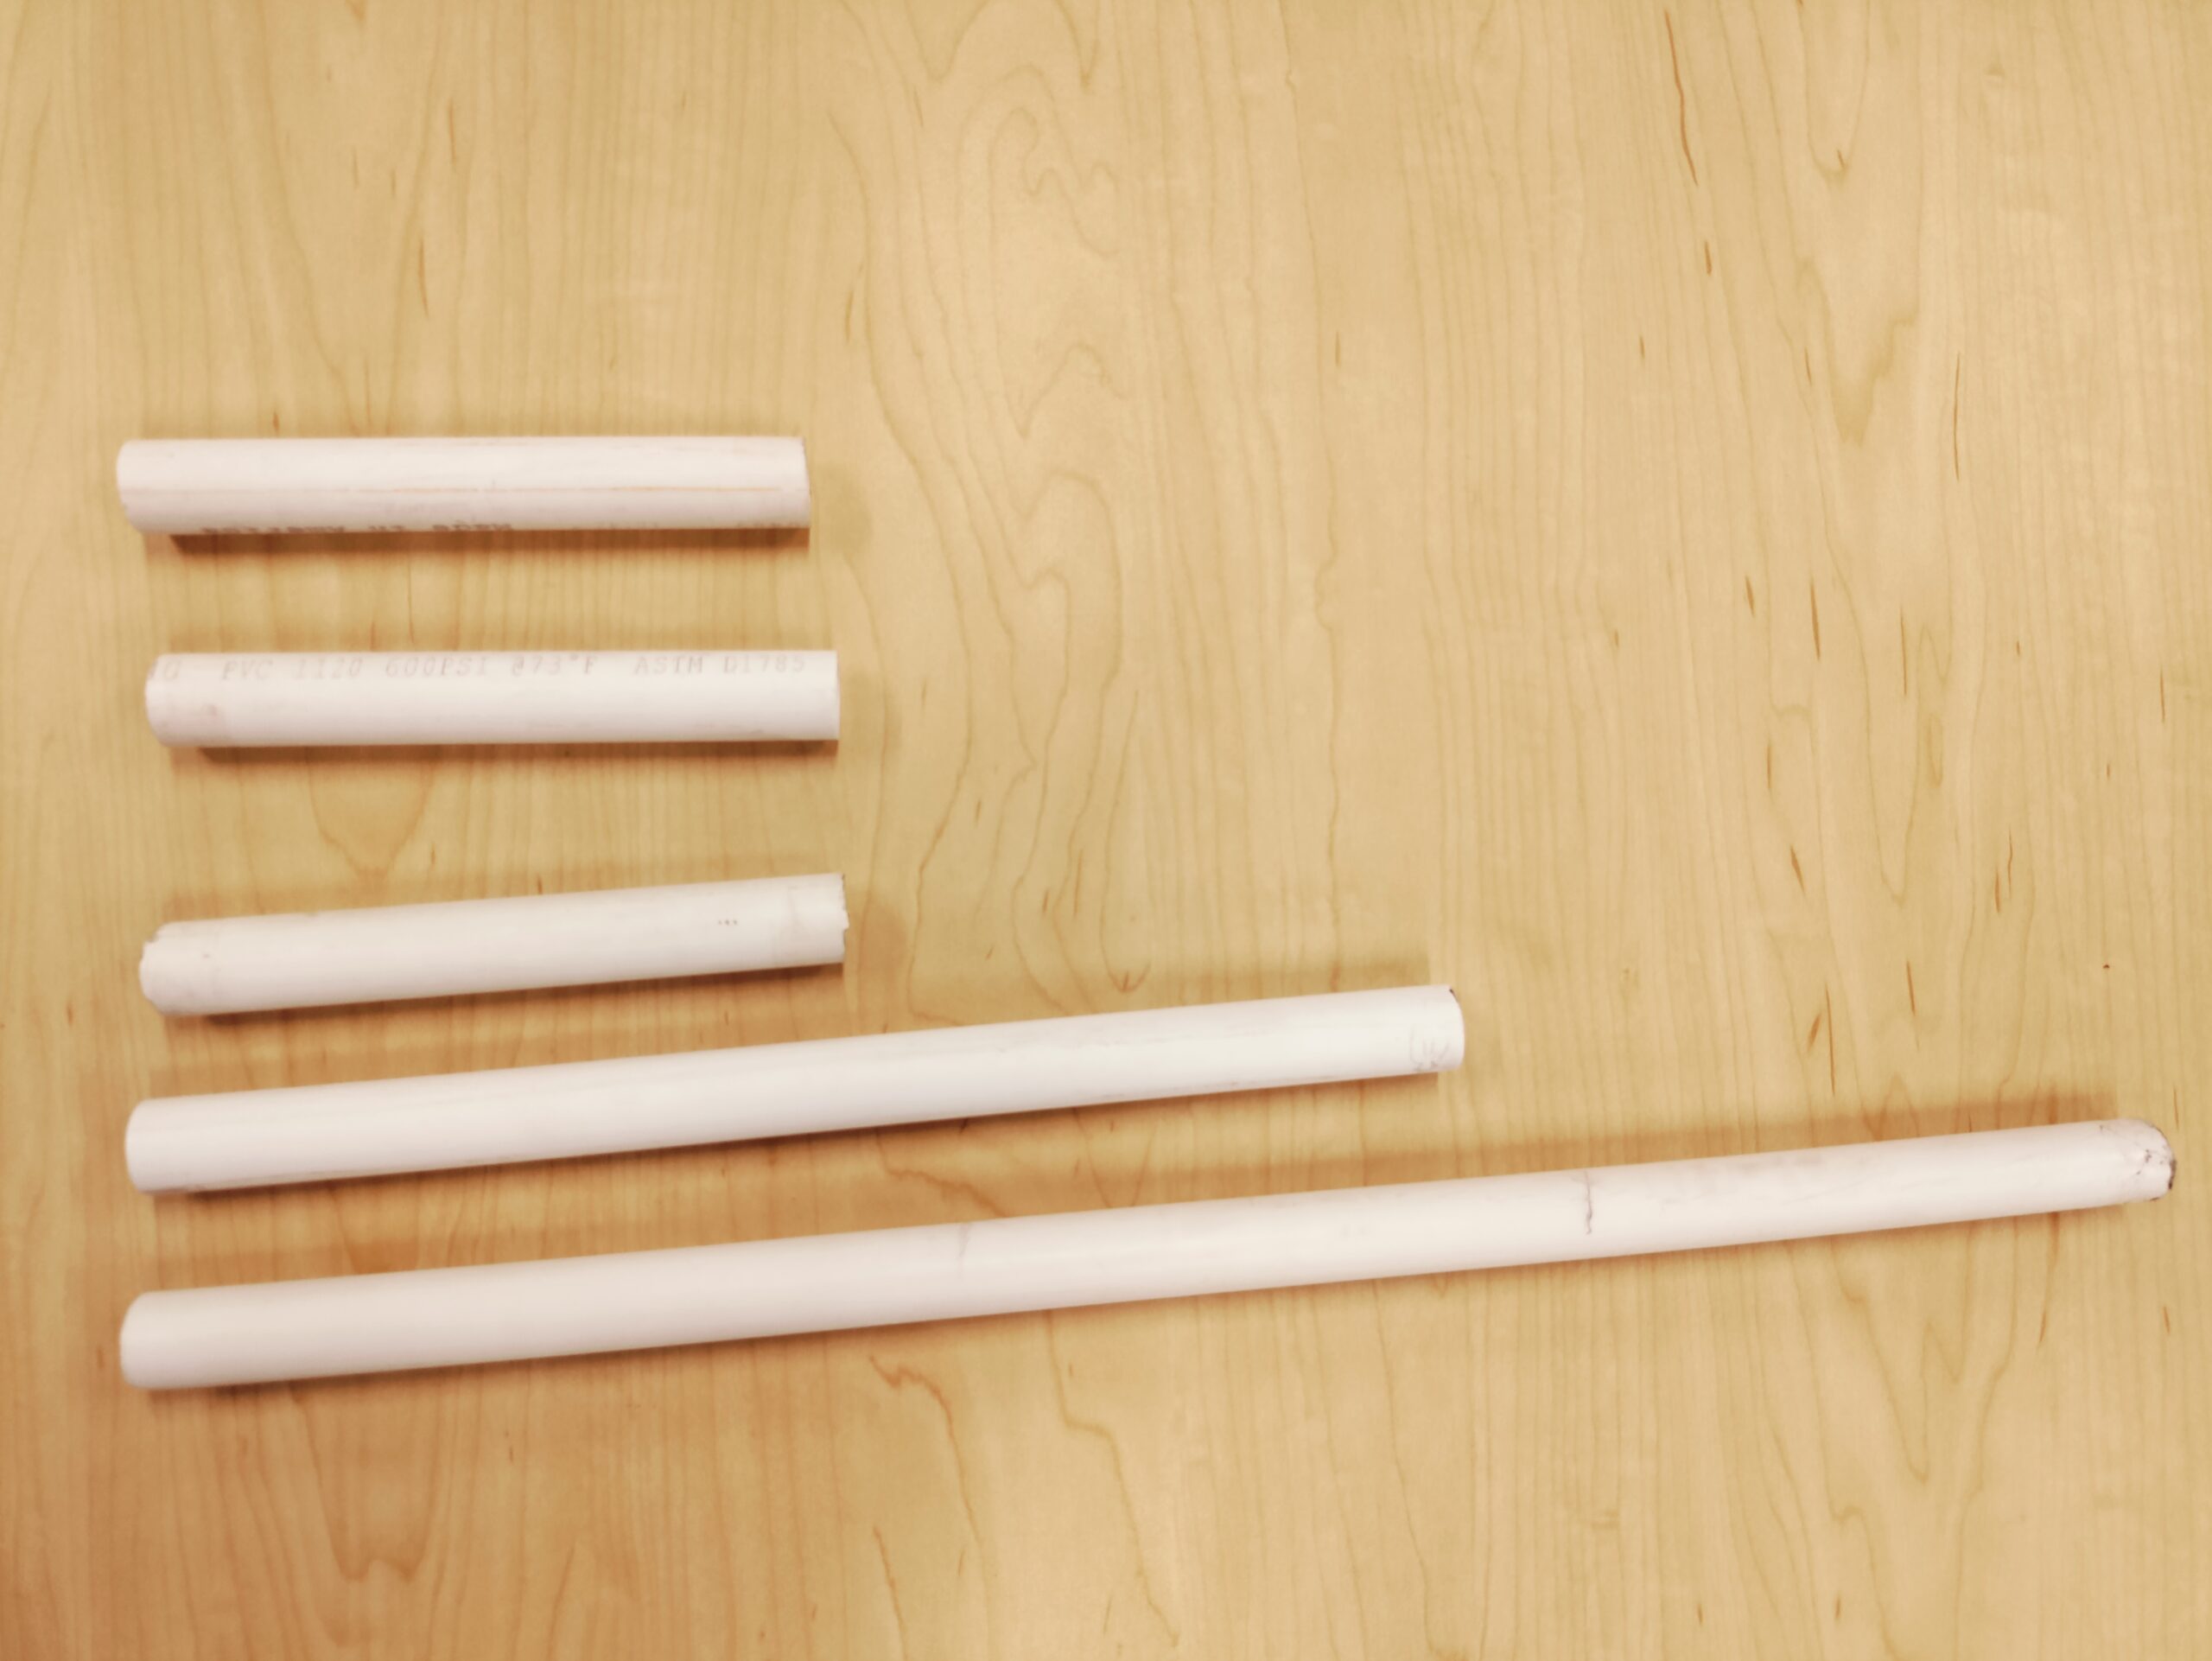
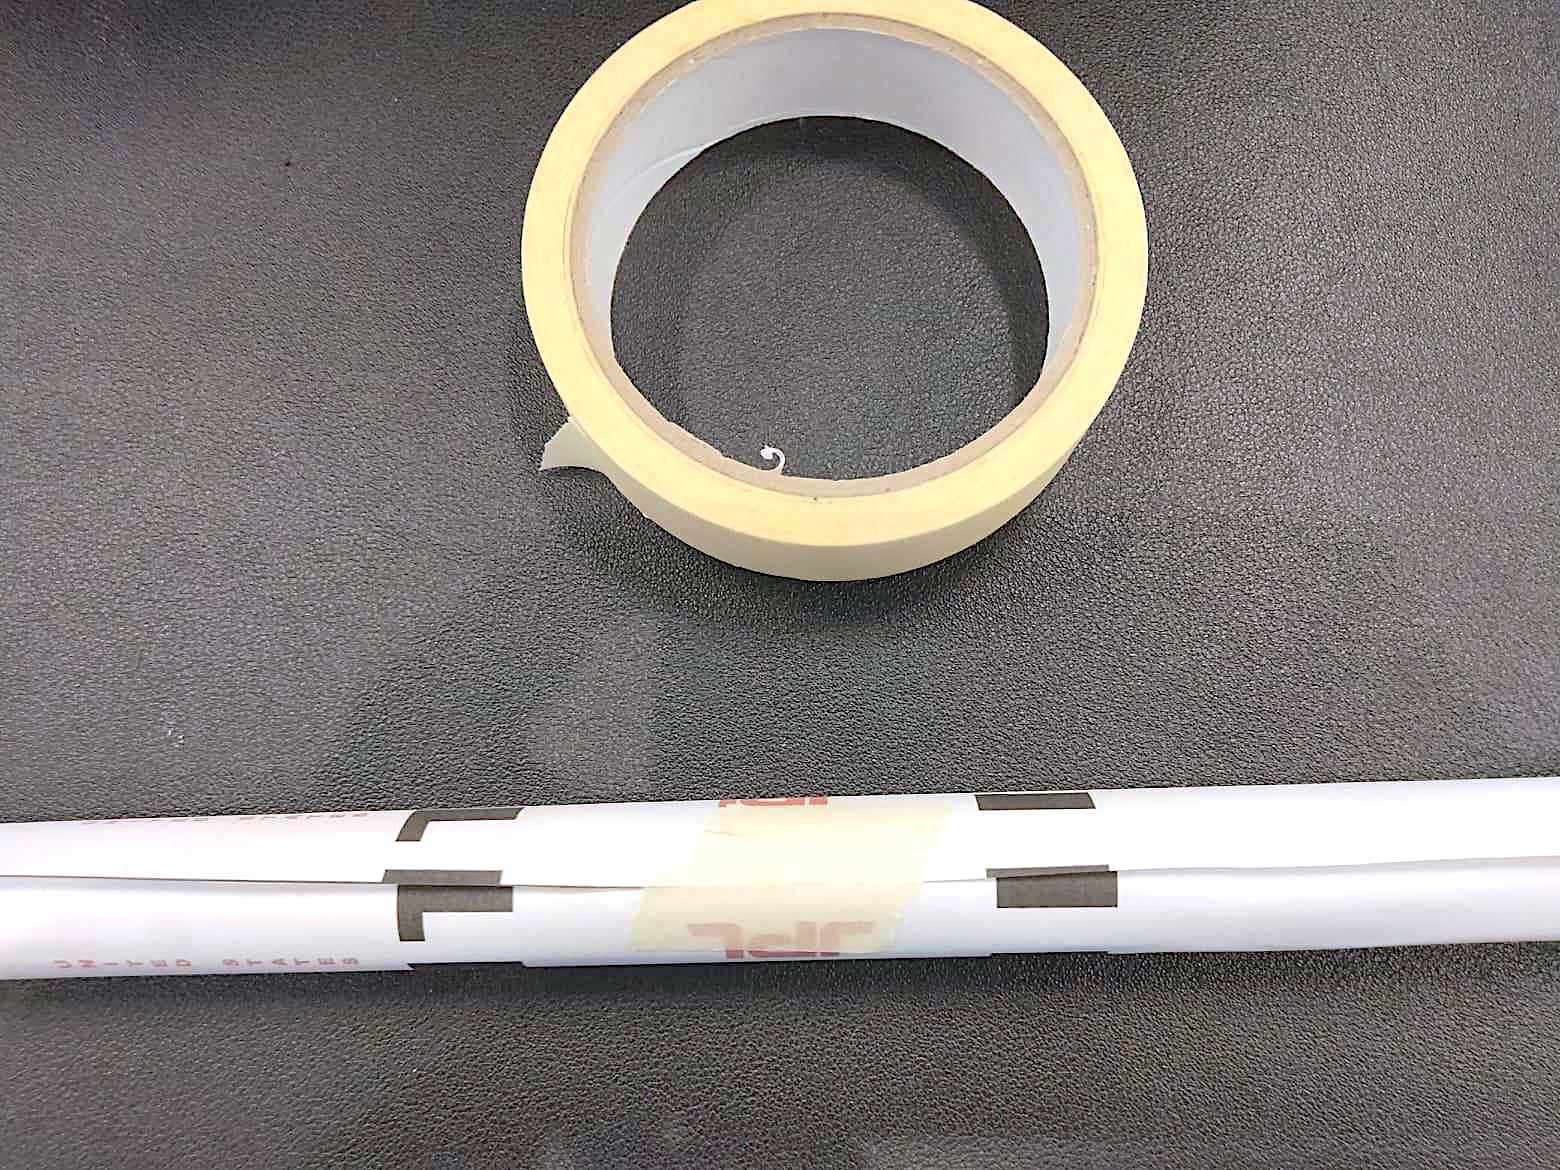
Using a hacksaw with a fine tooth blade, cut your PVC pipe into the following sections:
- one 2 foot section
- one 1.5 foot section
- three 6 inch sections
You can see these sections cut out in the image above.

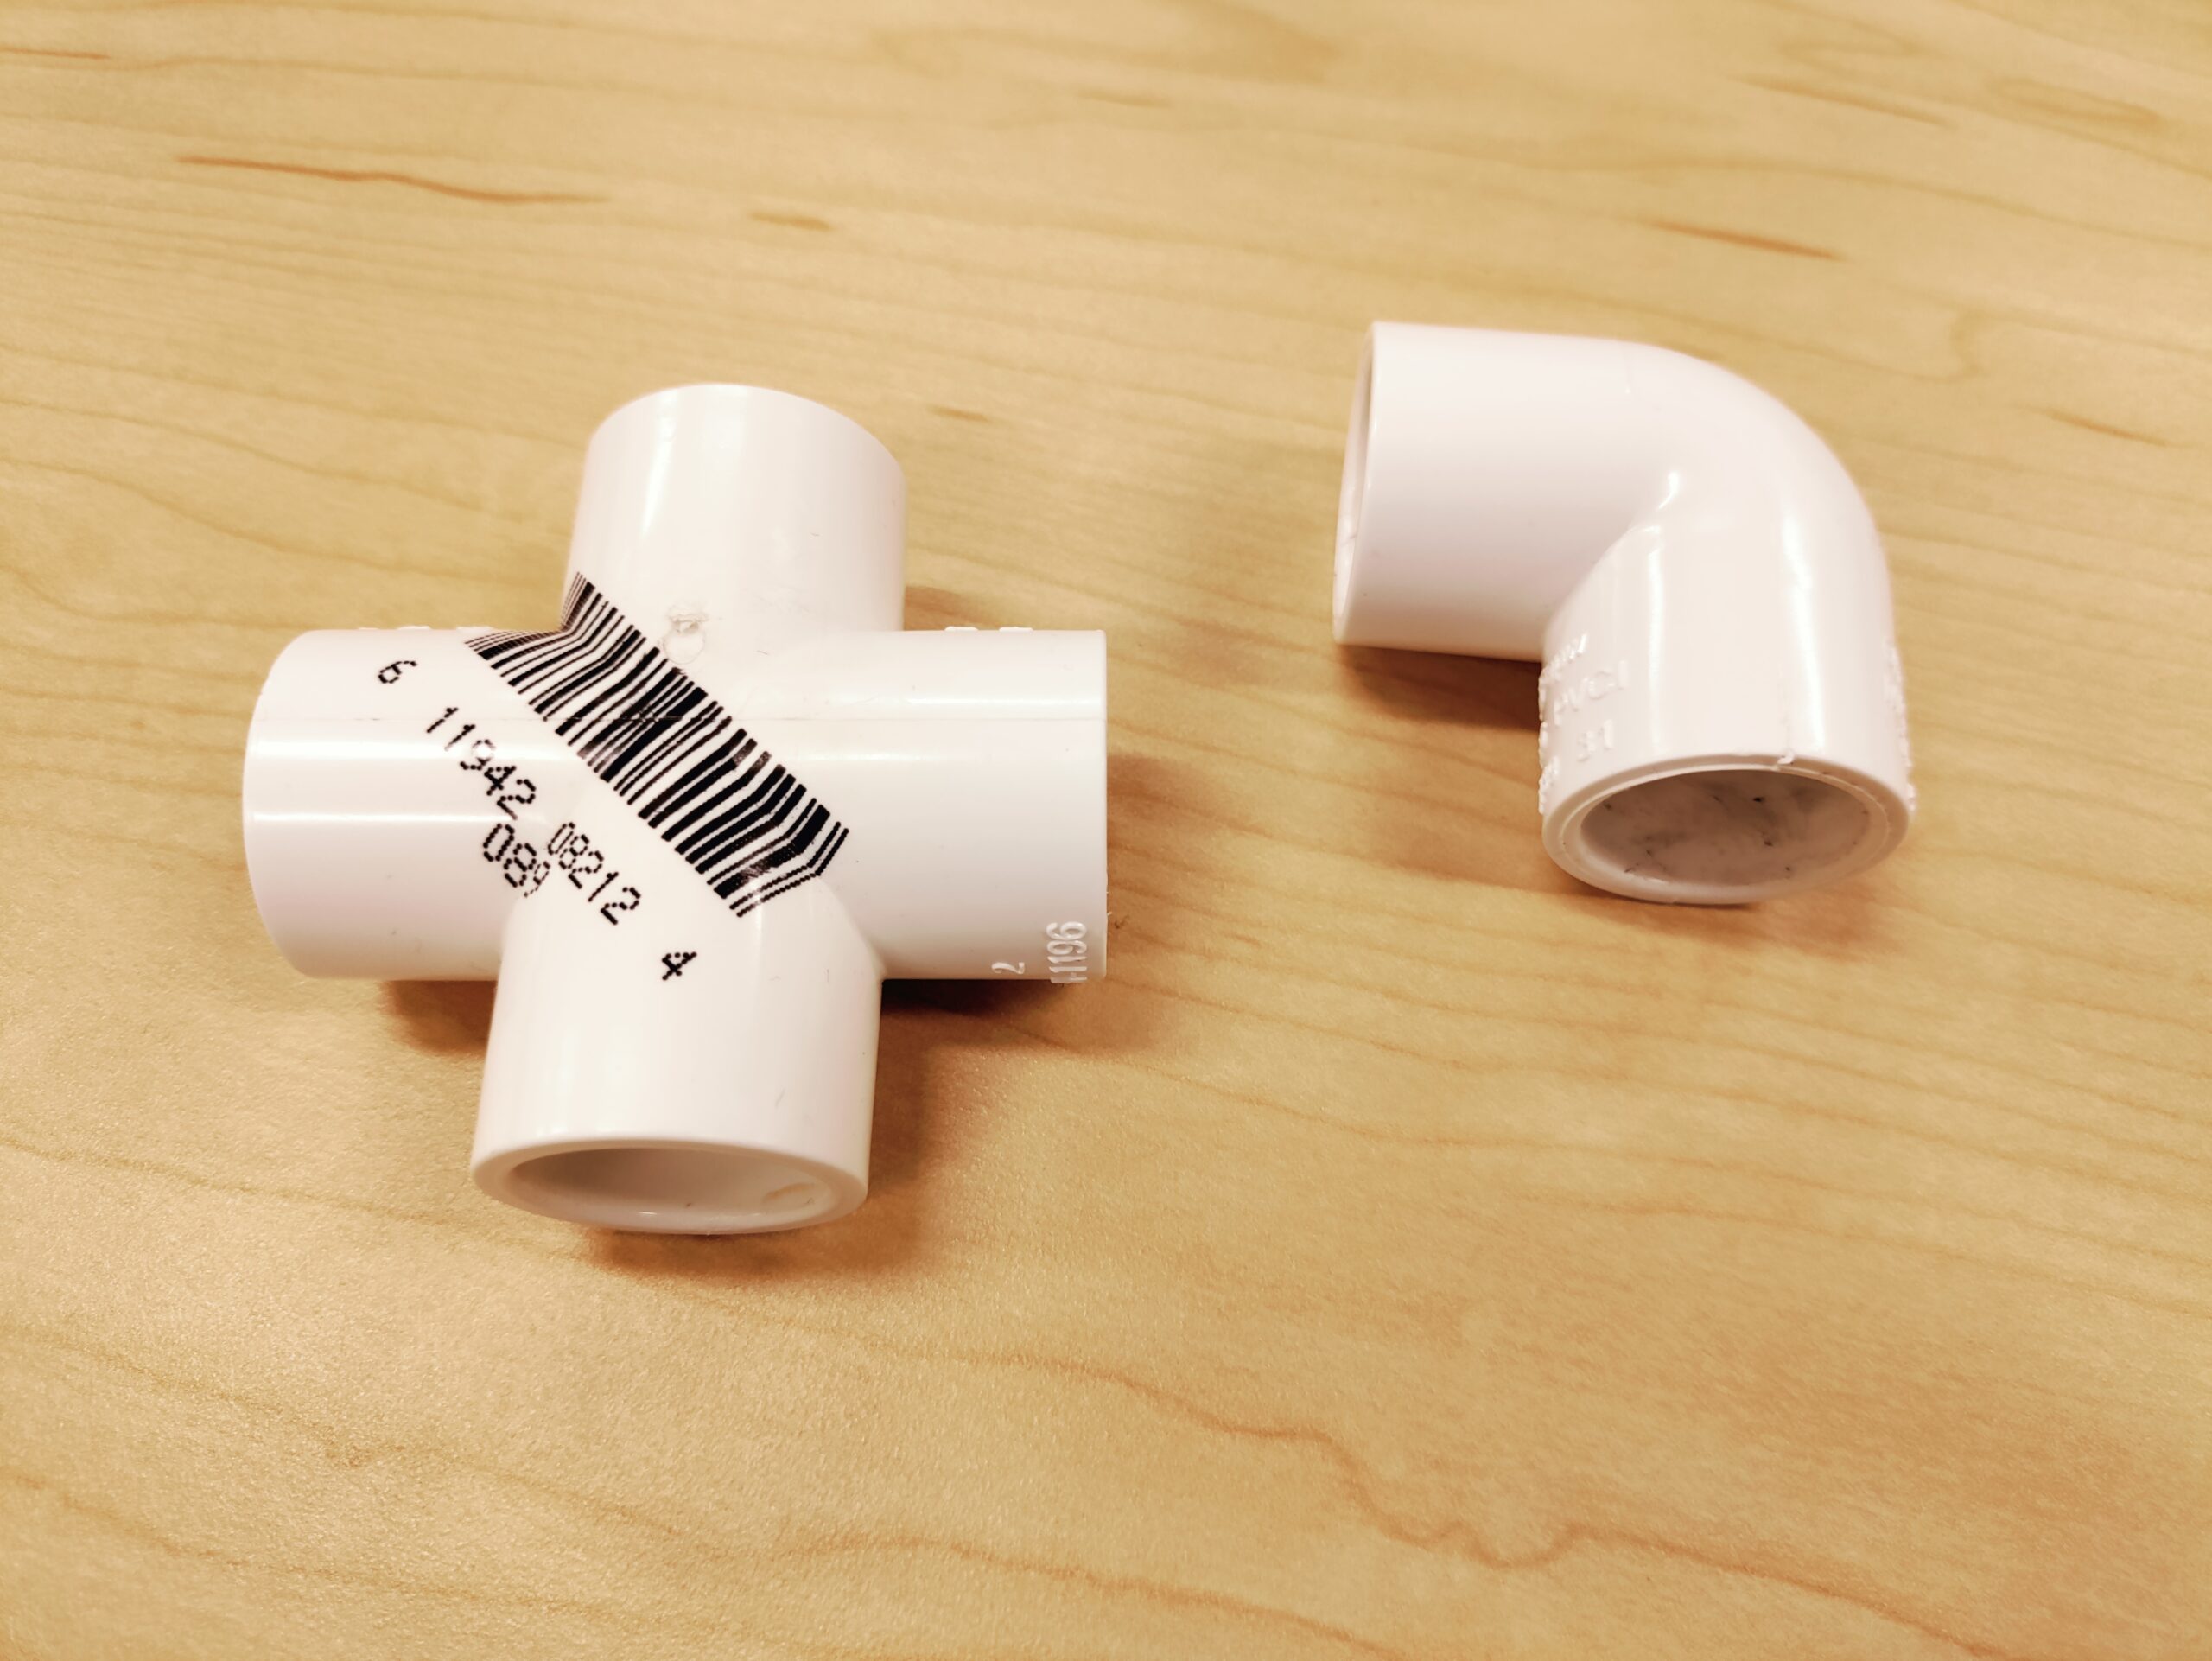
Above you can see from left to right our connector piece, the two end caps, the four way piece and the 90 degree angle piece of piping.
Note – we have not needed glue to hold the pipe pieces together which saves on the cost of glue. You are more than welcome to glue your pieces. We do not glue the pipes together so that we can easily pull pieces apart for storage and so that the kids can use them as a guide while building their paper rockets. You can also just purchase extra pipes and cut them up for the kids to use as a guide.
COST of DIY Stomping Rocket Launcher: We spend about $8 per launcher.
PRO TIP: Have extra pieces of PVC pipe cut for each student to use as a guideline when rolling their rocket. I PROMISE this will save your sanity and frustration for the kids participating!
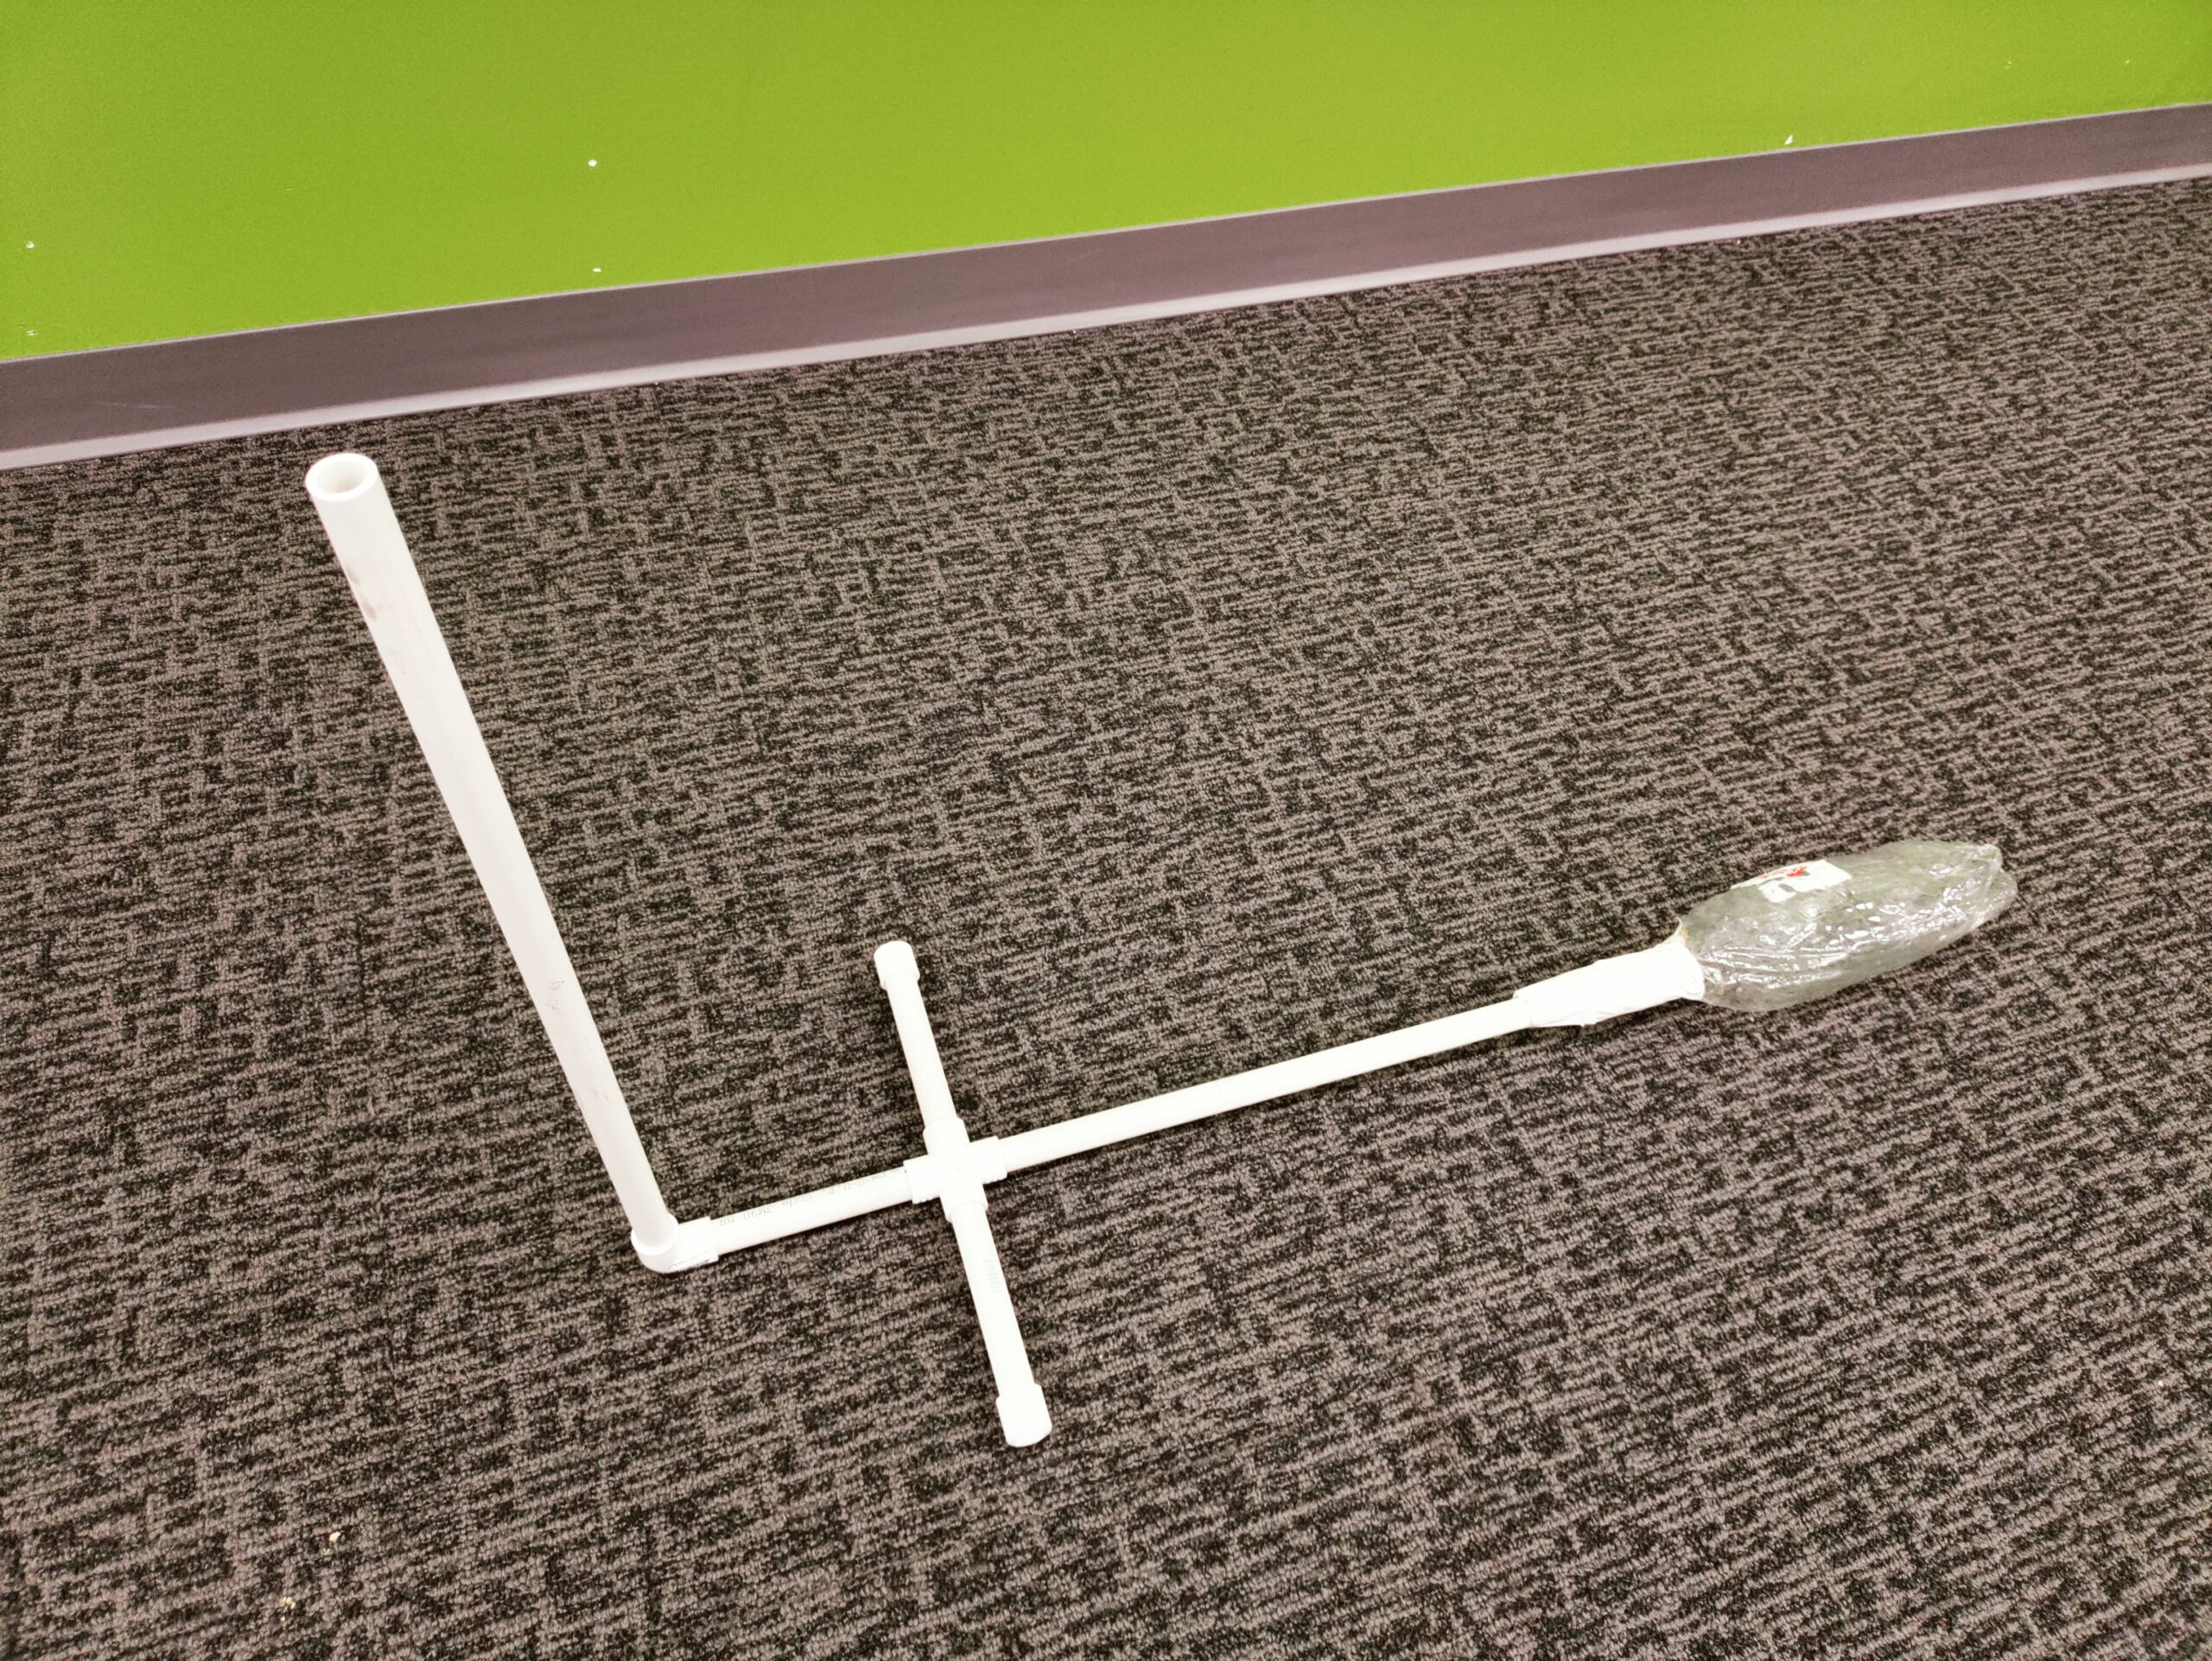
You can see above how to connect your rocket launcher. In the 90 degree angle you will want your longest PVC pipe section sticking straight up perpendicular to the ground with one segment of your shortest pipe attached to the other side of your 90 degree angle piece.
You’ll then attach the four way connector to your small pipe above and follow the pattern as you see in the picture above. At the very end of your pipes is where you will add the connector piece and your 2L bottle.
A quick note about adding your 2L bottle to your rocket launcher. The 2L bottle can be difficult to thread onto your connector depending on your branding and bottle. If all else fails, some really solid duct tape work will hold the 2L bottle on nicely! Just make sure there are no places air can leak out of.
How to Make Paper Stomping Rockets to Launch:
The great thing about letting the kids make paper rockets is there’s no right or wrong way to do them and everything they build they can learn from! Other than the paper, tape and few bucks for PVC pipes, this activity is practically free.
Materials Needed:
- paper (any type will do) – I like to print these so they look cool!
- masking tape (or scotch tape)
- optional – extra PVC pipe pieces for model mock-up
*I highly recommend picking up some cheap masking tape at the Dollar Tree for this activity. It’s easiest to work with for all age groups and you get a lot for your buck!
Sorry for the picture quality on our paper rockets, I had my helper do the pictures as once we get started building our rockets – we’re super busy and all hands on deck!
To make everyone’s life easier, I typically dismantle my rocket launcher and give each student one piece of the PVC pipe to use as a guide for their rocket design above. They will use this PVC pipe piece to roll their stomping rocket around, then tape in place.
The biggest thing to note here, is to remind the kids that they do not want their rocket wrapped so tightly that they can’t get it on or off the pipe, but if it’s too loose, too much air will escape out the bottom of the rocket and it will be a launch failure.
If we have time to make two different rockets, I have my students make a long rocket, and then turn the paper the opposite direction and make a short rocket to determine the difference at its launch.
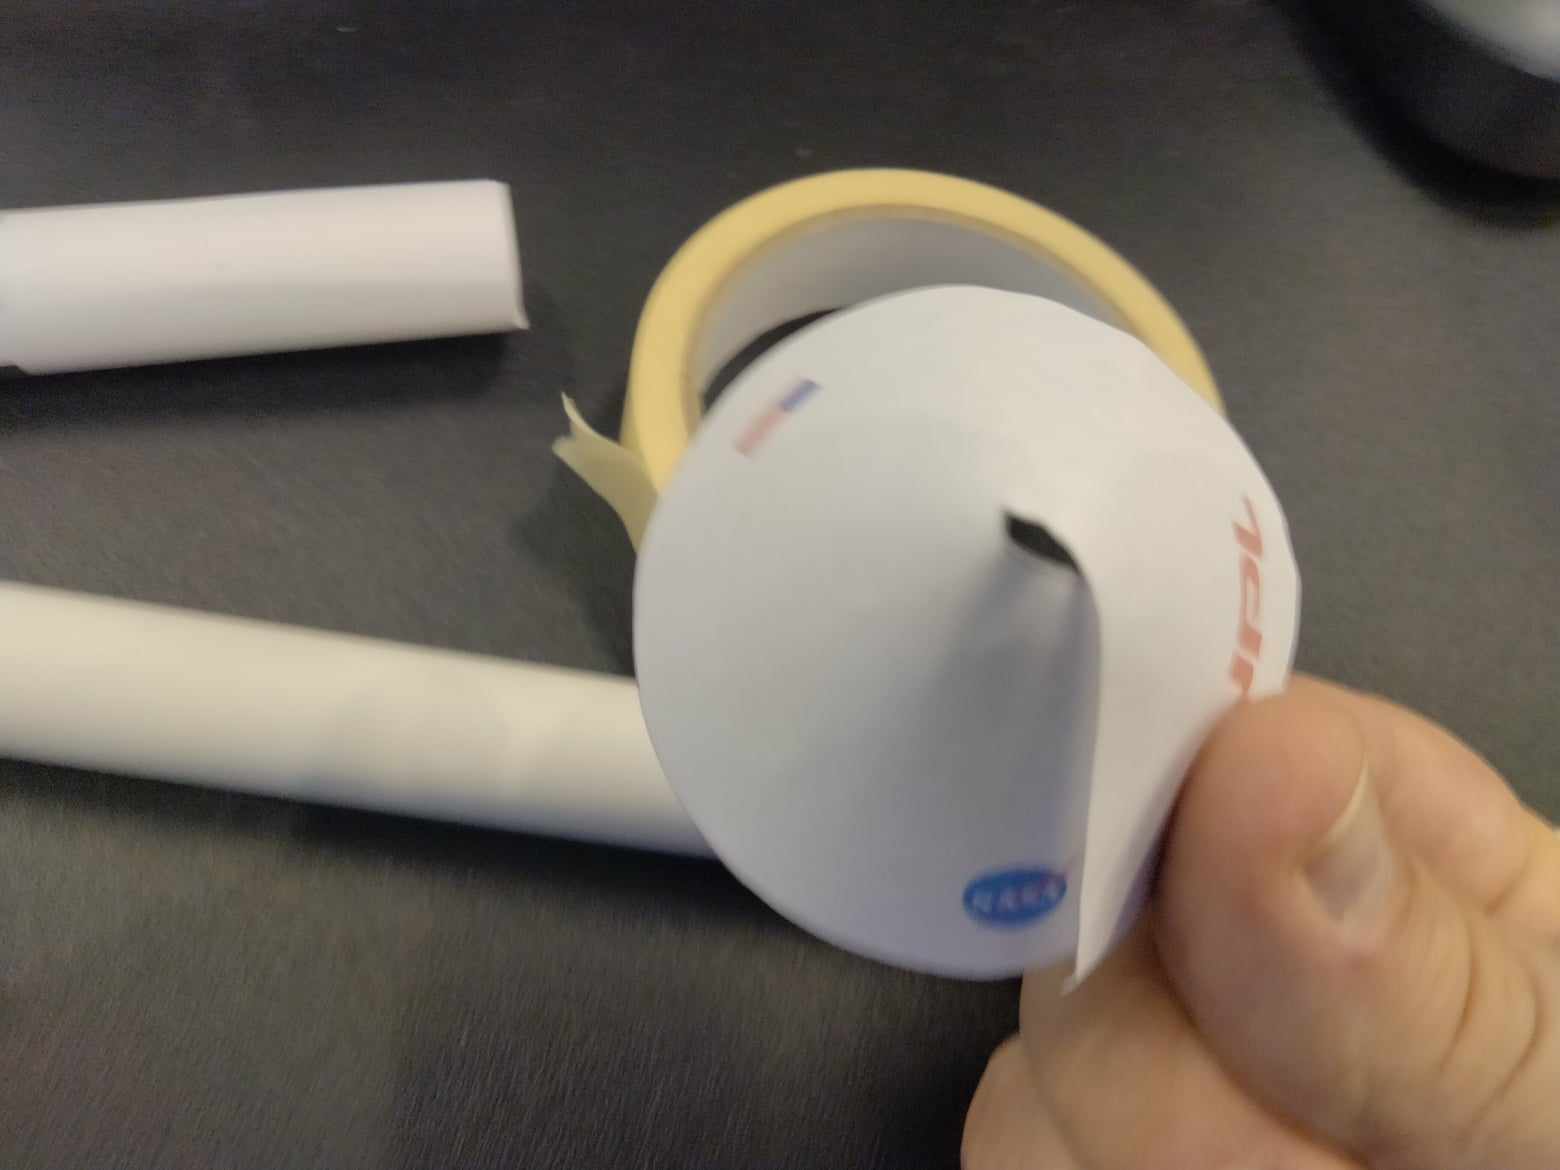
The second thing to share with the kids, is that just like a real rocket in space, their rocket designs must be securely taped with no holes for air to release like you see above.
The instinct is to tape the rocket with one piece like you see above, but instead you want to run a long piece of masking tape down the ENTIRE seam of the rocket to prevent air from escaping.
The nose cones are one of the trickiest steps for younger kids by far – in every aspect! They can’t always seem to grasp how to fold their nosecone so you may need to help a few kids. It’s a great fine motor skills activity!
Above you can see the hole at the top of my nosecone – you guessed it! You’ll also need to make sure any holes in your nosecone are taped up tightly so that air doesn’t escape since our stomping rocket relies on air pressure pushing the rocket upwards.
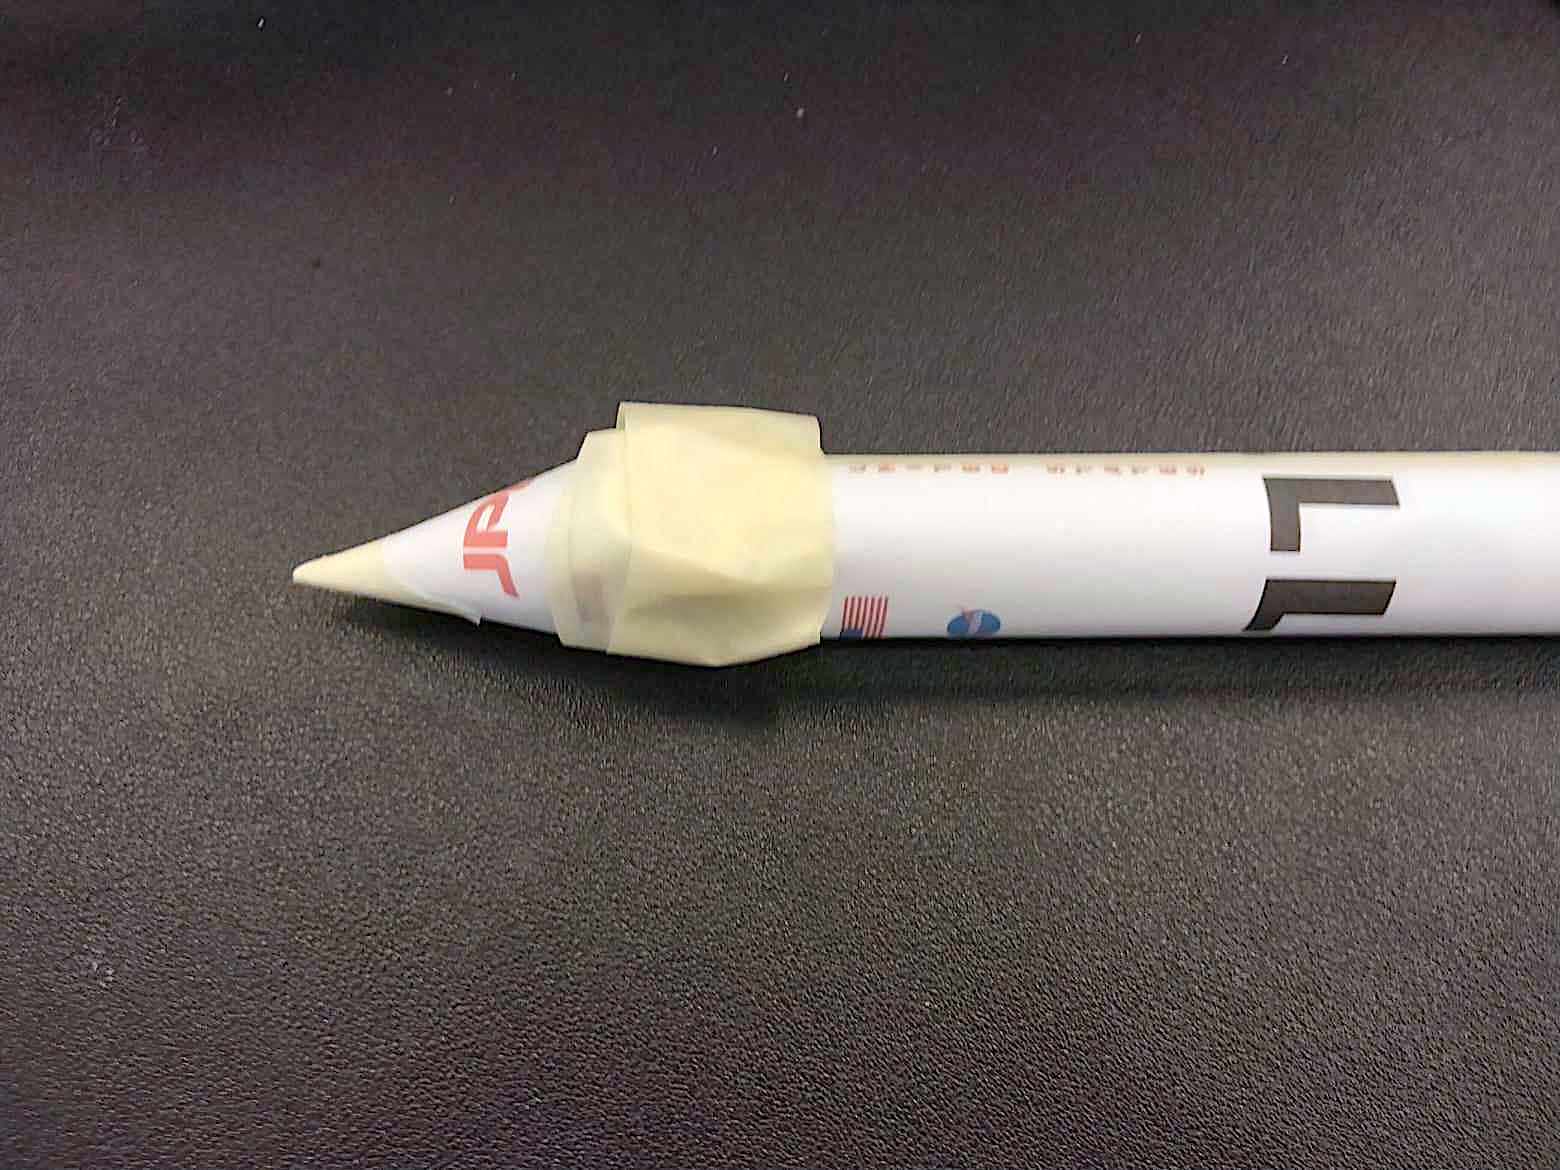
Attaching the nose cone is even trickier than rolling up the nose cone! There’s really no pretty way to do this one. Since you need all of the holes covered well, you’ll need to tape down your nose cone solidly without air leaks otherwise their stomping rocket will pop the nose cone off at launch time.
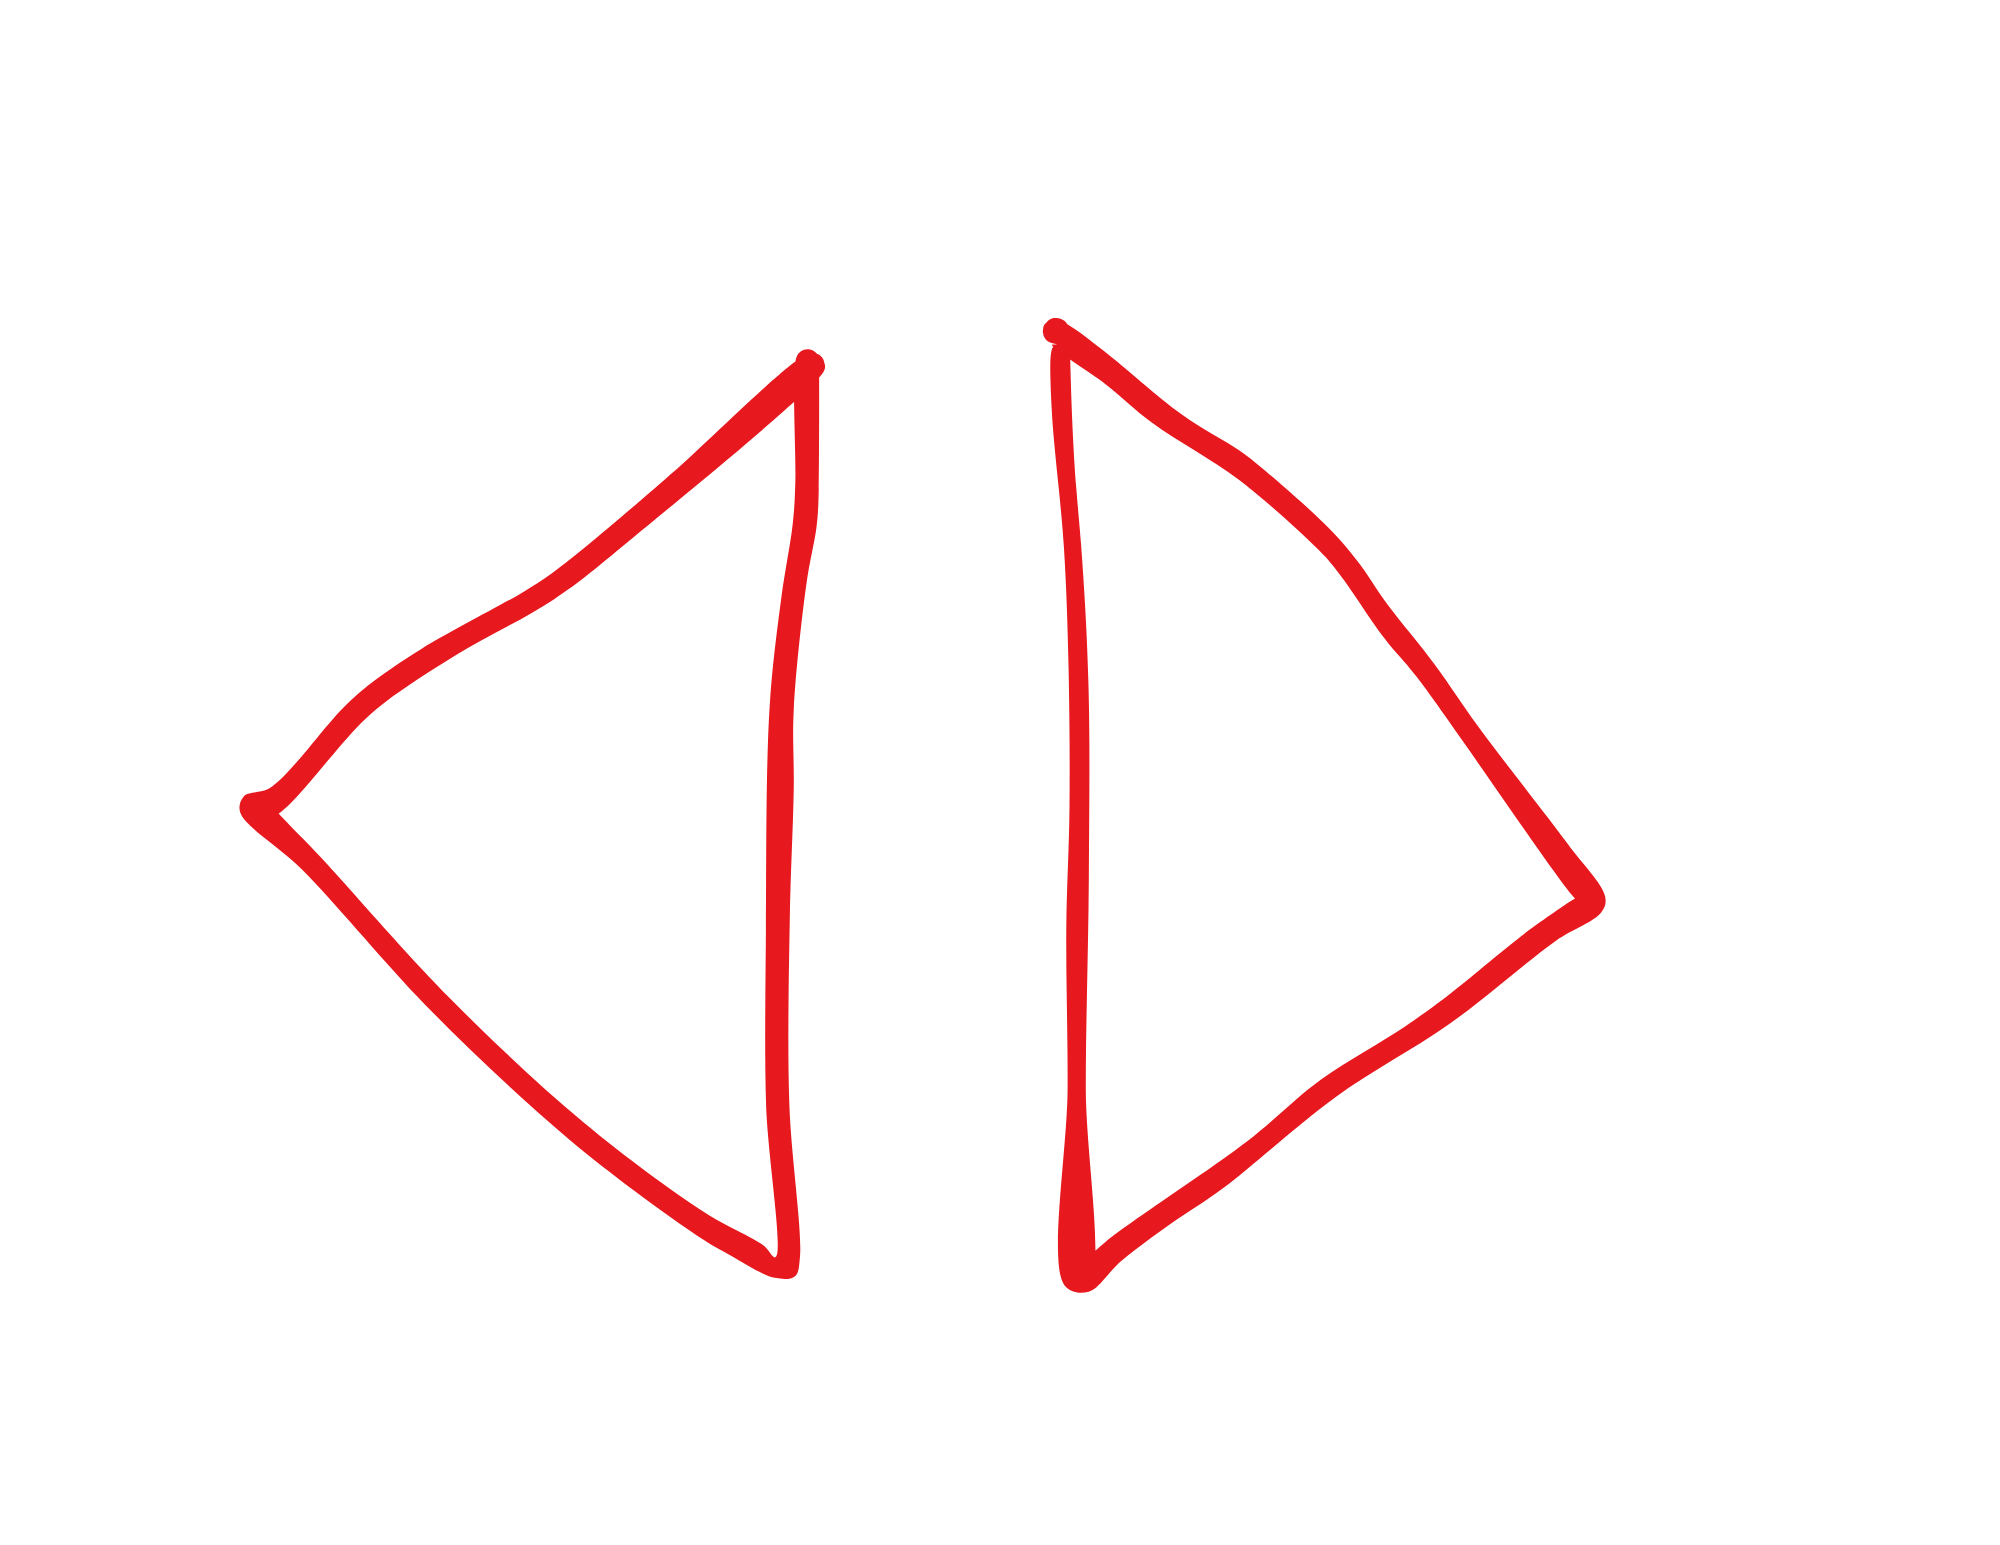
FIN DESIGN:
Lastly, once our rocket body and nose cone are in place, then we discuss fin design and it’s importance in helping steady the direction of the rocket. You could do a whole lesson on fin design alone! This is a great trial and error option as well.
Have your students design their rockets the same, and only change the fin styles every time to see if their fin designs make a difference in the height or speed of their rocket!
While I tell my students they can design their fins ANY way they want to, I typically recommend 3-4 fins per rocket, and if I’m working with younger students I draw the below fin styles on the board for them to reproduce.
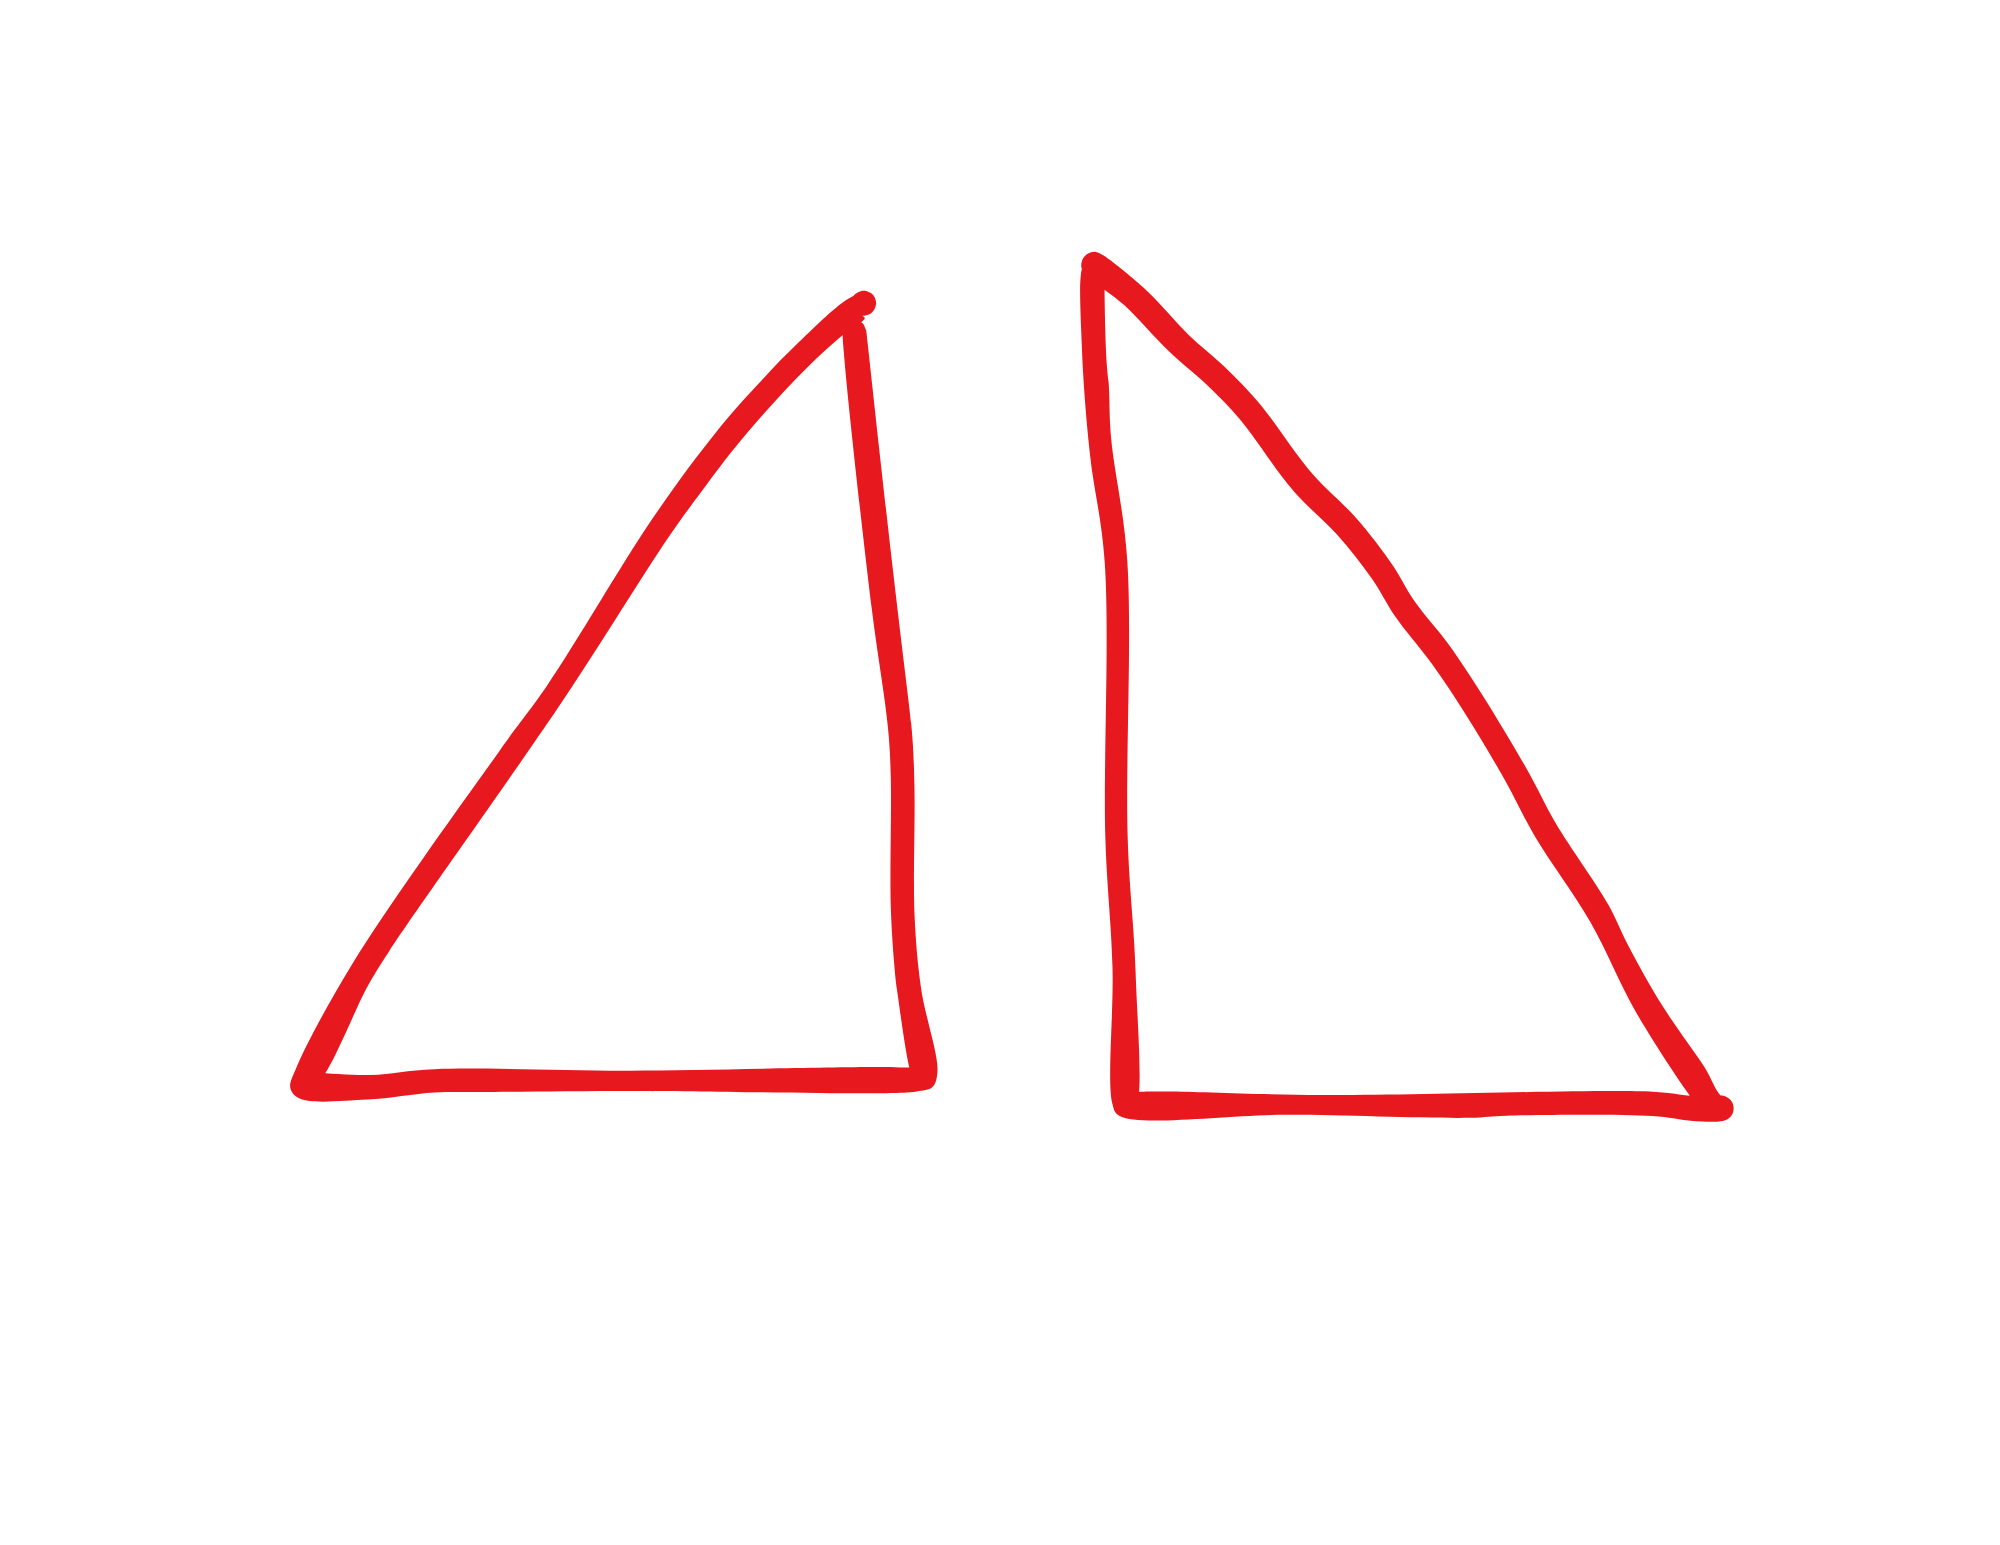


If I have younger kids who don’t have the ability to draw out and cut out triangle fins, I will pre-draw triangles on a piece of paper for them and help them cut their fins out.
Another trick for younger kids is when taping the fins on, place a piece of masking tape on one fin and tape it right down to the table. Then they can simply pick up their fin and place it on their rocket.
I do recommend taping the fin on BOTH sides when attaching it to your rocket like you see in the picture above.
Time to Launch your DIY Stomping Rocket!
It’s time to launch your rocket! This is the fun part! Have the kids line up behind each of your rocket launchers and launch away! Before I take the students outside, I remind them NOT to jam their paper rockets onto the launcher because it will make it incredibly difficult to continue using!
If you want to try a different type of rocket launcher base, you could make one of the ones we made, and one of these to see which design you like better!
This ENTIRE process needs a MINIMUM of one hour. That is for one quick basic rocket design including the time to launch. You can easily turn this into a multi-day lesson by trying:
- different types and numbers of fins
- different sizes of rockets
- adding weight to your rockets
- different types of paper or materials for your rocket build
If you appreciate this free content and would like to help contribute in a small way in helping me continue providing free educational resources for others, feel free to send a token of your appreciation via Paypal here. Any amount helps and is greatly appreciated. Shop through your favorite Etsy store or use our Amazon link to make your purchases!
 |  |
 |  |