Launch into Physics, Failures and Flight – 3D Printing Rockets
This post may contain affiliate links, view our disclosure policy for details.
This post brought to you in partnership with Dremel Education.
Did you know that NASA is testing 3D printers to design rocket parts? Even students at the University of California San Diego created and launched this awesome rocket! This school year has just flown by (no pun intended) and as we are approaching the summer we thought it would be an awesome idea to create a hands-on “launch my rocket” project with our Dremel 3D40 Idea Builder 3D Printer that is great fun for all age groups.
Kids are absolutely enamored with the ability to design and hold their own projects in their hand – but now to be able to design a rocket and launch it – BLOWS their mind!
This project makes a great physics and aerodynamics lesson in the classroom or just a fun dip into technology for summer camps.
We’ve just begun this project with our own students (5th-8th grade) but I wanted to go ahead and get this file to you so you can get plans made before the school year ends!
Aside from this project being a HUGE favorite for everyone it provides a lot of valuable educational and life lessons for the designer.
Lessons Learned from Designing Rockets:
- It’s not as easy as it looks but it’s fun! Rockets are an awesome way to provide the “WOW” factor for kids, and perhaps designing a toy rocket is simple. But actually designing a rocket that can be launched effectively can create quite the challenge for students. The sense of accomplishment on this project is pretty incredible!
- Failure is normal…..don’t give up! It’s inevitable that everyone fails – pretty often in fact! But if you don’t keep moving forward and trying new designs you will never build a successful rocket! This project is especially great for pushing kids to try new designs and continue working to make the best rocket they can!
- Aerodynamics & Engineering – Designing these rockets isn’t just about having fun, especially for your older students. Adjusting the nose cone and fins can wildly vary the performance of your rockets. There are plenty of physics and engineering lessons wrapped up in this project as well as research opportunities!
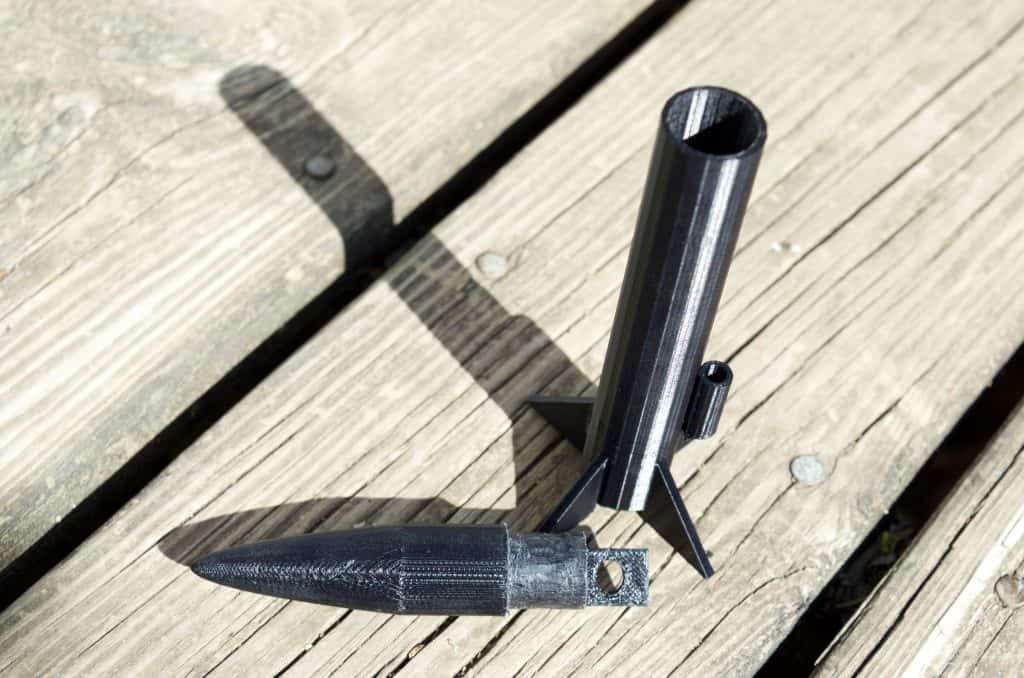
- Paying attention to details is key! This project requires close attention to details. Not only does the rocket need to be able to slide down onto the launch pad but the inside of the rocket also needs to be the right size for the rocket engine to fit. Put your math skills to good work!
Click here for Tinkercad Rocket File ==> Rocket Design
**Our Rocket Model is made to fit A8-3 Rocket Engines.**
*NOTE – the Tinkercad file will need to be scaled to your specific dimensions. Simply measure the diameter of your rocket engine and set the interior dimensions to match.
Items Needed to Create & Launch a 3D Printed Rocket:
*Dremel 3D40 Idea Builder 3D Printer (or other 3D printer) & Rocket scaled to size
*Launch Pad & A8-3 Rocket Engines (or whatever size rocket engine you are scaling to) – if you don’t currently have any rocket parts laying around I recommend buying a simple Estes Rocket Launch Set for about $20. Then you’ll only need to buy A8-3 rocket engines as needed. The other option is to just buy a Launch Controller (plus the rocket engines) but that is the same price (about $20).
*Safety Glasses – I highly recommend wearing safety glasses when shooting 3D printed rockets in case an accident happens and you have a faulty rocket design. I also HIGHLY recommend having an adult launch the first rocket to ensure there are no difficulties. As always adult supervision is necessary when launching rockets.
Steps to Launching Your Rocket:
- Print your 3D Rocket File. Use ours or design one in Tinkercad. (Make sure to scale it to the size of your rocket engine!)
- After removing your rocket from your 3D printer make sure to use a piece of sandpaper and sand down any rough edges. Our rocket is designed to attach a parachute inside although when we launched our rocket it never separated in flight so I would just leave it as is unless you are going to take the time to sand it down or re-design it.
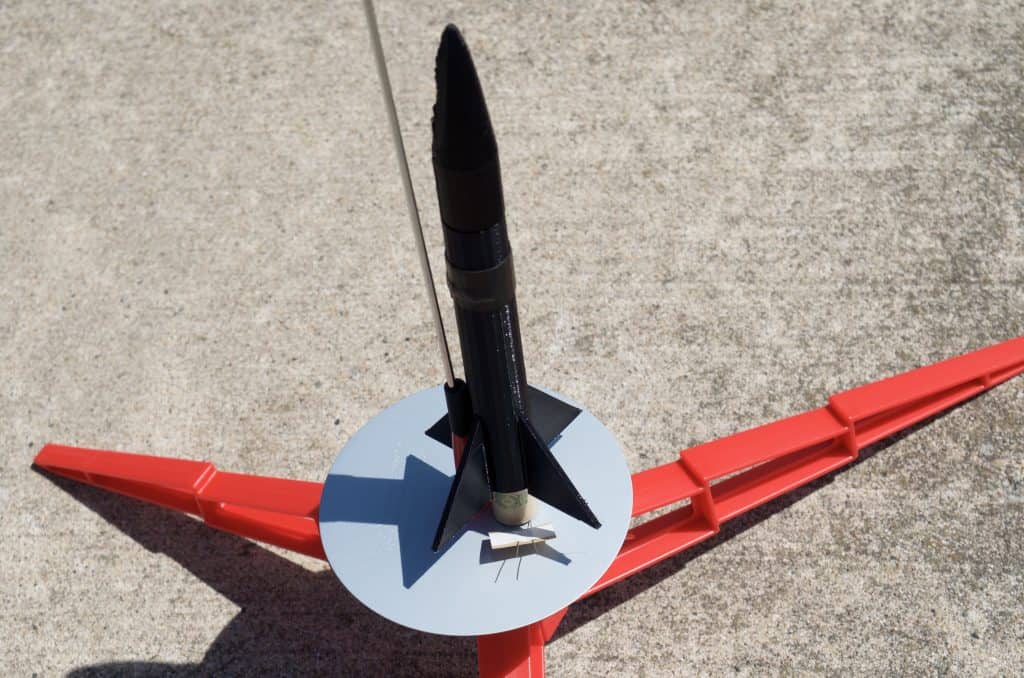
- Carefully slide the rocket down the metal pole onto your launch pad and insert an A8-3 rocket engine, making sure the 2 wires in the engine are outside of the rocket.
Note – the rocket engine will not fully go inside of the 3D printed – that is ok. It’s a simple design error.
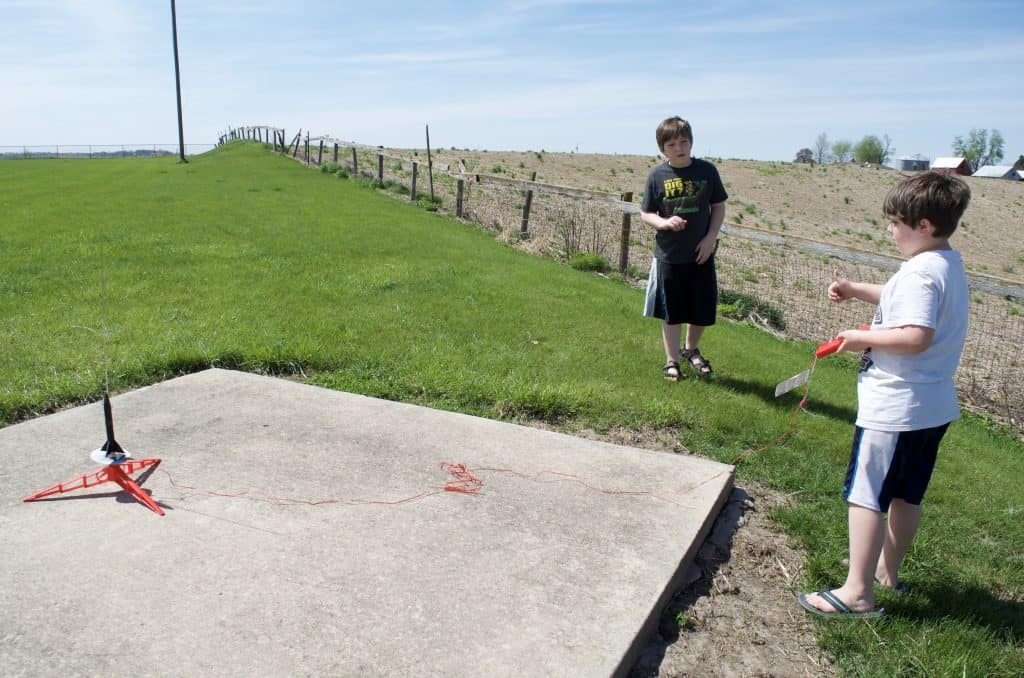
4. Connect the 2 alligator clips on your launch controller to the rocket engine (1 clip per wire tailing).
5. Put on your safety goggles, stand far away for safety, countdown to 10 and launch!
I had to do a LOT of cropping and zooming in to even see our 3D printed rocket up in the sky – our first attempt produced a pretty impressive height! As I noted earlier this specific design does not separate in the sky as we had expected for a parachute but obviously did not have any bearing on it’s ability to launch.
As the rocket descended, however, it took a very sharp pointed nose dive directly into the ground. We only had enough rocket engines to launch it 3 times so far but it has absolutely no wear and seems to be able to be used many times more!
Check out our video below of our 3D printed rocket launch!
Extended Lessons to Try with 3D Printed Rockets:
- Create a research project on a specific rocket, then use your 3D Printer to design a model replica. Use acrylic paint to design further.
- Design a platform for your rocket to sit on!
- Using our rocket as your base model, re-design several different shapes and determine which goes further, and why.
- Experiment with attaching various object to determine how the density and shape affects flight. (if you send an action video camera up with your rocket please send us footage!)
- Launch a pre-fab Model Rocket alongside your designed rocket and compare the differences. Which goes higher? Why?
Our other 3D Printing Posts:
 |
 |
 |


