How to Make a Morse Code Machine STEM Activity for Kids
This post may contain affiliate links, view our disclosure policy for details.
My middle school son has been volunteering to help assist the elementary STEM club this past year in Engineering & Design. He custom designed these awesome morse code machines for the kids to put together!
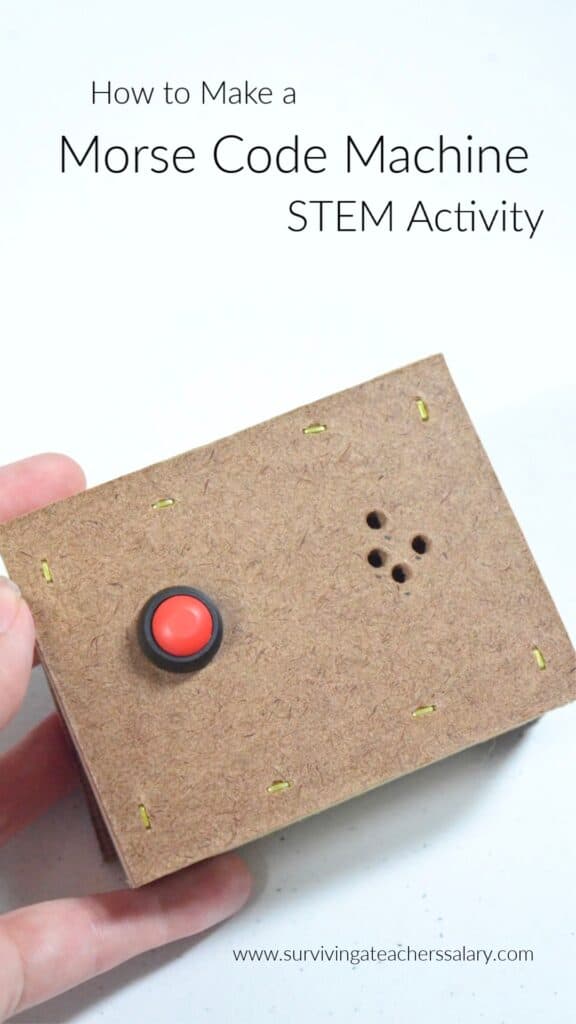
Although he didn’t take measurements for the box he built you’ll find more information on how to create the morse code wiring below (no building box needed!) and details on how he designed his wood box. He made 20 wood boxes so each child in the club could have one!
The STEM club’s initial morse code lesson was part of the IMSA Fusion curriculum they were using but he completely designed the box on his own. **You do NOT have to build a wooden box in order to create your own morse code machine!!**
Take a peek inside the morse code machine in this video!
How to make a Morse Code Machine:
Materials Needed:
-
Push Buttons
-
9V Battery Connectors
-
9V Battery
-
DC 6 – 15V Alarm Buzzer Sounder
-
Wire Stripping Tool
-
Optional: Wood Scraps
-
Book Recommendation: Samuel Morse, That’s Who!
Attaching the Wires – Morse Code Machine
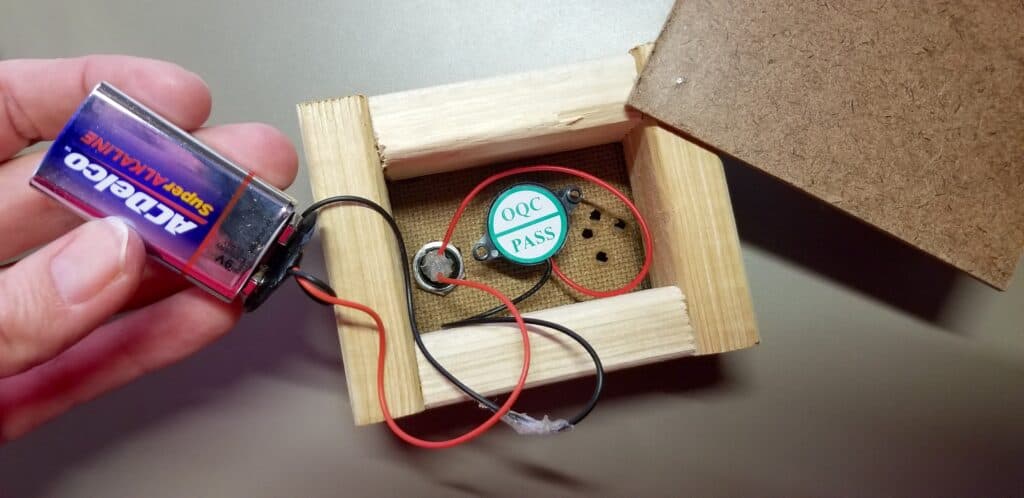
Before beginning you’ll need to use your wire stripping tool to remove the end 1/2 inch or so of rubber off the end of the wire so that you can connect the wires together.
Once you’ve done that you simply need to twist or wrap the wires together at the end where they are exposed! Wrap them just like you would a bread tie.
-
Connect the black end of the 9V battery connector to the black end of the buzzer sounder.
-
Connect the red end of the 9V battery connector to the metal on the push button.
-
Connect the red end of the buzzer sounder to the metal on the push button.
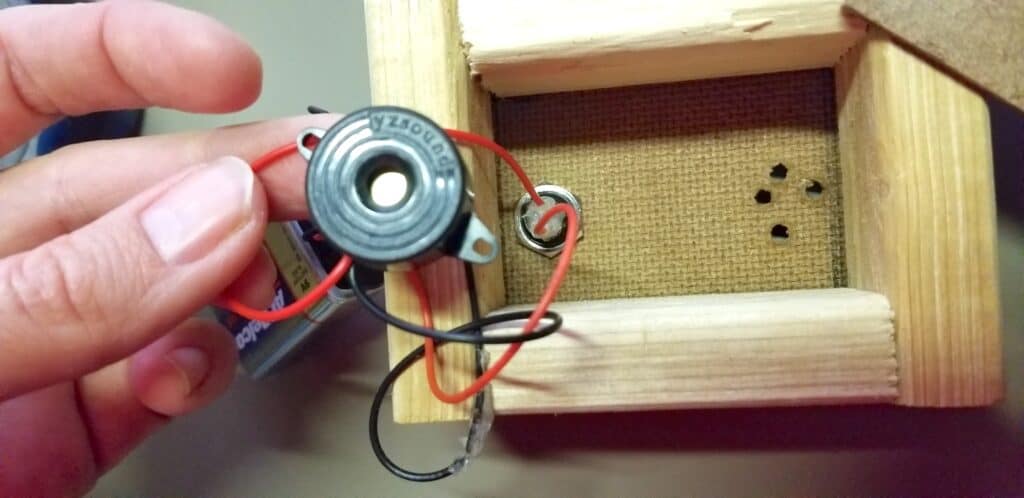
If you follow the 3 steps above all of your loose wires should be connected and your morse code machine will work! Just press the buzzer button to hear the sound!
If you have problems with the buzzer button not always working or being inconsistent that means your wire connection circuits are weak. Make sure that the wires wrapped around each other are firmly. If they are loose or shifting your circuit make provide inconsistent results.
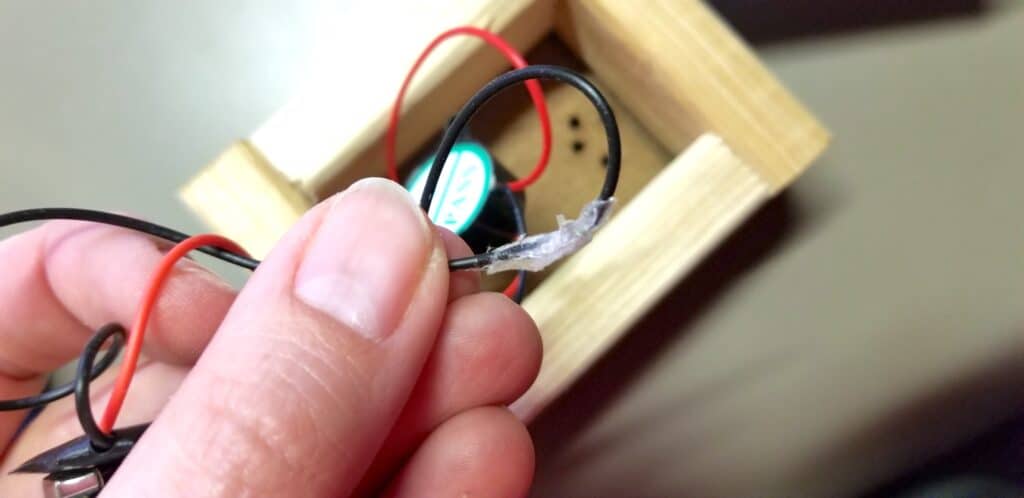
TIP – Since my son was working with a large group of students in 3rd-4th grade they decided to help the kids out by applying a small bit of hot glue over the areas where the wires are connected to help them stay in place.
If you have twisted your wires firmly they should stay connected without the need for hot glue. Don’t be afraid to use your wire stripping tool to remove more rubber if you need a long piece of exposed wire to twist.
Creating the Wooden Box – Morse Code Machine:
Materials We Used:
-
masonite or hard board
-
furring strips
-
pneumatic nails
-
glue
-
drill with drill bits
-
optional – staple gun
This morse code machine box is simple to create with scrap wood. You can adjust your supplies to whatever you have on hand, but I’ll show you how my son made 20+ of these.
For each box you’ll need to cut:
-
two pieces of furring strip cut at 2.5″ length
-
two pieces of furring strip cut at 3″ length
-
two pieces of masonite or hard board cut at 3″ x 4″
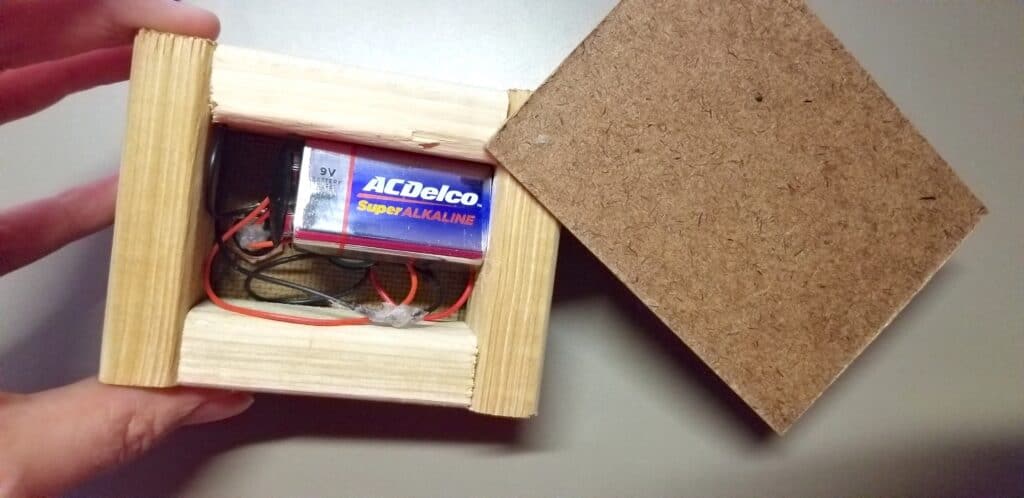
Glue your furring strips into place as you see above onto one piece of masonite. You can use wood glue if you have it but they literally just used regular glue and let it sit overnight.
Make sure to glue between the furring strip joints as well as where the furring strip sits on the masonite board.
Once that has dried, lay your last piece of masonite onto the opposite side of the morse code machine box and put one pneumatic nail in only one corner. This will allow the bottom piece to swing open as needed. That way you can access the 9V battery.
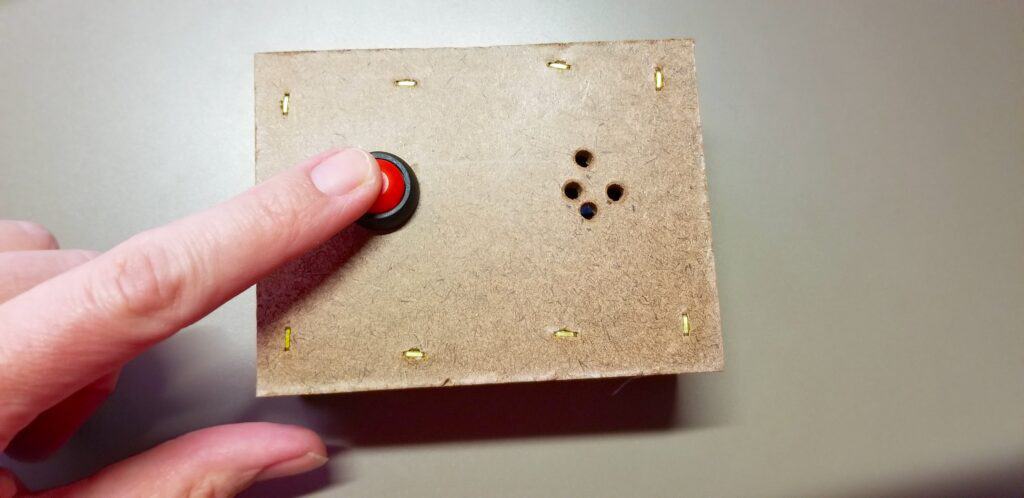
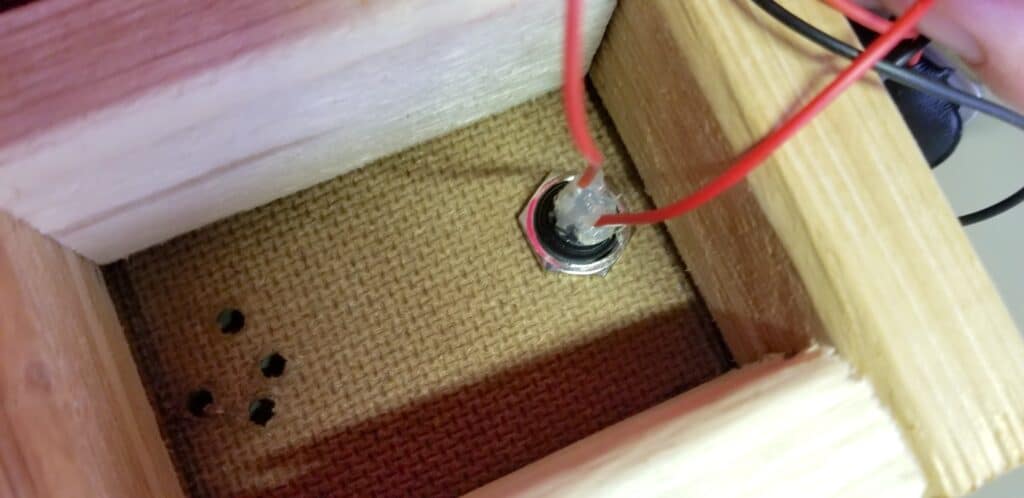
The last step is to prep the top of the box! The only thing you HAVE to do to the top is get the hole for the button made using a drill bit.
Since the sound seemed muffled inside of a closed box my son drilled 4 small holes in the top to allow the beeping morse code sound to escape – it’s LOUD!
The other optional step they did was add staples in the top board attaching the furring strips more firmly to make the box sturdier since we were working with such a large group.
FREE Printable Morse Code sheet available from the International Telecommunication Union here.


