How to Make your Own Dinosaur Egg Dig Tutorial: Birthday Party Idea
This post may contain affiliate links, view our disclosure policy for details.
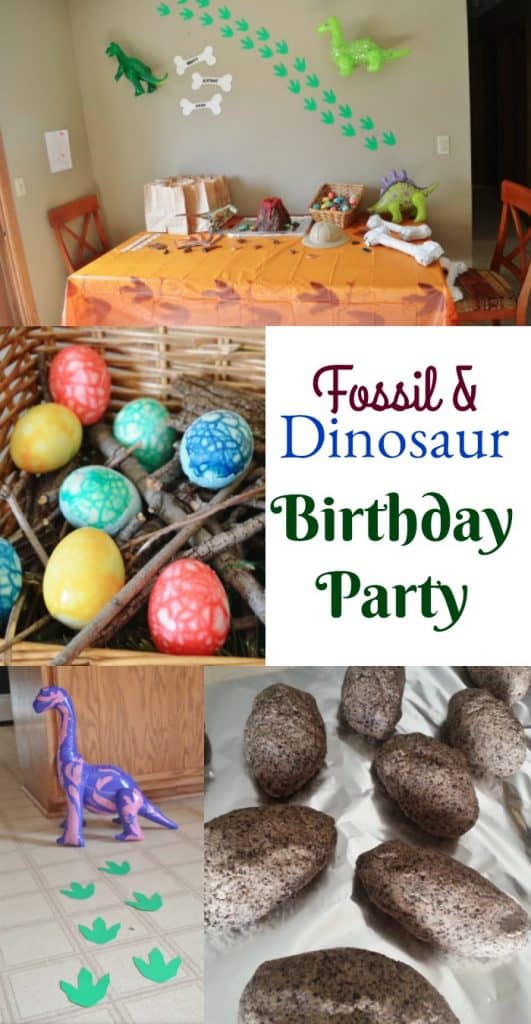
My son had a Fossil / Dinosaur Birthday Party and I made these DIY dinosaur dig kits to send home with the kids as party favors! They were incredibly easy to make and I want to show you how to make your own dinosaur egg dig tutorial.
When I was researching how to make these dinosaur dig kits I stumbled upon several different “recipes” to create these DIY Dinosaur Eggs digs and so I decided to make two different recipes to see which one was best for making a large amount of these!
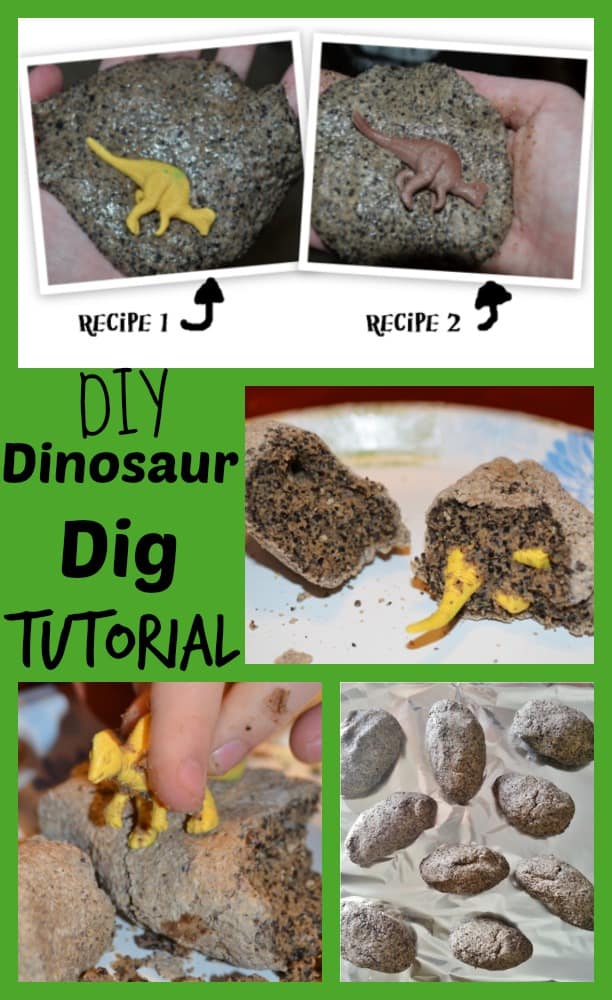
I will include both recipes you can use to make your own dinosaur dig kit (plus pros and cons!) below but my consensus was that they both look and feel about the same in the end.
Recipe 2 was a TON stickier and harder to work with when creating them but uses less ingredients! If you want to make your own dinosaur dig kits I highly recommend using Recipe 1!
DIY DINO DIG RECIPE 1:
1 cup used coffee grinds
1 cup flour
1/2 cup salt
1/4 cup sand (we used yellowed art sand)
3/4 cup water
Mix all of the dry ingredients together and then add 1/4 cup water at a time.
DIY DINO DIG RECIPE 2:
1 cup flour
1/2 cup cold coffee
1 cup used coffee grinds
1/2 cup salt
Mix everything together!
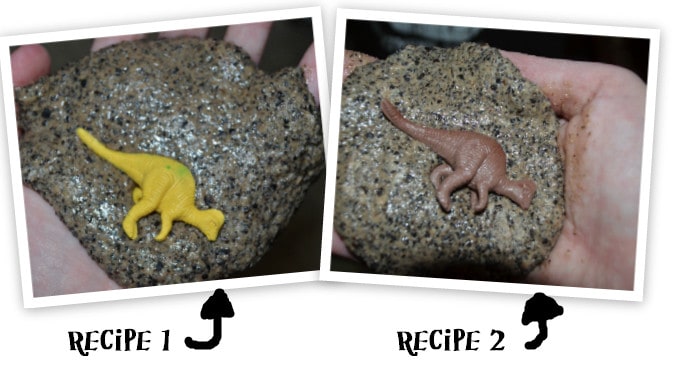
Once you’ve mixed your recipe together flatten a chunk of dough out in your hand and just place your dinosaur or other treasure inside for the kids to later dig out and find! (We bought a big bag of small dinosaurs for under $10 on Amazon that were the perfect size.) T
hen roll the rest of the dough right over your toy to form an egg or rock.
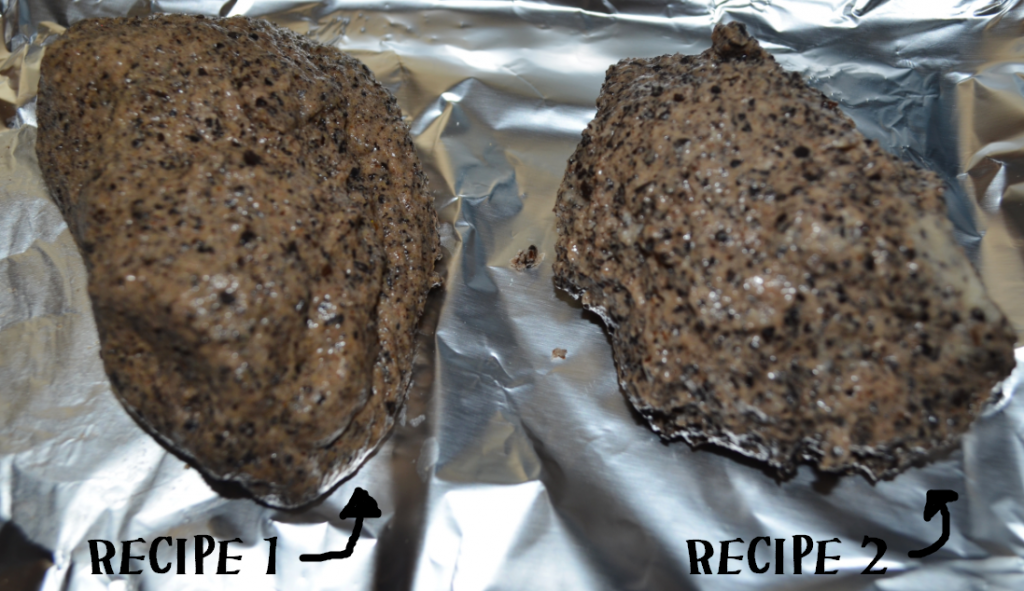
Here are both of mine – one “egg” in each different recipe so that you can see what they look like. Now there are 2 different ways you can harden your rock.
You can either bake them in the oven at 150* for about 20-30 minutes or you can leave them on a baking tray to air dry for about 2-3 weeks.
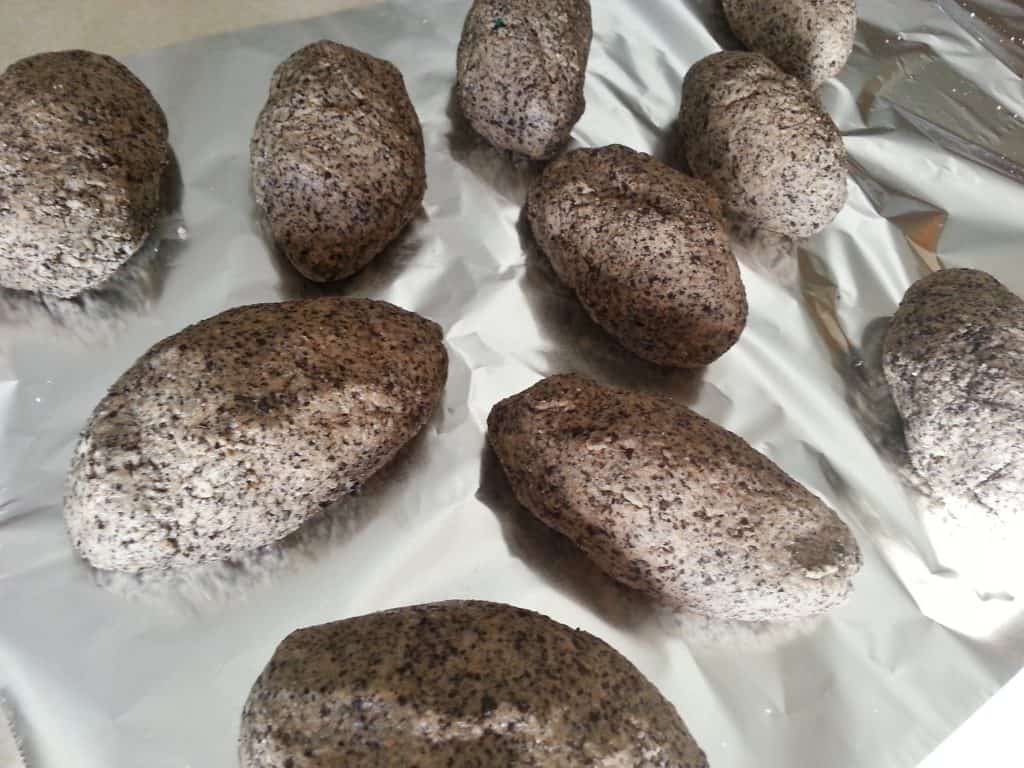
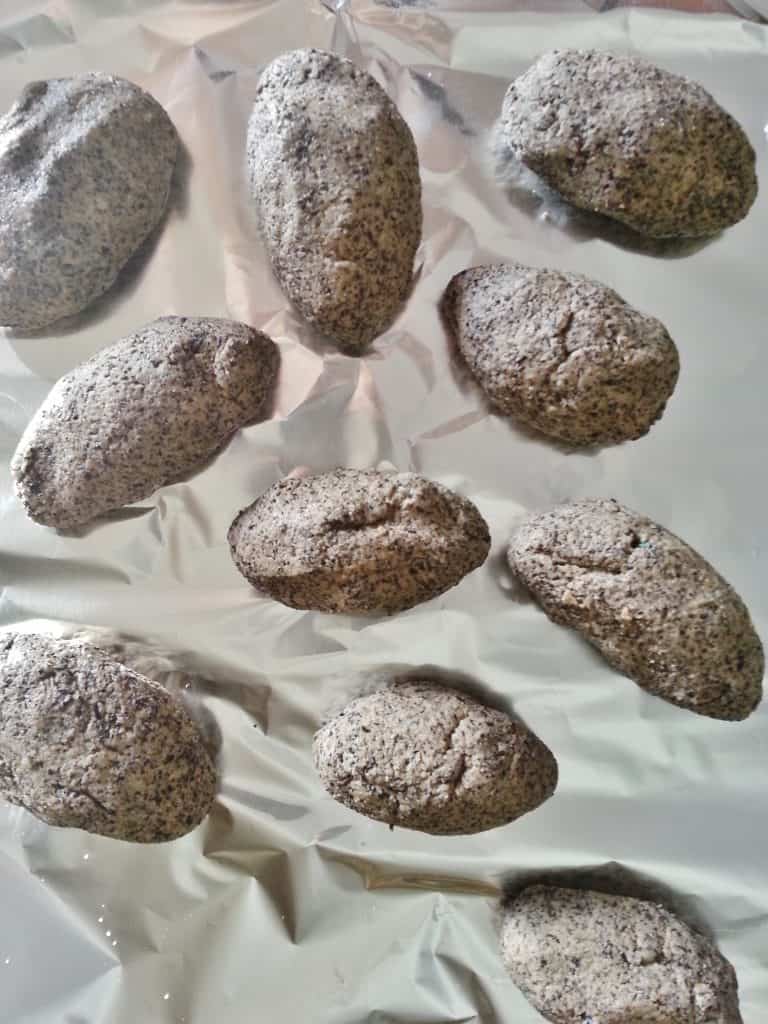
If the eggs are soft inside (about 1 week later) the kids should be able to just break them open with their hands. A great idea for younger kids!
If the eggs are hard you can use a hammer (even a toy wooden hammer!) or other blunt object to crack them open.
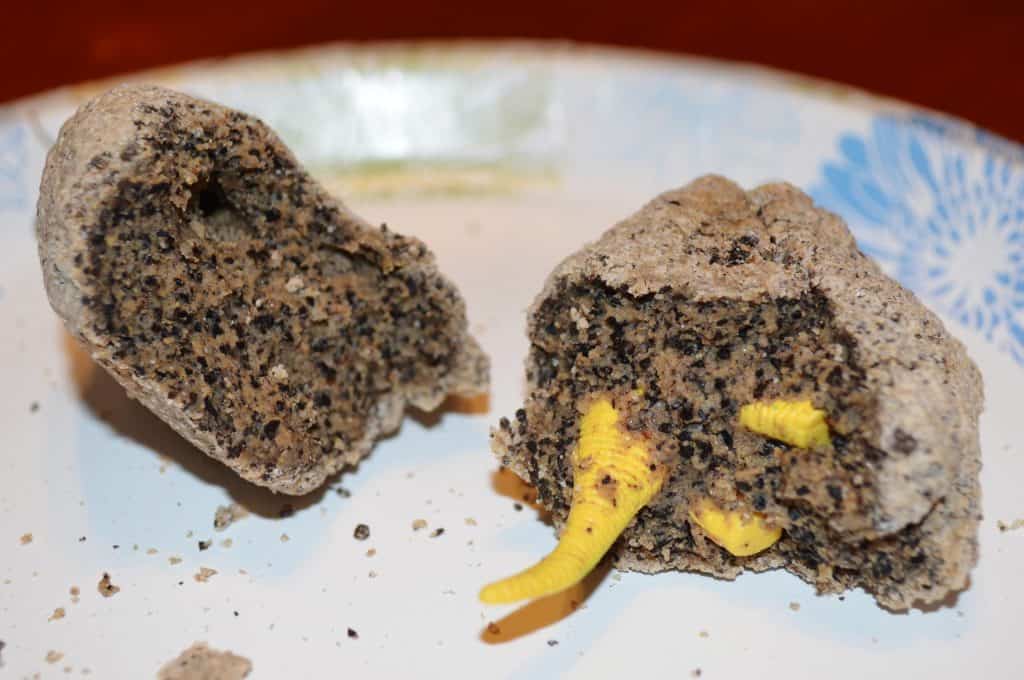
We opened this one after air drying for 5 days and it was still soft inside but this is what it will look like when the kids break open their dinosaur eggs!
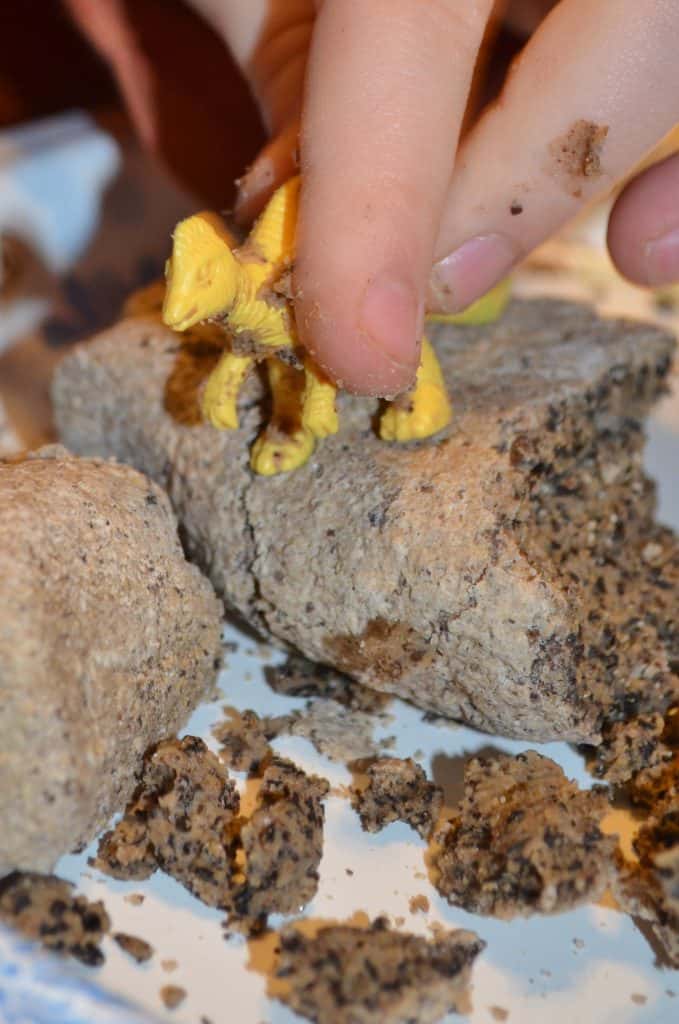
My boys dug their out and immediately started playing with their toy dinosaurs! It was a HUGE HIT!
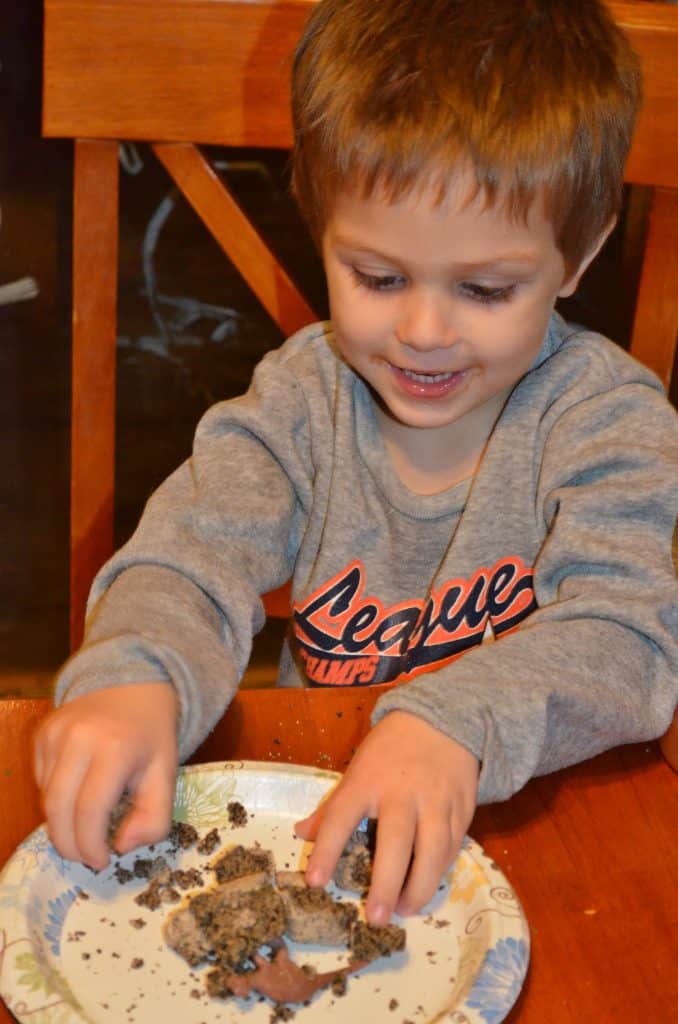
Every child will just LOVE this dinosaur dig and it was incredibly simple to make!! Not to mention that other than the toy dinos we had everything we needed at home!!
Feel free to PIN this for later and share with your friends!!
Better yet bookmark the page and come back later to make for your own kids or students!!



WHAT A COOL IDEA!! I will have to remember this one!! TFS!
My children are both studying dinosaurs in school. Cant wait to pass along this idea or try it at home!
great idea! will be doing this one – thanks for sharing. Found you via I’m not a trophy wife favourite Friday linky party.
Love the dinosaur eggs you linked up at Favorite Friday at I’m Not a Trophy Wife!
I just pinned and put on my FB page/notatrophywife
Thanks for posting! Love!
How many eggs does this recipe make?
Tressy I *think* each batch made about 8-9 eggs. It depends of course how big your dinosaurs are and how big the eggs you form are.
Lovvvve this recipe…. Mine only did 4 eggs and my Dino’s are pretty small but I’ll be doing another batch! They are perfect!
Haven’t tried this yet but wanted to say THANK YOU for a couple of comparisons in this post. There are a few variations on dino eggs out there and none of the blogs I’ve read so far actually tell you information about the outcome and consistency. This post was helpful as I’m making these for my 2 year old’s birthday party. I know the little ones won’t be able to handle cracking something so hard open…your post has really helped me!!
You’re welcome! I know it’s frustrating to do one of those fabulous “pinterest” posts and have it turn out awful! 🙂 We’re making these again this year for my other son’s birthday!
Hi there! Love this idea and plan on doing it for my son’s birthday. If I harden them in the oven are they still soft inside?
Mindi it depends how long you “cook” them for – but make sure not to melt the dinosaur inside! If it dries out too much it will be hard inside!
Hello!
Having a Prehistoric story time at the Library I work at on Thursday. I won’t have time to air dry so 150 degrees for 30 minutes won’t melt the dinosaurs? Or is 20 minutes good enough?
150* should be OK! I have not had issues with any dinos melting at that temperature! It should dry it enough for the kids to enjoy the dig or take it home and continue drying! I’d love to know how it goes!
About how many eggs can you get from a recipe?
Mine turned out more like mud (or something else the dinos left behind) and didn’t keepisode the form. What did I do wrong? Too much water?
Sounds like maybe too much water! It’s pretty sandy/gritty when you form the eggs!
Hi there! love this! tell me is your temperature reading 150 F or 150 C? sorry I am from South AFrica and we use Celsius. Huge thanks for this xxxxx
Thanks for pointing this out I should have been more specific! 150* F! 🙂 Let me know how they turn out!
Can you reuse the broken “eggs” to make new ones?
Thanks!
I suppose you could if you could soften then enough to reform them!
Very cute idea! I wanted to let you know that I am featuring this on a dinosaur party roundup on my site with a link and photo if you don’t mind.
Thank you! We love dinos here too!
I’ve got prehistoric muck baking in the oven RIGHt NOW!! Can’t wait to mail them off to my little paleontologist grandkids!!
Oh my goodness SO exciting! I bet they will love it!
I can’t wait to make these! What a fabulous idea. Should the used coffee grounds be dried out? Thanks
I recommend it so they don’t get moldy but you could use them wet if they are fresh that day!
My son and I made these for my grandson 2nd birthday, they were very sticky and looked more like poop. We are going to let them dry a little and then try to reshape them.
If they are sticky or moist they definitely need to dry out! You can “quick” dry them in the oven as stated or leave them out for a few weeks.
These came out awesome! Thanks for sharing.
Do you think instant coffee would suffice in exchange for the coffee grounds in the recipe? My coffee maker is broken at the moment. :'( But I’d really love to try these with my little one.
OH man you know, I don’t think instant coffee would work because it would probably dissolve down! But if you have regular coffee grounds on hands you could probably just pour them in a filter over a cup to dilute it down and then dry them out!
What a great idea and a fun project! Hope you are having a great week and thanks so much for sharing your awesome post with Full Plate Thursday!
Miz Helen
These were super cute. I cut the amount of liquid cold coffe in recipe 2 in half and worked perfectly and way less sticky!
I’m so glad they turned out awesome for you! I’ll have to try your version with less liquid!
What purpose does the coffee grounds serve? I would like to make these with some young Cub Scouts, but I am not a coffee drinker. Is the coffee for more than color and consistency?
HM good question, I think it dries and sticks together well.
I found this recipe while looking for something to do with Cub Scouts too! I will be trying it this week. ☺
I would love to make these for my students next week for an independent small group. Would 4 and 5 year olds be able to get the dinosaurs out with a toothpick or similar scraping tool? I don’t want them to use a hammer. I am afraid they might be too hard and the project wouldn’t work.
Hi Erin! Yes, as long as they aren’t too hard. The longer you let them dry the harder they are. So I’d say if you make them that week, preferably the day before in a low oven temp, you might be ok?
How many eggs can you make from one recipe?
That depends on the size of your dinosaurs and eggs so it’s a little variable but I made 4-6 eggs. I usually automatically double my batch.