DIY Jaws Shark Soap for Kids Tutorial – Shark Week Gift
This post may contain affiliate links, view our disclosure policy for details.
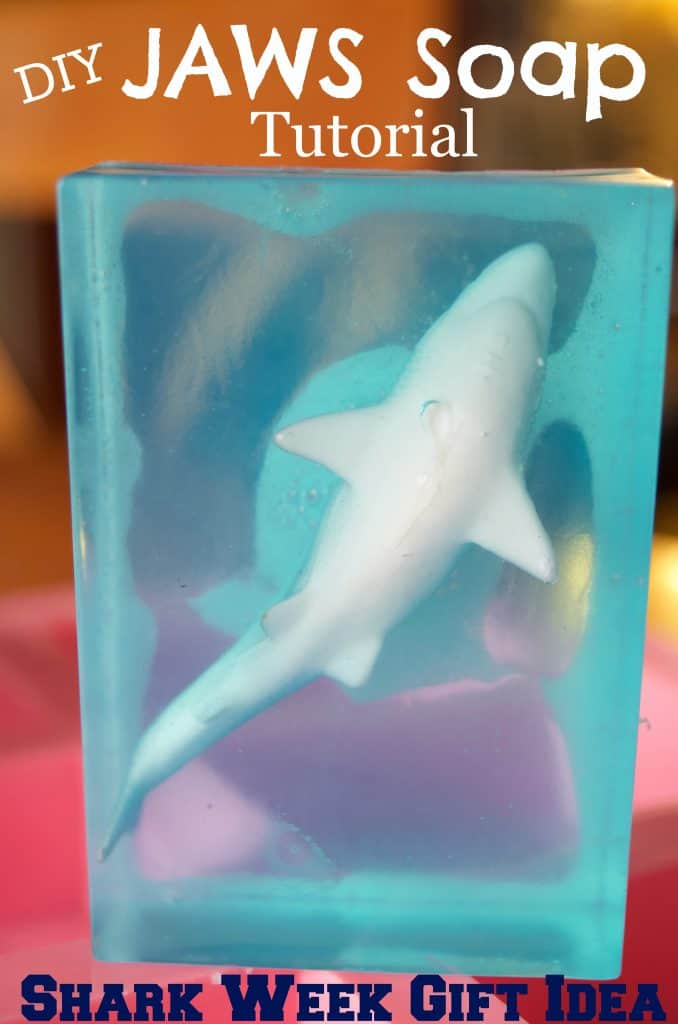
Whether you’re celebrating Shark Week or your kids just love sharks – this simple diy Jaws shark soap tutorial is simple even for the kids to make! Make bath time a splash! Check out our gift guide for shark lovers!
Recently my kids asked if they could watch the movie Jaws and having not seen it since I was a kid myself I said SURE! Why not?! Well after that they HAD to watch all of them – did you know there were 4 Jaws movies?! Anyways this has started an obsession with my kids on sharks and Jaws.
Thanks to retro films and toys making a comeback there are some neat Jaws shark gifts out there but I had already bought what was on my list to buy for the holidays so I decided to make my kids their own Jaws soap! It’s SO easy and only took a few minutes to make!
Shark Soap Materials Needed:
Glycerin Soap Base (find on Amazon or at a craft store)
Blue food dye
Toy sharks (I bought these.)
Silicone Soap Mold (I used this one.)
Fragrance optional
I bought my glycerin soap base at Michael’s with one of their half off coupons but now I don’t live near a craft store so I buy it on Amazon when I need it. This silicone soap mold is a dream and works perfect! It not only easily held my little toys but the soap immediately slid out easily when I was ready to remove them.
OK so here’s what took me a while – I needed 2 great white sharks since both of my boys wanted something Jaws related for Christmas. After looking around I settled on this cheap bag of sharks because they only cost a couple bucks and it included 2 great white sharks. It included other sharks and whales so I just made some extras as gifts.
Shark Soap Tutorial:
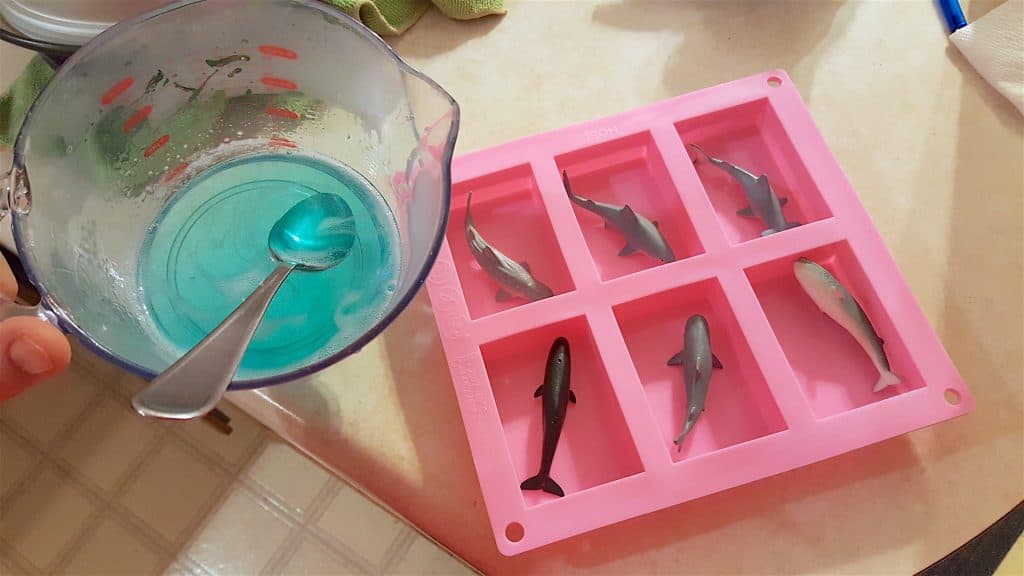
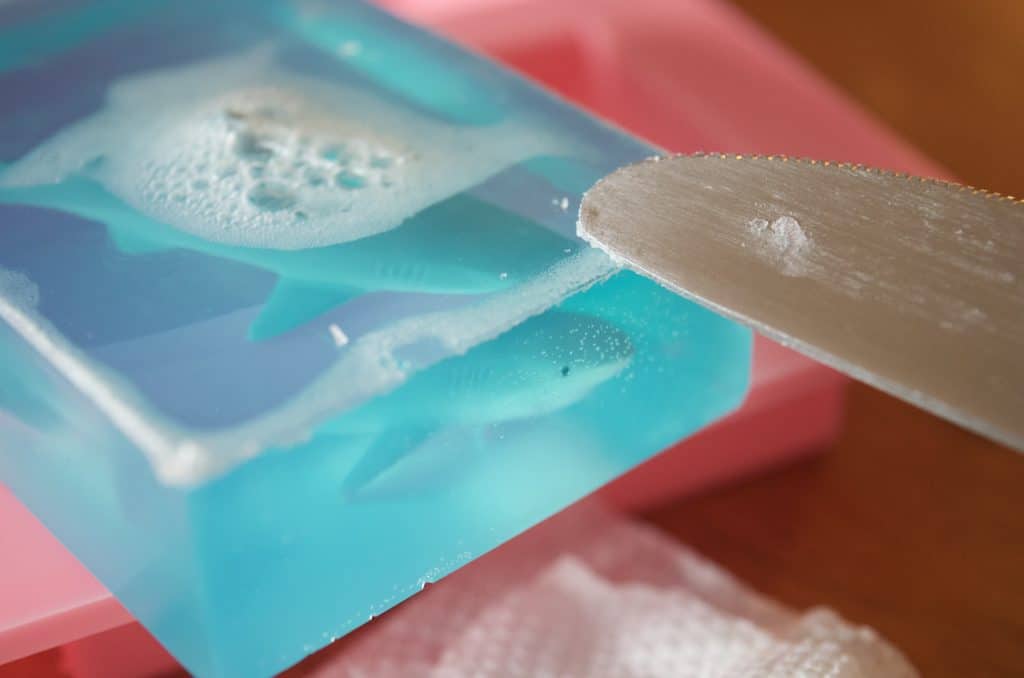
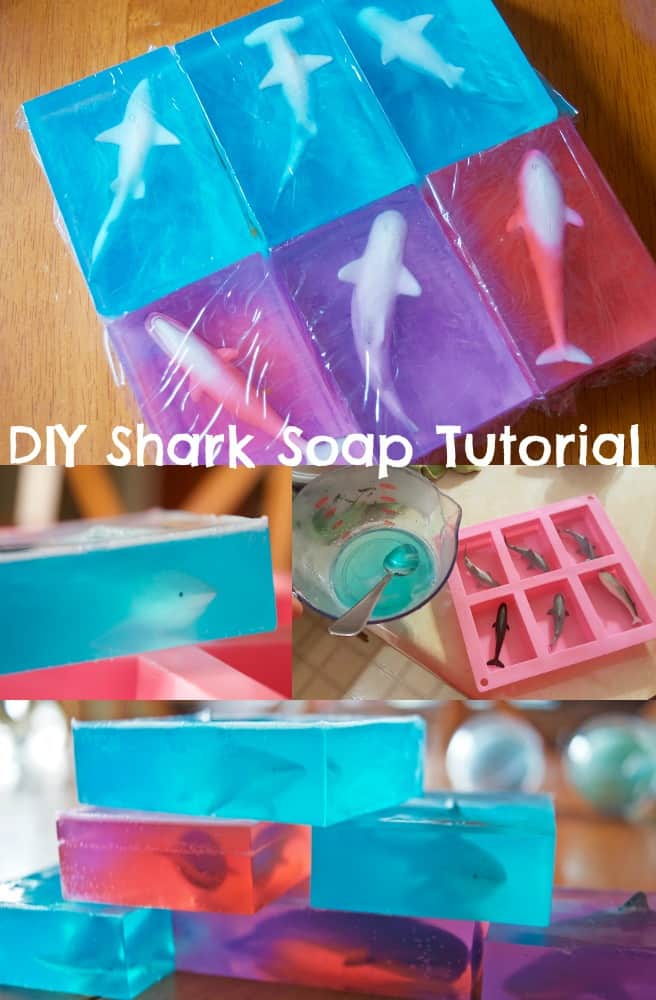
- Lay your toys into your mold – 1 toy for each spot. In my photo above you see that I laid my toys in right side up – DON’T DO THAT! Lay them upside down! I had some bubbles on the top of my soap (see below) so you can’t see the toy very well from the top.
- Melt your glycerine soap base in the microwave. It only takes a few minutes and melts quickly.
- Add any dyes or fragrances you want into your base and stir. I added 1-2 drops of blue food coloring for 3 soaps and 1-2 drops of purple food coloring for my other batch. You can add in soap fragrance or just use essential oils.
- Pour your melted glycerin base into your mold up to the top!
- Let cool at room temperature. Within an hour my soap was pretty hard but I left it in overnight since I was headed to bed then anyway.
Now you see how simple it is to make your own soap! Basically just melt and pour!
Above you can see the bubbles that collected at the top of my soap which is why I recommended placing your toys upside down. Since it was just for my kids it’s not a big deal. I lightly scraped the smooth (NOT serrated!) side of the butter knife across the top of the bubbles and they came right off.
If you are wanting to make multi colored glycerin soap just pour a colored glycerin layer in your mold, let harden for a while, then pour on another colored glycerin layer. Continue until you have all the colors you want in there!
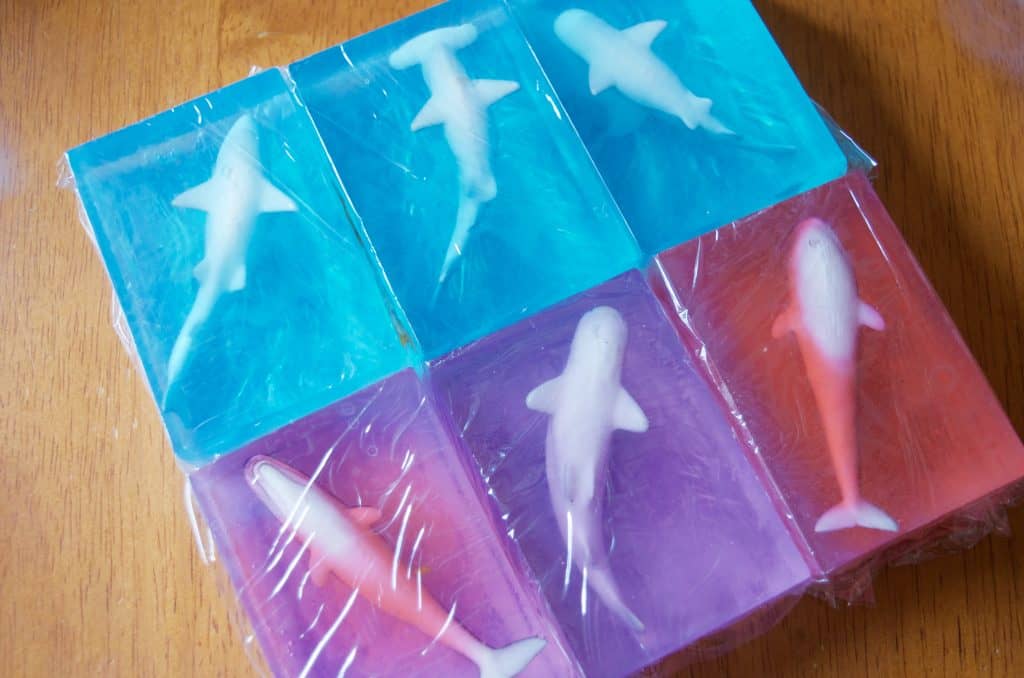
If you are giving these soaps as gifts I recommend using shrink wrap bags to seal your soaps with. Since these are for my kids I just used seran wrap and stuck them in their stockings.
Making these for Shark Week? Check out our Shark Week Activities & Gift Ideas!
MORE Shark Week fun tutorials here:
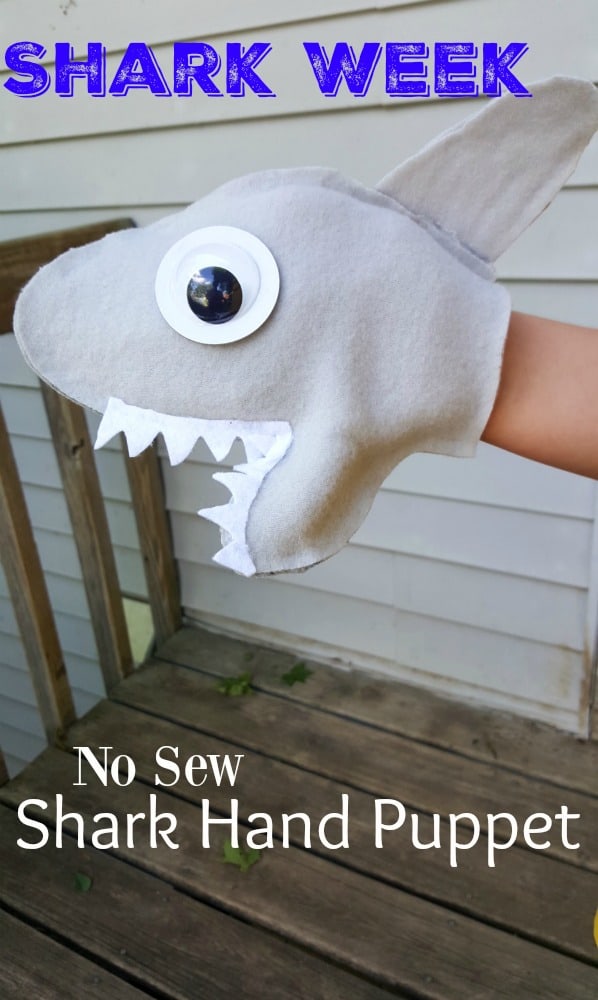 |
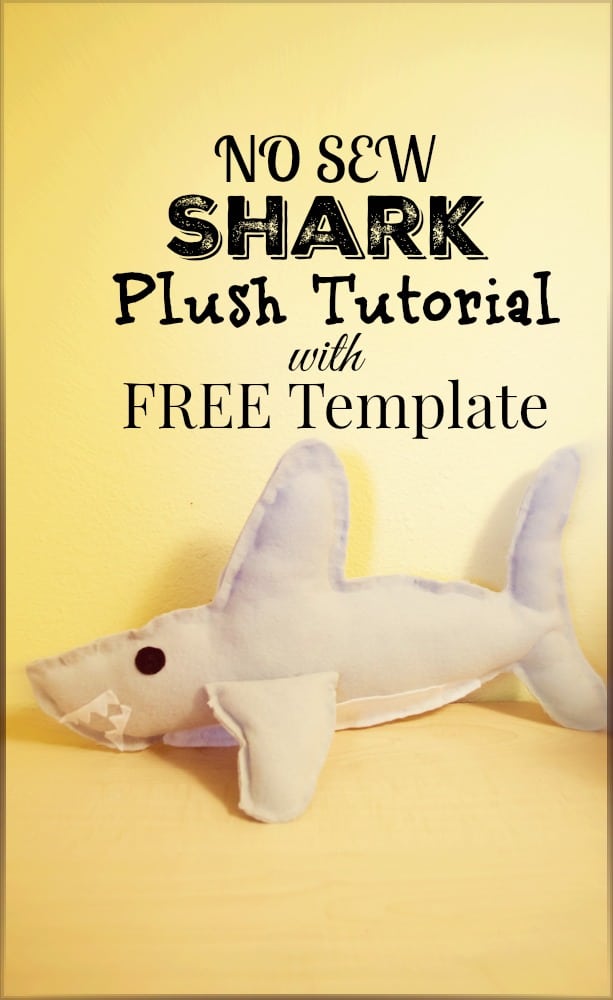 |
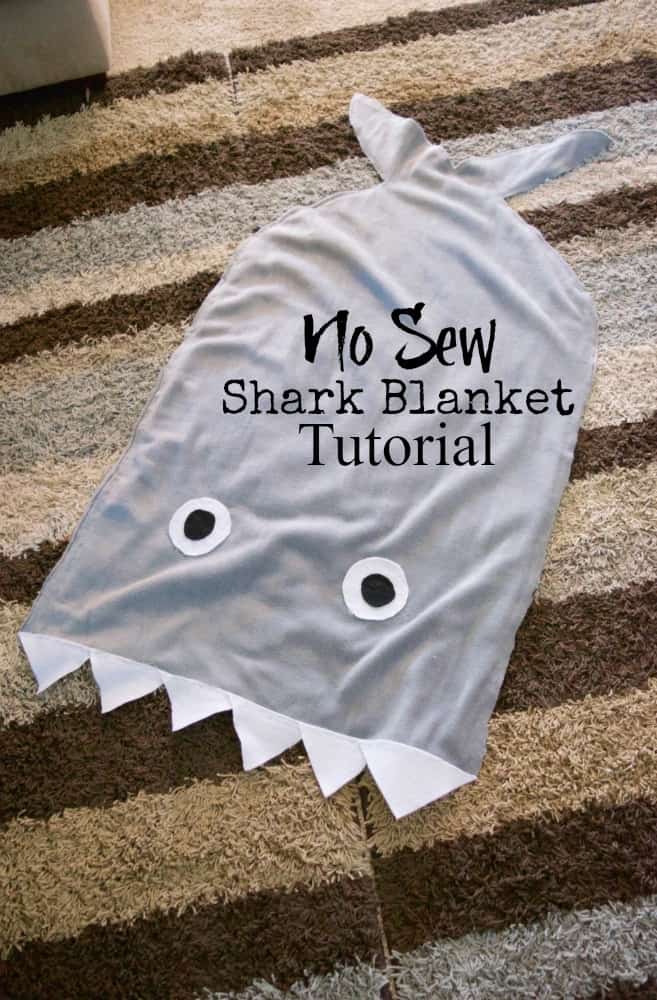 |


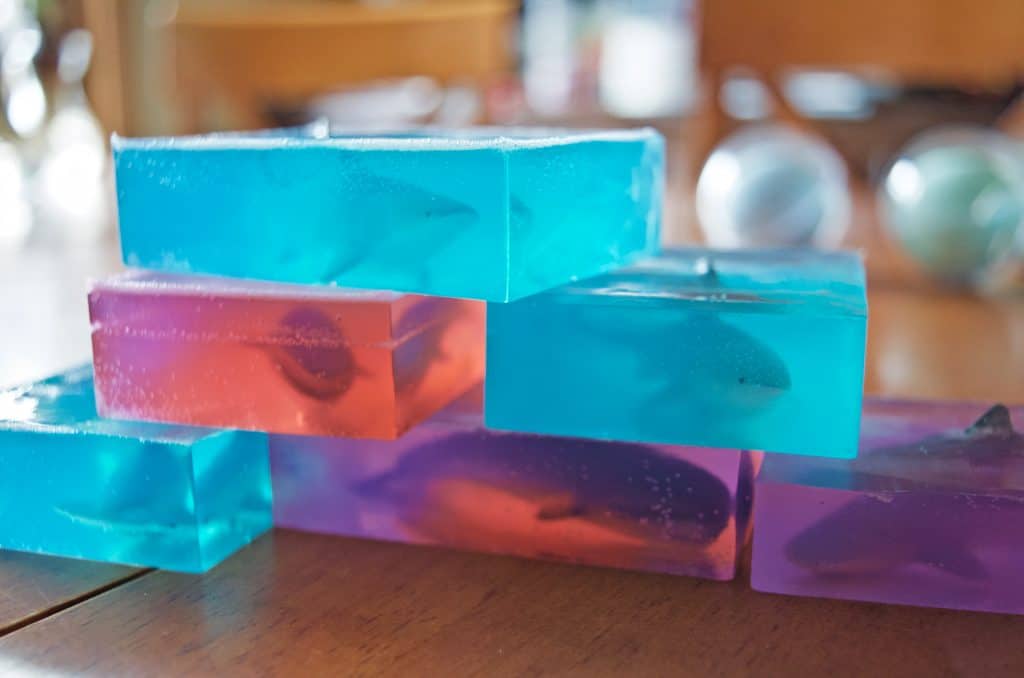
so fun, and they look amazing stacked with the light coming through……could be bathroom art as well as practical! thanks so much for sharing on craft schooling sunday!
This looks like a fun DIY. Thanks for sharing it at the Inspiration Spotlight party @DearCreatives
See you again soon. PInned & sharing
What a fun idea! It would also be cute to do an opaque soap with just the fin poking out of the top!
I’ve found that spraying rubbing alcohol onto the just poured soap is the perfect way of getting rid of the air bubbles without affecting the look of the final product.
Great idea! My son wants a shark birthday party and these would make a fun take home favor. Pinned.
How much soap base do I need?