Make Your Own No Sew Shark Blanket Tutorial for Kids
This post may contain affiliate links, view our disclosure policy for details.
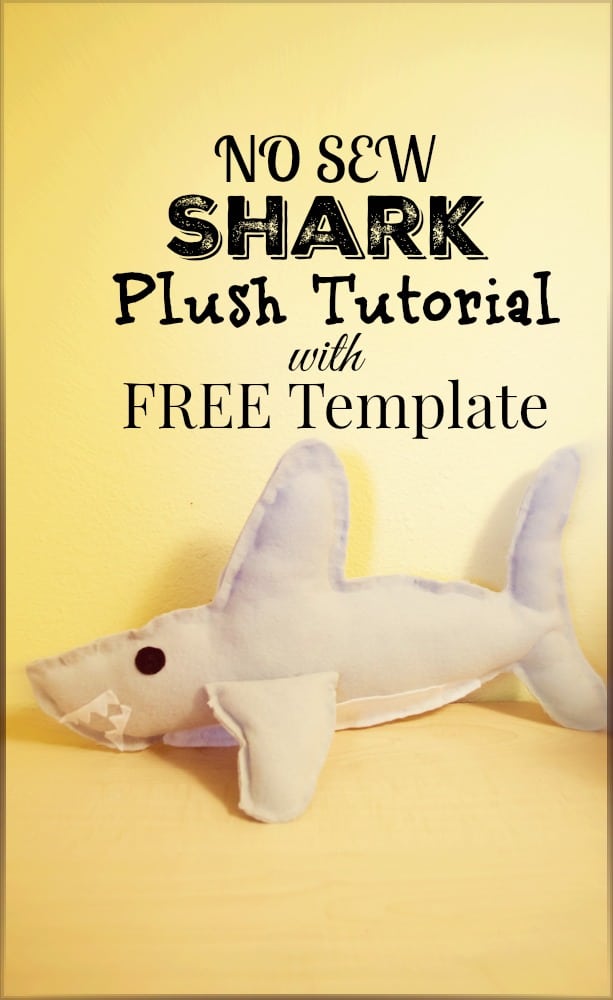
SHARK WEEK!!!! Chomp Chomp Chomp! After drooling over these cute shark blankets but not wanting to drop that price for each of my kids I decided I’d try my hand at making my own no sew shark blanket! It goes great with the no sew shark plush toy I made (get the free template here to make your own!) and I’ve had pretty good luck with our other no sew projects so I figured why not! PLUS it only cost me $6 in materials per blanket at regular price and took under 20 minutes-ish to make!
No Sew Shark Blanket Materials:
2 yards of grey fleece
scissors
pencil
hot glue gun with glue (or Aleene’s Fabric Fusion or Stitch Wizardry!)
felt – black and white
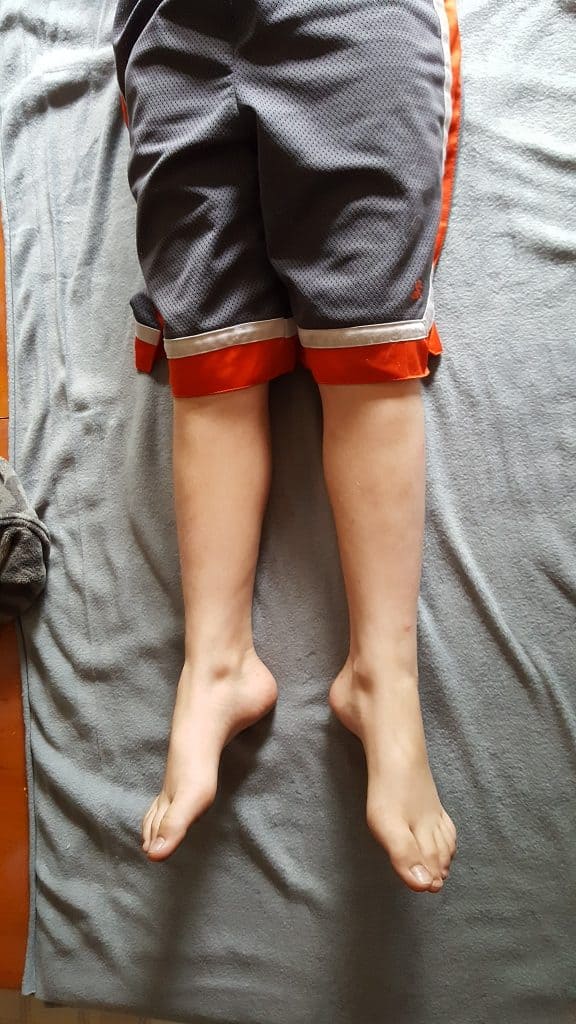
Remember – no laughing at my non – “sewing” methods! This is for those of us who can’t sew but want to give fun cheaper projects a try! So I took my 2 yards of grey fabric – fold in half long ways – and laid it out on my dining room tablet. I literally had my son lay down on top of the fabric on top of the table so I could use a pencil to mark his length and width. He’s 9 and I ended up cutting the fabric as wide as it was folded in half.
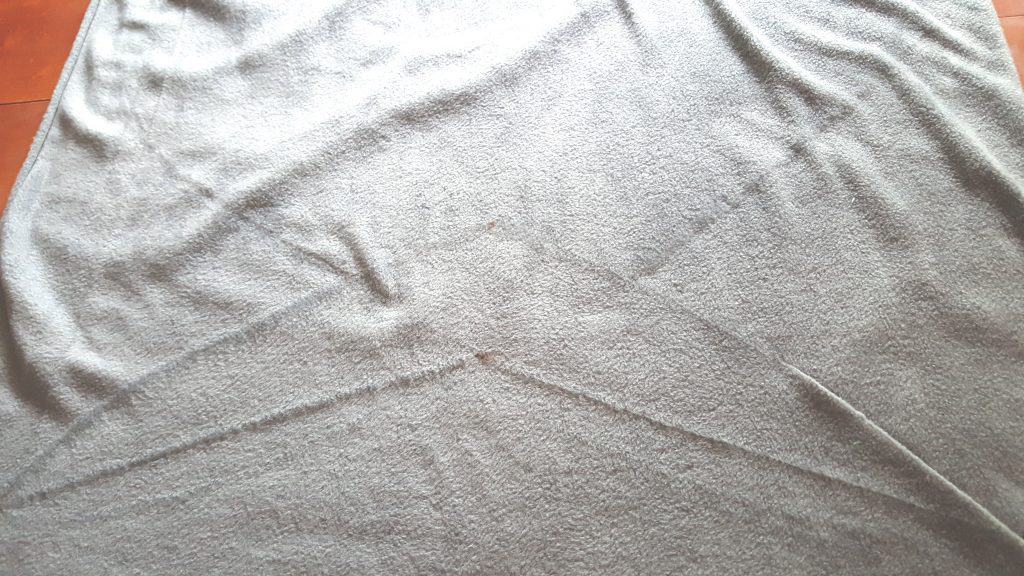
Once I had a general mark on the blanket above his hips, outside his legs, and at the bottom of his feet I started coming up with my drawing. The basic shape is ridiculously easy – it’s just straight down and straight across the top. The only part you really have to “design” is your fin! Since I was on a time crunch for shark week I didn’t try anything fancy like creating a template or printing out an oversized shark tail – I just winged it. Annnnd my shark tail ended up being too small but that’s ok – I didn’t want it to end up looking like a whale tail or mermaid fin. Just pencil out a fin shape right onto the fabric before you cut.
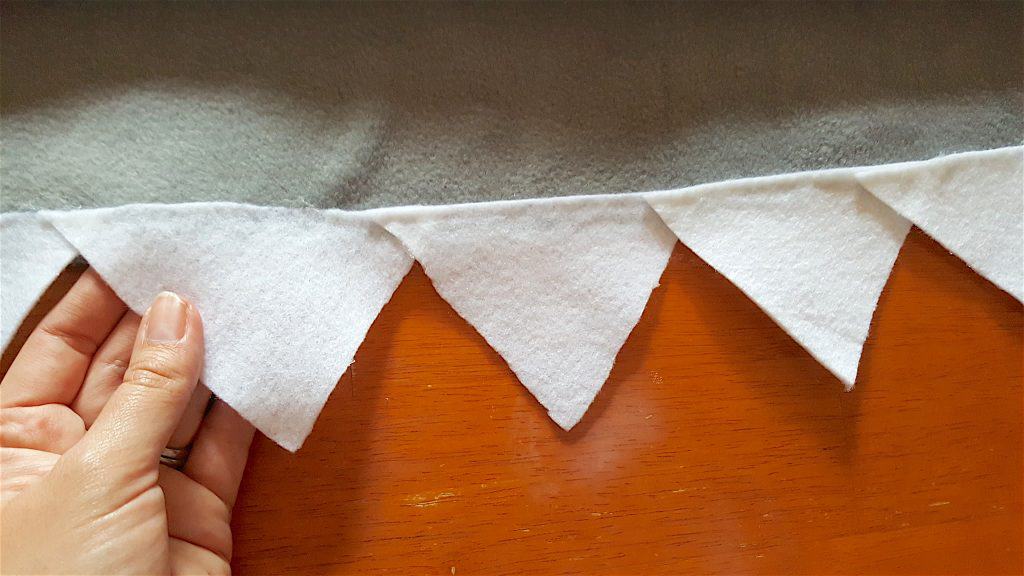
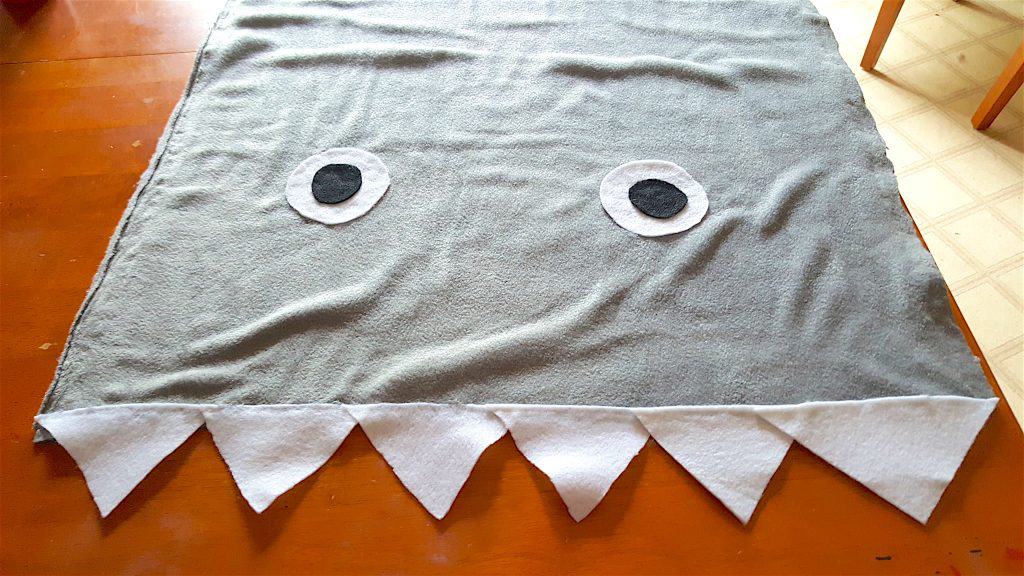
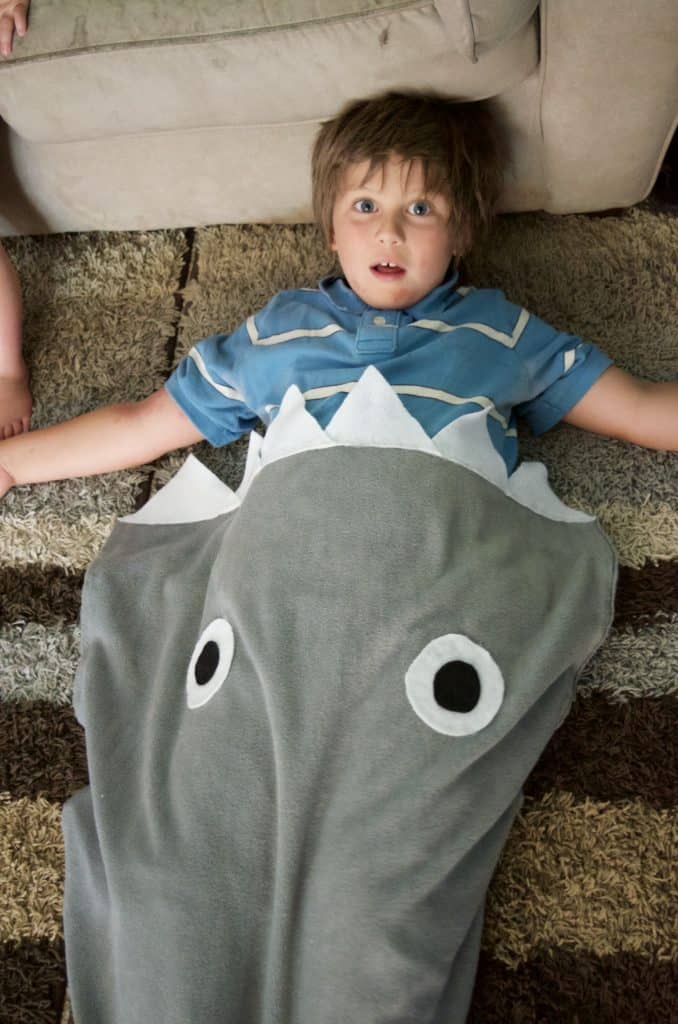
Once you have your blanket shape cut out apply a healthy strip of hot glue on the edges in between the two sheets of fabric in small sections and smooshing the fabric together as you go. On the straight edge of the blanket where you put your legs into like a sleeping bag you can hot glue on white triangle “shark teeth” if you want!
Lastly I cut out large white and black circles for the shark eyes and hot glued those on.
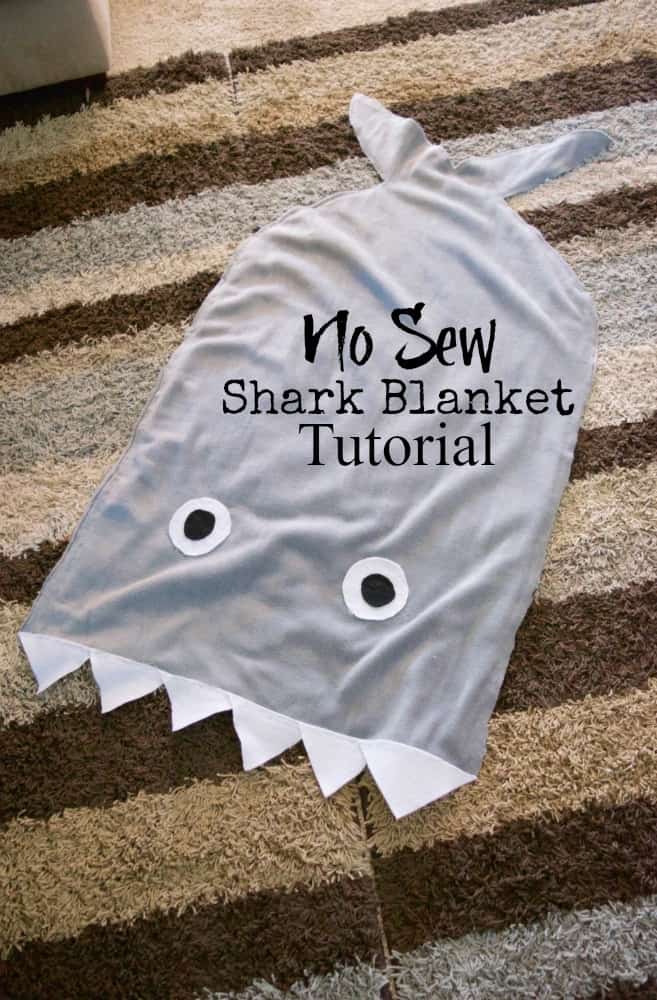
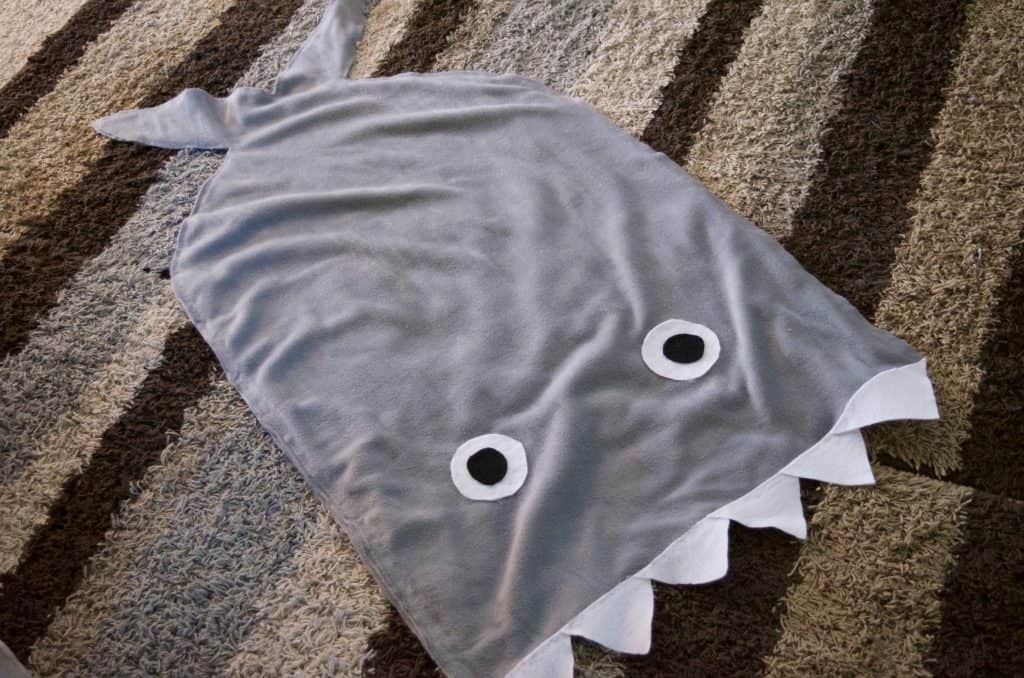
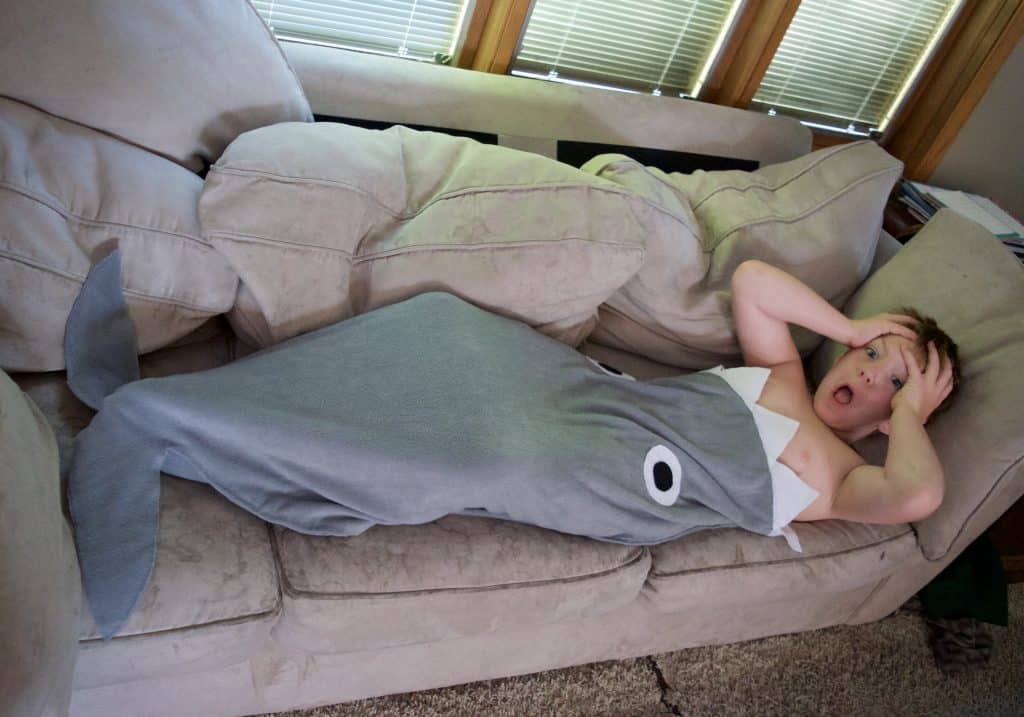
This is what our shark blanket turned out looking like! You can absolutely add side and dorsal fins by cutting out from your leftover grey fabric and hot glueing them on or even stuffing some cotton batting into it but we chose to leave it as you see it. I was afraid the fins would be the source of tug and war with my toddler and rambunctious boys so ours looks a little more like a grey whale shark!
But it sure is a lot of fun and my kids just think it’s the best! They LOVE it!
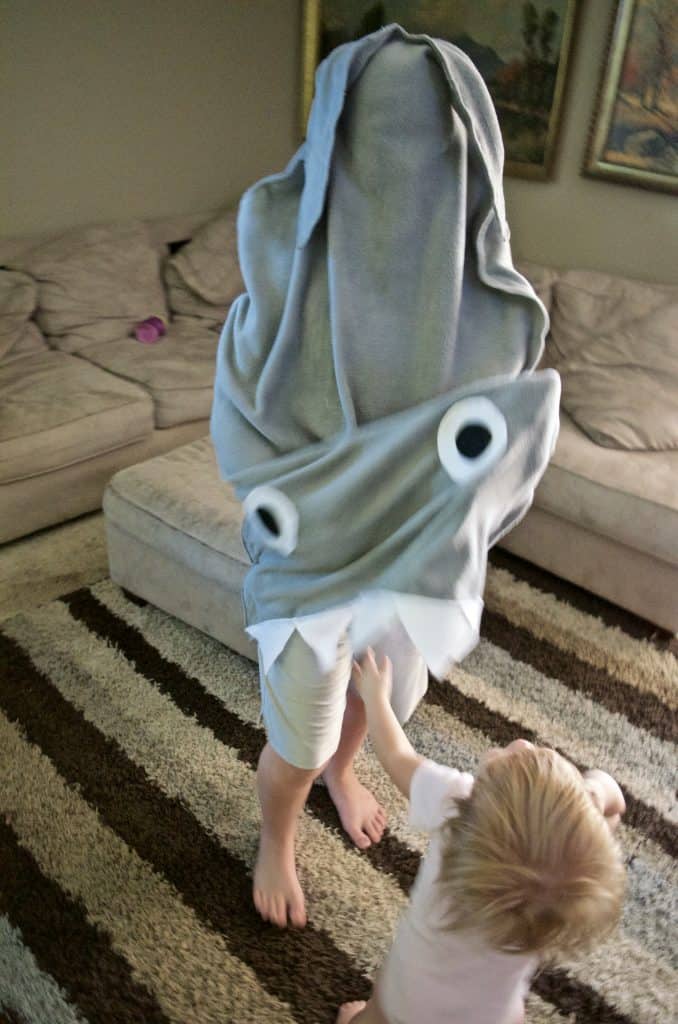
In fact they slip their heads down into the blanket and run around the house trying to “eat” their toddler sister who thinks it’s hilarious her brother got eaten by a shark and is trying to eat her.
It’s as simple as that! The entire project start to finish took me under 30 minutes to make! I can’t imagine it would take you longer than an hour for any reason – it’s even a project that you can have older kids glue together and work with you on! Need MORE simple Shark Week ideas? Scroll through our previous Shark Week posts! Looking for more shark gift ideas? Here’s a fun list of shark gifts to start with!
 |
 |
 |
MORE Shark Week fun tutorials here:
 |
 |
 |


How did the hot glue hold up in the washing machine? Super cute!
Brittney I don’t put it in the washing machine – I only hand wash it in cold water!
nice.. i will try it for my toddler and preschool. Im sure they will love it, and it was easy to make