No Sew Shark Week Plush Toy Tutorial with Printable Template
This post may contain affiliate links, view our disclosure policy for details.
I HAD to do it guys! Between my son’s pirate birthday party this weekend and Shark Week coming up I HAD to make this NO SEW Shark Plush toy tutorial!!! (UM – but don’t forget to check out our COOL DIY Octopus Arm tutorial!)
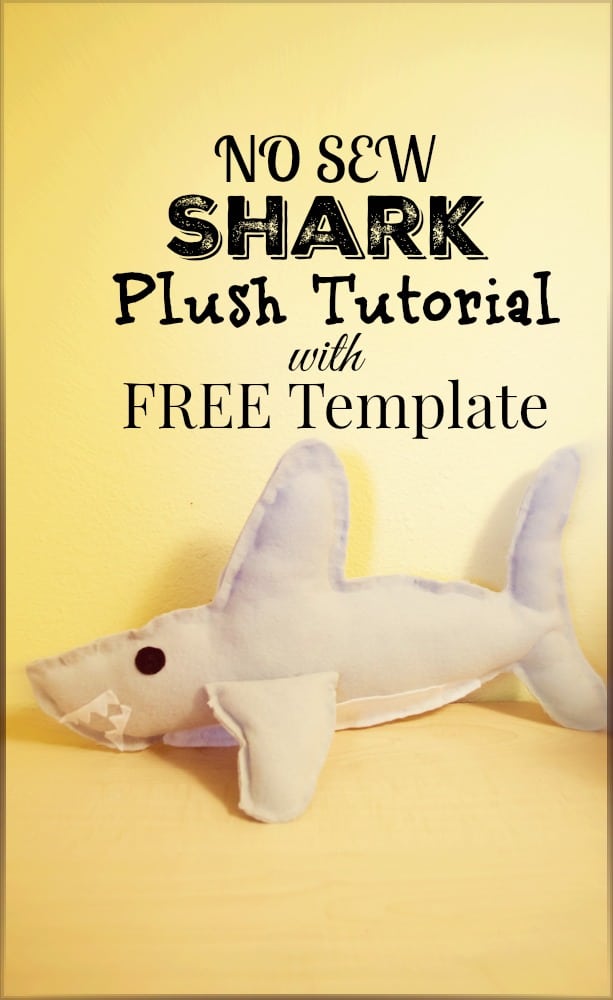
If you’ve been around here you know I can’t sew worth beans, but I’m not opposed to sacrificing some felt to try and make something cool! PLUS I scanned the shark template I designed into a PDF file so that all YOU have to do is print it out and cut cut cut!! YEAH!!
You can make your own awesome no sew shark too!!! But please, if you know how to sew, don’t laugh at my efforts too much or critique me on my pattern! Hah! Remember this is for those of us creative bugs that don’t know what we are doing but still want to try!
First things first – PRINT Here ==> Shark Body Template
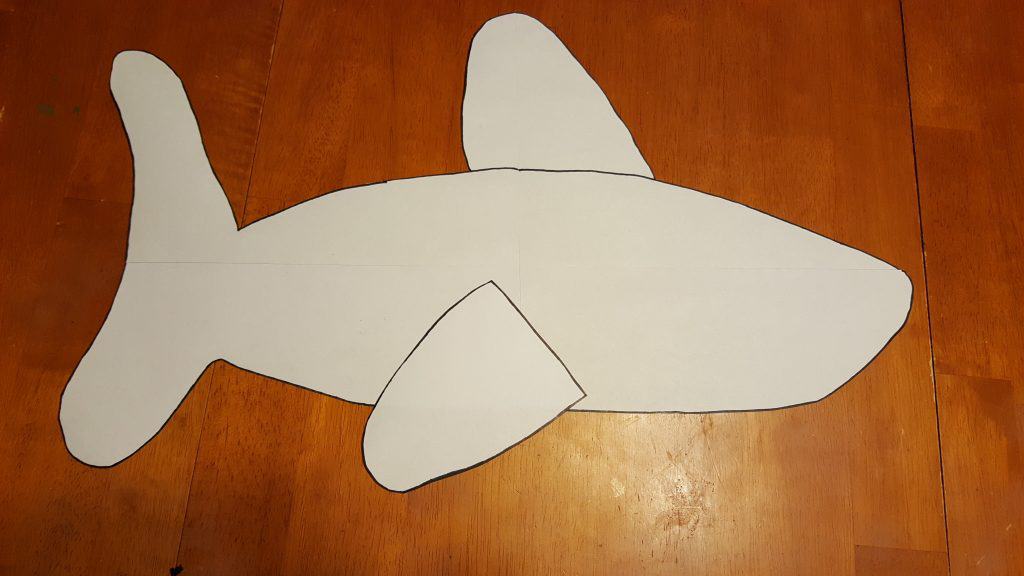
The PDF file is 4 pages total. Cut out the shark and carefully tape it together. EXCEPT for the extra fin – do NOT tape that onto anything – just cut it out.
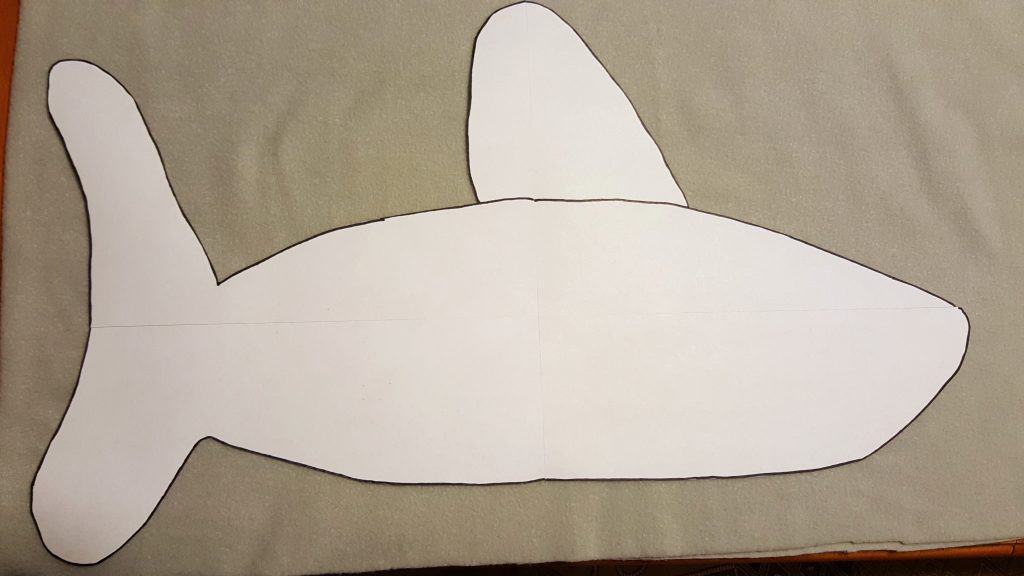
Lay the body of the shark on top of the felt you have chosen to use for this project. I chose a light grey for our shark. I bought a yard of it at Walmart for under $3 which gave me enough felt fabric to make this no sew shark plush and a similar sized shark tail.
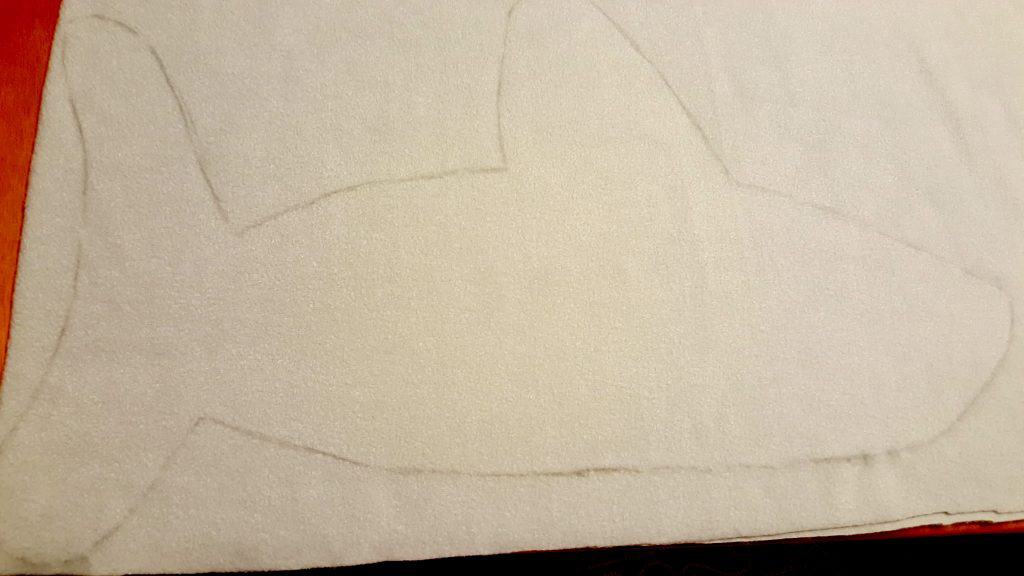
This is where I wanted to be really careful. I tend to get my fabric scrunched up and crooked when cutting out templates so this time I used a PENCIL and traced around the shark body template right onto the fabric. (I’ve tried a marker before but then it doesn’t always wash out right.)
Just keep rubbing the pencil directly onto the fabric around the paper template – it will make your life so much easier!
Do the same for the fin. Don’t forget you’ll need 2 total shark bodies and 4 total fins. My fabric above is folded in half so that I only had to cut the body out once and the fins twice since it gave me double.
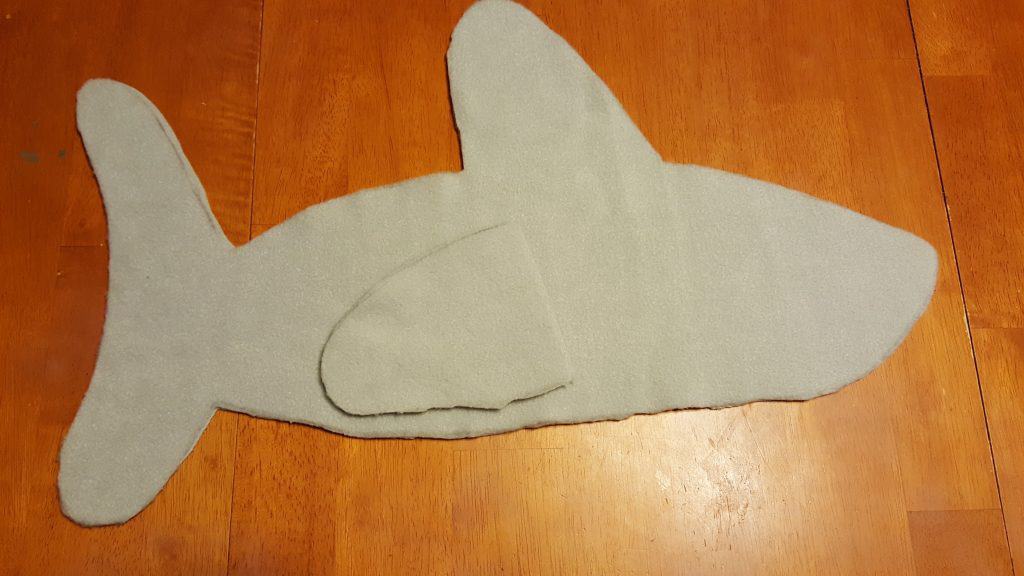
Here comes the fun part – putting it together!! This can also tend to trick me up because of the fine details of the face and such. I just remind myself my son will love it no matter what and it saved me a BUNDLE of money not buying a large shark plush! (although this Mako Shark was super affordable!) 🙂 What a fun surprise for Shark Week or a pirate party!
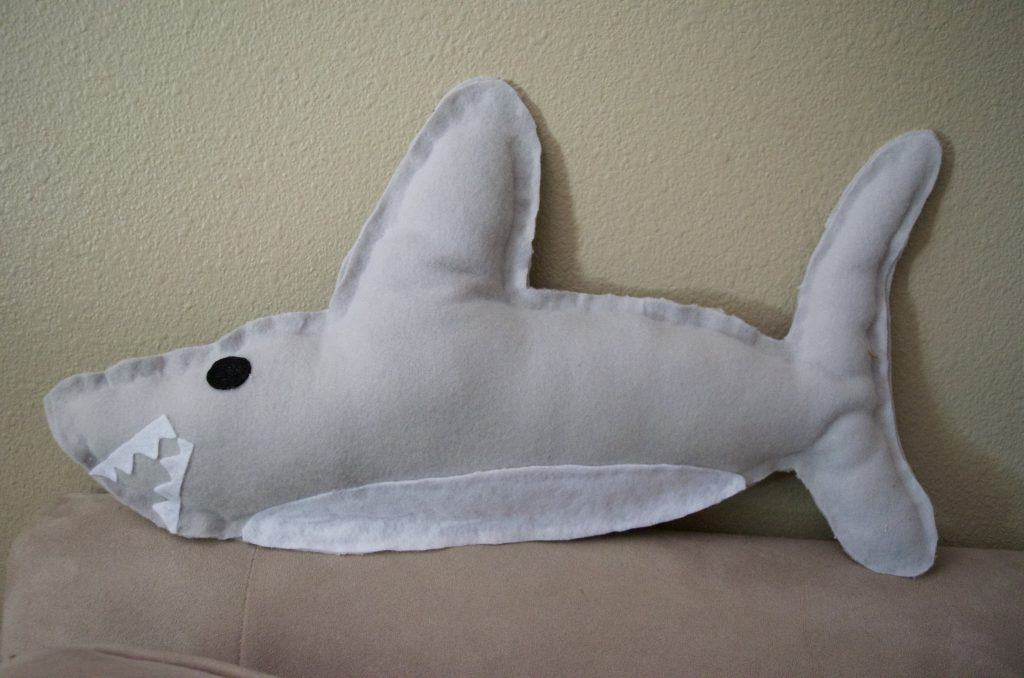
You can use Aleene’s Fabric Fusion glue to hold the felt together but I have am not the hugest fan of how some of my other projects turned out with it so I just use hot glue. Hot glue and I are best friends. Don’t forget to stuff it as desired with cotton batting as you are glueing the edges together!
I recommend starting with any decorations or accents that you want on your shark FIRST before you start glueing the body together. Then start with the tail first since that’s the smallest area for cotton to be stuffed.
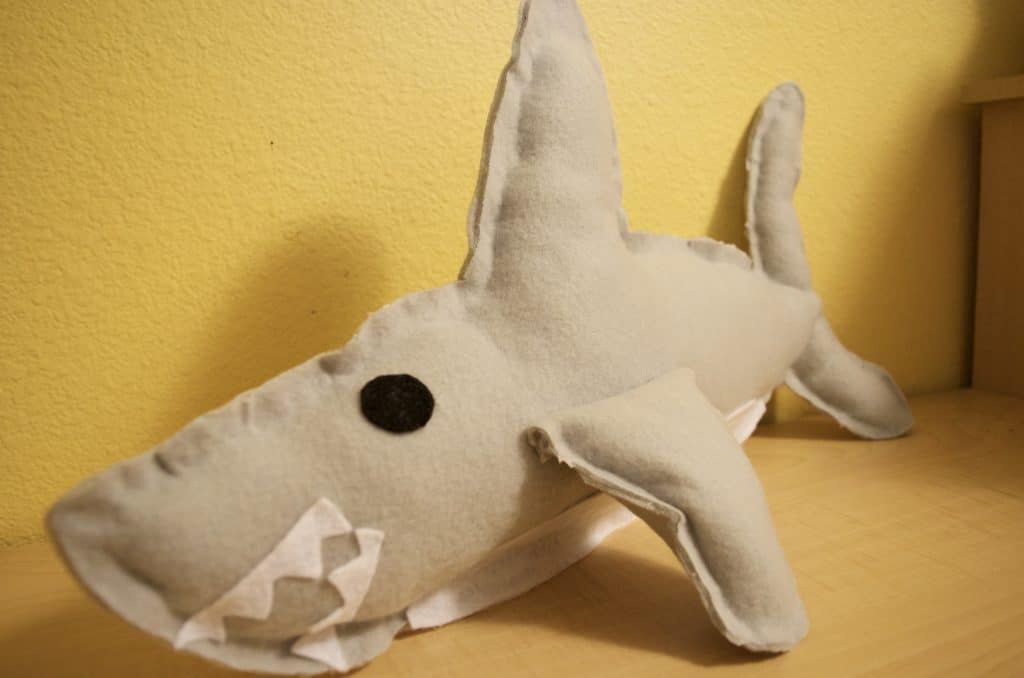
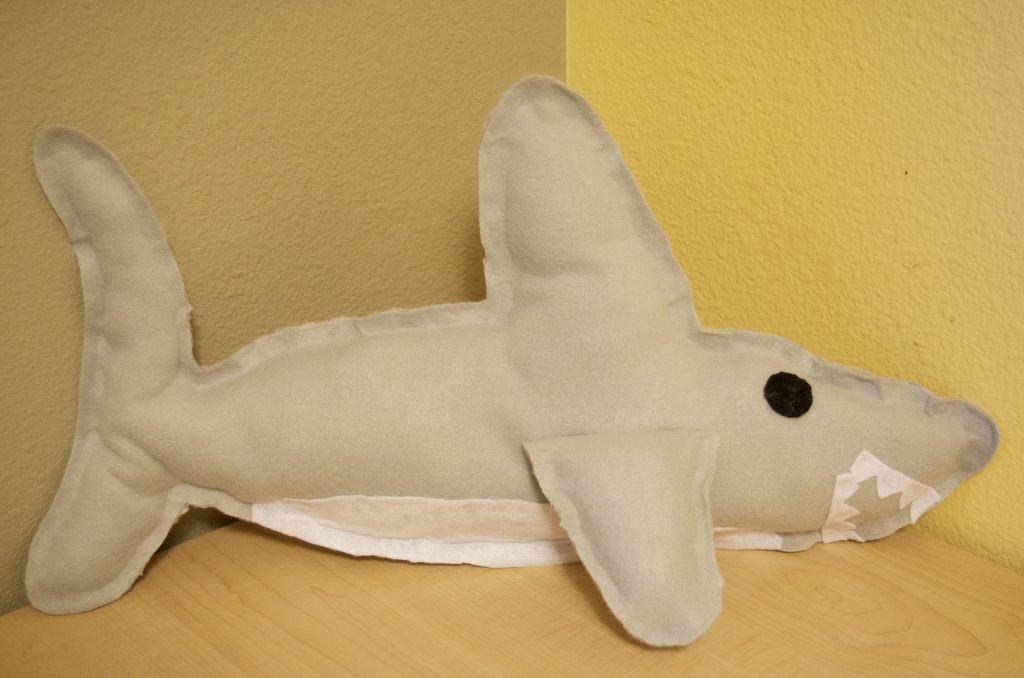
Don’t forget the fins!
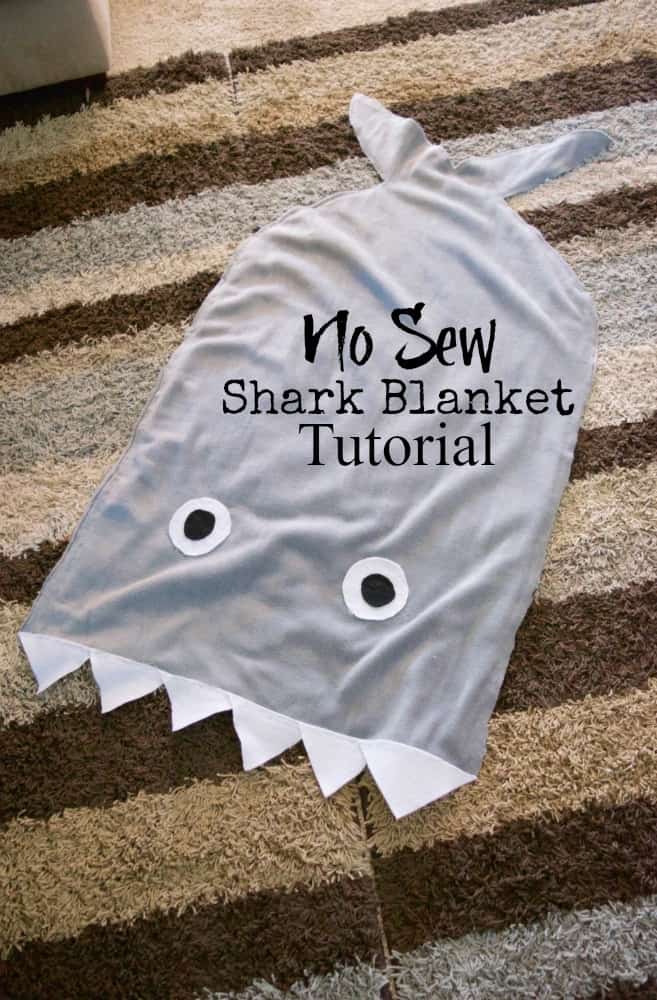
Now here is where your creativity comes in – customizing it to how you want it to look! You can add a strip of white felt for the shark’s belly at the bottom of each side. Draw black lines for gills or glue on strips of black felt. Use felt or buttons for eyes, etc.
If you really want to go all out create several different sets of eyes and mouth options and add velcro for the kids to “build their own shark face”! Your no sew shark plush is done!
TIP: As you press the fabric together with the hot glue in between smoosh the fabric around just a touch so the glue holds in really well.


