

Easy Homemade Apple Pie Recipe – From Tree to Table
This post may contain affiliate links, view our disclosure policy for details.
———————————————————————
We moved to the Midwest last year and I thought of Apple Pie recipes thanks to rows and rows of delicious apple orchards! It also means LOTS better soil for growing and more opportunities to pick your own fruit! We have friends with a plethora of apple trees and were selling a bushel of apples for just $10! (that’s over 40 pounds of apples!) So what do you think we did? Bought a bushel and started canning and cooking! And to be honest I’m almost out of apples so I will be heading back for more! Below are the directions with photos but don’t worry – I’ve added a printable recipe at the bottom for you!
This recipe will make 1 pie. (I tripled my recipe to make 3 pies.) I usually make them all at once and then freeze them all. You’ll need LOTS of apples though! About 10 pounds of apples in fact if you want to triple the recipe. Follow the directions below to make just one pie.
The first step is to decide whether or not you want to buy a pre-made crust. Here is the recipe I use to make my own pie crust (also available on printable recipe at the bottom of the page):
Apple Pie Crust Recipe:
1. Mix 2 cups of all purpose flour and 1 tsp. salt in a bowl.
2. Cut in 2/3 cup of shortening or lard.
3. Sprinkle 6 Tbsp. of water in and toss with a fork.
4. Roll dough into a ball. Divide in half. Roll each dough ball out onto plastic wrap using a rolling pin.
5. Place in fridge for 45 minutes. Then lay one layer into bottom of pie pan. The other layer of dough will be placed on top of apples at the end. Don’t forget to cut slits in the top of the dough when you’re finished with the pie!

To make the actual pie filling you’ll need to core, peel, and slice your apples. I absolutely recommend this apple corer/slicer/peeler as it’s usually around $15 and really comes in handy in the kitchen!

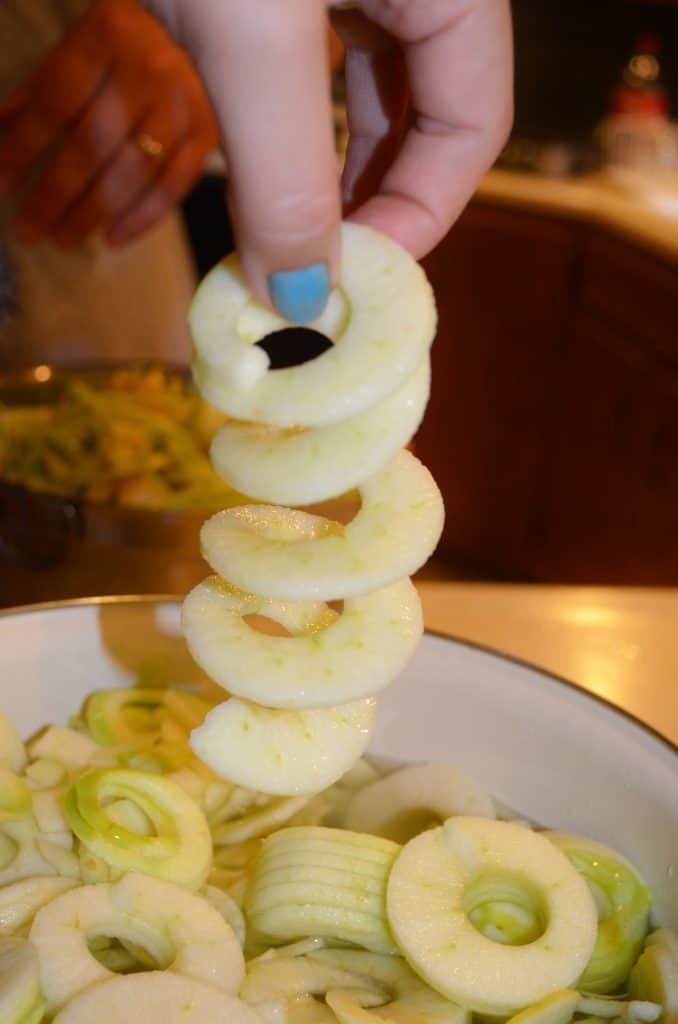
And of course you’ll need a big helper!!! You can see that he just shoves the bottom of the apple onto the metal prongs, and then he twists the handle. It’s as easy as that! It does all of the coring and peeling for you and leaves your apples nicely sliced in one large piece.
From here I just run a quick knife right through the apple in half (or quarters depending on my mood) and then I place it in a bowl produce protector mix while I work on the rest of the apples. What’s that? It’s a mix of 1 cup of water and 1 tsp. of Ball Produce Protector which I absolutely LOVE! It keeps the apples from turning that yucky brown color.
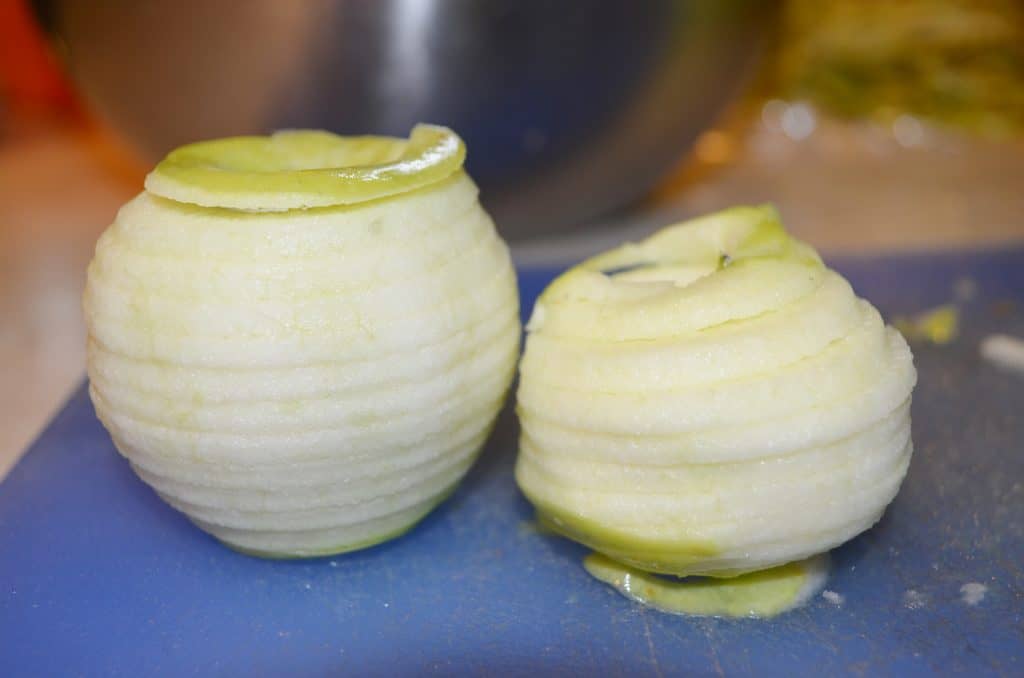
Here you can see one apple de-cored and skinned.
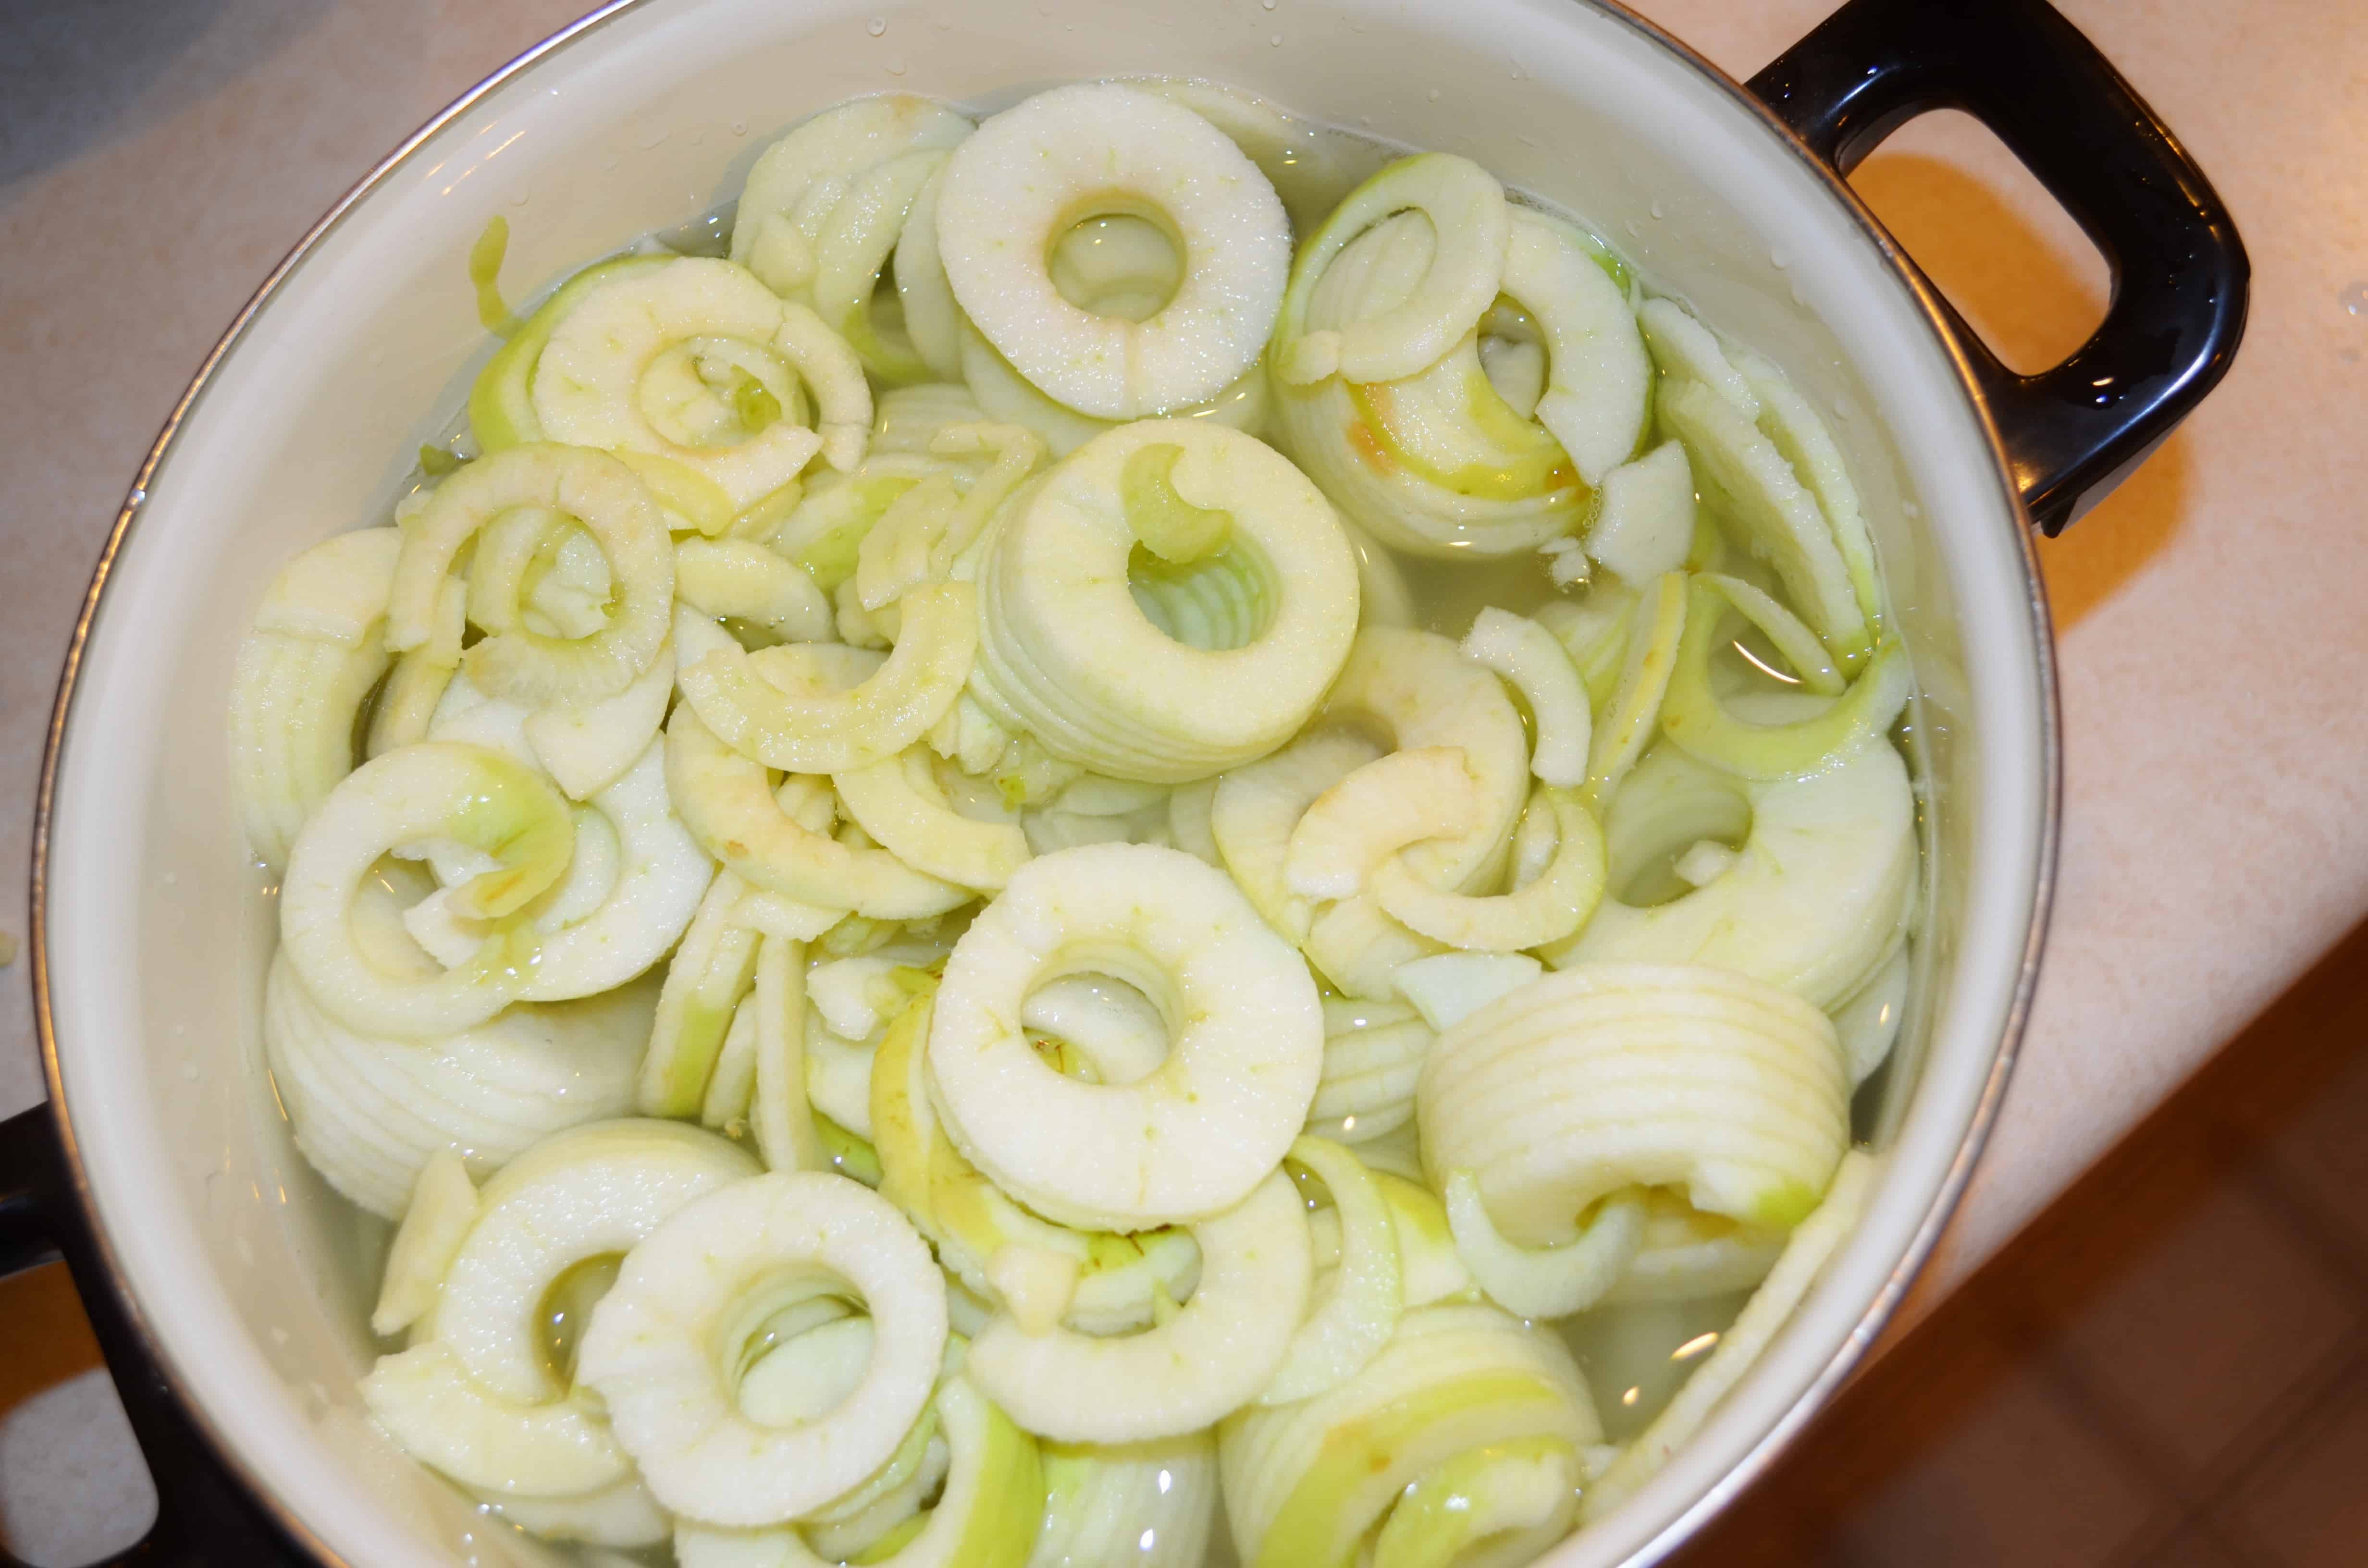
Here’s my pot of apples in the Produce Protector mix. You can spot the brown ones in the pot that I left out for a few minutes compared to all of the other apples sitting in the solution. There is a huge difference! Especially if you are making these pies as gifts!
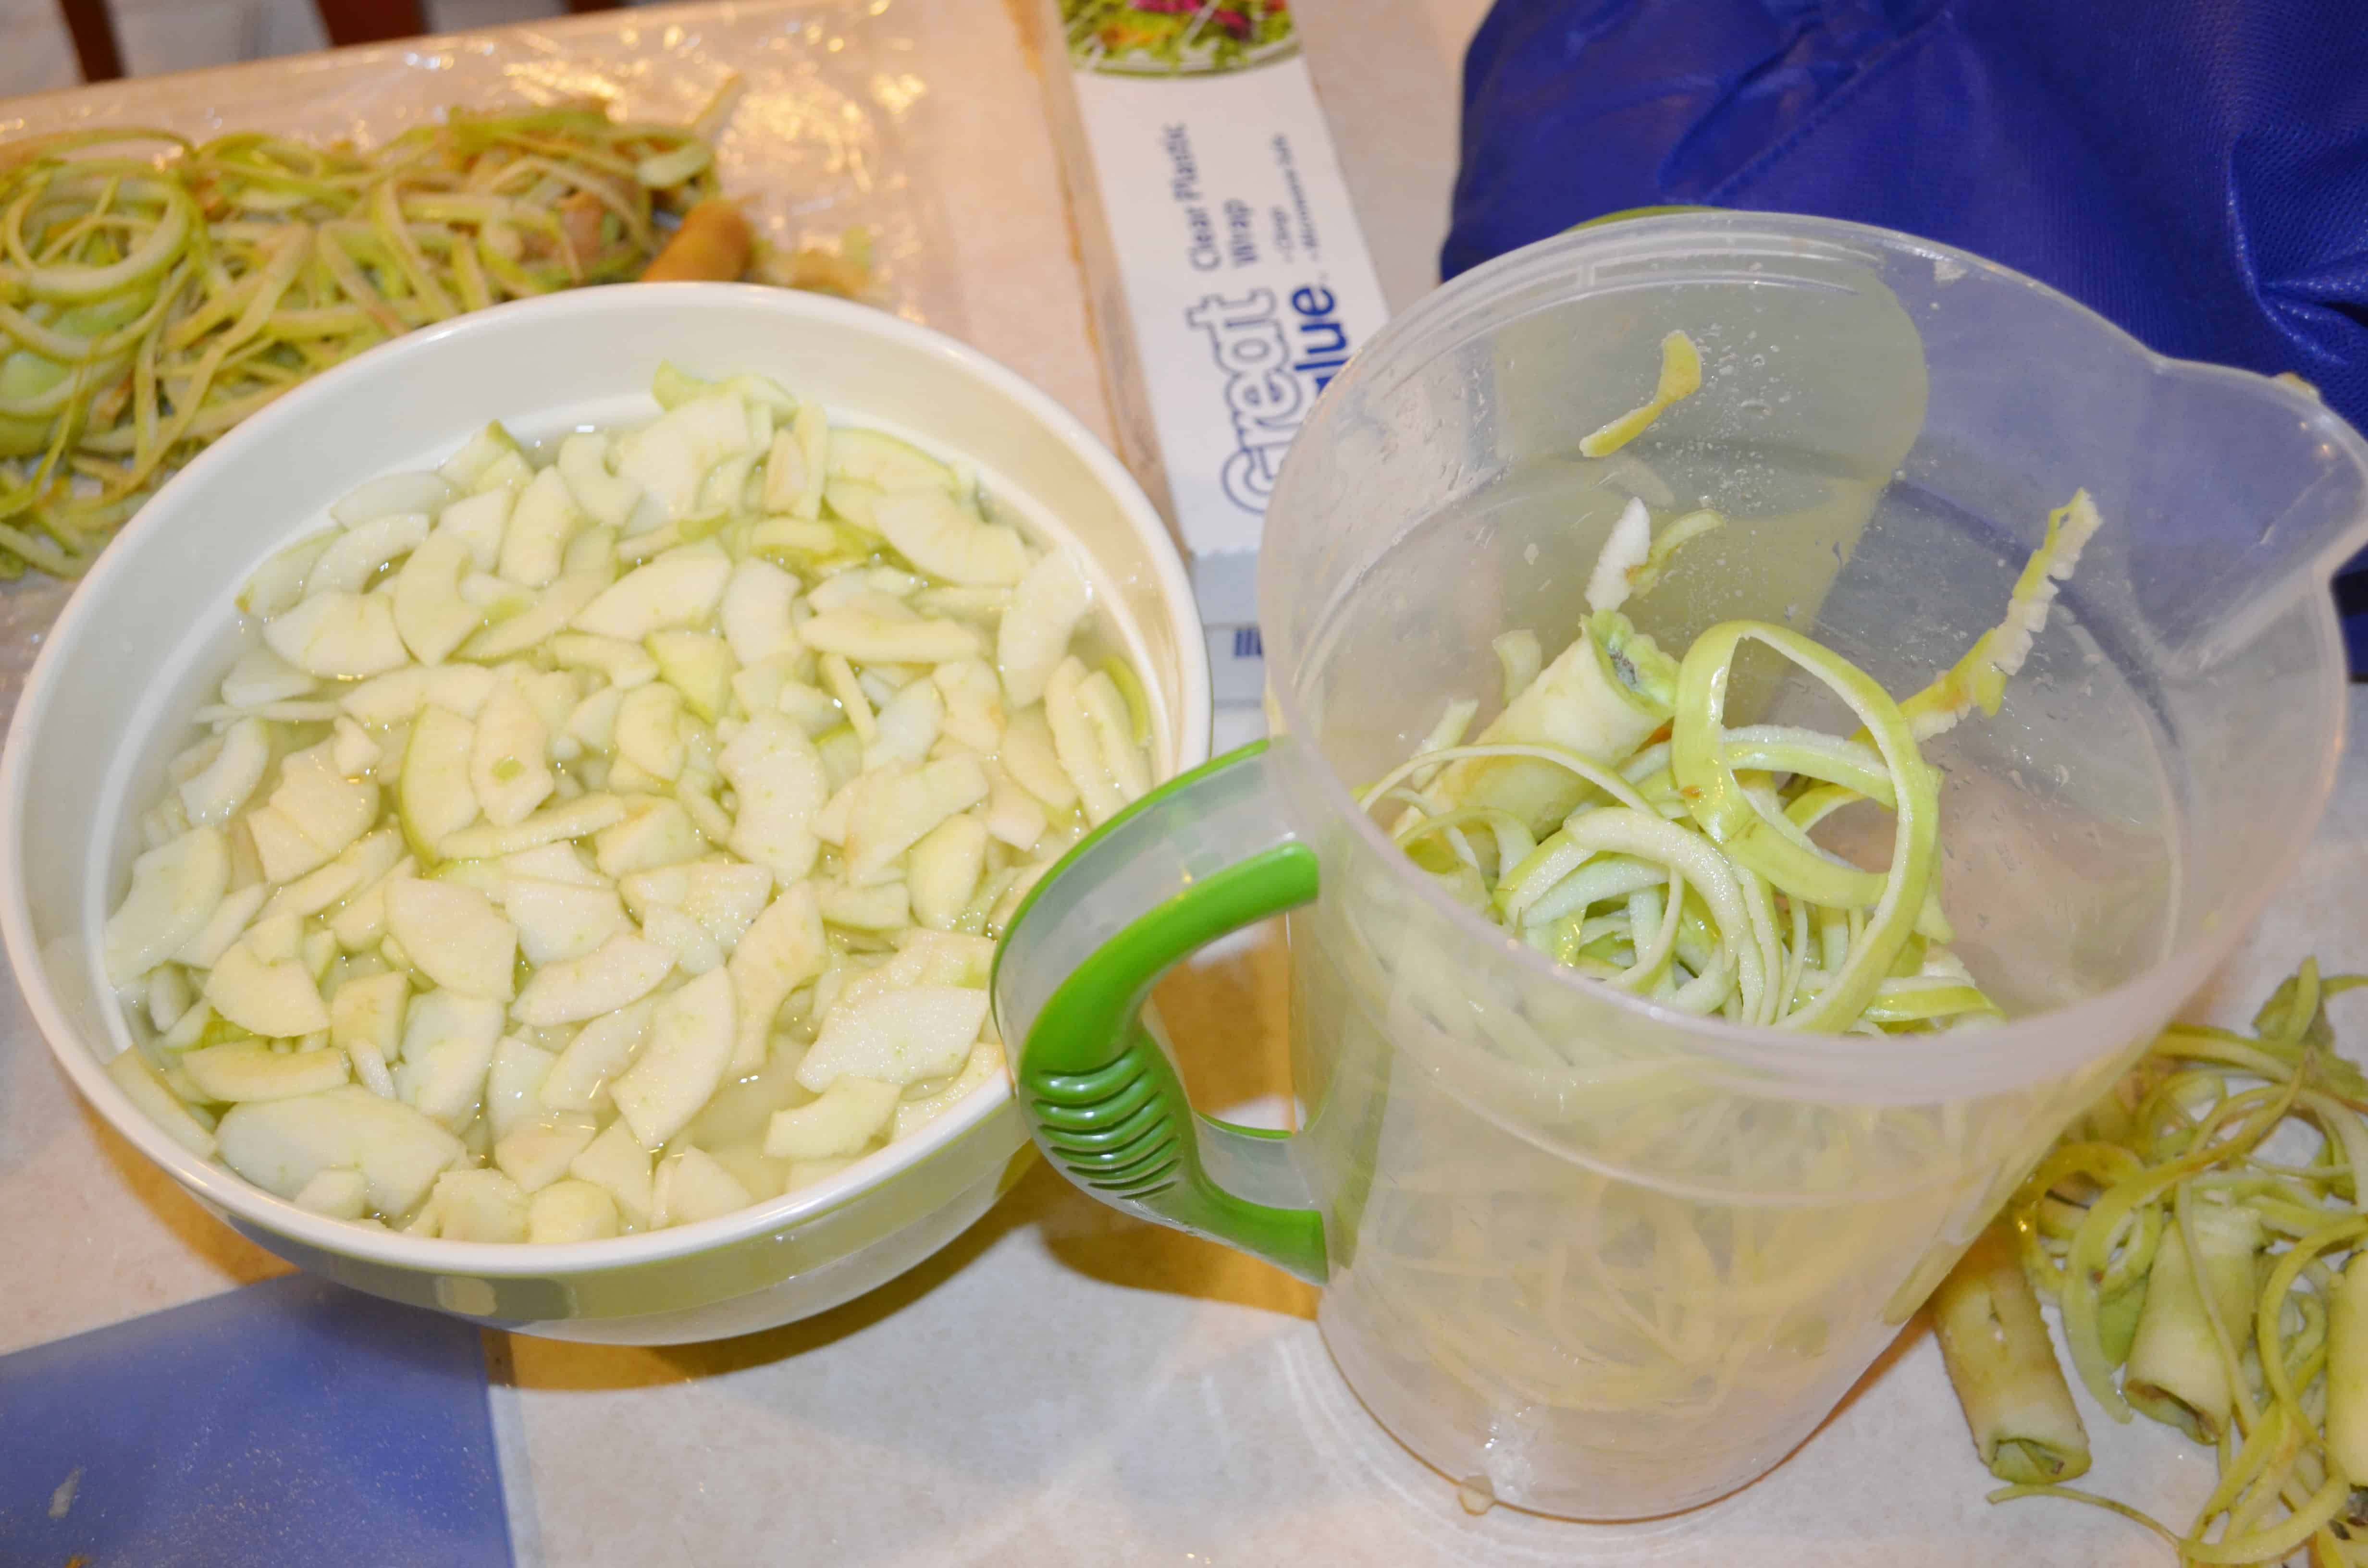
Here you can see my nice little set up with the apple skins in one dish and the apple slices in another.
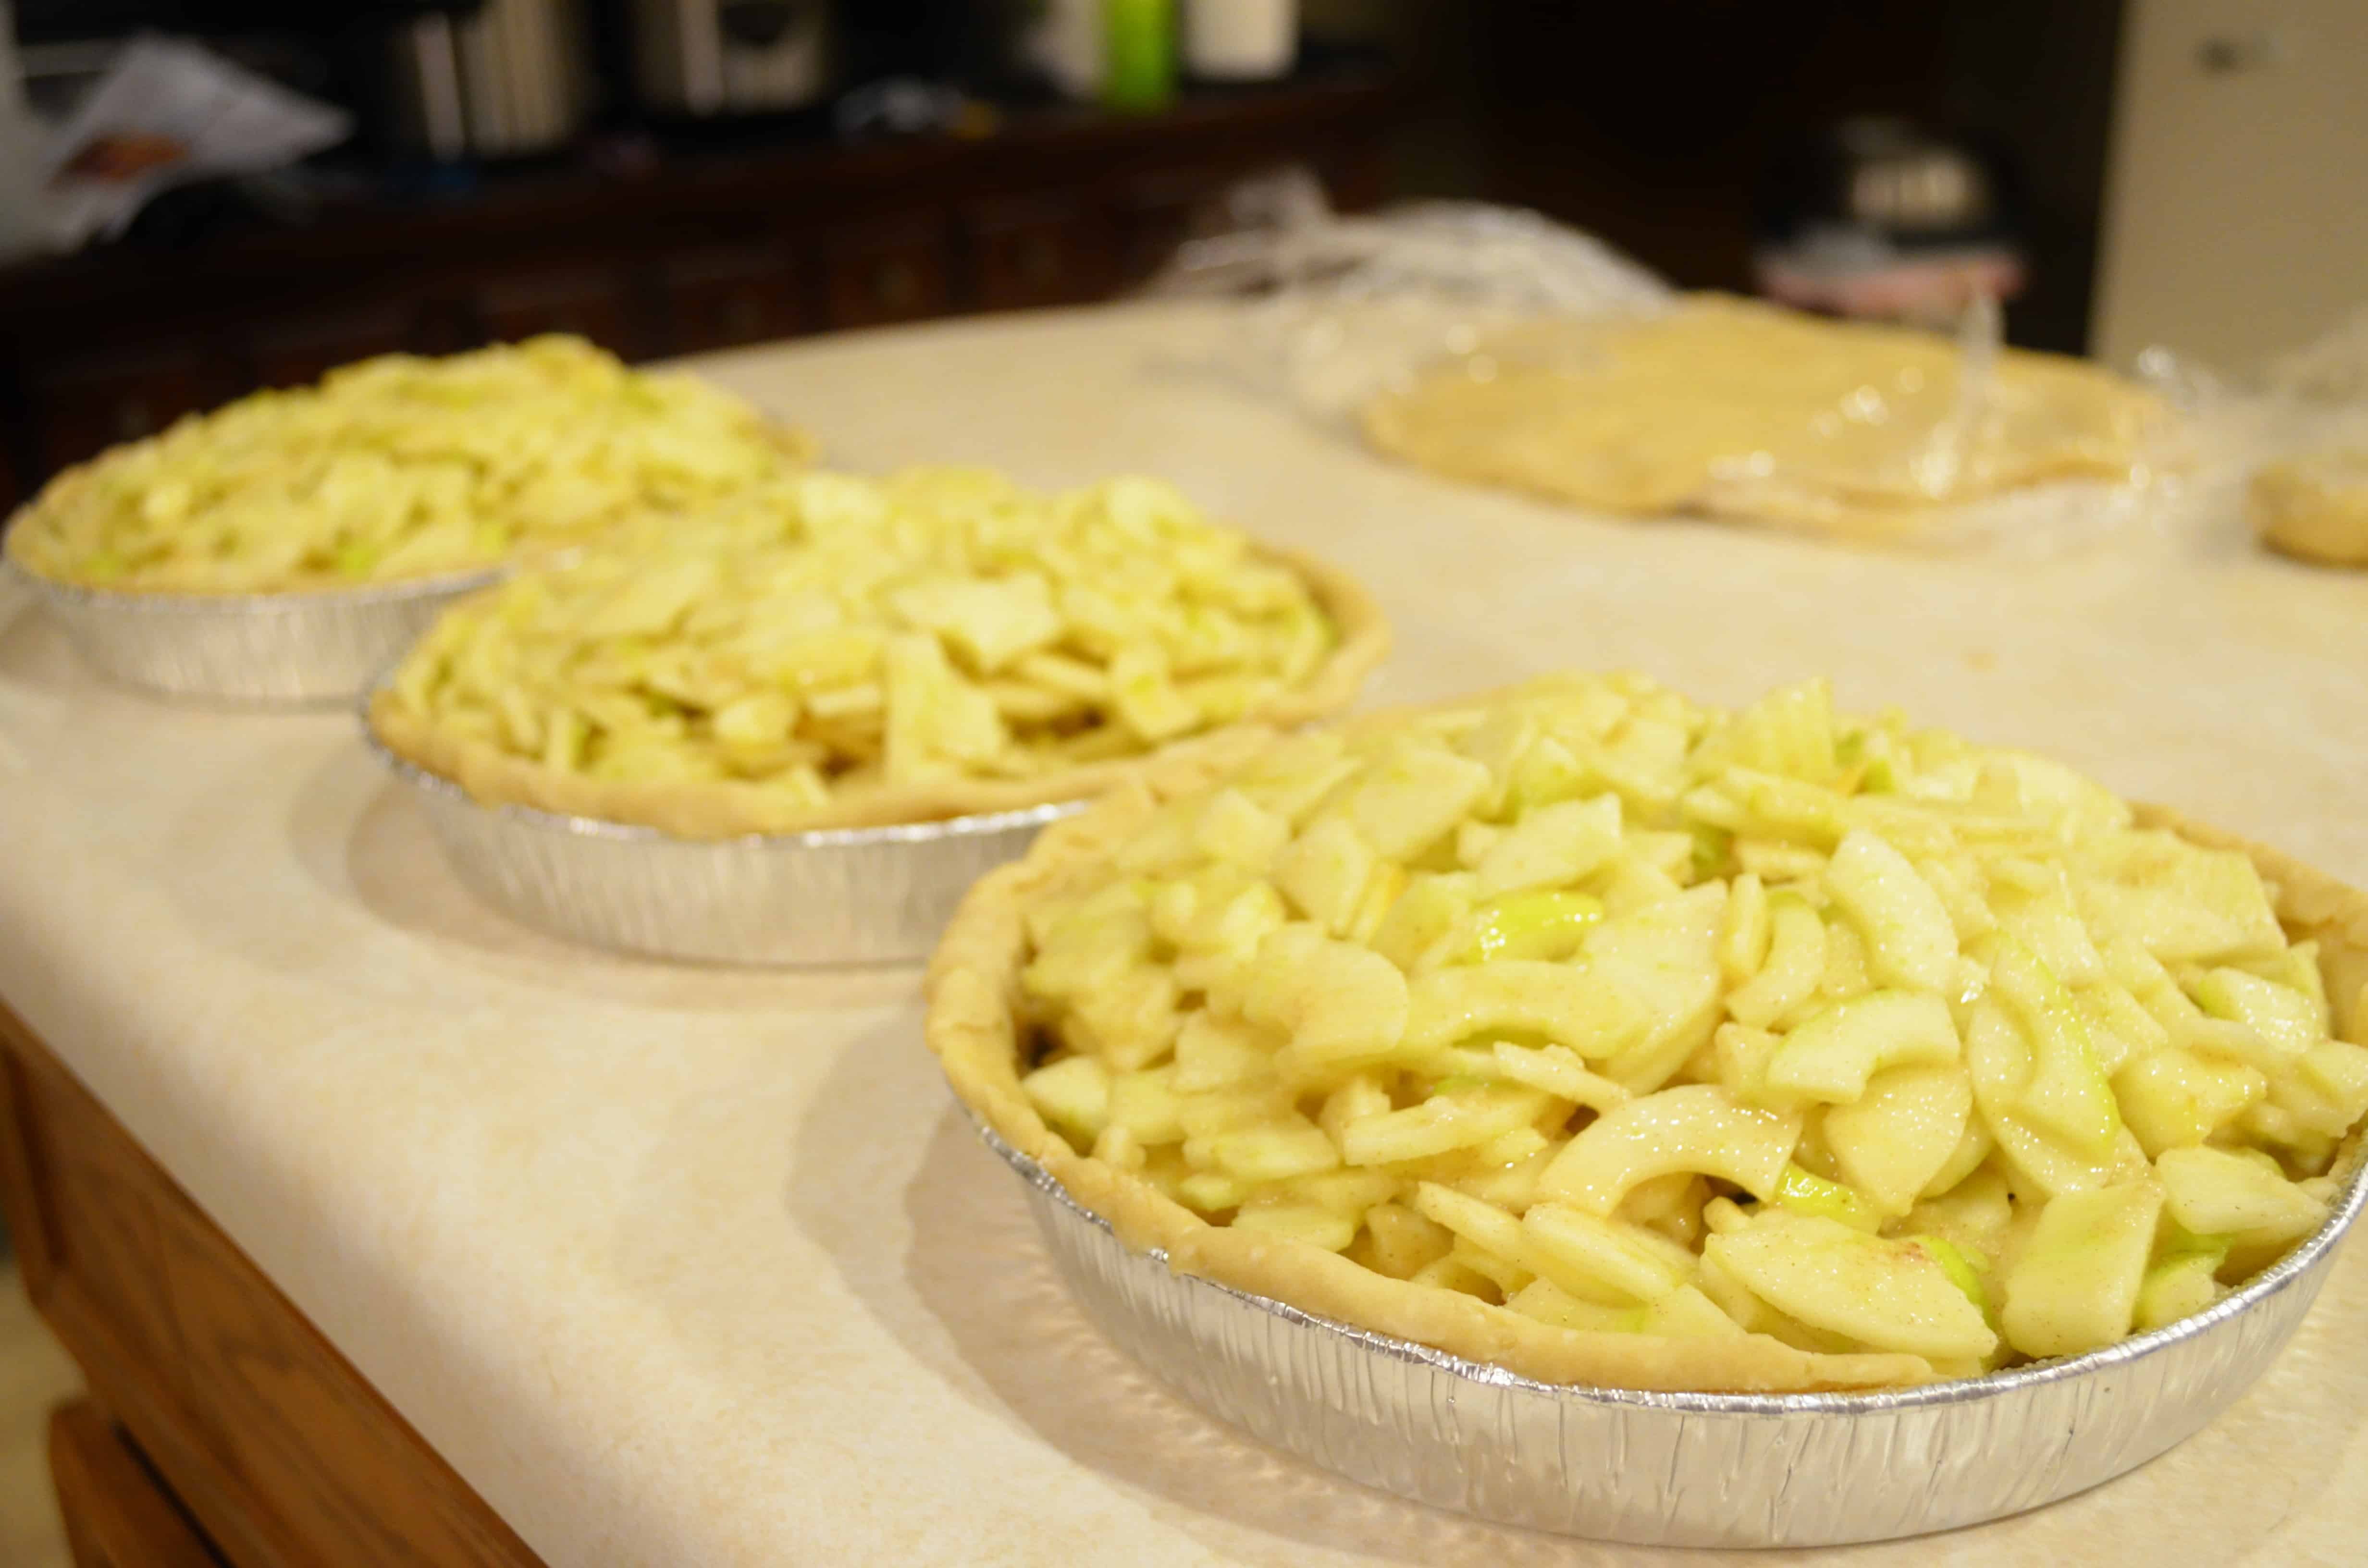
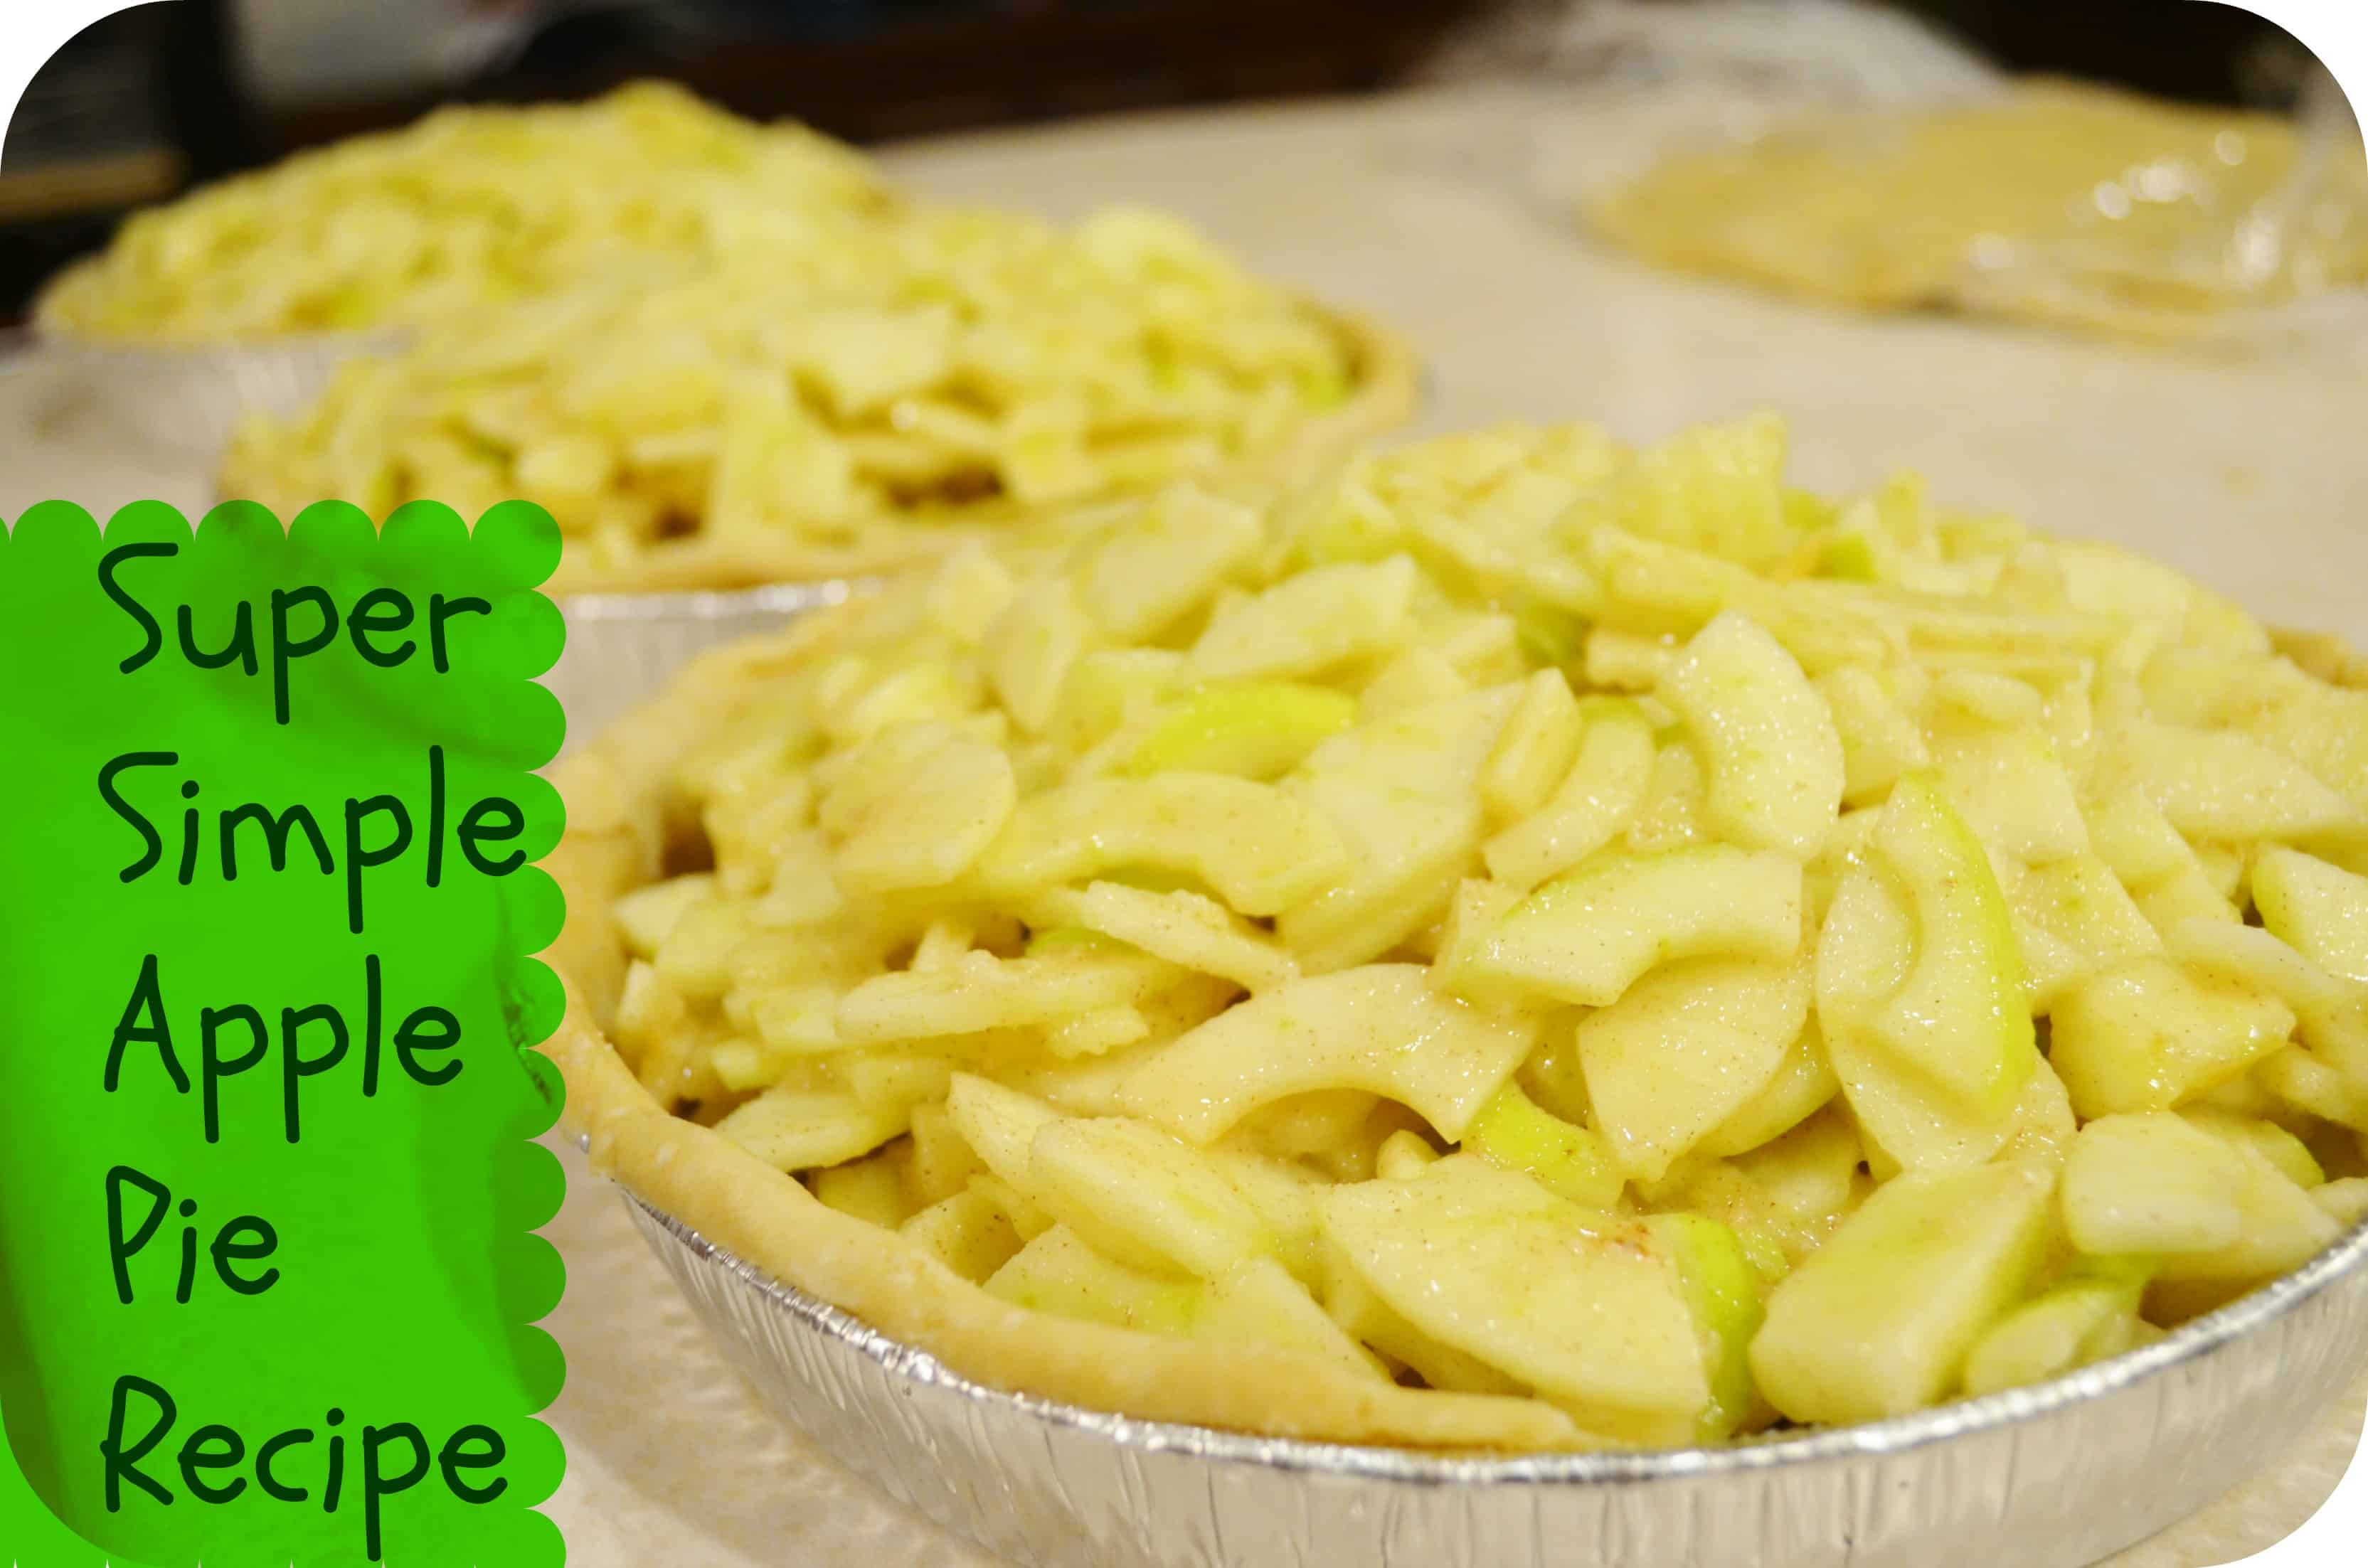
When you’re done grab handfuls of the apples out of the produce protector solution, shake them off a bit so they aren’t so wet, then dump them into your apple pie pans! When you’ve piled the apples above the top of the pan cut your butter up into small slices and place on top of the apples.
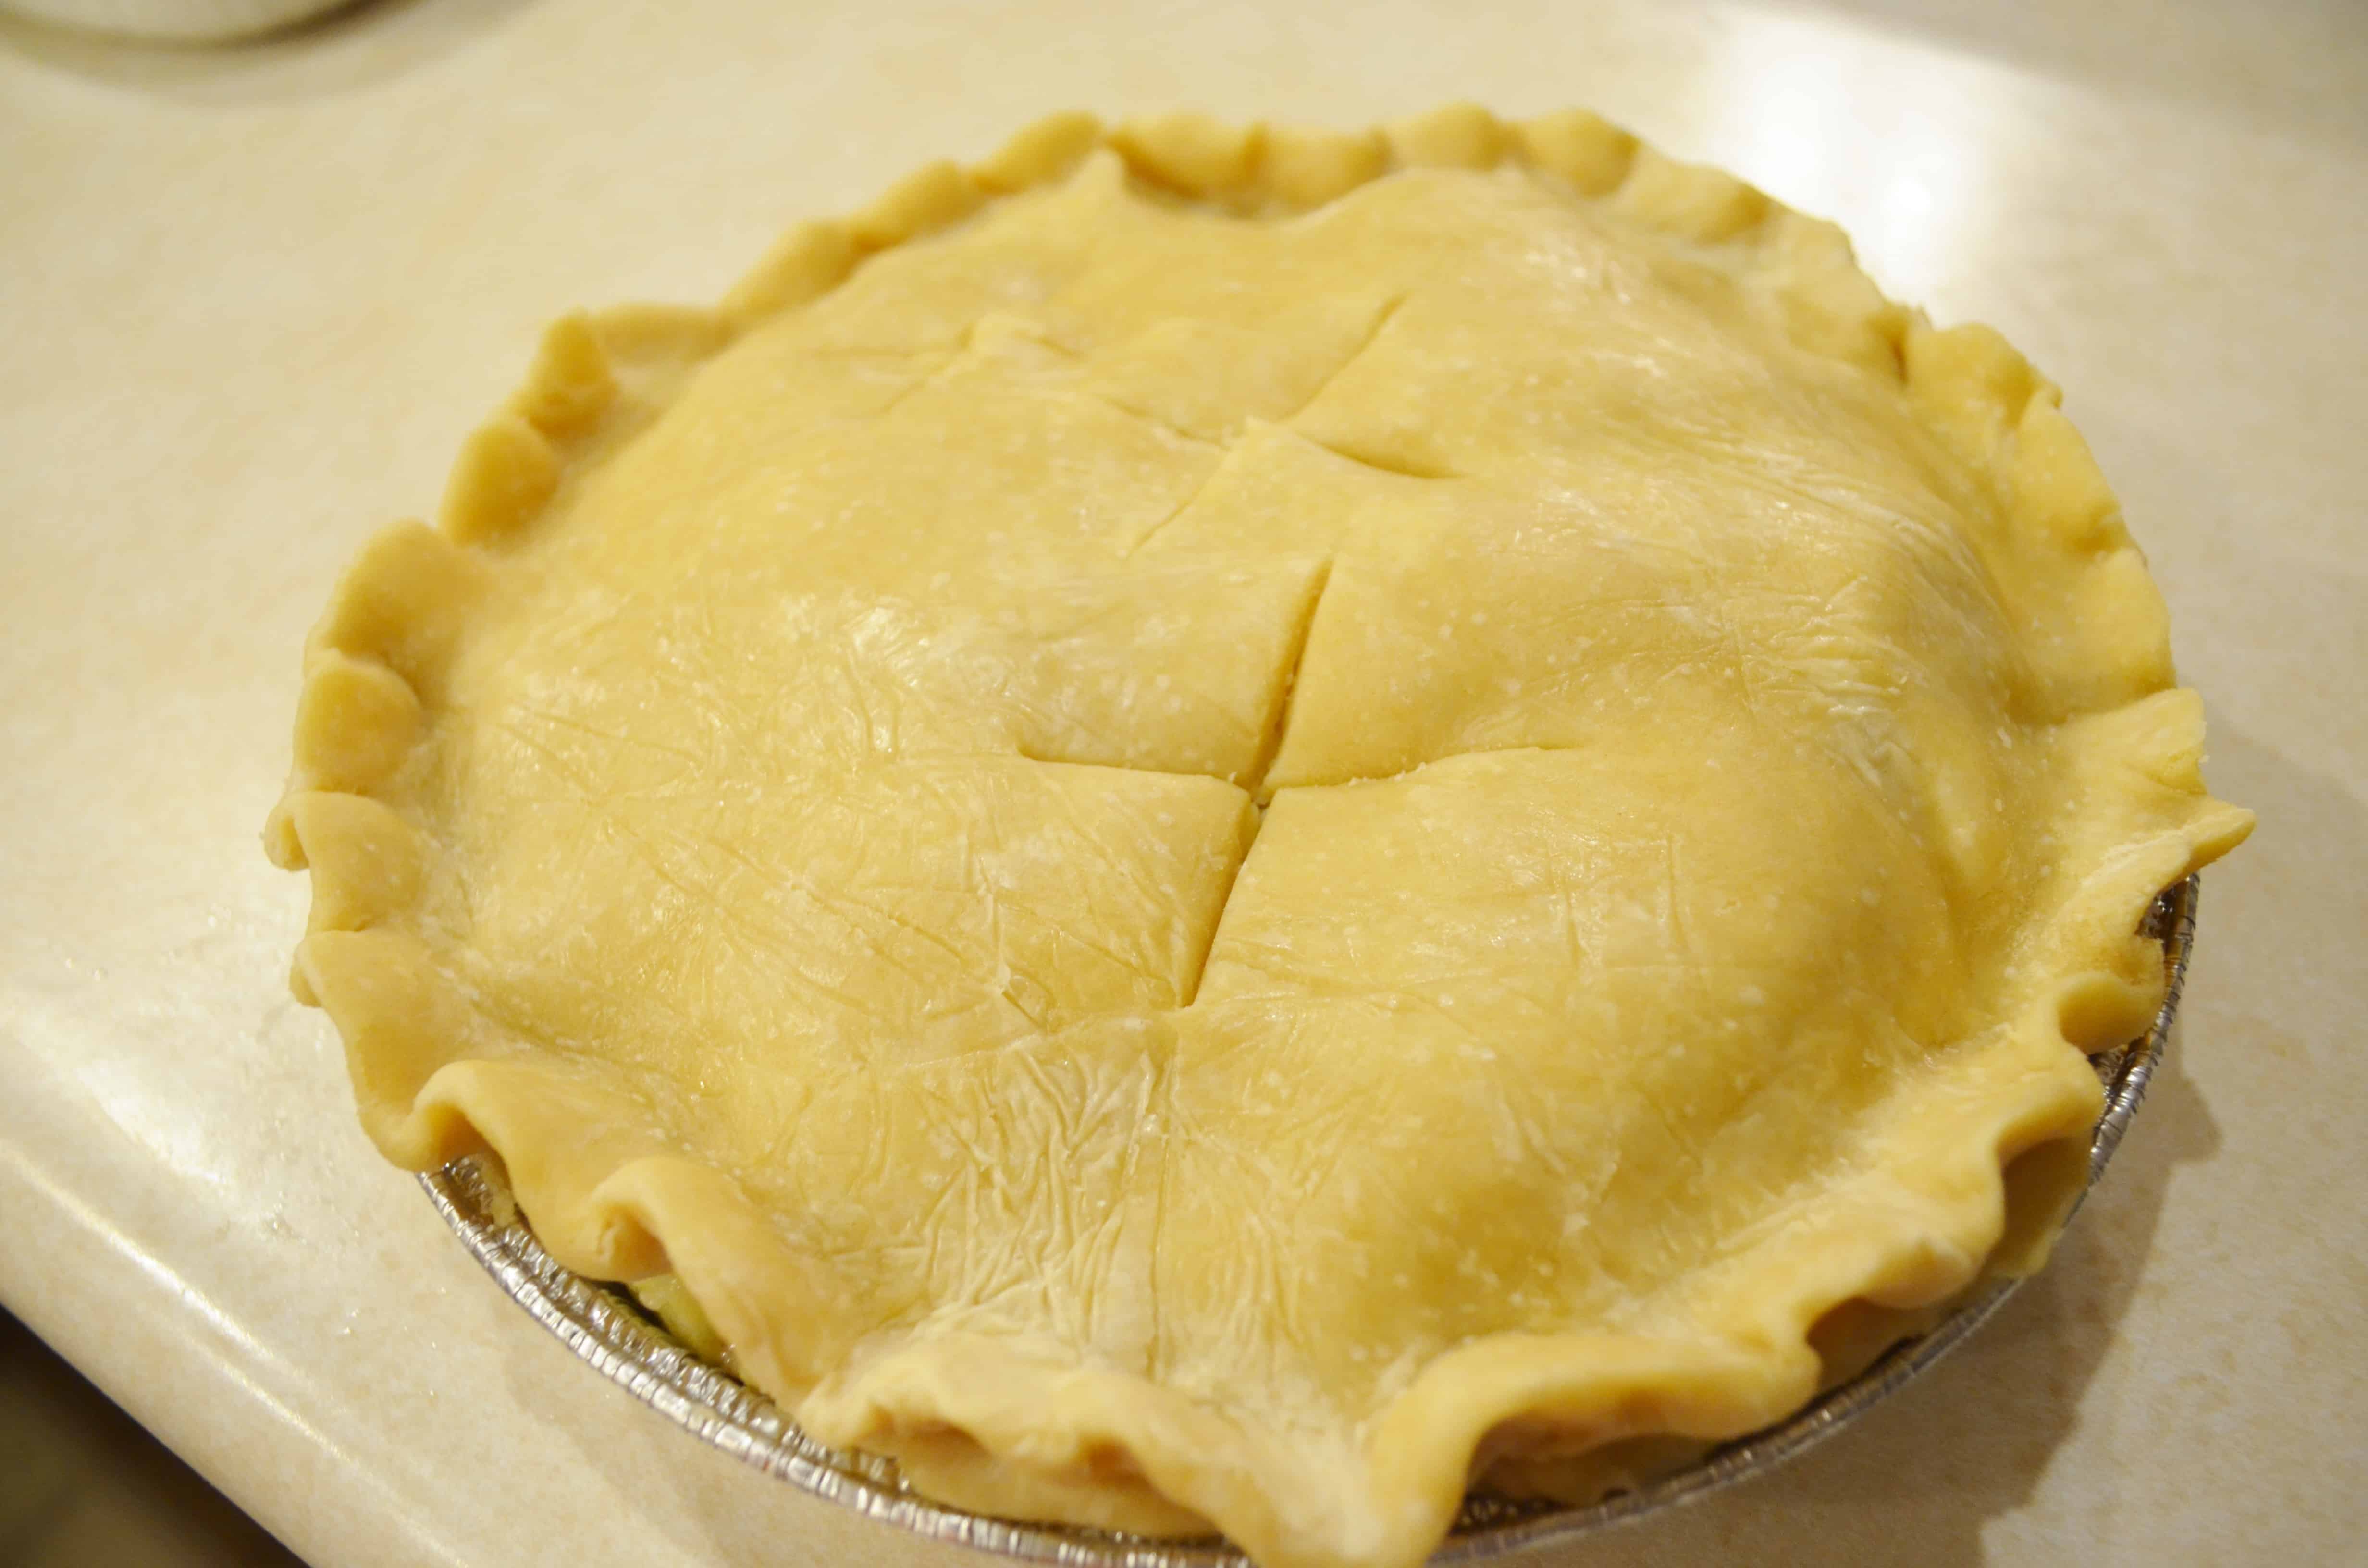
Don’t forget to lay your pie crust dough over the top! I pinch the sides of my pie crust together and then cut small slits in the top for venting! Now you can either freeze it for later or cook it for about 20 minutes at 400*F or until the top crust is lightly golden. I recommend brushing some butter and/or egg whites onto the top of the crust too!
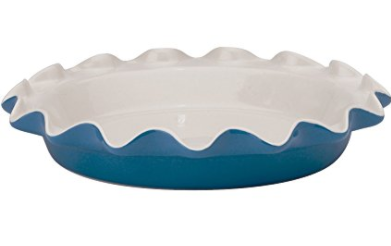 I also wanted to mention that if you know how to can you can also can your apples in the produce protector mix for later and just dump them into a pie crust during the year as you need them! It saves a lot of freezer space! This is the fancy pie plate that I want to order for my special pies!
Copy, Paste, & Print the Recipe Below!
Homemade Apple Pie Ingredients:
- 2 c. all-purpose flour
- 1 tsp. salt
- ⅔ c. Shortening or Lard
- 6 Tbsp. water
- Apple Filling:
- 8 c. apples – peeled, cored, cut
- ½ c. sugar
- ½ tsp. cinnamon
- ⅛ tsp. salt
- 2 Tbsp. butter
- optional: ½ tsp. nutmeg
Homemade Apple Pie Instructions:
Pie Crust:
- Mix 2 c. flour and 1 tsp. salt in a bowl.
- Cut in ⅔ c. shortening or lard.
- Sprinkle dough with 6 Tbsp. water
- Toss dough with a fork.
- Roll dough into a ball.
- Divide dough in half.
- Roll flat with rolling pin onto plastic wrap.
- Place in the fridge for 45 minutes.
- Apple Filling:
- Mix ½ c. sugar, ½ tsp. cinnamon, ⅛ tsp. salt, and ½ tsp. nutmeg in bowl.
- Stir in apples.
- Lay pre-rolled dough into bottom of pie pan.
- Add apples into pie pan.
- Cut butter into pieces and add on top of apples.
- Lay extra dough on top of apples and pinch the edges together.
- Cut small slits in top for venting.
- Freeze or cook for 40 minutes at 400*F.
- Read more at https://www.survivingateacherssalary.com/2013/07/super-simple-apple-pie-recipe-freeze-or-cook.html
Check out some of our other easy delicious recipes:
 |
 |
 |
