President’s Day Abraham Lincoln Paper Plate Kid’s Craft
This post may contain affiliate links, view our disclosure policy for details.
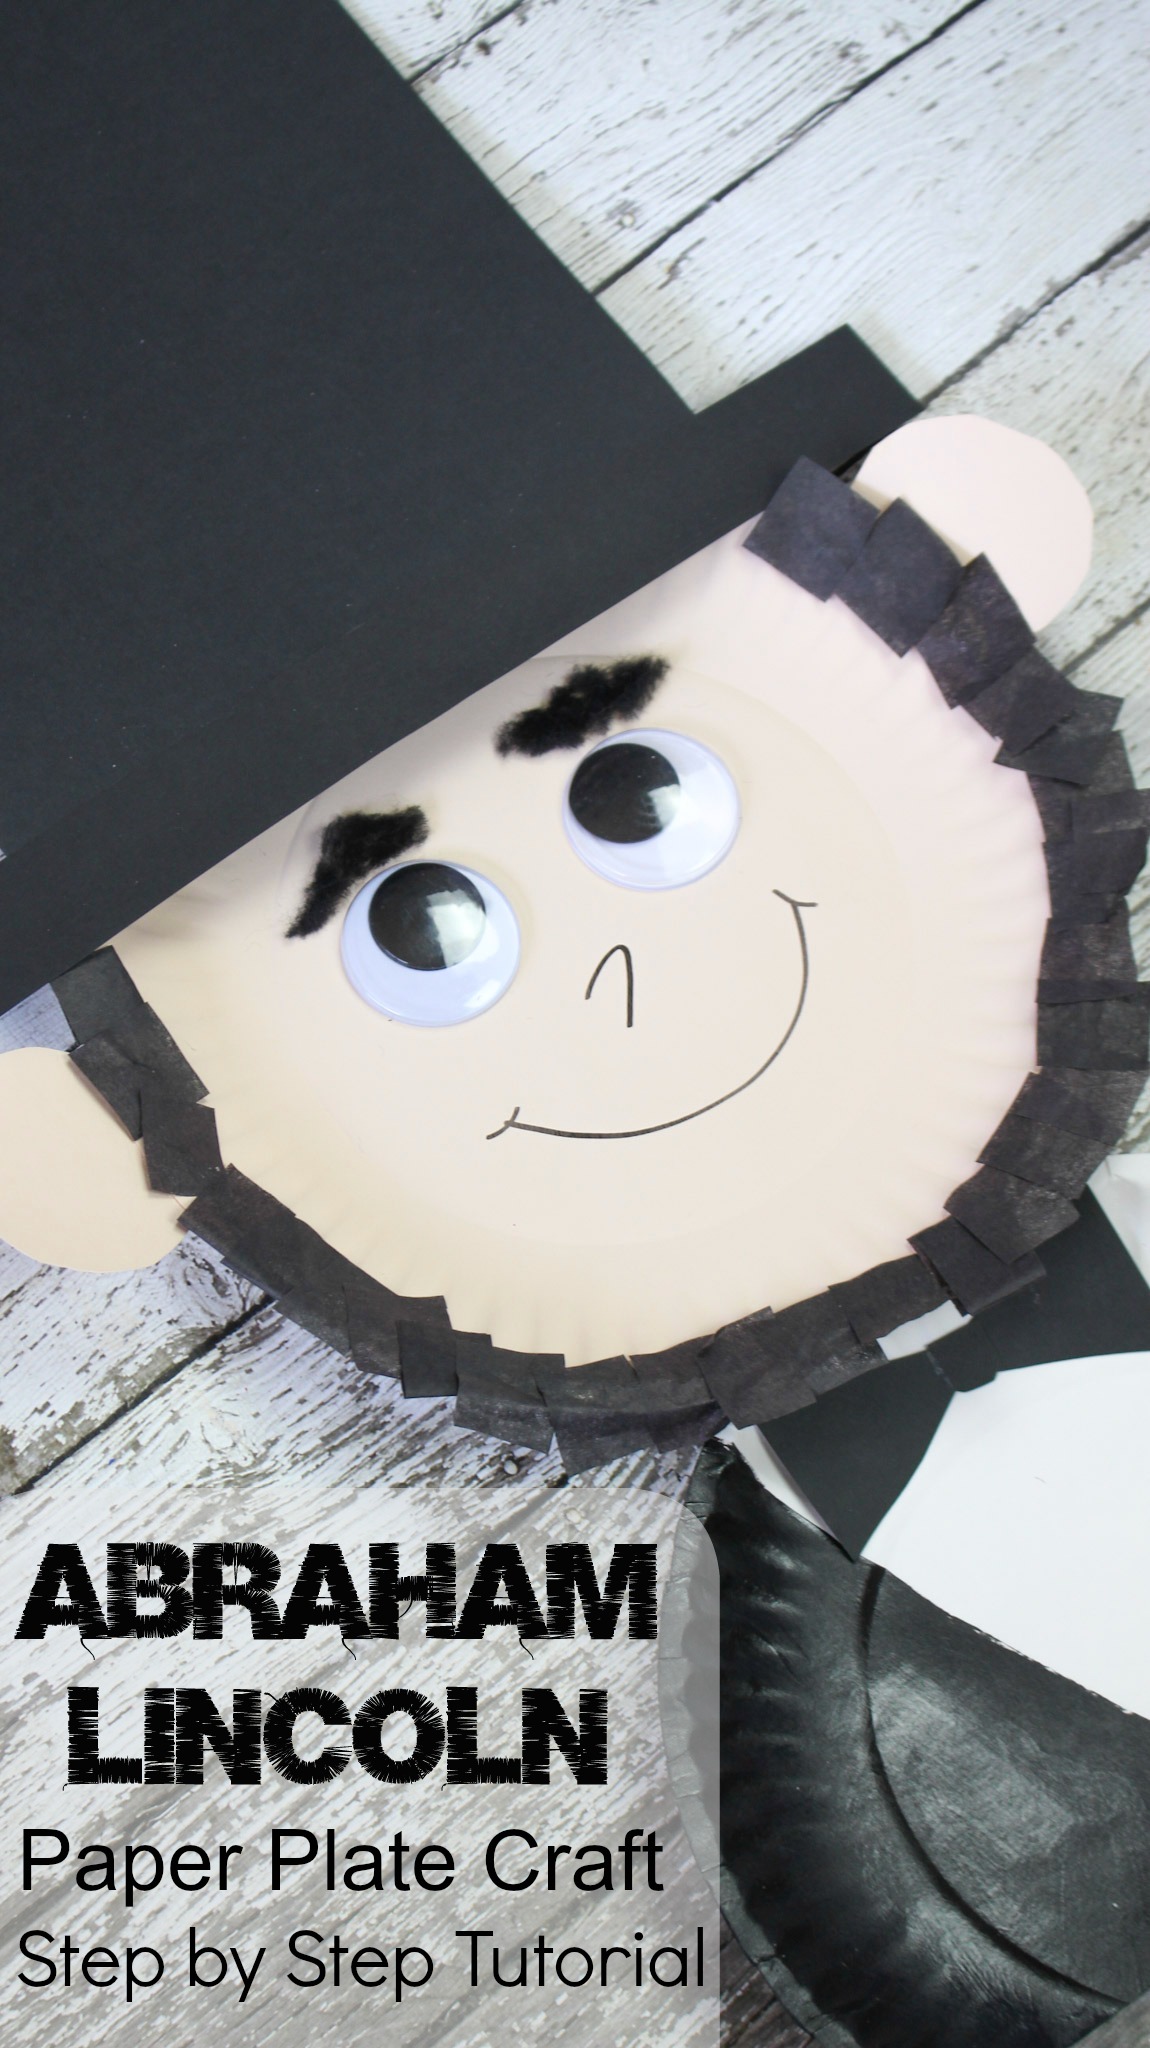
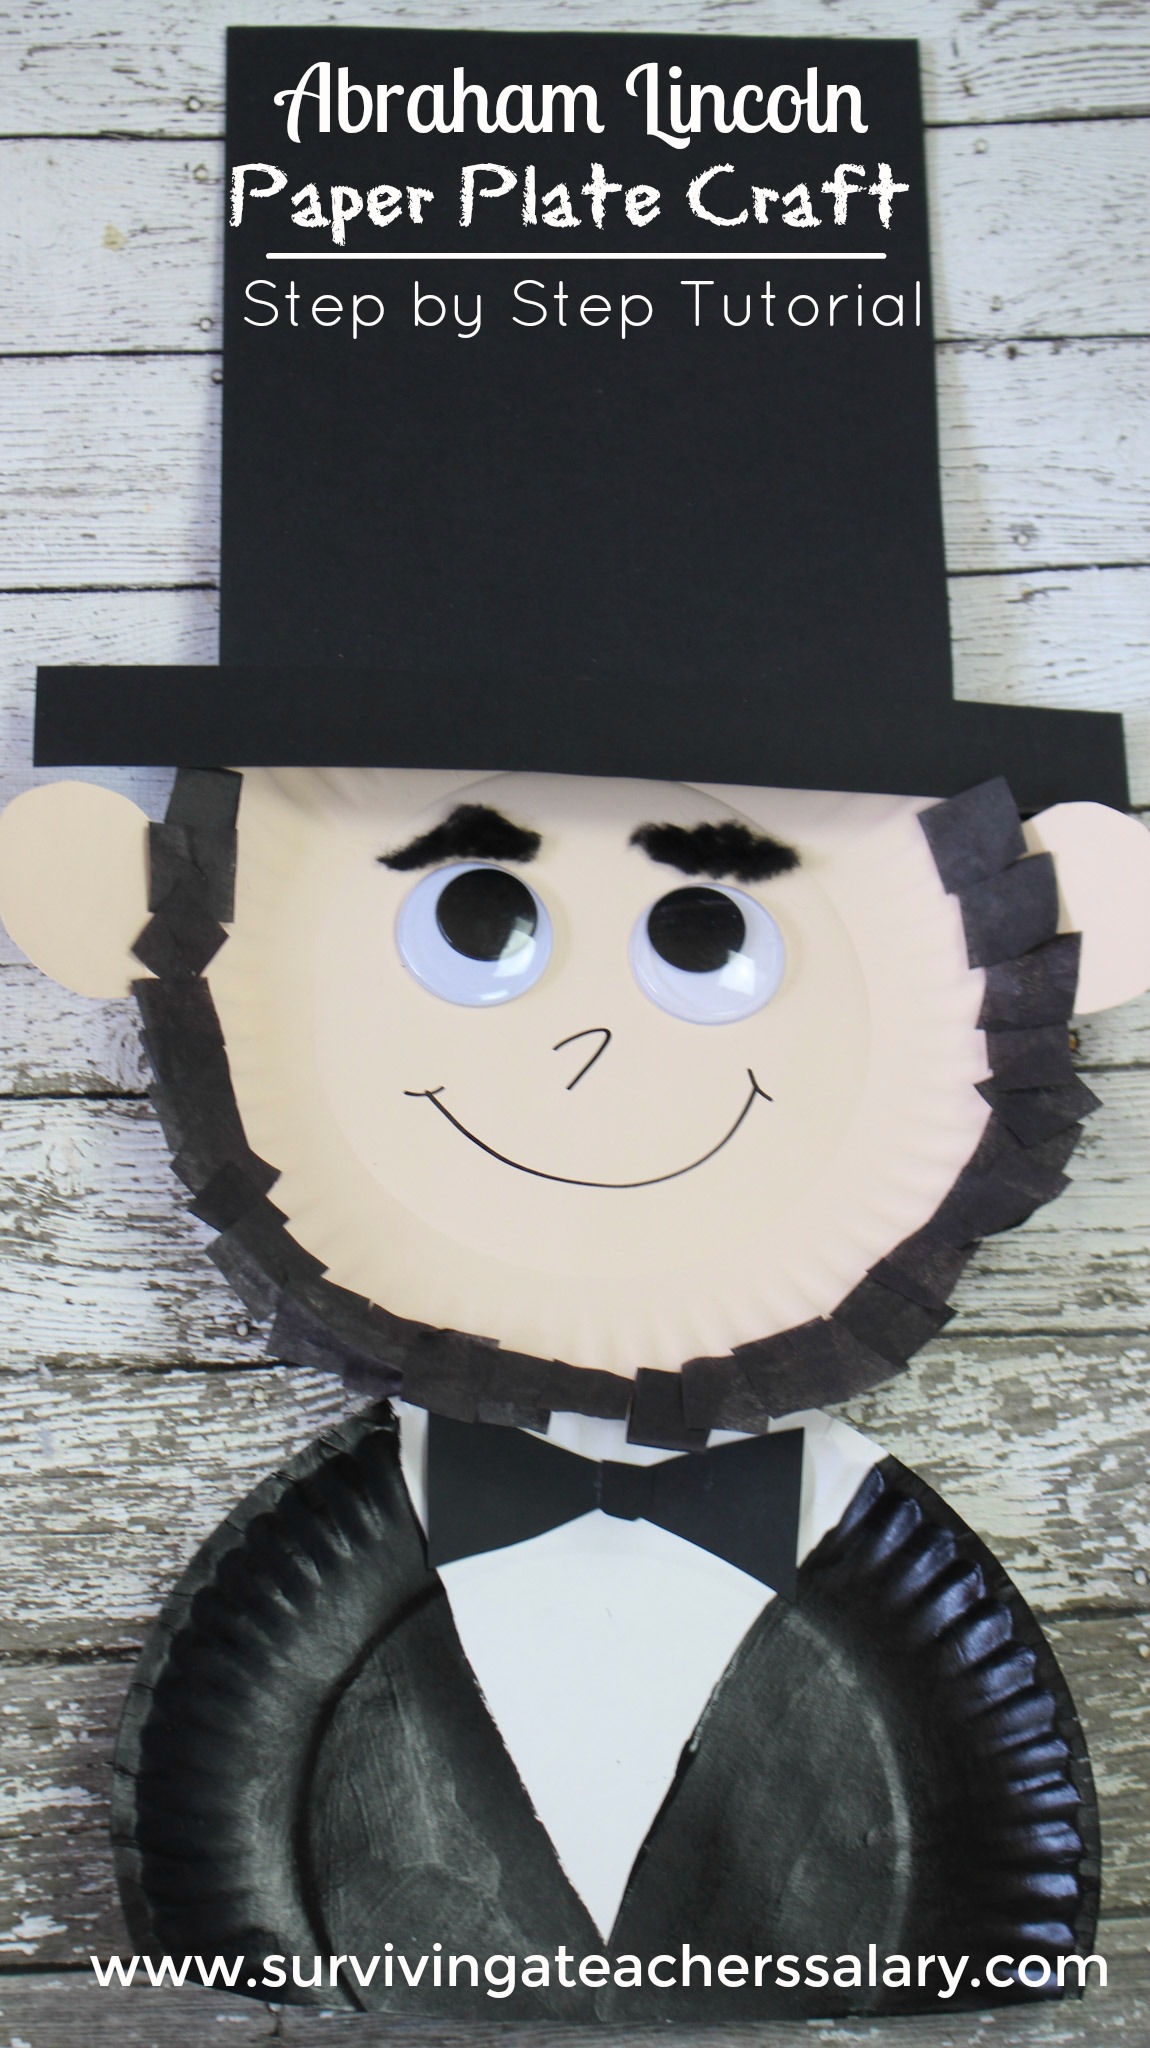
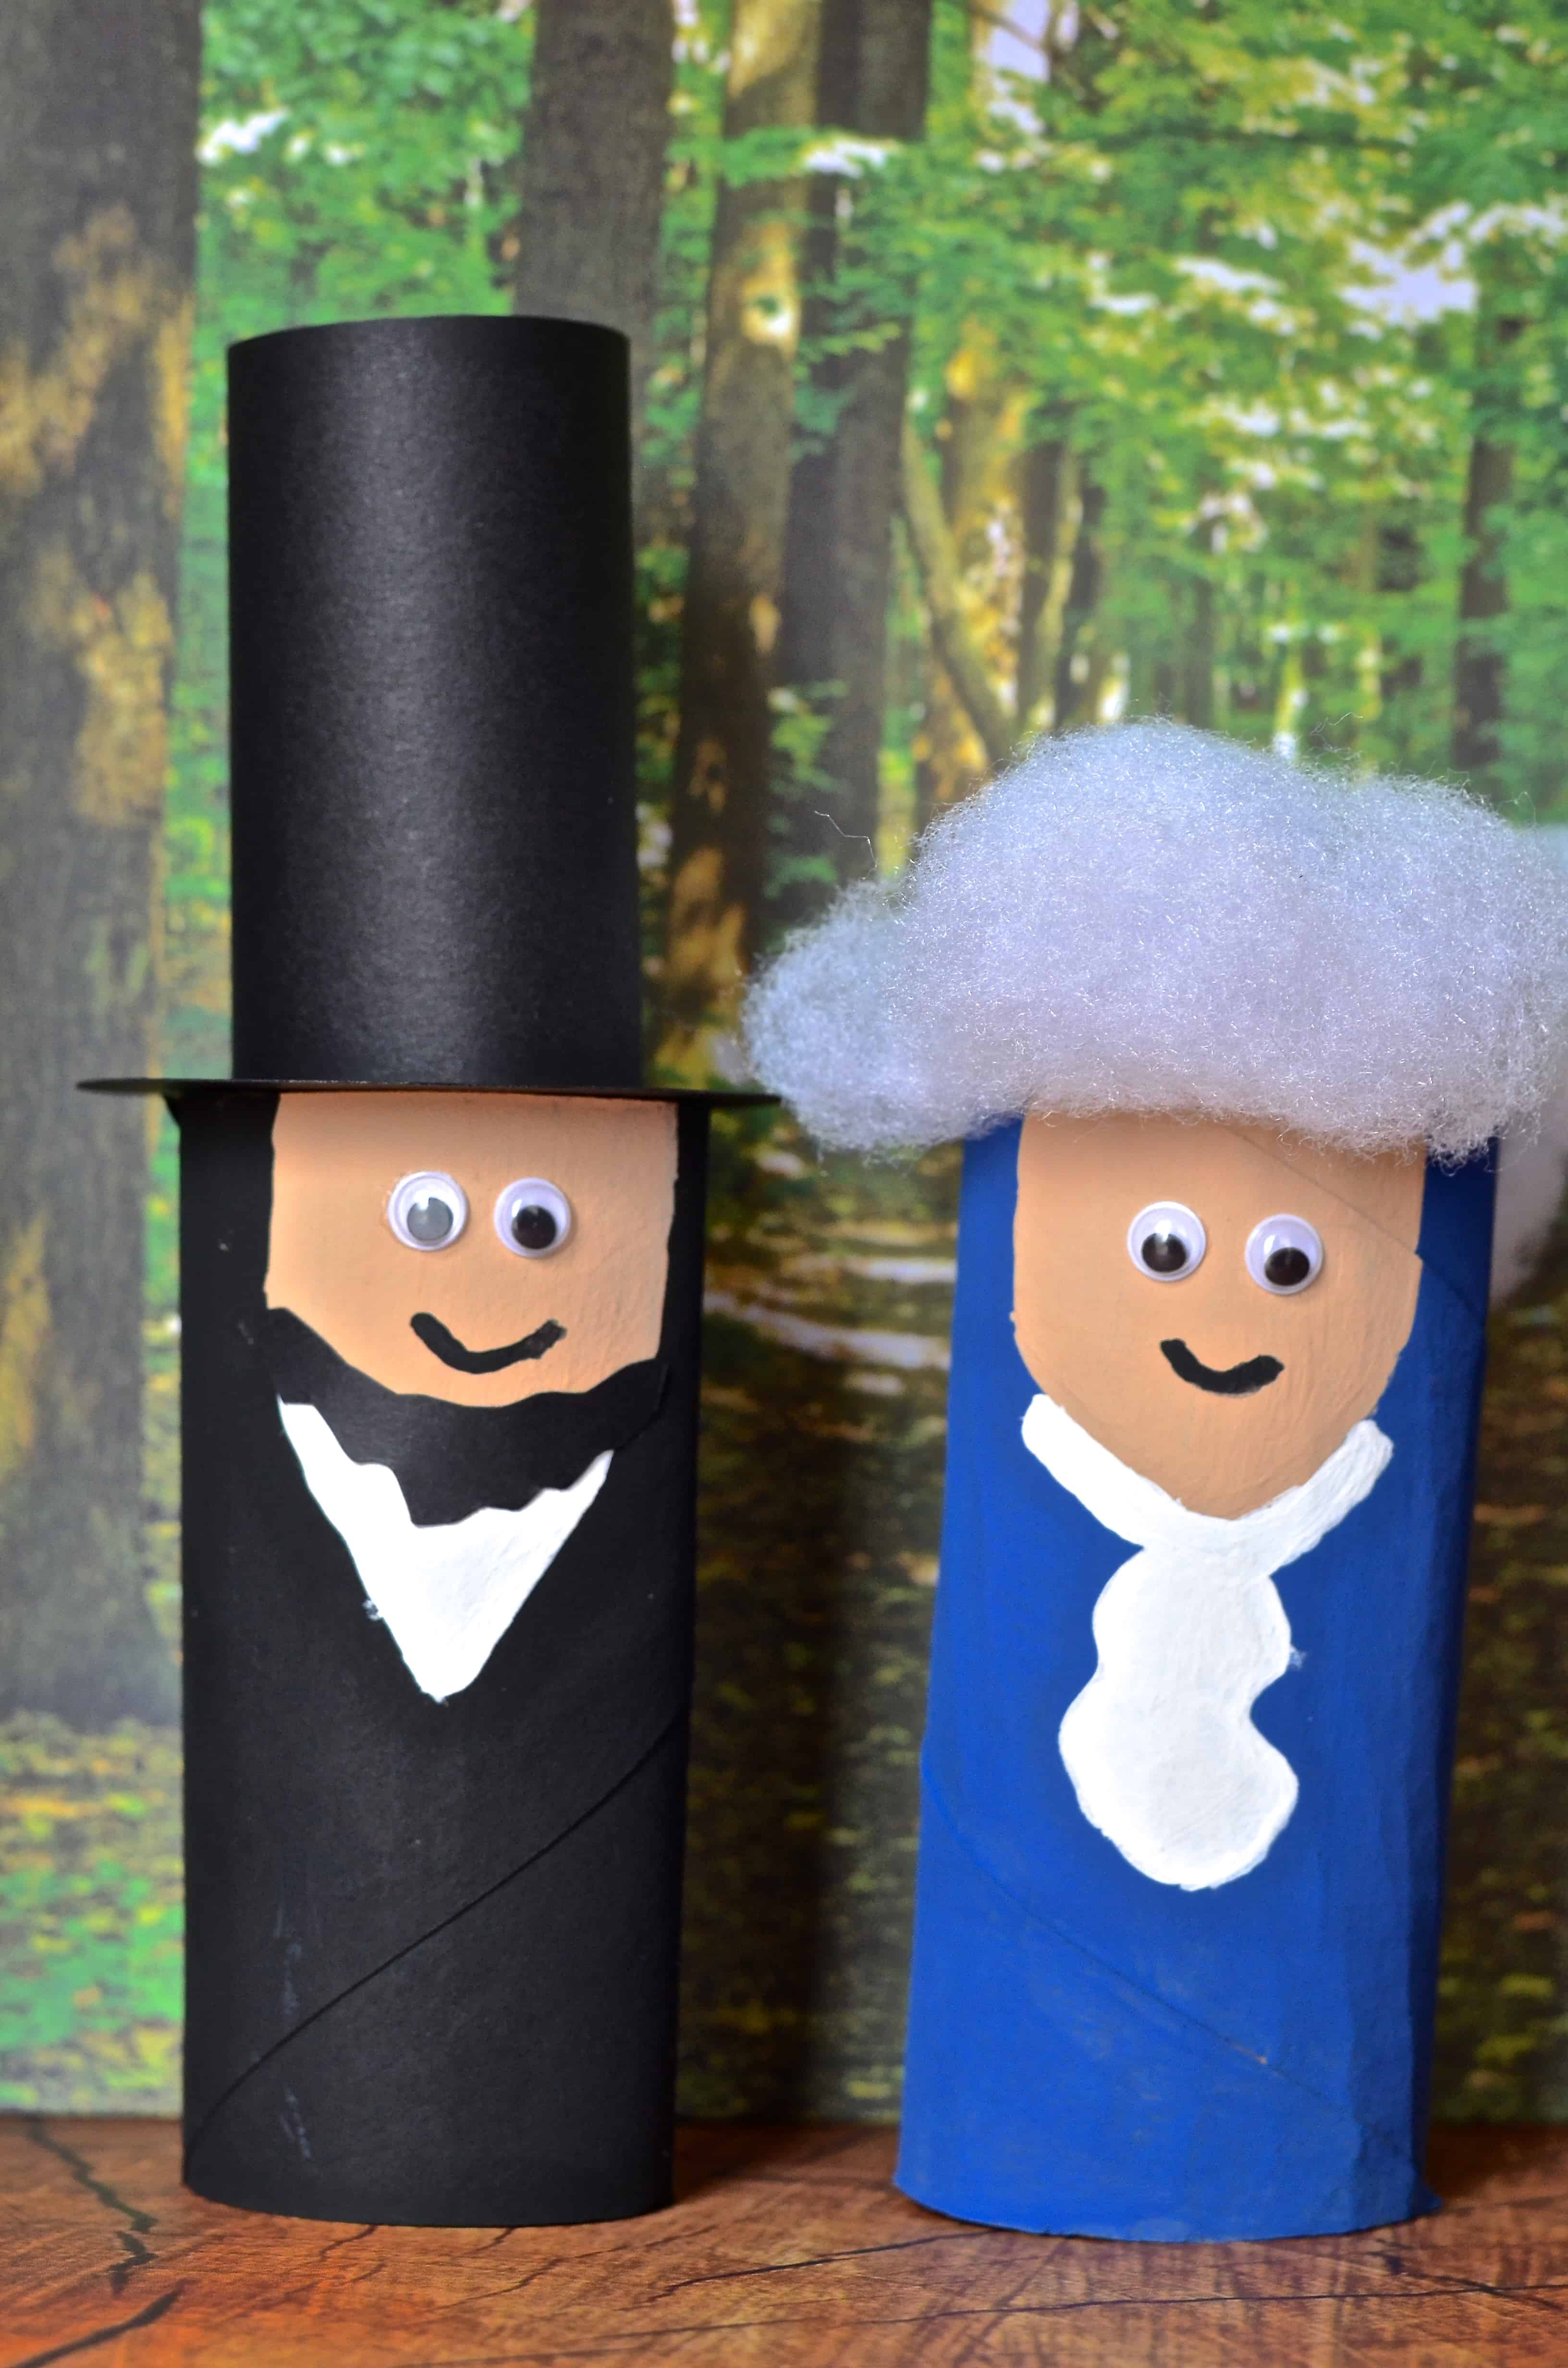
This simple Abraham Lincoln paper plate craft is perfect for President’s Day kid’s crafts or for a kid’s activity any time of year! Pair it with history lessons, book reports, or one of our favorite children’s books below.
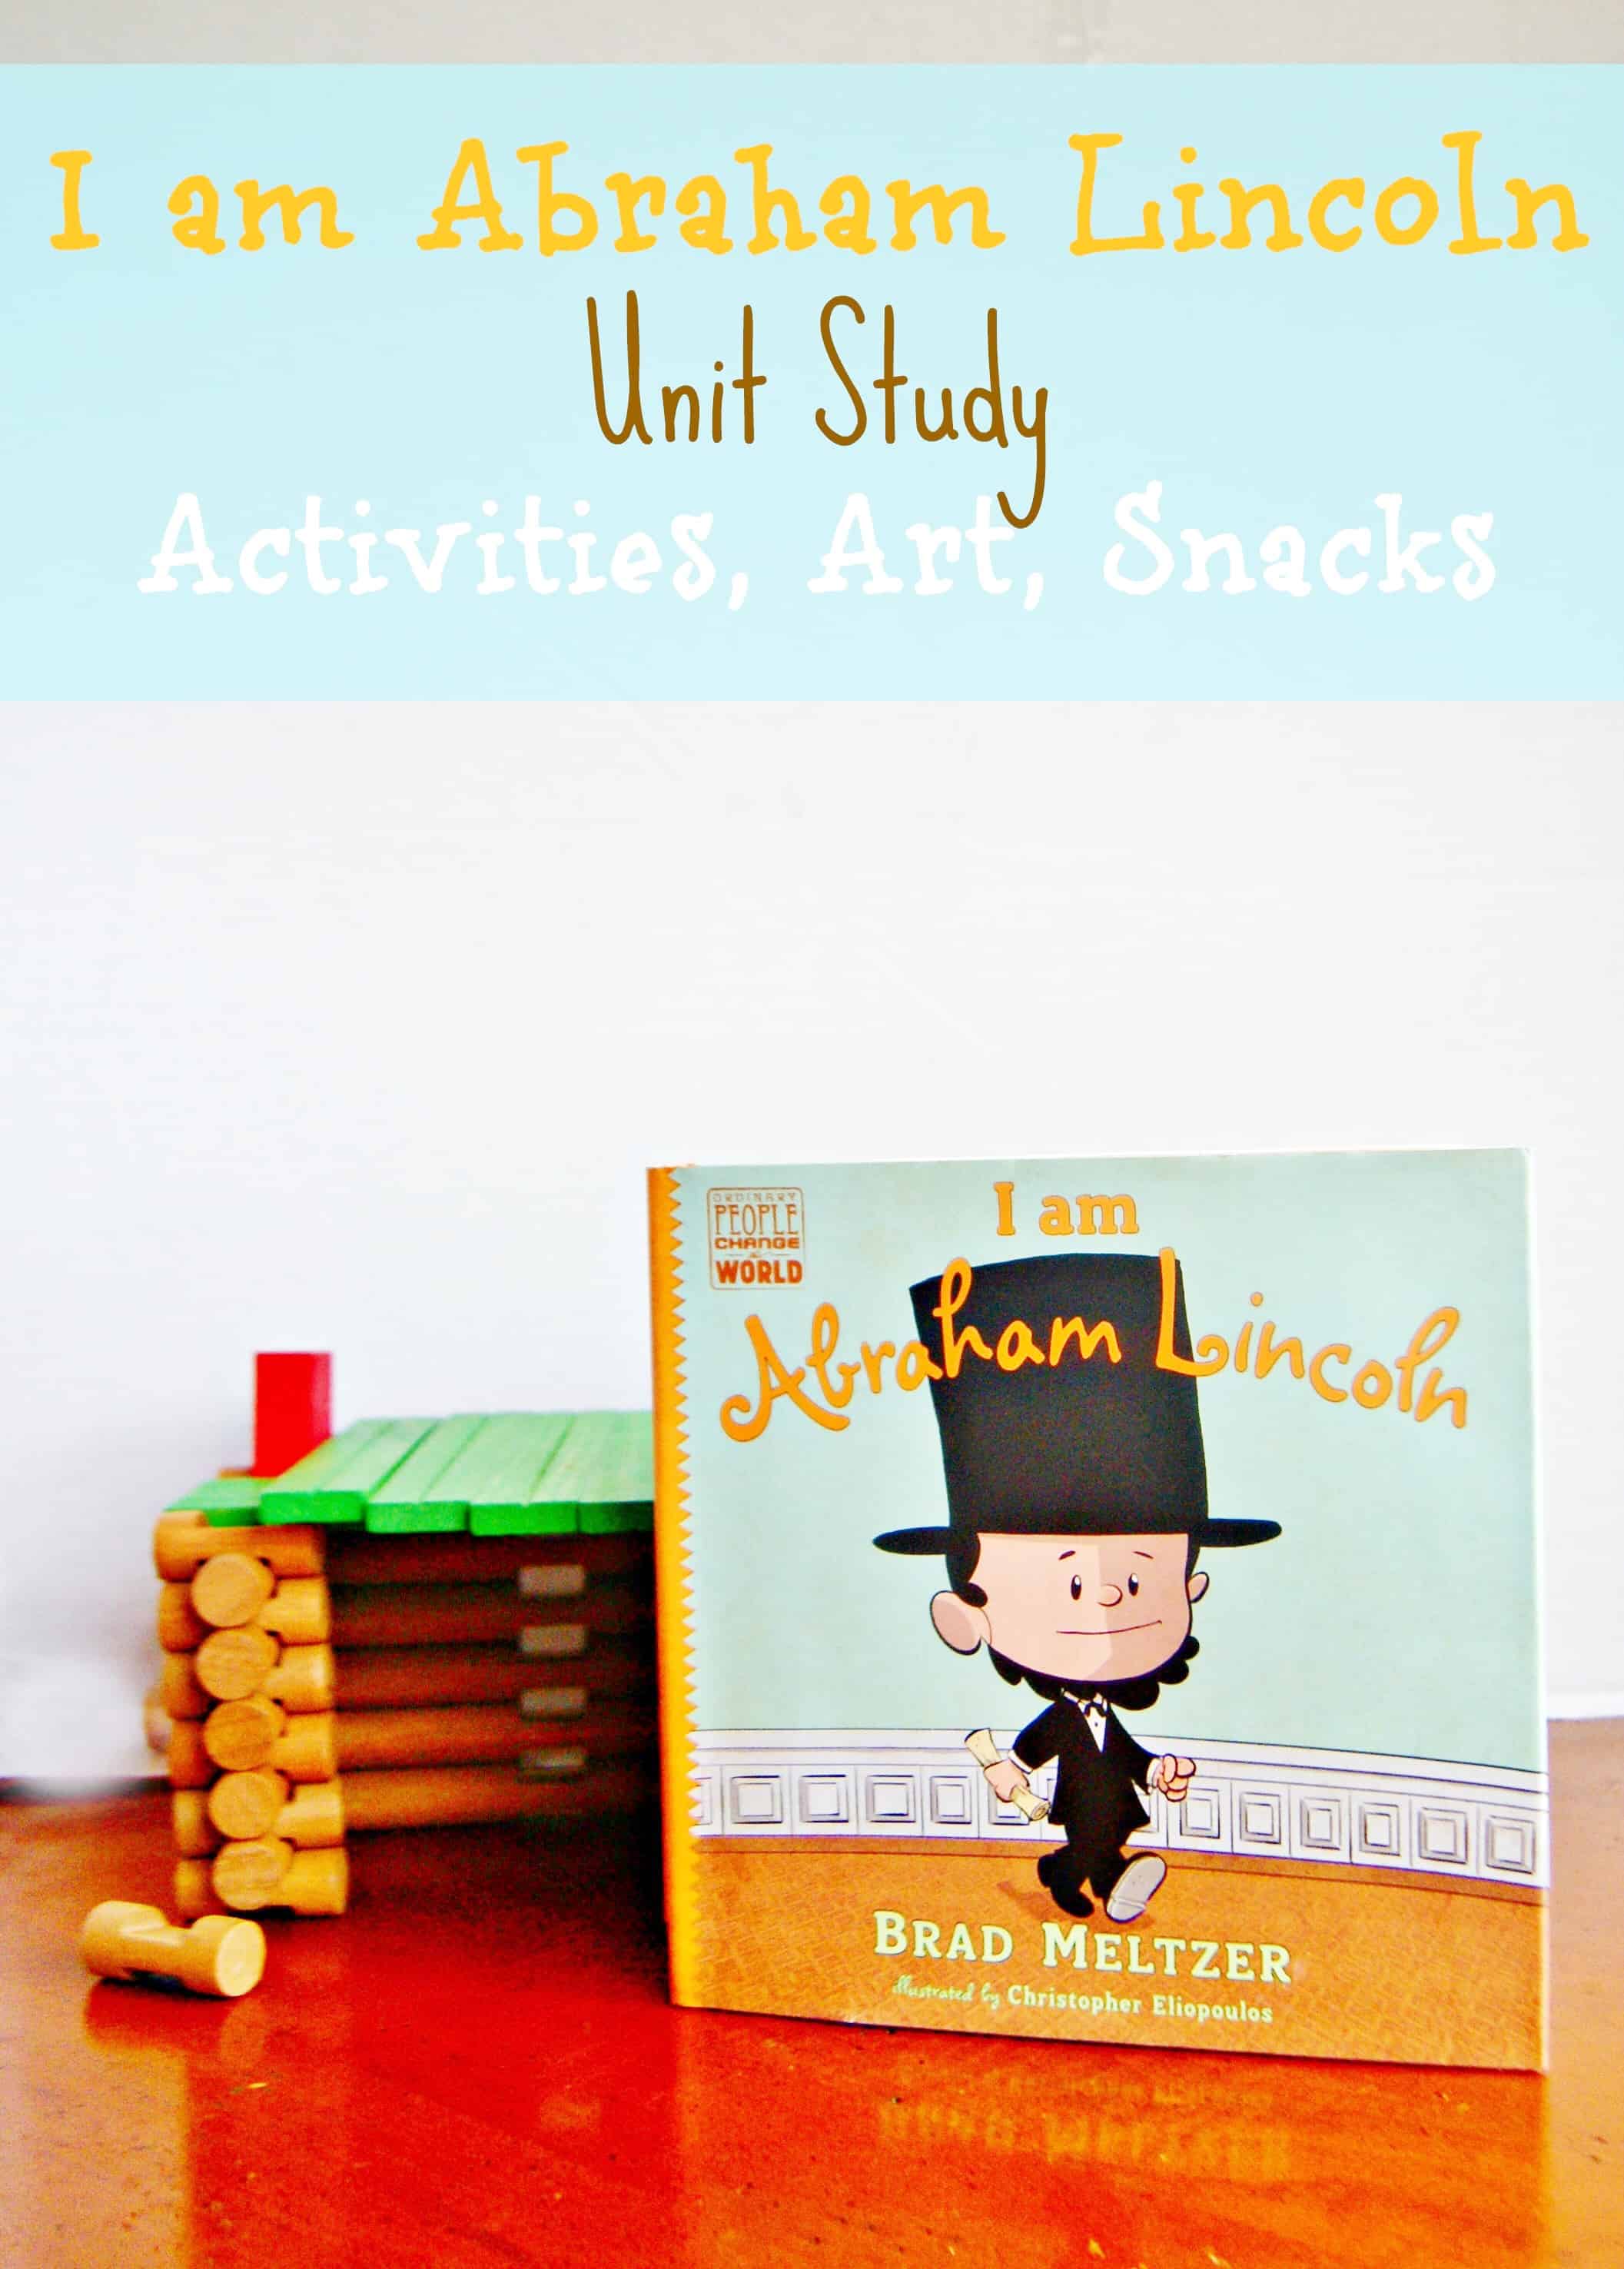
During President’s Day week we cover as many presidents as we can squeeze in learning about. I love Brad Meltzer’s “Ordinary People Can Change the World” series – his “I Am Abraham Lincoln” book would pair great with this!! This Abraham Lincoln paper plate craft is super fun to make and a great craft project for kids to practice following directions! Below is a step by step tutorial that you can follow closely and create your own Abraham Lincoln paper plate! You can even have the kids write a small biography about Lincoln or use a writing prompt and glue it onto his hat!
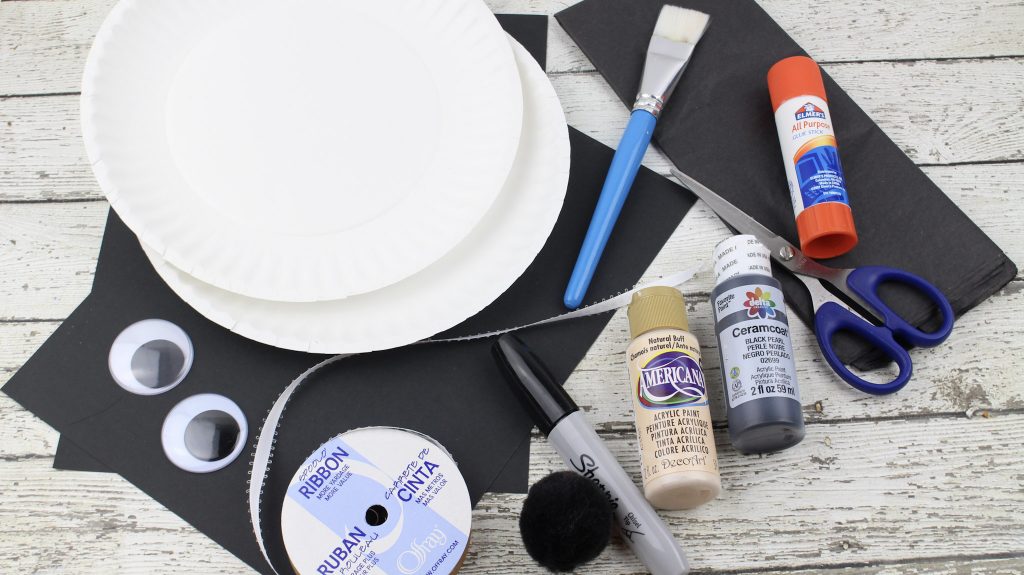
Abraham Lincoln Paper Plate Materials:
2 large white paper plates
Scissors
Glue Stick
Paint brush
Flesh colored paint
Black paint
Black construction paper
2 large googly eyes
Black marker
Black tissue paper
1 black pom pom
Optional – ribbon and hole puncher
Directions:
1. For the face, paint the front of one of the paper plates with the flesh colored paint. Set aside to dry.
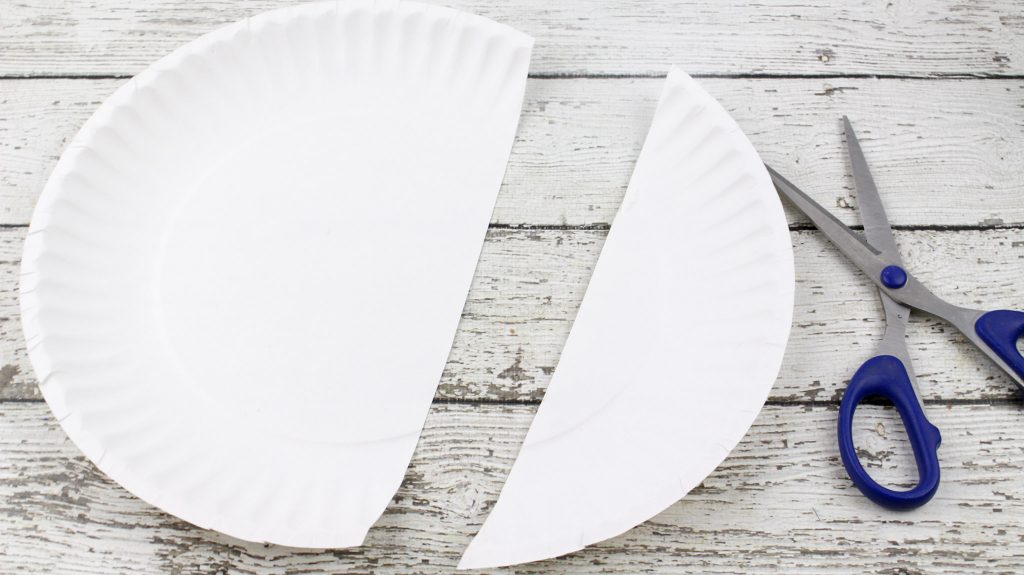
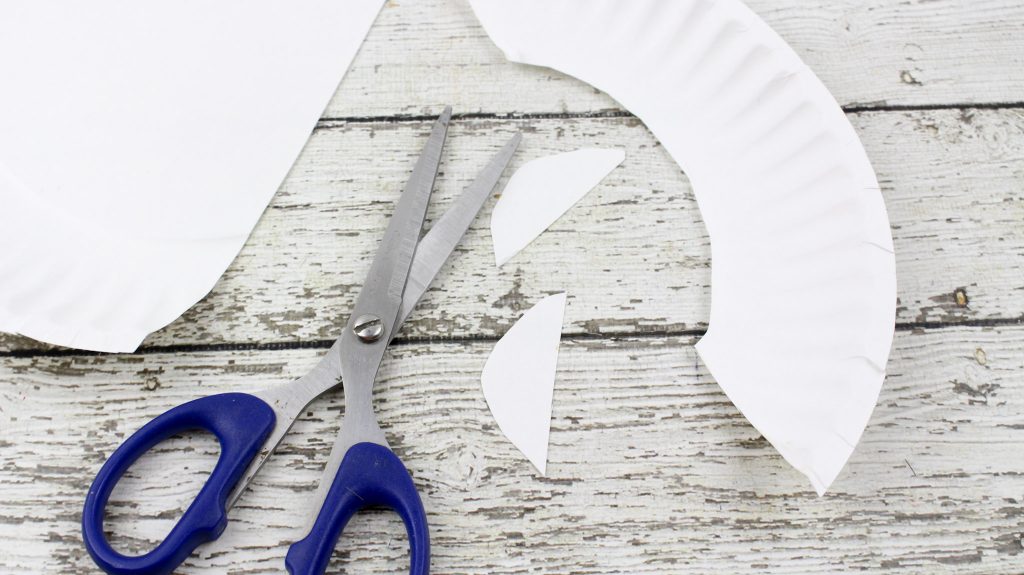
2. Cut the top 1/3 off from the second plate.
3. Cut out 2 quarter-size circles from the discarded 1/3 piece and paint with flesh colored paint for the ears. Set aside to dry.
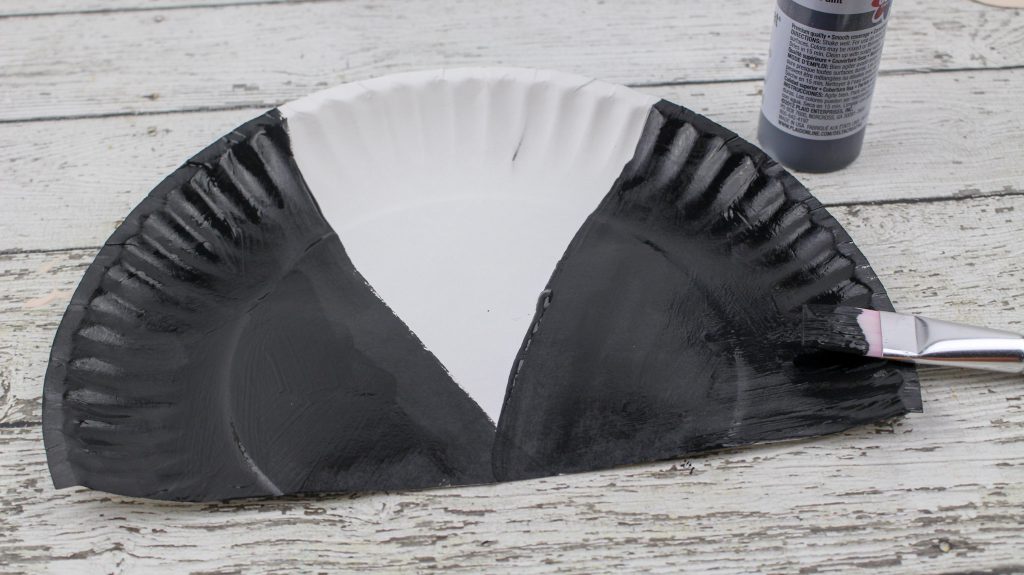
4. For the jacket, draw a large “V” in the middle of the second plate. The top should be the ridged part of the plate. Paint both sides of the “V” black and set aside to dry. The white v-shape will represent Abe’s shirt.
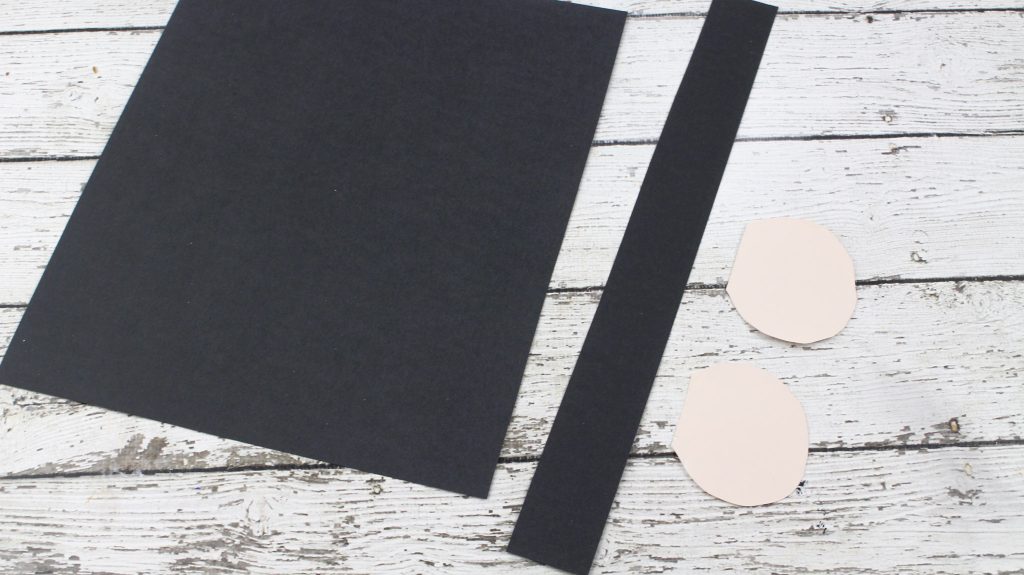
5. For the hat, cut out a 7 inches wide by 9 inches long piece from the black construction paper. For the hat rim, cut out an 11 inch wide by 1 inch long black strip. Apply glue to the bottom of the hat and attach the rim to it.
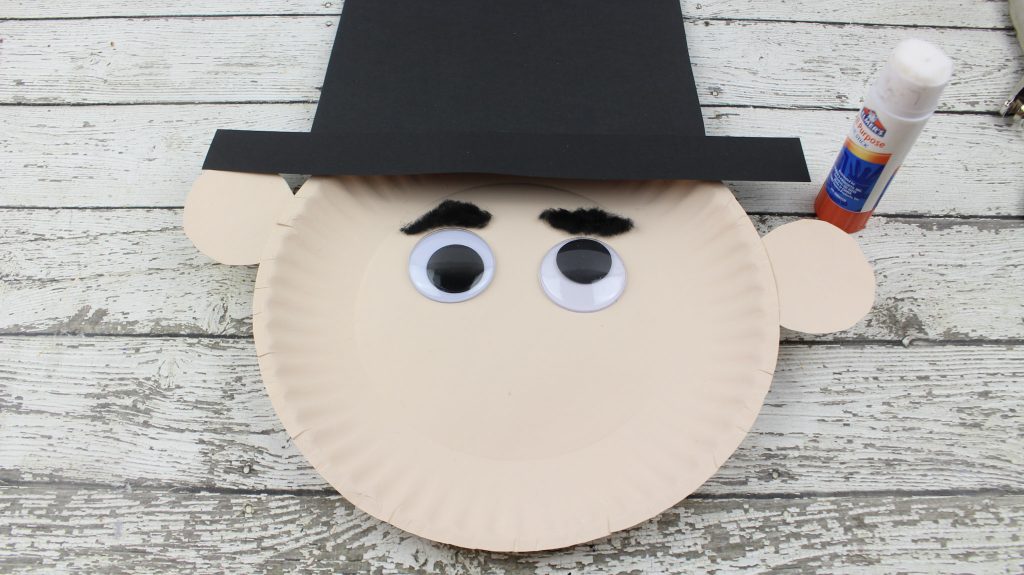
6. Glue the hat onto the top of the face plate.
7. From the remaining piece of black paper, cut out 2 triangles and a small dime-size circle for the bow tie. Set aside for step 8.
8. Apply glue to the back of both googly eyes and affix to the face. Apply glue to the sides of each ear and attach to the back of the face paper plate.
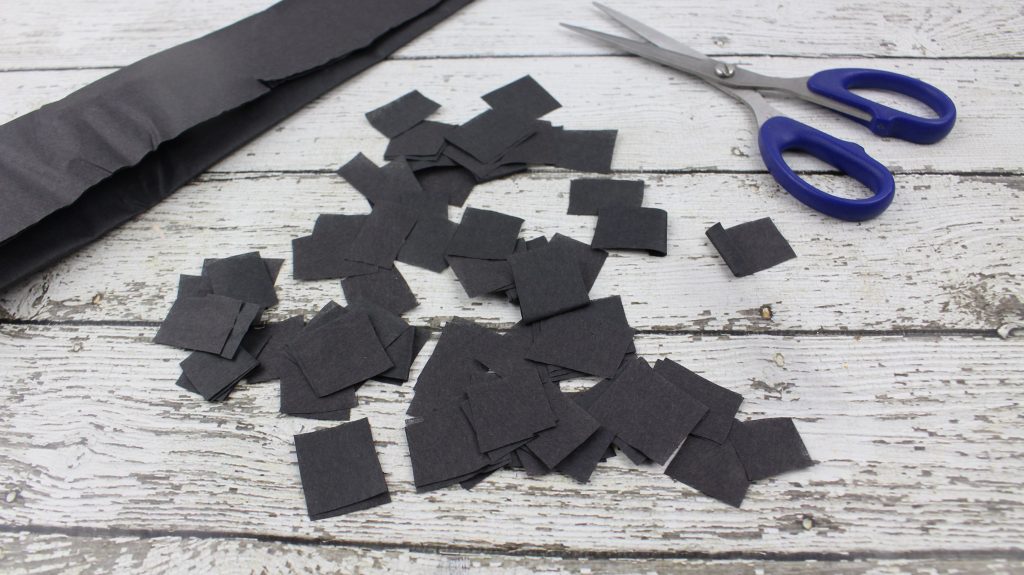
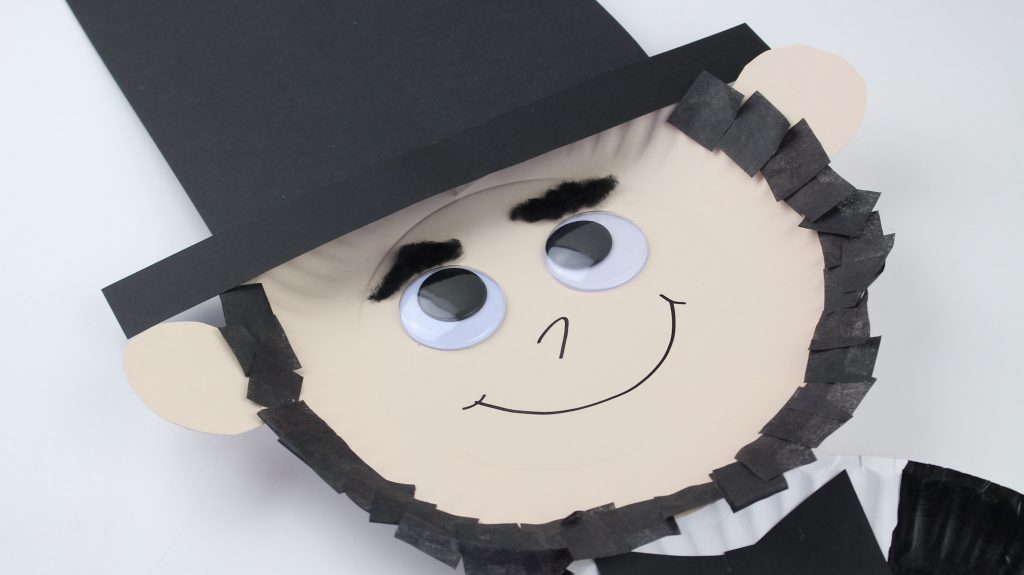
9. For the beard, cut out small pieces from the black tissue paper and glue along the diameter of the face.
10. For the eyebrows, cut off a small amount of “fur” from the black pom pom and glue above each eye.
11. Glue the bow tie together and attach to the jacket plate, directly in the middle of the white shirt.
12. Draw a nose and smile with a black marker.
Optional – Punch a hole in the top of the hat and push ribbon through the hole to hang the Abe Lincoln paper plate craft for all to see!
Overview Tour of the Benjamin Harrison Presidential Site:
Check out our other President’s Day ideas!:
 |
 |
 |


