President’s Day George Washington Paper Bag Kid’s Craft
This post may contain affiliate links, view our disclosure policy for details.
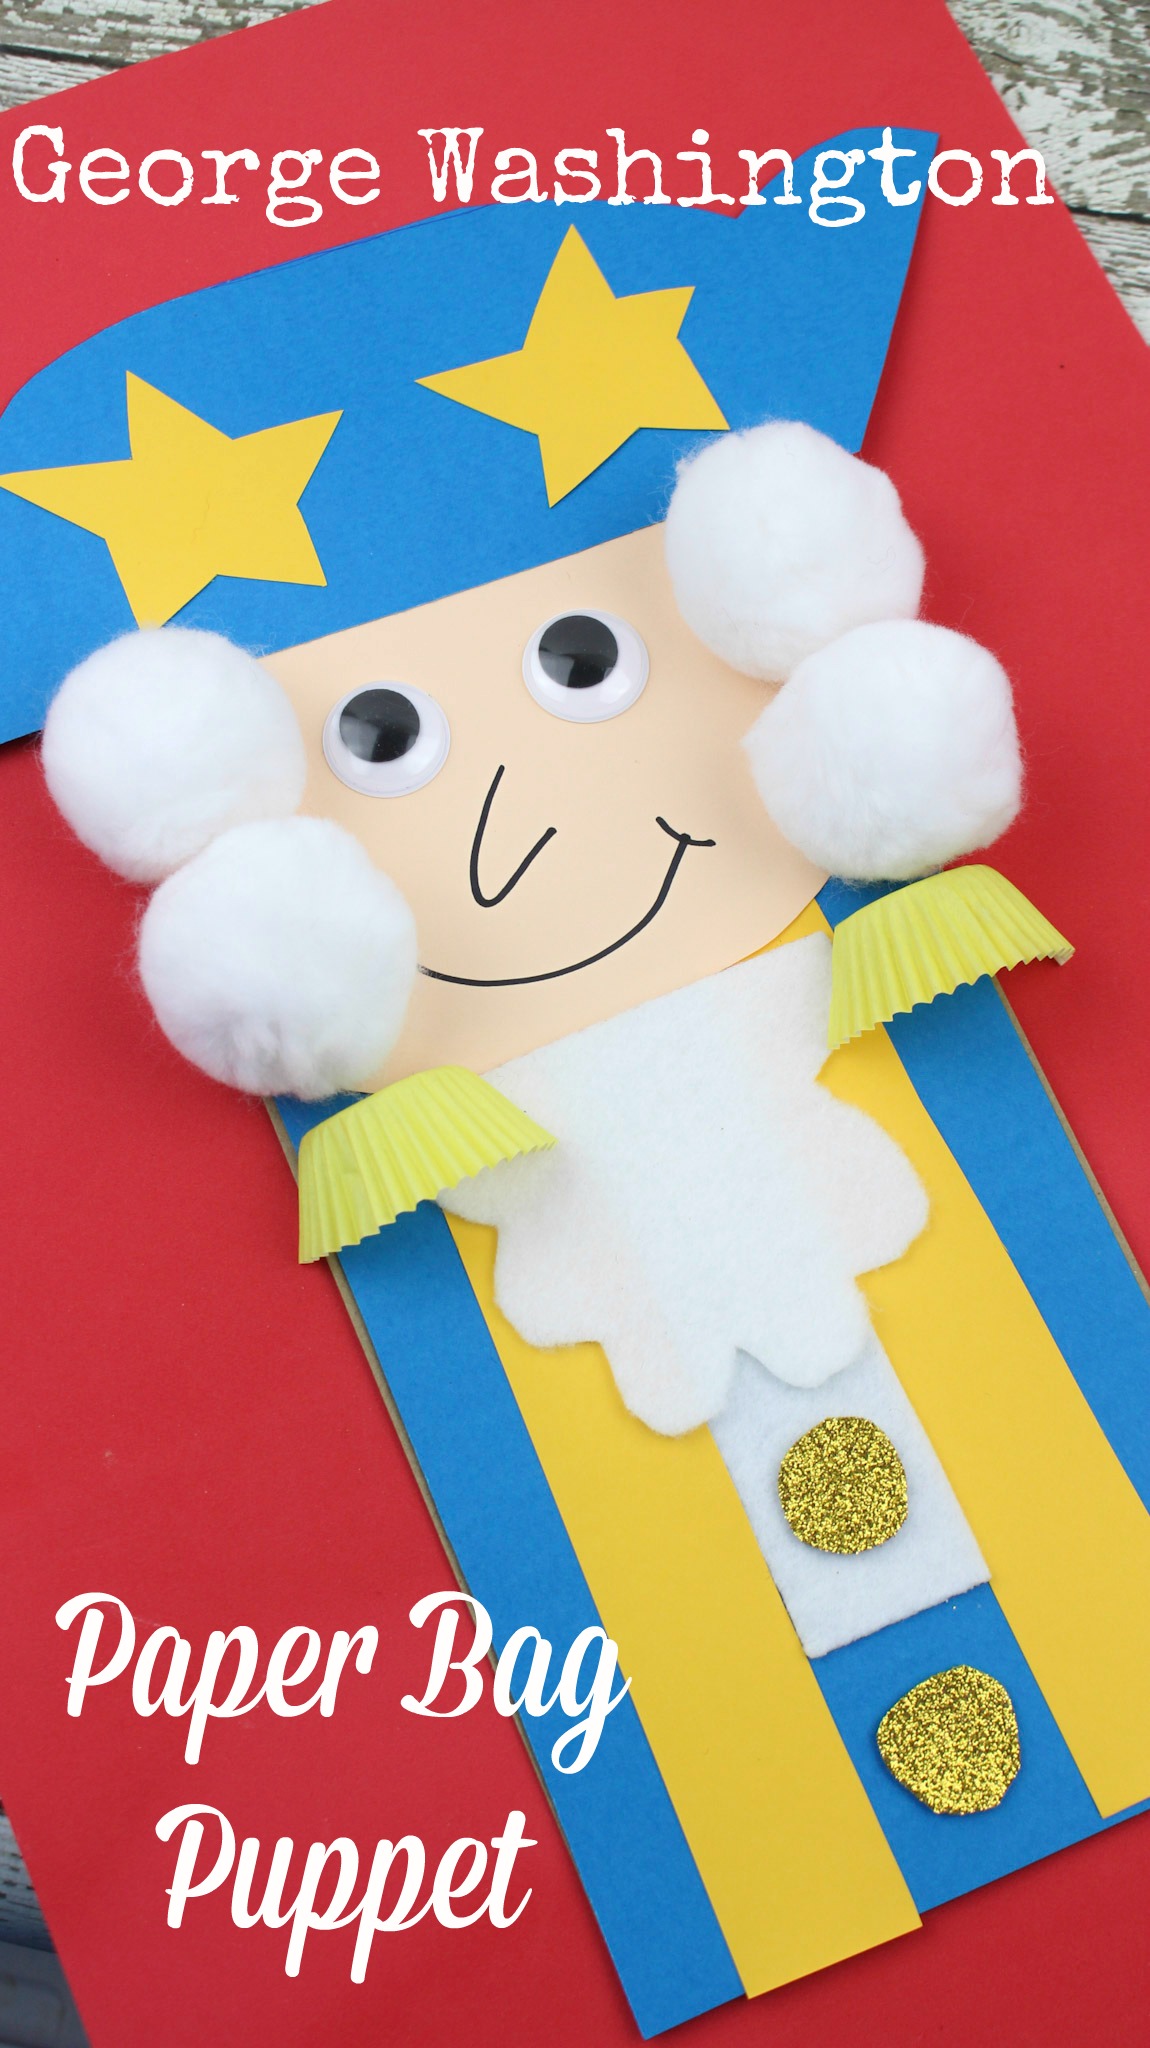
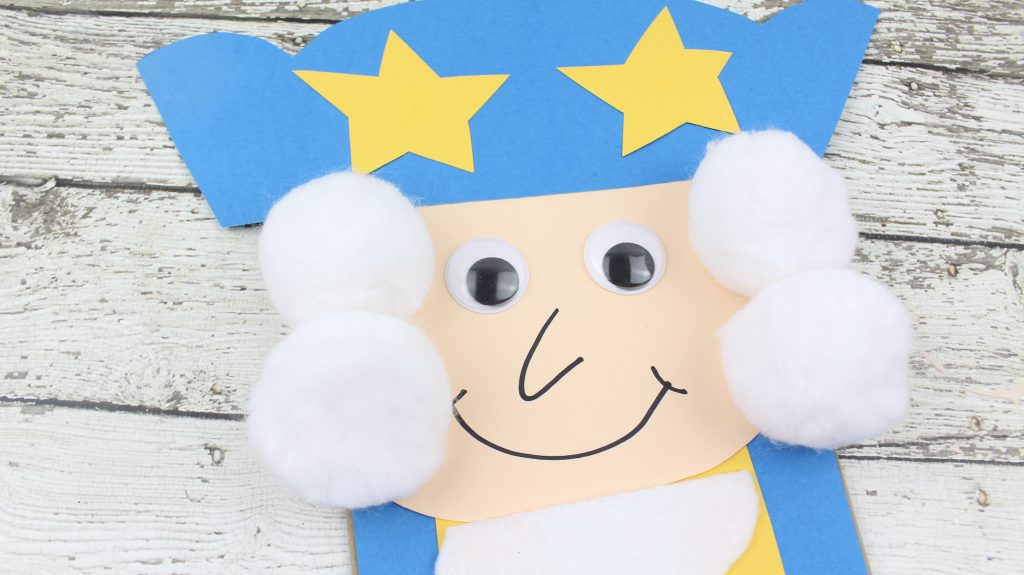
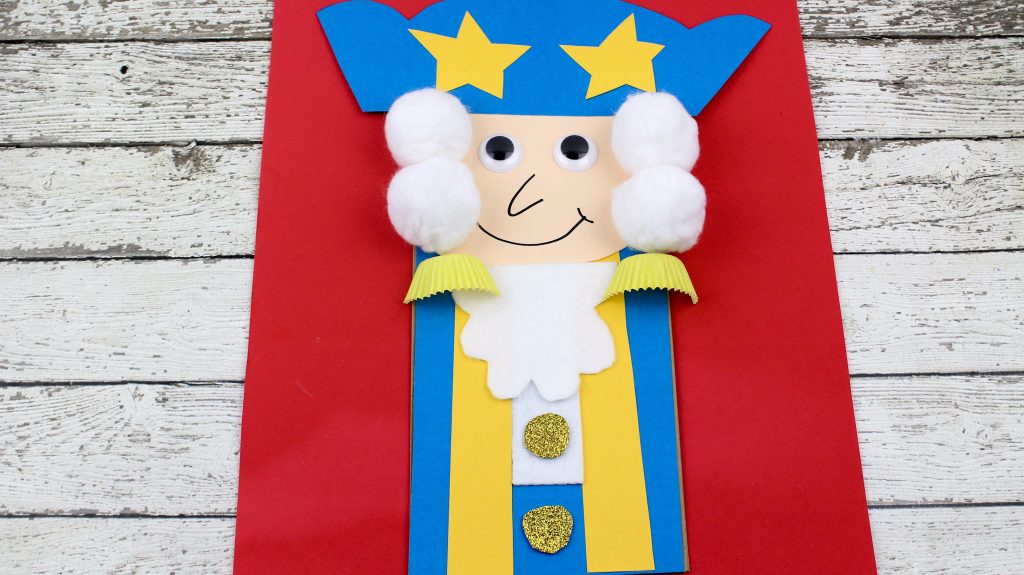
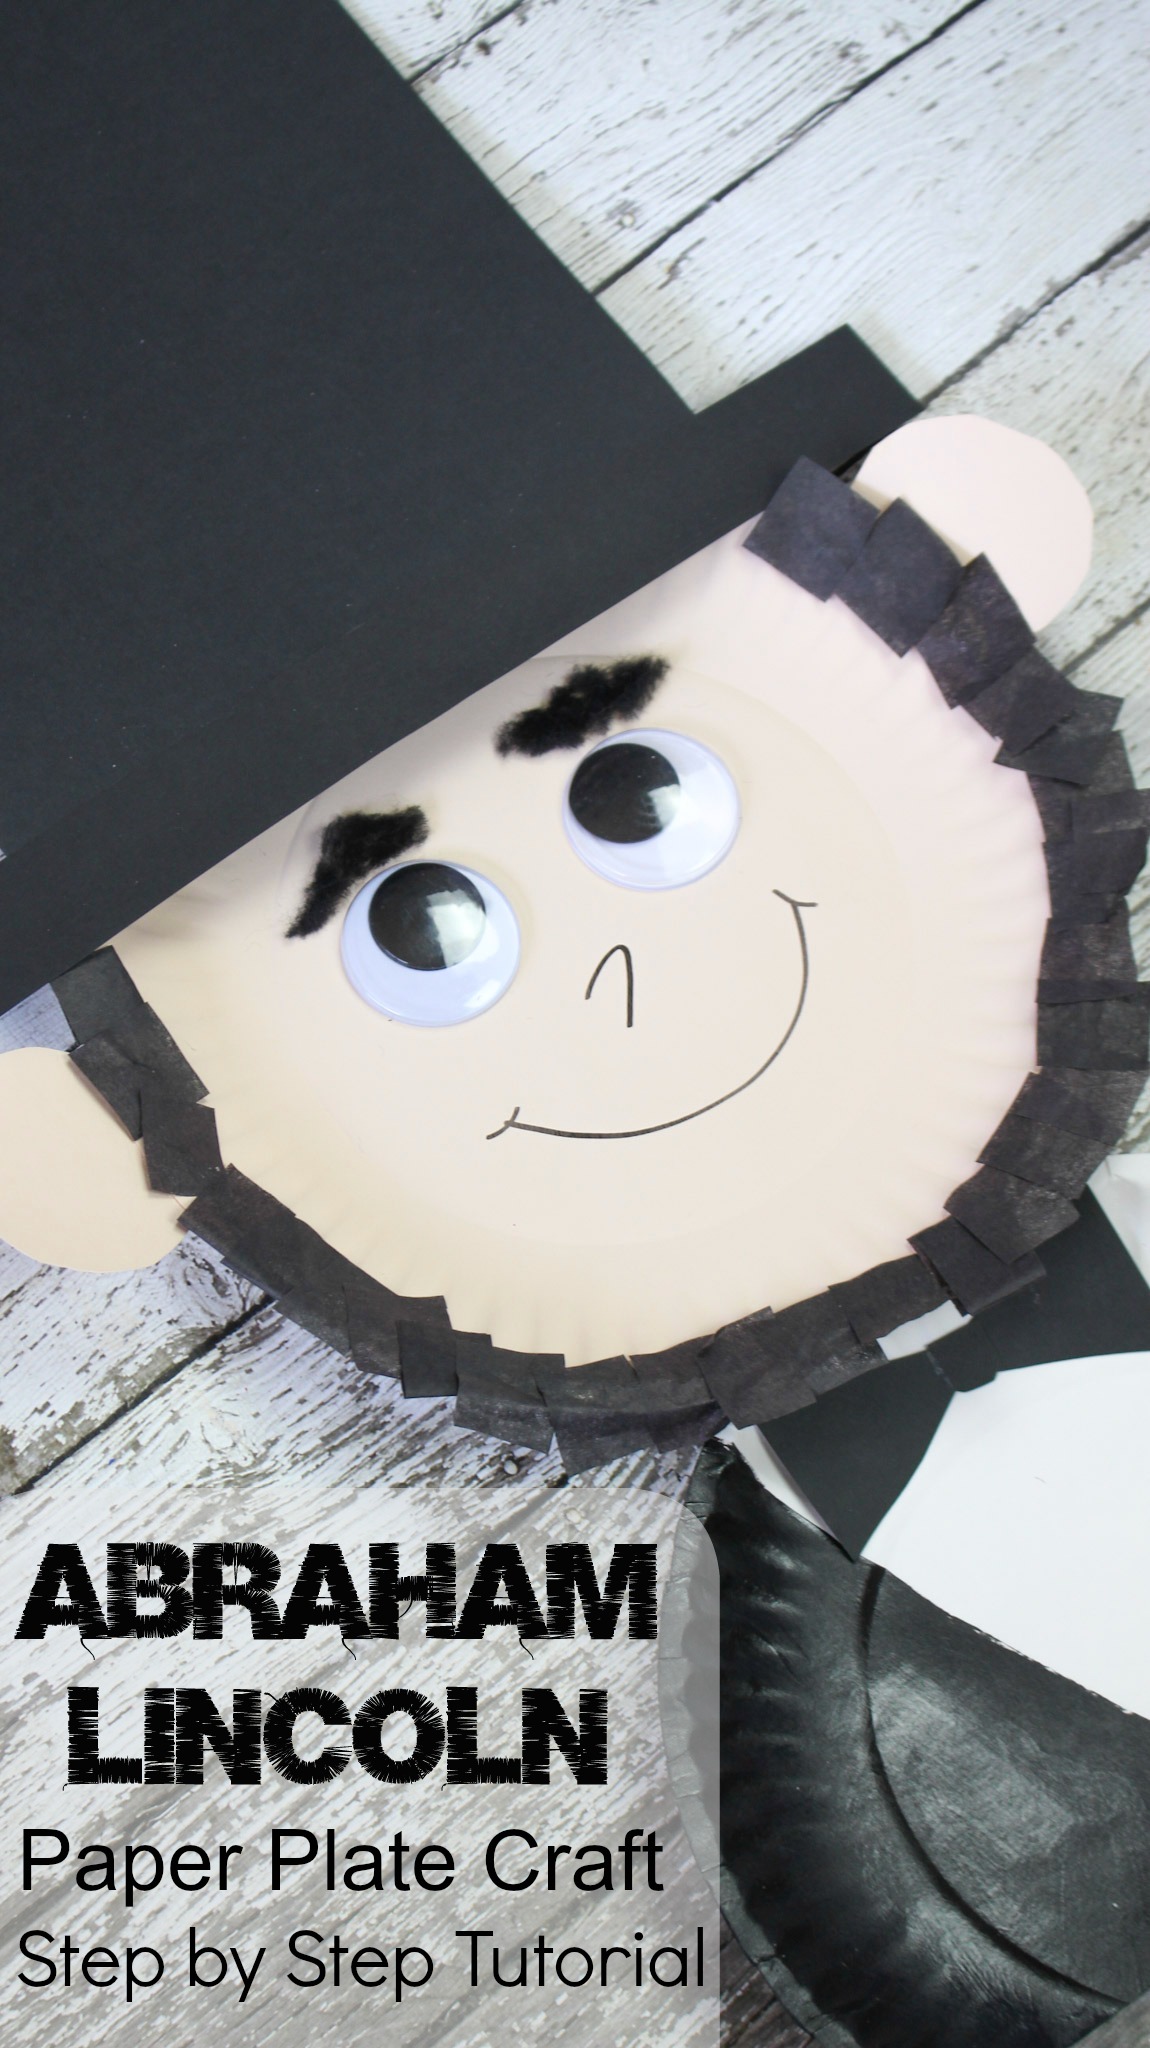
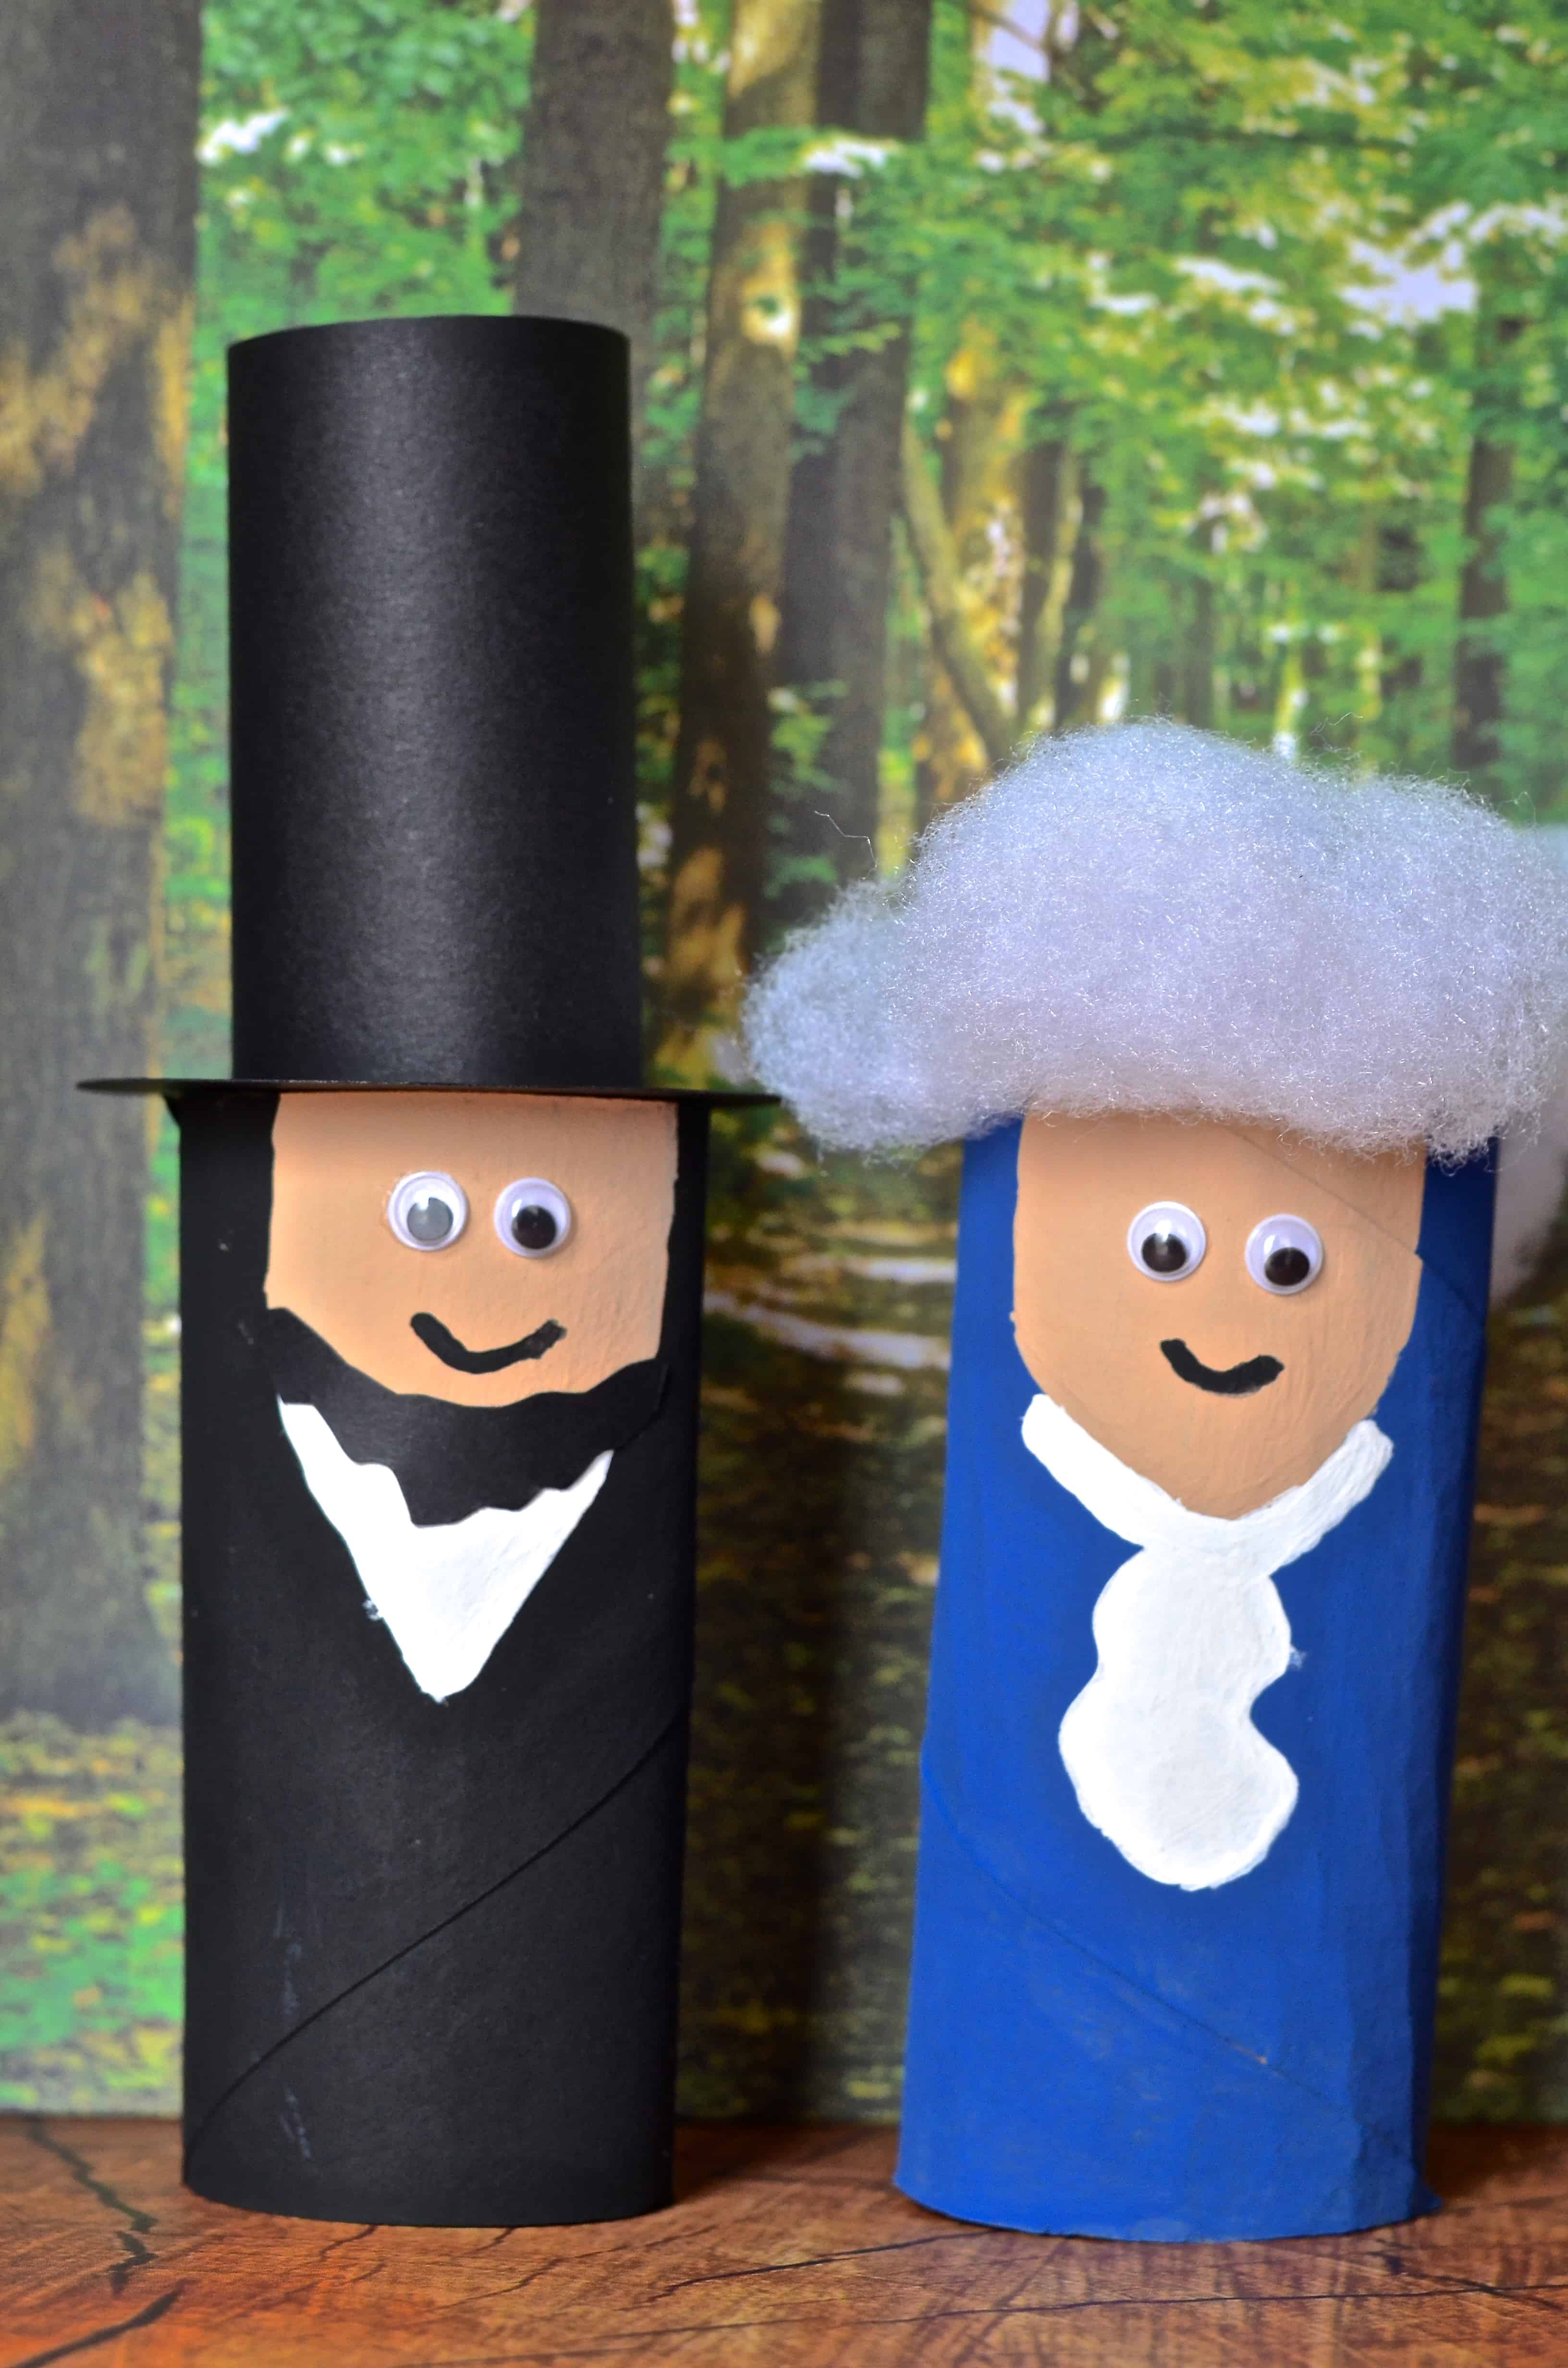
Our Abraham Lincoln Paper Plate Craft was hugely popular that we paired with Brad Meltzer’s “I Am Abraham Lincoln” book – and I LOVE the way this George Washington paper bag craft turned out! (PLUS you can buy “I Am George Washington” to go with it!) Below you can find the step by step tutorial on how to make the same thing we did! Or get creative and add your own flair! This is great for not only pairing with history lessons of course and imaginative play theater but also a great fine motor skills activity!
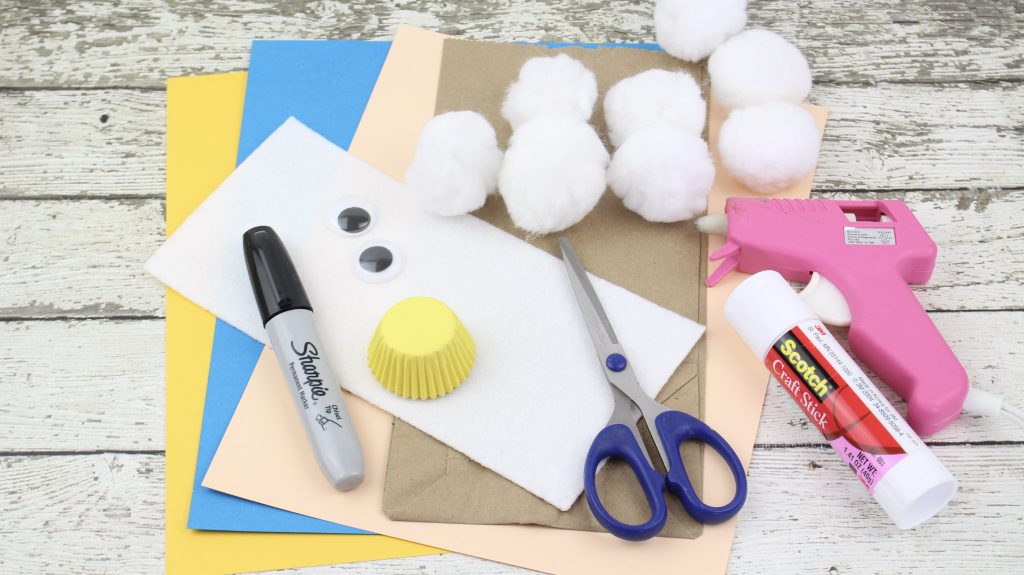
George Washington Paper Bag Craft Materials:
1 brown paper lunch bag
Scissors
Glue Stick
Hot Glue Gun
Black Marker
Construction paper in tan, royal blue, yellow and glitter gold
White felt piece
2 medium googly eyes
4 large white pom poms
1 mini yellow cupcake liner – cut in half
Directions:
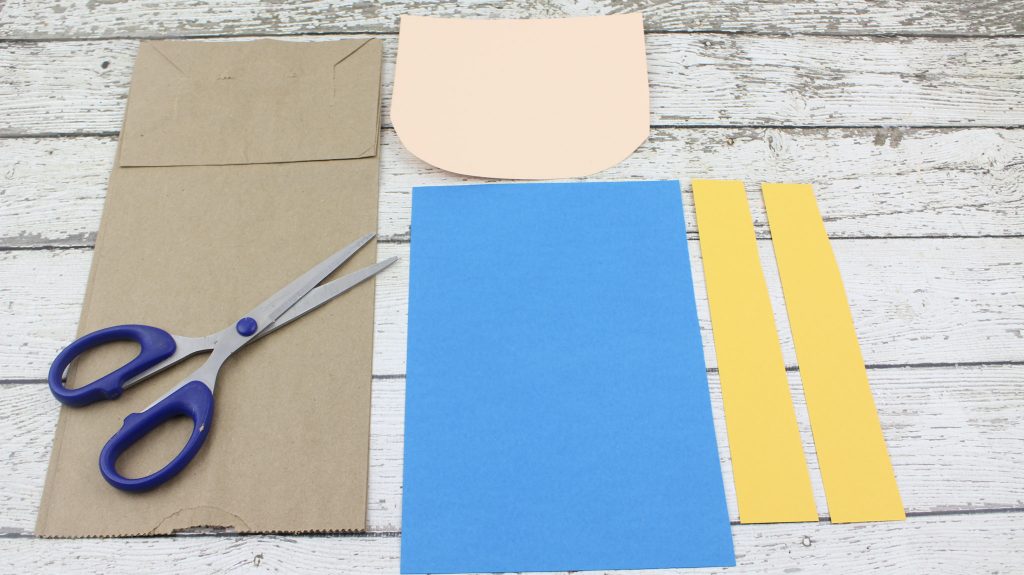
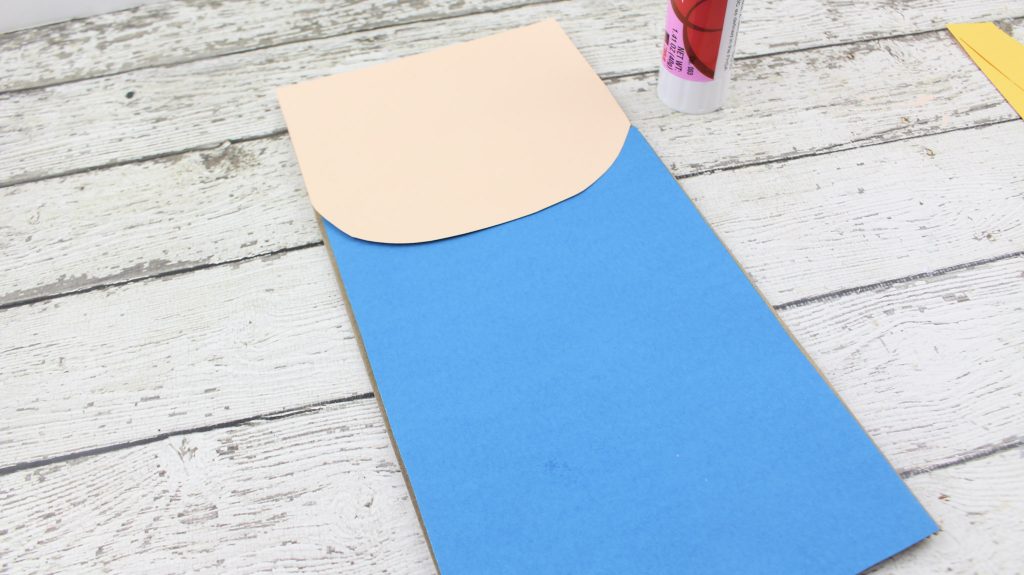
- For the face, cut out a (5 inch wide by 4 1/2 inch long) piece of paper from the tan construction piece. With the scissors, round out the edges at the bottom to look more like a face. Flip the bag upside down and glue the face onto the actual bottom part of the bag (which is now at the top since it was flipped).
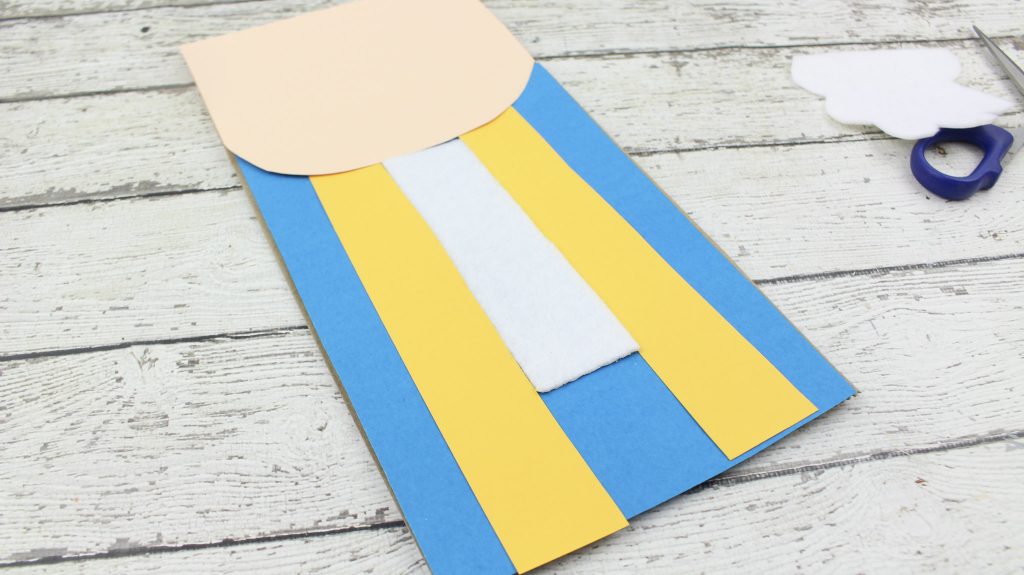
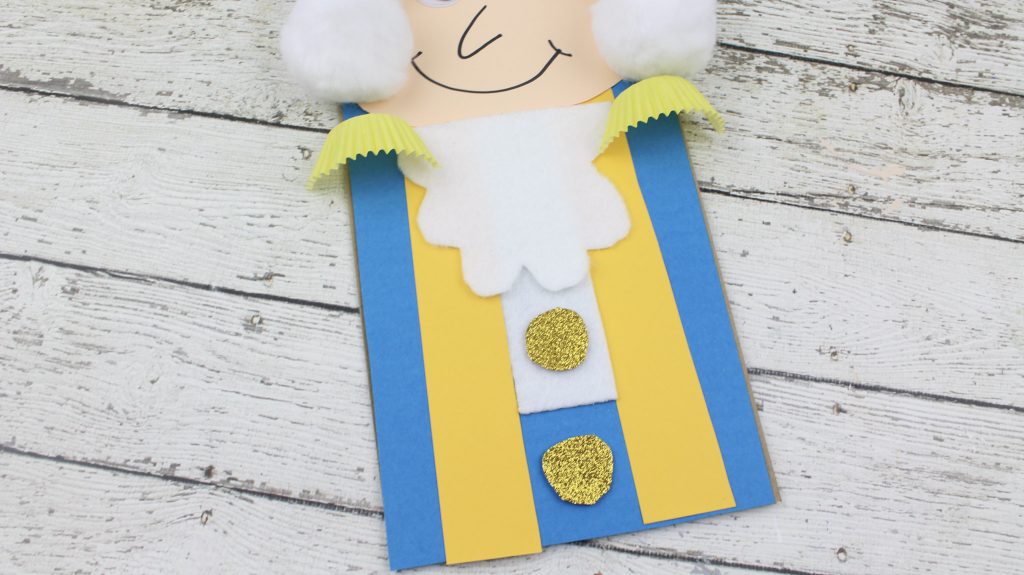
2. For the military coat, cut out a (5 inches wide by 7 1/2 inches) long piece from the blue construction paper. Glue the blue piece onto the rest of the bag, directly under the chin.
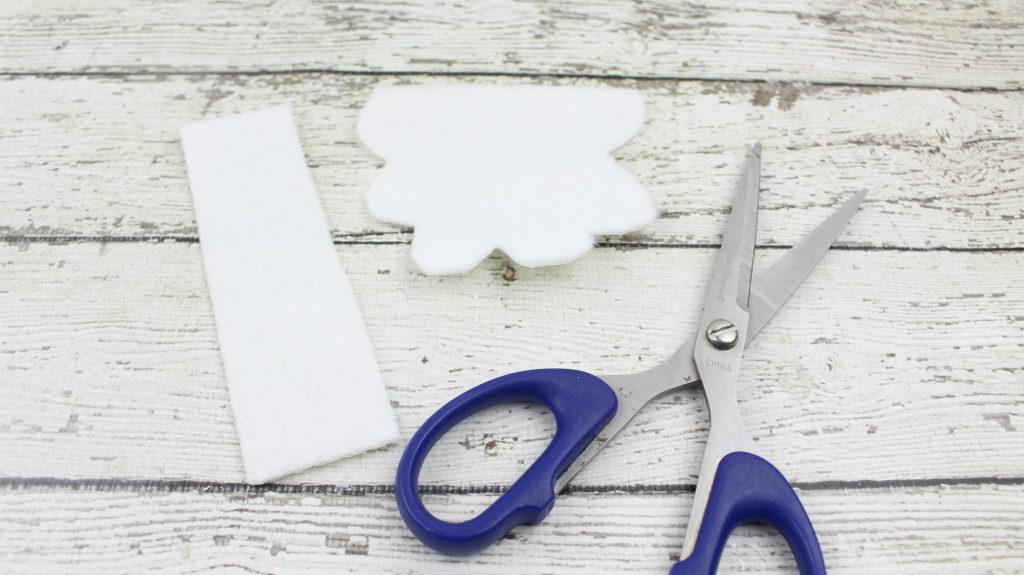
3. From the white piece of felt, cut out a 1 1/2 inches wide by 4 1/2 inches long) piece for the shirt. Also, cut out a piece to resemble the “ruffles approximately 3 1/2 inches wide (at the widest part) and 3 inches long. Set aside for step 5.
4. Cut out 2 yellow (1 inch by 7 1/2 inch ) strips to go down the middle of the coat.
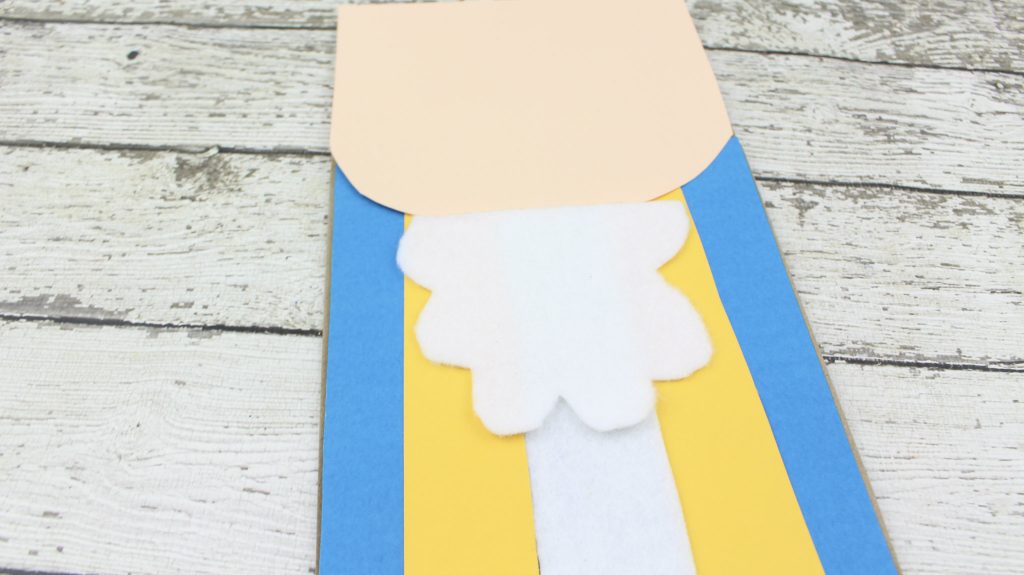
5. Glue the shirt piece right in the middle of the coat, directly underneath the chin. Glue both yellow strips on each side of the shirt. Apply glue to the back of the ruffles and place on top of the shirt.
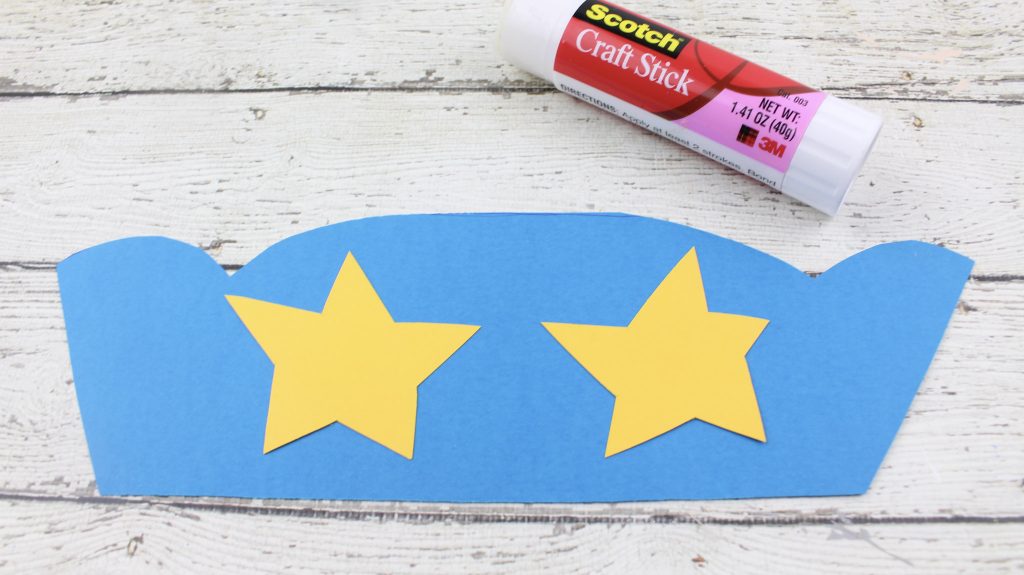
6. Cut out the hat from the remaining piece of blue construction paper. Cut out 2 star shapes from the yellow construction paper and glue them on the front of the hat. Glue the hat into the top of the head.
7. Apply glue to the back of both googly eyes and affix to the face. With the black marker, draw a nose and smile onto the face.
8. Using the glue gun, apply hot glue up and down both sides of the face. Attach the white pom poms to the glue, two on each side.
9. For the buttons, cut out 2 small nickel-sized circles from the gold glitter paper. Glue the 2 circles onto the middle of the jacket.
10. Apply glue to the back of each mini muffin paper and attach to each shoulder area.
Overview Tour of the Benjamin Harrison Presidential Site:
Check out our other President’s Day ideas!:
 |
 |
 |


