Painting with Marbled Milk Explosion Artwork
This post may contain affiliate links, view our disclosure policy for details.
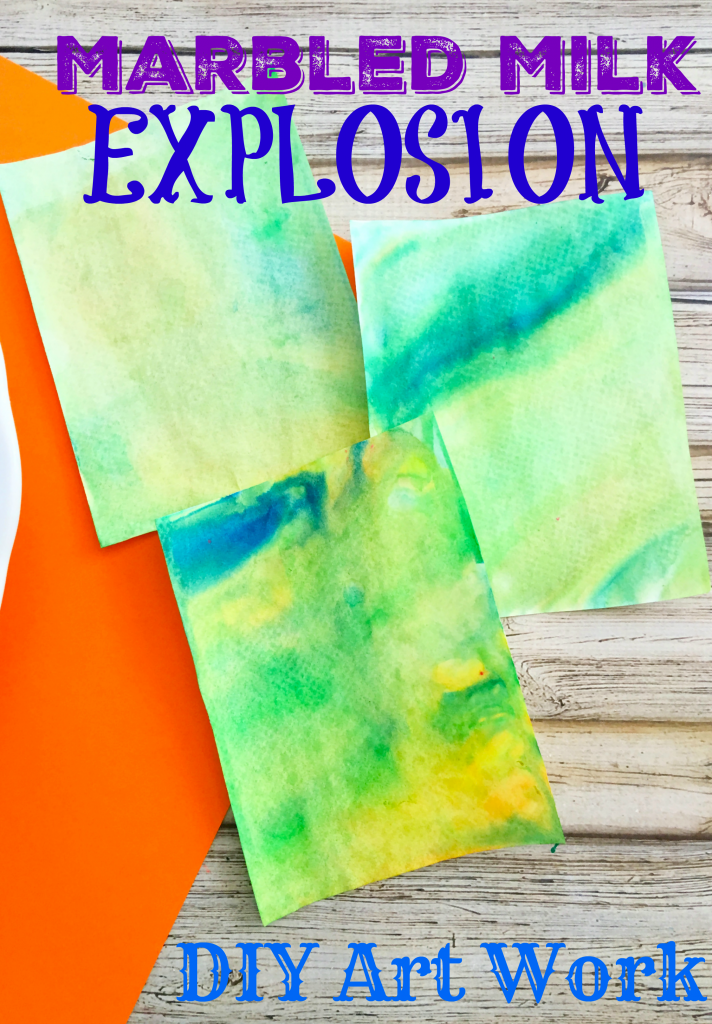
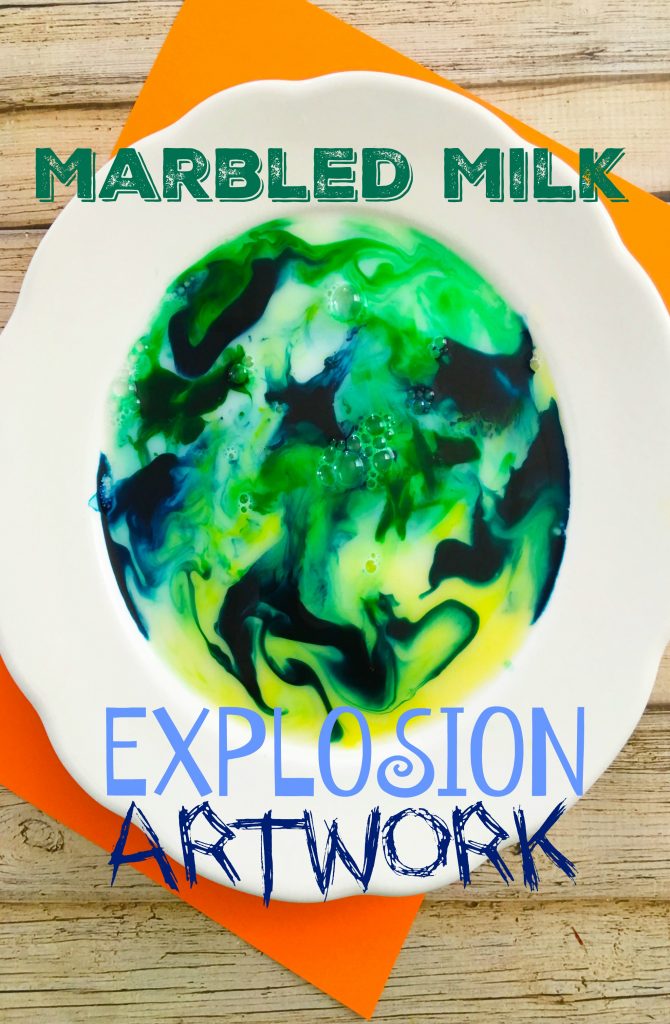
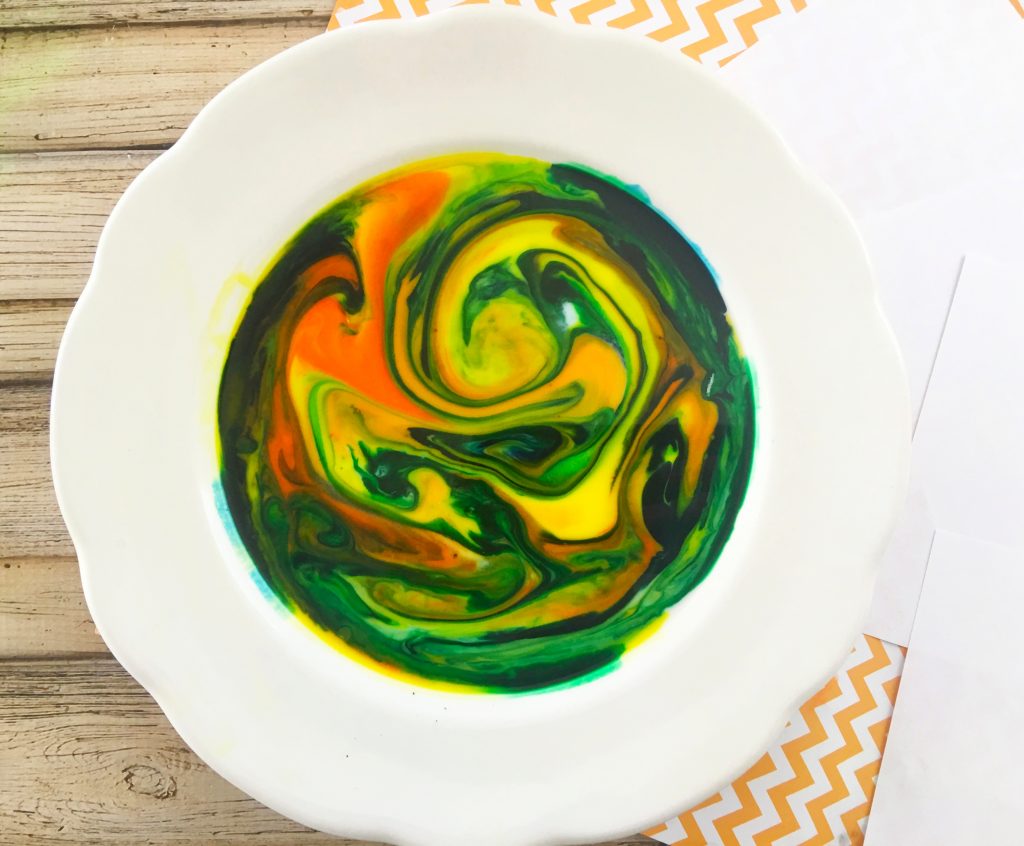
Most of us by now have seen the captivating Marbled Milk Science Experiment but I LOVE that this takes it one step further! Instead of JUST a science experiment (which is totally cool by itself!) your kids can now turn that science experiment into stunning unique artwork for you to hang on your walls! This is awesome for mad science parties, tween get togethers and even art class!
Make sure to check out our Science Store for MORE awesome educational ideas!
Below you’ll find the step by step instructions for this Marbled Milk Explosion Artwork project.
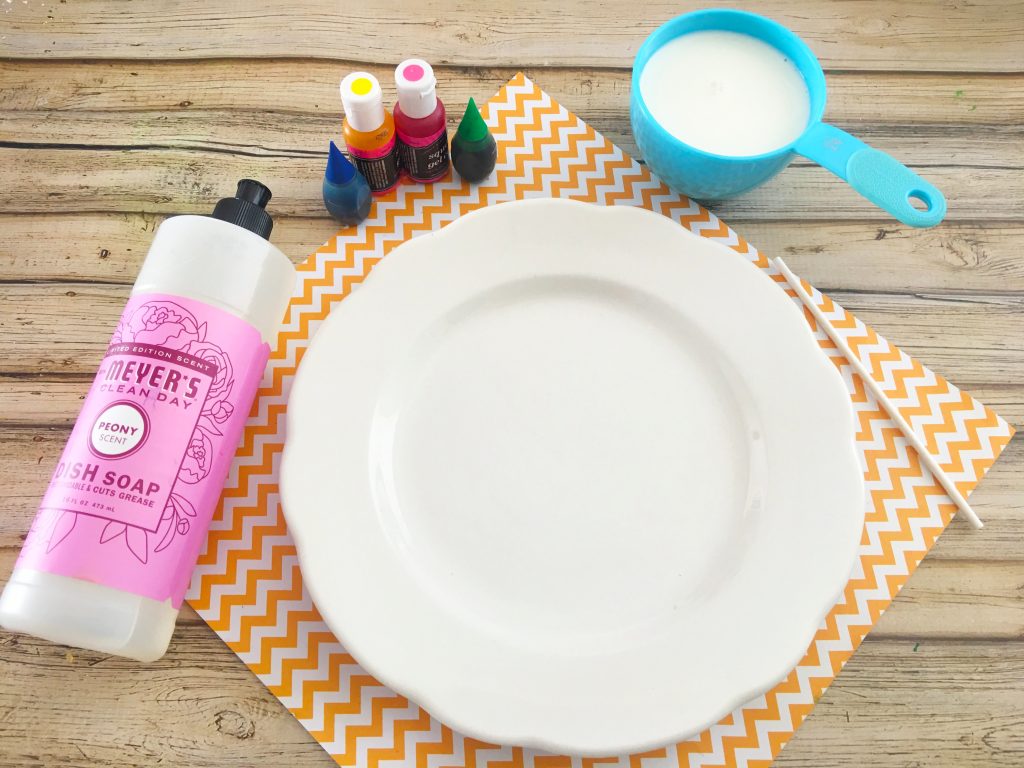
Marbled Milk Explosion Artwork Materials-
*Shallow bowl or deeper plate (or 9×13 baking pan!)
*Milk
*Liquid food coloring
*Dish soap
*Paper
*Tooth pick or wooden skewer
Marbled Milk Explosion Artwork Directions:
1. Place about a cup of milk into your bowl making sure the bottom is covered.
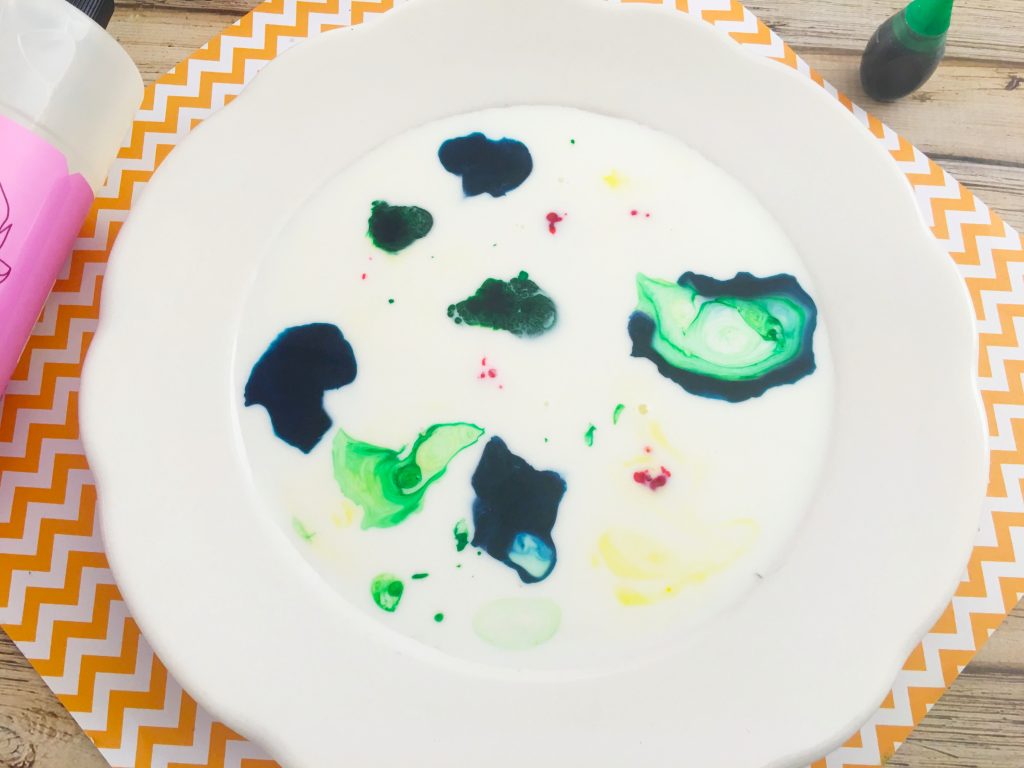
2. Drop several drops of food coloring all over the milk dispersing randomly.
3. Use a toothpick or wooden skewer to slightly swirl your food coloring – this is my favorite part! Make sure not to completely mix the colors though! You can also use a drop or two of dish soap to make the colors “explode” and travel away from each other for additional swirling effect.
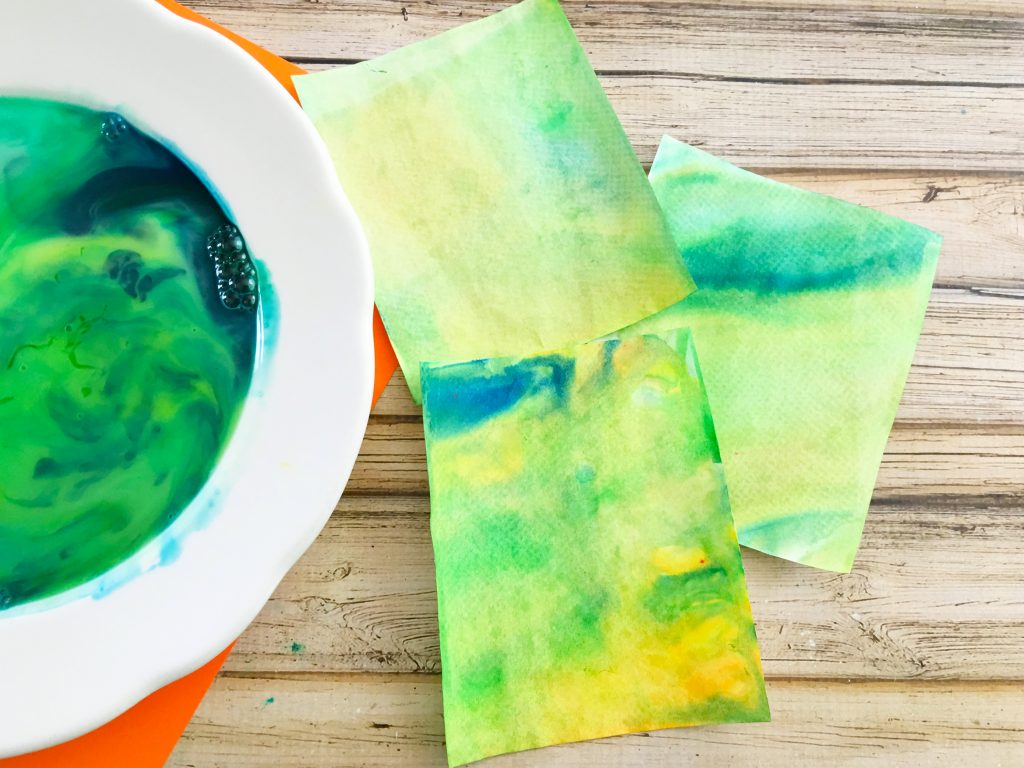
4. Cut a piece of 8 1/2 X 11″ piece of paper in quarters and place each piece face down lightly in the colored milk and let dry. Make sure not to push the paper too far into the milk and soak – think of it as laying the paper on top of the milk. Each piece will be a very unique marbled piece of art with no two alike. Let dry completely.
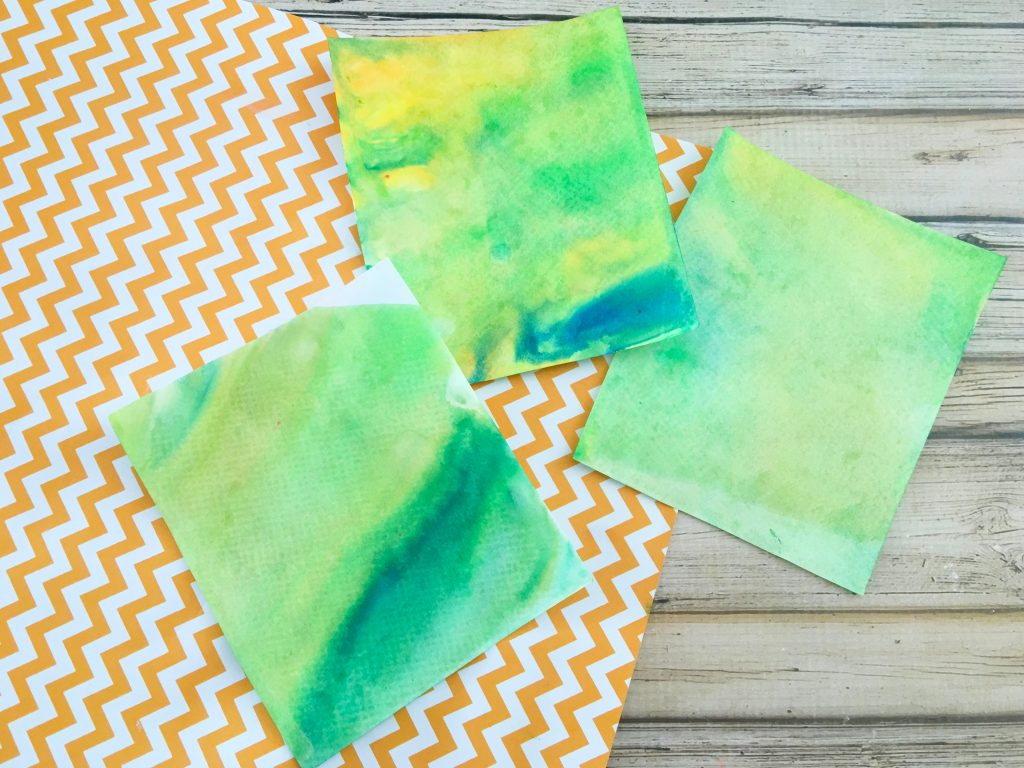
Experiment with trying different colors, natural and synthetic, as well as swirling and not swirling! There are so many fun ways to try this out! Below I’ve listed some ways to display your uniquely created artwork!
Basic Video Overview:
TIPS for Displaying your Marbled Milk EXPLOSION Artwork:
1. We use this specific hinged artwork frame set for our children’s artwork display but you can simply hang it up on the wall.
2. You can laminate it of course and hang on the fridge.
3. Or if you really want to show your kids you love their artistic style you can mod podge their artwork directly onto canvas
 and hang! (Just make sure their paper is cut to the size of the canvas!)
4. Mod Podge it onto a coaster or tile and make a gift set! Make sure to first use a good waterproof sealer!
4. Mod Podge it onto a coaster or tile and make a gift set! Make sure to first use a good waterproof sealer!
5. Create 20 of these artwork pieces and design a poster sized collage!
6. Use card stock and turn it into a Christmas ornament!


What’s the science behind it? It’s a fun activity but I’m trying to find the science connection so I could tie it into a standard 🙂
Of course! 🙂 The fats (non-polar molecule) and proteins in the milk reacting to the dishwashing liquid causes a chemical reaction to occur.You can try this experiment with different types of milk (1%, 2%, etc.) and observe the changes that occur.