How to Make Shrunken Heads Tutorial – Halloween & Harry Potter Parties
This post may contain affiliate links, view our disclosure policy for details.
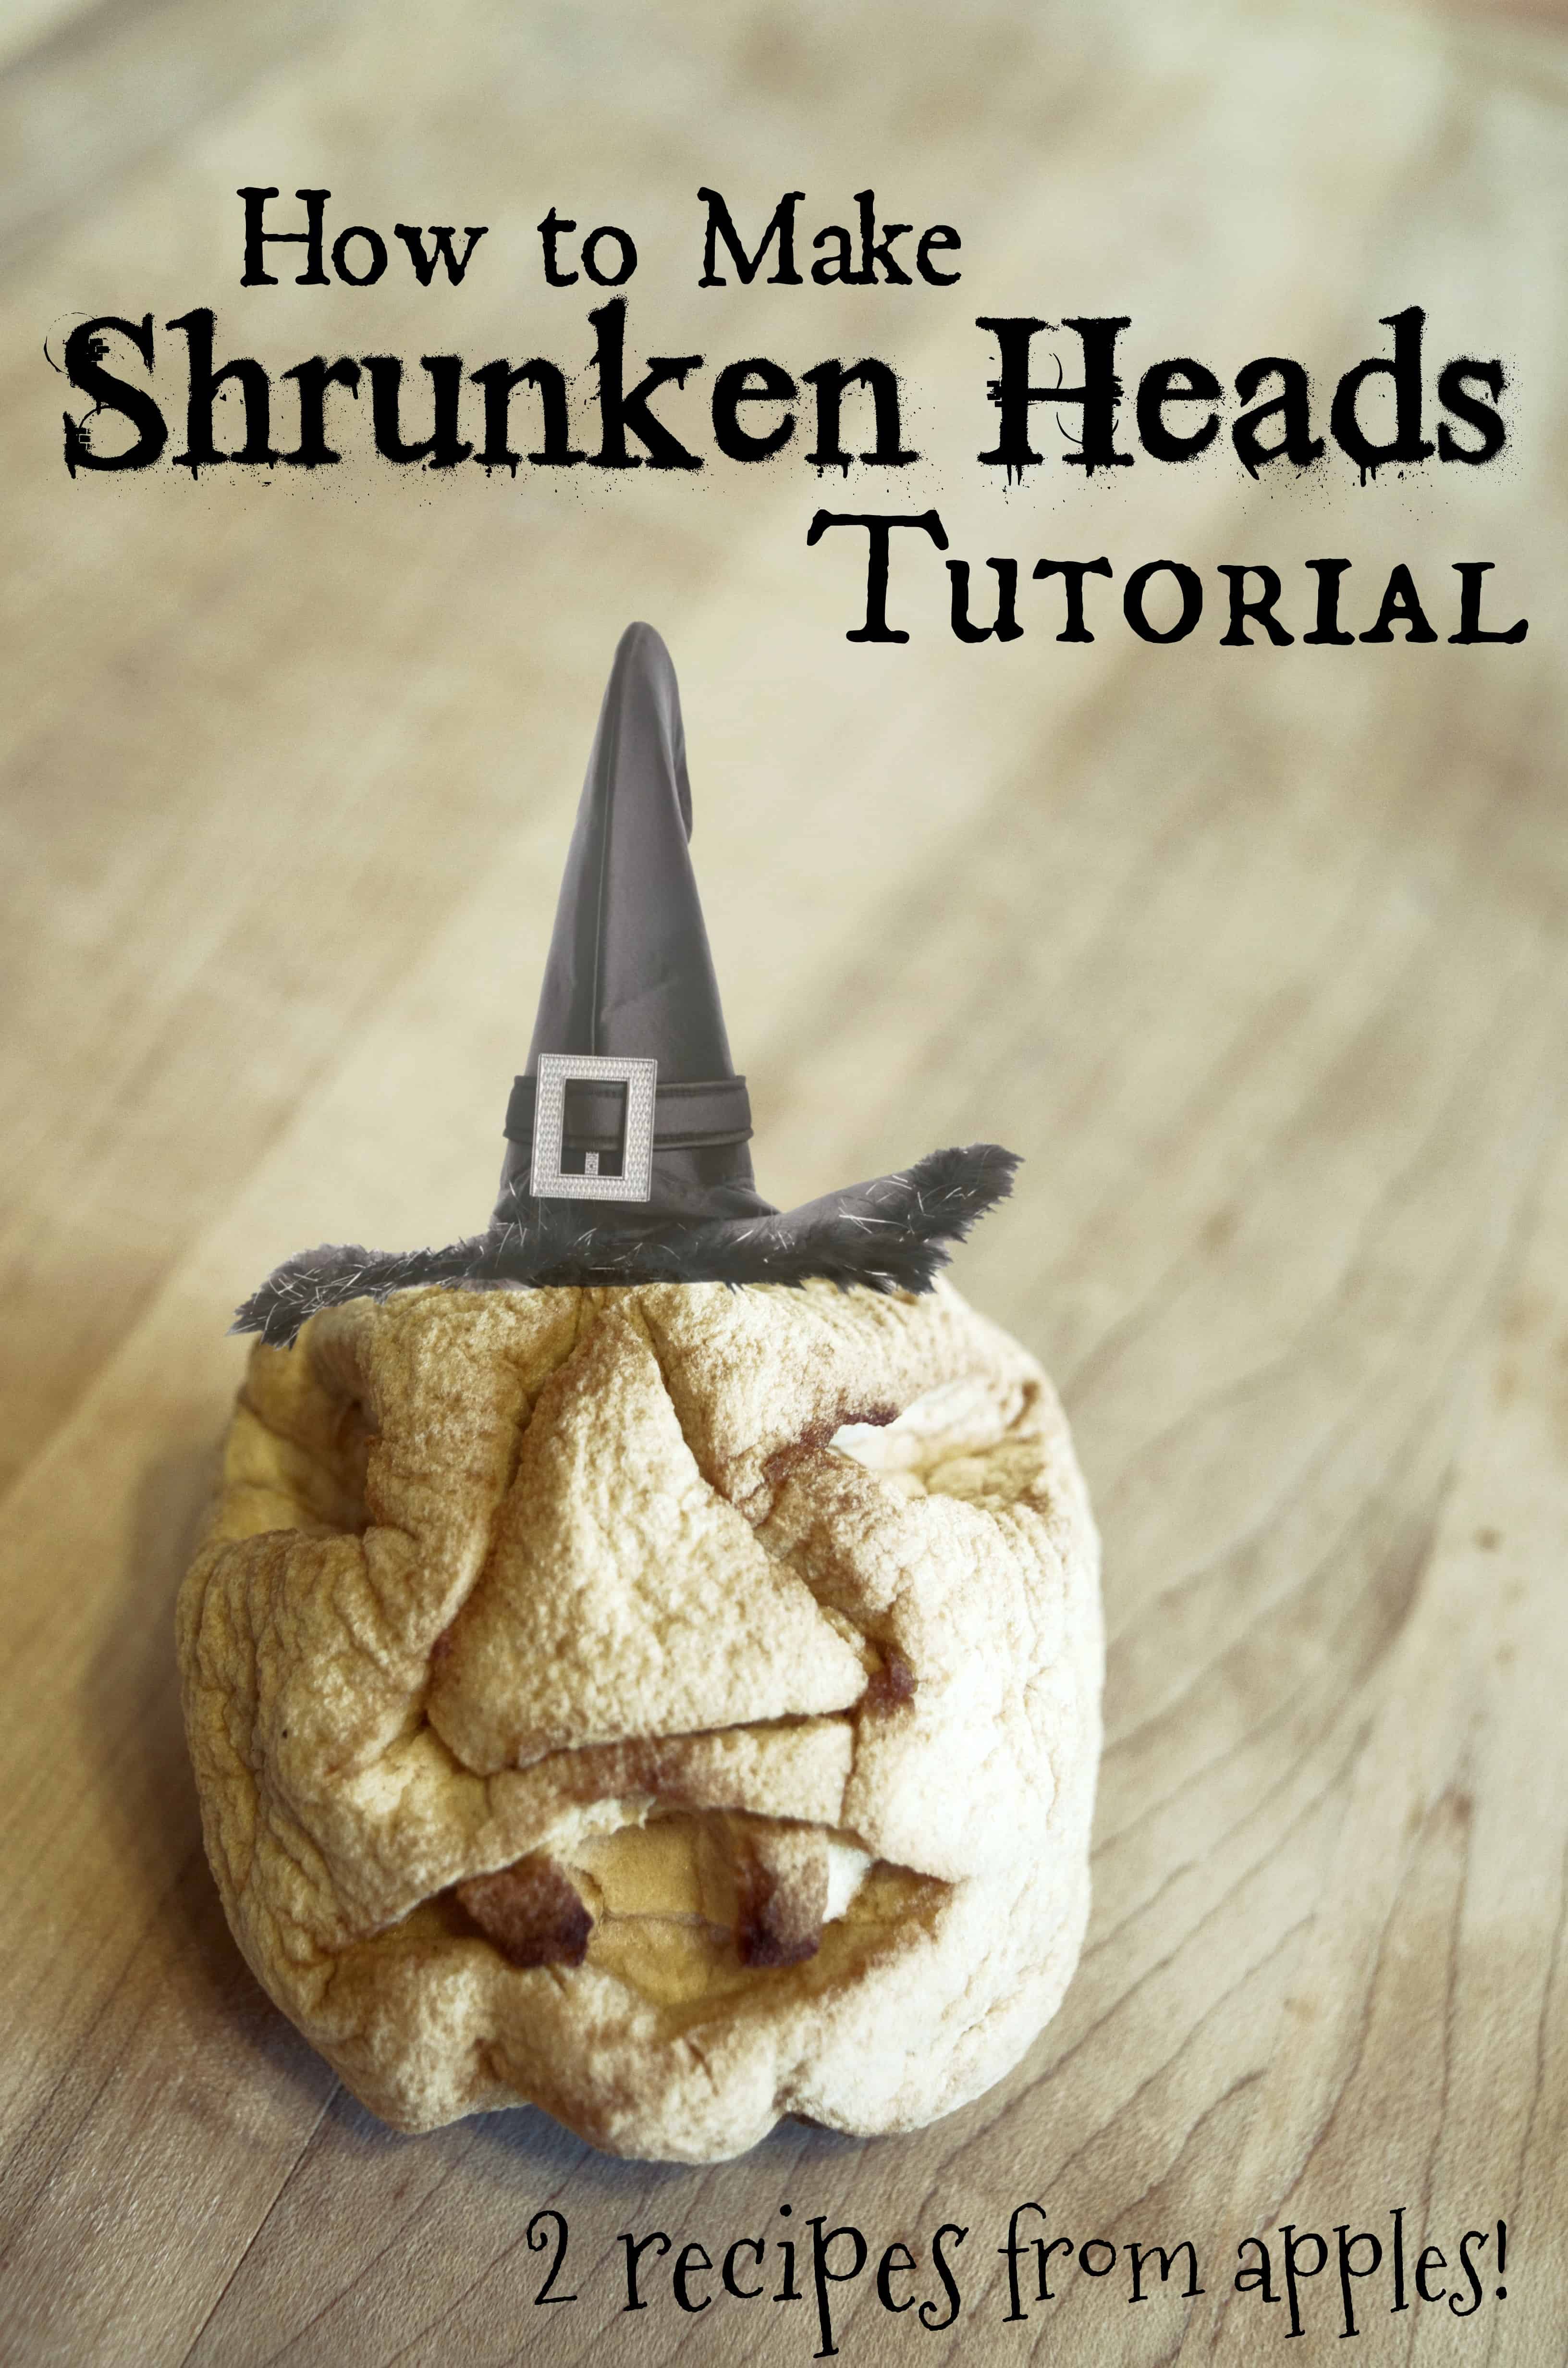
Last year we had a Harry Potter Halloween & Holiday House so DIY decor was high on my to-do list. I’ve made numerous tutorials on some of the decor I made on a budget but these diy Shrunken Heads have had my eye for quite some time.
They are technically edible although terrible tasting – they are more for decoration and the “wow” factor. I wish I’d had time to make cool hair pieces for them but I was on a tight time frame when I was making these. You definitely need at least a day or two before your party to do these.
I tried two different recipes – one from Martha Stewart and one from eHow – but I’m totally in LOVE with this (non-edible) shrunken head made with Crayola Model Magic. Plus it’s not time sensitive.
So here are the 2 different shrunken head recipes I tried:
Martha Stewart’s 1/2 Shrunken Head Apple Cider
eHow Full Apple Shrunken Head
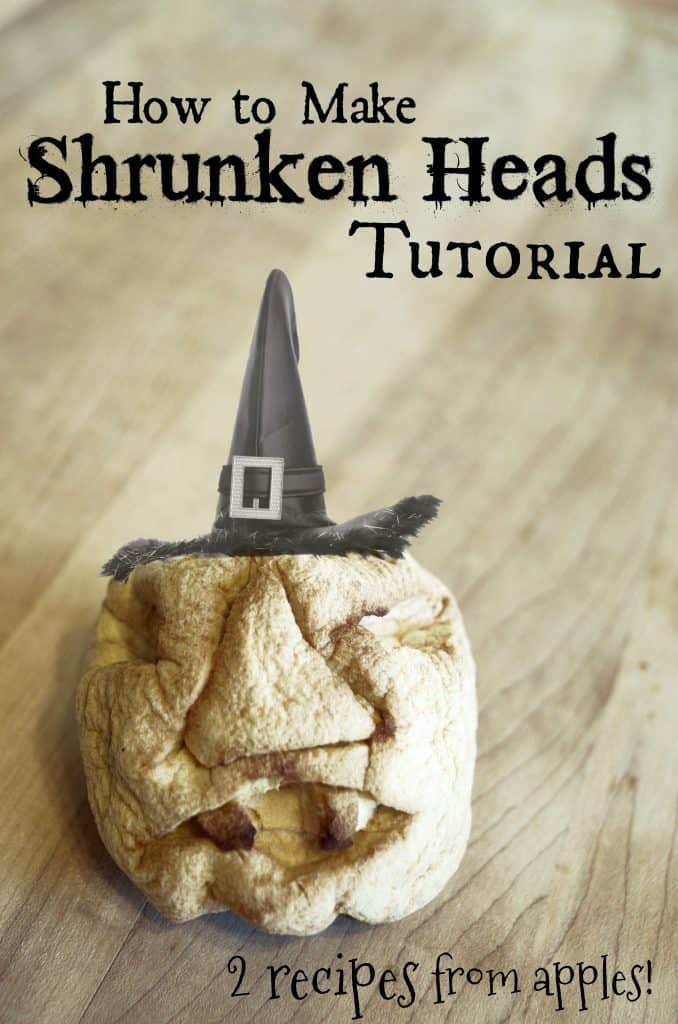
BOTH work well – just depends on what you are using your “heads” for! You can visit the sites above for the technical recipe but in a nutshell you peel your apples, soak them in a lemon juice and salt mix, then carve a face and oven dry them for a day or so on low!
(I turned the oven off when I went to bed or left the house and just turned it back on later.) Voila!
How to Make Shrunken Heads from Apples:

- Peel green apples and soak for a minute in 2 cups of lemon juice + 2 tbsp. of sea salt.

2. IF you want the half sized shrunken heads to float in a punch or cider then cut your *already peeled* apples (even those these in the photo aren’t!) in half and use a melon baller to scoop out the seeds and core.

3. Regardless of if you are making full sized heads or half size now it’s time to carve a face into each one! I found it easier to use a smaller paring knife and make deep and obvious cuts into the apple. Make sure to cut deep sockets for the eyes, around the nose, and around the mouth. I tried a lot of different ways to see what would turn out best.

4. I placed the carved heads back into my lemon juice & salt mix while I was carving since it took me a little while.

5. Now it’s time to dry! Now depending on which type of apple (half or whole) you chose will determine how you dry them! If you cut the apples in half to float in a punch these will dry the easiest and can just be laid on parchment paper in the oven at 170* for as long as you like.
Mine I ran maybe 8ish hours roughly? I started a few hours the night I made them, turned the oven off, and finished them the next day.
If you are doing the whole apples check the eHow tutorial for photos – they actually take a piece of wire and literally hang them off of the wire racks in the oven. I tried taking the short cut and just laying them on a wire which turned out OK but overall my half slices turned out better.
2 or 3 of my 6 whole apples looked the best so if I were to do it again I would take the time to hang them properly. And since they are larger they definitely take a lot longer to dry out. I would put them at 200* for about 24 hours.
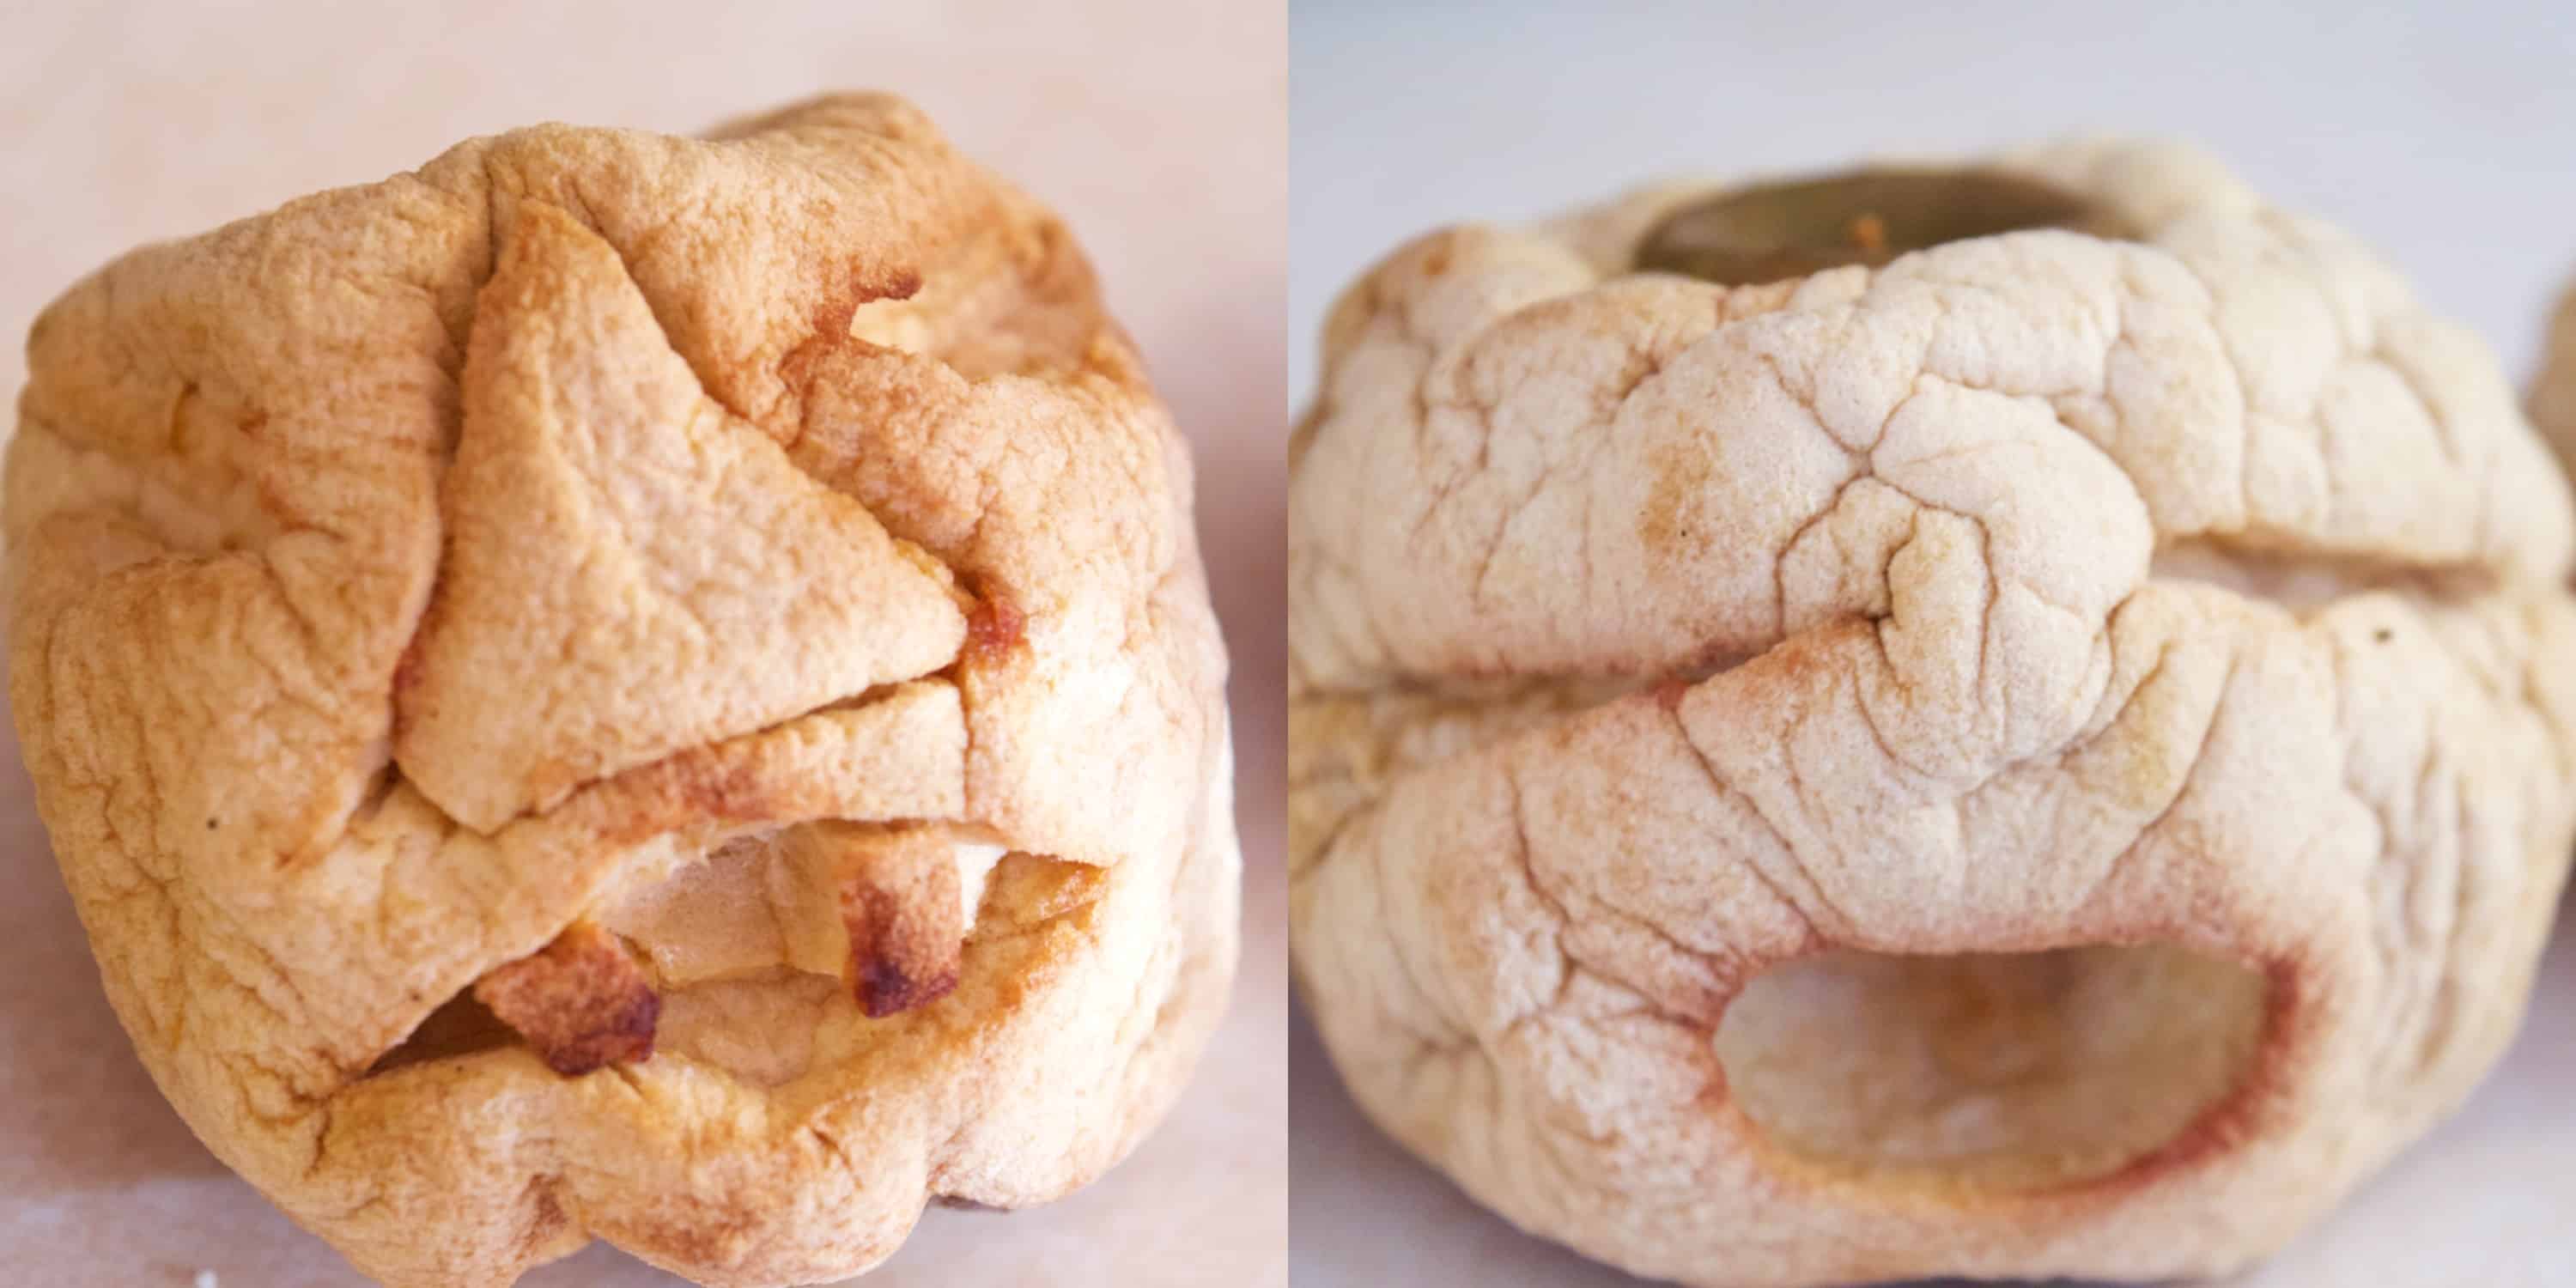
6. Decorate & use! For my half heads I just let them float in a mix of 2 gallons of apple cider and 2 cans of frozen lemonade concentrate. It was loads of fun!
For my whole sized heads I didn’t do much with them but check the eHow tutorial – they have some AWESOME hair pieces, staples in the mouth, pearls for eyes, etc. You can totally dress them up and put them on a stick in a bouquet.
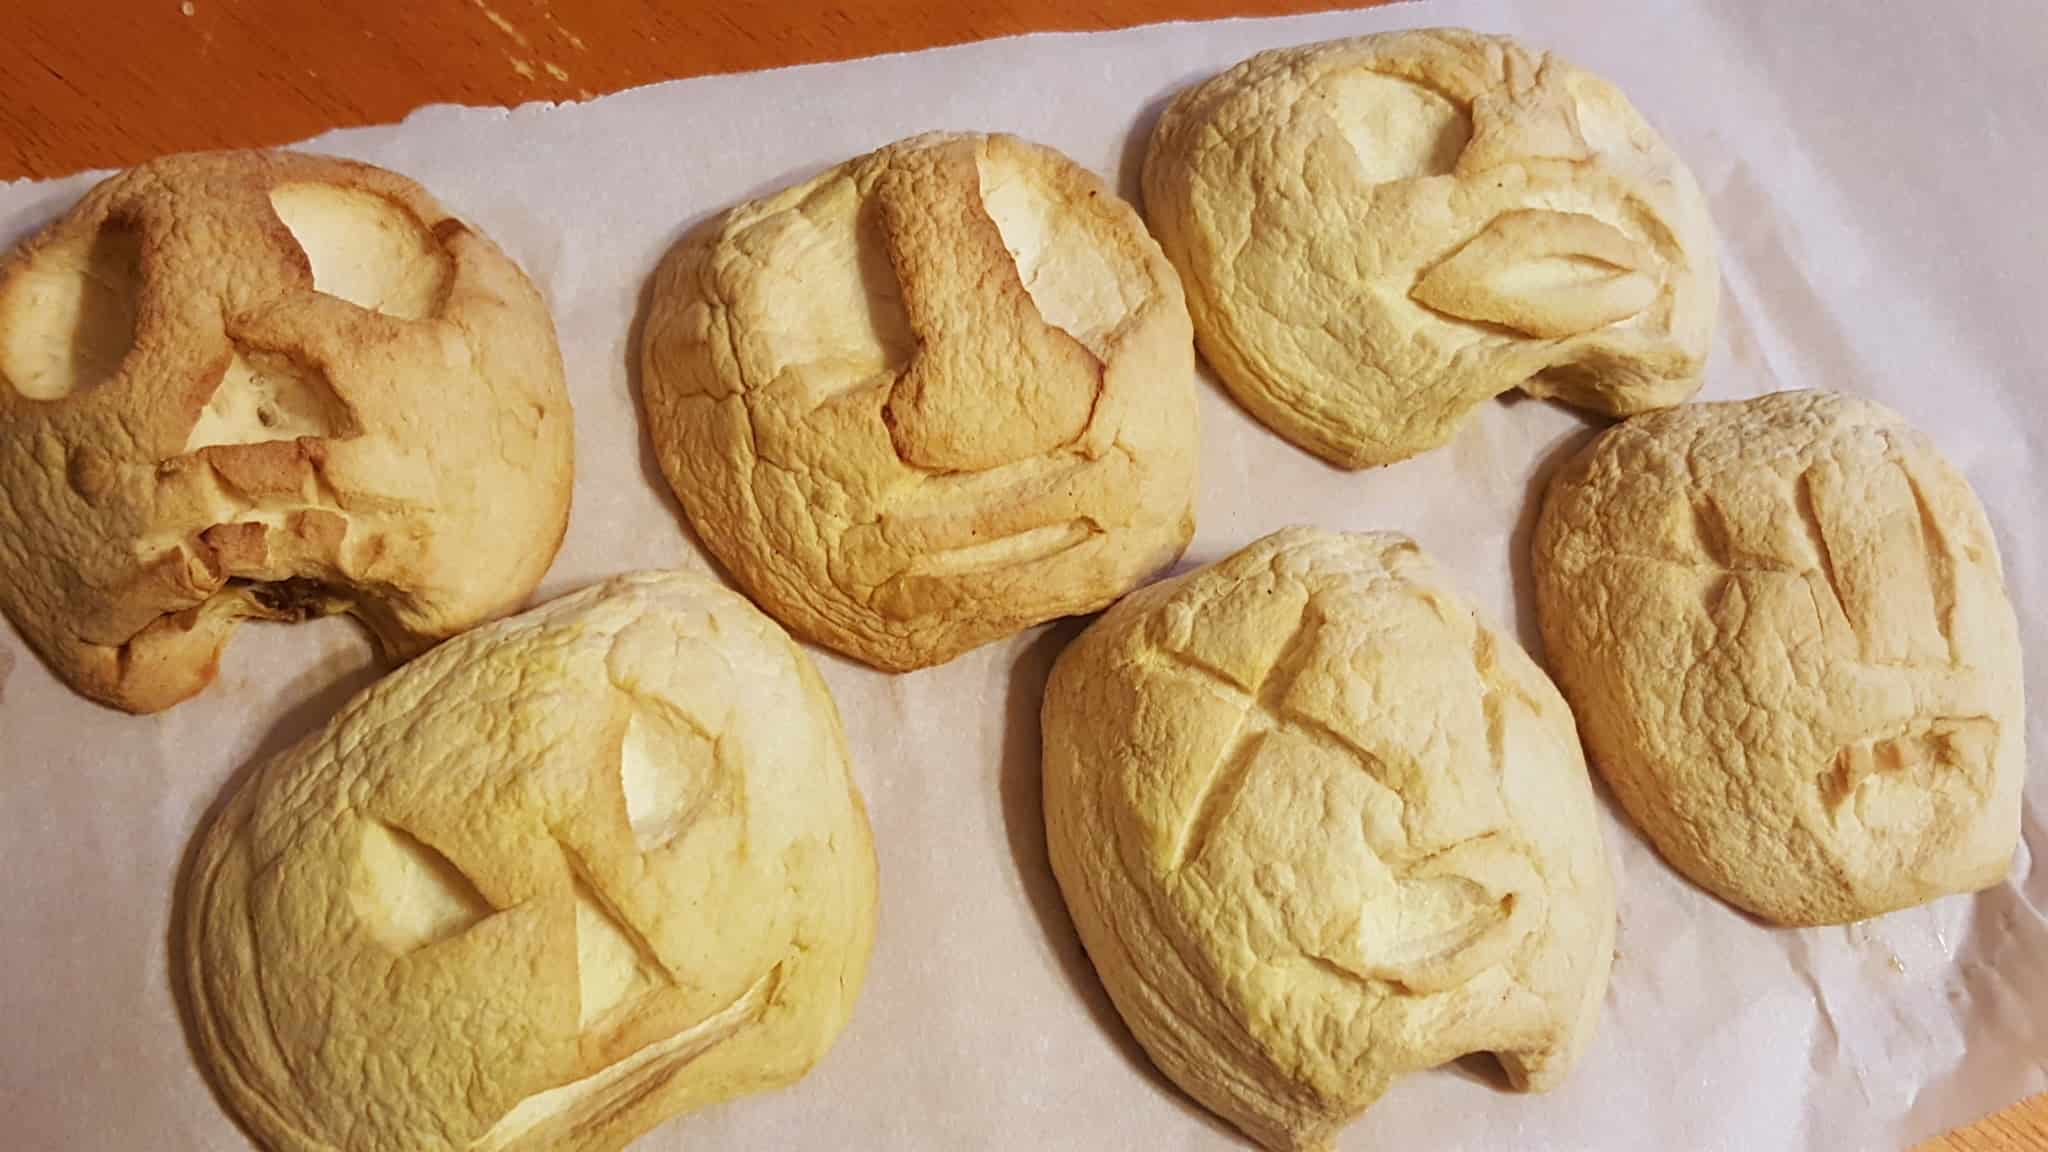
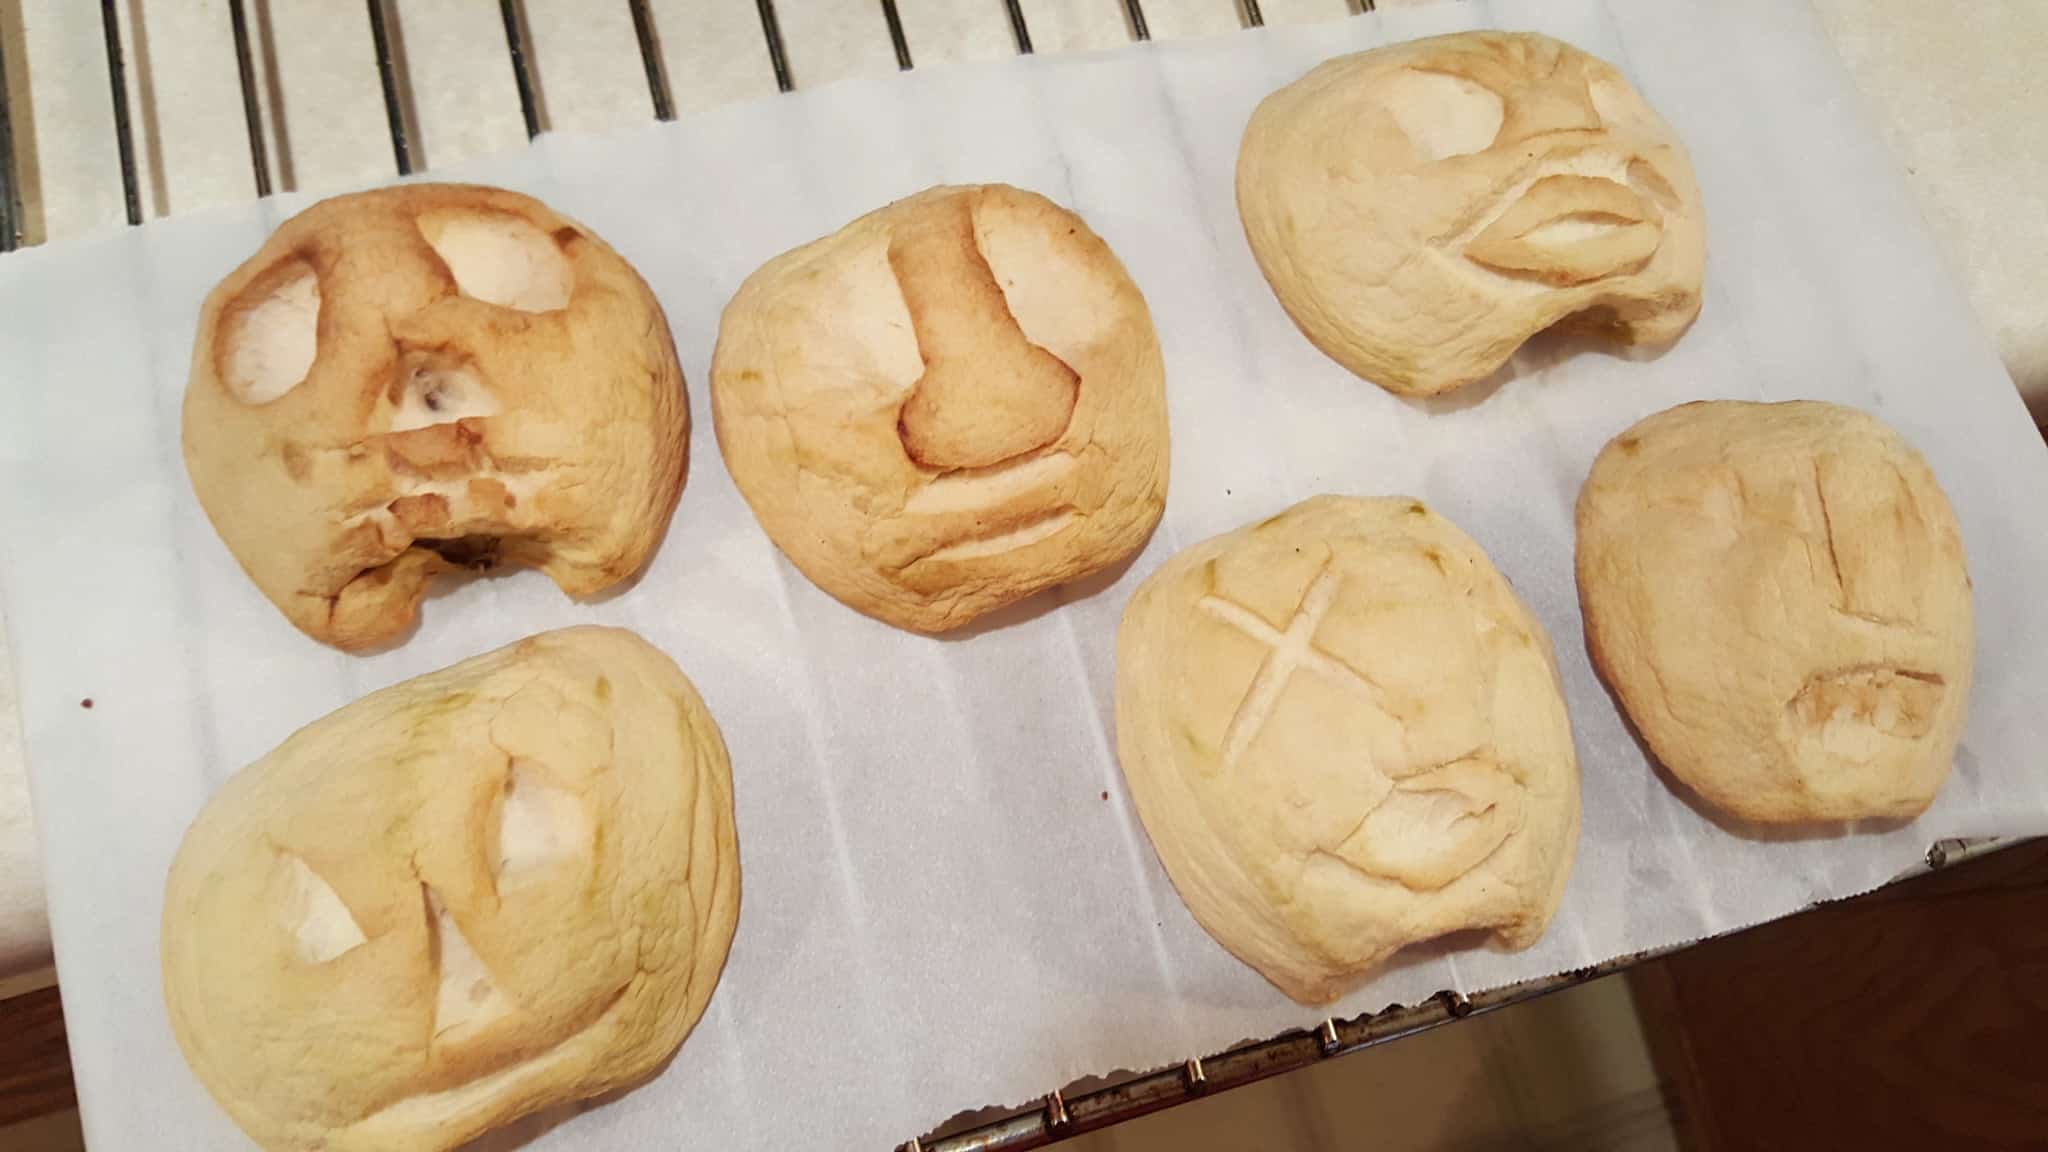
This is what my half heads looked like……
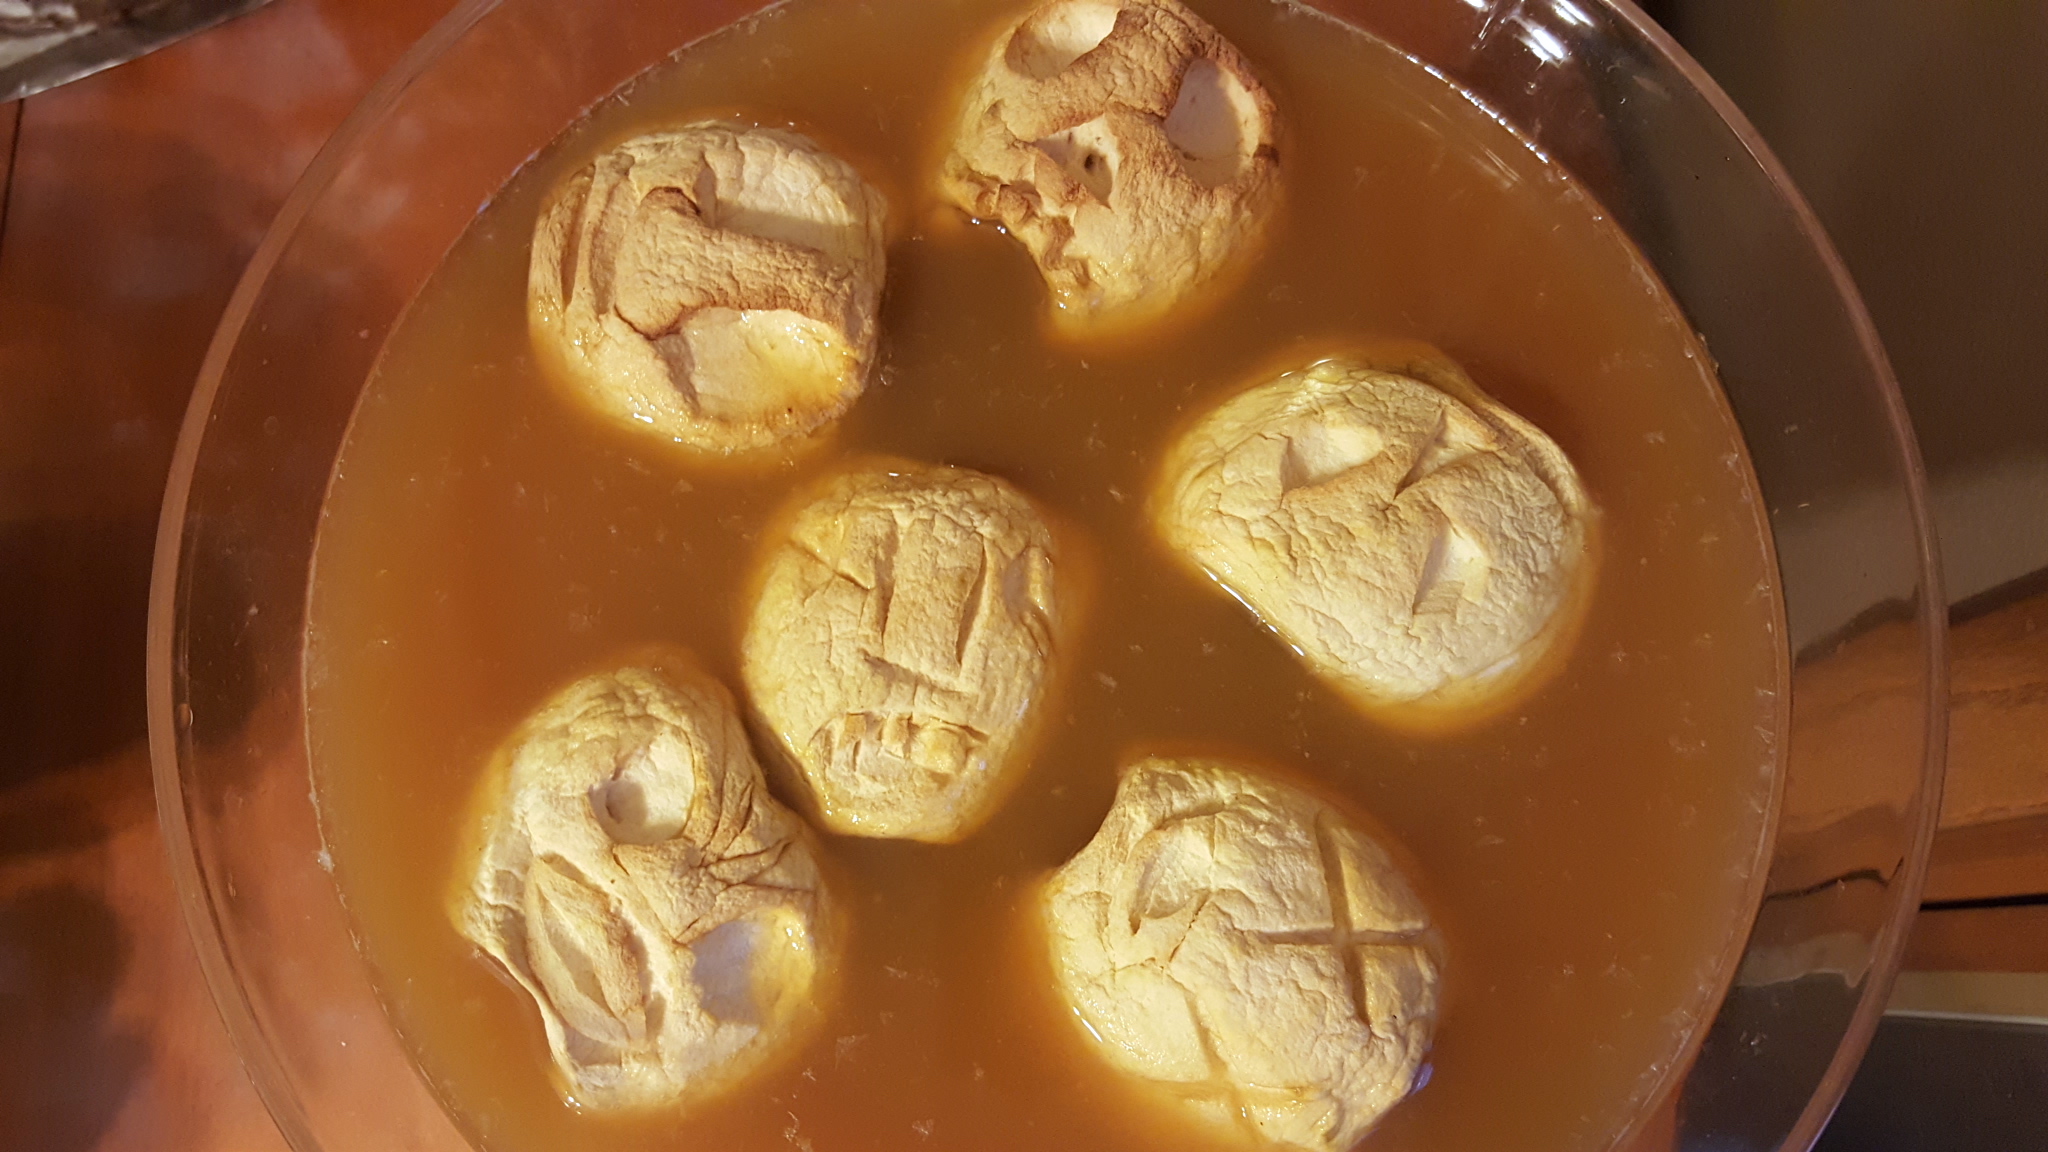
….and floating in our apple cider mix!


