How to Make a Quilled Turkey Paper Craft for Thanksgiving
This post may contain affiliate links, view our disclosure policy for details.
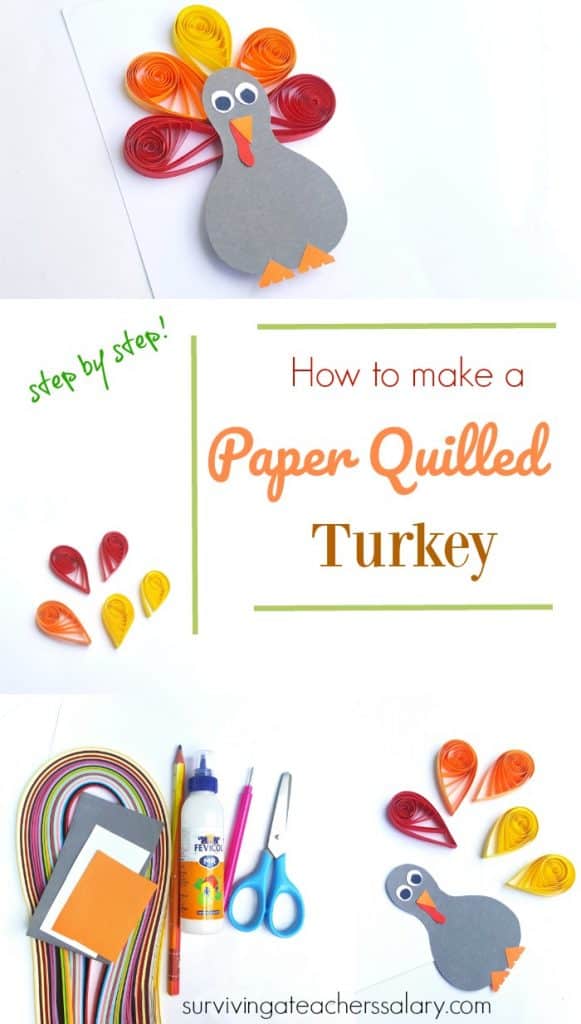
Paper quilling is a lost art but it’s a fantastic fine motor skills activity for kids of all ages! This simple step-by-step tutorial will show you how to make your own paper quilled turkey for Thanksgiving! Turn it into a card, a wall art decor, or even a puppet!
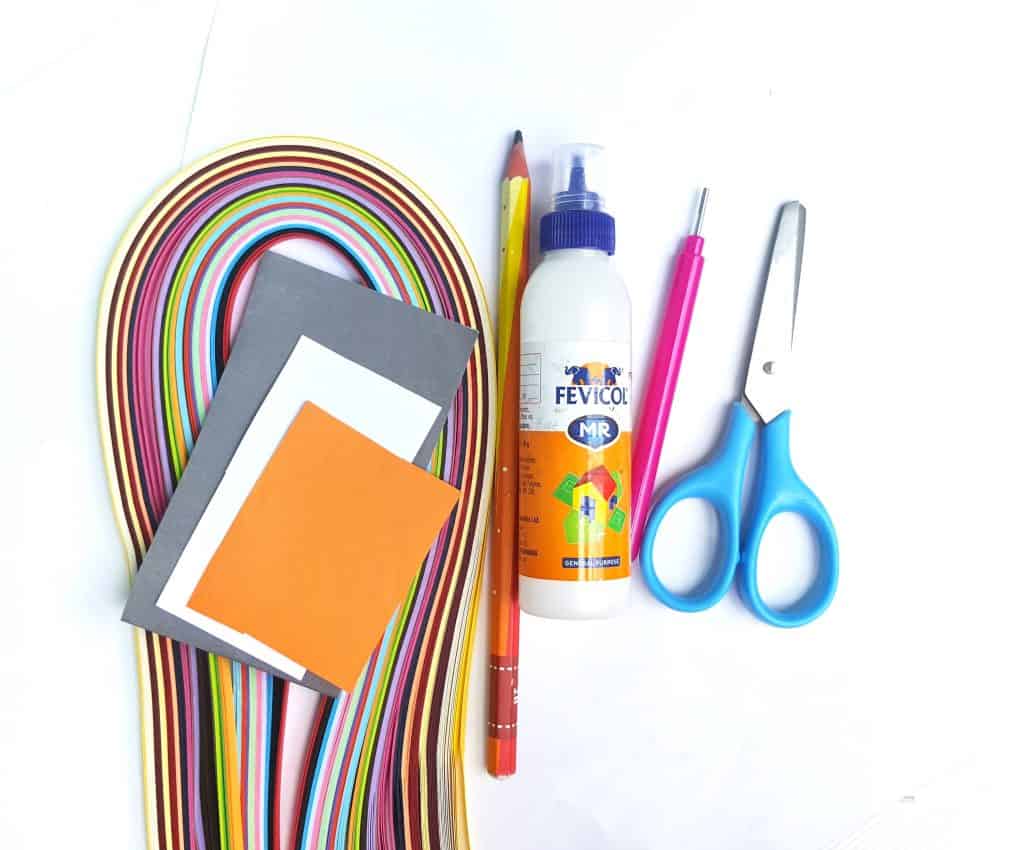
Quilled Turkey Materials Needed:
*Quilling paper strips – fall colors
*White stationary paper
*Craft glue
*Slotted quilling tool
*Scissors
Step by Step Directions:
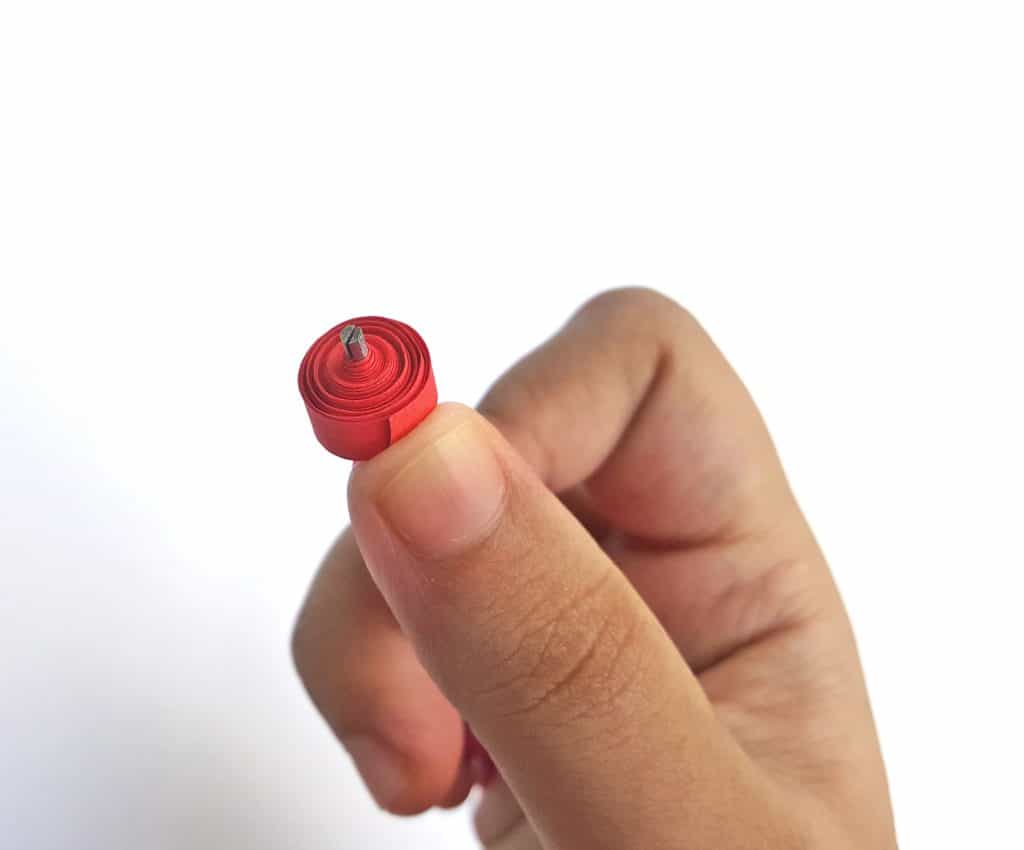
- Select fall colored quilling strips for this project – because, well, Thanksgiving turkey! Take a 20 inches long quilling strip and coil the entire strip with the help of the slotted quilling tool.
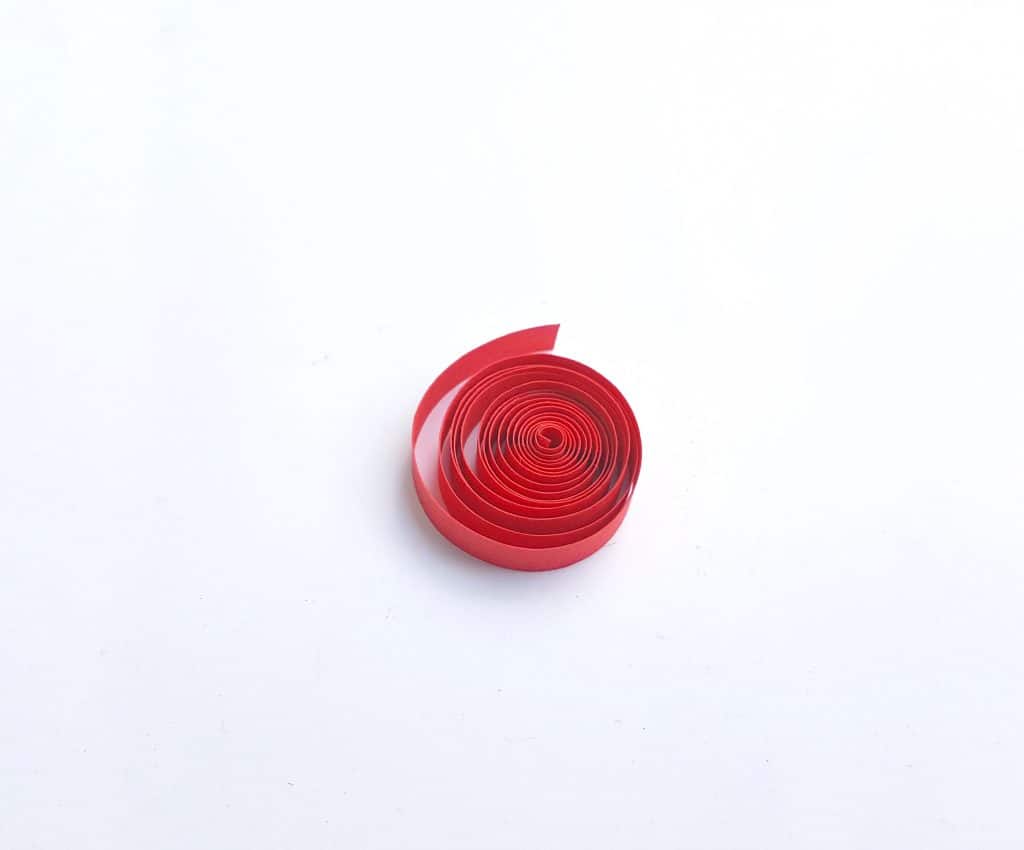
2. Carefully take out the coiled strip out of the slotted tool and allow the coil to loosen up.
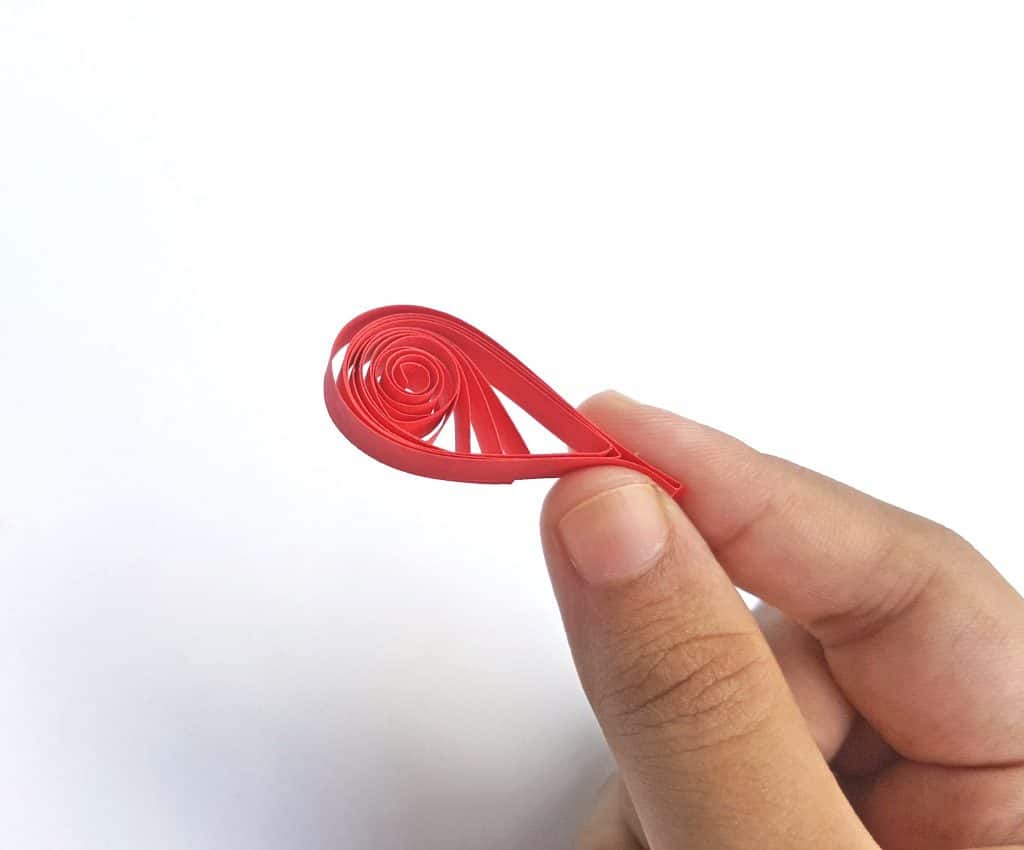
3. Take the loose coil and press any 1 side of it to form a teardrop shape. Glue the open end of the coiled strip to secure the teardrop shape.
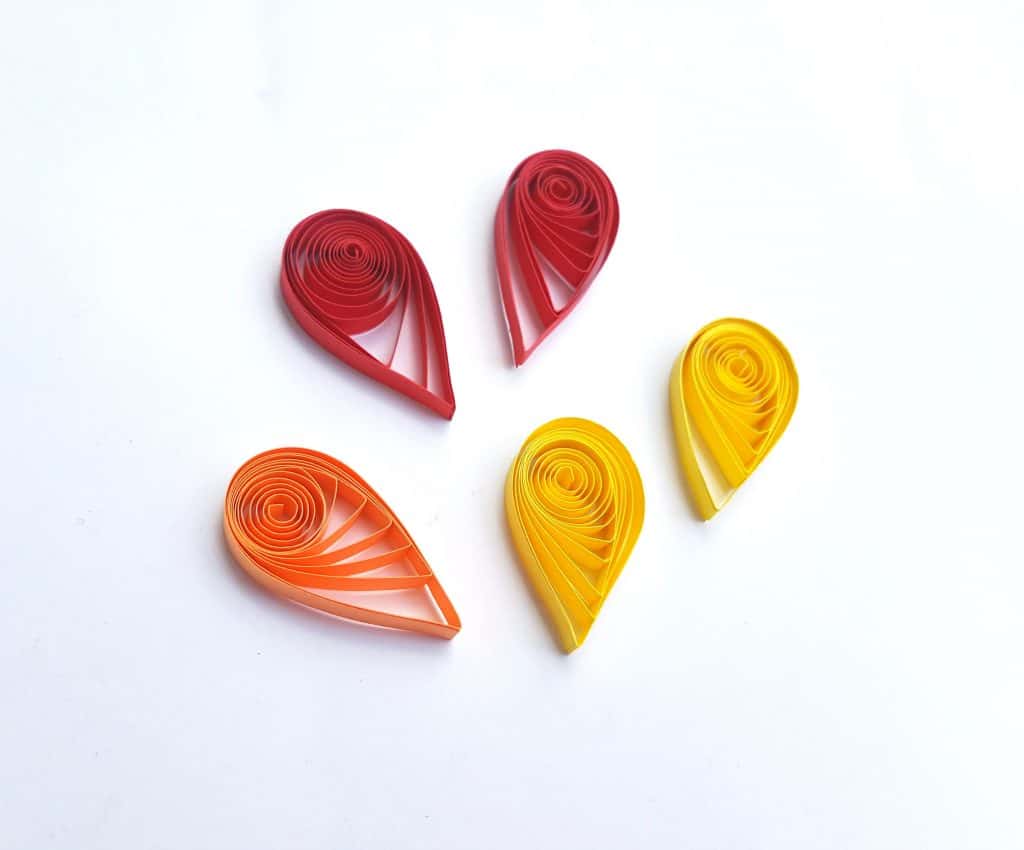
4. Make 4 more teardrop shapes using 20 inches long quilling strip. Use different colors rather than using the same colored strip.
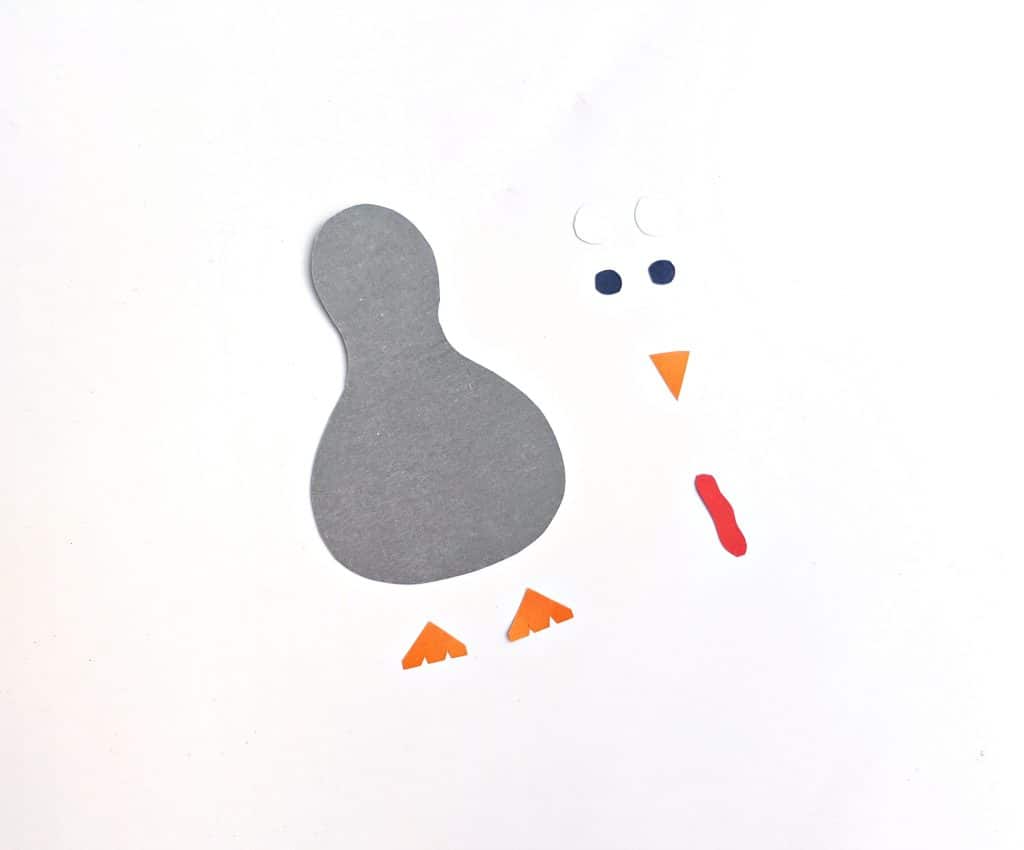
5. Select colored craft papers for the turkey and trace the patterns from the template on the selected papers. Use scissors to cut out the traced patterns.
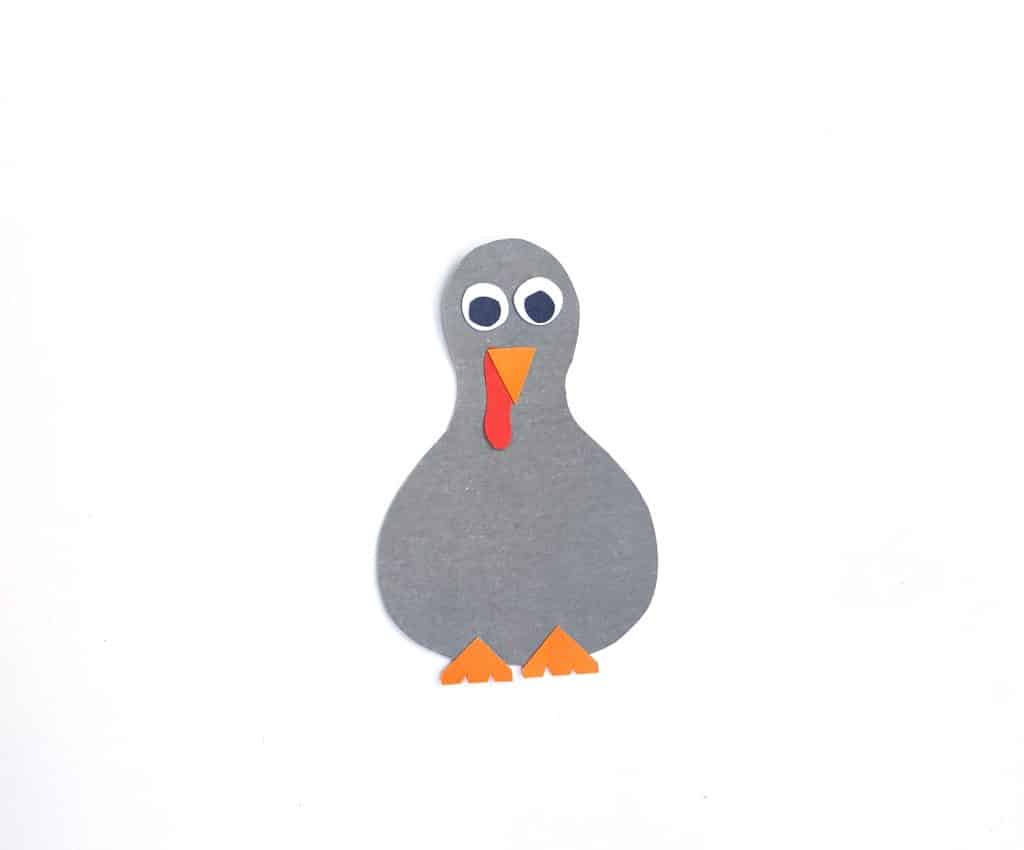
6. Simply glue the parts together to form the body of the paper turkey! Easy peasy!
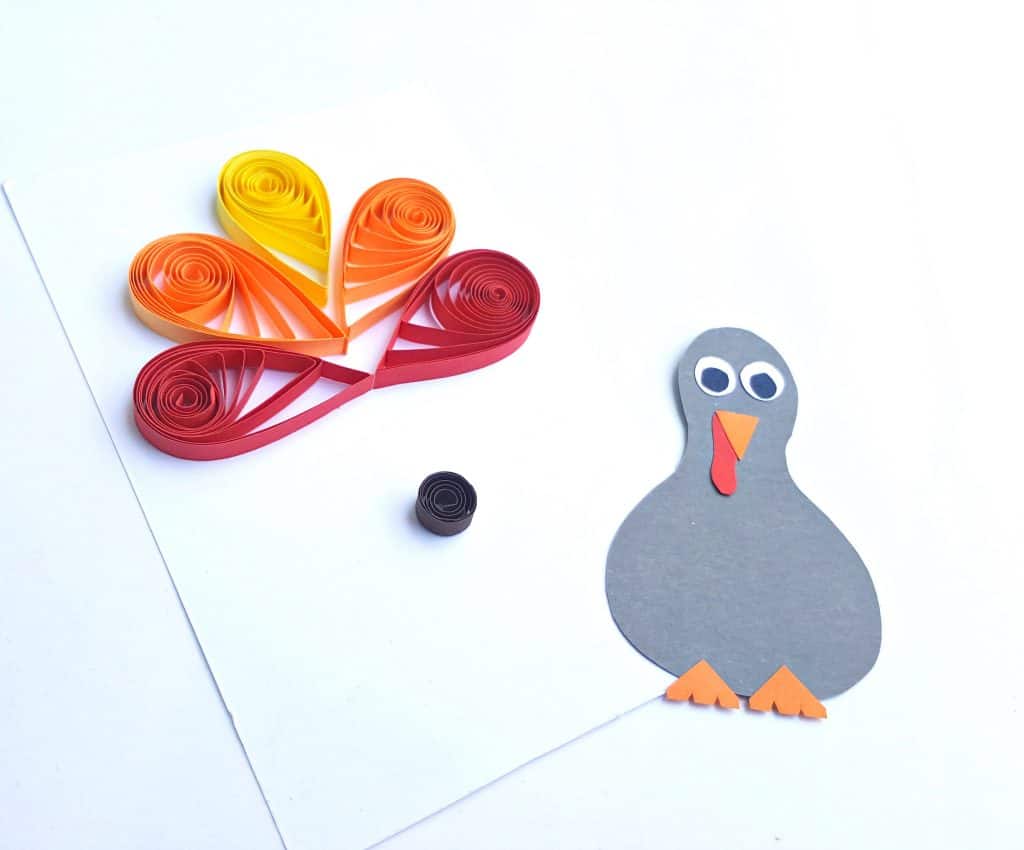
7. Gather all of your pieces together. Choose a piece of white stationary paper (or any other color you prefer).
8. Stick the teardrop shapes on the paper with their pointy edges towards the center and all 5 teardrop shapes adjacent to each other. Also, use a 10 inches long quilling strip to form a loose coil. Glue the loose coil 1 inch below the teardrop shapes. so that your turkey body can be glued up on top of it to create a 3D form!
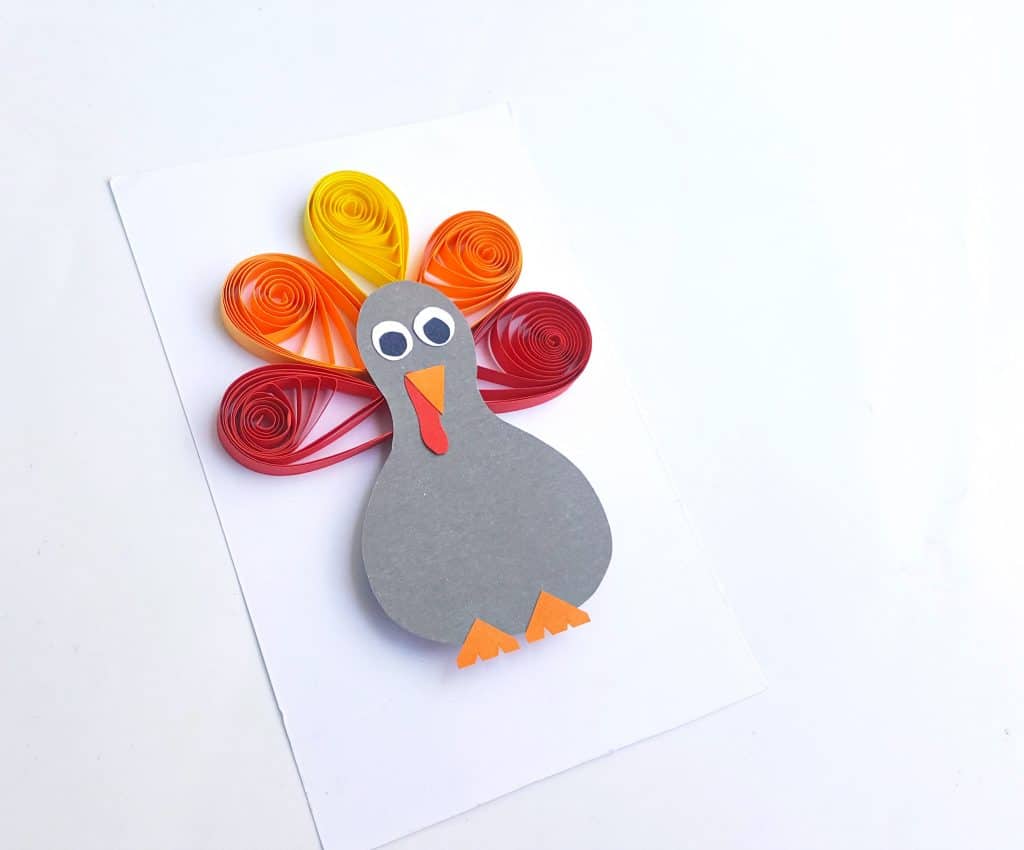
9. Now stick the paper turkey body on the loose coil; it’s better to apply glue on the loose coil and then placing the body on it. Gently press the body on the loose coil to make sure that it is glued nicely.
Allow the glue to dry. Add more details as you wish. Grab some markers and doodle around your turkey!
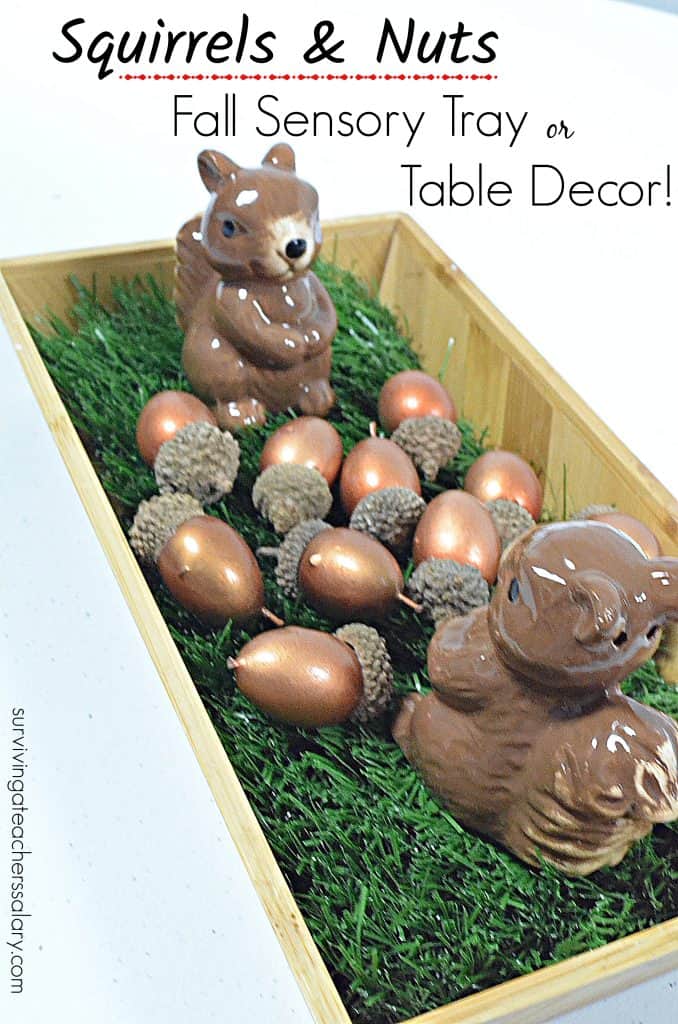
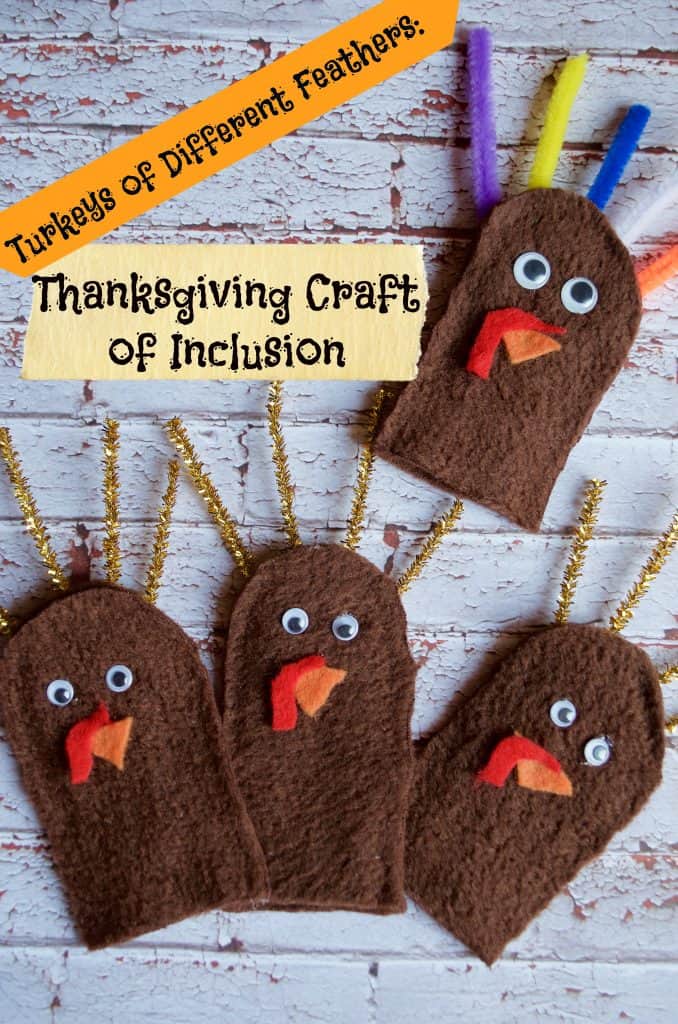
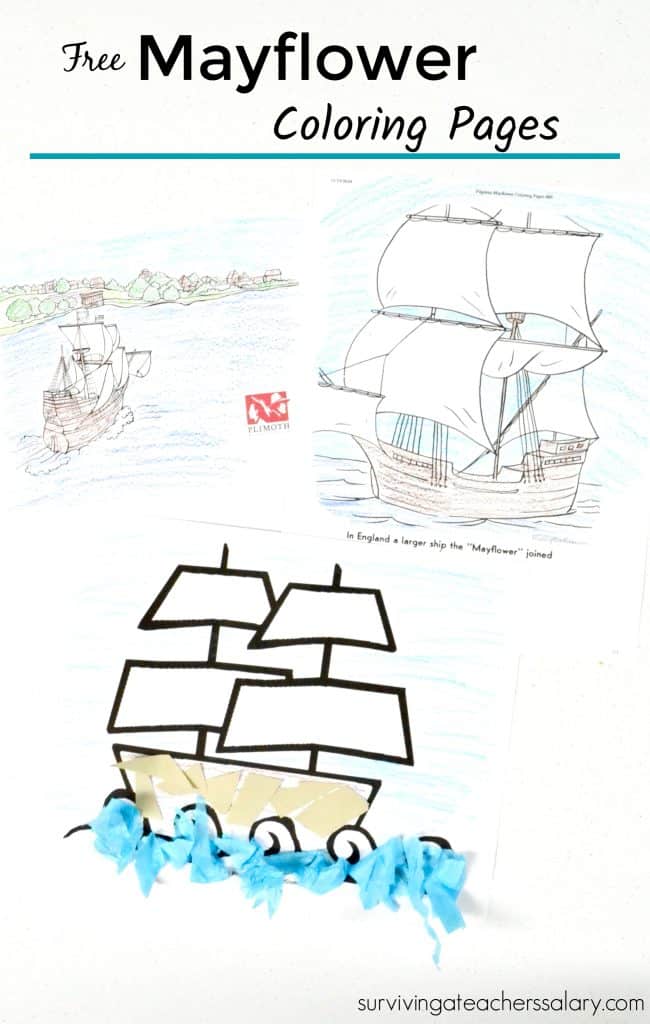
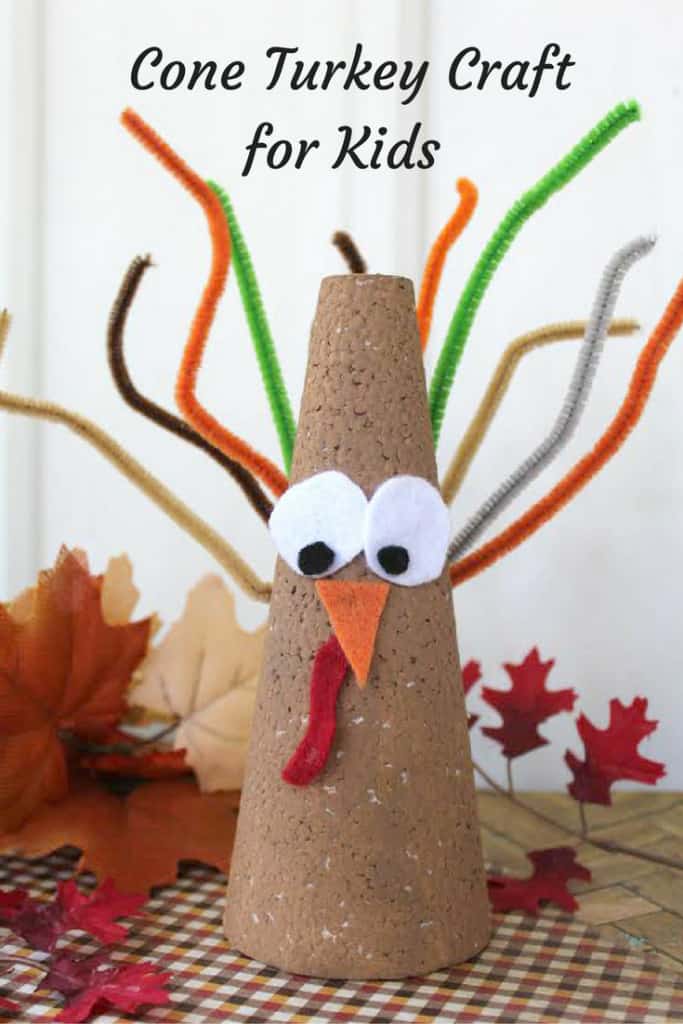
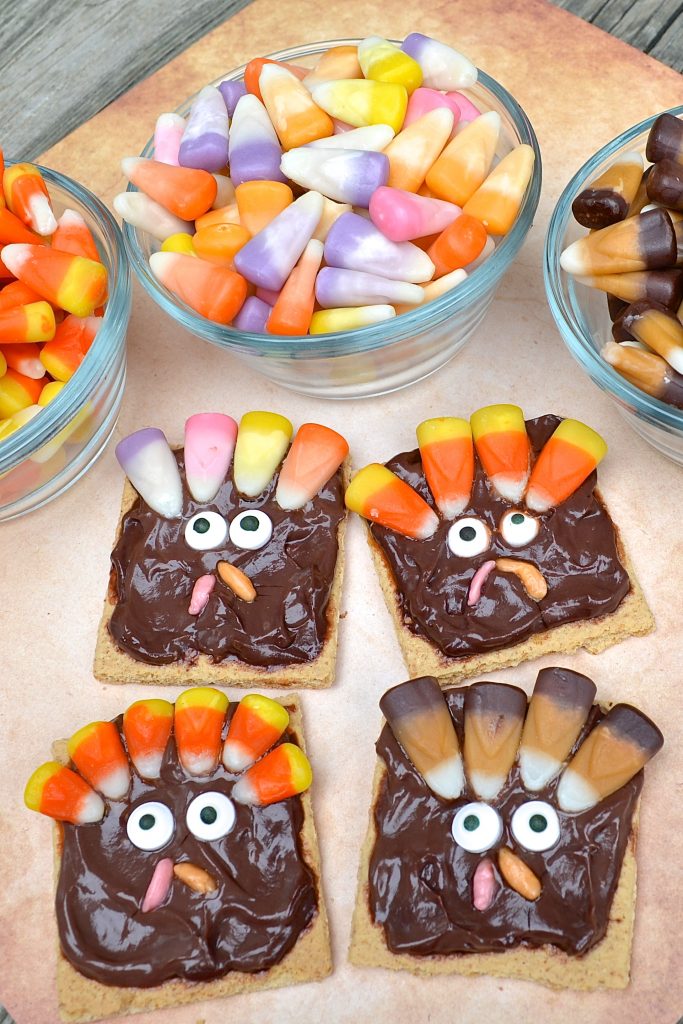
Other Thanksgiving & Turkey Crafts:
 |
 |
 |
 |
 |
 |