How to Make a DIY Halloween Clock from Cardboard Boxes Tutorial
This post may contain affiliate links, view our disclosure policy for details.
I am a Halloween fanatic and seriously could drop tens of thousands of dollars on Halloween decor if money were no object! Obviously on a teacher’s salary that’s a big fat “it ain’t happening” SO I’m left to my own creative resources on making diy halloween decor. Which is pretty cool too!
Although it’s not waterproof (if you have ideas how to do that let me know!) cardboard boxes are cheap and I’ve got plenty of those laying around throughout the year to work with. Add some good strong duct tape and black spray paint and you’ll be well on your way to designing some cheap diy halloween decor of your own!
Materials to Make Cheap DIY Halloween Decor:
Here are some cheap materials to collect that will help you as you design diy halloween decor – don’t forget to keep an eye out at your local thrift store too!
- cardboard boxes
- spider webs
- moss
- cardboard tubes
- fake spiders, rats, skeletons, bats, snakes, roaches, etc.
- yarn, rope, twine
- sticks & twigs
- old books
- bottles, buckets, jars
- wood scraps
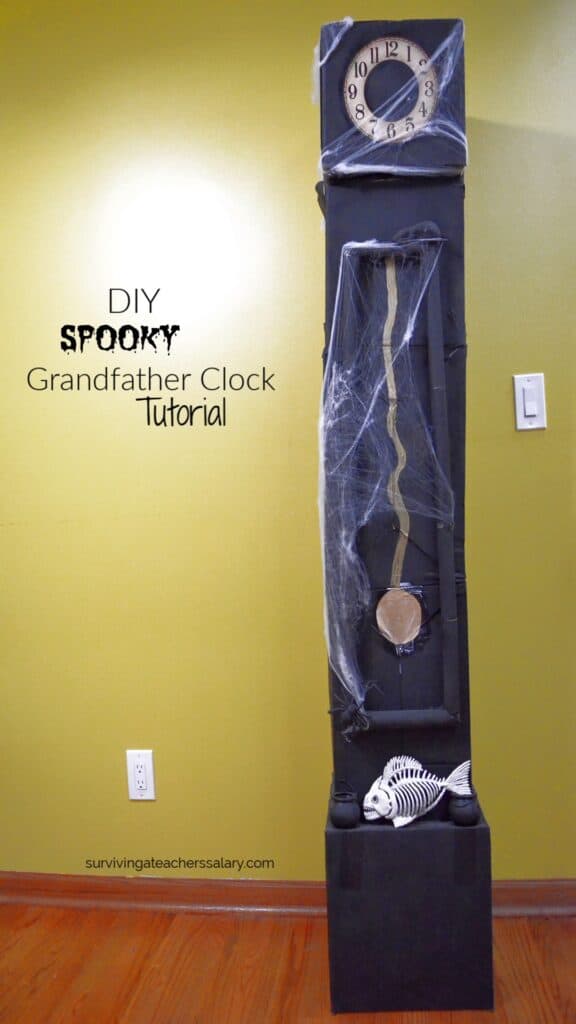
How to Make a Spooky DIY Halloween Grandfather Clock:
Materials Needed:
cardboard boxes (about 5)
black spray paint
duct tape
scissors
hot glue gun + glue
paint brushes
metallic gold paint
clock face (see below)
fake rats, spiders, skeletons, etc. of choice
fake spider web
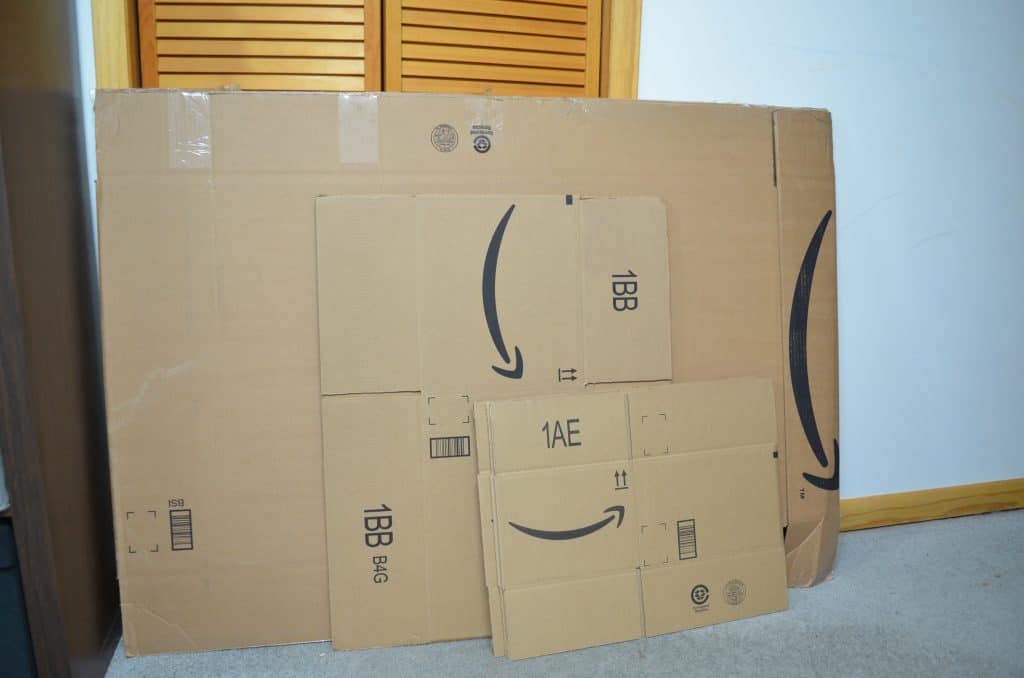
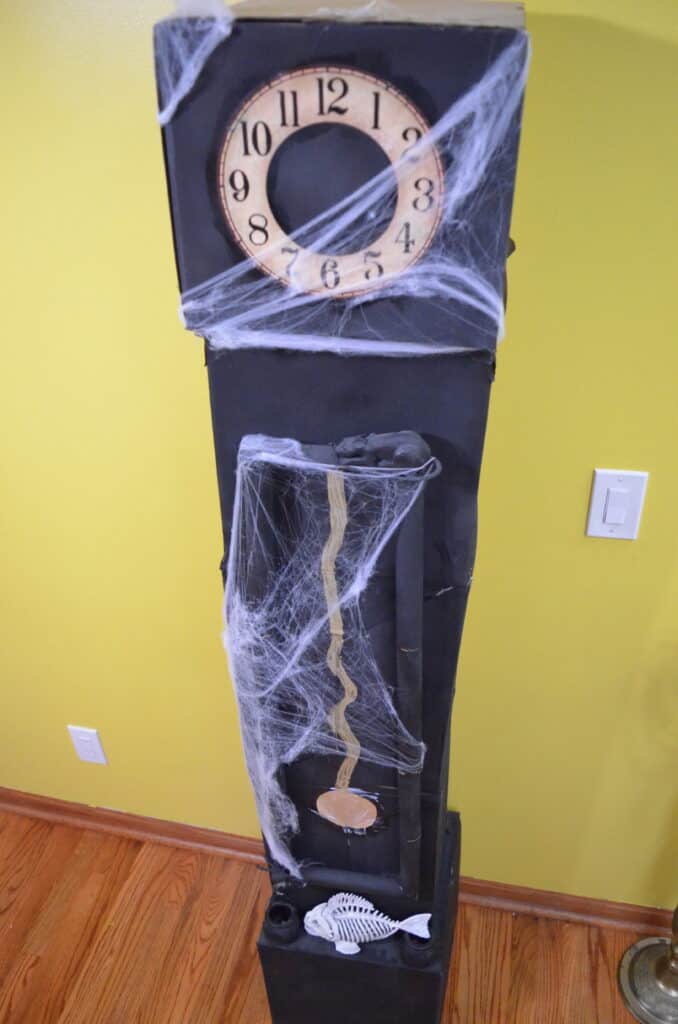
Begin by collecting various sized boxes. For my clock I chose 3 rectangular boxes with a similar width for the middle of the clock stacked on top of each other, and the top and bottom of the clock were made with slightly larger square shaped boxes so that they were slightly overlapping the middle just like a real grandfather clock. You can see this in our video.
Taping the clock body:
Next I used the duct tape to tape the boxes on top of each other to form the base part of my grandfather clock. It’s essentially 5 boxes stacked on top of each other taped together – nothing too fancy. The biggest thing is to line up the sizes and shapes that you want for your clock!
Spray painting the clock body:
After you’ve stacked and taped your boxes you’re ready to spray paint it! I spray painted just the front and sides of my Halloween grandfather clock – mostly to save on time and spray paint! It was getting pretty cold and rainy out when I started my project so I was eager to finish up the painting process and get the clock in the house!
Creating the paper tube frame:
I saved up paper towel rolls, toilet paper tube rolls, and smaller cardboard tubes used for shipping essential oils (which is eventually what I ended up using to make the front frame on the grandfather clock). You can do this one of several ways but I decided to paint my cardboard tubes black and then hot glue them onto the front of the grandfather clock body.
TIP – Don’t worry about the hot glue “threads” that wisp around as you work! I just left them on my grandfather clock – they add to the spidery web effect!
Printable Clock Faces:
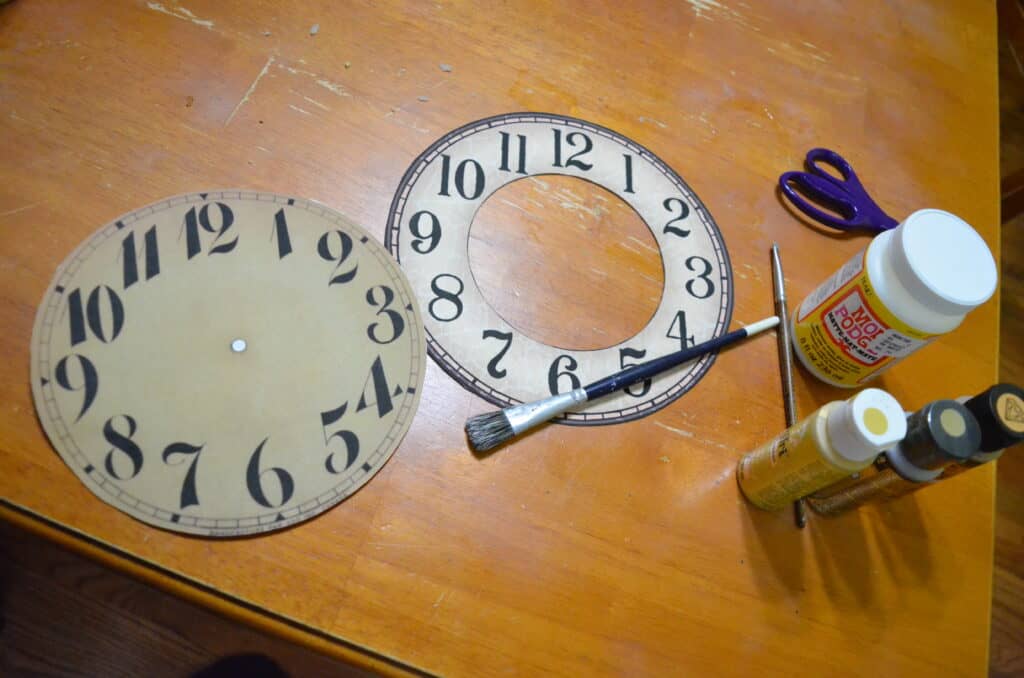
At first I had grand ideas of designing an extra spooky clock face but considering that this project sat for two years untouched in my house I pretty much just wanted to actually finish this grandfather clock!
So I googled for printable clock faces and browsed around a bunch on Knick of Time before printing a few off to decide between. They were all free and took me all of a few seconds to get them printed.
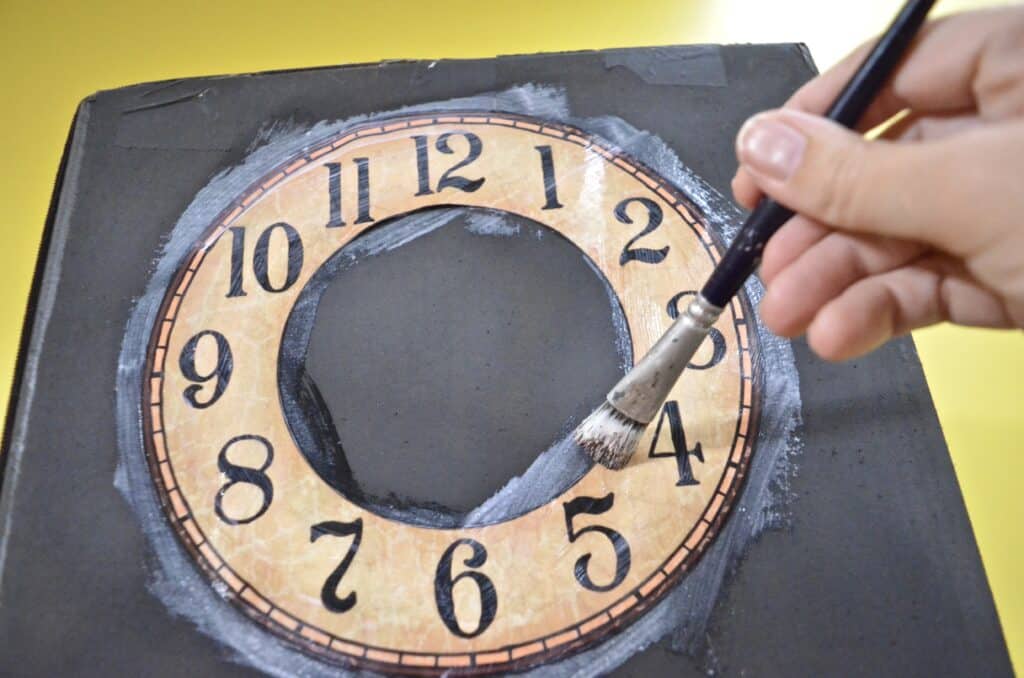
I literally just mod podged them right onto the front of the grandfather clock! The mod podge will dry clear so don’t worry about making it perfect. After all – it IS just a cardboard grandfather clock that won’t last forever!
Spooky Special Features:
This is where you can get creative based on what you want or what you have on hand at home!
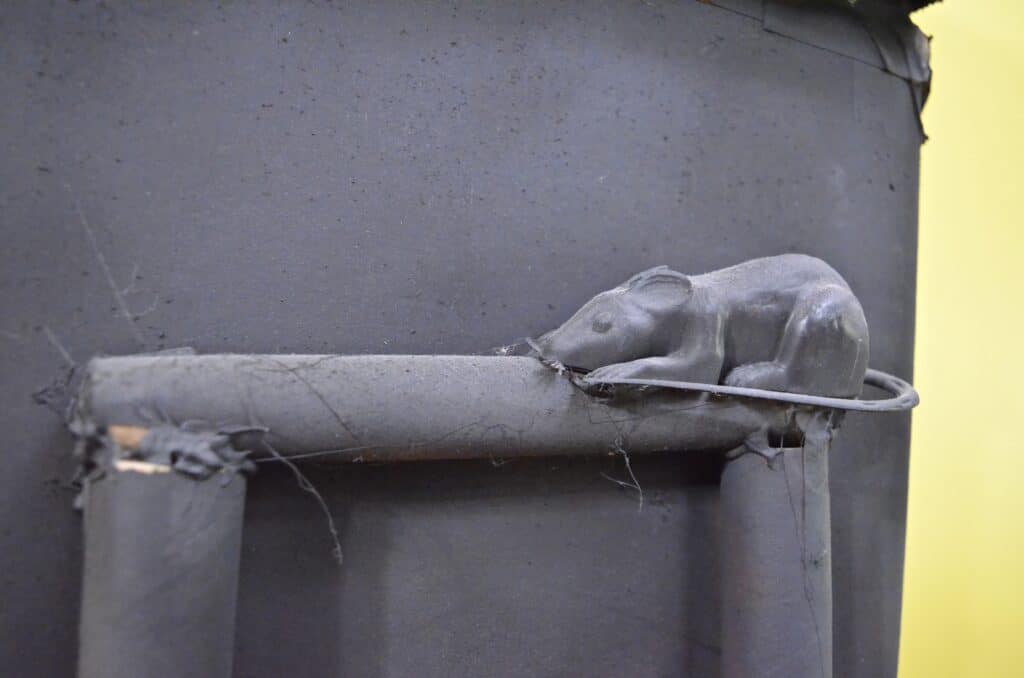
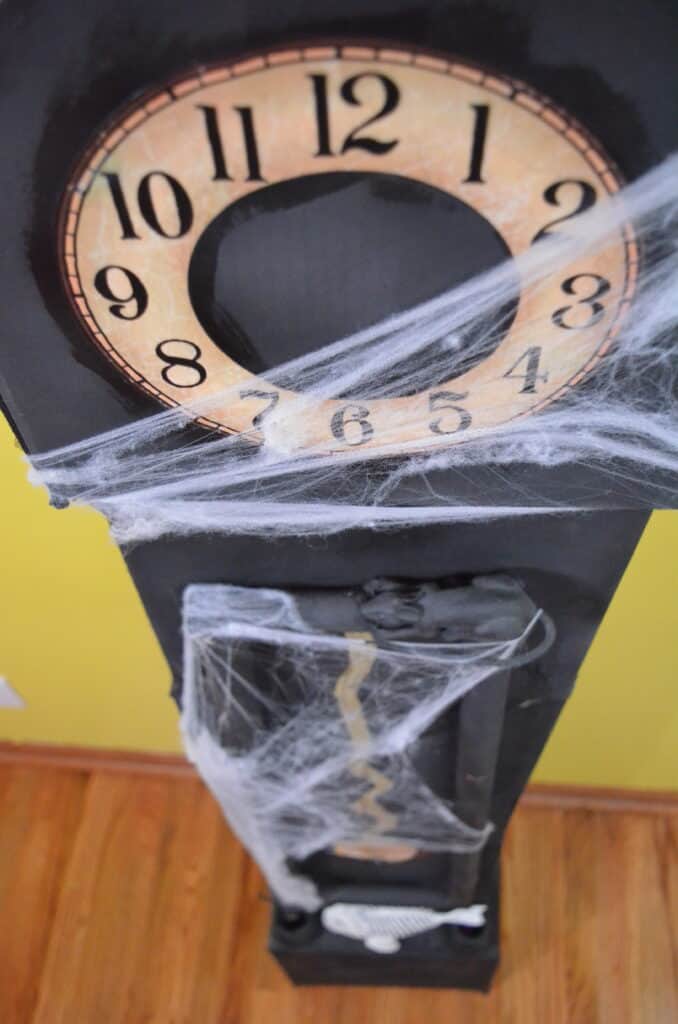
I added a plastic mouse……
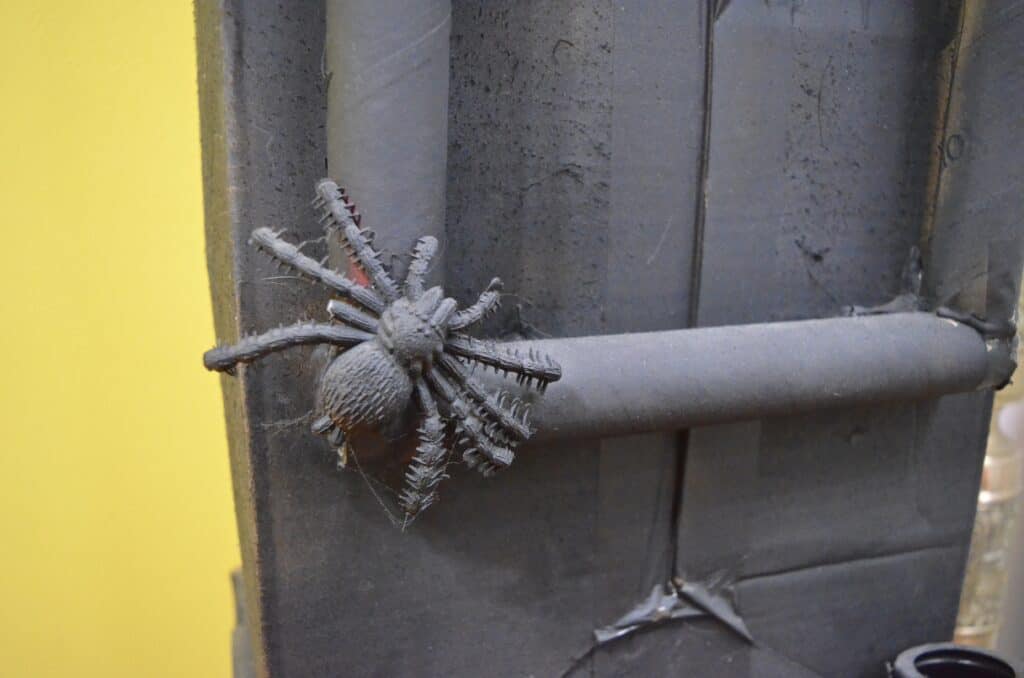
…… a fake spider……
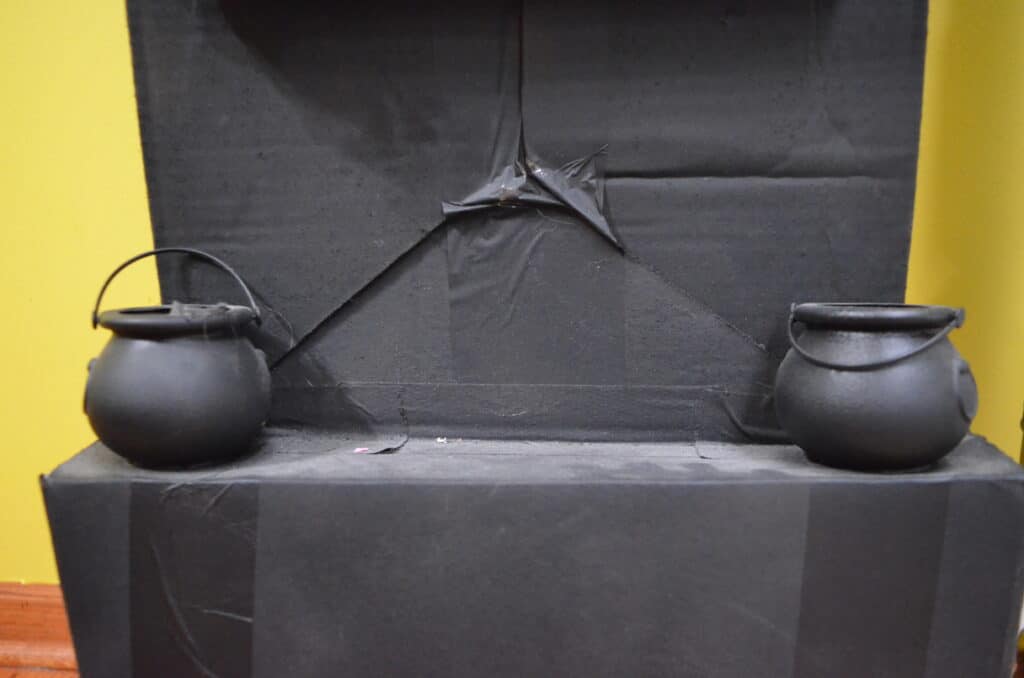
…..and even two small cauldrons on the bottom!
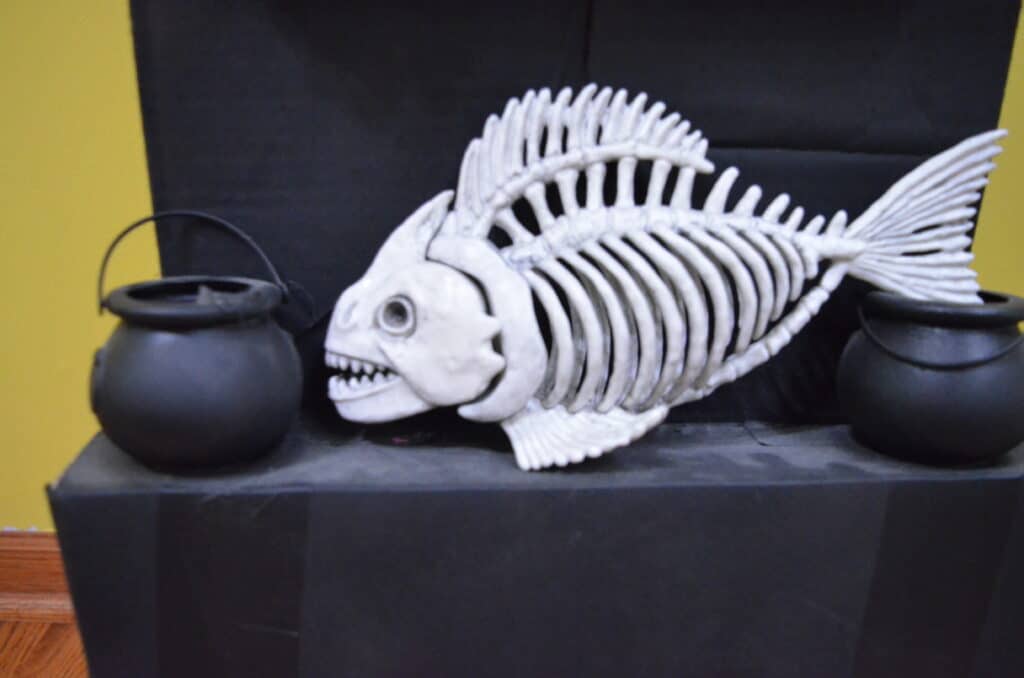
I also though my fish skeleton added a nice touch of “color” against all of the black.
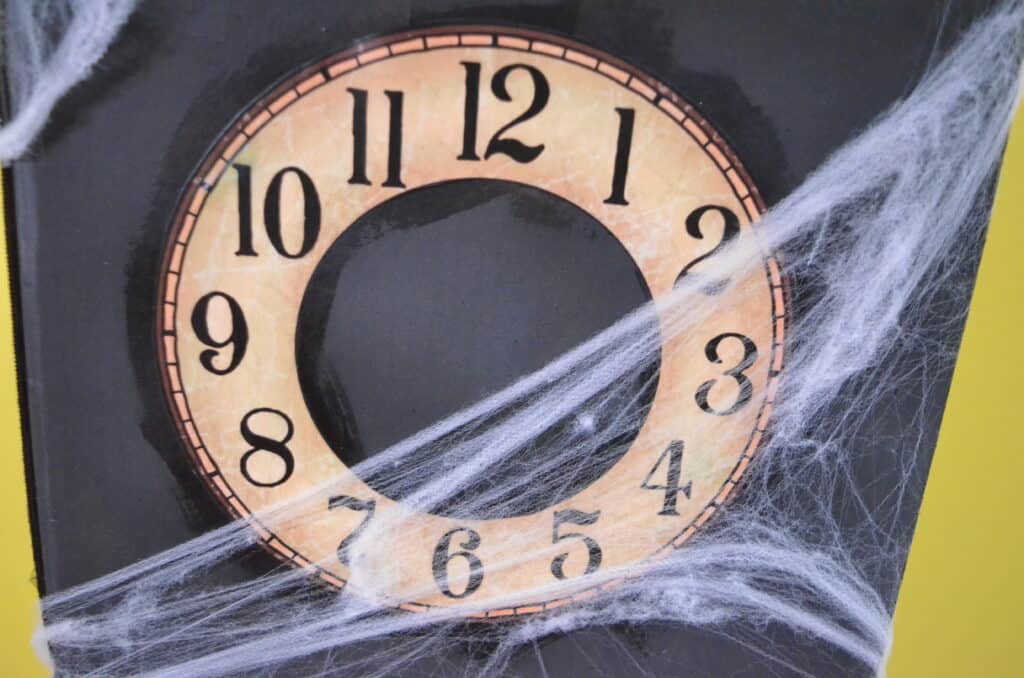
The very last thing I added was my spider web! I cut chunks of spider web off of a big pile and used pieces of it randomly stretched across the diy grandfather clock!
A note about the pendulum:
Because my diy Halloween grandfather clock is so tall I definitely wanted to add some sort of pendulum in the middle of my cardboard tubes. Ultimately I want to cut out a cardboard pendulum to give it an extra “pop” of layering but for right now I literally just painted one right onto the front of the clock with a metallic gold paint.
You can pick up all of these craft supplies at your local store or online at Oriental Trading or Amazon ! Or of course dig into that craft stash you’ve been stocking up on and grab some leftover cardboard and spooky supplies there!
Check out our spooky spider web sensory bin below!
Popular DIY Halloween Posts:
 |  |
 |  |