DIY Catacomb Chandelier Halloween Home Decor Tutorial
This post may contain affiliate links, view our disclosure policy for details.
The materials below were provided by Oriental Trading. No compensation was received.

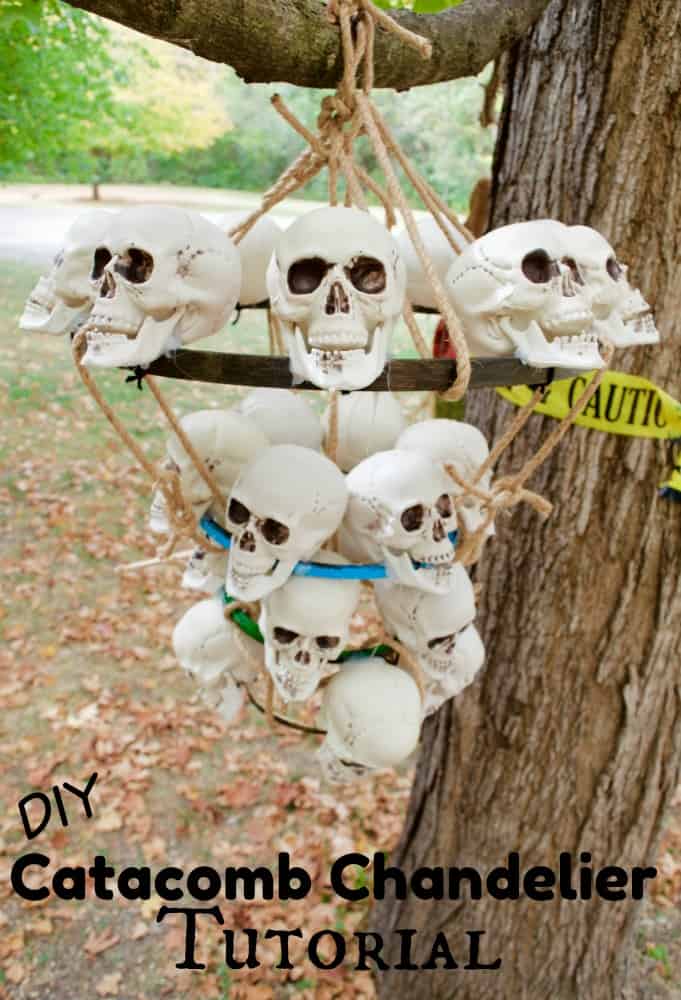
It’s spooky season again – Halloween is my favorite time of year! Several years ago I had spotted an amazingly intricate chandelier made of skulls and fell in love with the idea of it – but not the price tag! Let’s just say it was in the thousands!
For just a couple of Alexander Hamiltons I was able to create a 4 layer catacomb chandelier that is AWESOME! It was a bit of a labor of love but totally worth it!
Catacomb Chandelier Materials:
*approx. 30-38 skulls (very inexpensive in bulk at Oriental Trading!)
*2-4 embroidery hoops
*hot glue
*black spray paint or acrylic paint
*rope
Optional: drill, black yarn
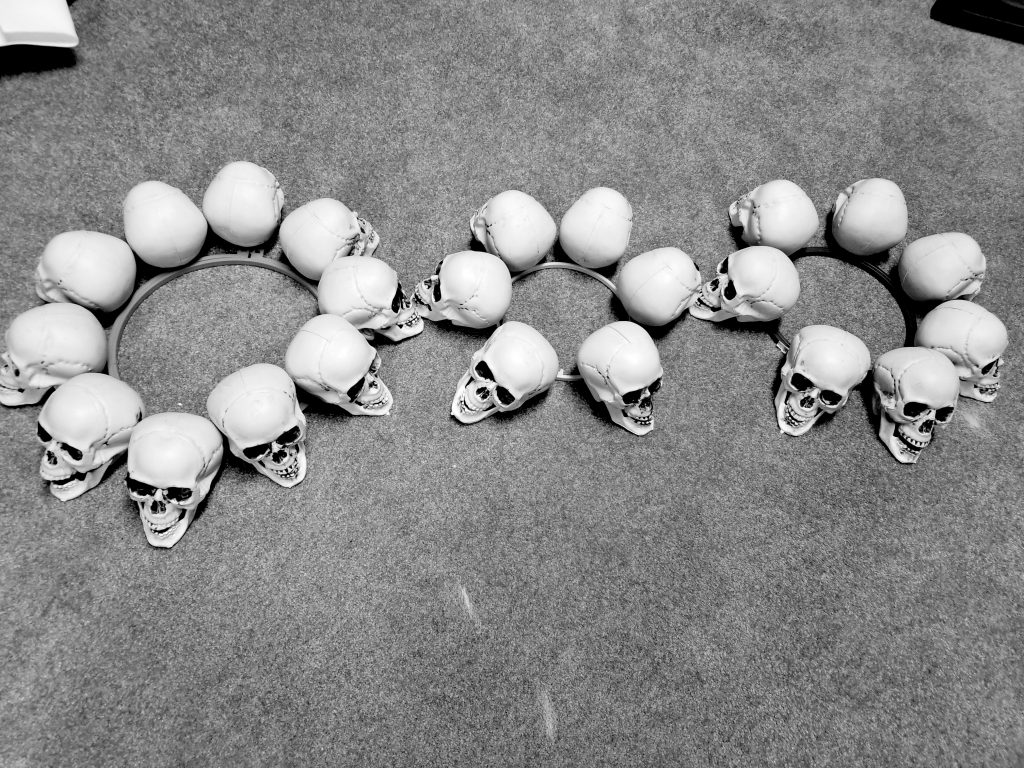
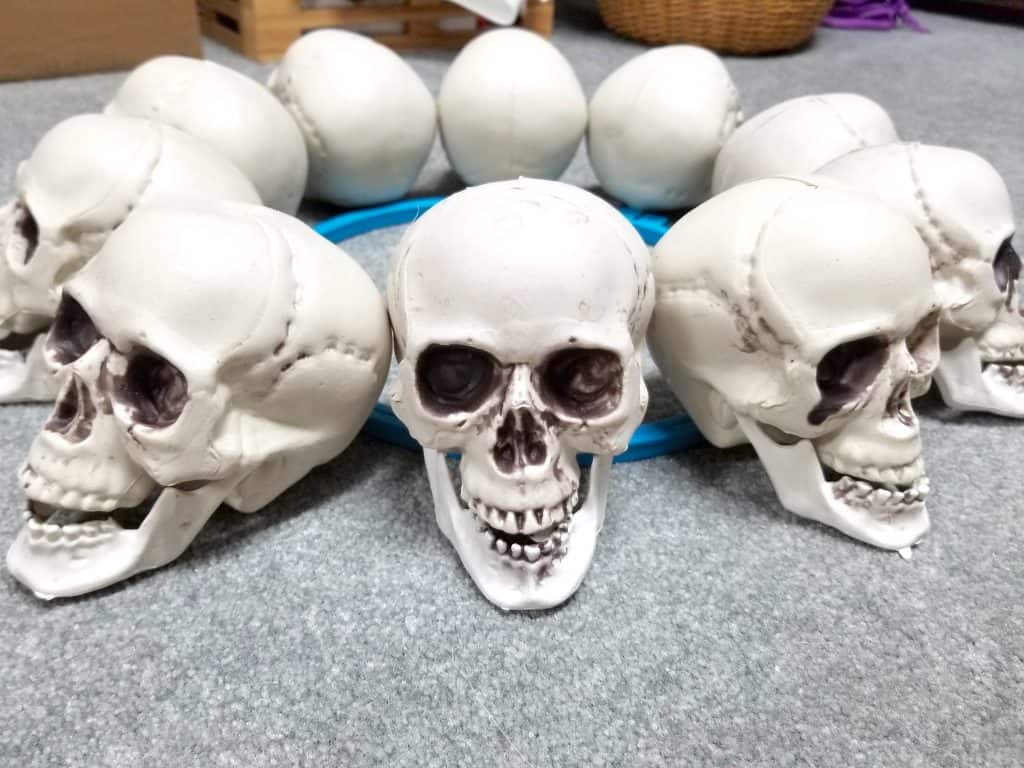
TIP: BEFORE beginning your project I HIGHLY recommend you laying out the “layers” of your chandelier to determine if you have enough skulls or not! I changed mine up a little as I went along so do what works for you.
TIP: Many thrift stores have extra embroidery hoops extremely cheap!
Optional: Drill a small hole (or 2 if your skulls don’t already have a hole – you need a total of 2 holes) in the bottom base of your skull. Thread a piece of black yarn (roughly 6-7 inches) through both holes. This will ensure your skulls don’t fall off of their “layers”.
Simply knot them right down onto the embroidery hoop. This step CAN be skipped but not only made it easier for my when positioning my skulls but it also ensures that if my skulls fall off in the future during transit the skulls will not be lost.

Here you can see where I drilled one small hole since these skulls already had a hole. It did take a little longer to do it this way since I had so many skulls to drill and of course threading the yarn through is time consuming but I’m confident this will help me in the long run.
Paint or spray paint ALL of your your embroidery hoops black.
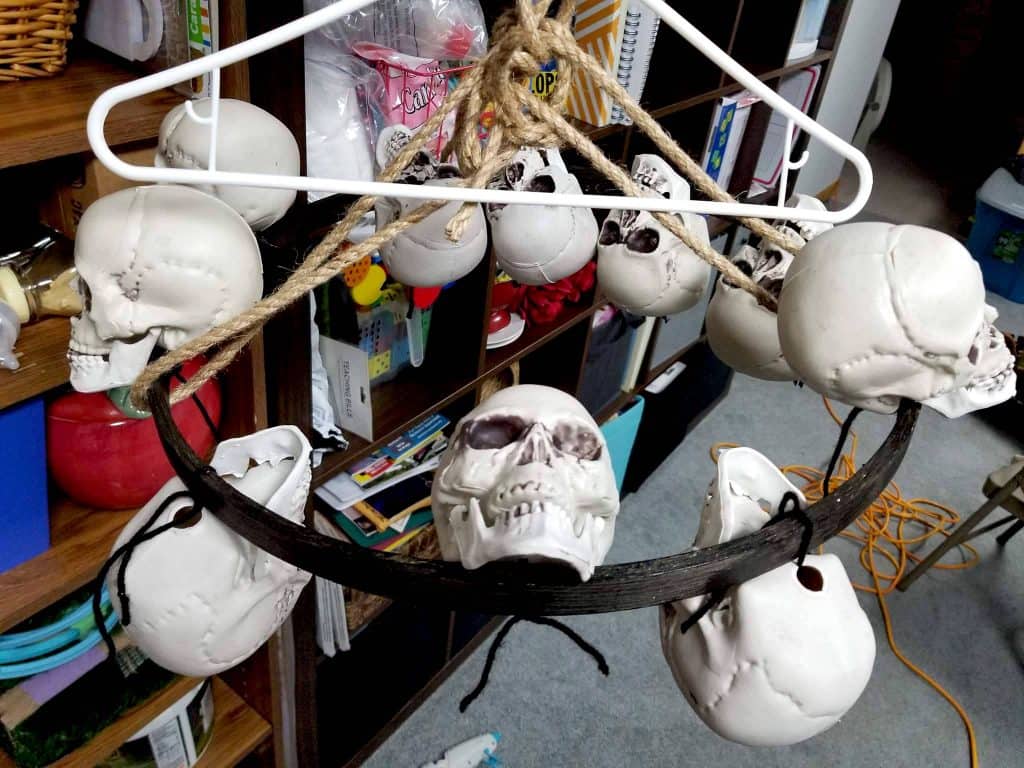
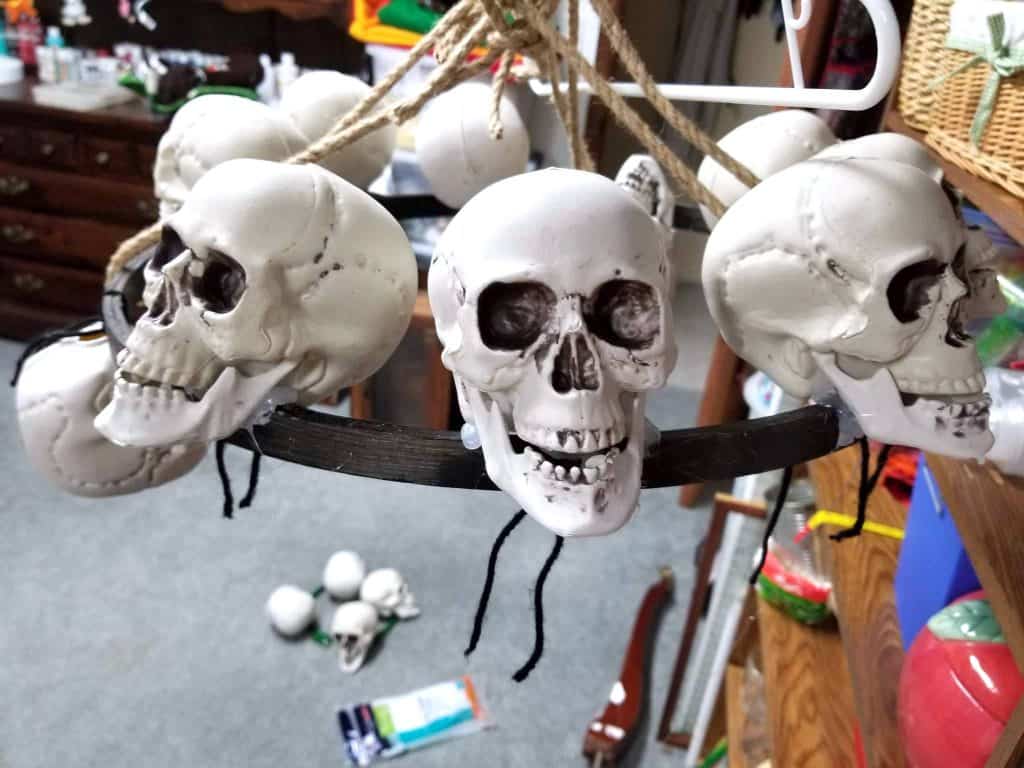
Using your rope tie 3 long pieces onto your top layer of your embroidery hoop. This is the layer that will be hanging from the ceiling or tree. I then took a smaller piece of rope and tied all 3 of these ropes together like you see above.
It allowed me to hang the layer from a coat hanger as I worked. Then I was able to take my skulls with yarn threaded through the bottom and time them in place.
Don’t worry if the yarn is a little loose and your skulls flop around a bit like mine above, the yarn is more of a holding place for your skulls as well as to ensure that the skulls do not fall off in case the hot glue melts off or gives way in the future.
Once all of your skulls are tied onto your top layer of chandelier you are ready to begin hot glueing your skills onto the embroidery hoop! I began by putting a bunch of hot glue underneath the skull, then on each side of the jaw and held it in place on the hoop.
Once the hot glue dried enough I could shift around a bit and add more hot glue ensuring that the skull was nice and firm on the hoop. You can see now why it was so nice to have all of the skulls tied into place!

Once you have glued your skulls onto the top layer of the chandelier you’re ready to tie the next layer on with rope and start all over again! Don’t worry if the hot glue runs off stringy from your layers or can be seen. It will add to the old spooky effect and you can always run a brush of black paint over it later.
TIP: If you want to make your chandelier EXTRA tall in a vaulted ceiling room then use a large and small hula hoop for your top two layers before starting with the embroidery hoops!

Keep tying on rope for each layer to hold the layer underneath, then glue the skulls into place.

You can see here I have a blue embroidery hoop I forgot to paint black – oops! Don’t worry, you can touch up paint and fix anything you need after you get that tricky chandelier into place! Remember, it will be featured in a dark location and you can drape black cheesecloth over it, spider webs, etc.
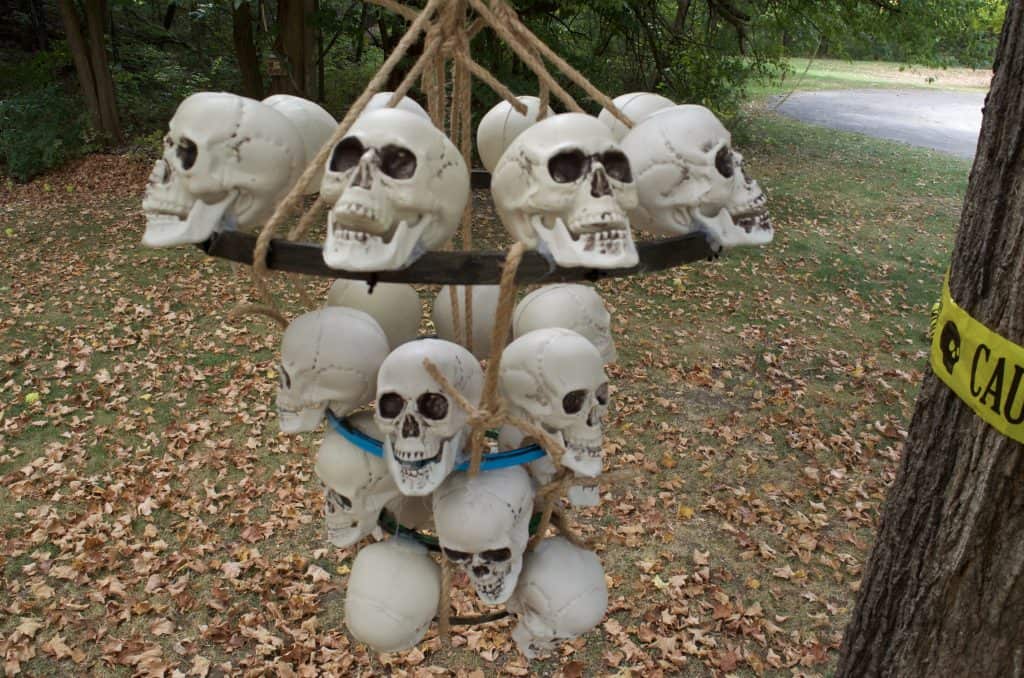
While you are creating your chandelier you will need somewhere to hang it. I looped a clothes hanger on to mine and hung it on a tree outside while I worked. I just ran an extension cord out there for my hot glue gun.
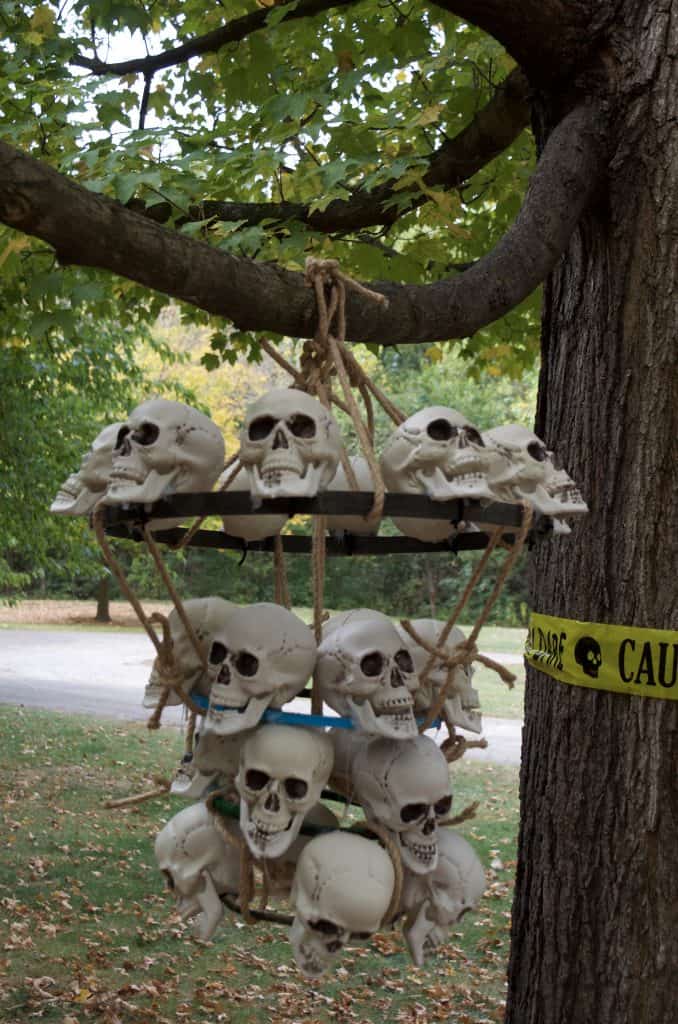
It’s a pretty heavy chandelier to make sure you hang the chandelier on something fairly heavy duty! I was cursing my chandelier by the end but take a deep breath and keep at it! The top 2 large layers were really simple to do but as I got further down it was a little bit trickier!
Order some supplies right now at Oriental Trading to make your own awesome chandelier!
 |  |
 |  |