How to Make a Science Center from an Entertainment Center
This post may contain affiliate links, view our disclosure policy for details.
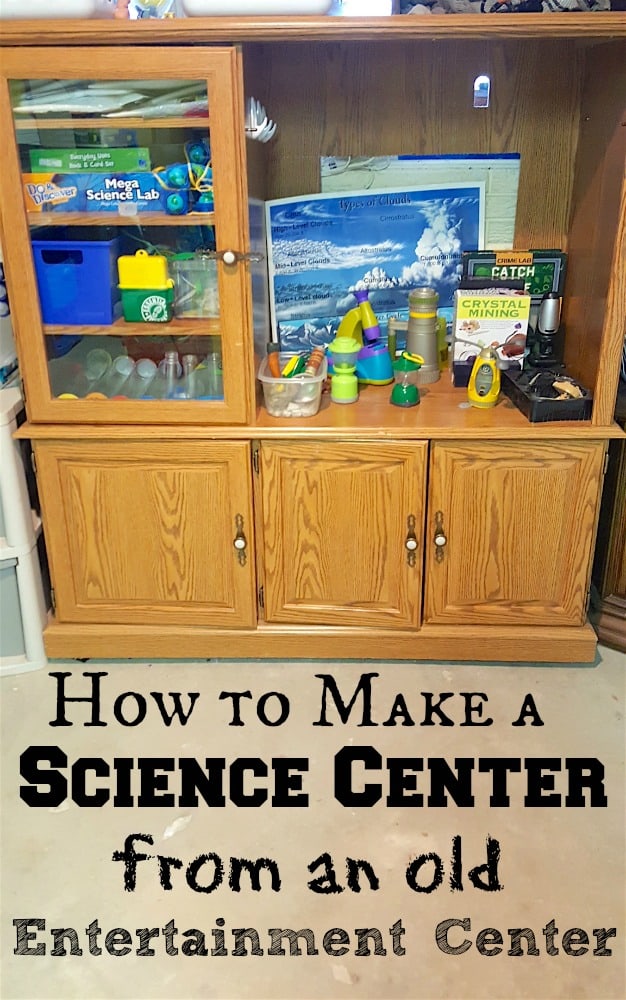
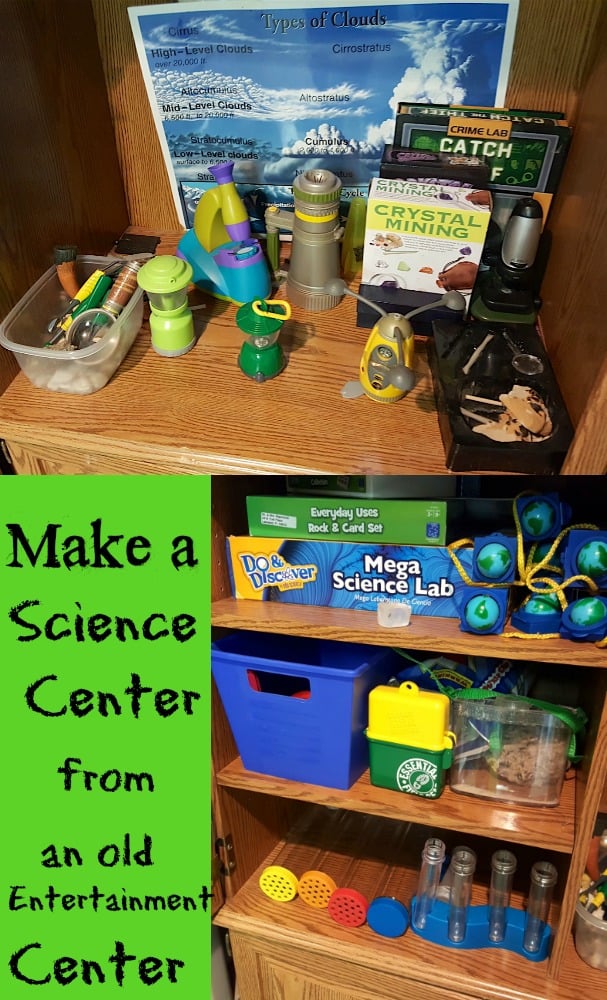
Learning how to make a science center doesn’t have to be expensive or complicated – it just needs to get the job done! My kids love exploring outdoors in nature, but so many of their treasures were coming inside that I decided to designate a specific area of the house for their treasures to go.
I picked up an old entertainment center from our thrift store for a few bucks which gave us some additional shelving space.
When we first moved to our house about 5 years ago we moved from Florida to Iowa which meant that we all of a sudden had a grand (but unfinished) basement at our disposal!
I immediately decided to turn our entire basement into a kid zone since we’d be stuck indoors much of the winter and set up each quarter or corner of the basement for a different type of play.
One of those areas is now our science center – but I had to do it on a really tight budget. So $10 had to cut it!
Over the years I haven’t changed too much of anything in it at all and it’s been a great go-to spot for my kids and their nature collections. I started by scouring our thrift store and settled on purchasing a $10 old entertainment center.
I searched for ones that had a flat surface area to work on about my kids height, and it also needed plenty of shelving.
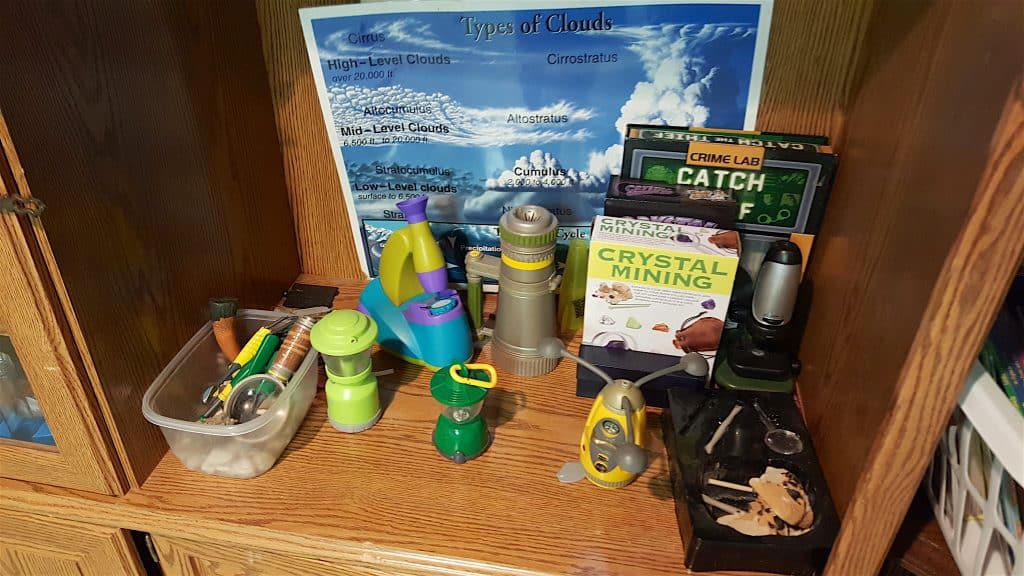
Eventually I’d maybe like to put some extra lighting inside so they can see their projects better. Around the outside of the science center I’ve hung science posters and identification guides that I’ve collected – identifying clouds and rocks are the best!
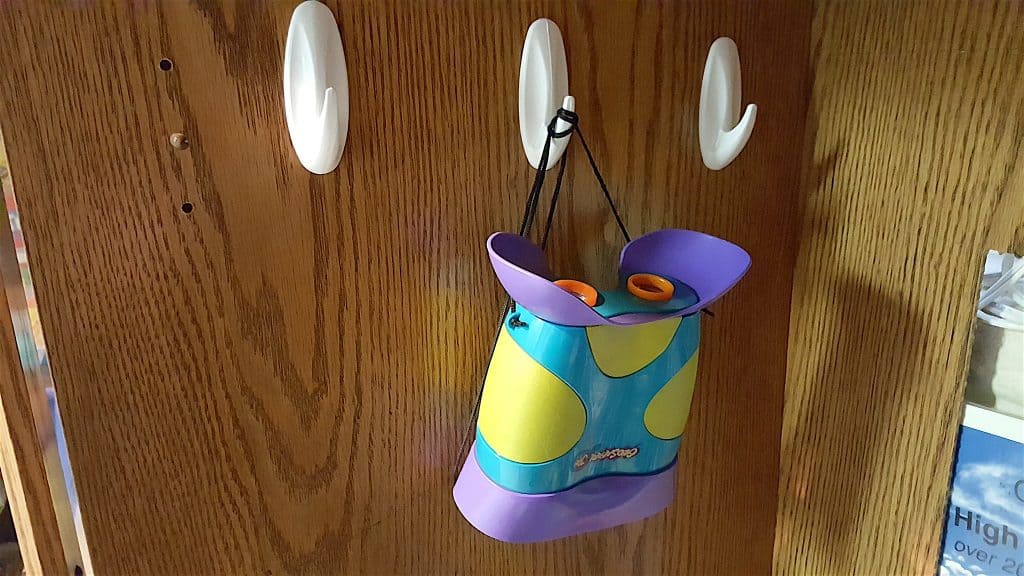
I also purchased the cheapest pack of Command hooks that I could find so that the kids could hang up their binoculars, field vests, and anything else that could fit on a hook.
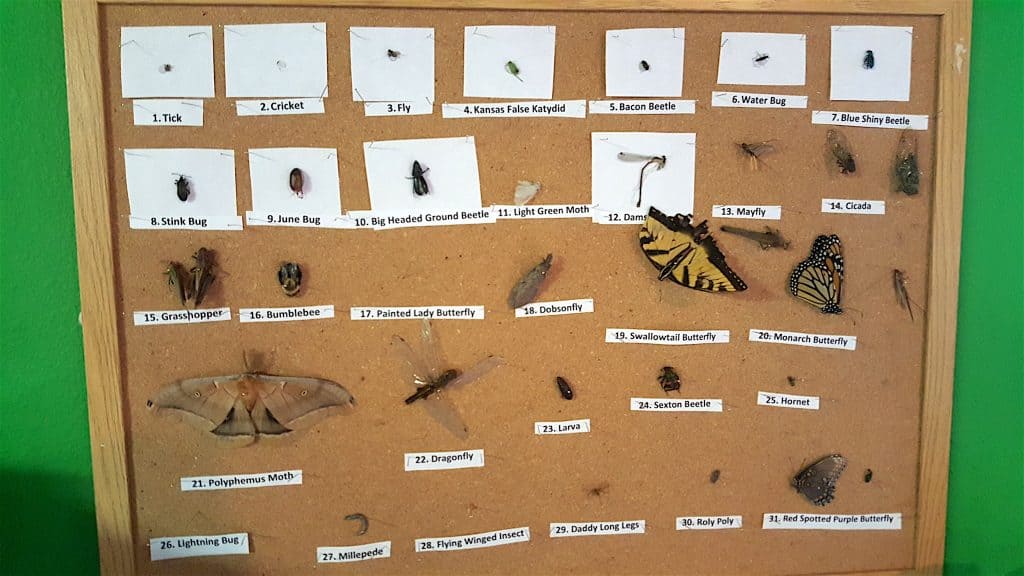
I also picked up a few old cork boards at the thrift store for a buck or two as my boys began creating their insect specimen collection. We mounted them high up on the wall because the cats kept trying to eat the insects!
After my boys would catch their insect they placed it in a small ziploc bag, froze the bug overnight, let it thaw the next morning and arranged them with insect pins onto their board.
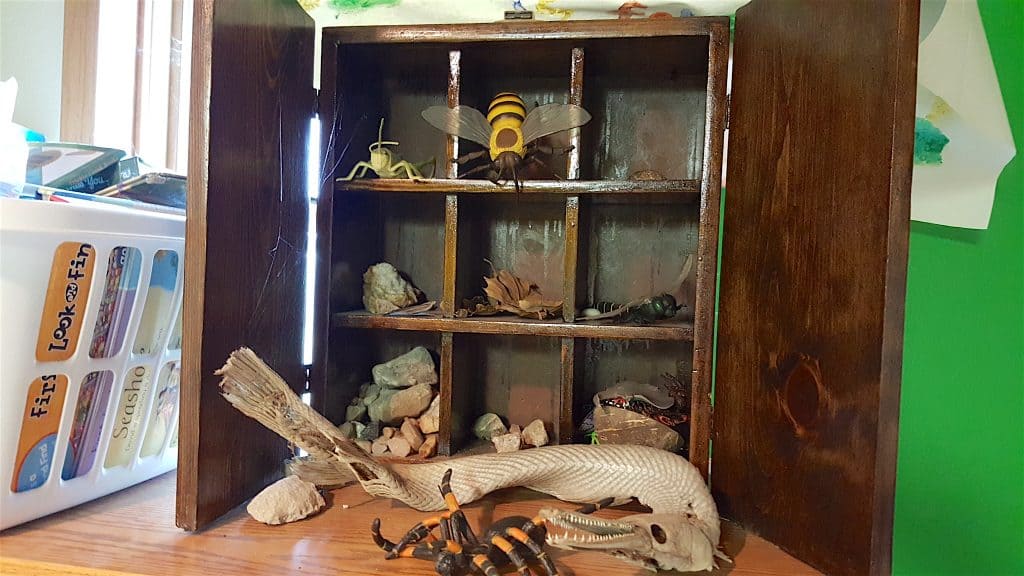
I also came across this small curiosity cabinet type thing for a couple bucks at our thrift store (do you see a trend going on here? I’m addicted to our thrift store!) that my kids use to display some of their rocks and fossils in.
Eventually I want to reclaim it for my own personal oddities to display because I love it so much!
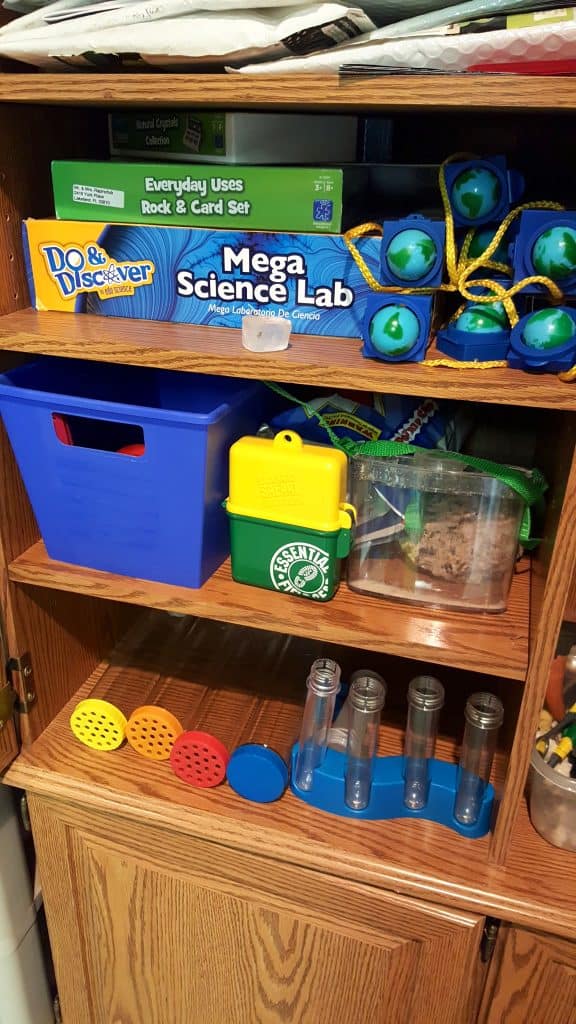
Great items for your science center:
Kidnoculars and/or Binoculars
Jumbo Sensory Test Tubes
Safari Ltd. TOOBS
Rock & Card Set
Microscopes (Zoomy, GeoSafari Tuff, GeoSafari Jr., Regular) with Slides
Anemometer
Field Tools
Magnifying Glasses & Tweezers
Empty containers for storage
Wicker baskets
Old soup cans (for rocks and sticks)
Command Hooks
Critter Keepers and / or bug hampers
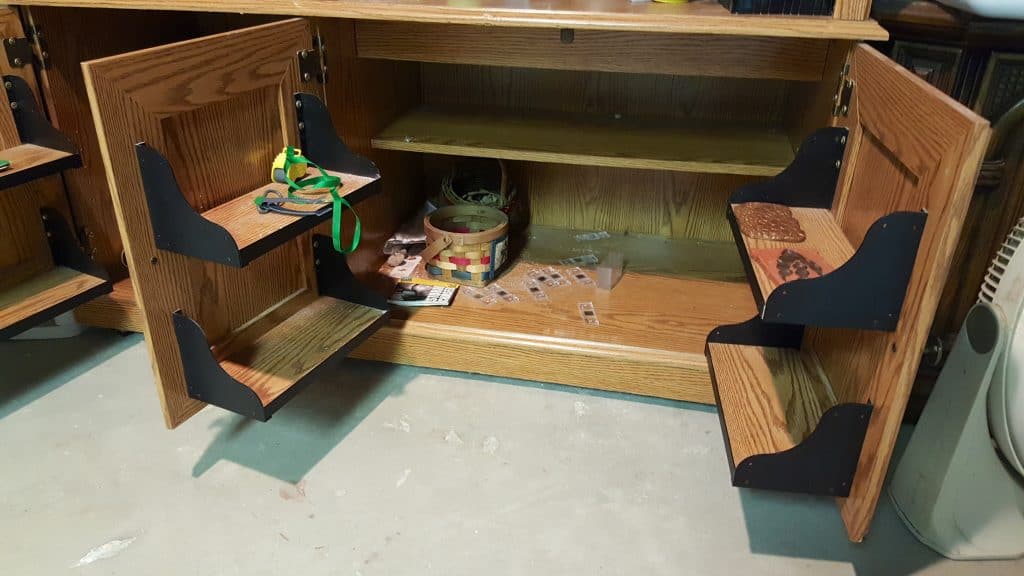
Those are just a few things – we have a ton! All of the dig kits, crime kits, crystal growing kits, etc. live in the science center. The photo above is a bit of a mess but you can see the extra shelves I was talking about inside.
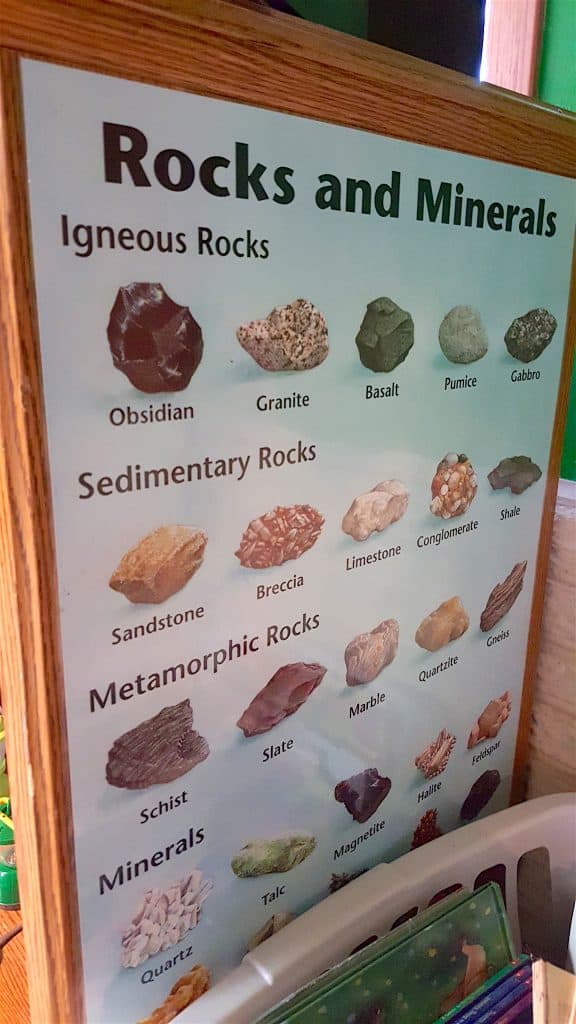
And here’s our basic rock guide in a poster form! It’s been a great little area for the kids to use. I don’t even think twice if it gets scratched or dirty – it’s their science area! Plus it’s on wheels so I can easily move it out of the way if I need the area in the basement!
So remember – great ideas for your science center include a flat surface to work on, lots of shelves and/or baskets, jars to store specimens, hooks to hang things on, field guides and posters, etc! Keep an eye out at your thrift store, check Amazon for ideas and storage, and of course search on Pinterest.
But when it all boils down to it – the kids just need somewhere to store their nature collections and explore. And if they’re doing experiments and exploring on their own, this cheap entertainment center will do the trick! You don’t have to worry if the kids spill anything on it or get it dirty!


