

DIY Disney Magic Band Big Hero 6 Baymax Design
This post may contain affiliate links, view our disclosure policy for details.

We’re headed to Disney and after looking at all of our options we decided to purchase a Magic Band for each member of our family (for more details or to buy click here) but we wanted some fun Disney decorated bands to wear to the parks so I decide to create our own! I love the Bandits and Band Covers but for the price I just couldn’t justify the extra expense.
We ordered an orange, pink, grey, and red band for us and the kids. My husband didn’t want his orange one painted (even though I wanted to paint on black stripes for Tigger or white stripes for Nemo). I do recommend having a fine stiff tipped paintbrush to ensure that you don’t have too much paint on the edges and so that you can get around the corners of the band easily.
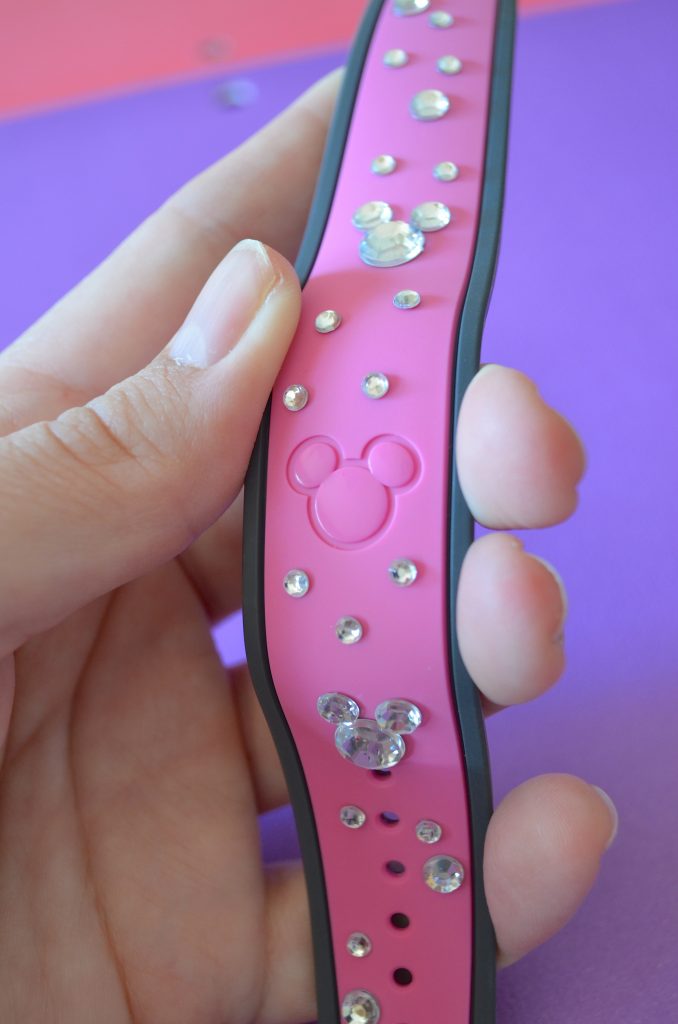
For my pink Magic Band I wanted to add some bling so I purchased a cheap pack of adhesive rhinestones (which amazingly stayed on the entire week+ at Disney!) and randomly placed them all over my band. I bought one with several different sizes so that I could pair the large and medium sized rhinestones together to make “Mickey Mouse heads” like you see in the photo above.
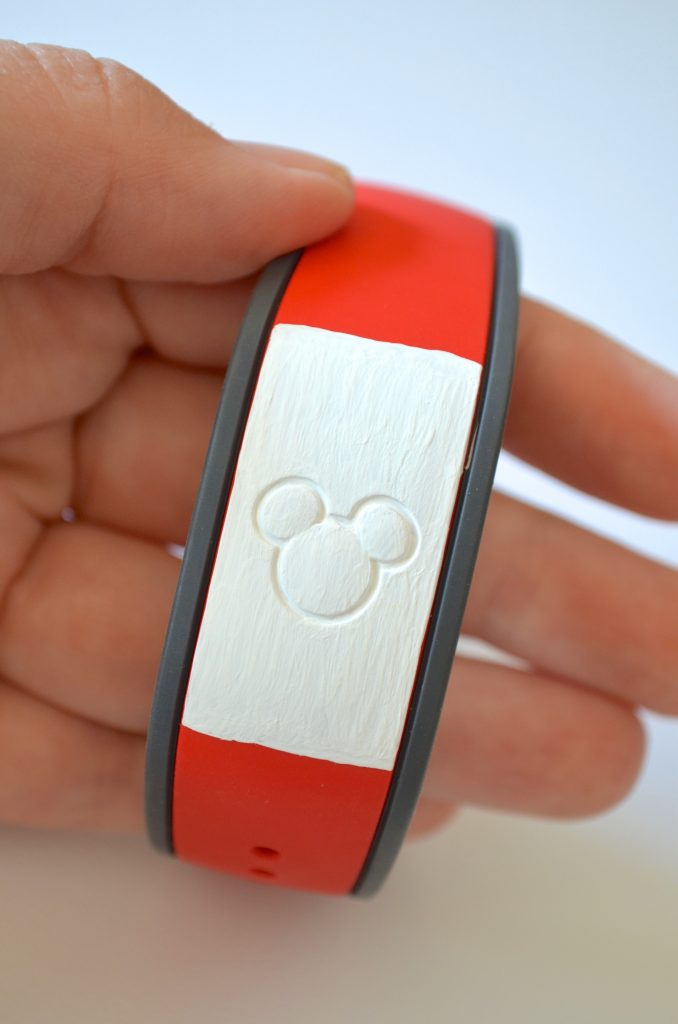
BOTH of my boys are obsessed with Big Hero 6 and requested Baymax bands buts I wanted them to look different so they didn’t fight over the same silly thing. I ordered a red and a grey band for them. The red band I painted a white “block” right over the top of the band using acrylic paint. For the grey band I painted the entire thing white.
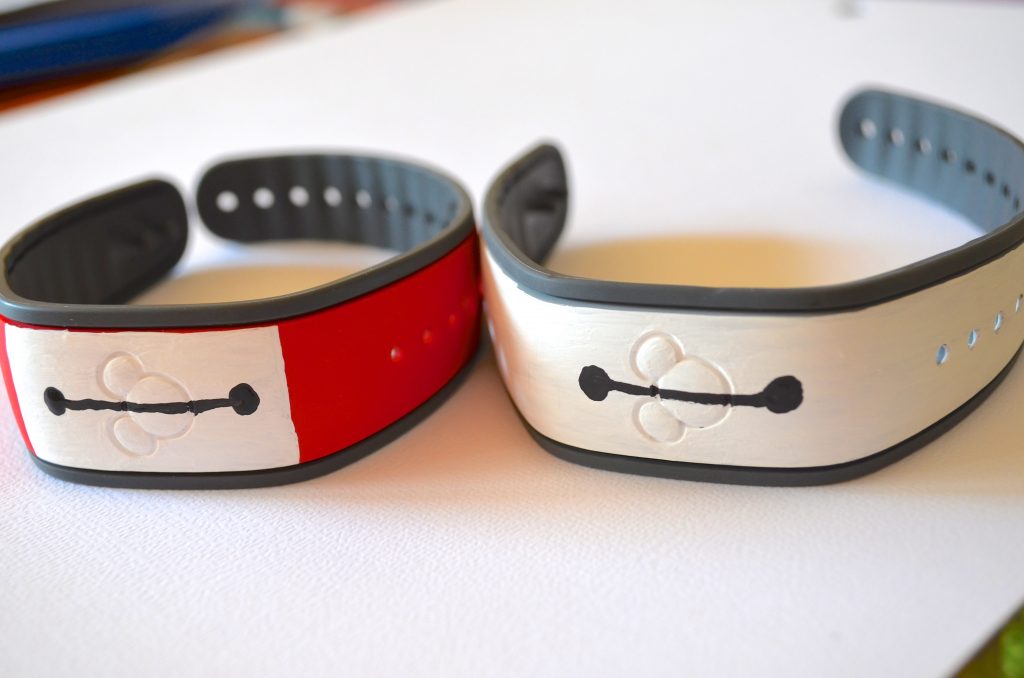
Then I used my black acrylic paint to paint the two dots and line for Baymax’s face.
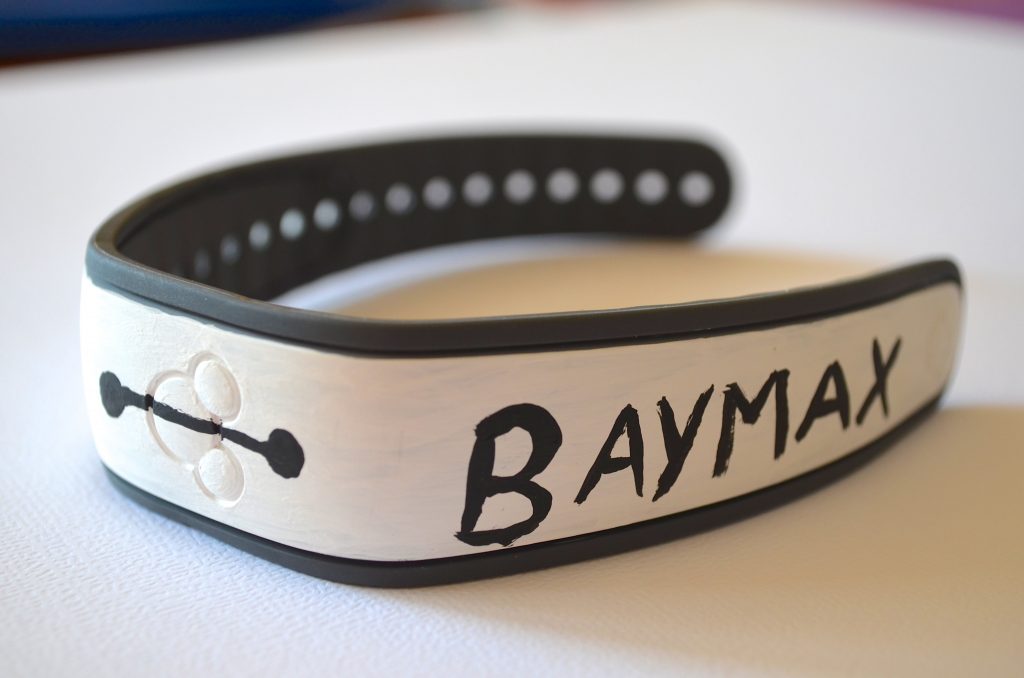
On the side of one of the “Baymax” Disney Magic Bands I used the end of my paintbrush, dipped in black, and wrote the word “BAYMAX” on the side.
My mother in law ordered a beautiful blue band but didn’t want it to match her husband’s so we outlined the Mickey head on the top of the band with a toothpick and white acrylic paint. Then we used the end of a paintbrush and placed white dots all over the band! SUPER easy and simple enough for even the most un-artsy person to create! If you have young children use a labeler to add your phone number on the INSIDE of your Magic Bands!
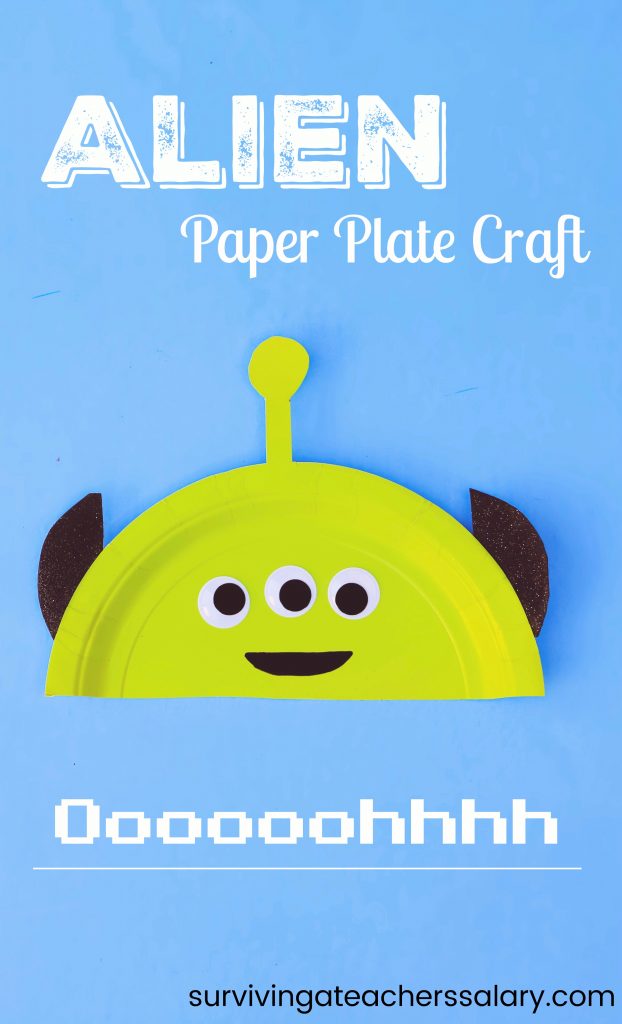
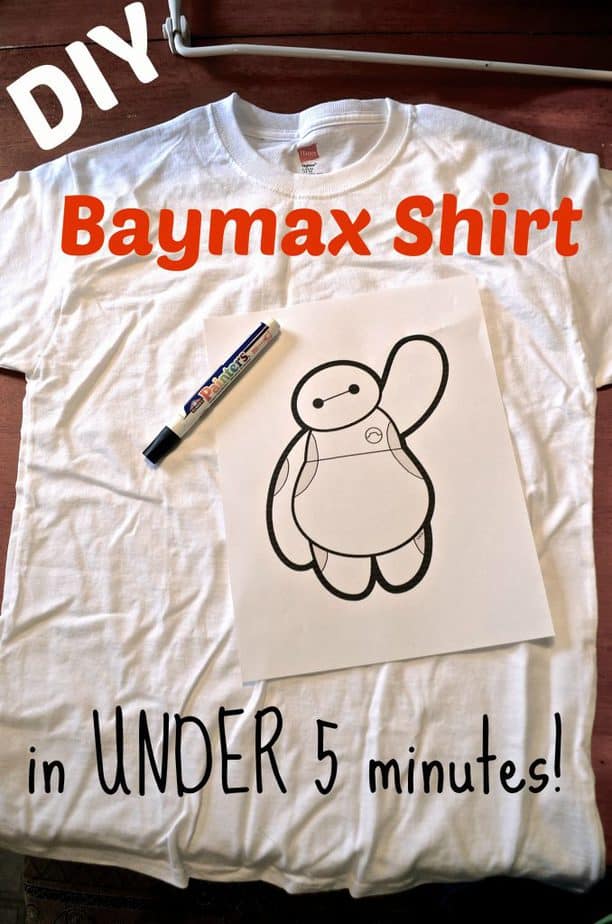
You can check Pinterest for more DIY Disney Magic Band decor ideas. (I’ve seen some neat ones where you just add on a temporary tattoo and cover it with clear nail polish!) You might also like our DIY Big Hero 6 Baymax T-shirt Tutorial, Monsters Inc Party Banner, and Disney Countdown Chain!
**UPDATE – I HIGHLY RECOMMEND sealing the acrylic paint bands with clear nail polish to hold the paint longer with kids!**
Other Disney inspired Crafts:
 |
 |
 |
 |
How did the rhinestone stickers hold up?
I’m surprised but they actually held on all week at Disney! I think I might have lost one small rhinestone but it wasn’t noticeable! I half expected them to come off my first day! I supposed you could also add a touch of glue or clear nail polish around it if you’re concerned but mine stuck tremendously well! In fact they held up better than my kid’s paint since they kept scratching up their band on the walls.