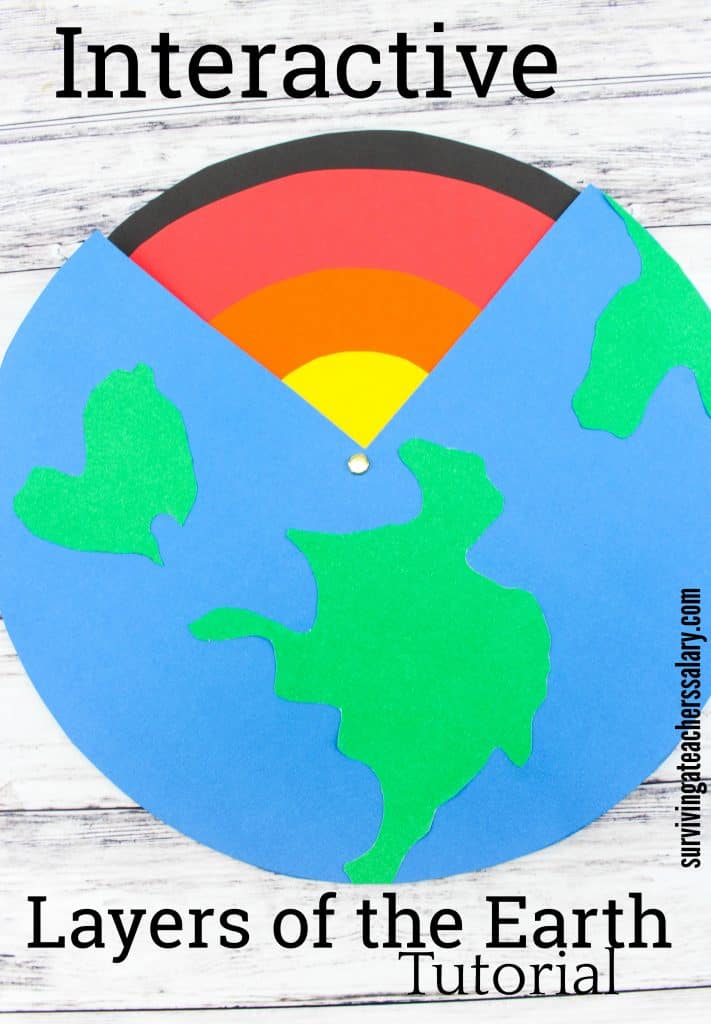
Interactive Earth Science Activity: Layers of the Earth Tutorial
This post may contain affiliate links, view our disclosure policy for details.
With Earth Day coming up I thought this interactive Earth Science activity was an appropriate lesson to learn with the kids! You can easily make this layers of the earth project with a pile of construction paper and just a few other supplies!
Below is our simple step by step photo tutorial to walk you through the exact steps to make your own set for your classroom or school lessons.
Interactive Layers of the Earth Materials:
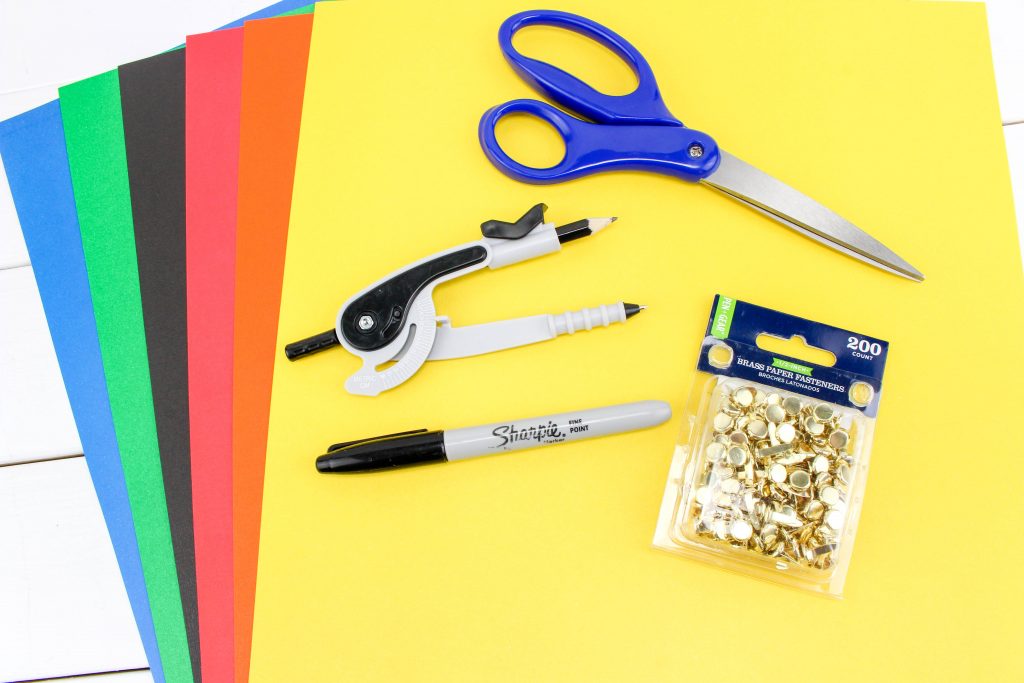
- 6 Pieces 12”x12” Paper—red, orange, yellow, green, blue, black
- White Paper, small piece
- Brass Paper Fastener
- Elmer’s Glue Stick
- Black Marker
- Scissors
- Optional: Geometric Compass
Interactive Layers of the Earth Directions:
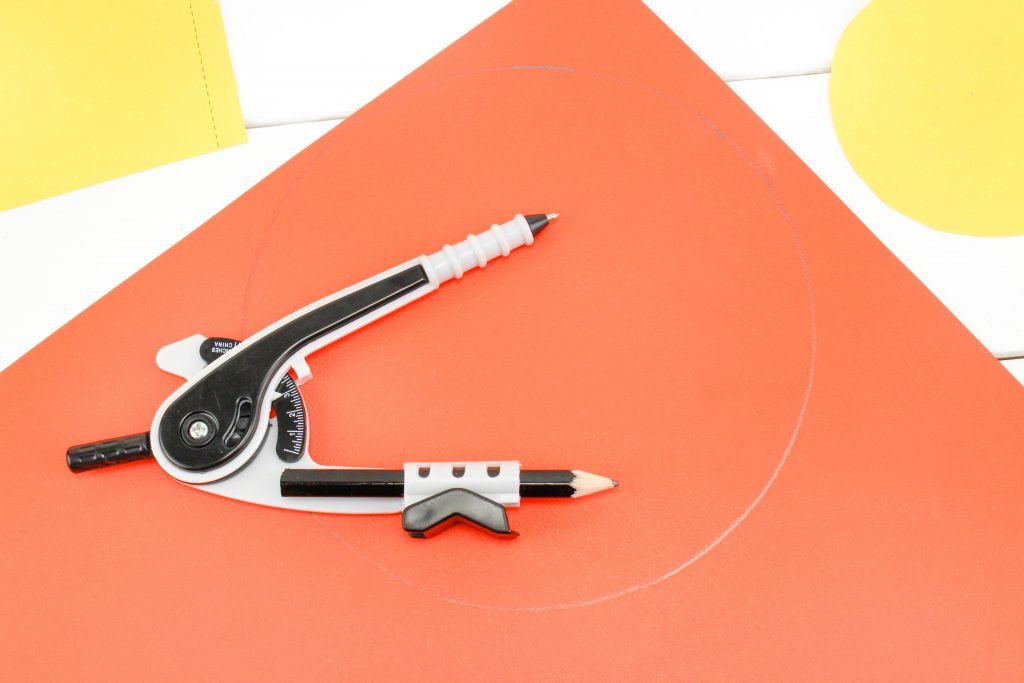
- Use the compass
to draw circles on the colored paper in these sizes:
Black and blue paper: 11 ½” circles
Red paper: 10” circle
Orange paper: 6” circle
Yellow paper: 3 ½” circle
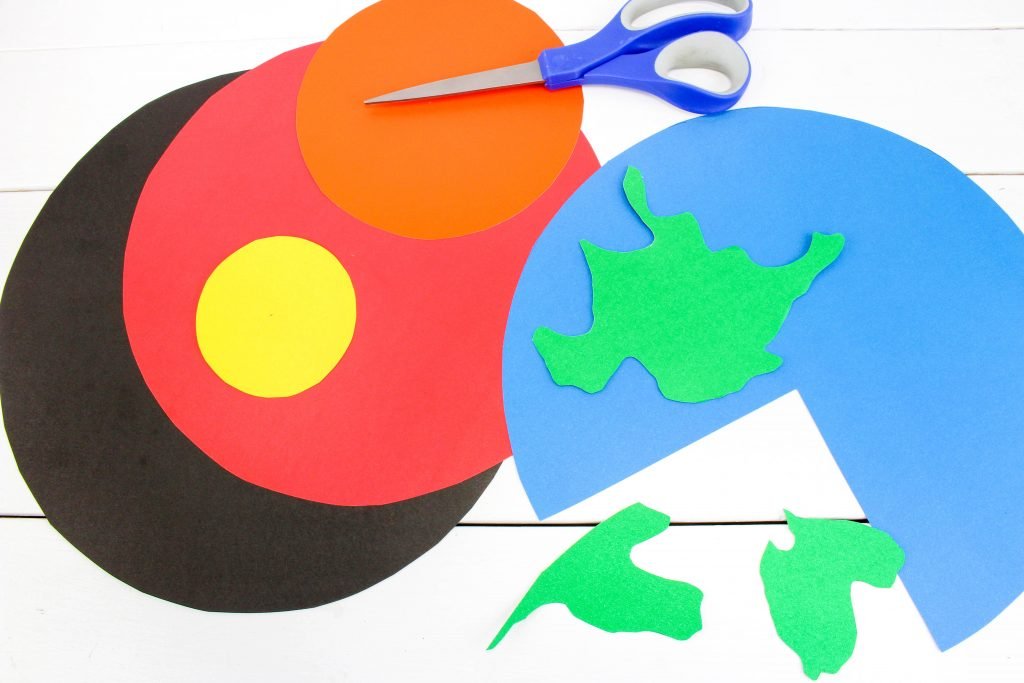
2. For the green paper, cut out shapes that resemble 3-4 continents on the earth. It doesn’t have to be perfect! (If you want it to be you can just print out a world map and cut the green construction paper on top of it.) You can look up pictures of continents to make look very realistic, or just kind of wing it and cut out some different green shapes that resemble the continents. We’re really learning about the layers.
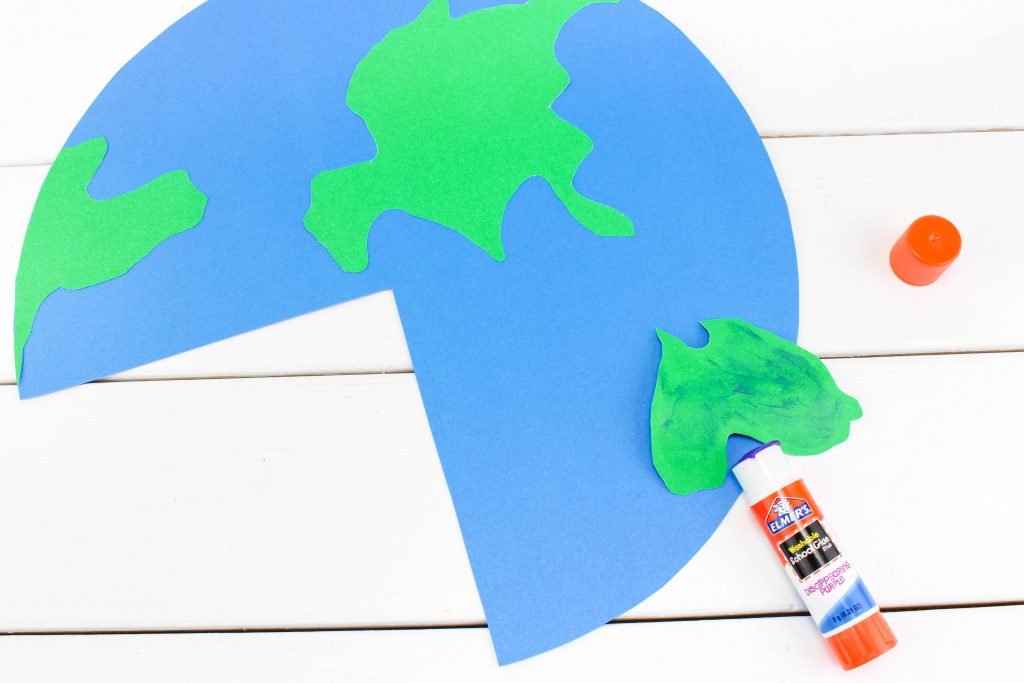
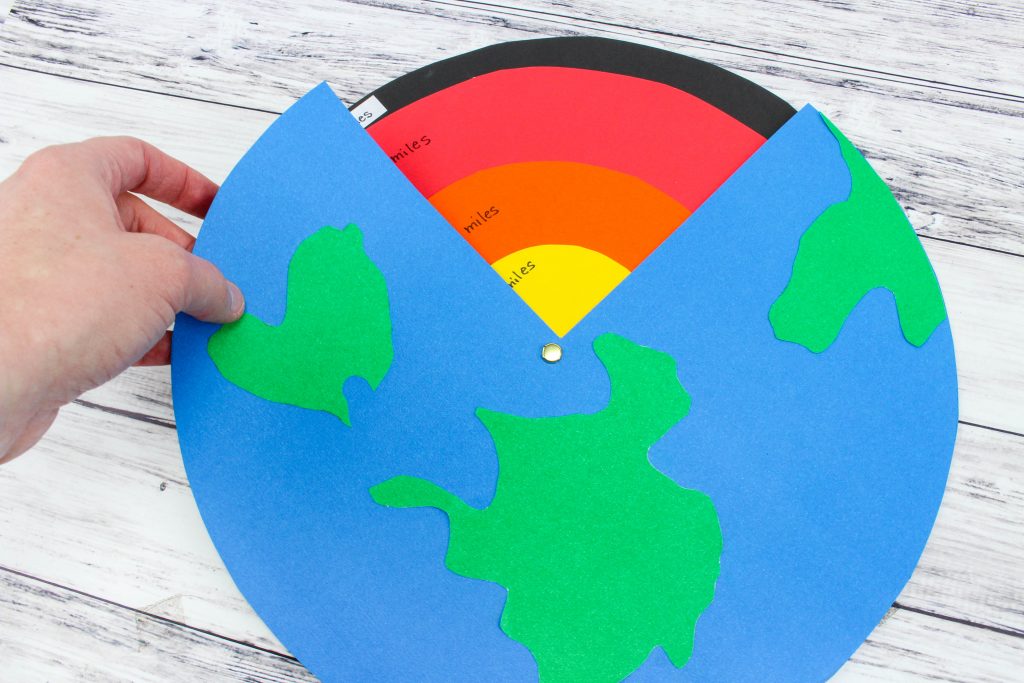
3. Take the blue circle and cut out one fourth of it so you have three fourths of it left intact. Recycle the fourth piece, you don’t need it. Glue the green continents onto the blue earth with your Elmer’s Glue Stick.
4. Lay the black circle down. Place the red circle on top of that, then the orange, and then the yellow. Make sure they are centered.
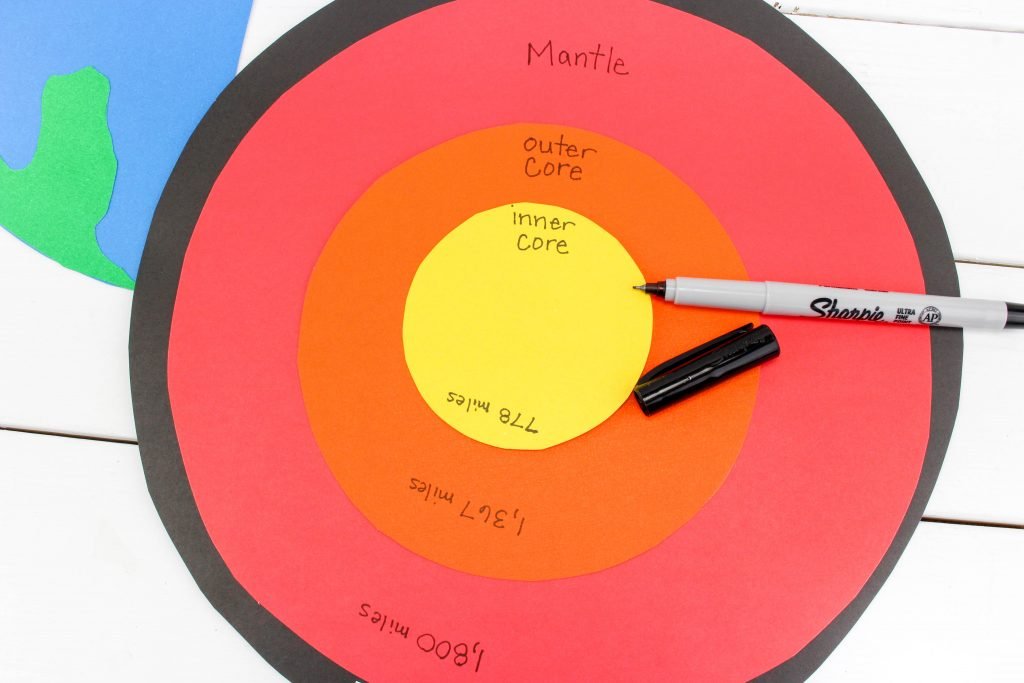
5. Use the marker to write Inner Core on the top edge of the yellow circle. Right above that write Outer Core on the orange circle. Right above that write Mantle on the red circle. On a small piece of white paper write Crust, and glue it on the black circle right above the word mantle.
6. On the opposite side of the yellow circle write 778 Miles on the edge.
Above that on the orange circle write 1,367 Miles.
Above that on the red circle write 1,800 Miles.
On a small piece of white paper write 25 Miles and glue it on the black circle right above the other miles you wrote.
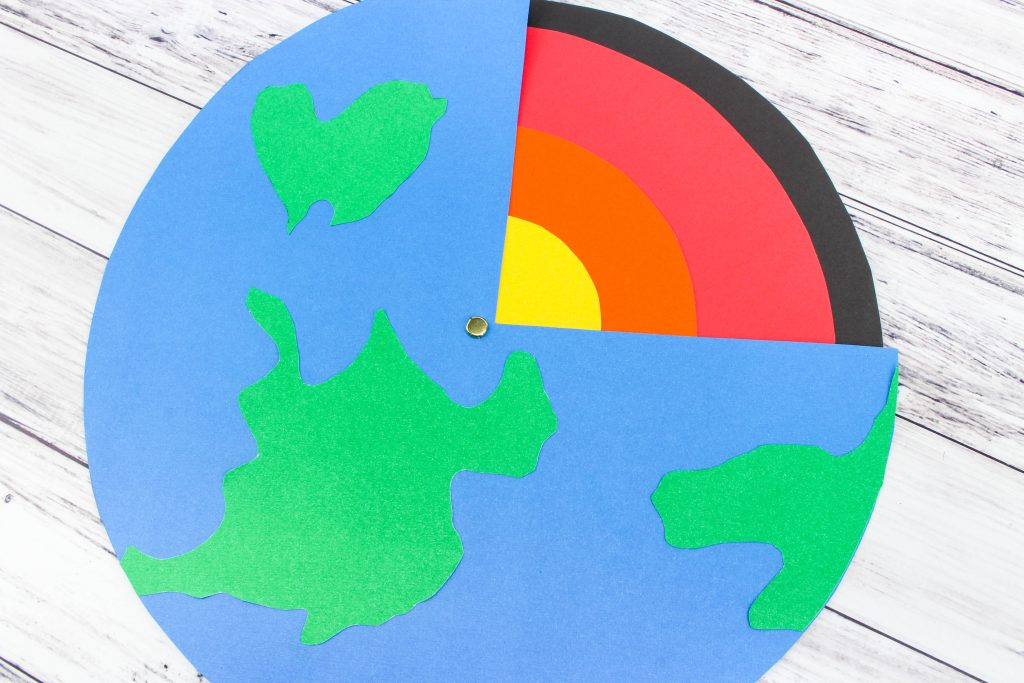
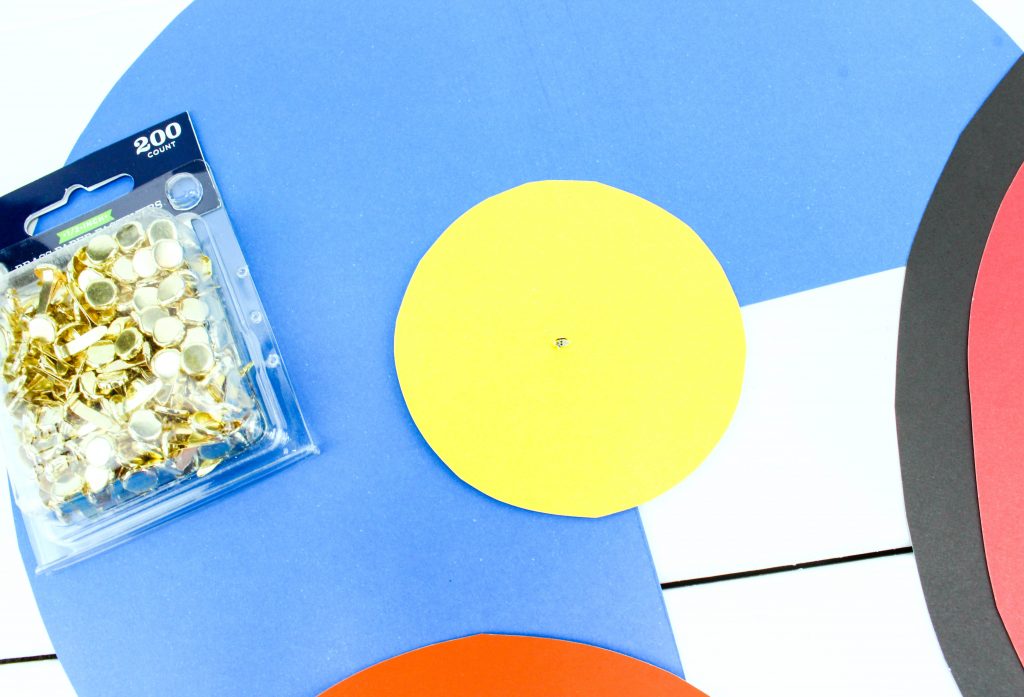
7. Now take a paper fastener and poke it through the center of the blue circle on the top side with the continents. Poke the yellow circle on next, then the orange, the red, and finally the black circle. Secure the fastener at the back of the black circle.
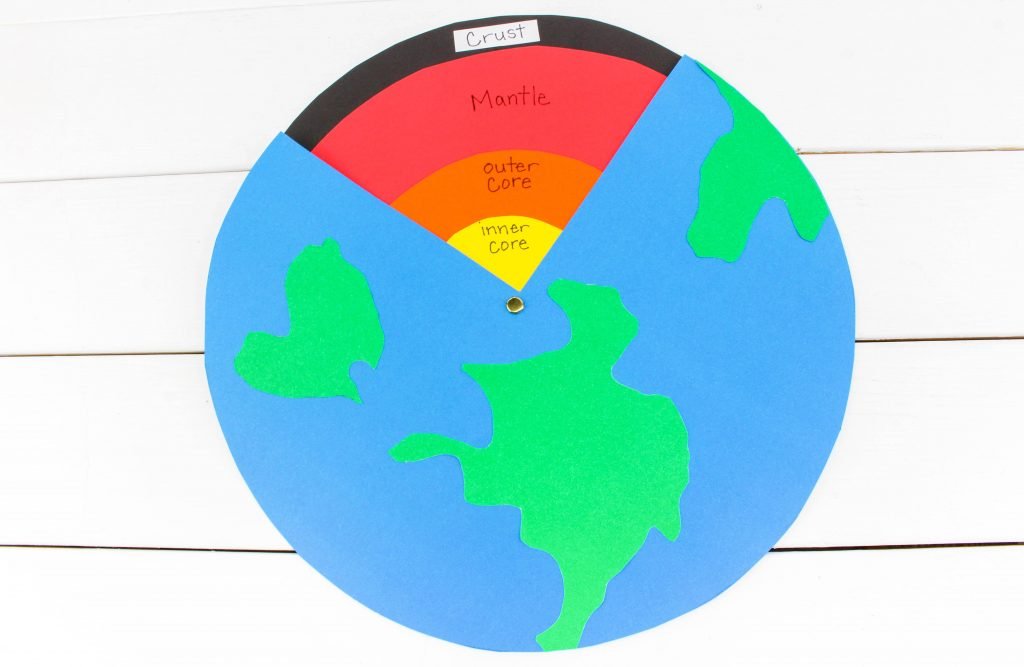
8. Now you have the earth and its layers. You can spin them to see the facts about each layer or just see the layers without writing.
*NOTE* – different sources will list different sizes for the layers of the earth! Most of which are measured in kilometers. This makes an additional great research project as well as math conversions from KM to Miles.
This earth science activity can even be laminated in separate layers and then piled together to make it last longer! It’s also easier to rotate the layers with a stiffer laminated project.
Other Earth Science Activity Ideas:
*Earth’s Plates
*Soil Investigation
*Food Chains
*Water Cycle
*Erosion
*Types of Rocks



thanks for sharing.