GreenStalk Vertical Garden Planter Review – Pros & Cons
This post may contain affiliate links, view our disclosure policy for details.
Out of all of my years of gardening and sharing garden tips with you, I have never tried a vertical garden planter! Below covers a GreenStalk Vertical Garden Planter Review and it’s pros and cons.
Part of the reason I’ve never bought a vertical garden planter is because many of the ones I’ve seen are PRICEY (I’m talking well over $400!) – so I’ve been reluctant to recommend any specific vertical gardening tower to you – until now!
Save $10 on Greenstalk here with promo code SATS!
For 10 years I lived in the Midwest where the soil was so fertile I could plop a garden anywhere with minimal effort. But last year I moved to southern Louisiana where pests run free and flooding is the norm. I knew I had an uphill battle to climb with gardening here so I have spent an extraordinary time researching best gardening methods.
I went from a 3/4 acre property with 70 foot long raised beds to a small property that floods. To say my gardening dreams were dashed in an instant is an understatement! So it was time to regroup. We decided container gardening was going to be our next start.
I came across GreenStalk, a company started by a father and son team and made in Tennessee, and was impressed with their special watering system (more on that below!) and highly engaged family-atmosphere social media pages.
I absolutely love family run companies, and their gorgeous vertical planters caught my eye. (Especially because their planters are high quality, food-grade, UV-resistant, BPA, BPS & PVC-free plastic AND it comes with a 5 year warranty!)
So I contacted GreenStalk and asked if they would be willing to send me one of their vertical garden planters (they have two options!) so that I could try it out for myself before recommending one to you guys. I needed something EASY to set up and keep track of! Spoiler alert – we plan on buying additional ones now!
Get $10 OFF your GreenStalk Vertical Garden with promo code SATS!
Assembling our GreenStalk Leaf Vertical Garden:
I had really wanted to do a full unboxing video of us setting up our vertical garden planter from GreenStalk so you could see how easy it is but it arrived right in the beginning of when my husband and I had Covid. But I was SO eager to get this beauty started! I figure if we can get it set up while we were sick – anyone can get this put together!
Quick Facts:
- Includes 42 planting pockets
- Holds 5.5 cubic feet (about 42 gallons) of potting mix
- Assembled planter measures 19” wide x 56” tall
- Each planting pocket is 7″ deep
Needless to say we could barely stand up because we were pretty sick so setting up videos were out of the question. I’m a “go-getter” though and desperately needed to do something other than sit on the couch all day so we huffed and puffed and put together our new gardening tower!
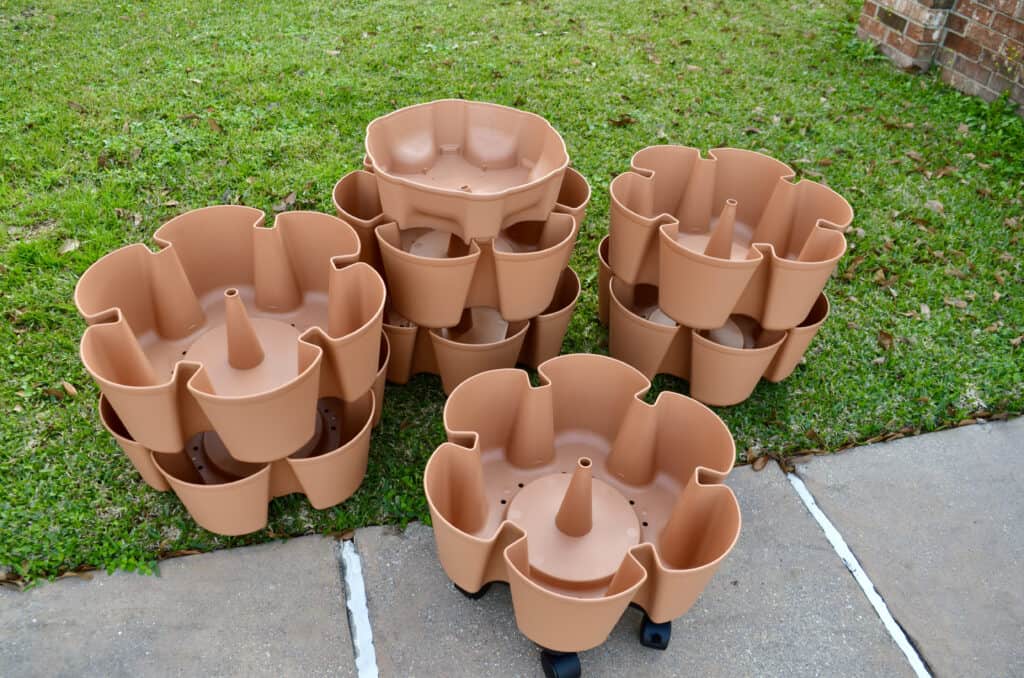
All of the pieces came in one large box. You can see the 7 different tiers above along with the top watering reservoir and the additional Mover with wheels. (In my opinion the Mover is a must have for us!)
I had actually brought some of my Illinois vegetable garden with us to Louisiana and needed a good set up for strawberries so this project was started to help us with fresh produce in our house! I also am thinking about ordering another one so I can grow edible flowers for my sulcata tortoise!
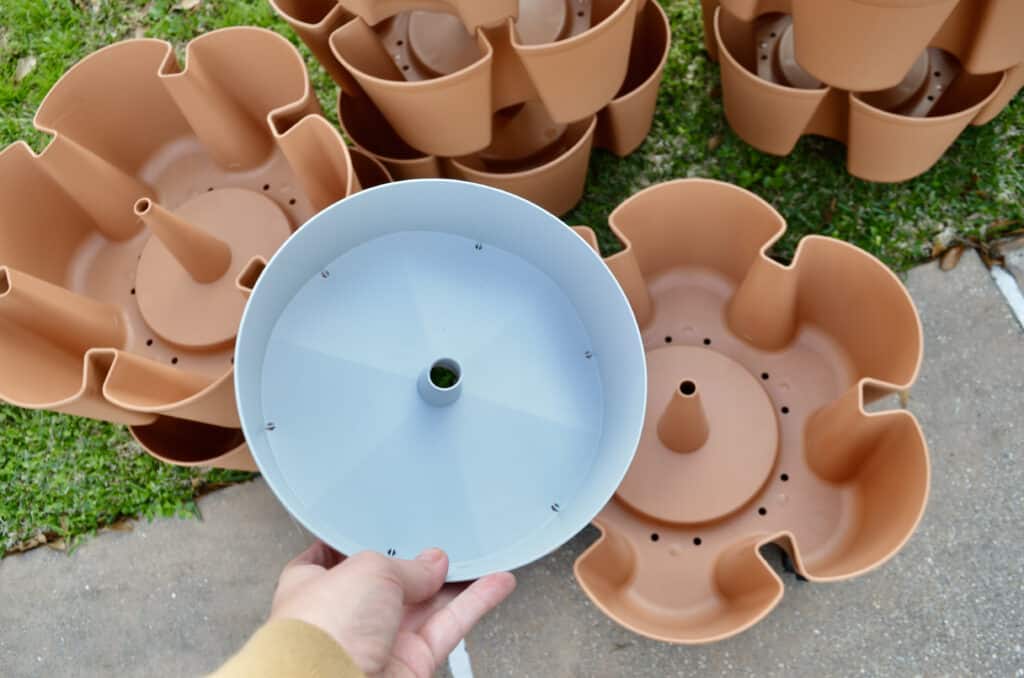
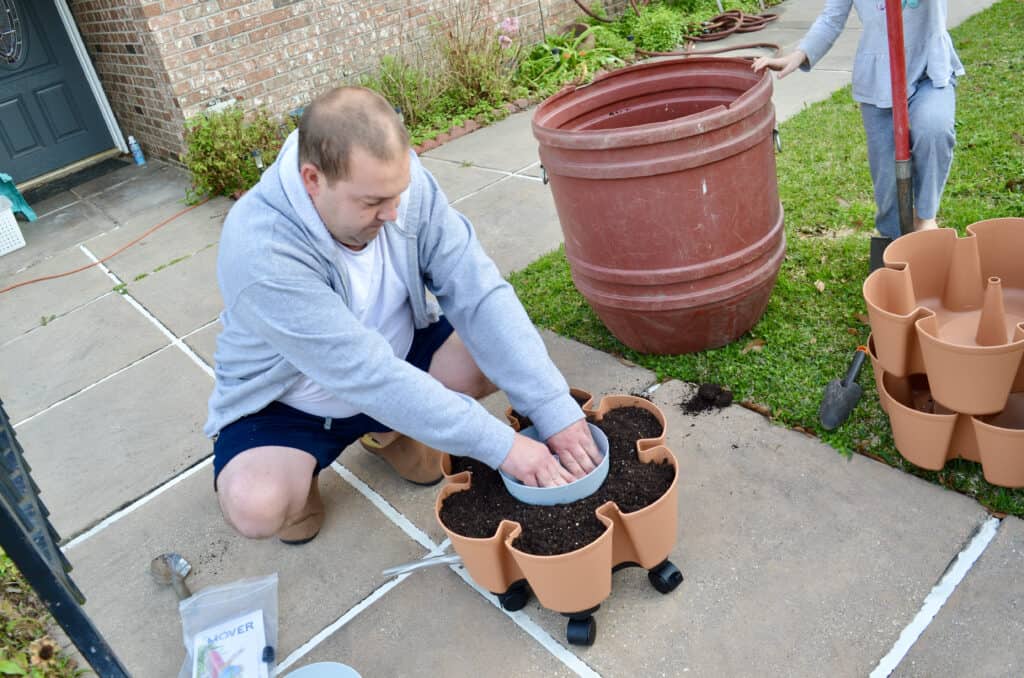
The vertical planter is pretty simple to figure out. Fill each tier to the top with potting soil (not top soil!) and add a watering disk like you see above on the top. Repeat until you are finished!
The watering disk you see is rather unique and actually is a huge selling feature to the GreenStalk vertical garden systems. (or at least it was to me!) Essentially you fill up the water reservoir that sits at the top of the tower, and the water “self feeds” itself evenly all the way down to the bottom tier.
You can see the holes in the watering disk above which allows each “pocket” of the planter to distribute water down the system.
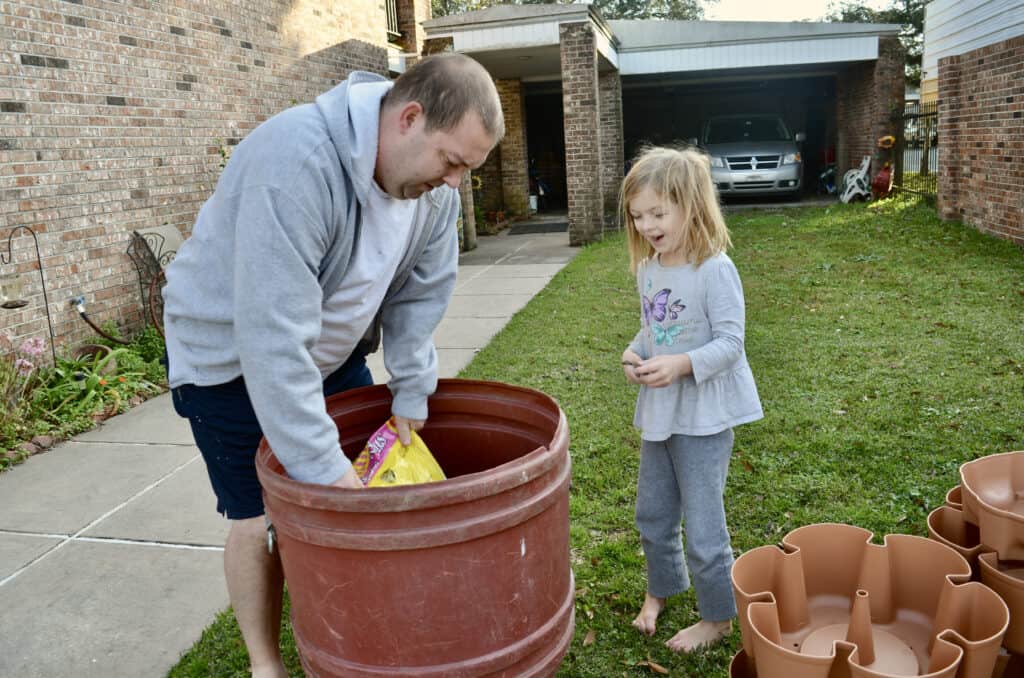
Like I said, the adults in the house were pretty sick when we set up our tower so we team worked and dumped all our potting soil into a big bucket first for easier access. That way everyone could help add soil into each tier.
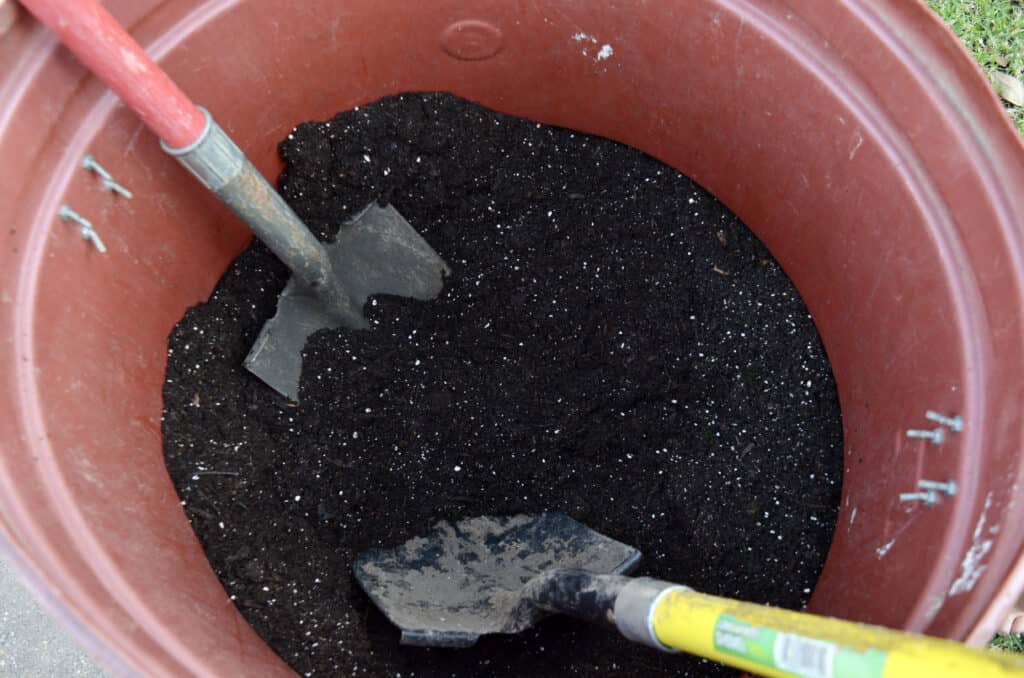
Any light potting soil will do – not top soil. EACH tier that you have requires about 6 gallons of potting mix. (YES – the different GreenStalk Vertical Garden Towers are interchangeable and you can mix and match them!! In fact they even sell support systems for larger plants!)
Simply fill the potting soil in each tier to the top and place the watering disk on top!
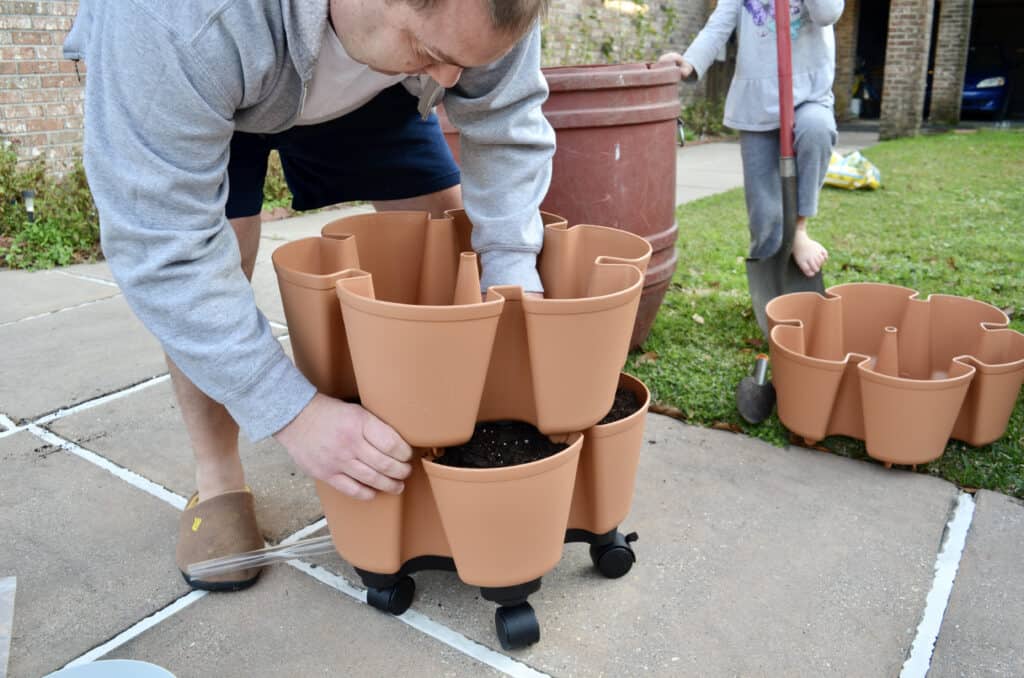
The layers stack easily on top of each other and “snap” into place. Just don’t forget a watering disk in between each layer! As you can see above we have our vertical garden tower on their “Mover” which has wheels allowing us to easily shift the planter around. You’ll also notice on the left side of that is a clear tube.
The clear tube is genius and allows for any excess water from the gardening system to drain off to the side. You can also cap it should you need to move your system indoors or not want it to drain naturally.
What We Planted in our Vertical Planter – Year 1:
- Strawberries
- Green Beans
- Green Onions
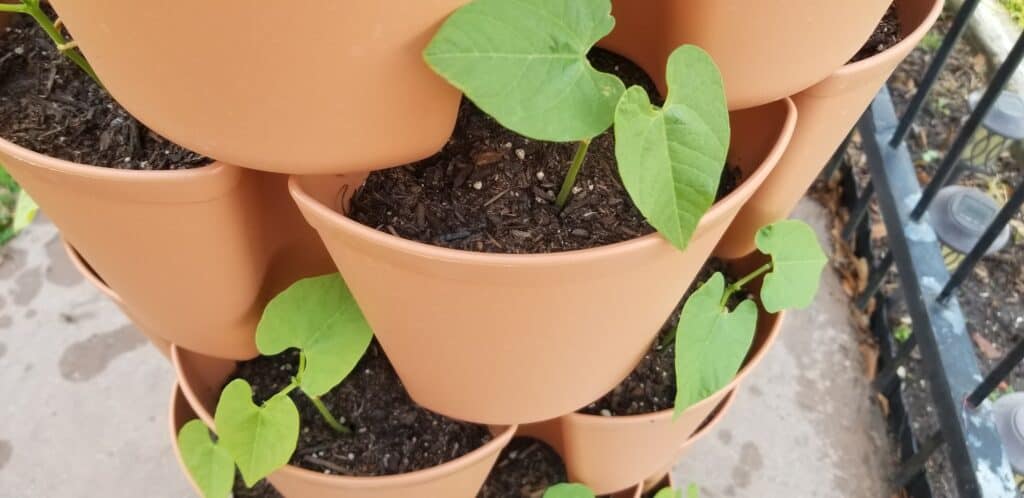
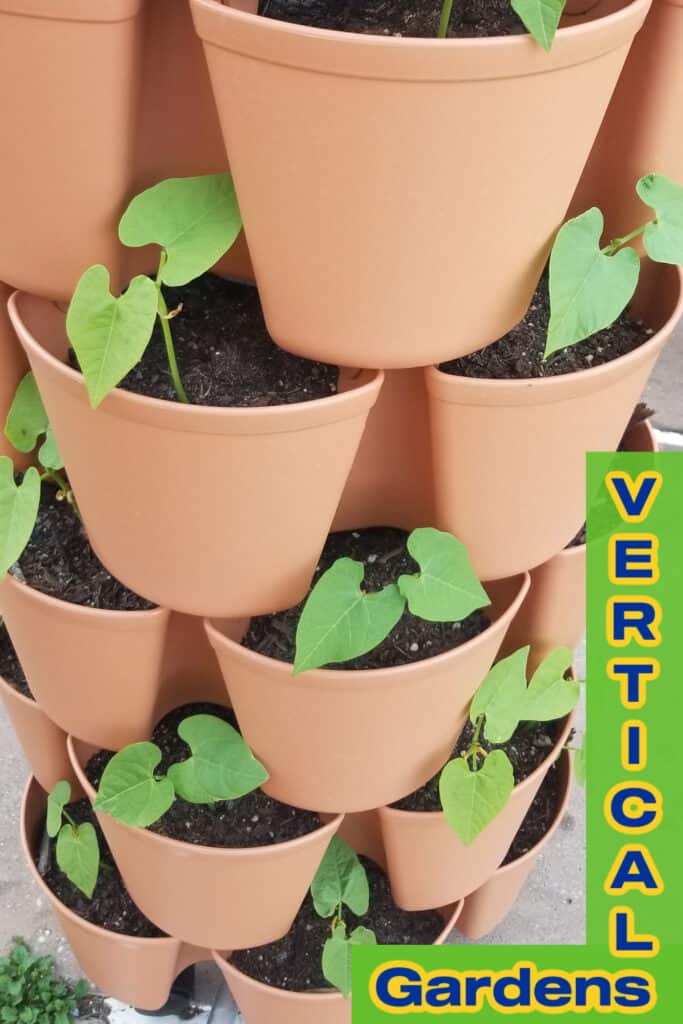
My goal is to eventually have my entire vertical garden planter ALL strawberries (I’ll be re-planting the strawberry runners into the new pockets). But for this year since I only started with a few strawberry plants I also planted several other things – mostly green beans. I’m still in the process as I have a few pockets left!
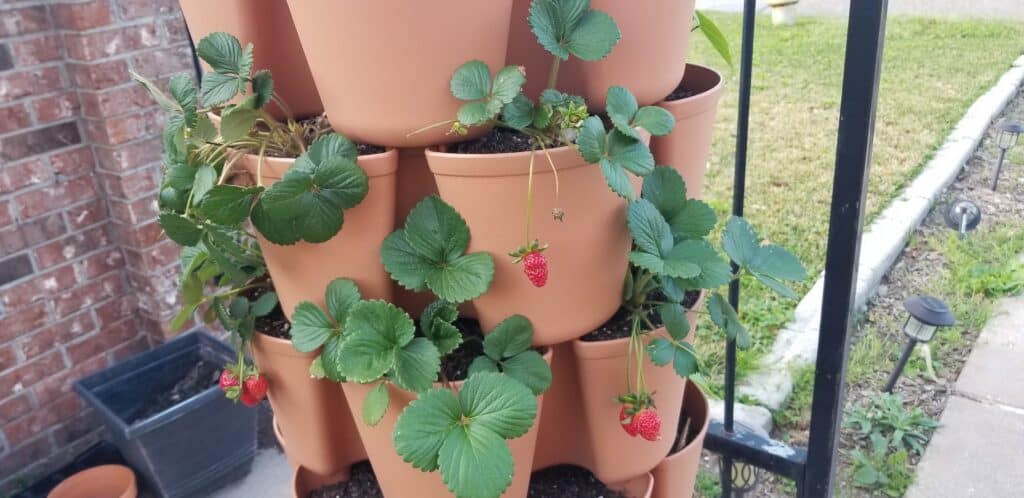
These strawberry plants I bought in at a local nursery in Louisiana are going gang busters!!! Holy smokes! They were tiny little plants a few weeks ago and look at them now! In just a month we’ve already picked a carton of strawberries!!! I can hardly wait till they produce runners and start expanding!
My green onions are just starting to poke out so stay tuned for an update on those!
And you can see in the photos above that so far my bush beans are doing incredible! I couldn’t believe it! I planted them in cooler weather (not my norm!) and within just 2-3 days my plants were already towering – I’ve never had beans come up THAT quickly! I can hardly wait to update you on these when they mature!
Pros and Cons of the GreenStalk Leaf Vertical Planter:
Pros:
- Space saving!
- Easy (distributed!) watering system
- Movable
- Easy to put together
- Price compared to competitors
- Interchangeable with other GreenStalk planters
- option for support systems, frost prevention covers, etc.
- 5 Year Guarantee
- Comes in multiple colors and multiple sizes
Cons: (I will add to this over the next few years as I use it!)
- Potting soil plus planter can be a big initial investment
- Unless you have sun on ALL sides of the planter you will need to rotate it.
- Mover base is not included and sold separately
Like I mentioned this is my first season just getting started with my GreenStalk Vertical Planter so check back often for updates!
PSSST – they also work with schools so if you have an active gardening program at your school please contact GreenStalk to see how they can help you!