

Tips on How to Save Money When You Start a Garden
This post may contain affiliate links, view our disclosure policy for details.
Over the years we have had friends and strangers alike stop by our garden and ask us how to start a garden of their own. Just start! Don’t be afraid to try! In fact learning how to start a garden to save money is a great thing to do right now with everything going on!
Gardening is kind of like camping – you can spend a ton of money on supplies or you can spend very little. That is up to you. For us, we’re making what I jokingly refer to as a “poor man’s garden”…..and I’m also on the 20 year plan!

I have grandiose ideas for our garden space when in reality we simply can’t afford my garden dreams, but that absolutely isn’t stopping me from starting a garden! Below are some tips for gardening and how to make the most of what you already have.
1. Choose where you will have your garden.
Gratefully I have the luxury of space on my side in our yard. Perhaps you can only have a container garden on your patio. Whatever space you have, decide where you would ultimately like your garden to go. If you need inexpensive containers look at your local thrift store or ask in your local FB group. Your main cost here will be containers and dirt.
2. Decide what type of garden you want to grow.
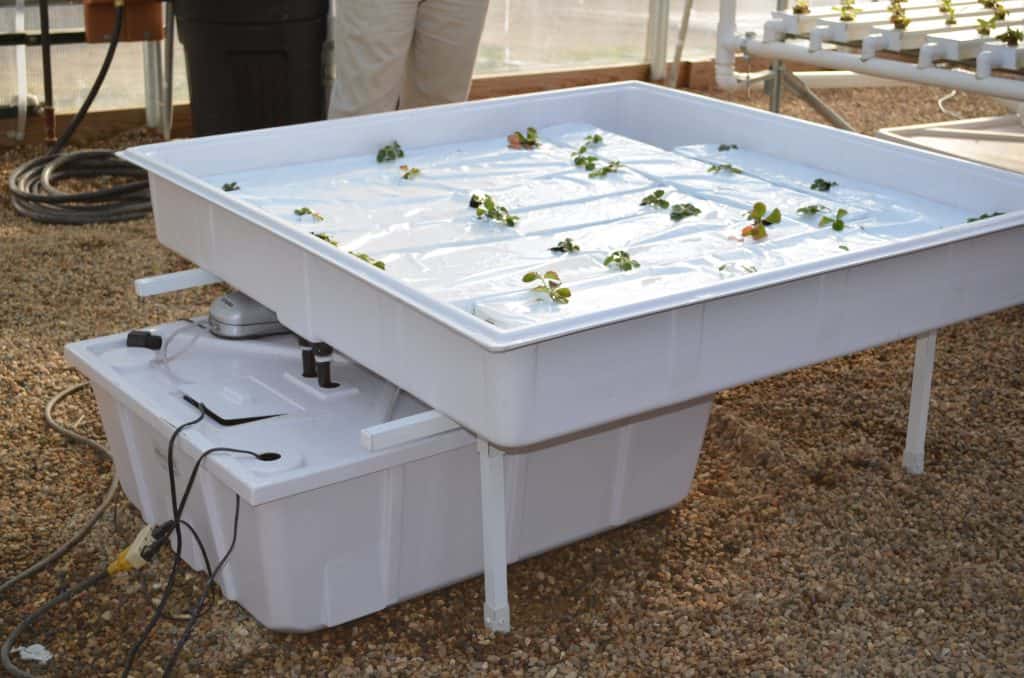
There are no shortage of ways to garden. Container gardens are popular for small spaces and indoor gardening. Hydroponic gardening can be pricey and needy but grows more produce.
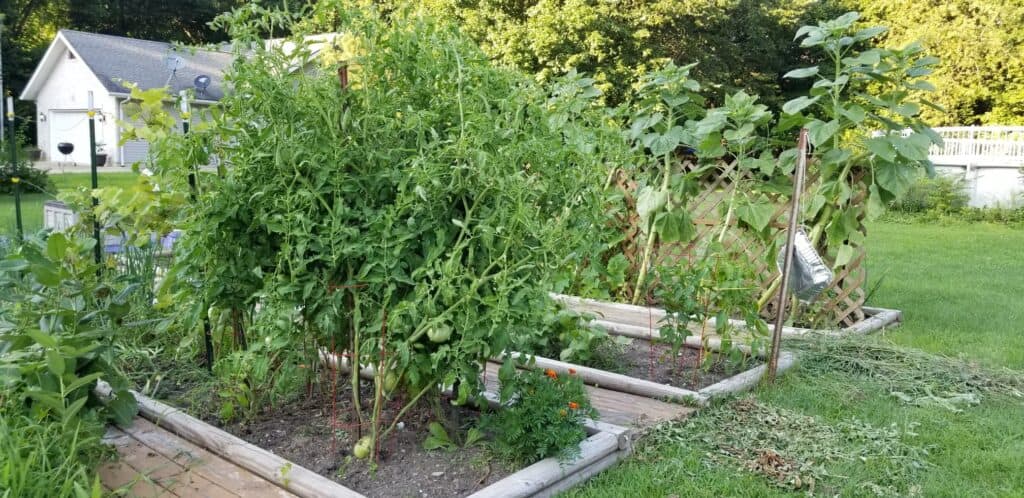
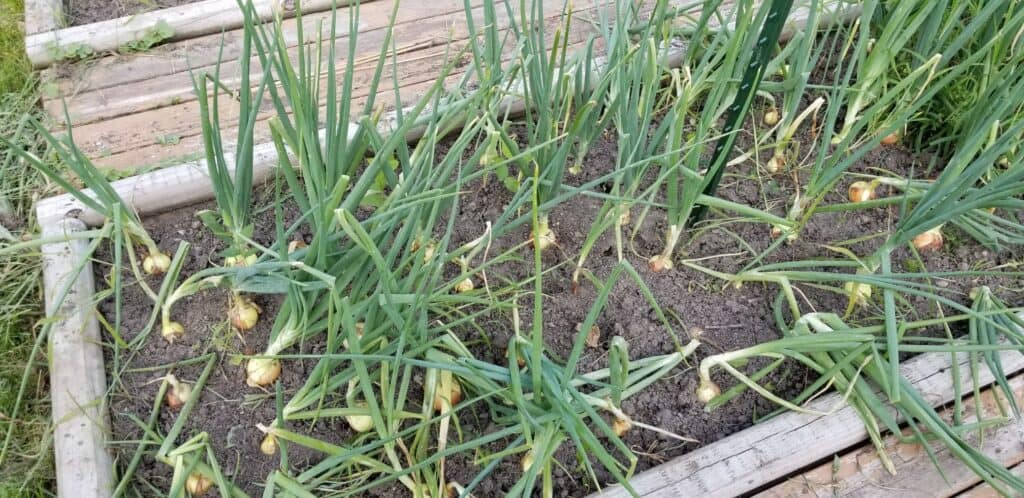
We have turned much of our yard into a vegetable garden planned out in various stages depending on what we can afford each year. We started with three 24 foot by 4 foot boxes.
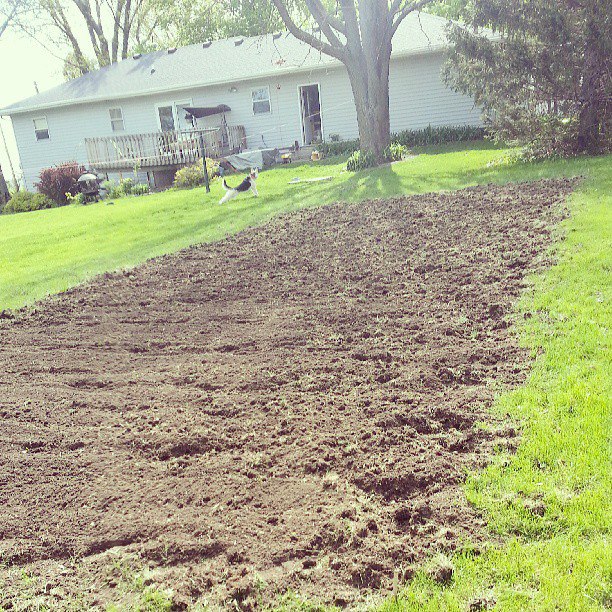
In the past we have needed to till our garden and been at the mercy of either hand tilling or borrowing someone’s tiller since we couldn’t afford to buy one.
So when we moved to our house 3 years ago we decided to try a cheaper homemade raised bed version which we are really enjoying. It does come with a little bit of cost but below is how we kept our cost down. You absolutely do not have to start out with such a large space if you don’t have it or want to! Just filling up 1 or 2 pots with tomatoes or a small area for herbs is a great start!
3. Price out your garden materials with what you can afford.
The great thing about a garden is that it doesn’t care about what it looks like! It literally just need the essentials, some dirt and water. We were able to buy landscape timbers secondhand from someone in our local Facebook group.
Our biggest expense by far is the dirt for such a LARGE area of garden that we even doubled out this year. We knew this going into it since we chose to go with a raised bed instead of tilling right into the soil. Some city ordinances offer dirt for free. Sometimes you can find dirt free in local FB groups if you haul.
After laying out and securing our landscape timbers I lined EVERY box with at least 1-2 layers of cardboard (remove the tape on unlaminated boxes!) AND any leaves that I can find. Fall is a great time to prepare your garden for the spring if you have the luxury of time!
Because we needed SO much dirt and couldn’t haul it ourselves we found the cheapest way was to call around and price out buying dirt by the yard. We started with 4 yards of dirt delivered which ran us just over $100. It was WAY cheaper than buying bags of dirt but the $100 was a bit of a stretch for us with such a large garden.
I promise you it paid itself off by the end of the garden season with the amount of food we grew. EVERY year in the fall I load the garden back up with piles of leaves which add to the soil’s nutrition and compost.
FREE Compost / Fertilizer:
- used coffee grinds
- dried ground eggshells
- leaves
- some food scraps
- unlaminated cardboard / paper
- banana compost tea
4. Decide what to grow!
For my family growing food we could eat was the most important. I wrote down a list of vegetables that I knew we all loved then began to match up what we wanted to grow with the space we had to grow it in. In the beginning it was a lot of estimating and learning each year.
I then began researching companion planting, and deciding what plans I could grow underneath others! But honestly this has come in time. When I first started gardening I just started with tomatoes and bell peppers – those are pretty easy going! Lettuce is also really simple! For example, now I string wire up over onions to grow cucumbers, etc. Two plants in one space!
5. The Cost of Buying Seeds and Starter Plants
This is one last area of expense you’ll need to consider when starting a vegetable garden! In the past we have kept a close eye on local greenhouses and farm stores and purchased seedling plants to help us start our garden. A few items we would direct sow like lettuce and spinach.
This year we decided to take a leap and plant all of our own seeds thanks to my mother-in-law letting us borrow some of her start up supplies. I also ordered all of my seeds on Etsy or used my seeds from a survival vault kit I received 2 years ago. There are pros and cons to both!
Growing Your Own Seeds:
- The initial cost will include purchasing trays, seeds, dirt, a heat mat and a growing light. Not cheap!
- These supplies can be used from year to year and cut down on future costs.
- You will need space indoors to set everything up and monitor the seeds as they grow.
- You can buy cheap seeds in local stores or order heirloom, specialty and organic seeds on Etsy.
Buying Seedling Plants:
- This can get costly if you don’t watch for sales.
- You’re limited to the plants you can find for sale locally.
- Much easier to grow than monitoring seeds.
- This is usually how I recommend beginner gardeners start.
Easy plants I started with in my first garden:
- Tomatoes
- Bell Peppers
- Strawberries
- Lettuce
- Broccoli

How much food to plant for your family?
The last two years my garden was roughly 24 feet long by 20 feet wide – including the walkways. It might sound like a huge area but for our family of 5 we have always run out before a year is up. This year we’ve extended the garden to almost 70 feet long by 20 feet wide and have added in a lot of varieties of vegetables that we have never grown before.
How much food to plant for your garden will depend on the varieties that you like to eat, and the amount of processing you’re willing to do. For example foods like broccoli, cauliflower, beans, peas, etc. can be easily frozen to last the year. But much of your tomatoes will need to be processed into canned food like salsa, ketchup, sauce, diced tomatoes, etc. This requires dedication and a lot of time.
What I grew last year:
Typically for our sized garden we plant roughly 2-3 pepper plants for each variety we want, 6-15 tomato plants depending on how heavily we are planning on processing in the fall, 100-200 onions, 16 broccoli plants, 1 cucumber plant, 1 zucchini plant, 5 lbs. of potatoes, 3 strawberry plants (which quickly multiply like crazy), 6-8 bean plants, etc.

A Note About Walkways:
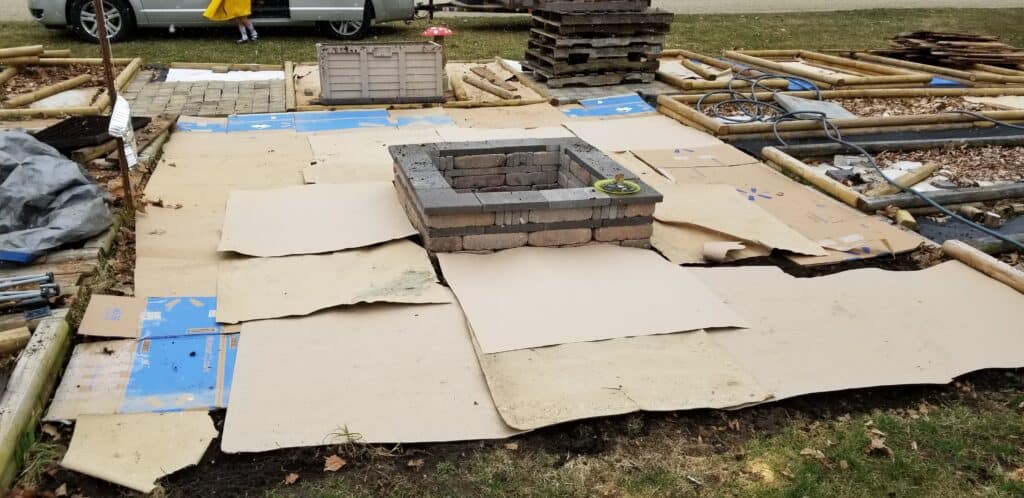
So this is where my grand gardening dream met the reality of no money haha! I envisioned gorgeous brick walkways but to be honest, that is a very expensive solution although a permanent one. I’ve spent hours researching and dreaming of all the possibilities. Mulch, dirt, concert, bricks, dirt with stepping stones, etc.
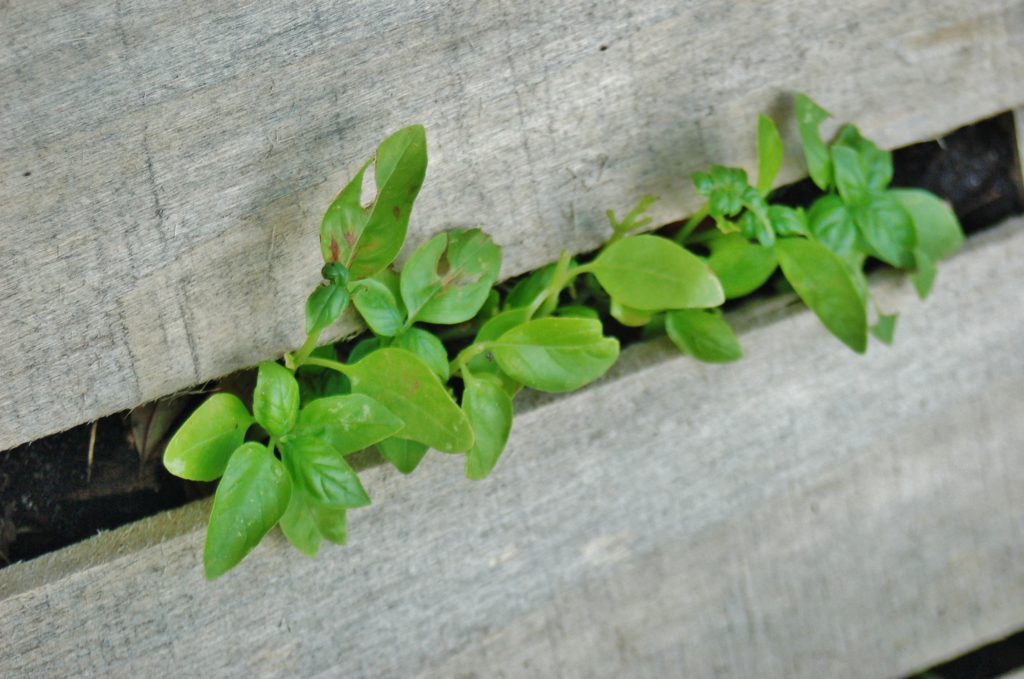
What I ended up doing for our walkway was literally repurposing rotten wood from my deck. I understand not everyone has this opportunity but it’s been a free VERY “out of the box” idea that we’ve been working on. We’re also repurposing wooden pallets to help stabilize our walkways that we’ve been gathering from our local FB groups. Don’t be afraid to get creative with what you need.
One way we’ve saved money is by collecting bricks from people giving them away free. I’m lining my tea garden with bricks. We have literally hauled hundreds of bricks out of old creeks too.
Remember that you do NOT need to put your dream garden together in one year. You can absolutely start with whatever you can afford and update it in the years ahead.
A Note About Lattices and Plant Supports:
Again, the sky is the limit with how much you want to spend here. Tomato cages can cost a fortune if you need large quantities. I have found garden stakes to be FAR cheaper and I can simply tie up the plant to help support it. You can see in the picture above that I have a large piece of lattice – I actually took that off of my back deck and repurposed it in the garden. You can create stakes and support with scrap wood, tree limbs, old metal frames, and any other creative method you come up with.
How Much Do I Spend on My Garden?:
My annual cost for my garden will run $25-$50 now that I have the dirt in depending on what seeds and plants I buy. But remember, I have a HUGE HUGE gardening space – 70 feet long!
The past 2 years I have been spending approximately $200 each year simply to purchase almost 18 yards of dirt and additional tomato cages, wood posts, seed trays, etc. But remember, I have a huge area. If you want to just start with a few plants you can easily get started for under $20! Use a 5 gallon bucket and get started!