Faux Stained Glass 3D Print Ornaments
This post may contain affiliate links, view our disclosure policy for details.
I am ALWAYS looking for new creative ways to use our 3d printer with my students and over the holiday season we used our FlashForge Artemis 3d printer to make faux stained glass ornaments with the kids! It was SO MUCH FUN! So keep on reading and then make your own 3d print ornaments!
This post is brought to you in partnership with FlashForge! They’re doing some amazing things with their 3d printers in education and they sent me their Artemis 3D printer to use in order to print you guys great new 3d printing content for your classrooms!
Materials Needed:
- 3d print ornament design
- paint (washable, acrylic, or sun catcher paint)
- sandwich bags
- glue
That’s it! The great thing about this activity is that it is CHEAP and EASY to do – even with large groups of kids! If you already have a 3d printer this activity uses very little filament which is a bonus not only for cost but for time printing!
Alright let’s get started!
The first thing you’ll need to do is to 3d print your ornament. Either design your ornament in Tinkercad (or other cad software) or use our step-by-step tutorial on how to convert coloring pages into 3d print designs! We made all of ornaments you see in this post from coloring pages that we converted into Tinkercad!
You can also use Thingiverse or other free online 3d printing sites, but be forewarned that not all materials found on these sites are kid-friendly! I don’t recommend letting your students on these website for browsing files at school.
You have several options depending on your situation and timeframe for designing ornaments! You can either have the students do this project completely by themselves from start to finish, or you can pre-print and prep piles of ornaments and let students choose from your selection!
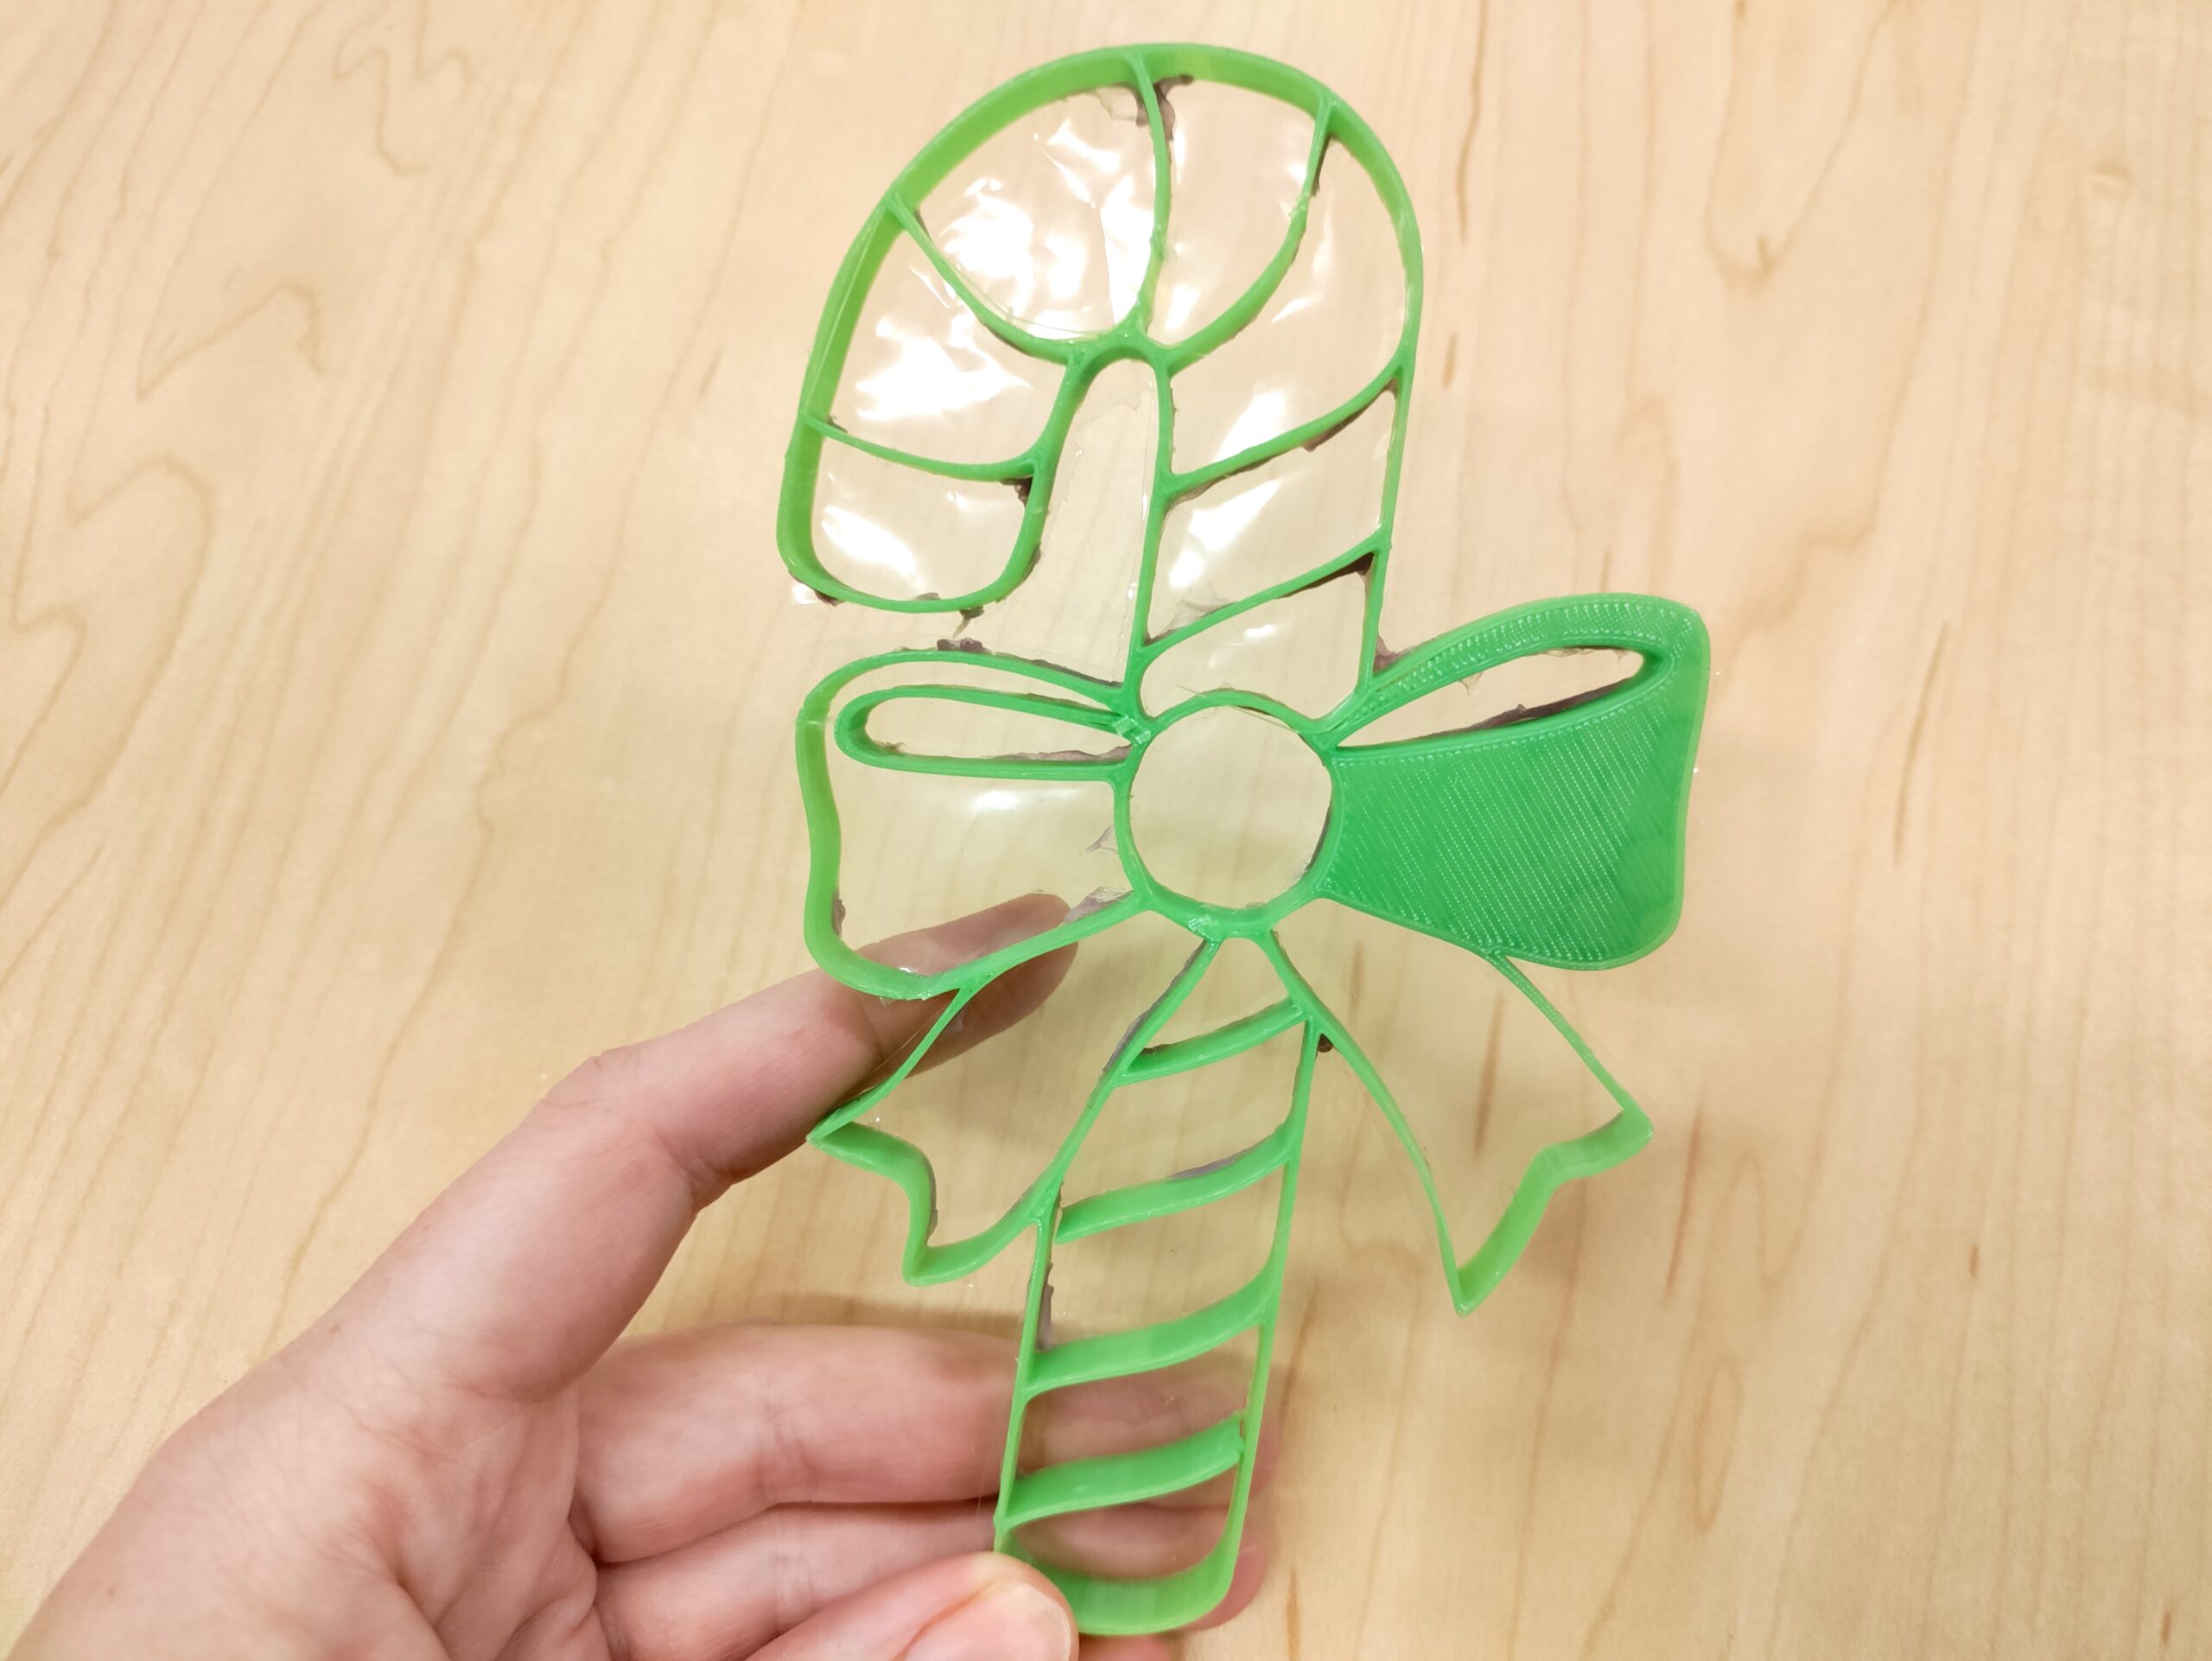
We let our students design their own by converting their preferred ornaments from coloring pages, then we printed them. Thankfully these require very little filament. You’ll just want to make sure that each ornament has at least a small amount of height on them to make the painting process stand out a little bit better.
Once the ornaments are printed, you’ll need to trace the outline of your ornament onto a sandwich bag and cut it out.
You’ll then glue that sandwich bag outline onto the back of your 3d printed ornament! The kids can easily do this themselves or you can prep it for them depending on your time and age group.
We actually tried several things including plastic container lids, laminating sheets, and dollar store thin cutting boards. The sandwich bags were absolutely the best choice every time! Which was perfect because they’re the cheapest and easiest to make!
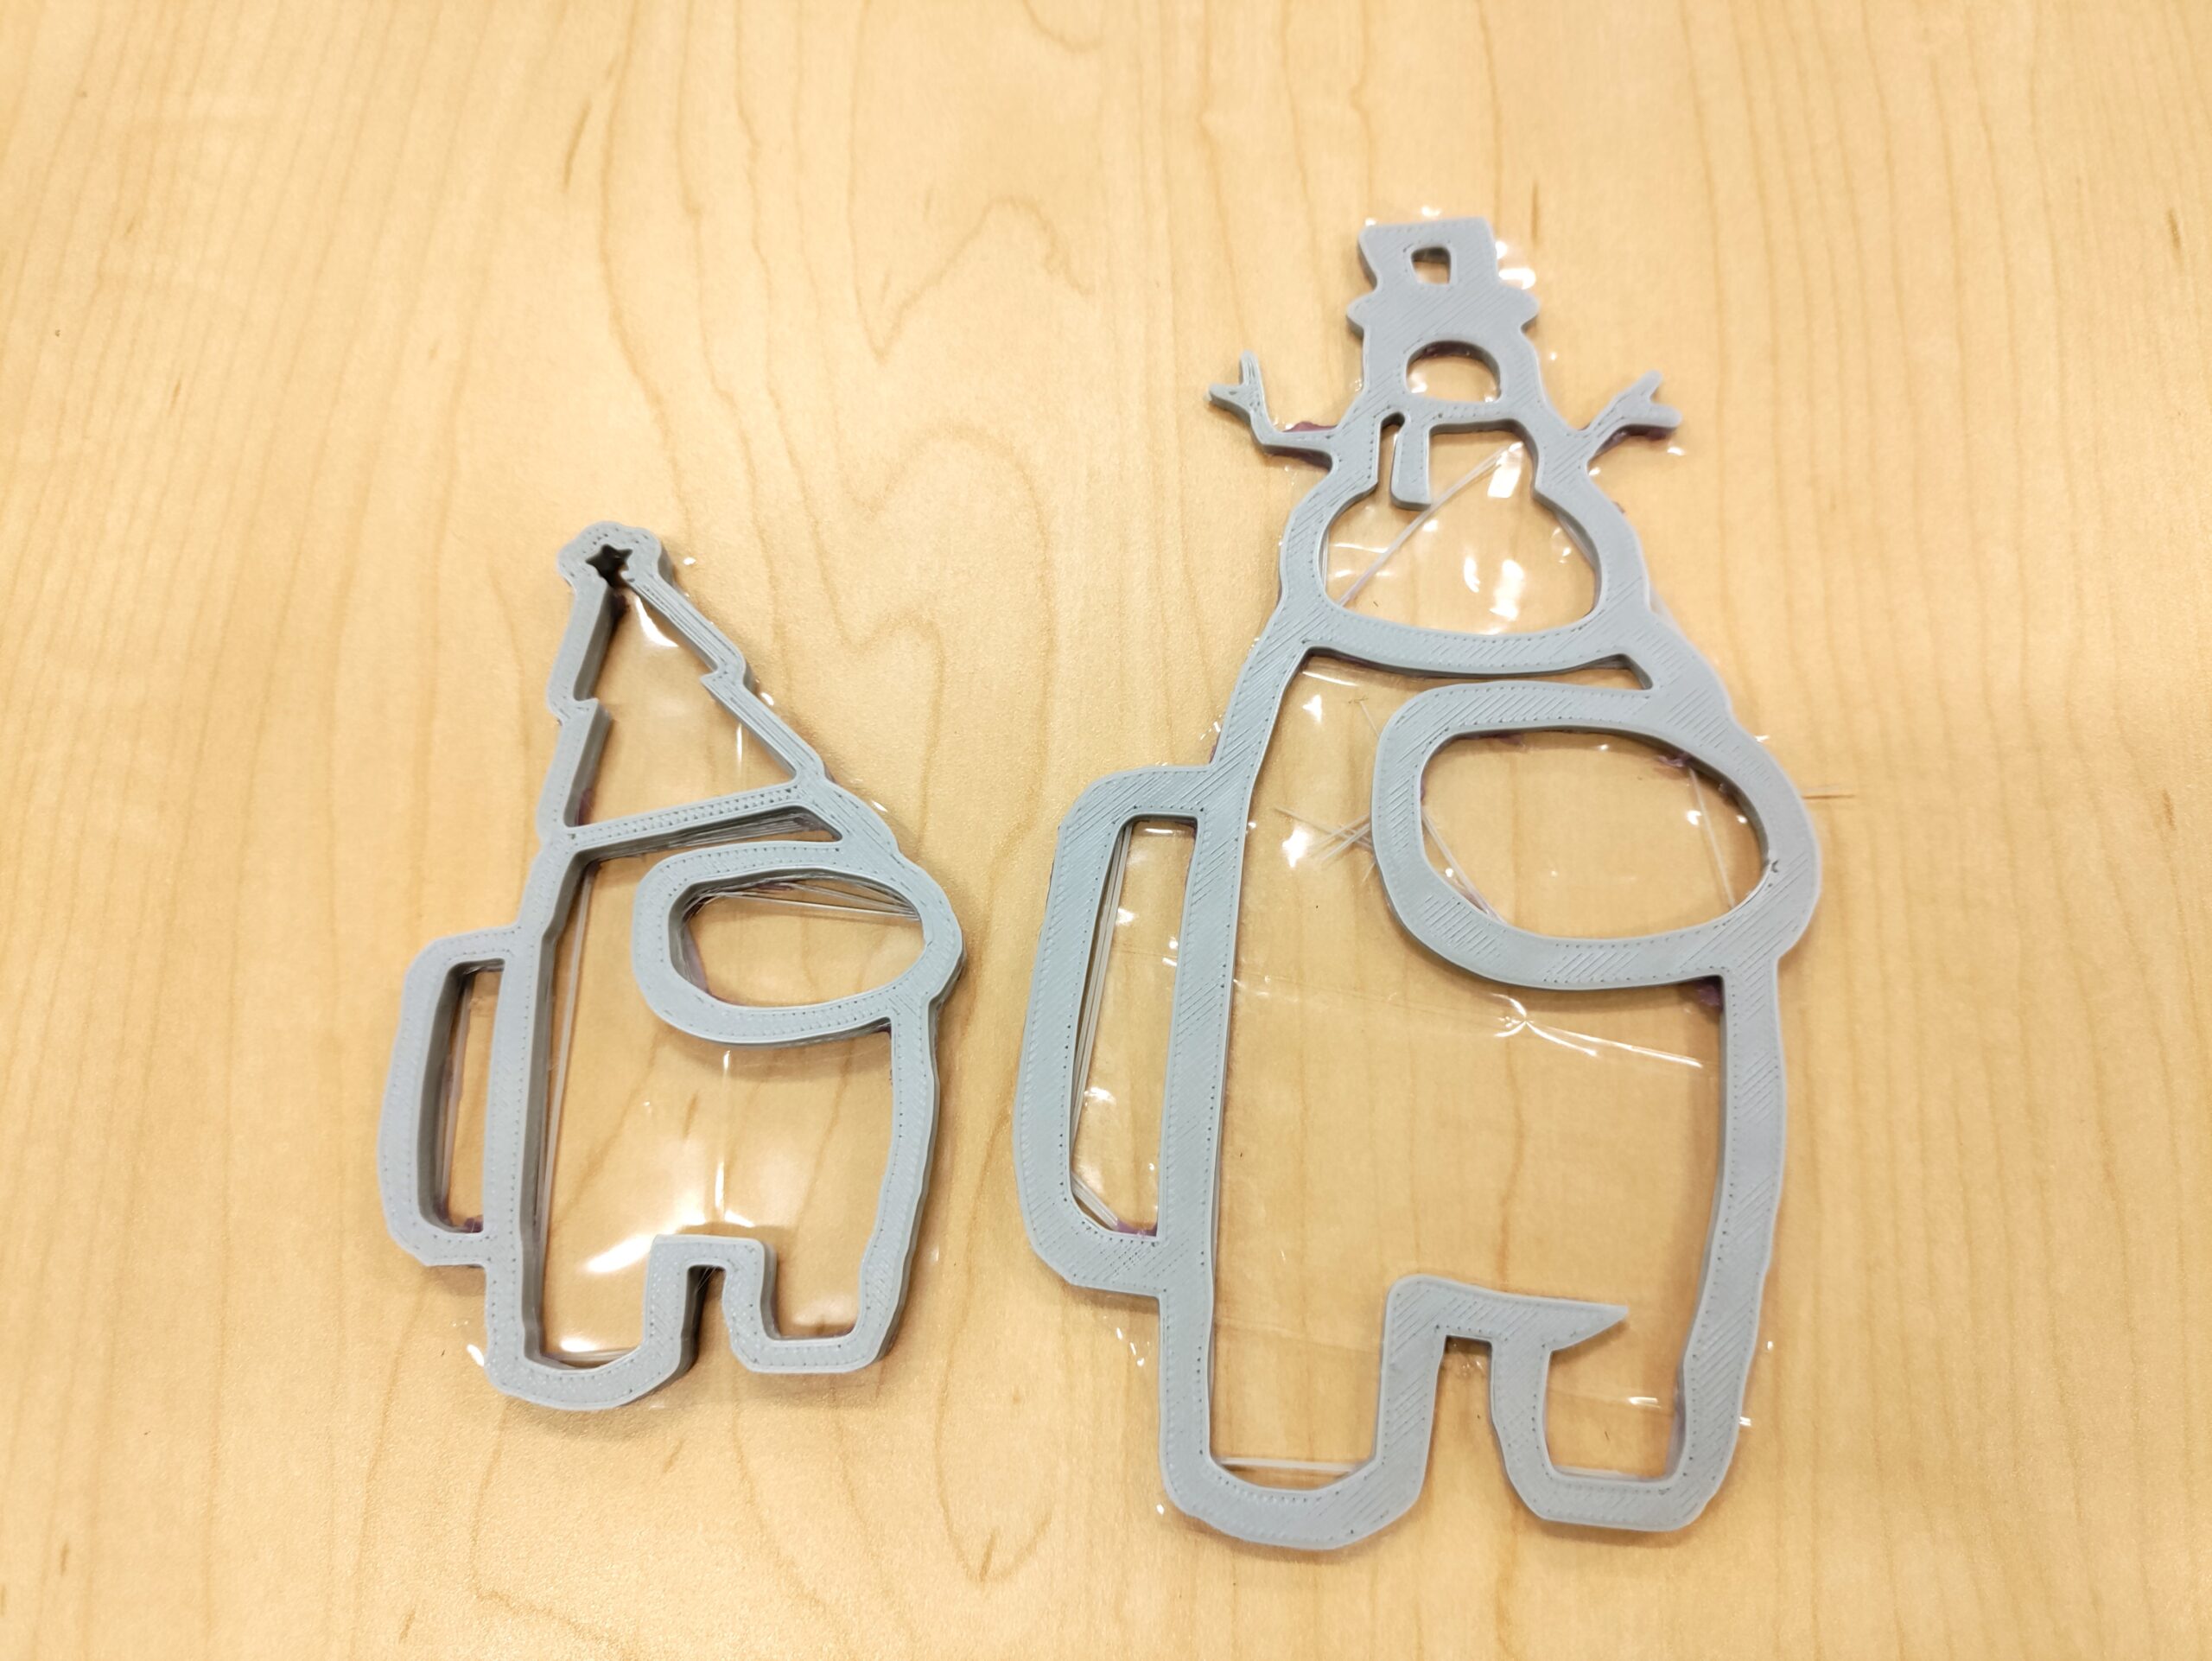
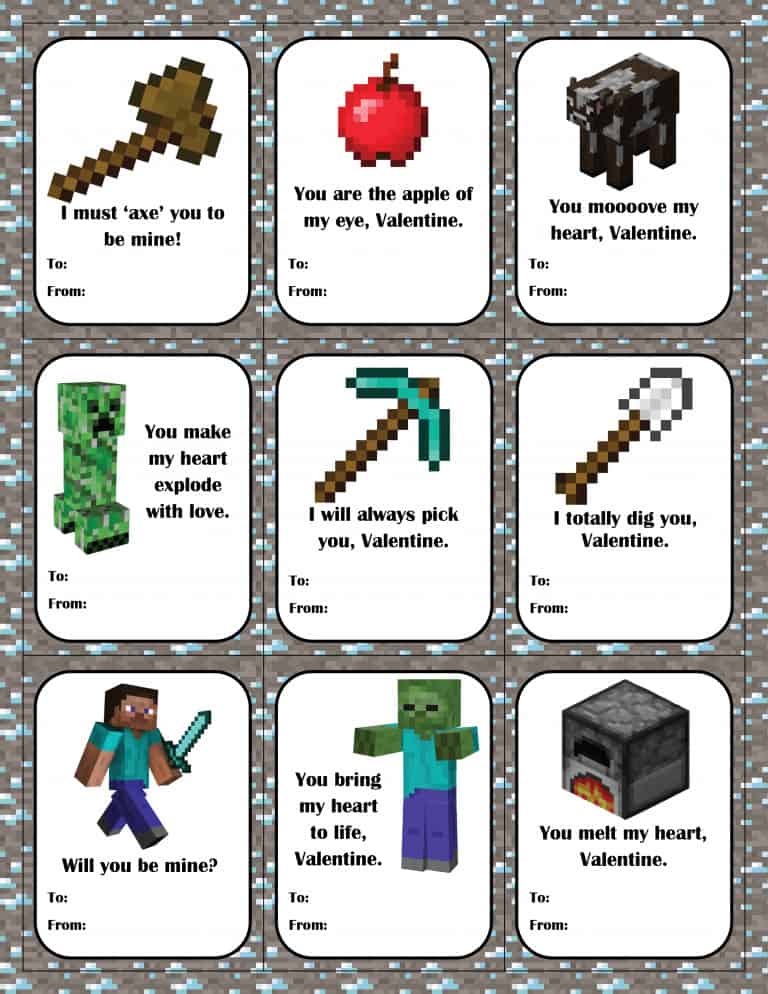
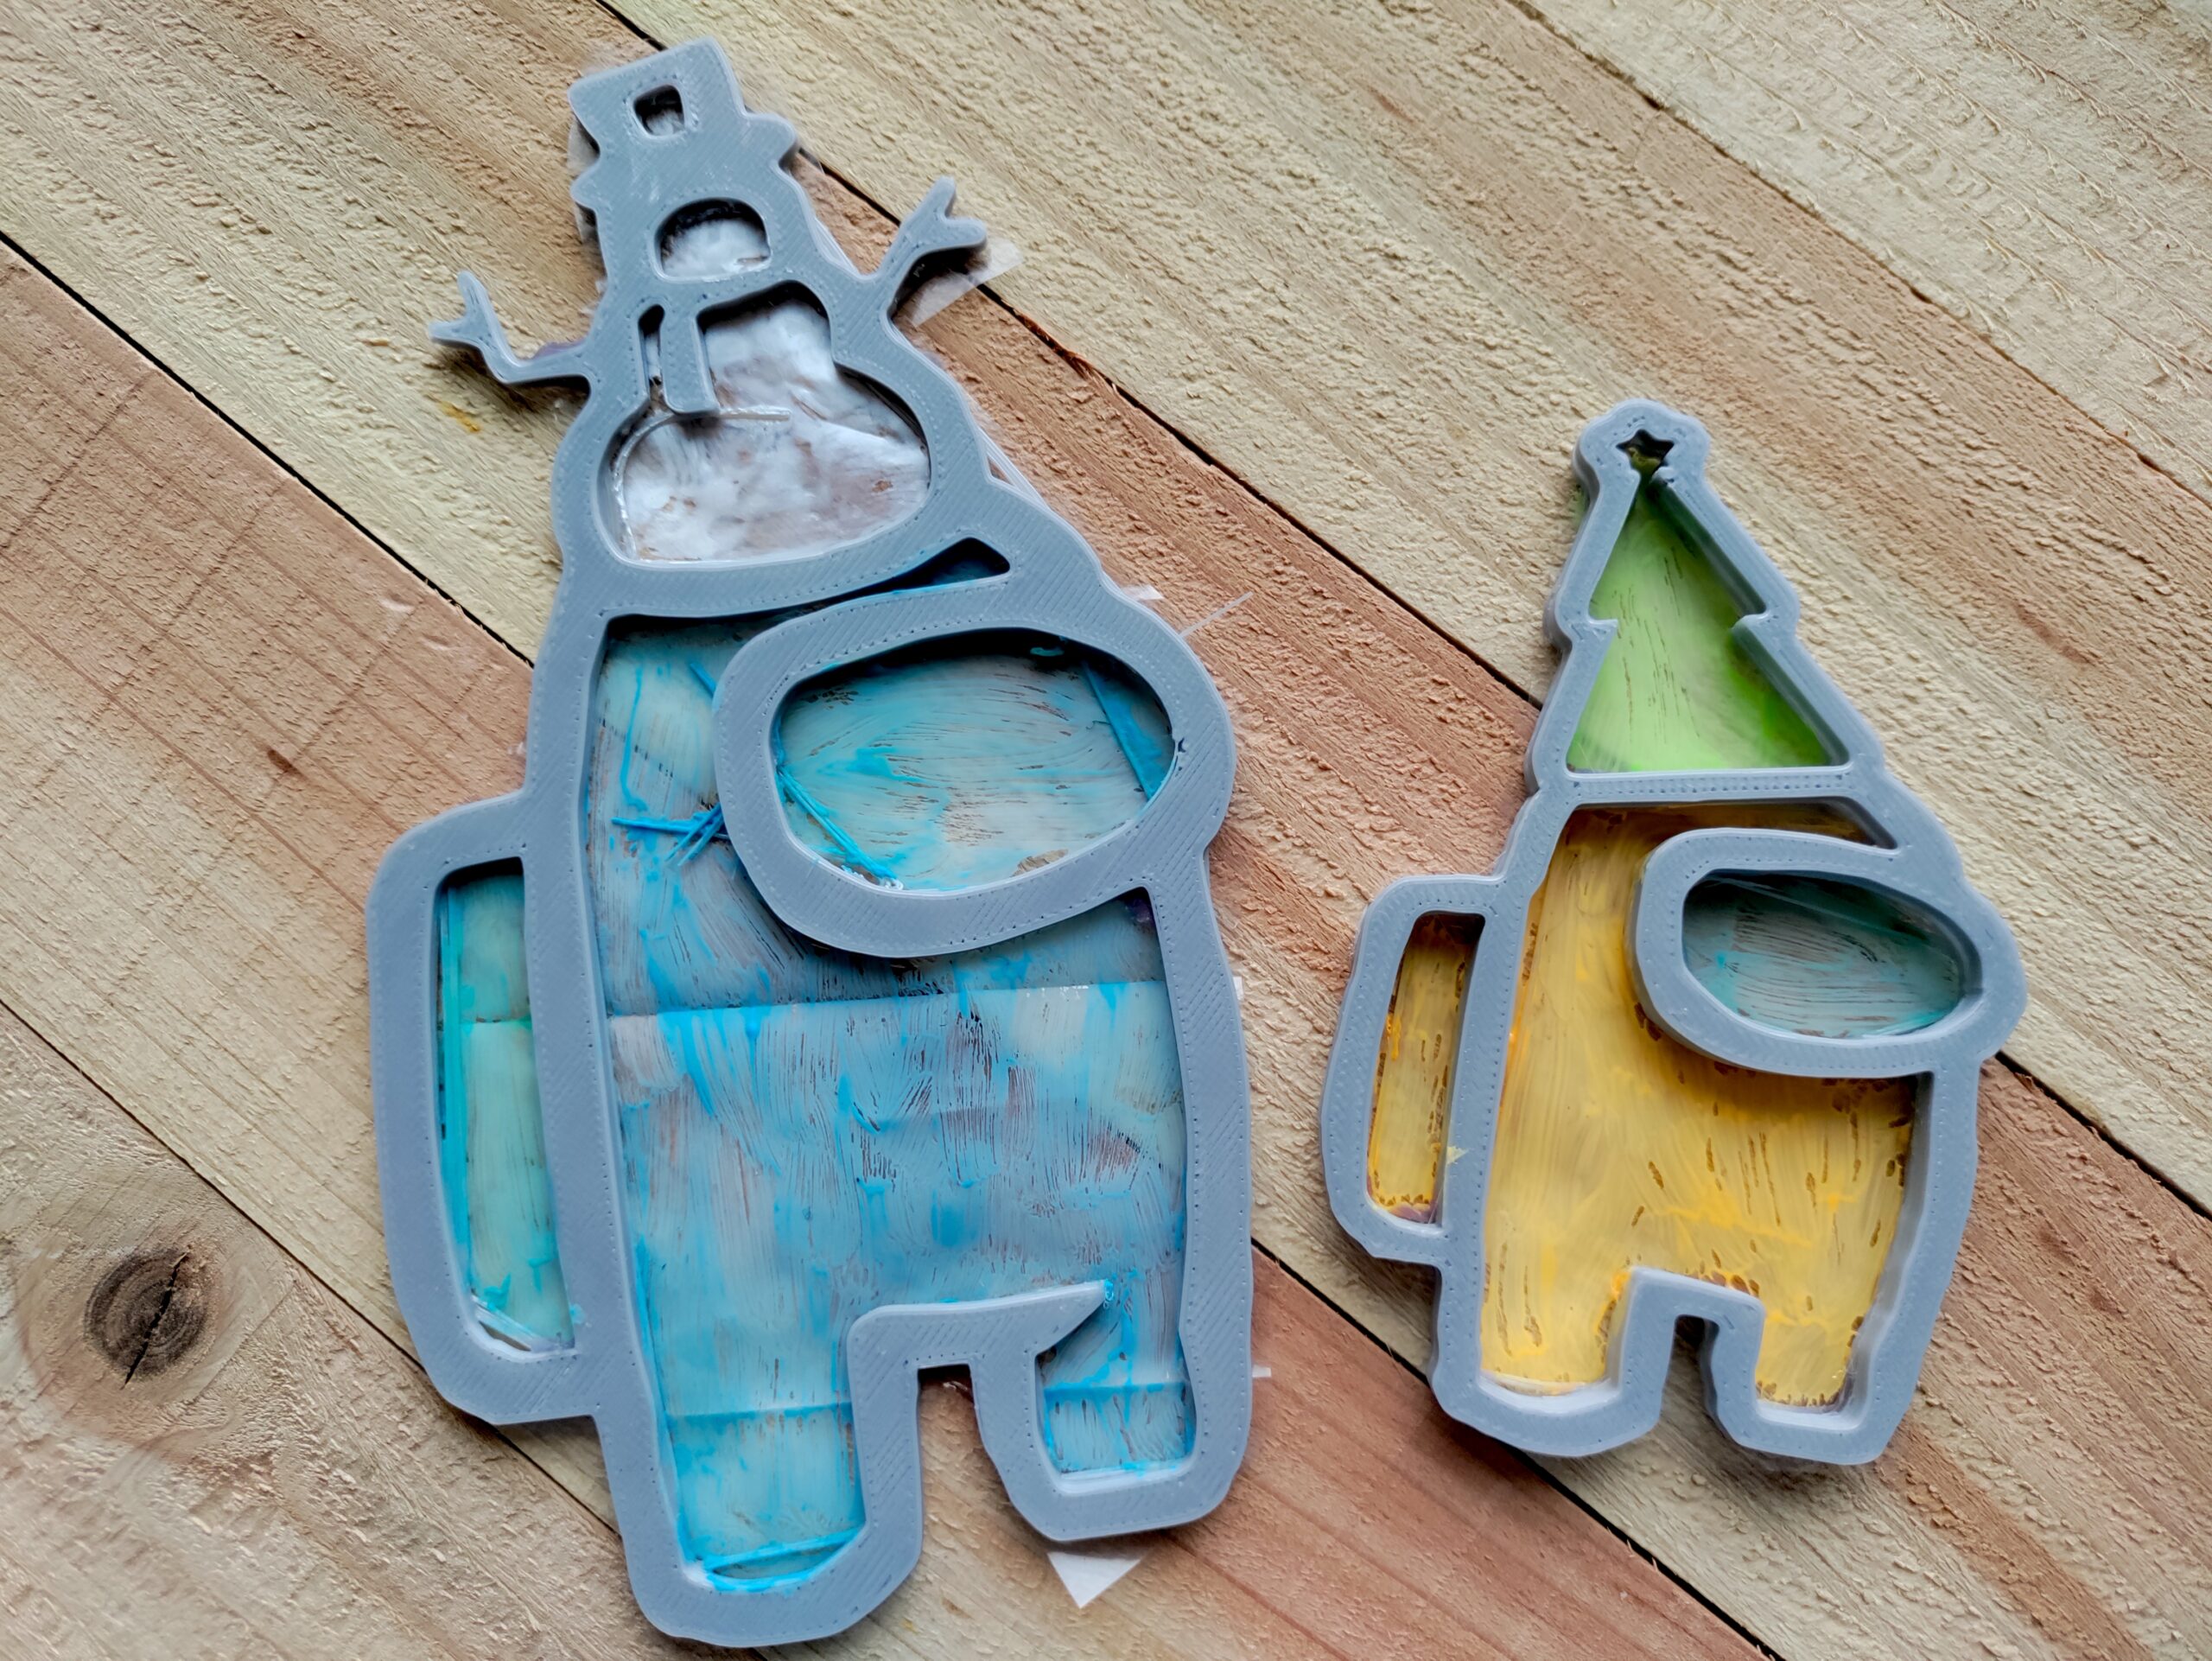
As you can see we had all sorts of favorite characters! We sort of opened up the floodgates and had Christmas themed Spiderman, Minecraft characters, Among Us winter characters and more. Some of course picked traditional candy canes and ornaments – so make sure you’re very clear with what you want your students to design!
I recommend having them “approve” their choice with you before they get too far into the project.
You also have several options with how you want to hang your ornaments. Due to timing and ability of the age of our kids, most of our ornaments we just threaded a piece of string anywhere we could towards the top of their ornament. You can also glue the string onto the back of the 3d printed ornament or take the extra time to add a loop hole in your cad software to the top of the ornament.
We just kept it simple since we use this activity with large groups of kids and don’t have the time to micro-manage every single ornament we print!
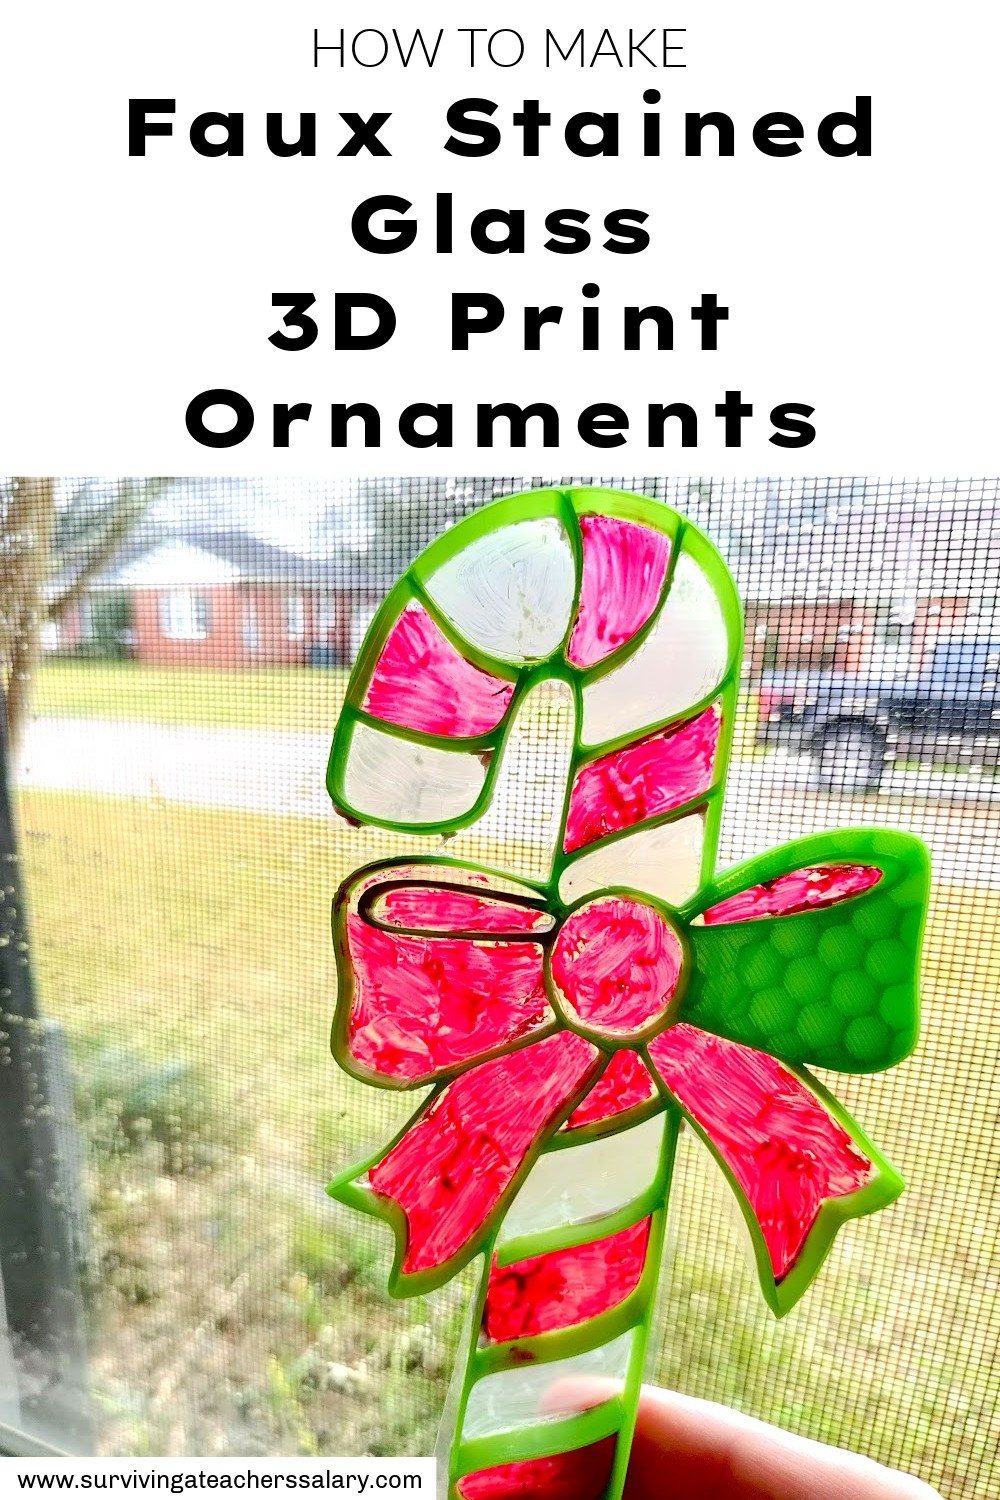
Painting 3D Printed Ornament “Sun Catchers”:
Our holiday ornaments were all designed to be sun catchers as well should they choose to hang their designs on a window – it all turned out so well!
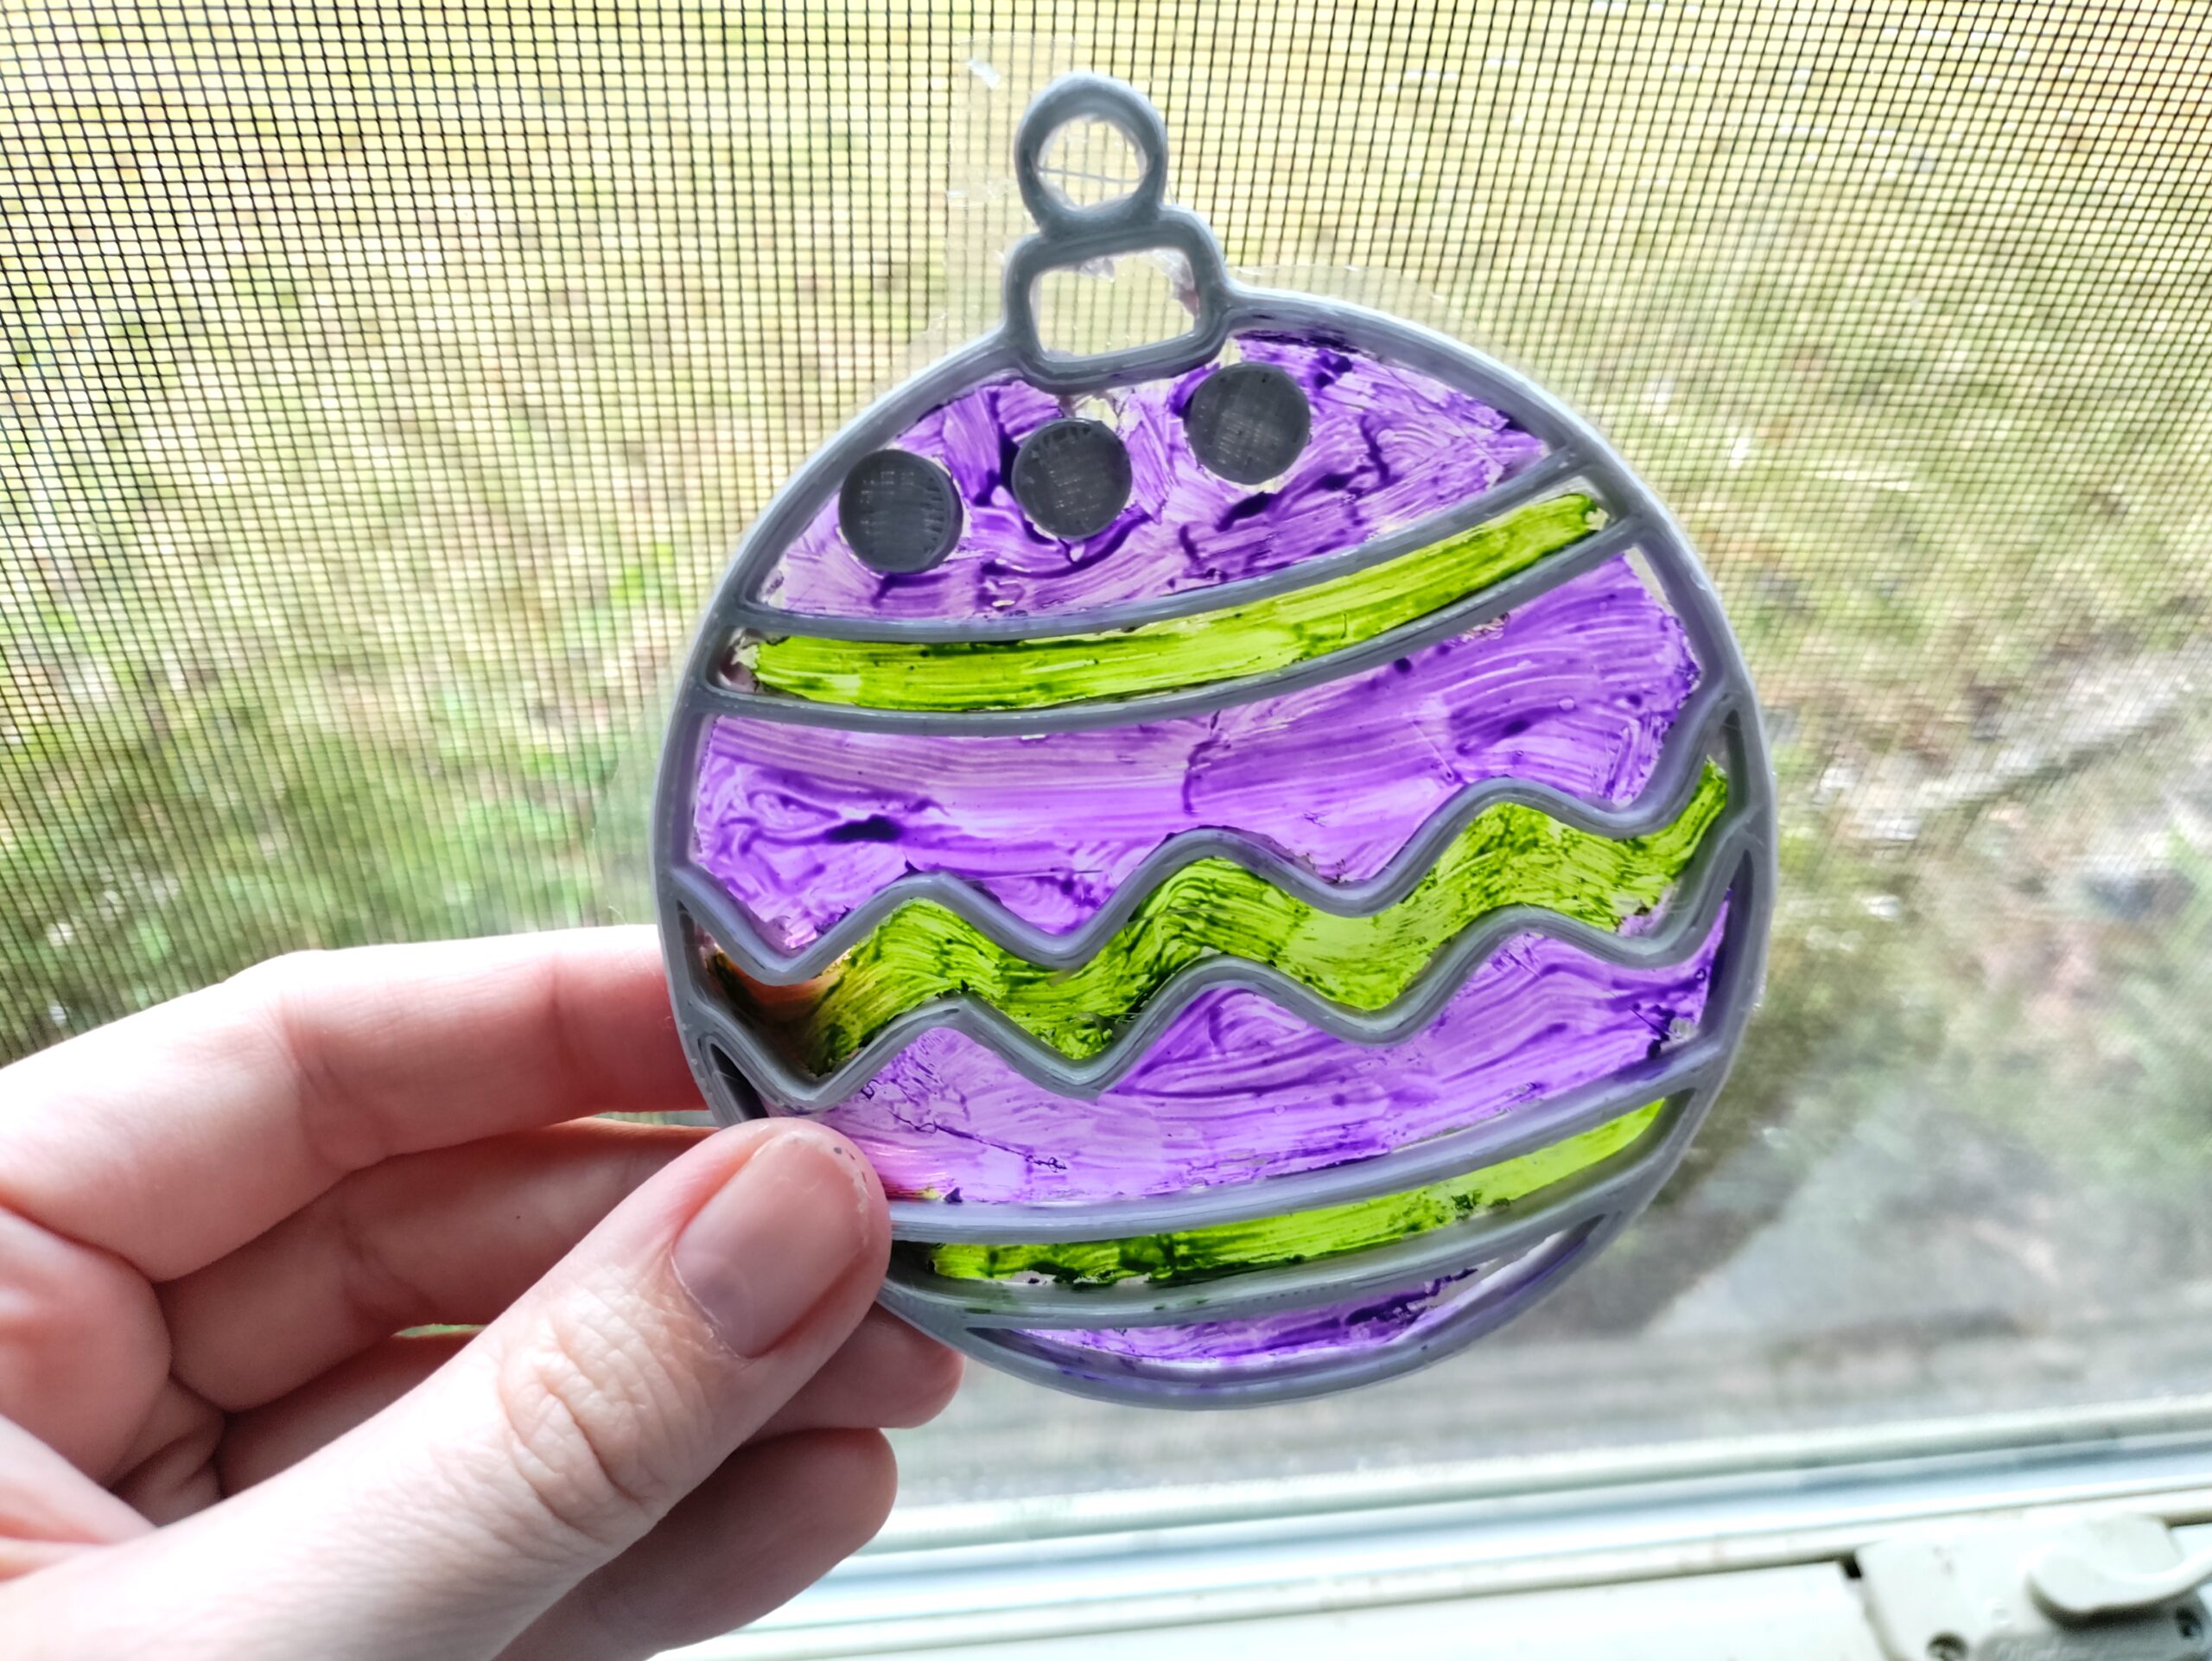
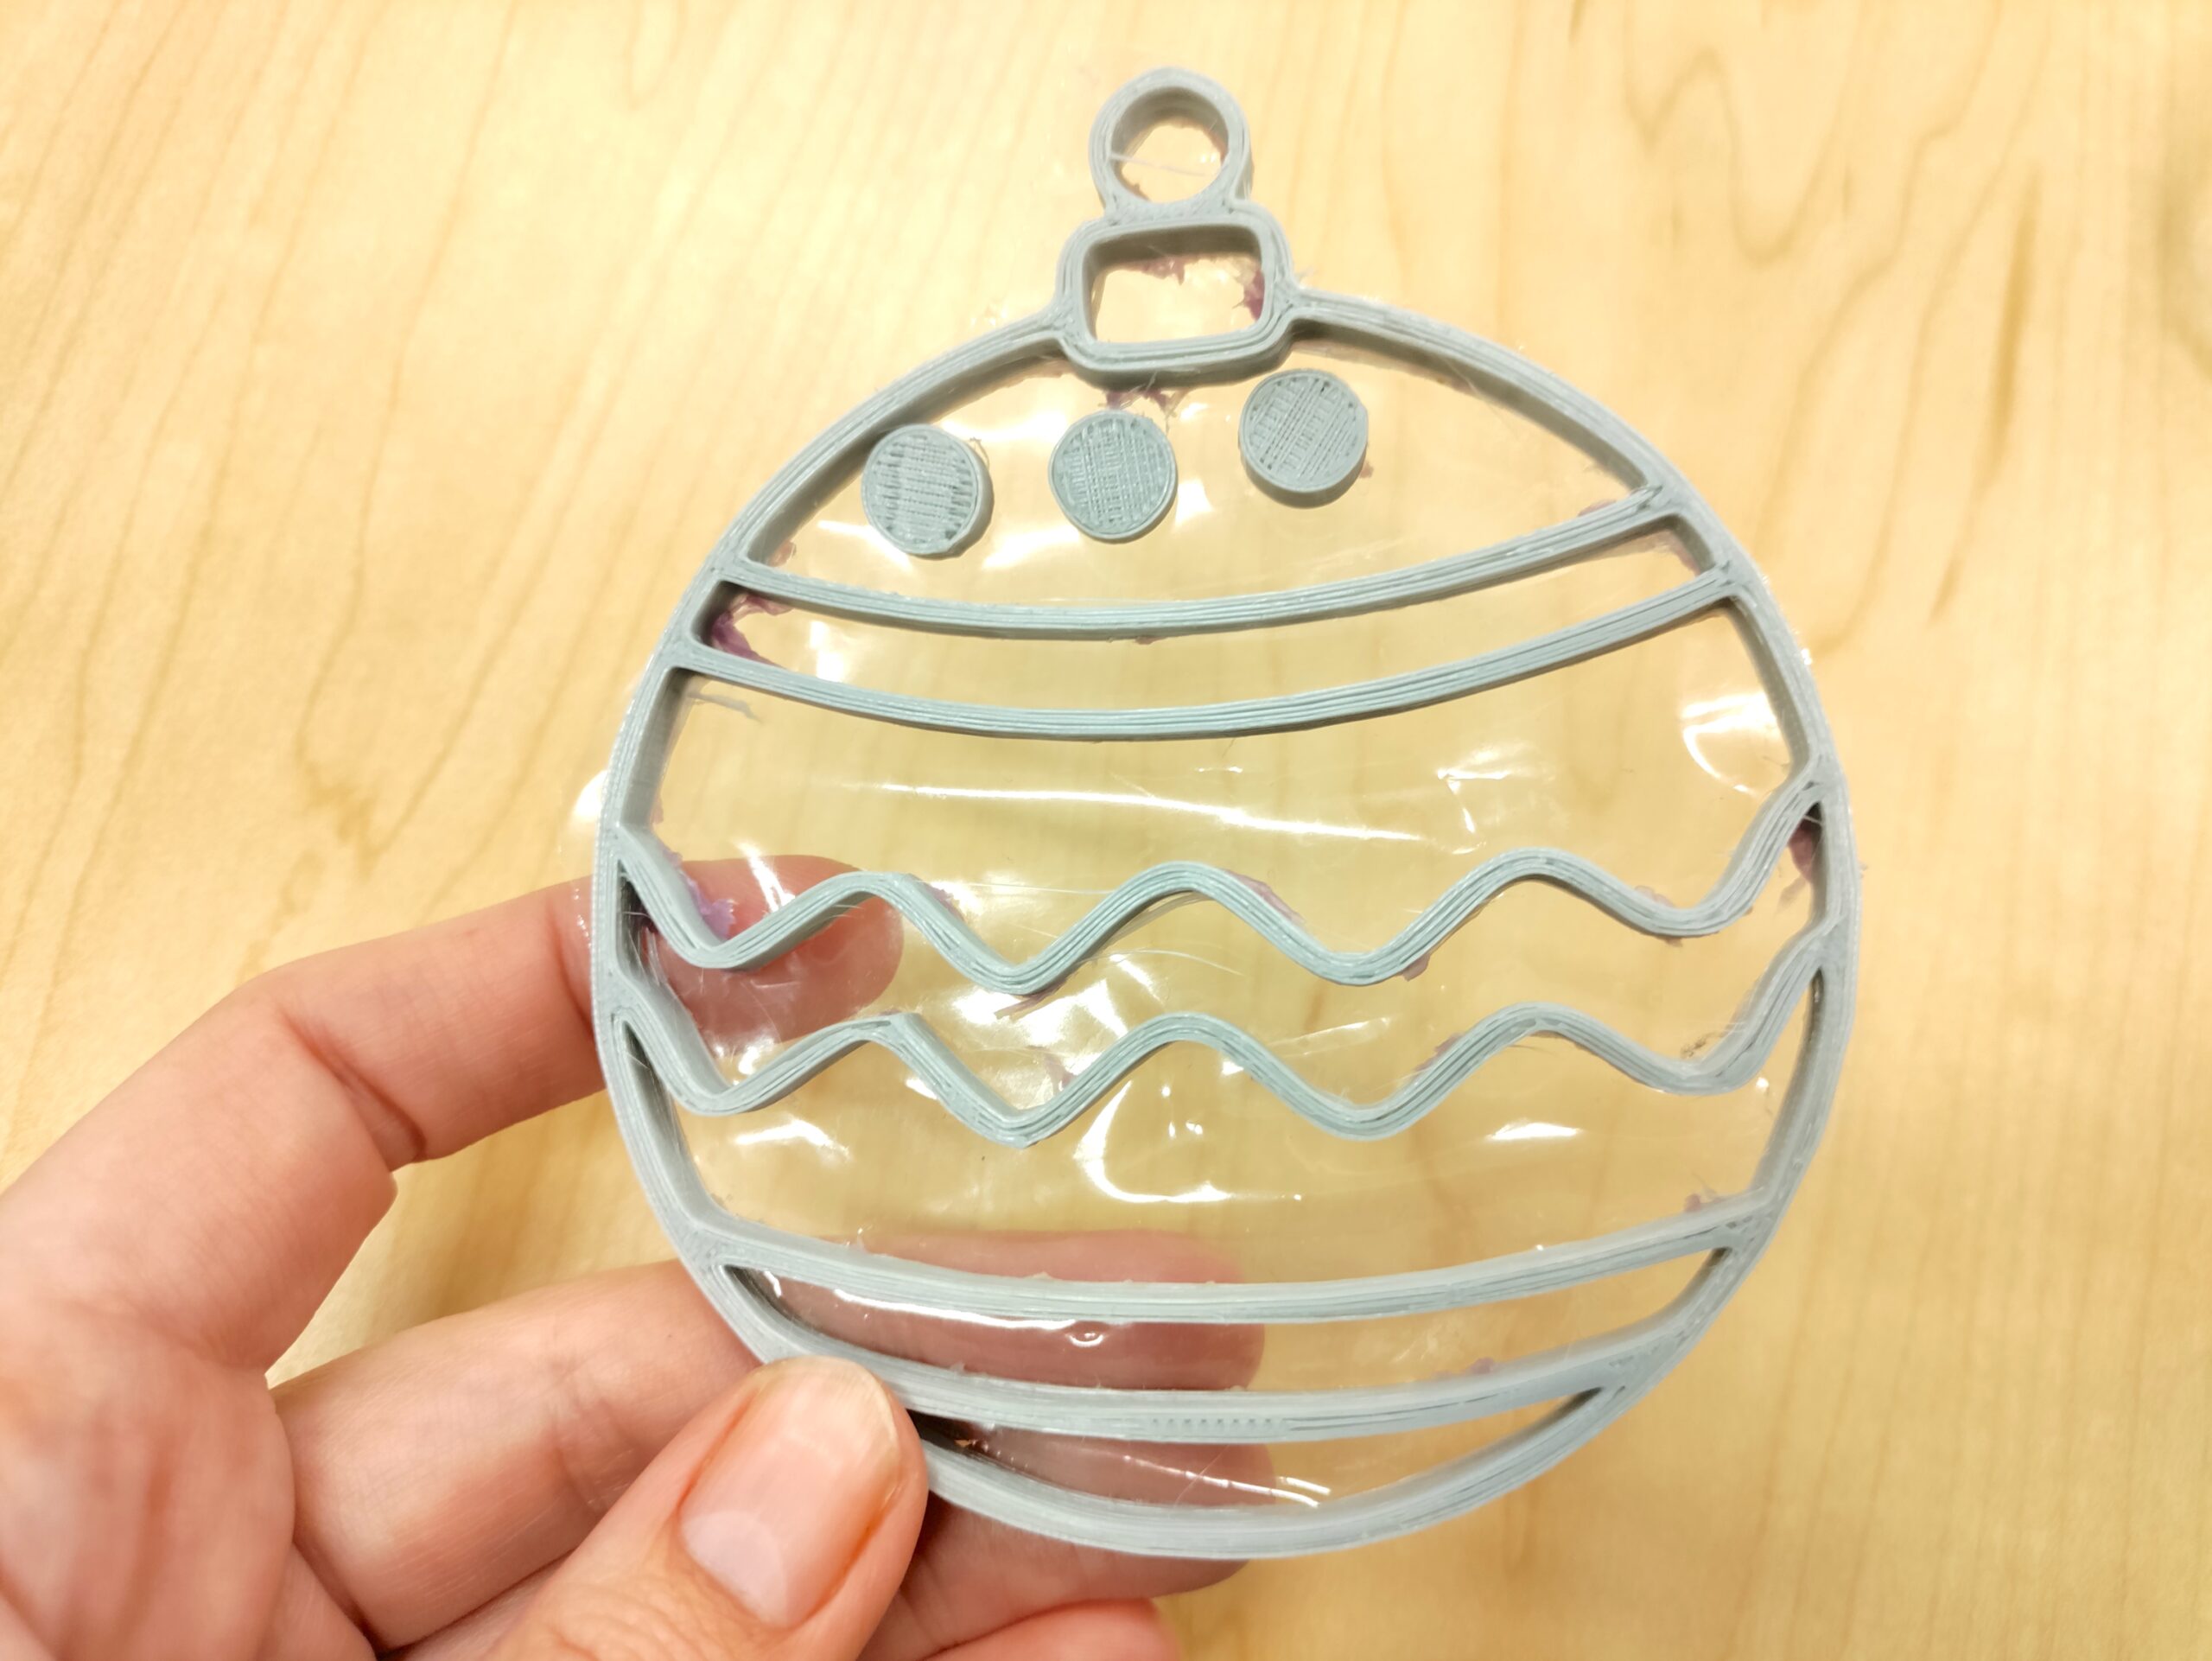
My favorite ornament turned out to be the green and purple ball ornament above! If you have any “floating” designs in your 3d print files such as the small circles at the top of the ball ornament, you’ll either need to throw them away or glue them onto the sandwich bag backing to keep them in place.
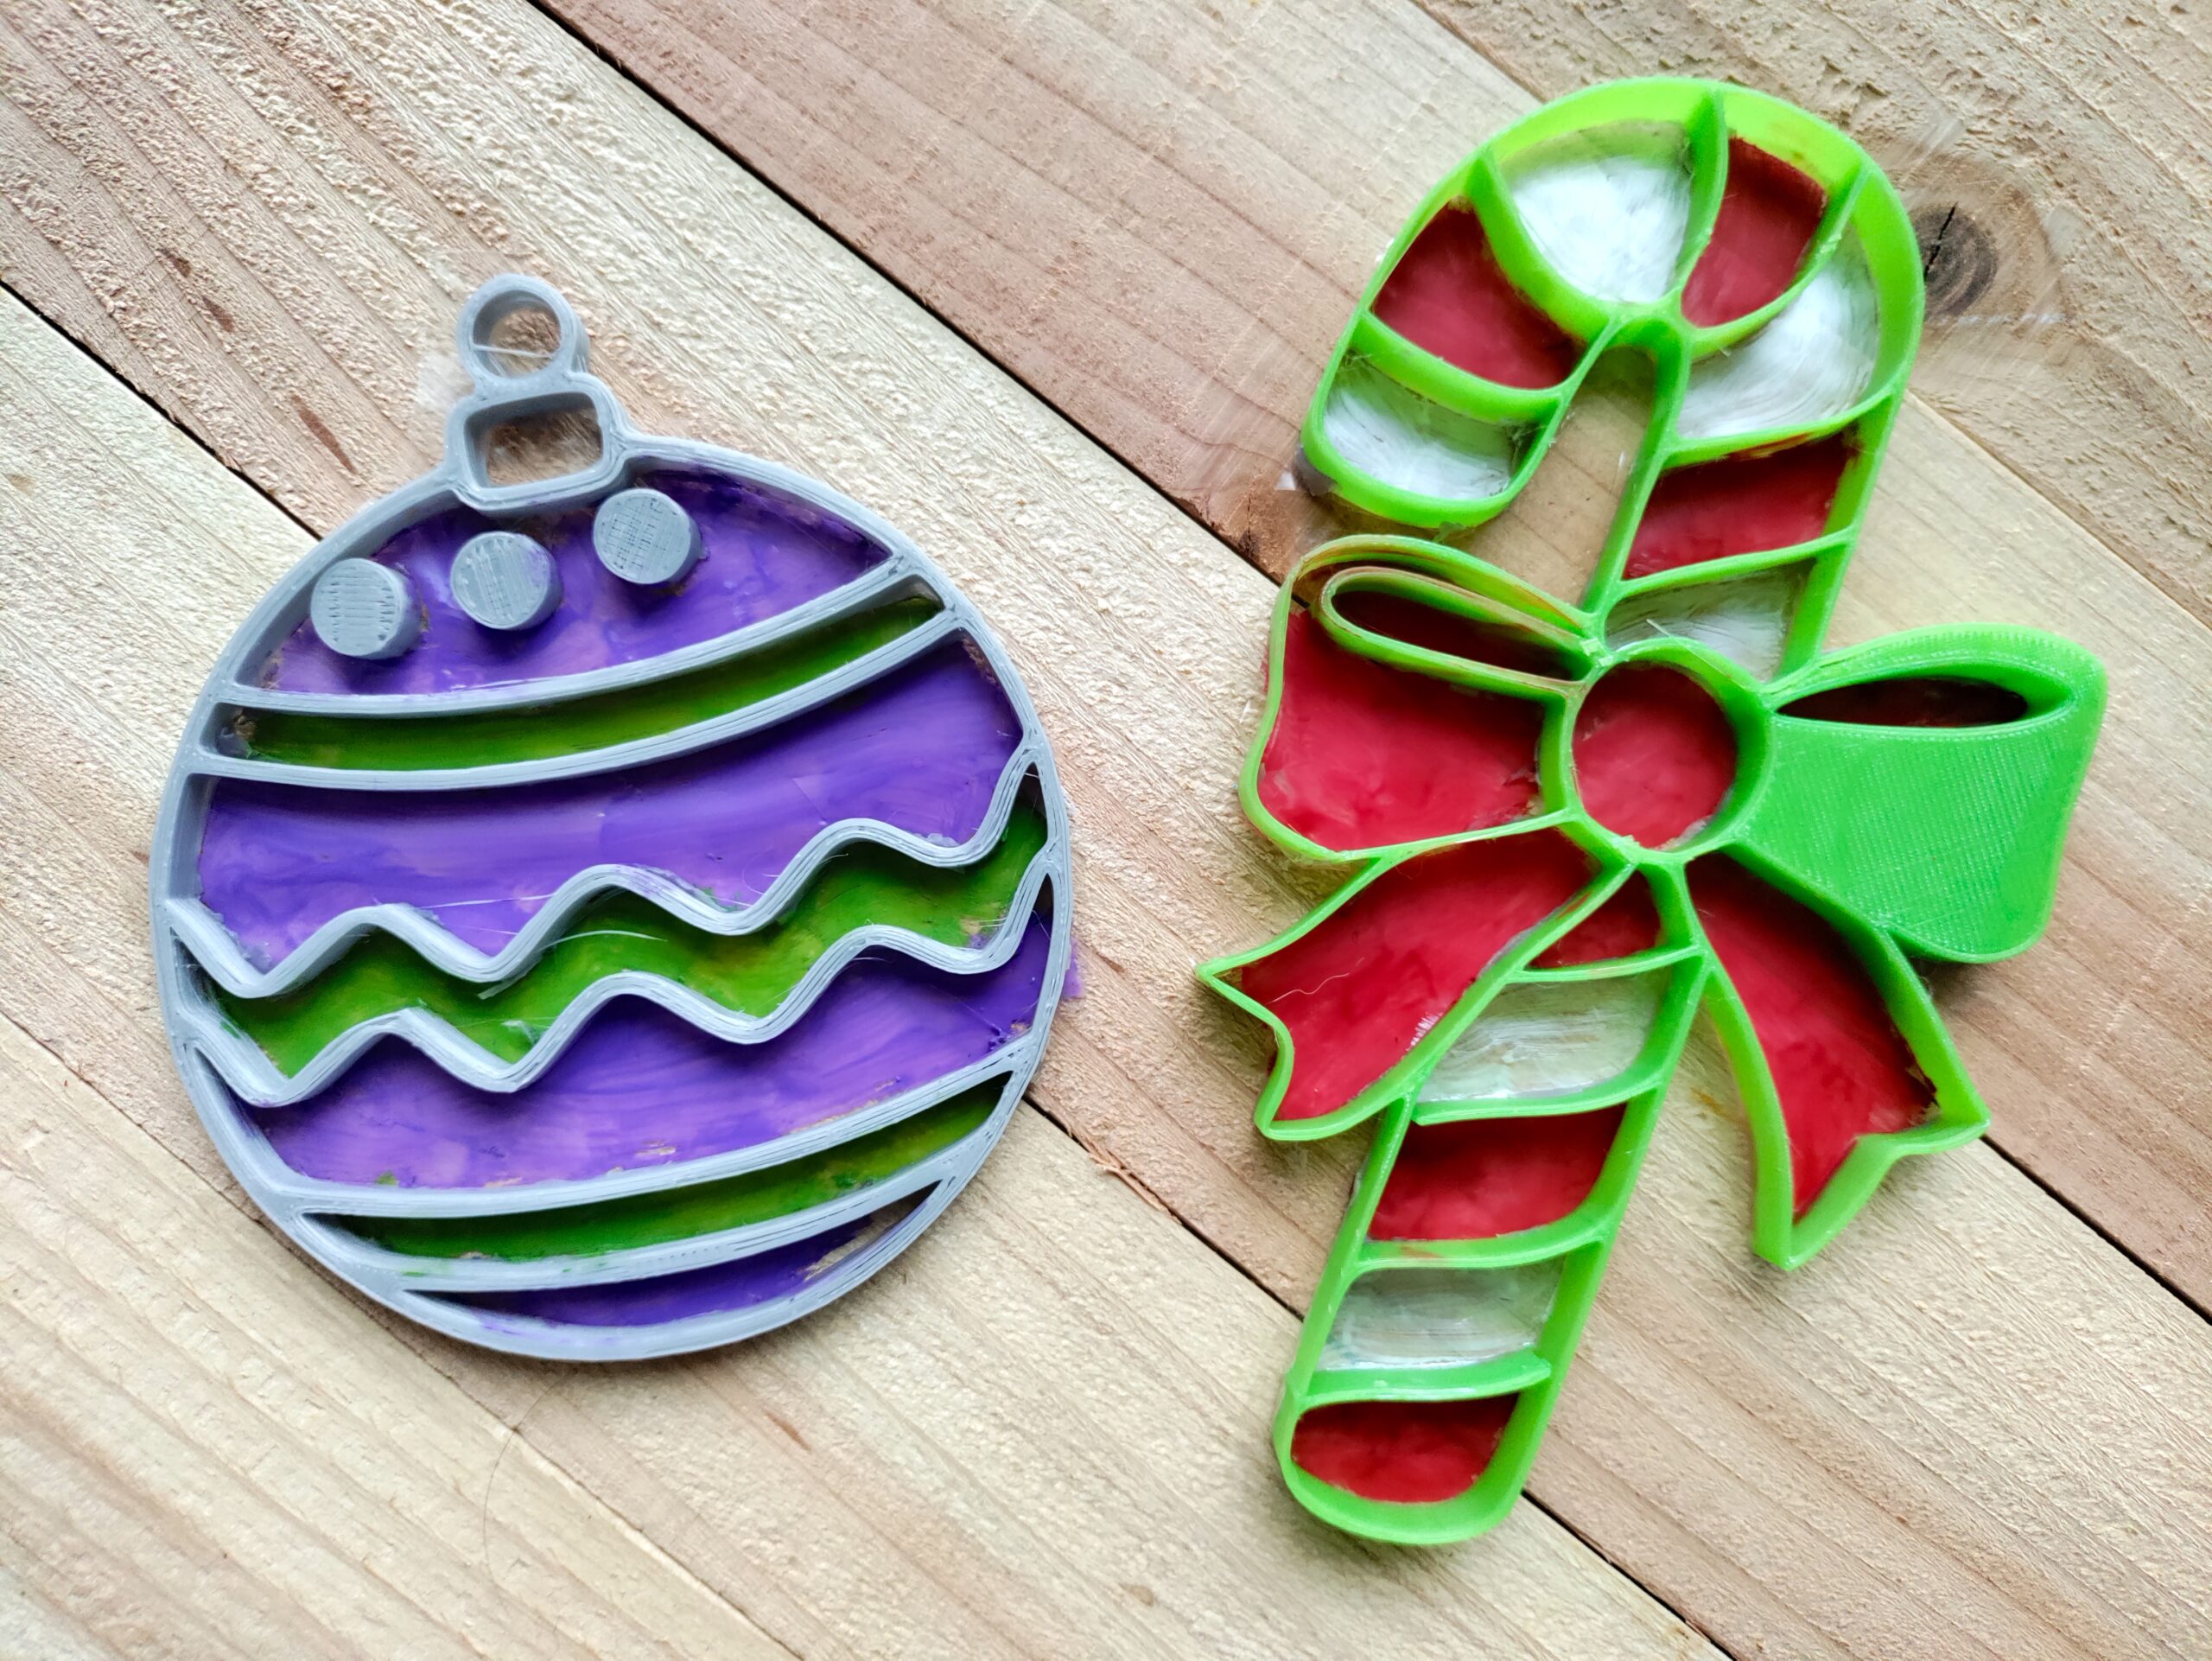

Look at the difference in the ornaments with and without light above when we used acrylic paints! The acrylic paints were by far the brightest and boldest! You can paint on the 3d filament design if you want, or just paint inside the design like we did. It’s all up to you!
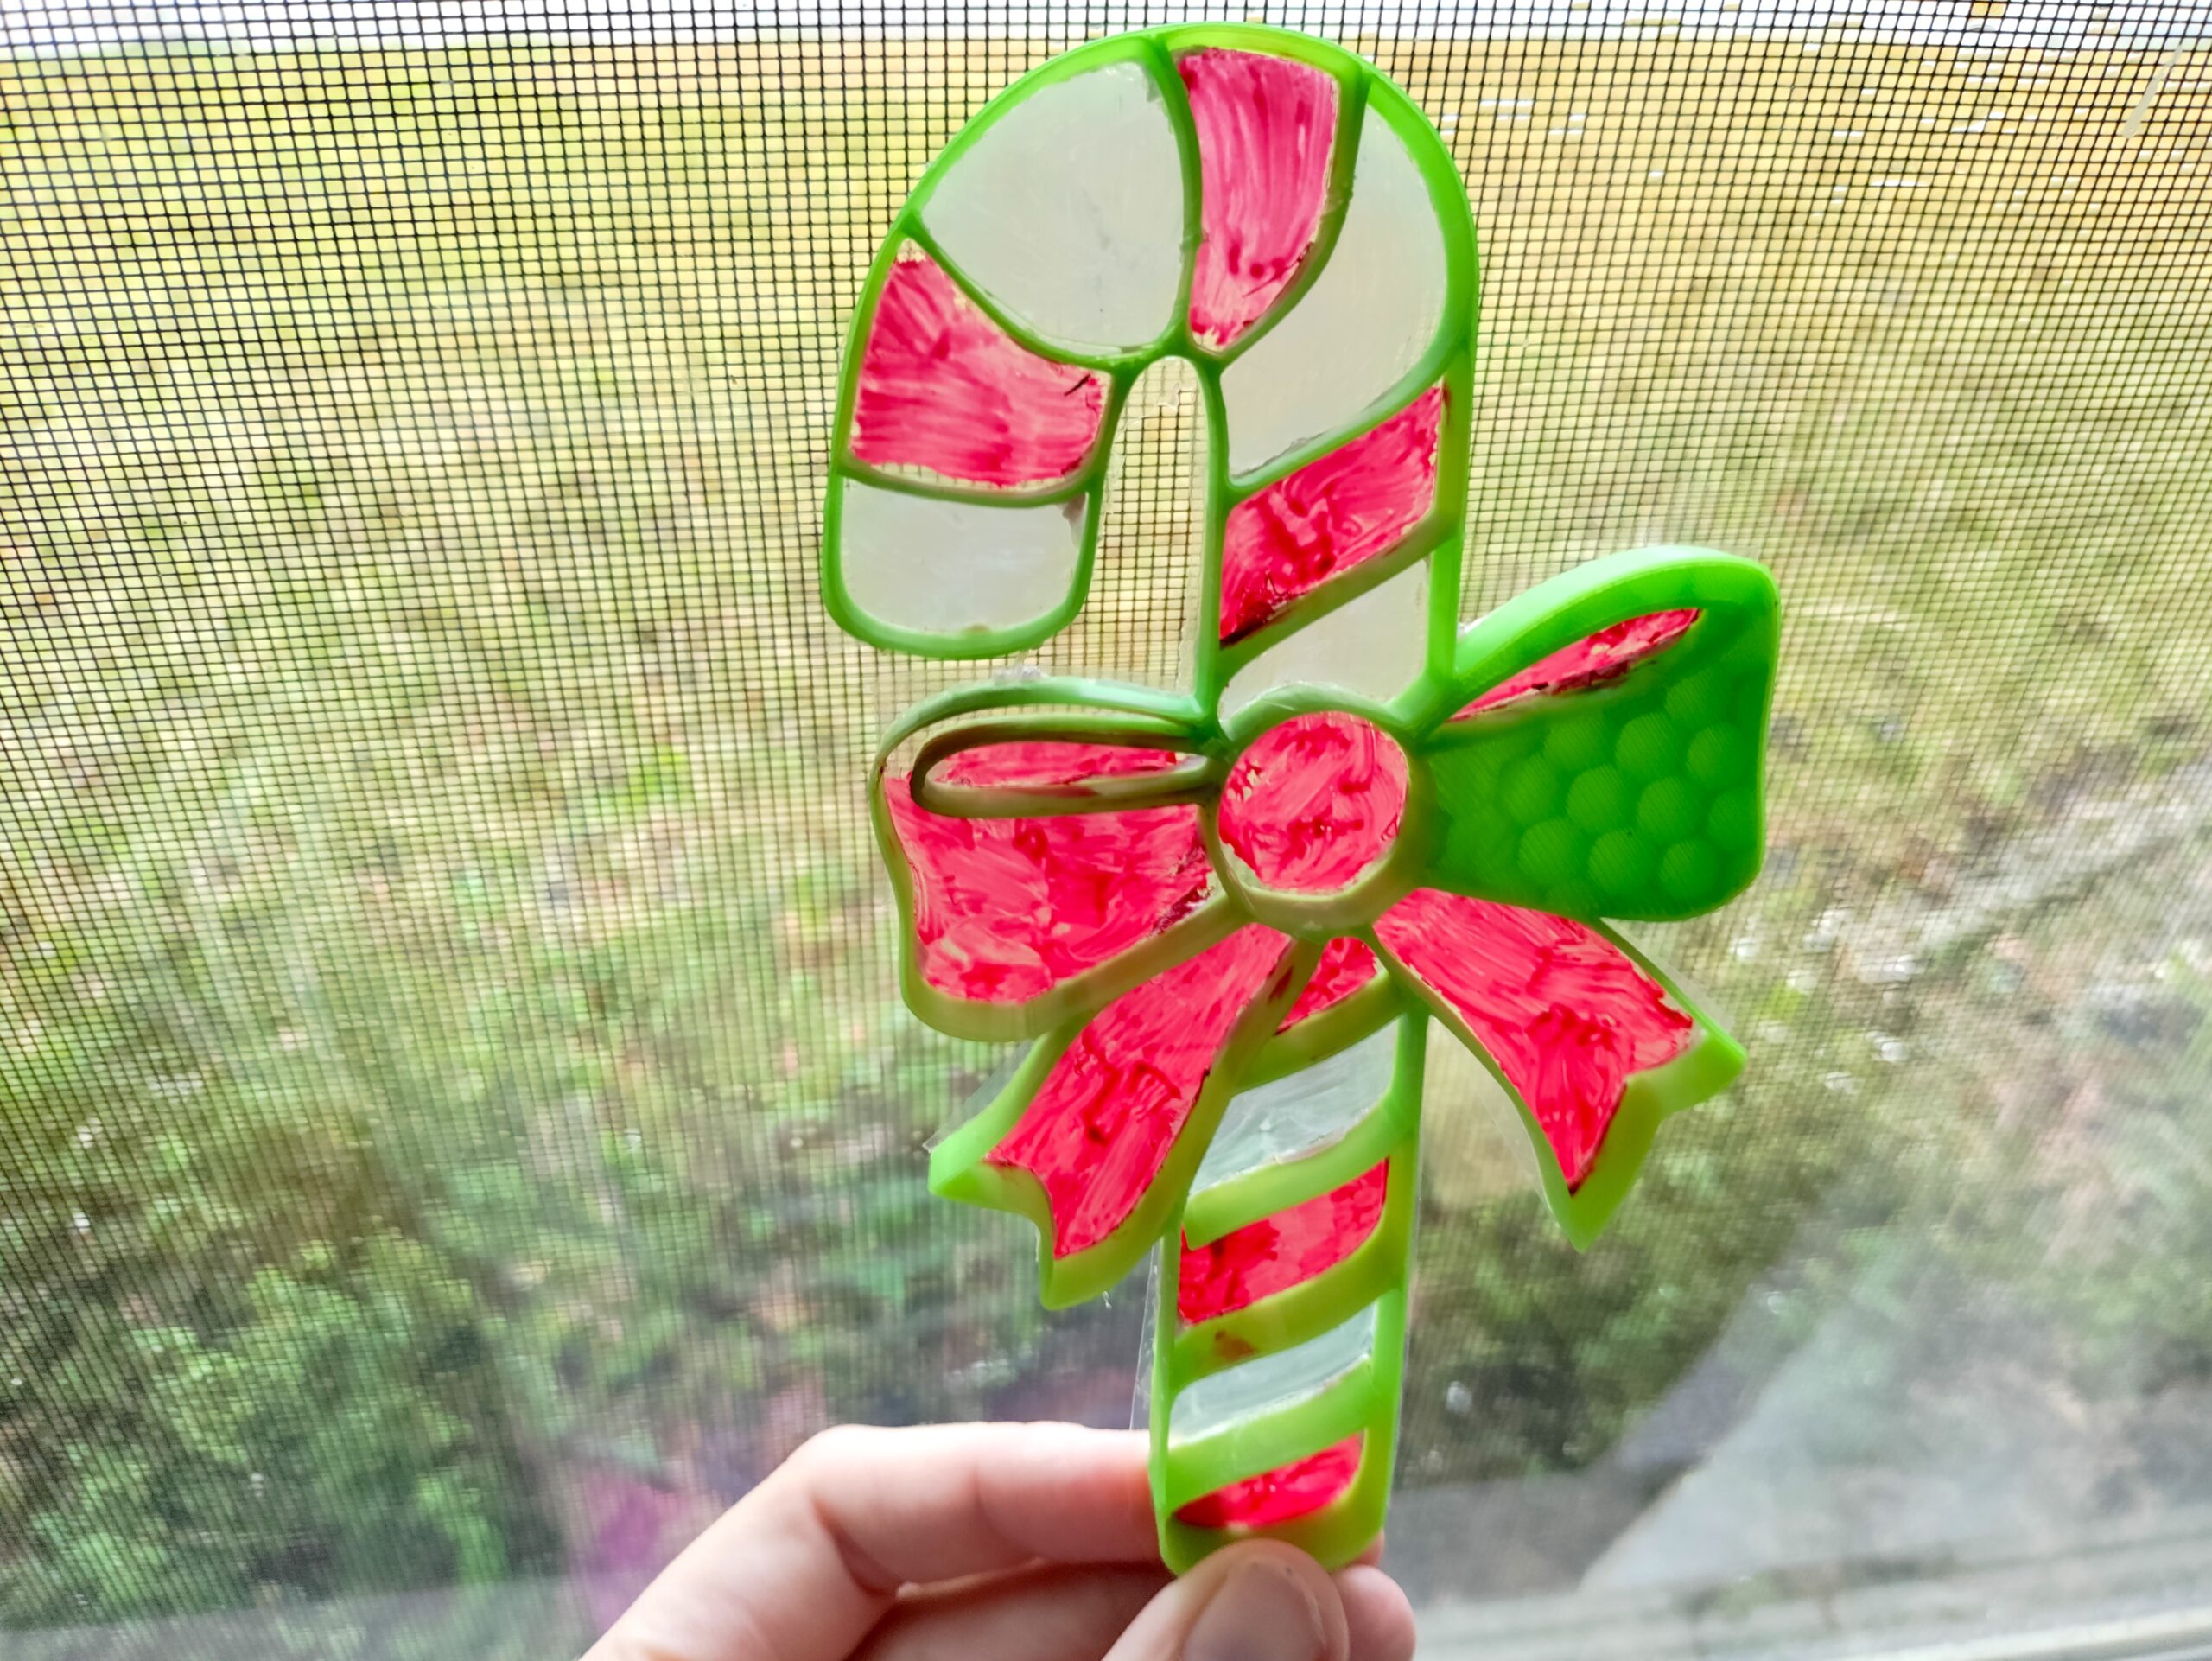
This ornament was painted with sun catcher paint and also turned out very nicely!
The most important thing to remember is that you’ll want to choose (or create) designs that are very simple with not a ton of fine detail like our ornaments above.
The more complicated the detail is you’ll begin running into issues with being able to paint inside the ornament, having too many “floating” pieces, or not enough “see through” area on the ornament to use for this activity. Plus you also run into the issue of 3d printing too many details. The key is to keep the design simple – this is the hardest part for kids!
I’ve got more tips on our 3d printed sun catchers tutorial discussing types of paint, more design tips, etc. if you want to make this for other themes throughout the year!
 |  |