FlashForge Artemis 3D Printer Review for Classrooms
This post may contain affiliate links, view our disclosure policy for details.
I’ve partnered with FlashForge for the remainder of the school year to promote the use of 3D printers in schools & education, and of course to share some awesome benefits of using FlashForge 3D printers! This post will focus on my FlashForge Artemis 3d printer review.
Learning how to use a 3D printer doesn’t have to be hard, and 3D printing has uses in the classroom far beyond being used as just a hobby! The more I use 3d printing in education the more I discover new ways to engage students in STEM possibilities and discoveries.

While I’ve been using 3D printers for over ten years now, it wasn’t until this year that I started teaching and guiding kids how to use 3d printers in order to design their own creations! It’s been an incredible opportunity to engage kids on a different level of learning!
Although I’ve used (and own) several brands of 3d printers, I was a customer of FlashForge before they ever contacted me to work together. And until I really started focusing on STEM with kids this past year, I didn’t quite grasp the full realization of just what all you could use 3D printers for in education! There are SO MANY cool things you can use 3d printers for as a tool when teaching classes!
**If you're a school or educational organization, check out the FlashForge Education Bundle here!
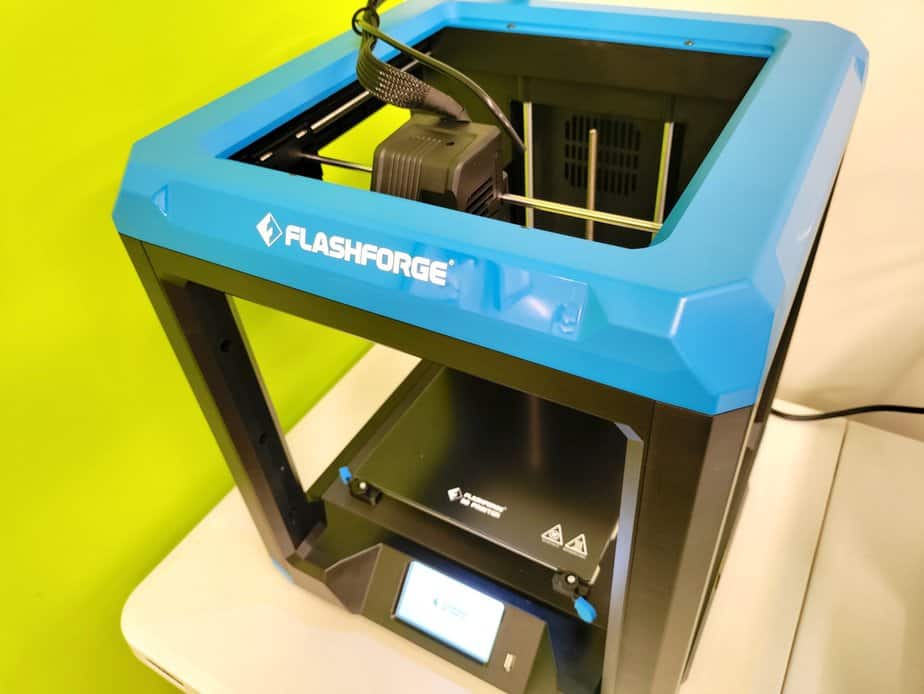
FlashForge Artemis 3D Printer Review
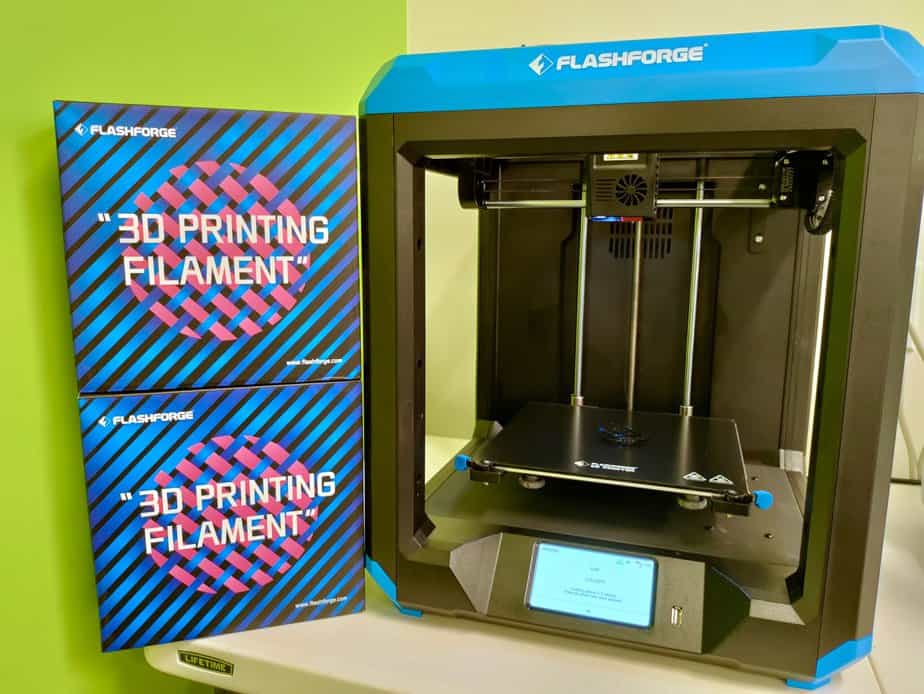
FlashForge sent me their new Artemis 3D printer to review so let’s get started! It comes with either blue accents like you see above, or cool bright orange accents. It’s also considered an “open build” system as the sides are not completely enclosed.
I also have a FlashForge Adventurer 3C that I purchased last spring so you can see the comparison of the Adventurer 3C vs. Artemis here (coming soon!).
Remember this 3d printer review of our FlashForge Artemis is based on my use working with kids – not as a professional commerce business or expert! But I keep in mind that not all teachers have had experience with 3d printers before! In fact many haven’t – and this is a great 3d printer for beginners too!
Although the overview of technical specs for the FlashForge Artemis 3D printer is available on FlashForge’s website and may mean the most to advanced hobbyists in the 3d printing world, I will list it below for sake of being thorough.
Overview of Technical Specs for the FlashForge Artemis 3D Printer:
- Accepts a variety of filaments (ABS, HIPS, PETG, PETG Pro, 3rd party, and meets TPU 95A)
- Multiple Build Plates – glass & bendable PEI steel plate
- 4.3 inch touchscreen
- Resumes Printing after Power Loss (MY FAV!)
- Sensor detection to pause when filament runs out
- 500* F extruder printing temperature
- 230* F build plate temperature
- 7.48 inches (length) x 7.67 inches (width) x 7.87 inches (height)
- Compatible with 3rd party slicing software
Use Right Out of the Box within 15 Minutes:
Included with the FlashForge Artemis 3d printer is: the Artemis 3D printer, 1 spool of 1KG PLA filament, a power cord, user guide, material rack, nozzle, usb flash drive, removal tool, wrenches and screwdrivers, needle, grease, flexible spring sheet, and glue.
There is no need to “build” anything to put the Artemis 3d printer together – it comes as one piece right out of the box. Trust me when I tell you this is a huge life saver. You’ll of course need to pull off any protective tape or packaging but it only takes a minute. We plugged it in, connected it to our wi-fi, auto-leveled it, then set up your filament.
You can follow all of these instructions in the included guide book or by just using the touchscreen pad! It’s really quite simple and will walk you through the whole process! You can be ready to print from its arrival in a sealed box within 15 minutes even if you’ve never used a 3d printer before!
What Software FlashForge Artemis Uses:
I use FlashForge’s FlashPrint software with my FlashForge printers (including Artemis) which you can find here, just toggle to the software section. Personally I find this to be the easiest option, but you can also use other softwares like Cura or Simplify 3D if you’d like!
I have a laptop dedicated to our 3d printing area and just leave FlashPrint open at all times. The Artemis 3d printer (via the FlashPrint software) allows you to choose between two different types of support systems for your prints.
One is a support system similar to tree branches that provide solid supports only where needed for your print. This is great for projects with smaller support needs like a character’s arms, handles on a trophy, etc.
The other is thin support system that supports the entire print project from bottom to top and can be pretty easily pulled off in a sheet type style. This type of support is best for large “free-floating” areas like the underside of a table or underside of a wide animal like an elephant.
Typically we use tweezers, pliers or wire cutters to remove supports on our 3d print projects and keep a small basket for supplies next to our printing area.
The Feature that Makes My Life so much Easier!
My absolute personal favorite features with our Artemis in a classroom setting is what I consider “premium” niceties over our other standard starter type of 3d printers. Things that just make my life run much smoother and more efficiently. (and saved money!) It is their features to auto-pause and save prints in regards to power outages and filament running out.
I can’t tell you how many times I’ve printed a student’s creation, only for the electricity to go out and ruin my print…..seven hours in! Many times a power outage will cause a 3d printer to turn off which will then affect its ability to print your file. It’s annoying, wastes filament, and can really mess up your timing when you have a line of many students’ projects to print.
Or my filament will run out when it is low and my 3d printer won’t pick back up where it left off in the print. When either of these happen you can typically try to slice and re-print a portion of the file but it can get tricky and isn’t ideal.
The FlashForge Artemis 3d printer will not only resume printing where it left off after a power outage but it also has a sensor detection to pause printing when filament runs out! This saves me money on wasted filament. It saves my time trying to slice a file as well as my time while waiting for the new file to re-print. When you’re working with 15-20+ projects time is of the essence!
Types of Filaments Used in the FlashForge Artemis
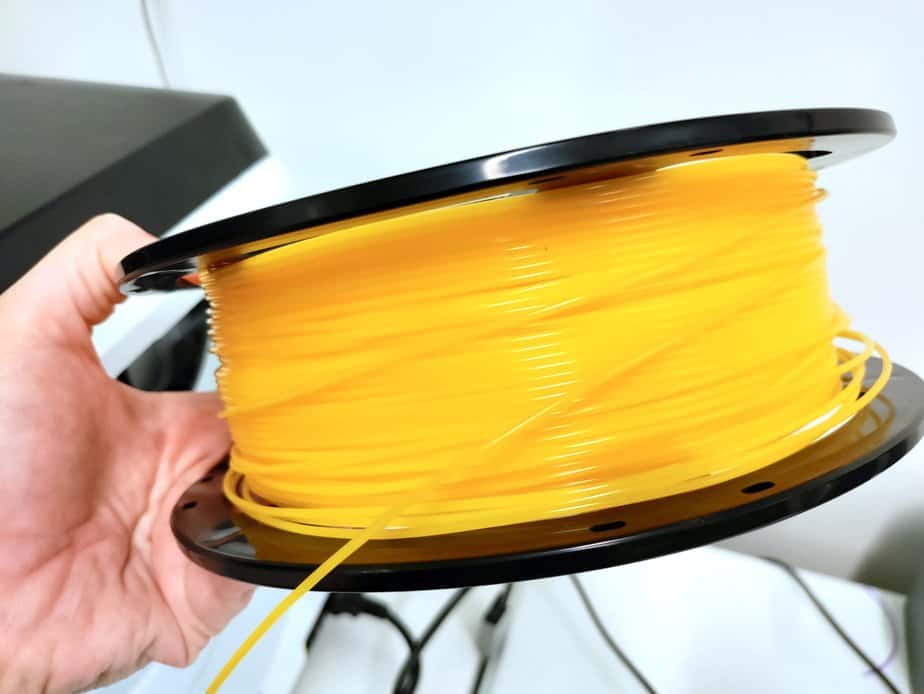
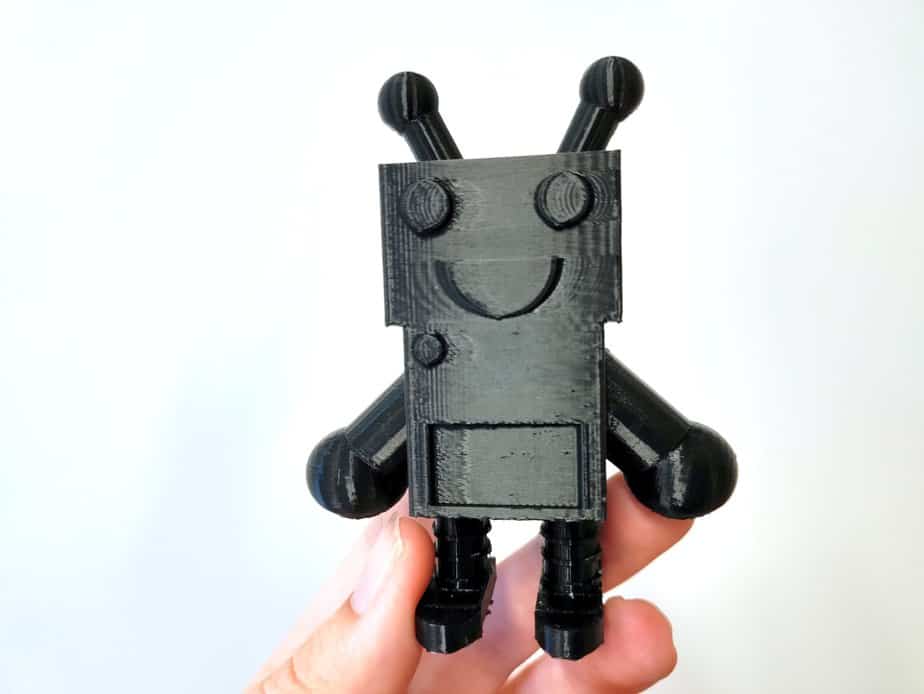
While I’ve used 3d printers for over a decade now, I’m definitely not an expert in them by any means. Your typical 3d printer you would probably start with will use a PLA filament – that is what you see above.
This is actually the only type of filament I’ve ever worked with, but I’ve been itching to try other types of filament. Here’s a break-down of the types of filament you can use with Artemis and a little description about each one for reference.
- PLA – PLA, or polylactic acid, is one of the most popular materials used in 3d printing. It’s one of the more environmentally friendly printing materials and is actually made from fermented plant starch believe it or not! It is plenty strong enough for your typical hobby builds and has minimal warping issues. It’s perfect for your standard 3d printing hobbies and classroom usage.
- ABS – ABS, or acrylonitrile butadiene styrene, is typically reserved for for those already familiar with 3d printing. It is a stiffer filament to work with and notable for its heat resistance. It also emits a toxic fume during print and needs to be in a well ventilated area.
- HIPS – HIPS, or high impact polystyrene, is non-toxic and is commonly used as a support system that can then be dissolved after printing. You would really need a dual extrusion printer for this method though as well as additional technical hardware requirements, but you can use HIPS on its own.
- PETG – PETG, or polyethylene terephthalate glycol-modified is food safe, heat and UV resistant, and great for high-stress use environments (for example, an action camera mount).
- PETG Pro – similar to PETG but with higher impact resistance quality
- *Meets TPU 95A standard – TPU 95A, or thermoplastic polyurethane, is a flexible material which of course makes it a little trickier to work with. It’s like a hybrid of rubber and plastic which is great for impact usage. This type of filament is great for functional prototypes, hinges, wheels, protective cases, etc.
Why have Interchangeable Build Plates on a 3d printer?
FlashForge Artemis 3d printers come with two types of build plates – glass and PEI spring steel. So which is better? Mostly I find that it’s personal preference really but can also be beneficial depending on the type of print you are working with.
Sometimes you’ll really need to work at popping off prints on a glass plate which can be a real pain – I literally keep a putty knife next to our glass plate base 3d printers. However glass is always flat which gives your prints a smoother base and its easy to clean.
PEI spring steel is a flexible metal plate which makes removing prints a breeze! You can literally just pull the plate out, bend a little, and your print will pop right off. Although to be honest so far I don’t even need to do this most of the time I am using Artemis. Most of the time I can reach in and just pull the print right off – it’s pretty amazing.
This is personally my favorite simple because it’s easy to remove prints. However there is the chance it may warp and bend over time leaving your platform less flat than glass.
Overall Thoughts:
Although I’ve just begun using Artemis I love it so far! It’s a step up from my Adventurer 3C in several ways. There’s plenty of building space for the average user (about the size of an average water bottle), the prints remove SO easily for me, and I love the spool rack in the back which doesn’t restrict my filament spool size like other printers where you place the filament inside of a designated area.