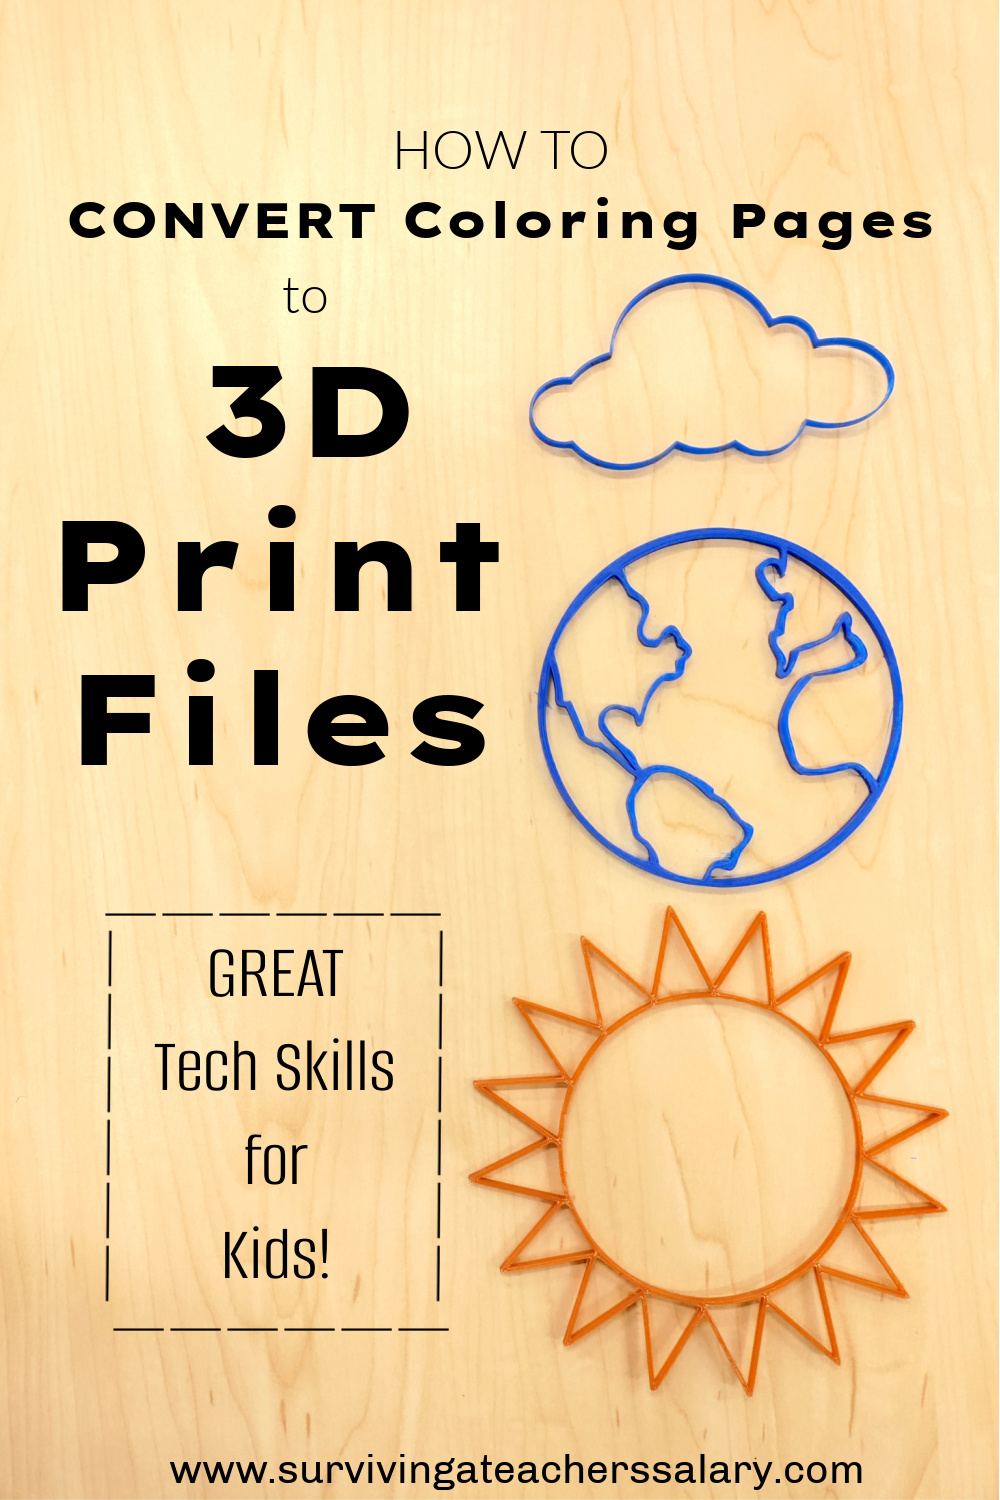
How to Convert Coloring Pages to 3D Print Files
This post may contain affiliate links, view our disclosure policy for details.
Using 3d printers at school and in the classroom provide so many opportunities, but sometimes you just need new ideas to freshen up your activities! Did you know that you can (easily!) convert coloring pages into 3d print files?! This will blow your science projects and other school lessons out of the water!
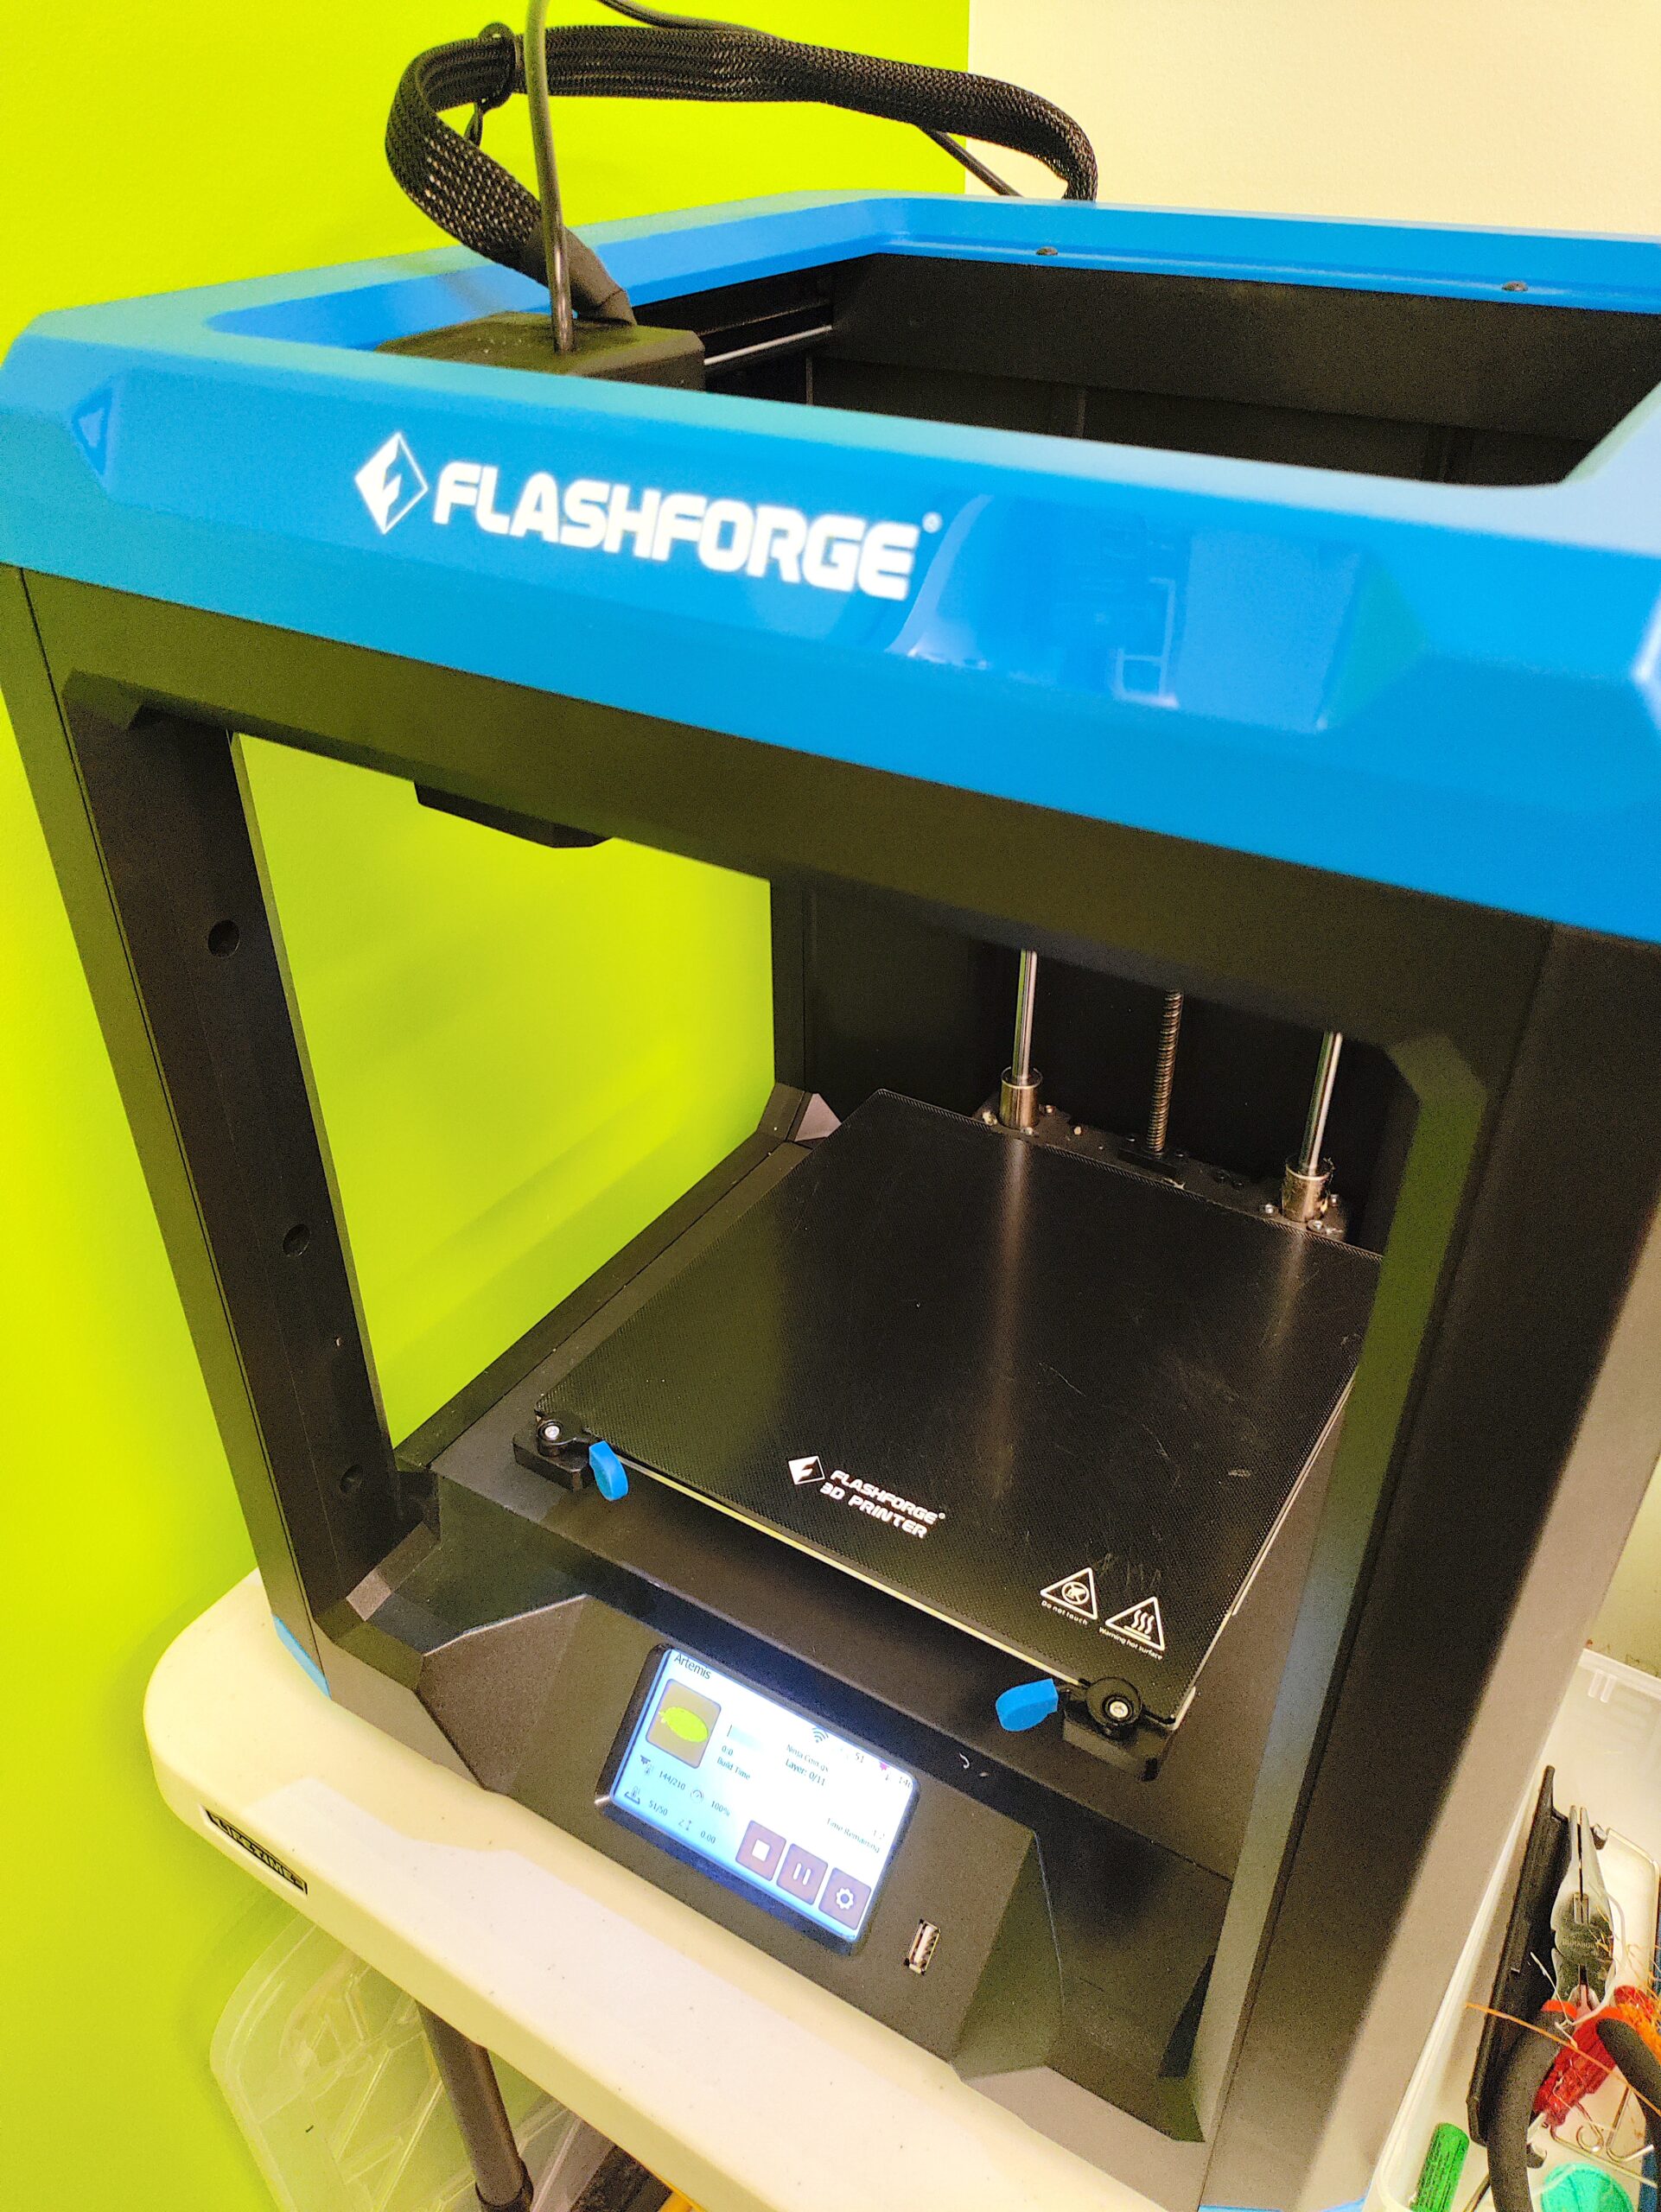
A special thanks to FlashForge for sponsoring our current series on 3D printing! As a personal user and business owner I prefer FlashForge 3d printers – long before this partnership came around!
In fact I’ve sold several 3d printers to swap them out with FlashForge 3d printers I’ve purchased! My FlashForge printers require less overall maintenance and troubleshooting on my end.
I have taught kids as young as first grade this skill of converting coloring page images into 3d print files in Tinkercad (or whatever software you use, but Tinkercad is free and the most common program to use with kids). It will take repeating multiple times to really learn and remember the process with younger kids. But older kids (4th grade & up) should really catch on to this right away and be able to run with it!
So why in the world would you want to teach your classroom how to convert image files? First of all, it’s EASY! It’s a simple short process with multiple steps but can be used in so many different applications!
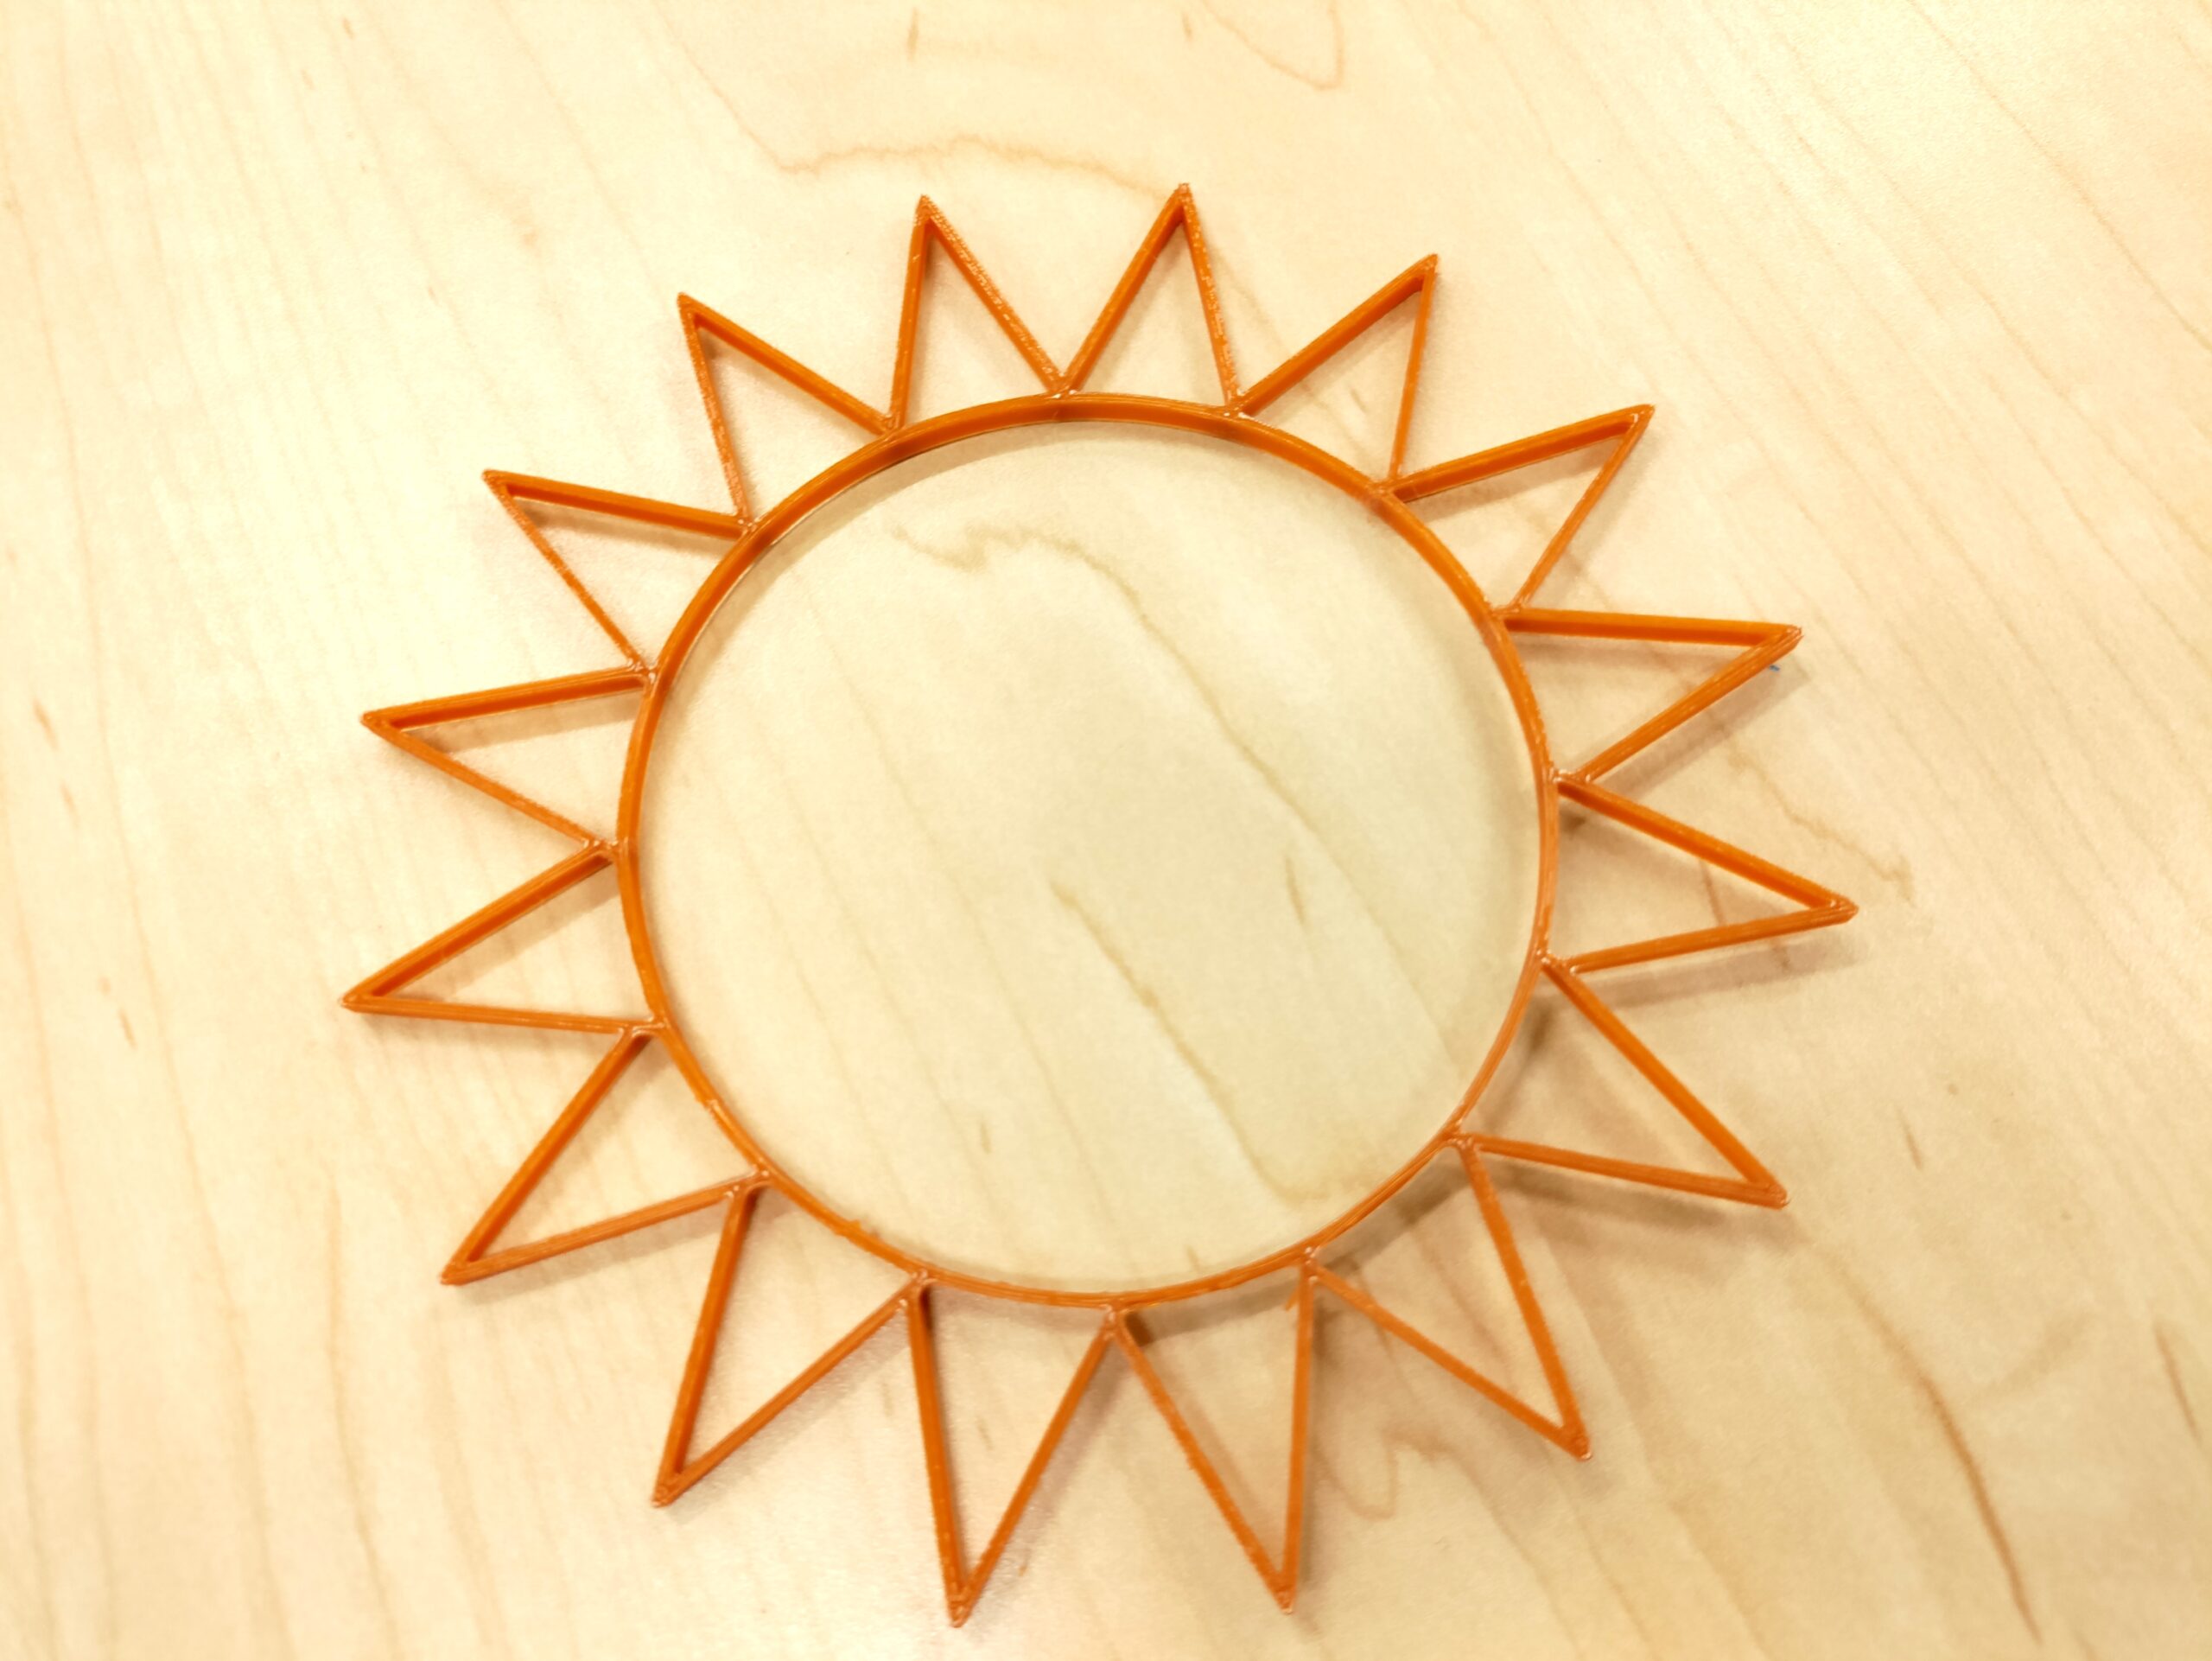
Whether they are wanting to create faux stained glass ornaments, 3d diorama pieces, book report visuals, cookie cutters, etc. It takes the legwork out of the actual designing process which can be difficult for kids to master without many hours of practice.
Skills Learned in this Activity:
- Basic Internet Browsing
- Images Page in Google
- File Paths and File Names
- Basic Tinkercad Skills
- Simple File Conversion
- Image File types (png, jpeg, svg, gif, etc)
- Scaling
- Troubleshooting and problem solving
- Copyright laws and Infringement
I am constantly amazed how in our age of technology, so many kids do not have basic computer skills! This activity is an AMAZING concept for teaching basic skills and practicing them with a purpose. Plus it’s so much fun! The kids really enjoy this entire concept!
The steps below are extremely detailed and simply laid out for you to follow. It may look like a lot of steps but it really isn’t and this entire lesson from start to finish can be taught in under an hour if you need, but 2-3+ lessons would allow for much more in depth practice and understanding.
TIP – You will need to PRE-set up a free Tinkercad class for your students! Just go to Tinkercad.com and sign up as an educator for a classroom account. The students will then need to login using your classroom code and nickname that you’ve set up.
How to Convert Coloring Pages to 3D Print Files:
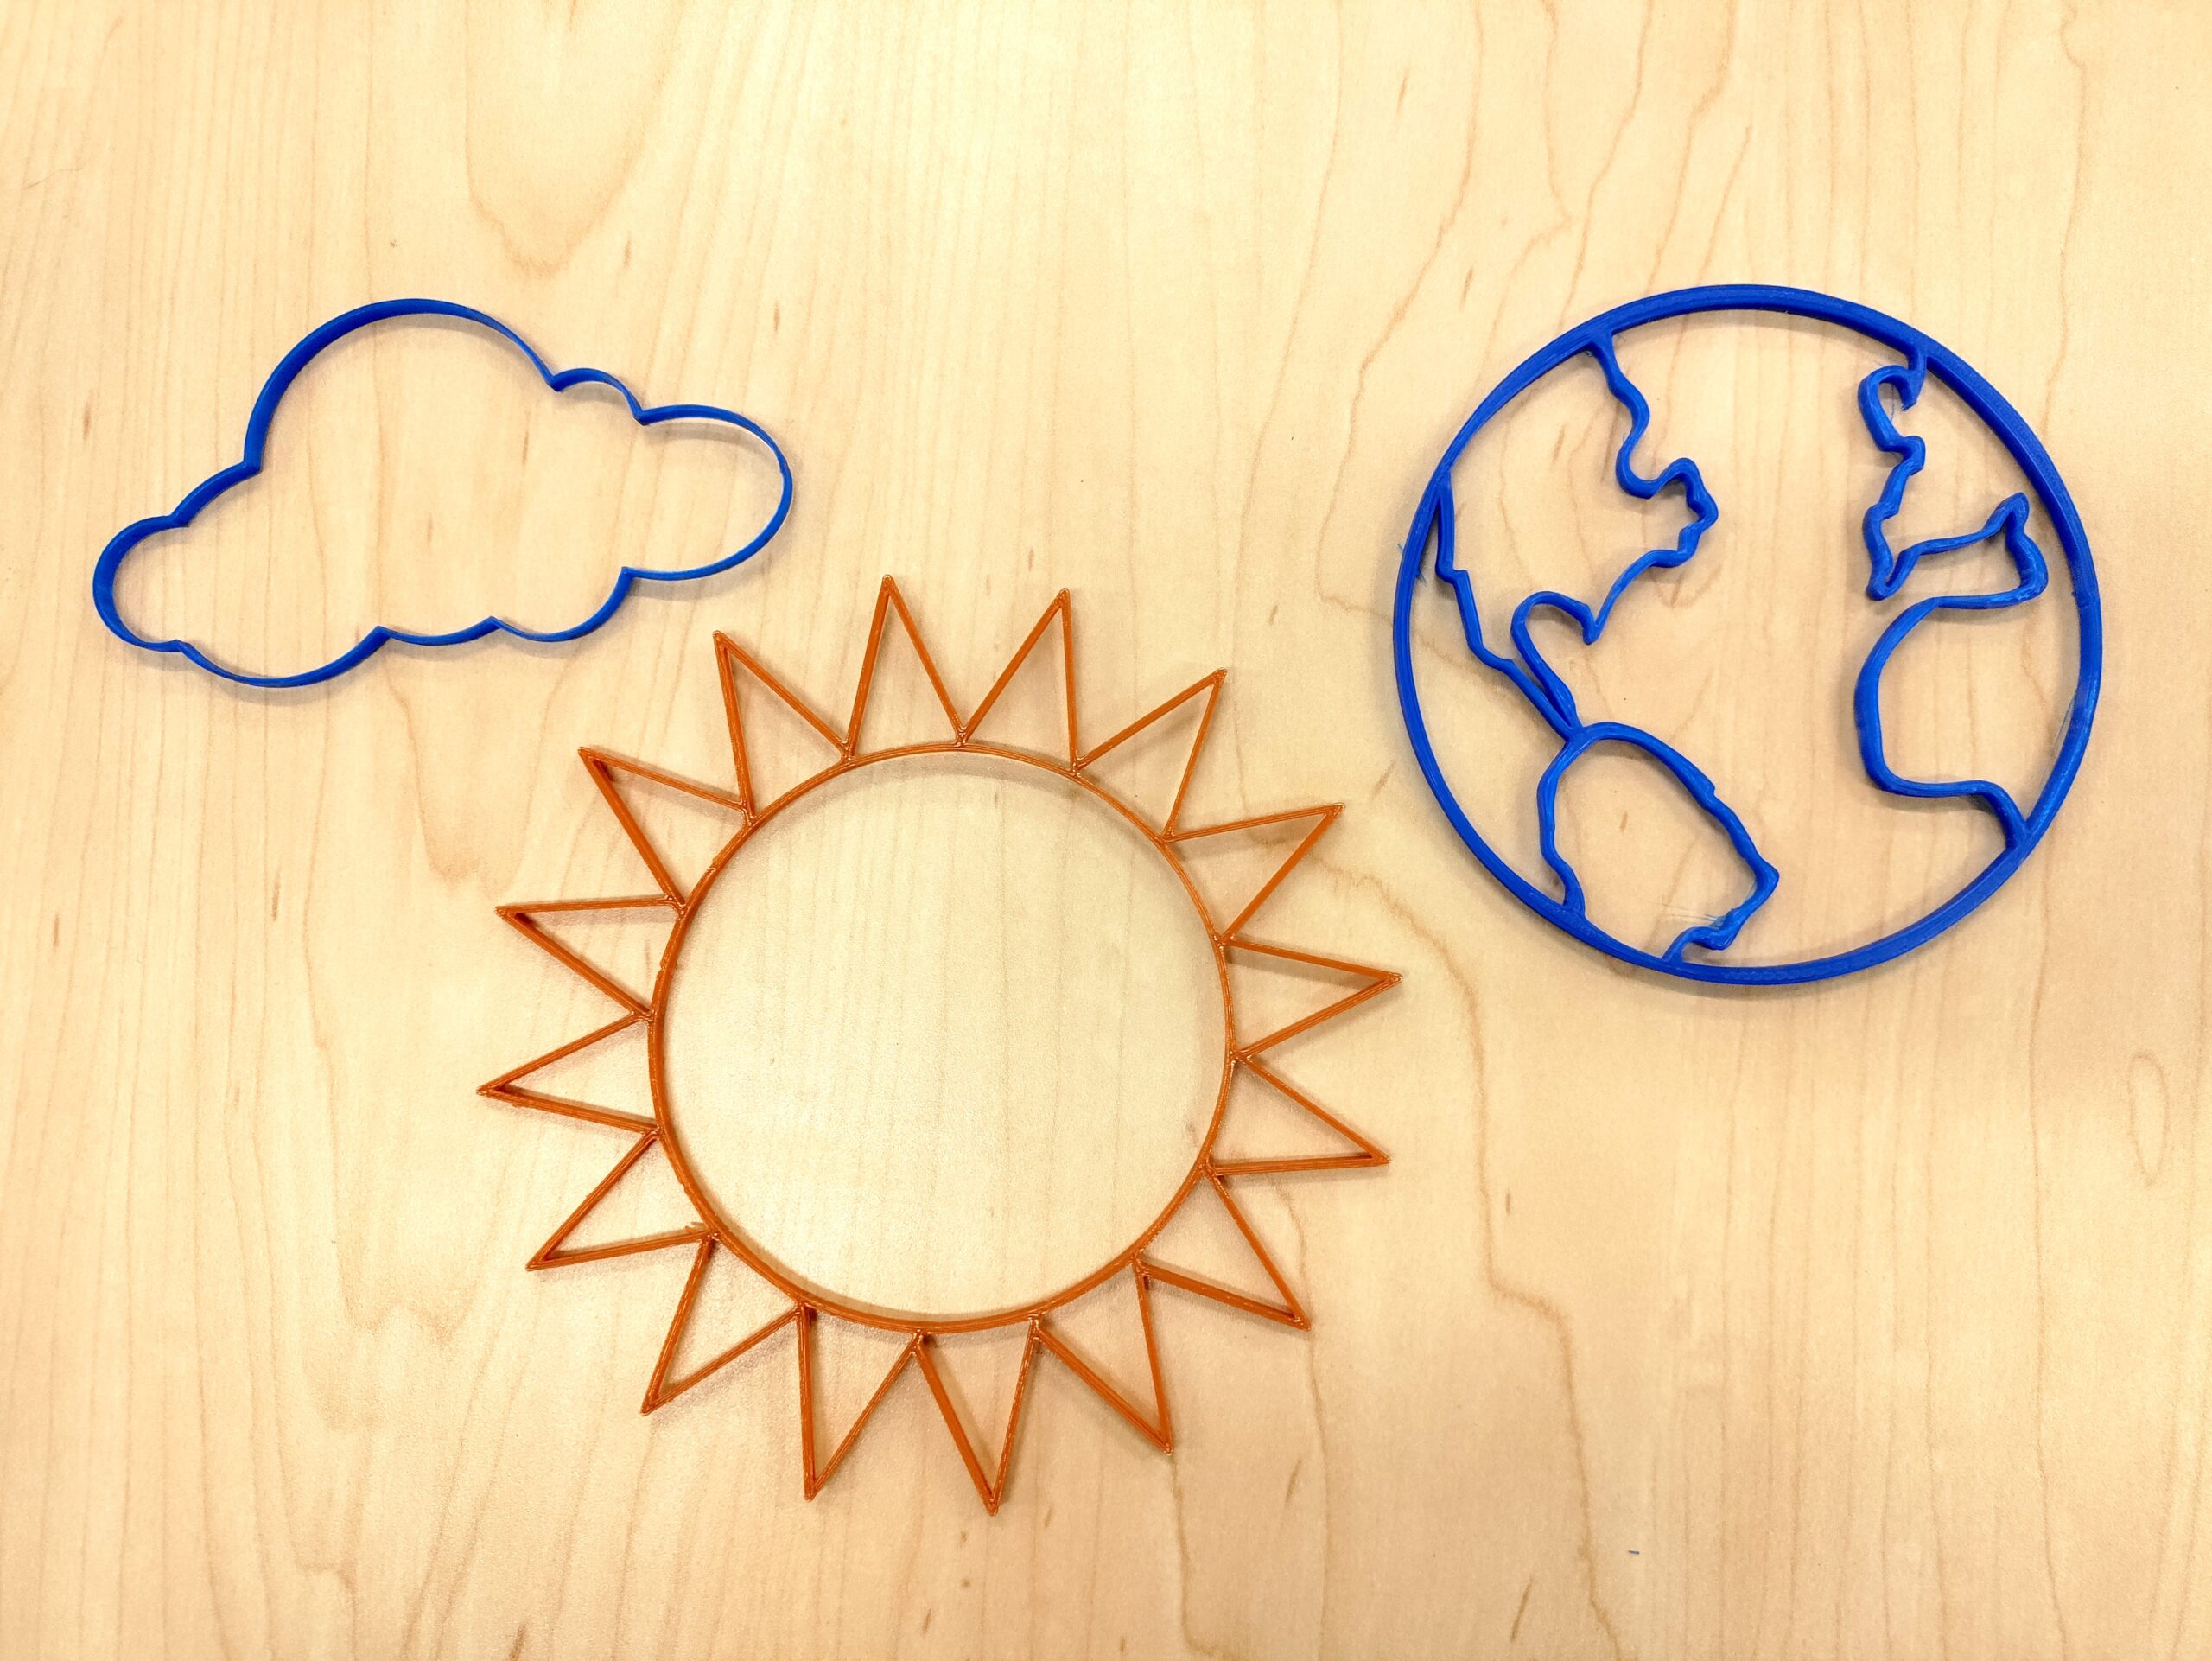
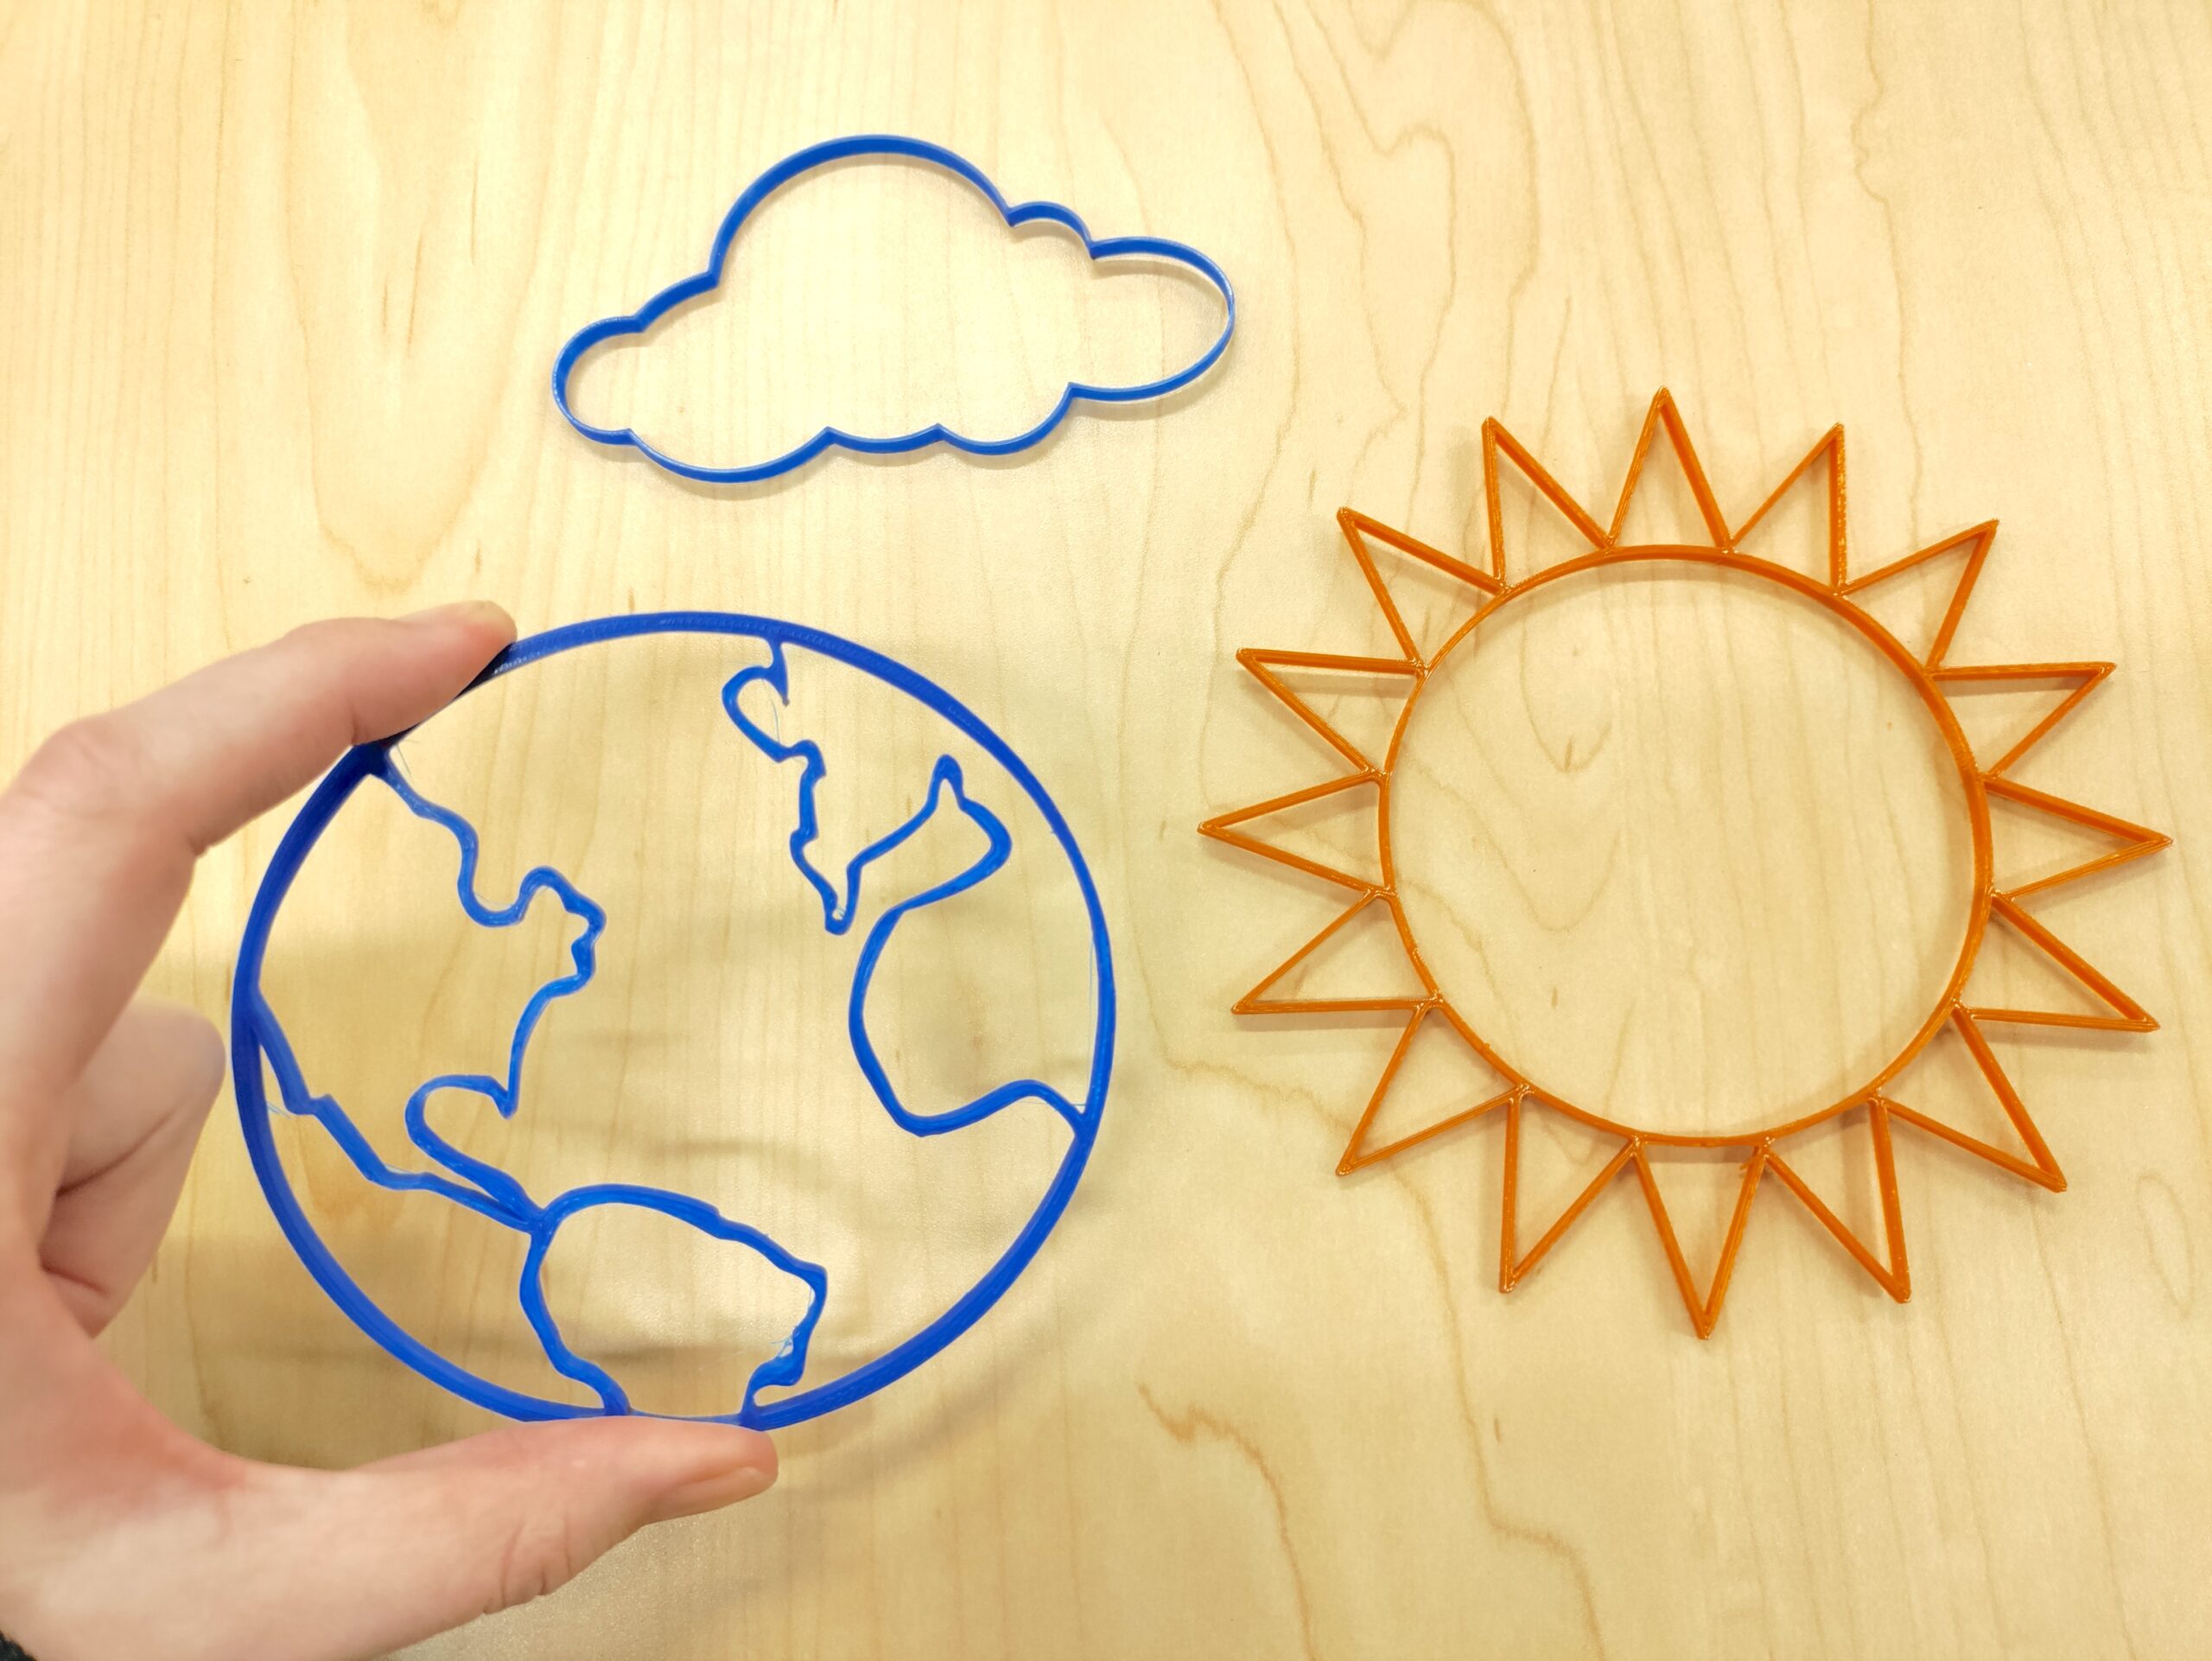
Once you’ve determined a subject or theme you want to work on for your project (such as weather, favorite animal, holidays, etc.) follow the simple steps below to convert images into 3d print files.
First, instruct your students to open their internet browser and go to Google.com.
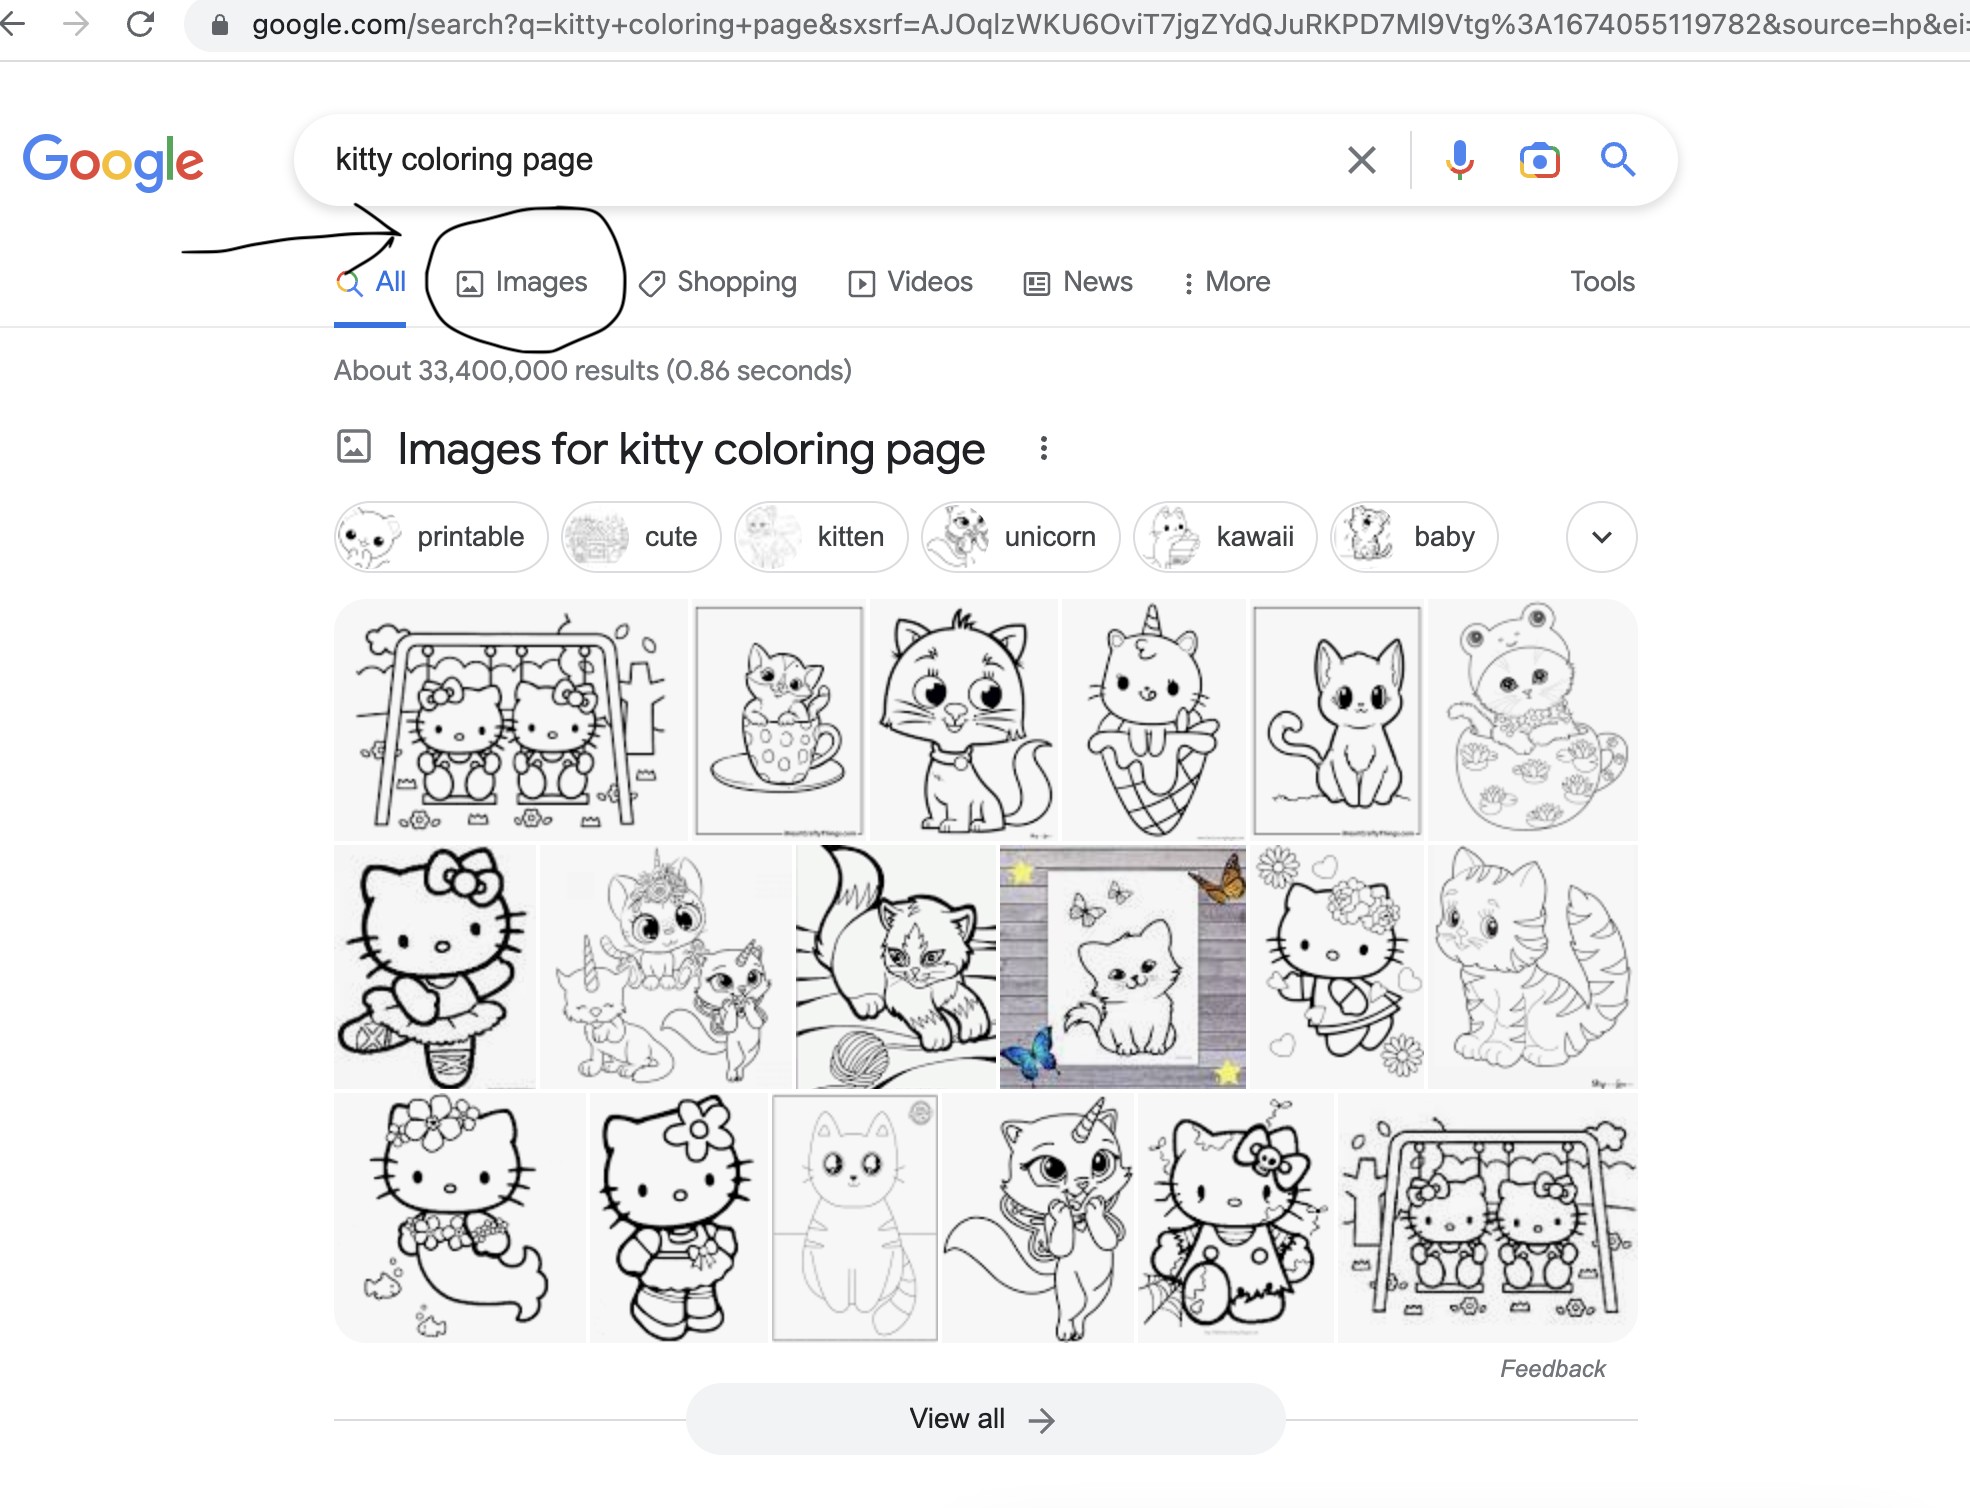
Once in Google, they will need to type in what coloring page they are searching for. Maybe it’s a robot coloring page, a kitty coloring page, or a cloud coloring page. Make sure to include the words “coloring page” or “coloring sheet” to provide the best result. This will bring up black and white images.
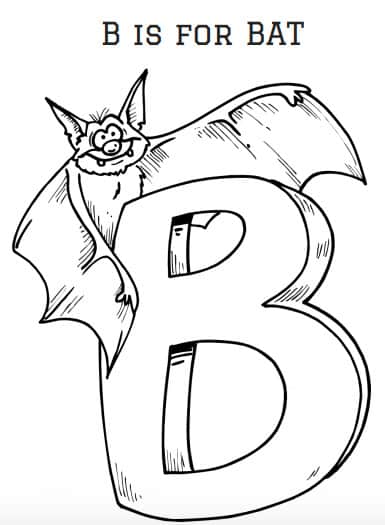
When their search in Google provides results, have them click on the “Images” tab at the top left of the screen to view all of the results provided. They will want to choose the SIMPLEST designs with one subject in view. Otherwise the file will not convert as nicely in Tinkercad and your 3d printer will be printing excess to throw away.
TIP – If you have time, have them experiment with overly “busy” coloring page images and simple design to see WHY choosing a simple design is better in this instance.
This next step you can do one of two ways. I prefer to do the saving process straight from the Google search page, but you can also click the image and search for the image on the website. Either way, you will want to RIGHT CLICK on the image you want to use and choose “Save Image As”. Most likely their file will be a png or jpeg but gifs will generally work too.
Have your students name their file with their first name and the object name. For example it would look like “Claire Kitty” or “Devon Sun”. This will help them search the file later on. Also have them make note of WHERE their file is being saved. Is it in the Downloads? Documents? Desktop? A folder you created for this project? This is all basic computer skills that will go a long way in helping them in their future projects.
Alright – now it’s conversion time! There are all sorts of free image conversion softwares out there online, but if you need a quick and easy one, have your students go to freeconvert.com.
Once there they should click on “Choose Files”, then choose the file that they saved. This is where file path names help! Make sure the file Output says “SVG” before clicking CONVERT! You will want an SVG file to use in Tinkercad. It’s as easy as that!
Once the file is done converting just click DOWNLOAD. Again, good file descriptive names will be a benefit here! Image if all of your students downloaded files named “untitled”, and then the next class did the same, etc. That would be a mess to weed through with each student!
Assuming you’ve already set up your classroom Tinkercad account, have the students log in to Tinkercad with your classroom code and nickname, then click “NEW” and “3D Design”. This will open up a new project for them.
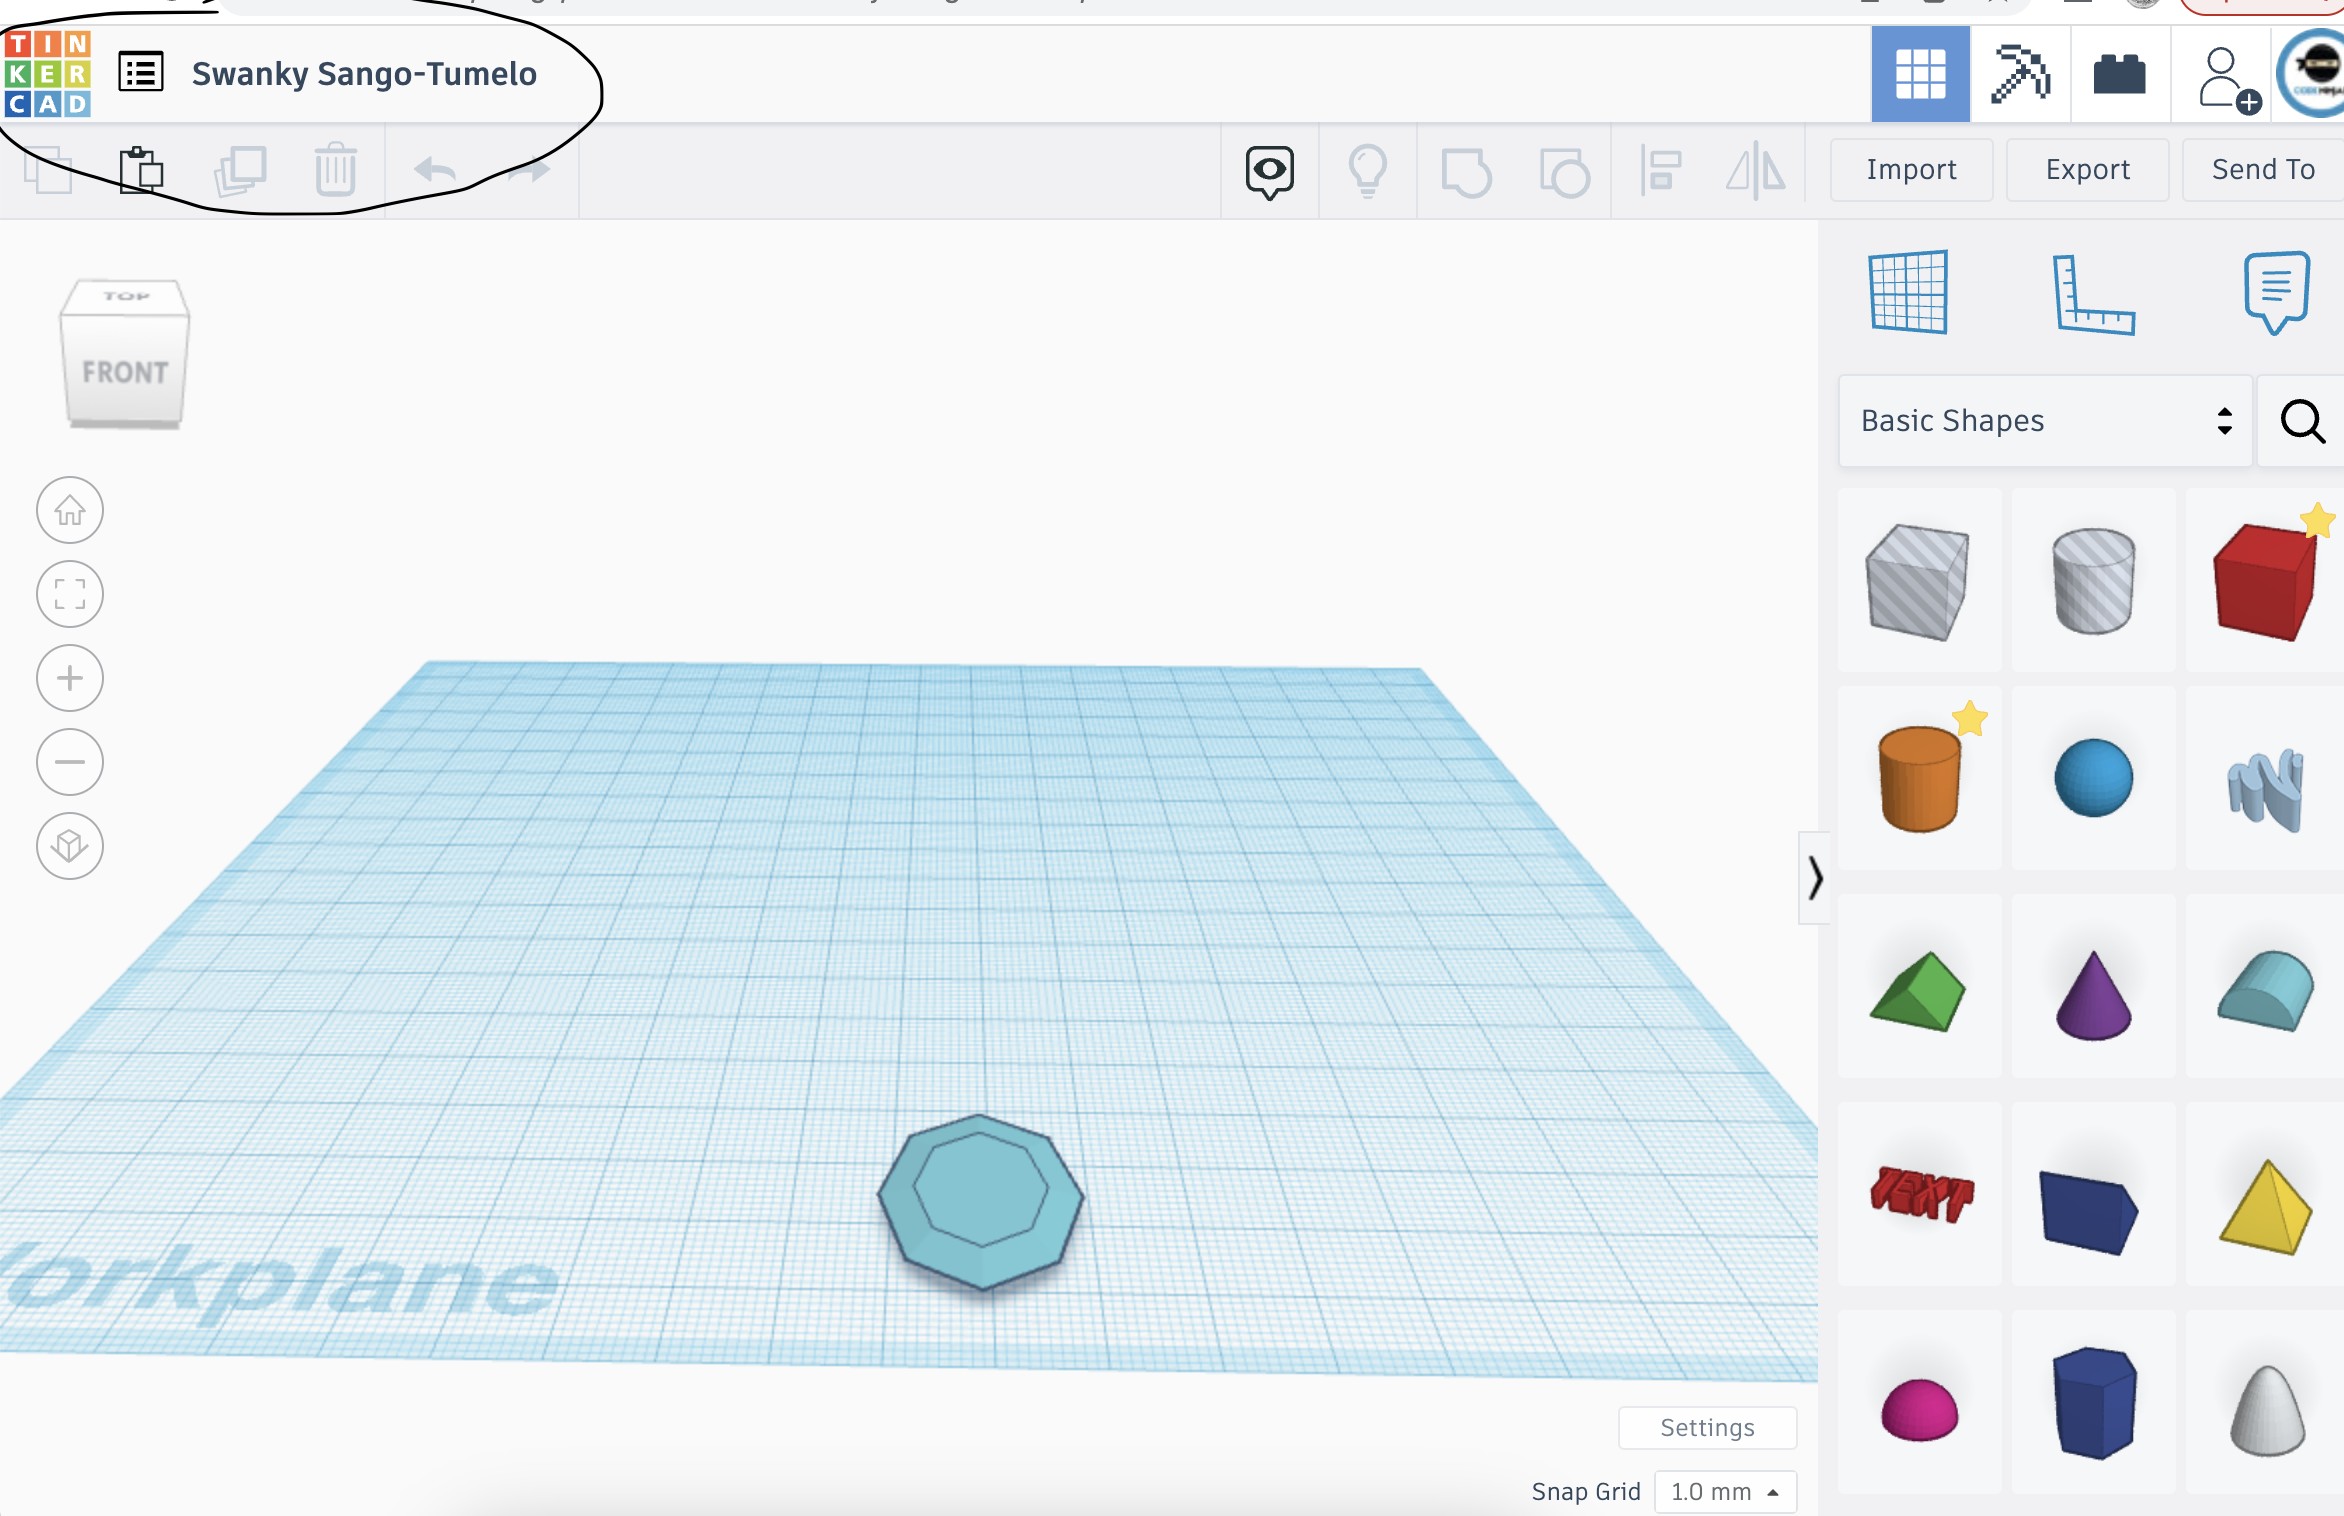
BEFORE beginning, I always ask the students to rename their projects by click on the weird file name at the top left of the screen near the Tinkercad logo. If they click on that weird word it will allow them to type in their own file name. Again, I go with first name + object. “Susan kitty”, “Gerald squirrel”, etc. Easy for both you and the student to find their project again.
At the top right of the screen they will then need to click the “Import” button and search for their file name on the computer. Now this is where you will probably need to go through our “troubleshooting” scenarios below. Usually in a class of kids I’ll have 1-5 kids that run into some sort of issue and the below problems will solve that for you.
Once your student has their file converted and ready to go then you’re ready to print! If they, however, have issues with their file in Tinkercad, see our troubleshooting problems list below.
Troubleshooting Problems during Image Conversion:
1.You receive the warning message “Image size – must be under 1000 x 1000” in Tinkercad when you’re importing the file. Great! This is an easy fix! You can simple adjust your size on that notice to be under 1000 x 1000. Voila!
2. Constantly “loads” and never actually loads into the program. Ah this is the dreaded one and I haven’t found a good way around it. When this happens I typically explain to the kids that sometimes files don’t work the way we want them to and I ask them to choose a new image and start all over. That’s about the worst it gets here. I do pre-warn the kids in the beginning of the lesson this occasionally happens.
3. Object is so large it engulfs the workplane. Phew – this one is also an easy fix! But there’s two small tricks here you want to know. First, you’ll need to scale the object down in Tinkercad. Just zoom out, click on the object, and use the little squares in the corner to drag the object to size. HOWEVER, you’ll want to hold the SHIFT button down while dragging it – this will keep the proportions to your object uniform. Also, many of the objects can’t be dragged onto the workplane so you’ll need to drag the sizes (while holding the shift key) so that the object is situated on the workplane, not floating off to the side. It’s very easy but takes a little coordinating.
4. The lines don’t appear on my workplane. On a rare occassion I’ll have a student import a file where the object, or part of the object, isn’t visible. Technically if you mega zoom in you’ll see it but the original image was so light or thin that it converts into barely visible in Tinkercad. This will not print well. Your solutions here are to either get a new image and re-start over, or if your student is older they can try to drag and re-create the lines making them appear thicker and taller.
5. Object is too flat on the workplane. This is also an easy fix but you’ll need some very basic Tinkercad manipulation skills. Just click on the object in question, and you’ll need to drag the object up higher so that it isn’t so flat.
6. Lastly, some of your students may have what I call “floating” designs – eyes, nose, etc. Designs that when printed will not actually print as one piece but will be extra pieces “floating” on the project. This MIGHT NOT be a big deal! If you’re making sun catchers or objects that you can glue onto paper or in place somewhere then this isn’t an issue. However if this 3d print is expected to be one solid piece they will either need to do without the floating parts or add some lines to their model to connect everything together.
Click here to learn how you can turn this activity into a 3d print holiday ornament or into a Faux Sun catcher activity!
A note about copyright infringement:
Working in the digital space I am extremely aware and conscious of copyright infringement and take every opportunity to teach my students about what they can and can’t do with someone else’s artwork online. No matter what age your students are – you can absolutely teach them about this subject! It’s good digital citizenship and can save them a lot of heartache in the future!
While the matter of copyright infringement is an entirely different topic, it absolutely should be mentioned. Objects online can be generally used for personal use, like the students creating their own project, but it cannot be sold for profit or used without permission (which is exactly why my images are not copied from someone else!).
 |  |
 |  |