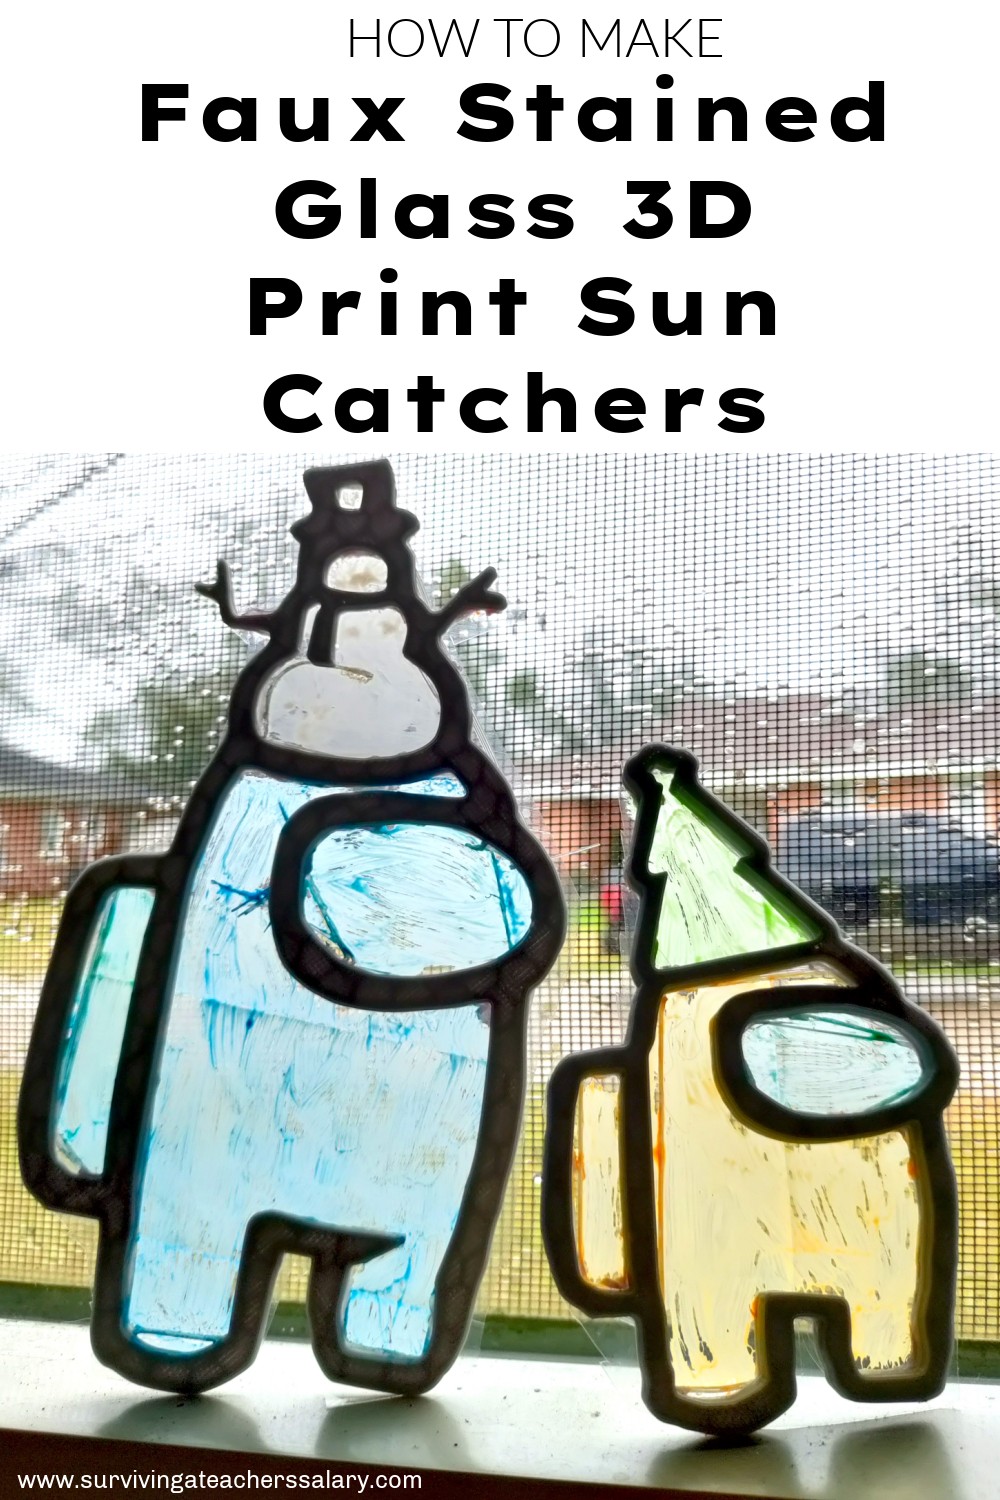
How to Make Stained Glass 3D Print Sun Catchers
This post may contain affiliate links, view our disclosure policy for details.
If you’ve been looking for a creative idea to use your 3d printer with your students – look no further! These stained glass 3d print sun catchers are not only an awesome way to introduce new tech skills, but it takes their creative juices offline and in craft form as well!
This post is brought to you in partnership with FlashForge! They’re doing some amazing things with their 3d printers in education and they sent me their Artemis 3D printer to use in order to print you guys great new 3d printing content for your classrooms!
The awesome thing about this activity is that the supply cost is extremely nominal! You’ll need only: 3d printed object, sandwich bags, glue, and paint! That’s it! If you already have a 3d printer this activity uses very little filament and most of you already have glue and paint on hand! I’ll talk more about types of paint below as well.
The first thing you’ll need to do is to 3d print your sun catcher. Either design your sun catcher in Tinkercad (or other cad software) or use our step-by-step tutorial on how to convert coloring pages into 3d print designs! We made all of the sun catchers you see in this post from coloring pages that we converted into Tinkercad!
Best types of designs for 3D printed sun catchers:
By making these faux stained glass sun catchers we learned a lot about designs that work best for kids! I’m going to spare you the trial and error and share what we learned! We’ve made this with various groups of kids ranging from ages 7-12 – all of which had a blast creating their own sun catchers!
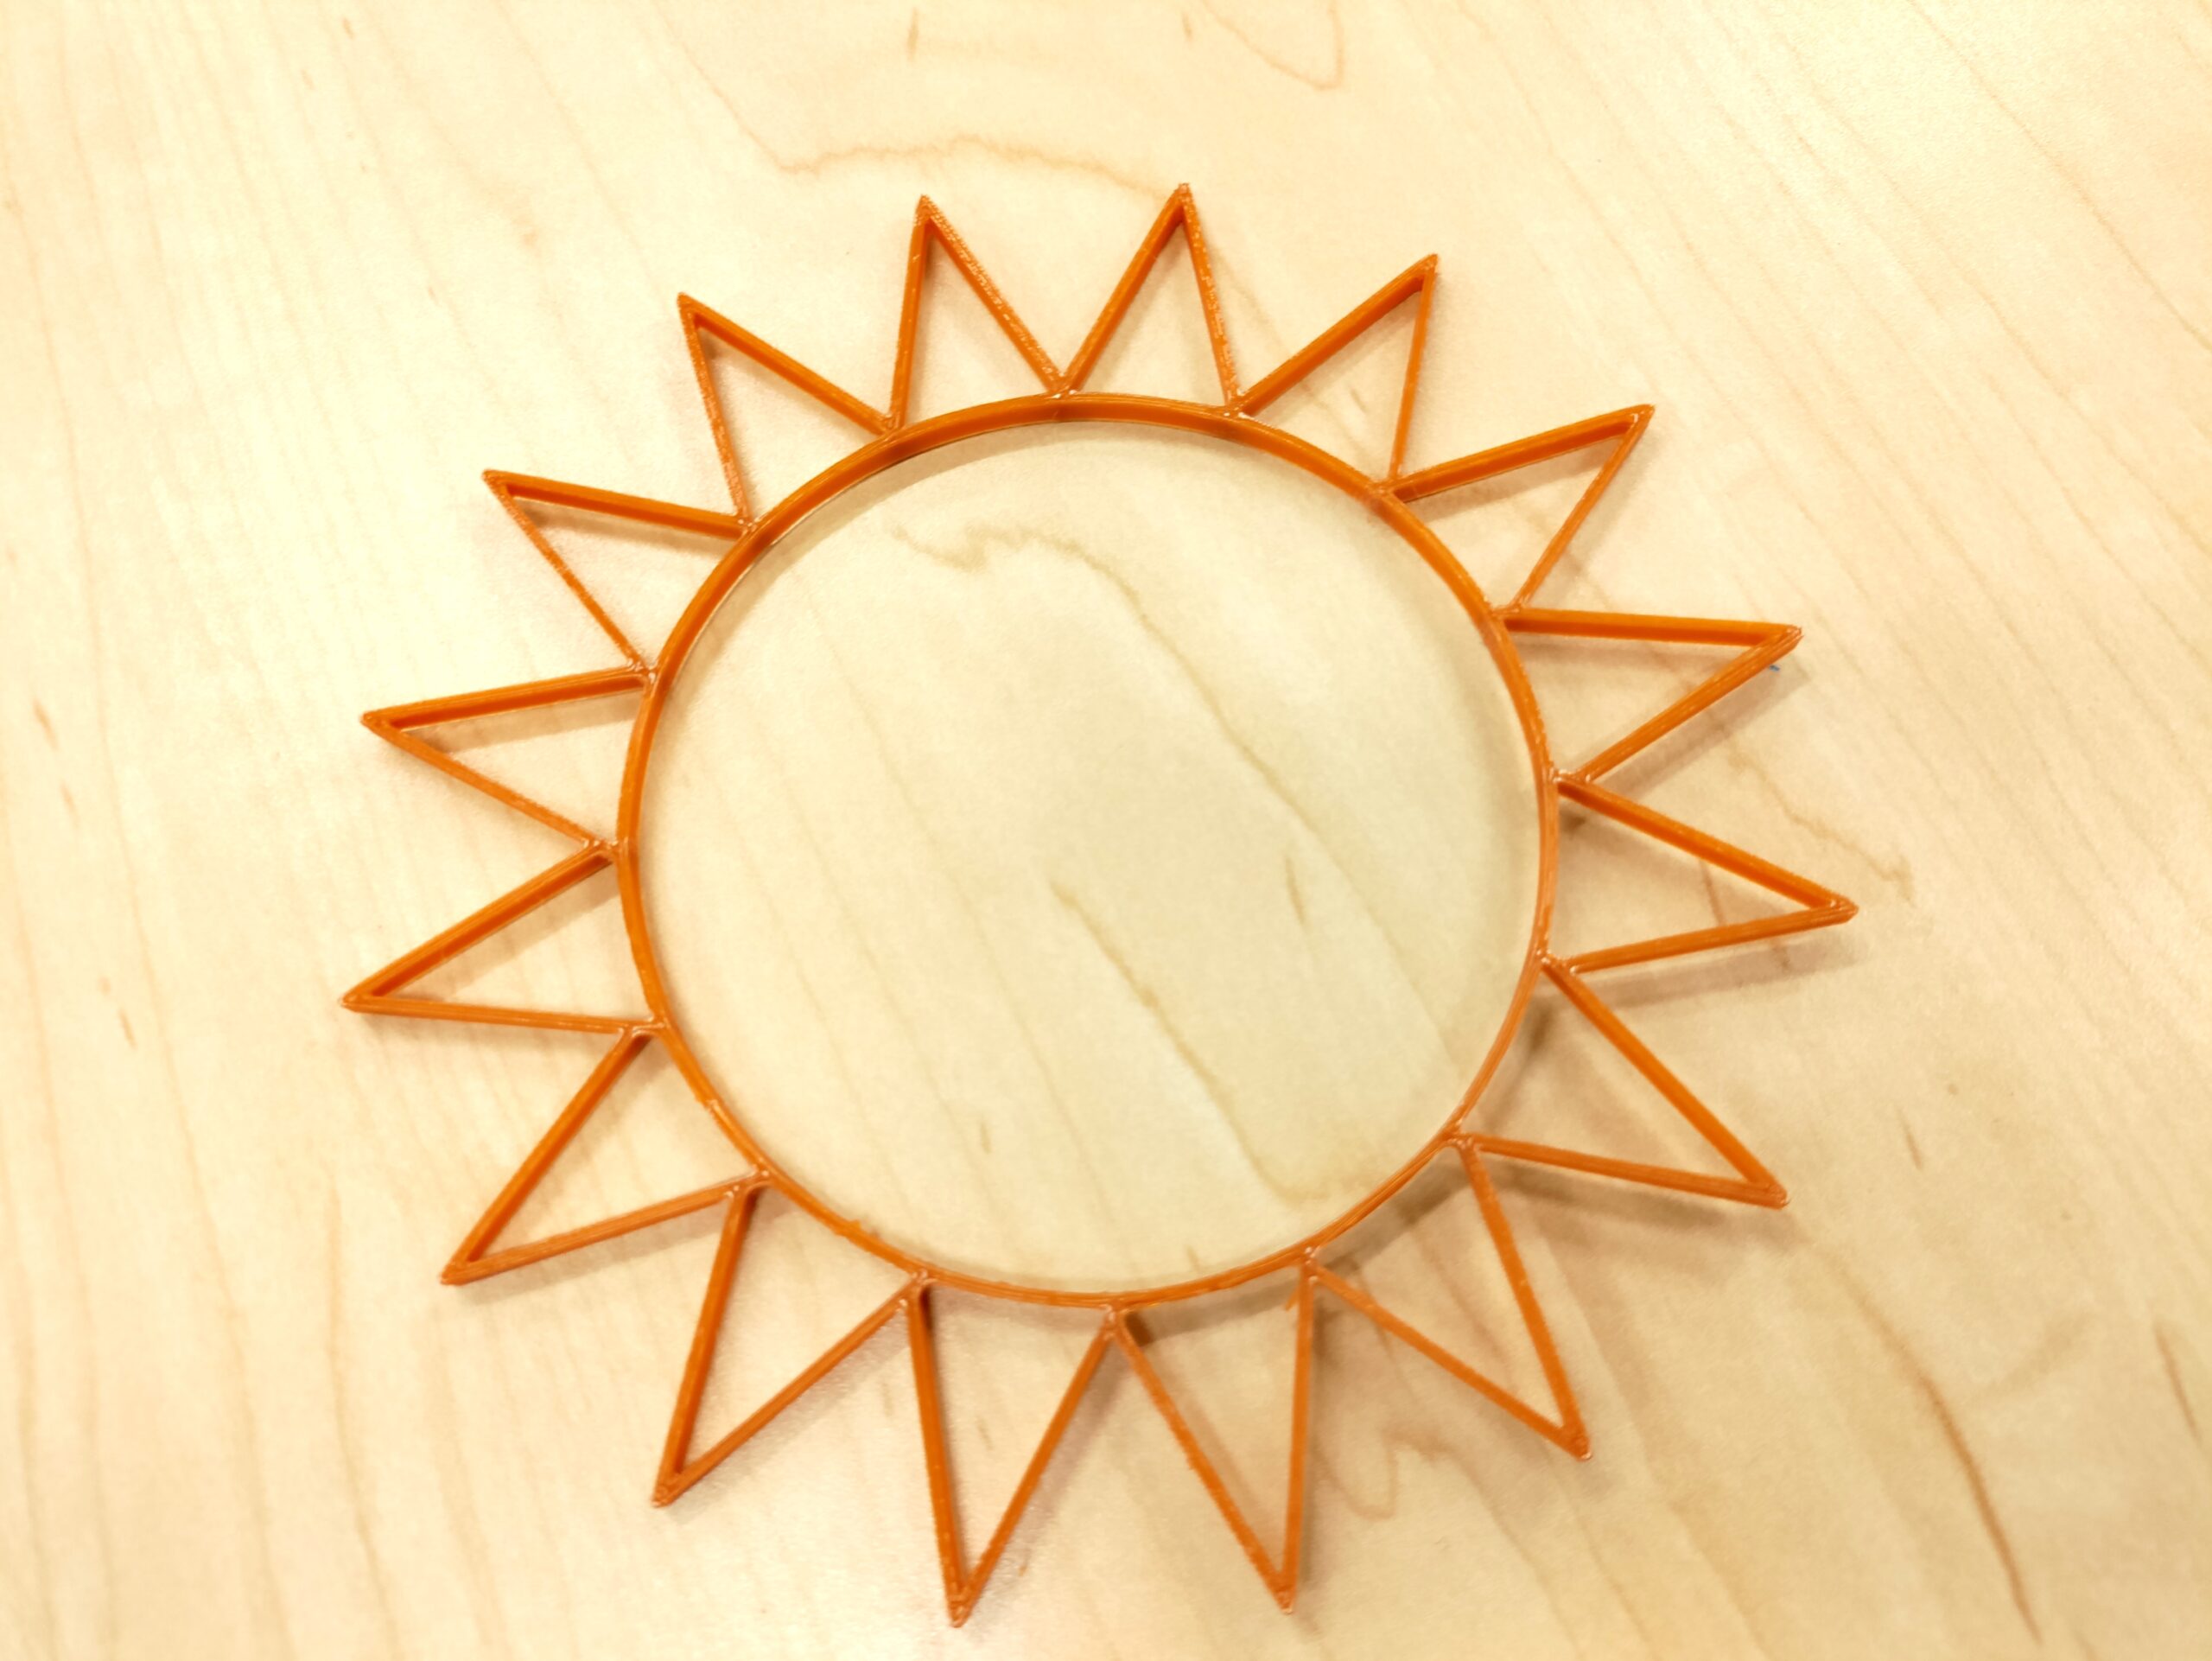
The most important thing to remember is that you’ll want to choose (or create) designs that are simple like the sun above. There is not a lot of fine detail. This is the hardest part for kids! I let them know that they have to have their design approved by me before it is accepted for their sun catcher! This will help catch any issues before printing and designing.
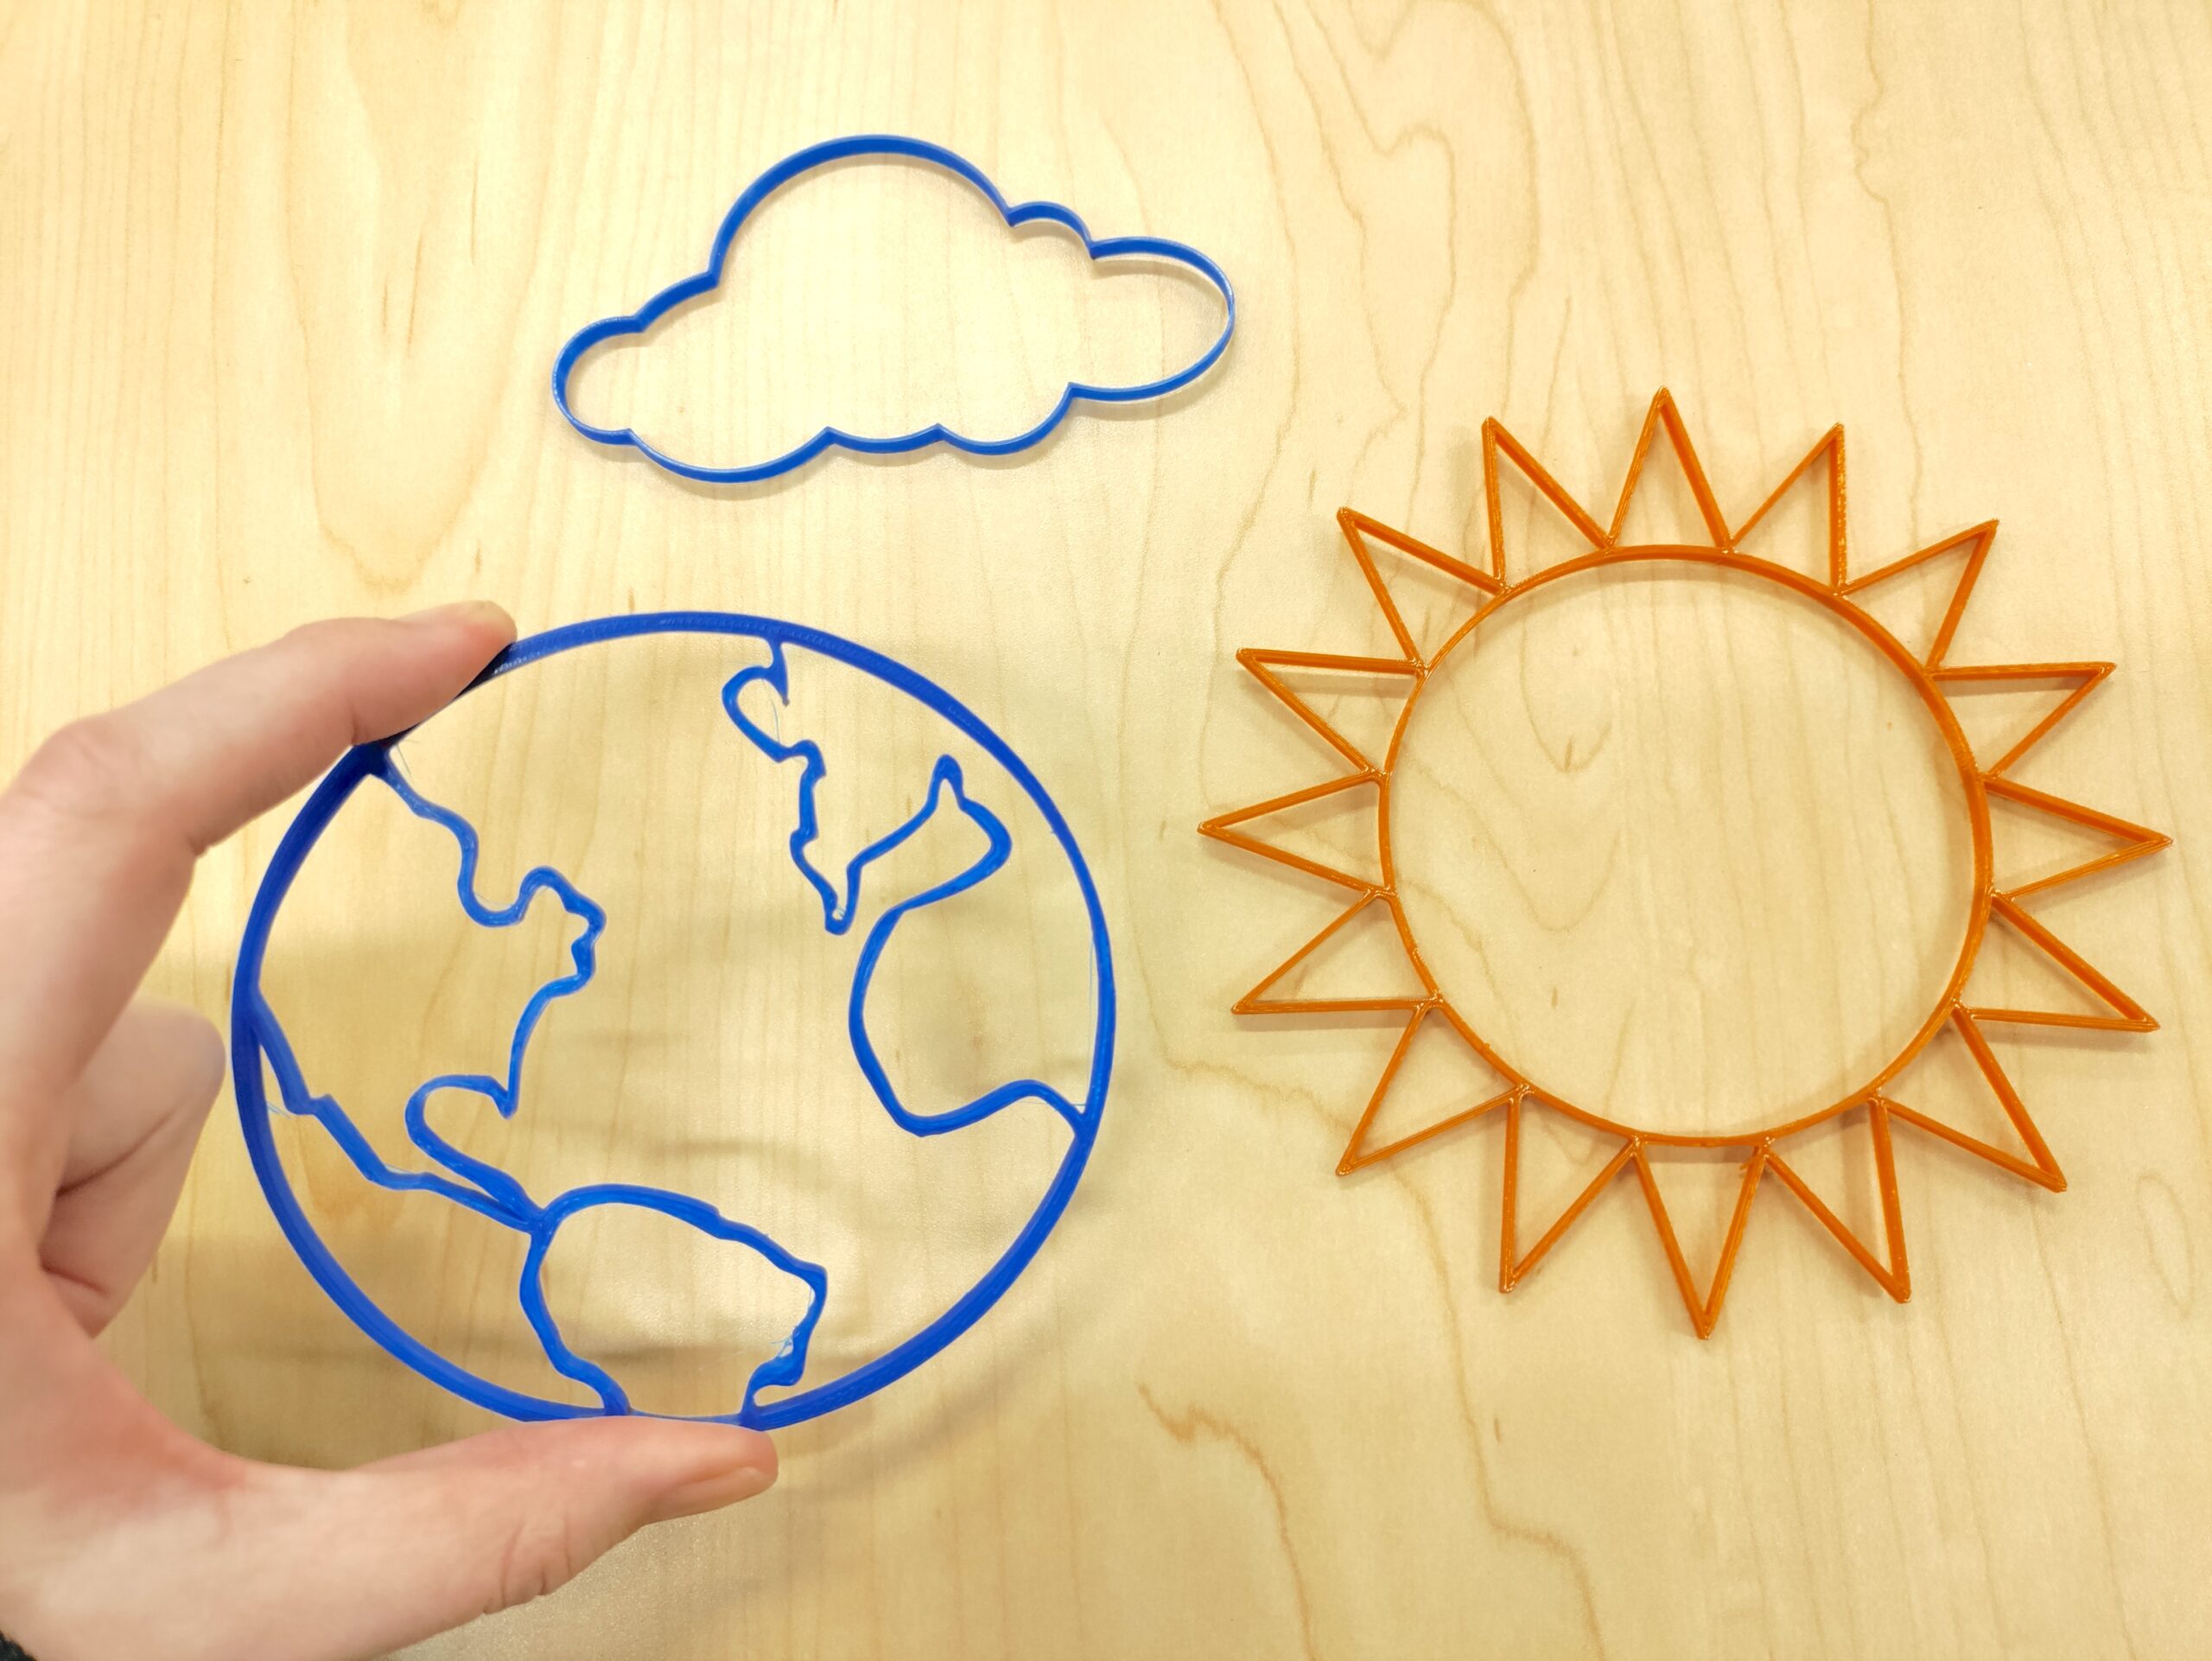
You can see this earth / globe 3d print design, and the cloud above it, are also very simple designs. These were perfect for our unit on weather! Check out our graphing temperature art sand activity that would make another awesome creative supplement to your unit studies!
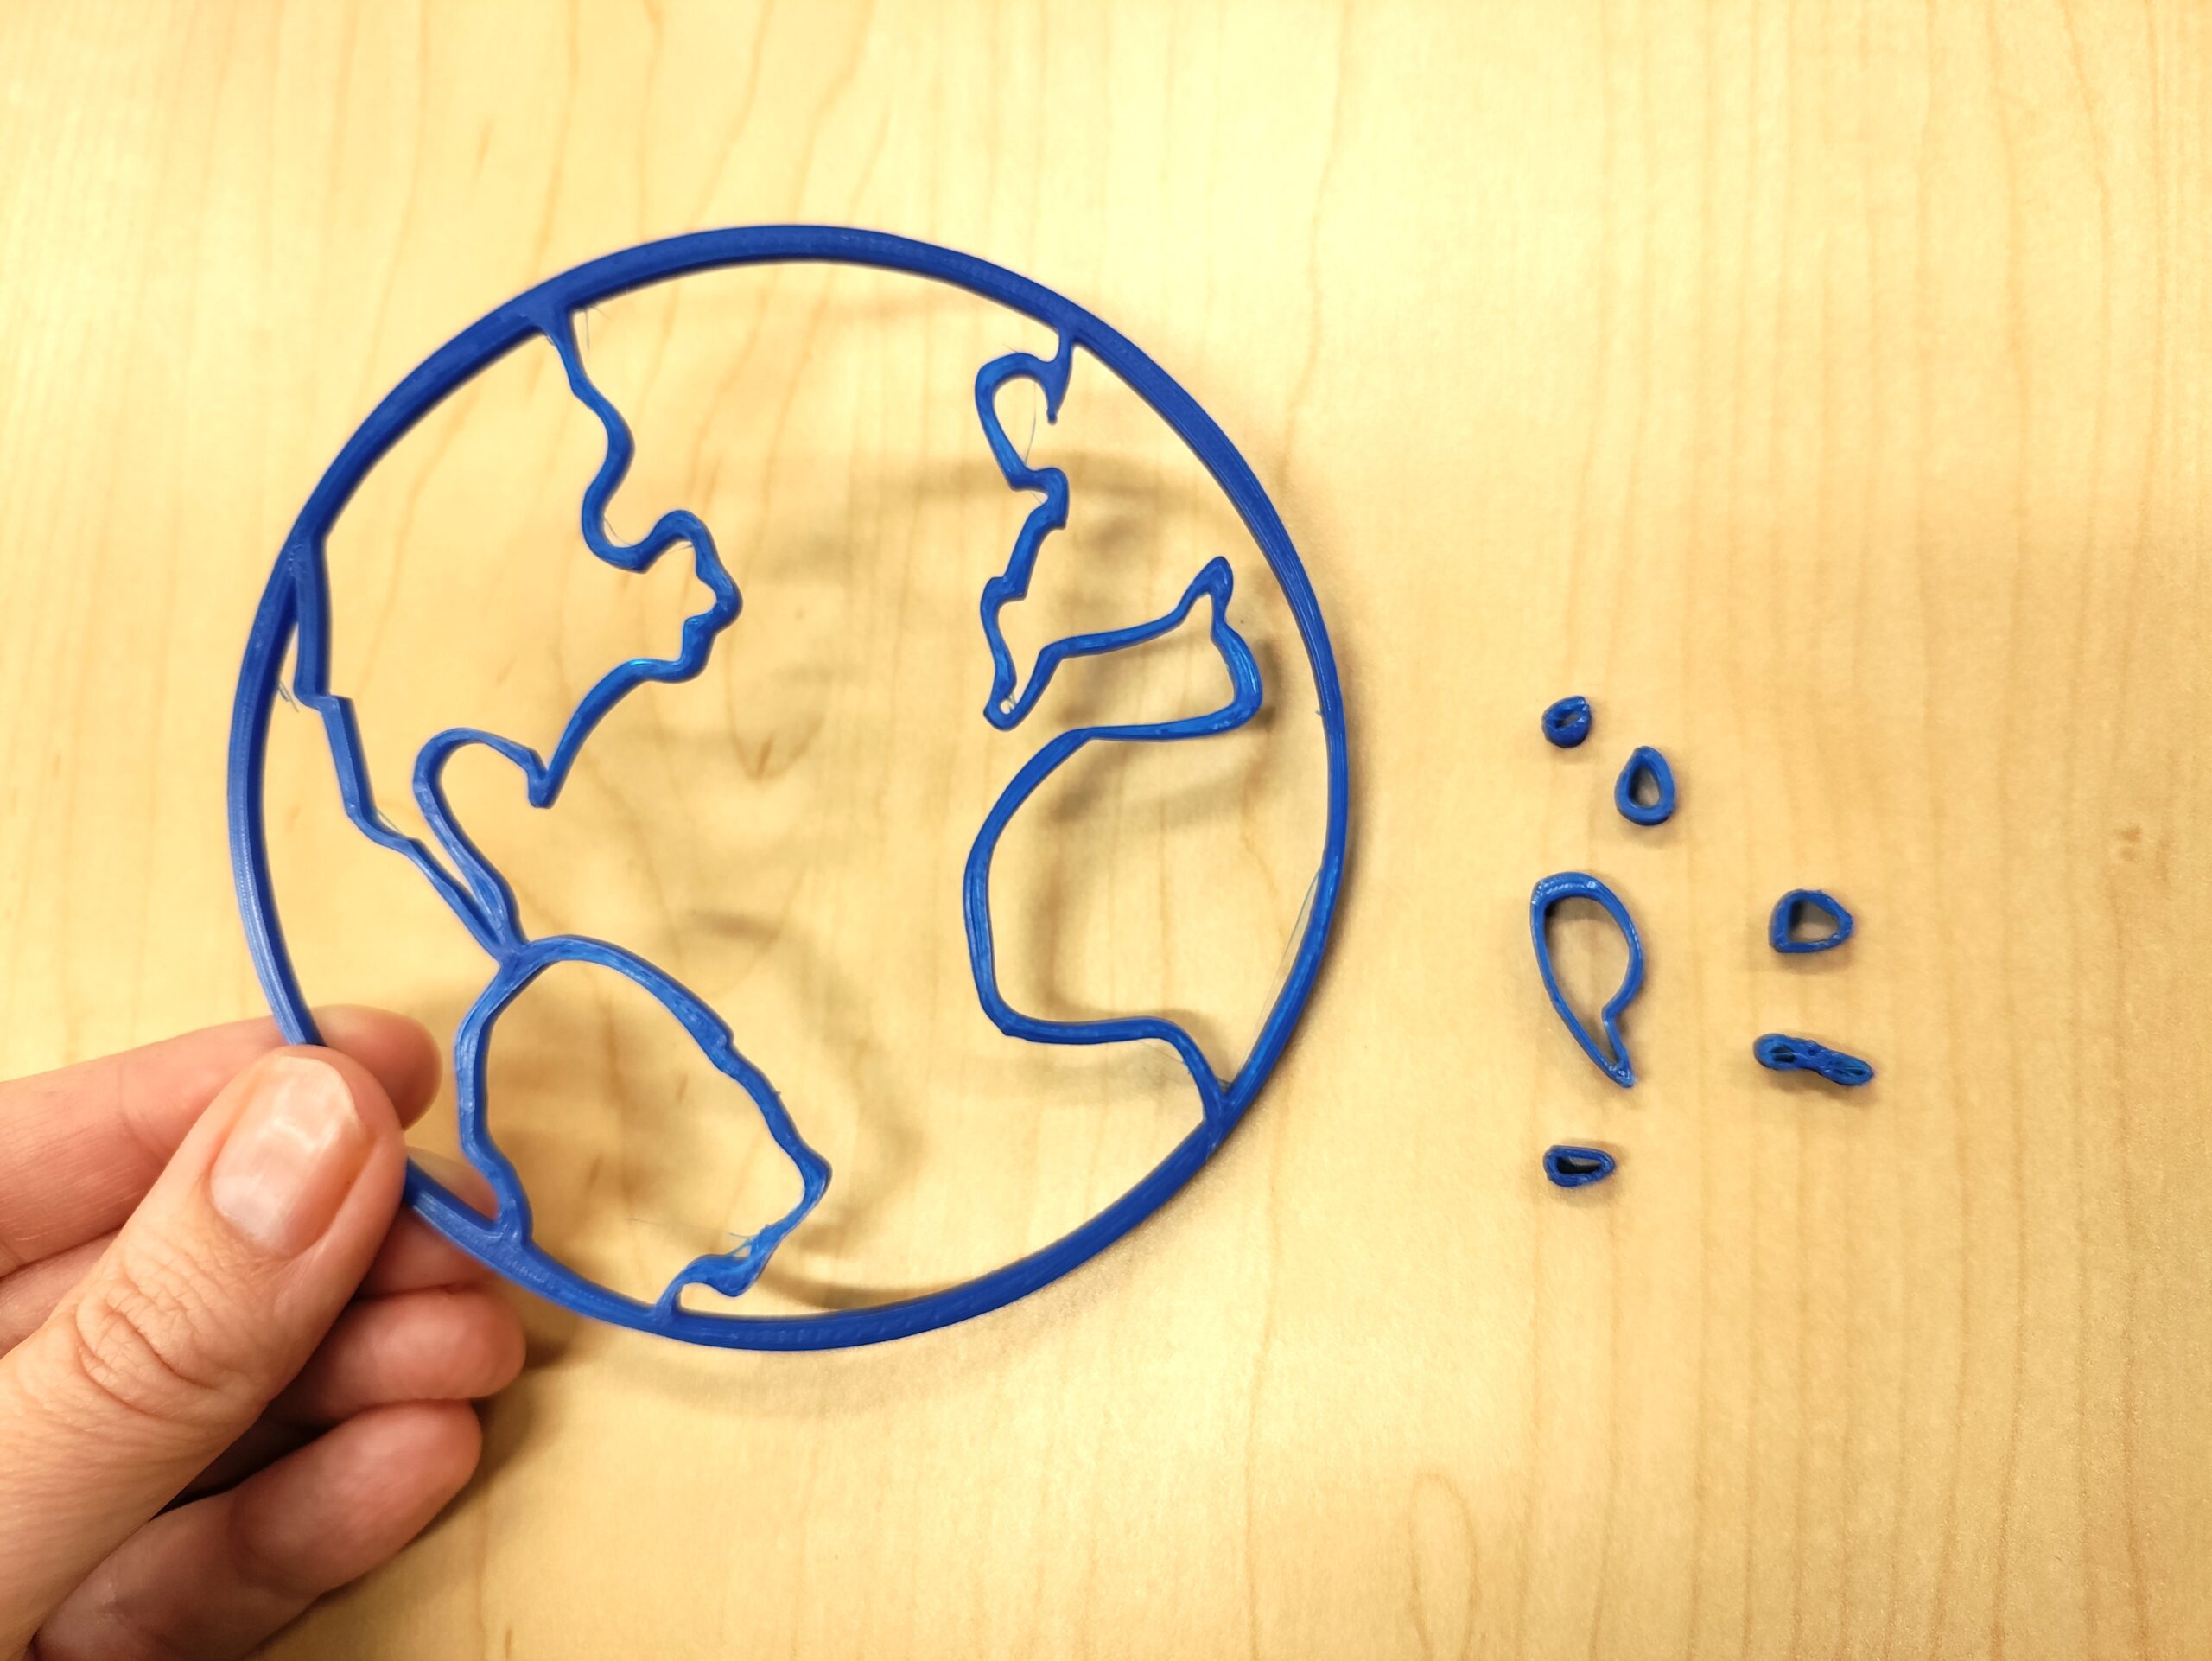
There are several things to be aware of as you choose your design for your sun catcher! First, as you see in the image above, are “floating” designs in your design. These are parts of the design that are NOT attached to the main object.
For example, in the image above you’ll see that the various islands on the globe were “free-floating” and not attached to the main globe design, thus they will print as free-floating pieces.
If you have free-floating pieces you have three options for these.
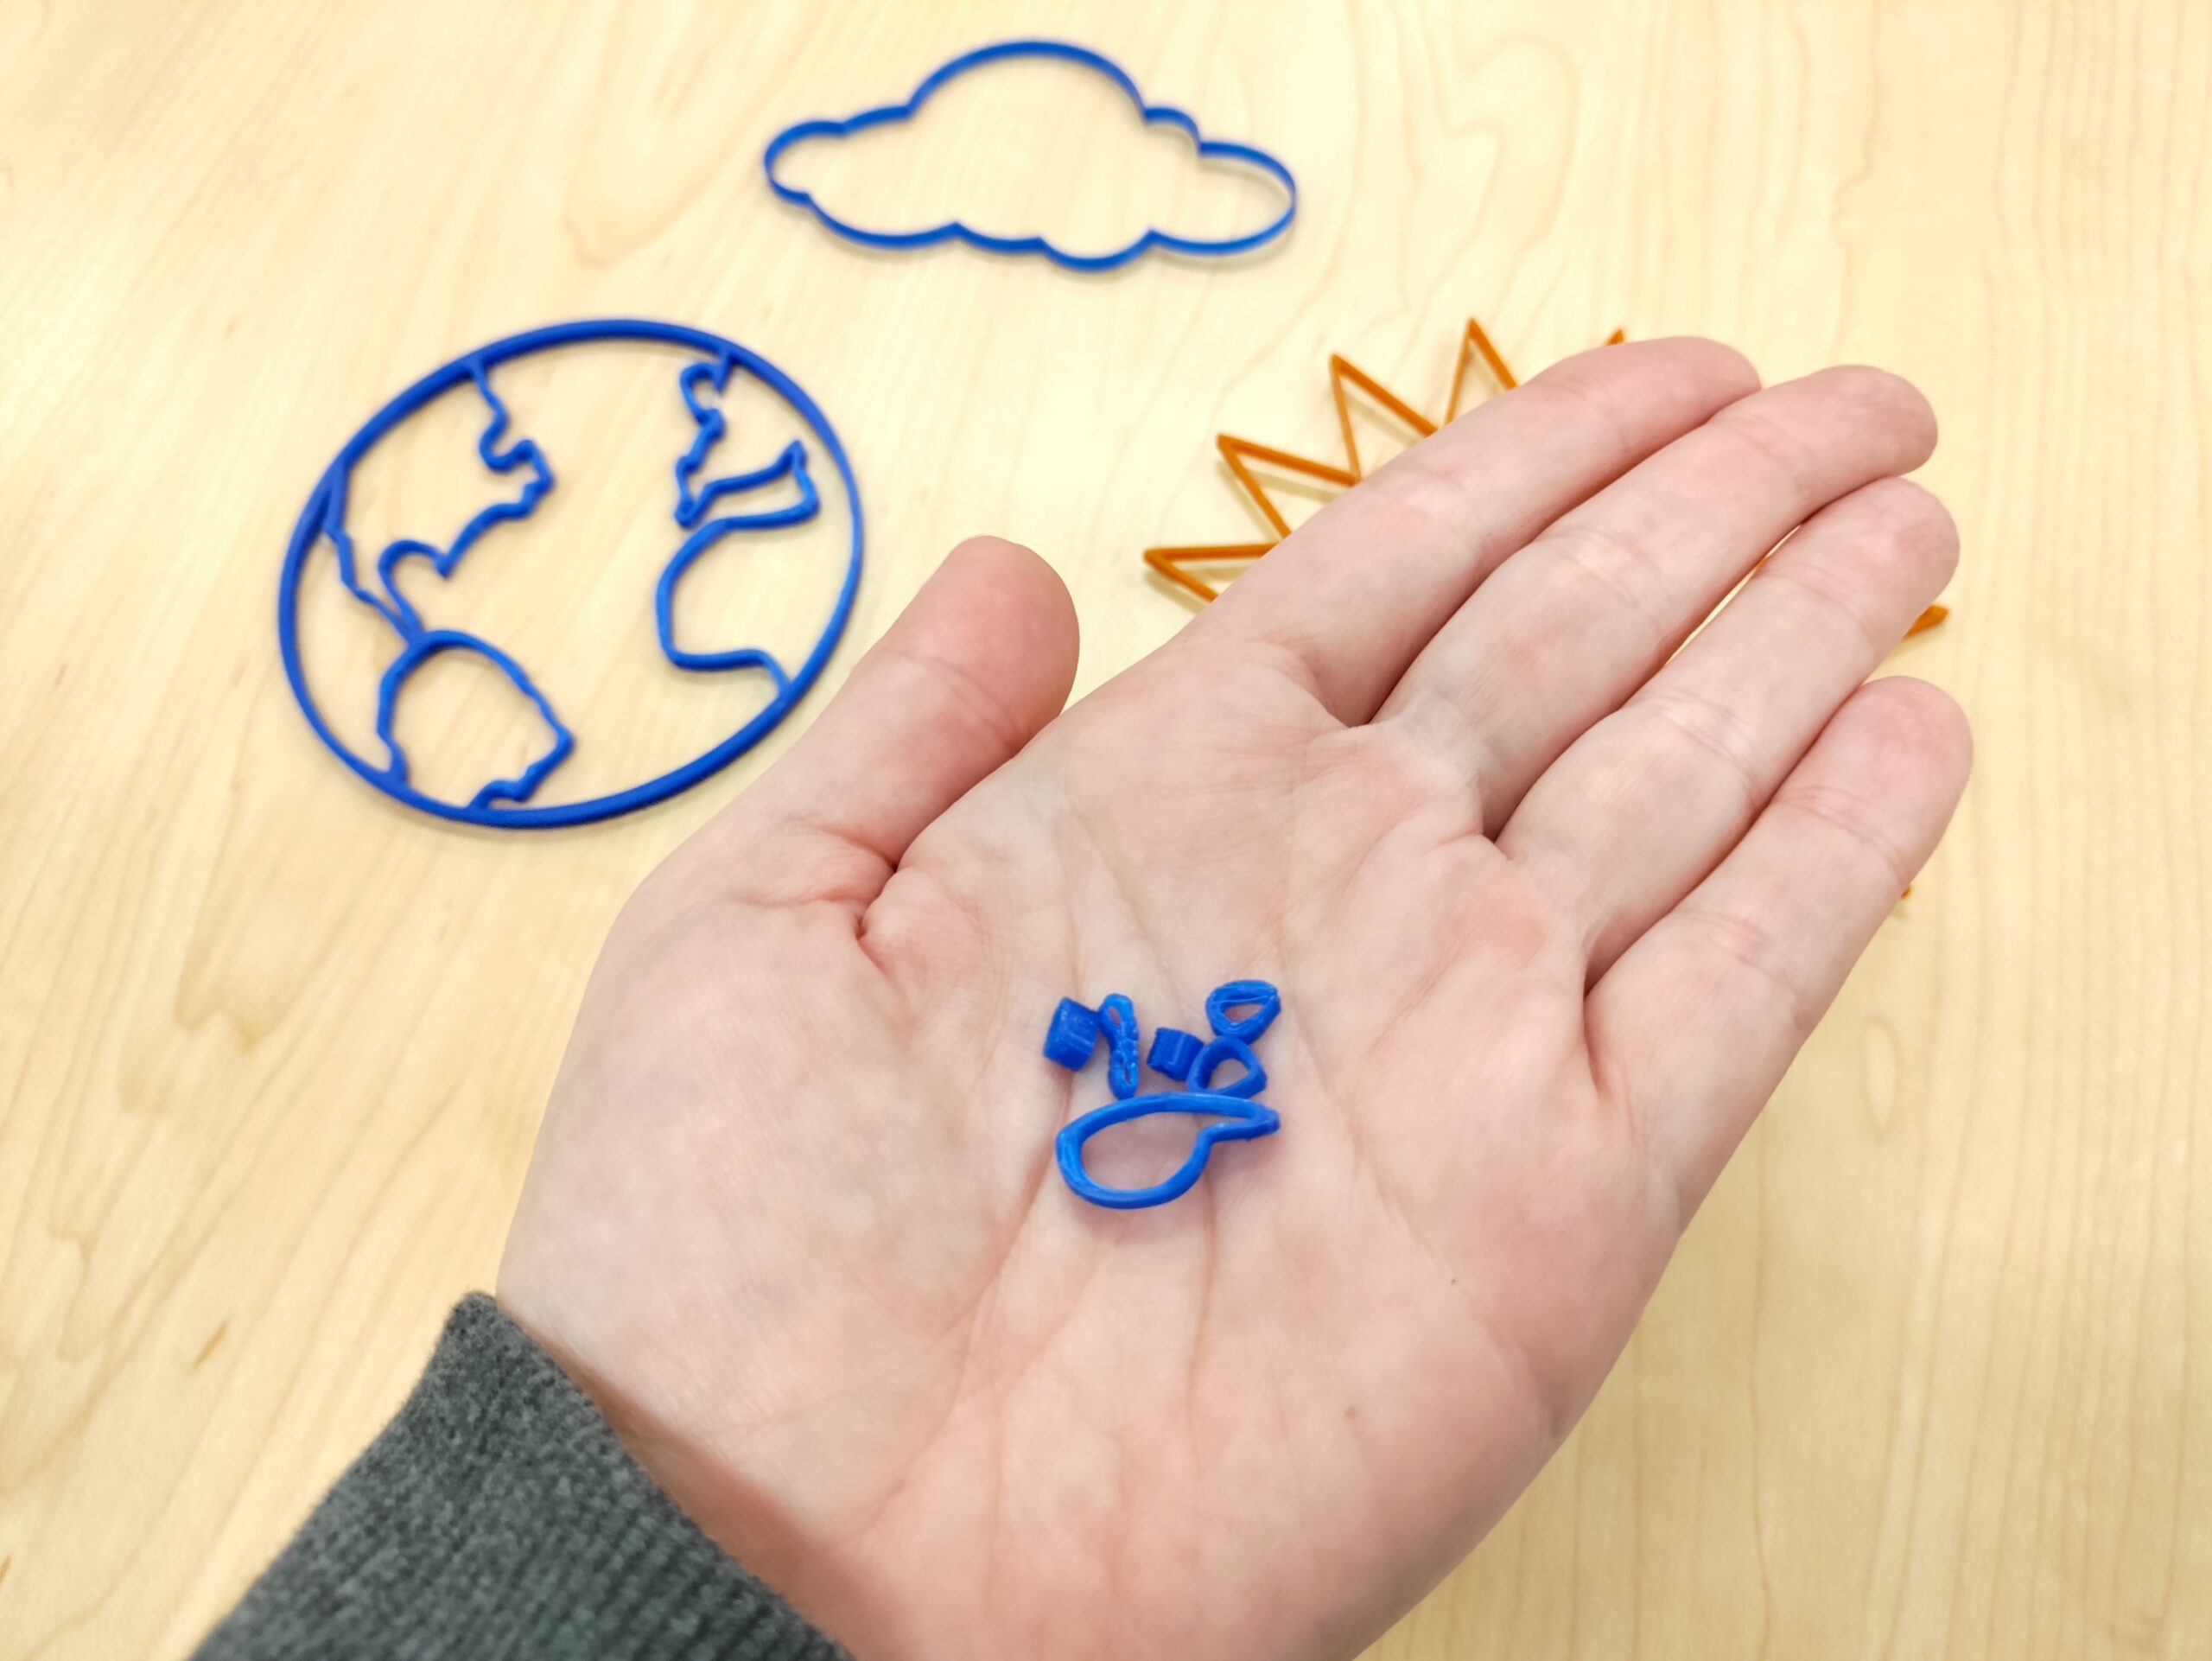
- Alter the 3d print file to attach them to the main project.
- Throw them away if they aren’t necessary.
- Glue them onto your sun catcher backing. (see below)
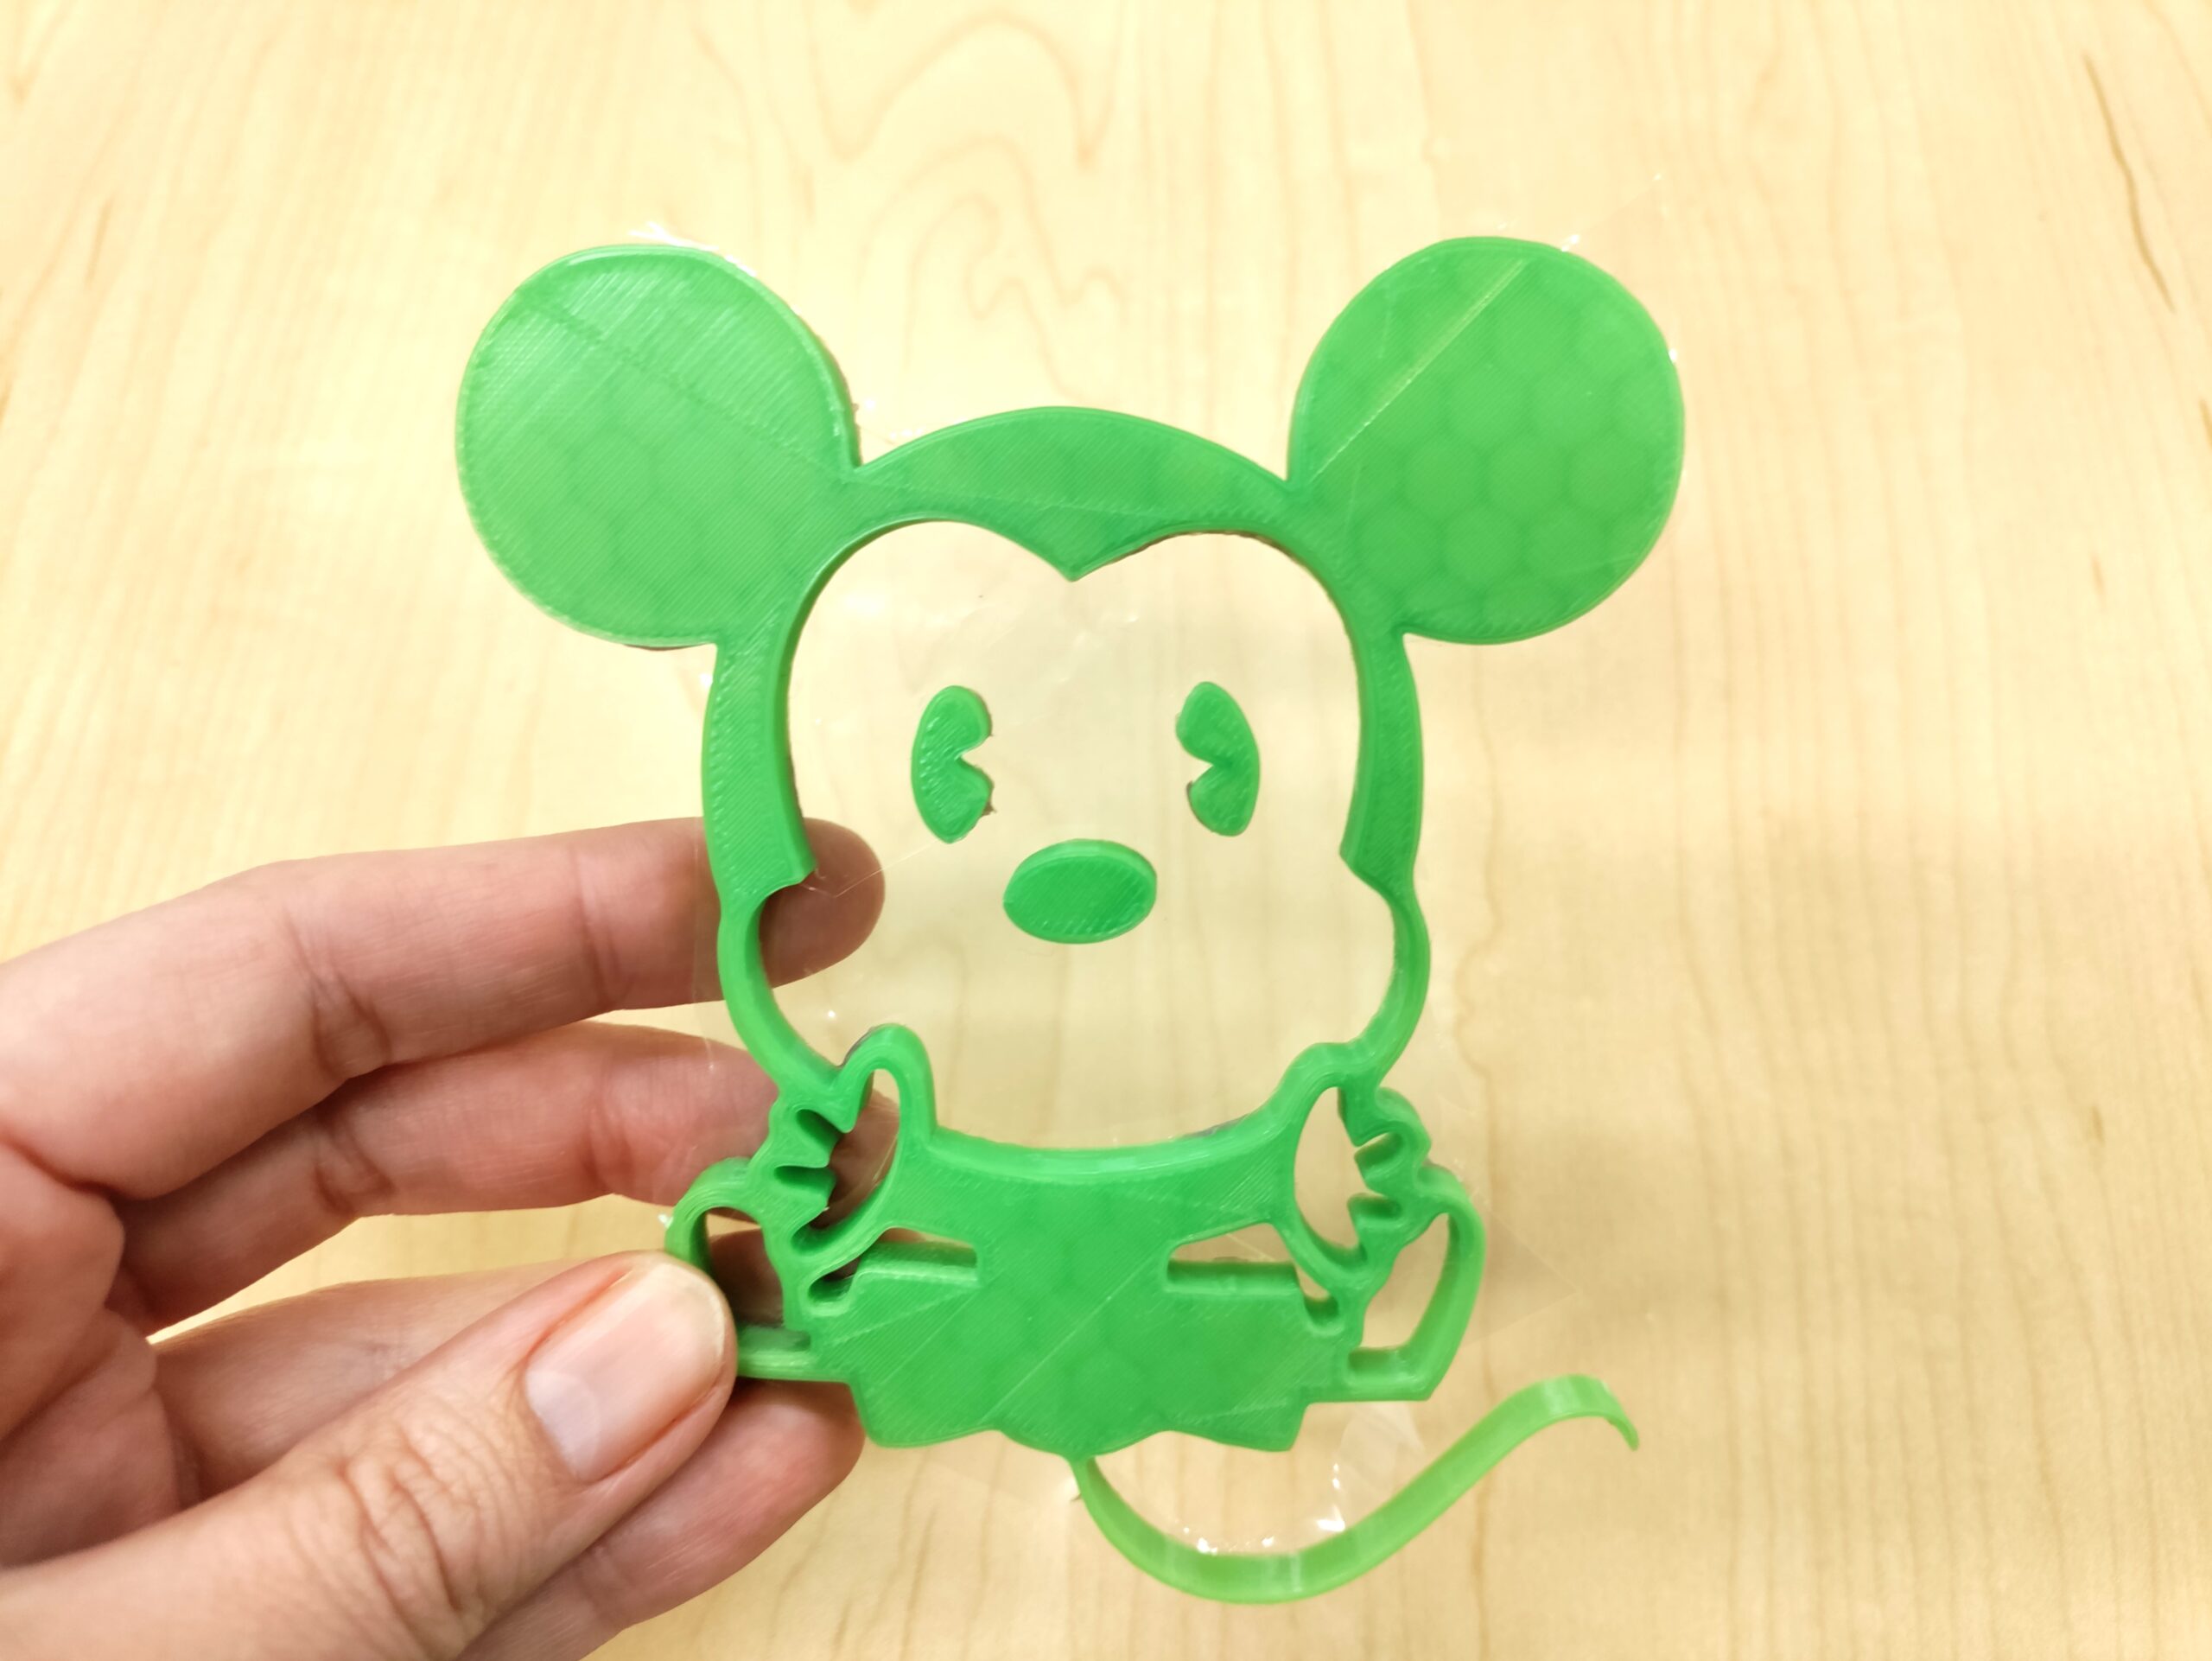
This mouse above had “free-floating” eyes and nose. They are obviously imperative to the design of this sun catcher, so we glued these onto the clear backing we used for this sun catcher which we will explain below.
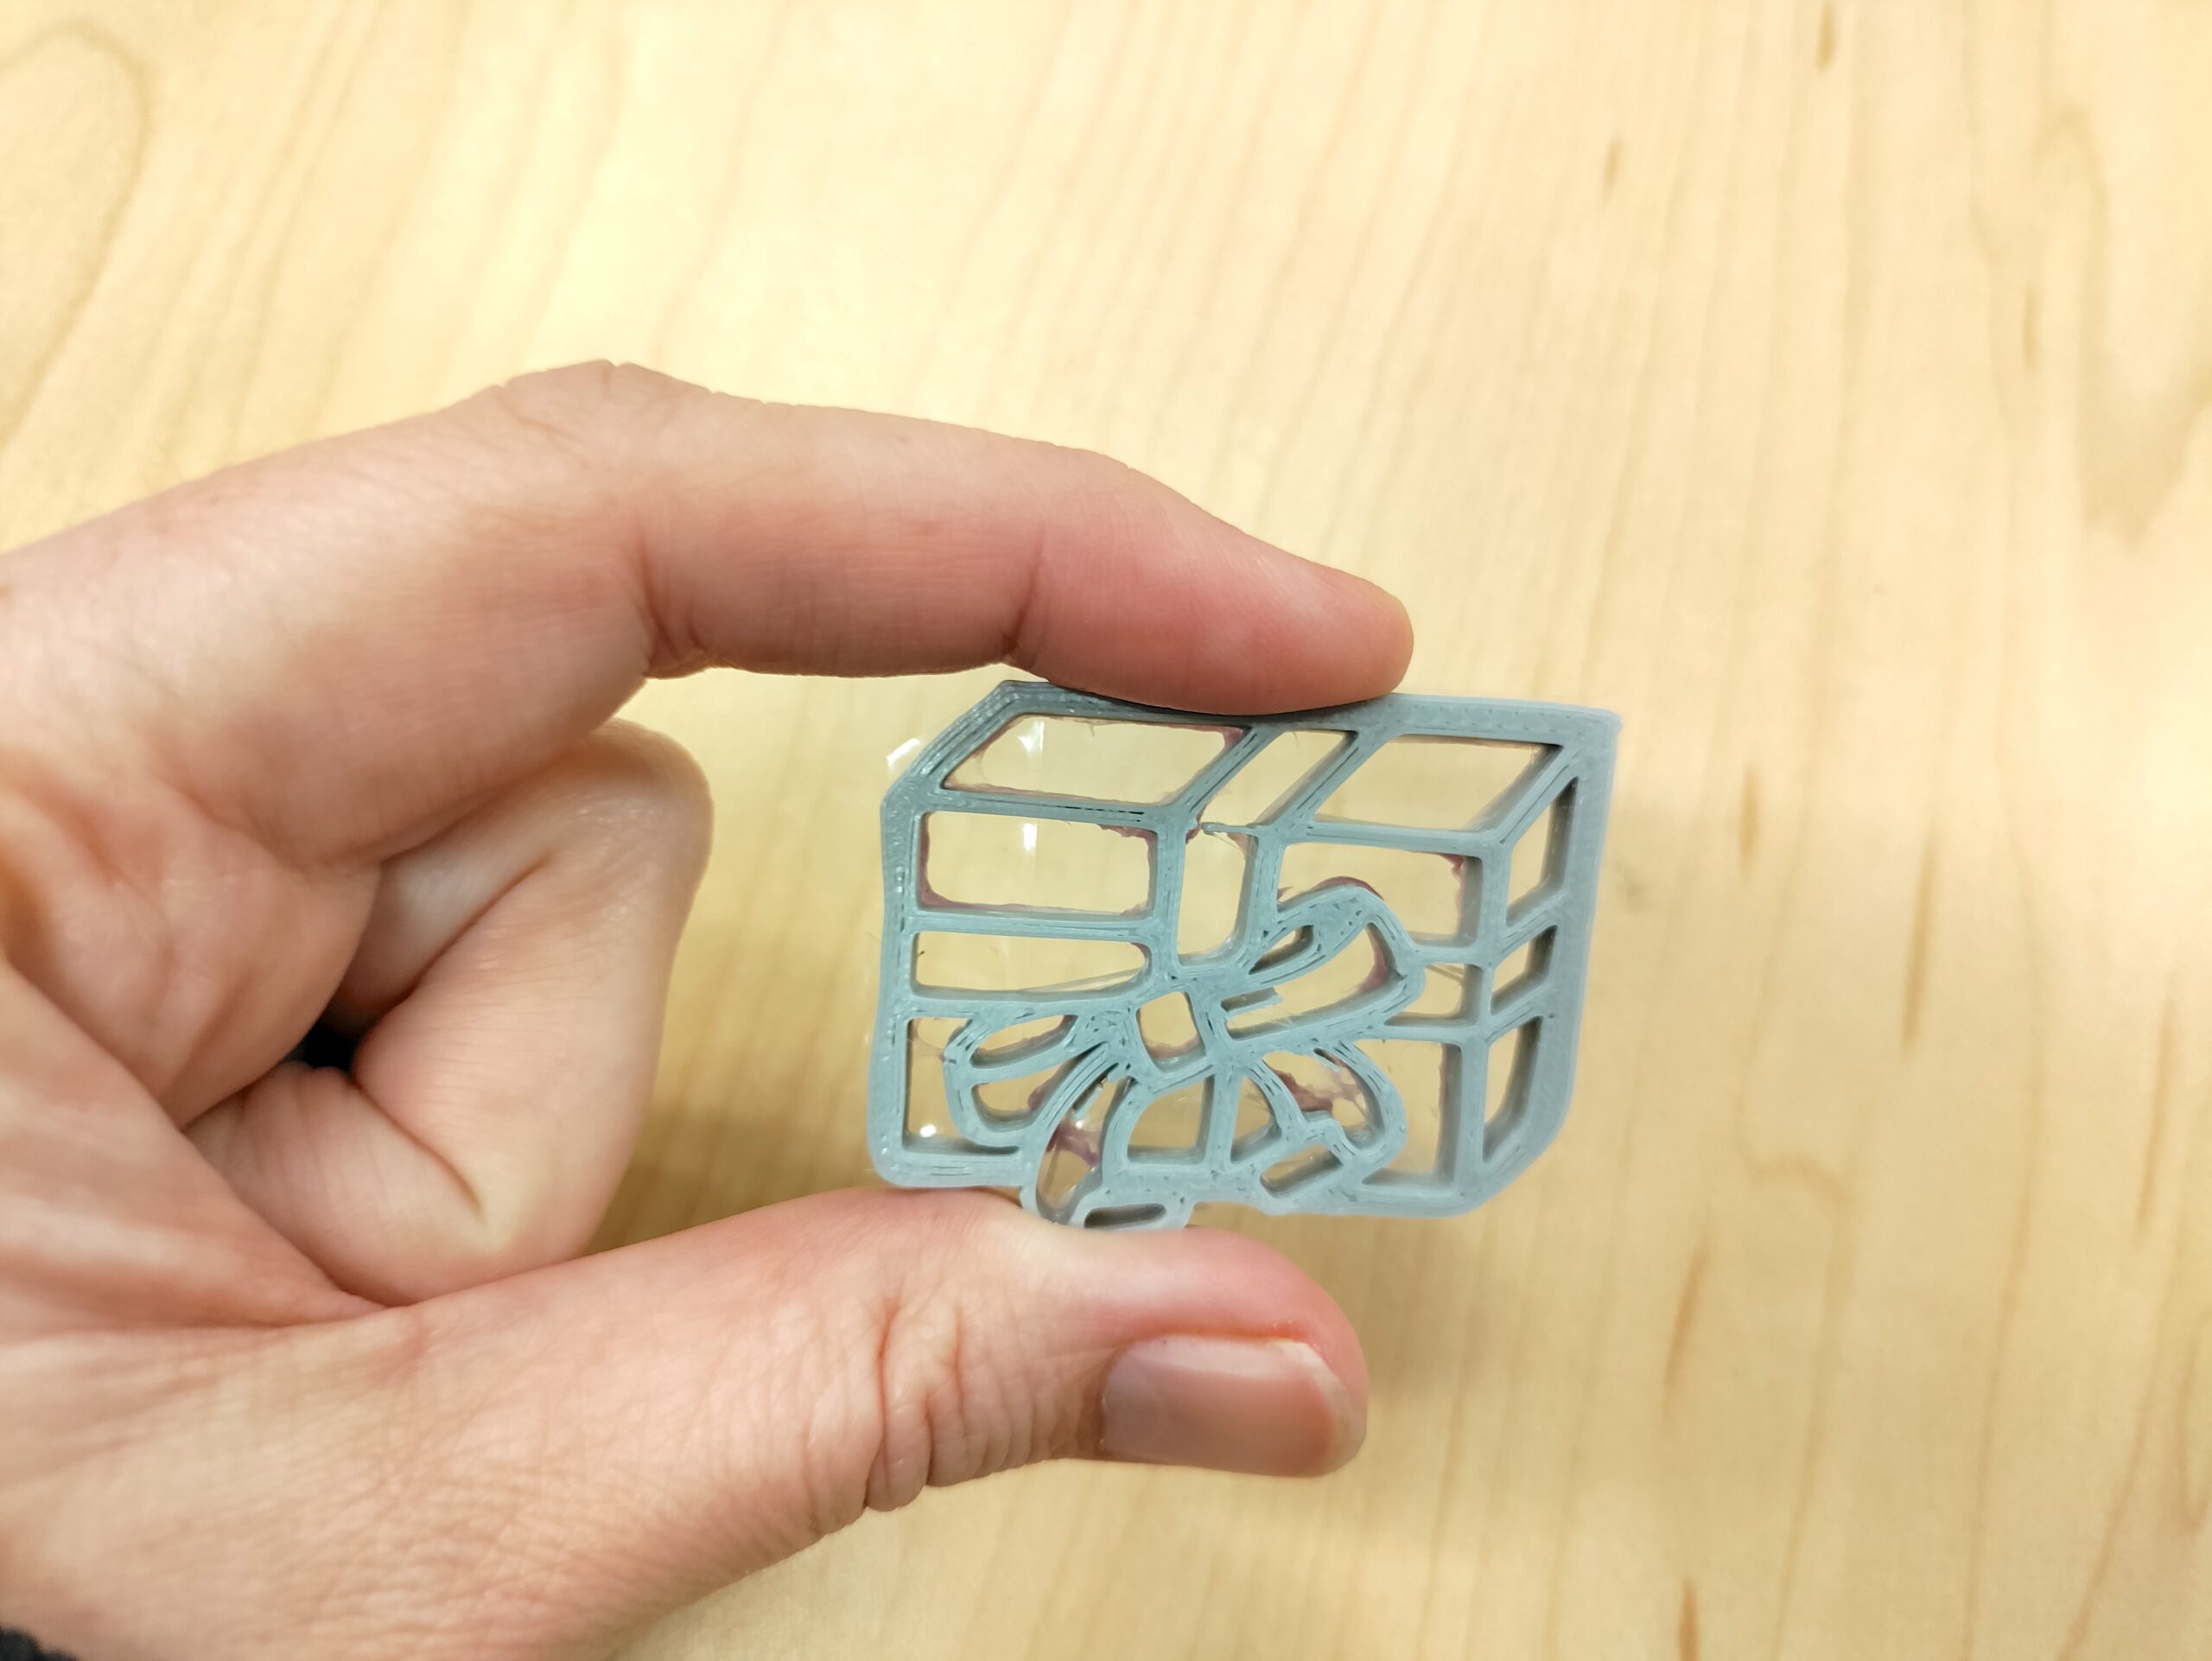
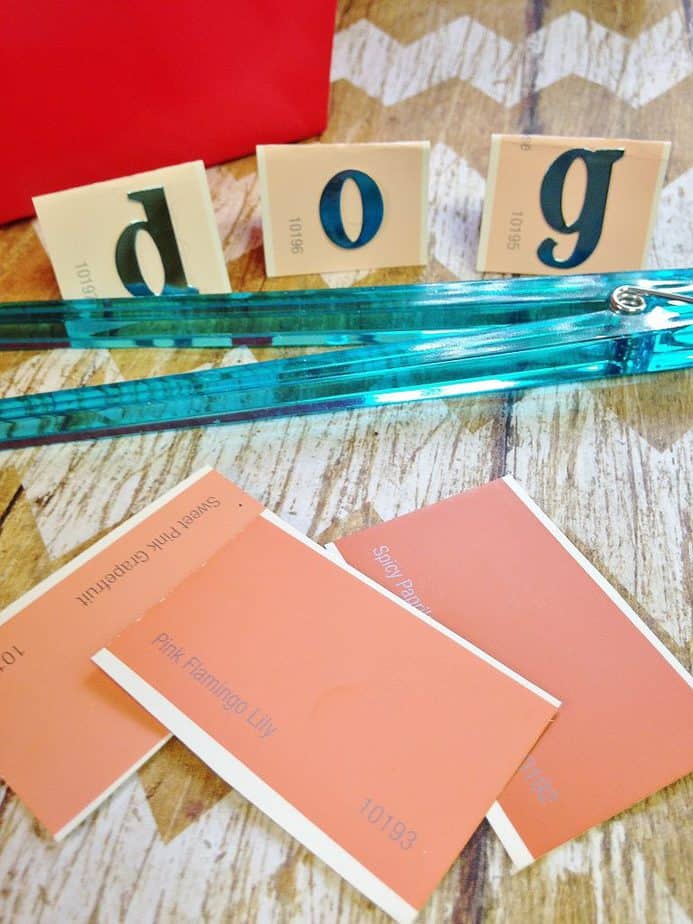
Another thing to be cautious of is designs that are TOO small, or have TOO much detail! Remember, you’re going to need to paint inside of your object so unless you are using a very tiny brush with great coordination skills, these types of designs aren’t the greatest for kids to use.
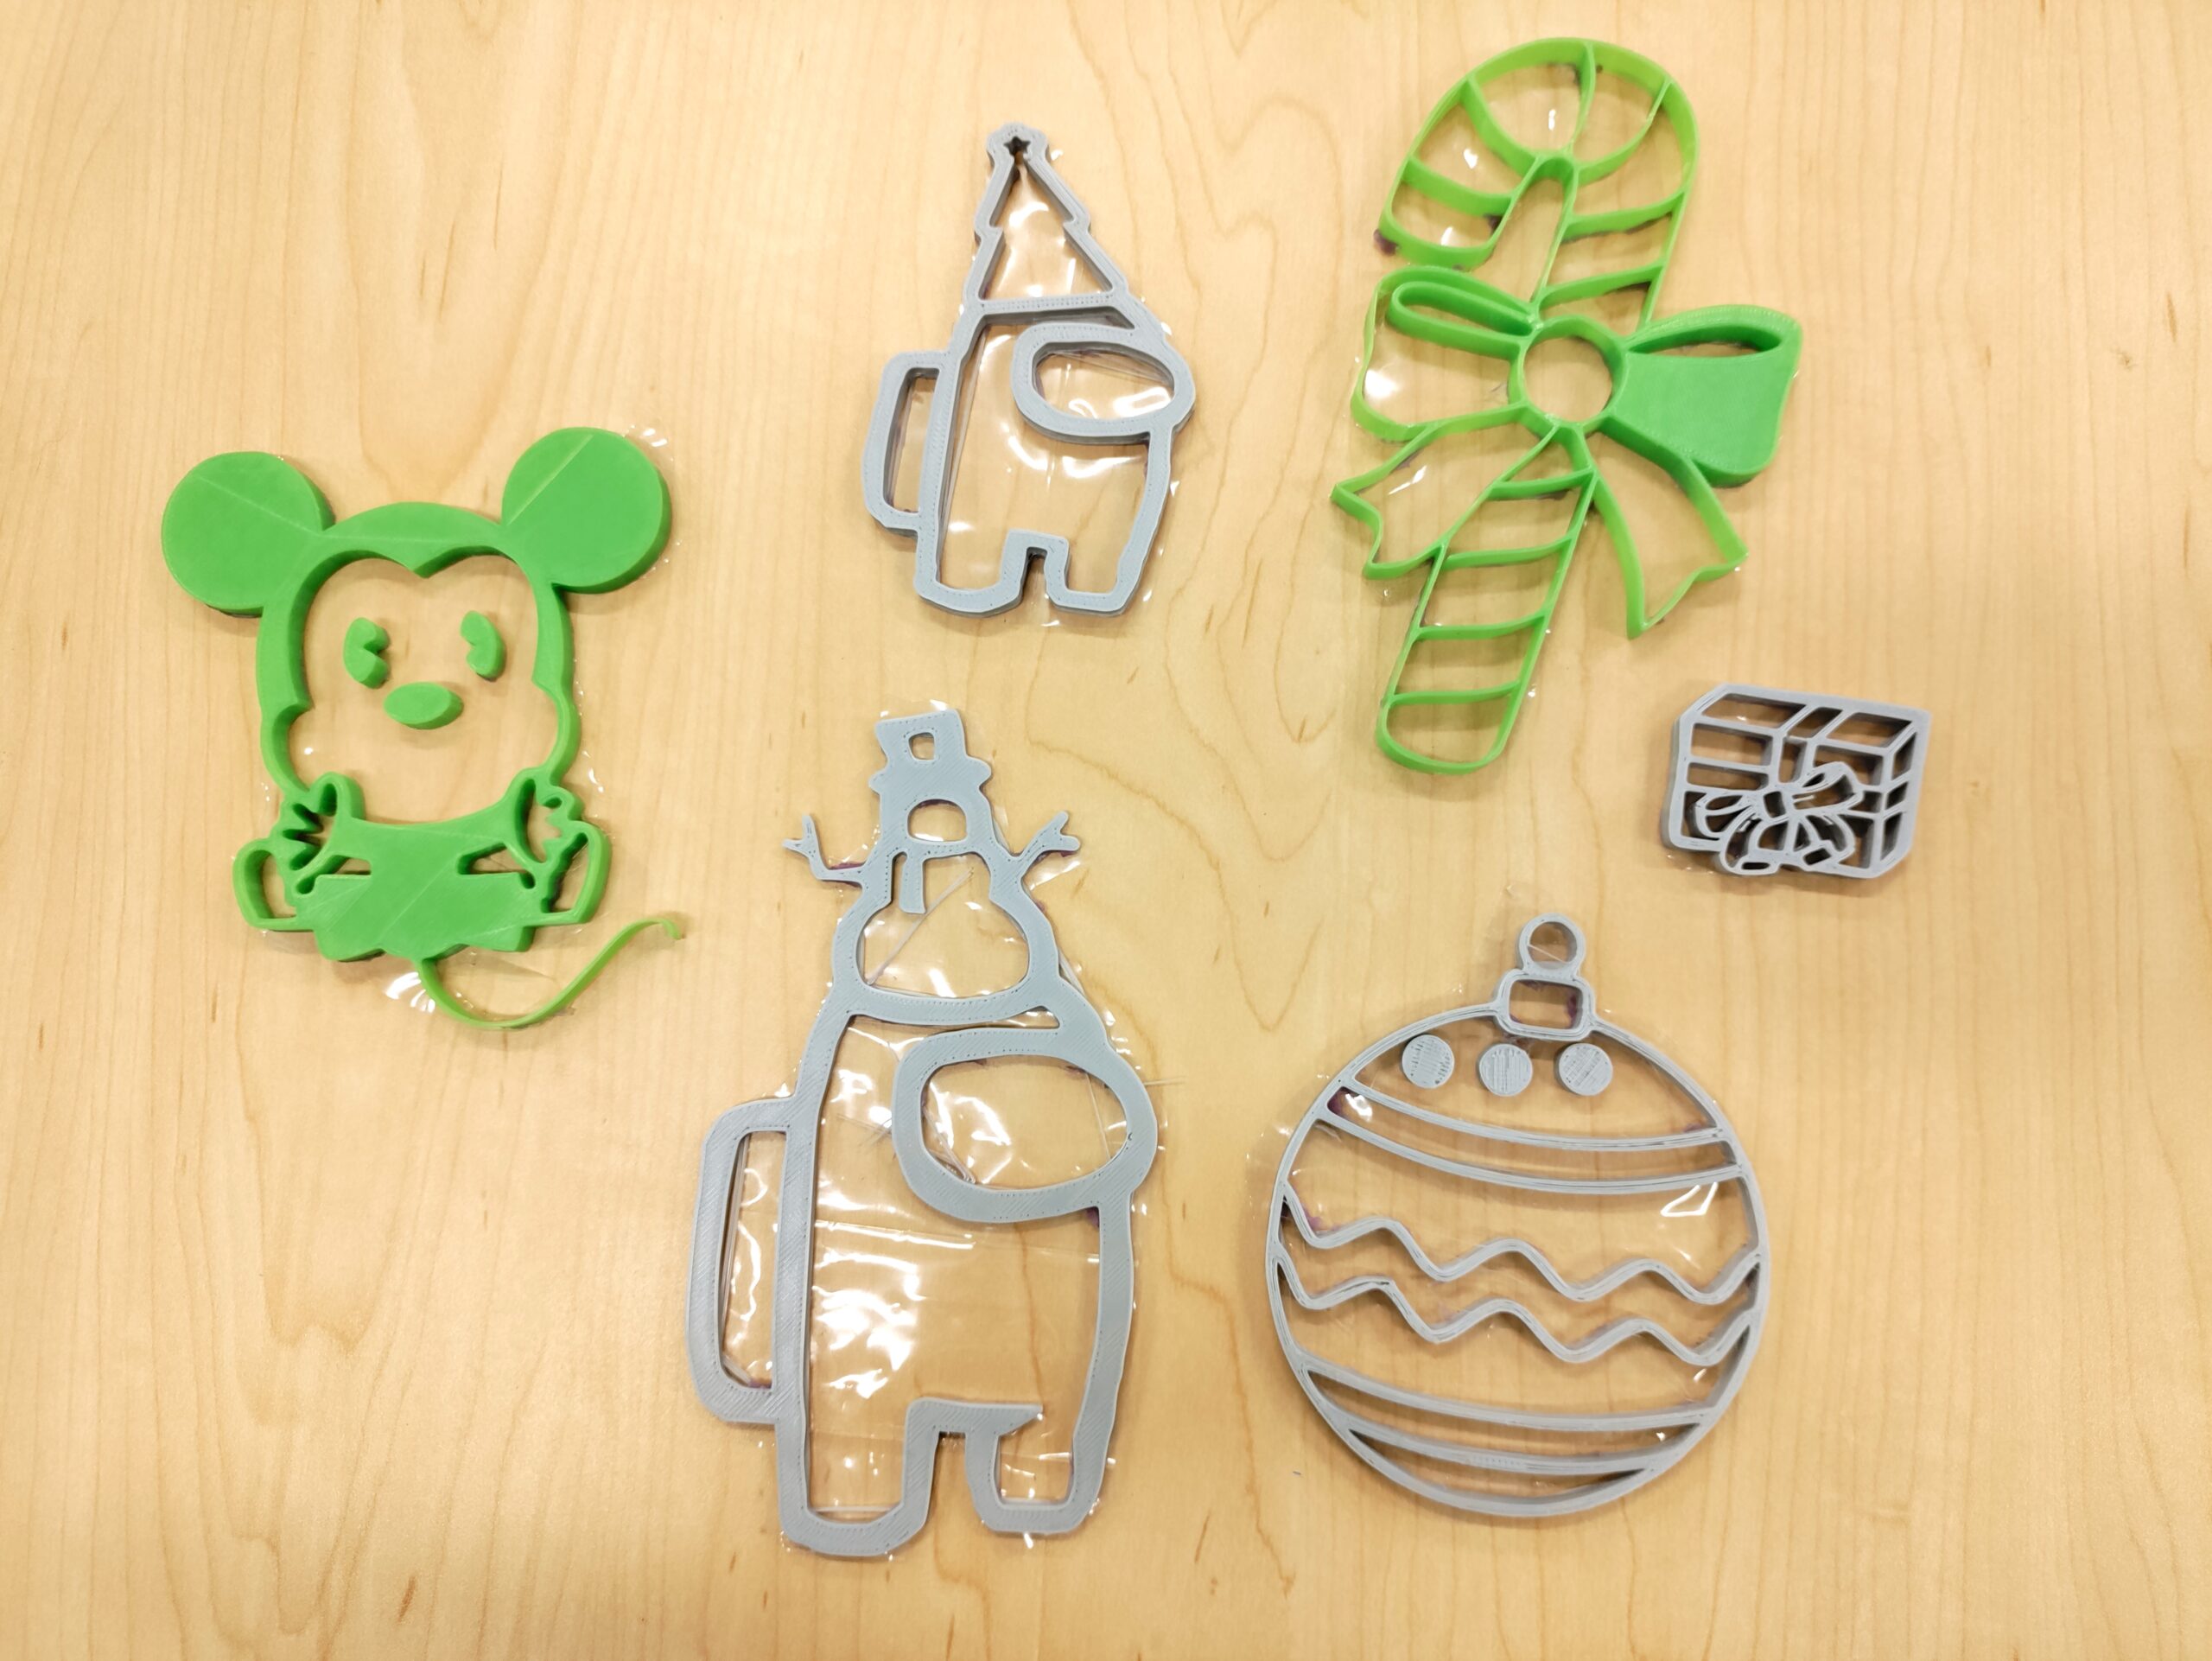
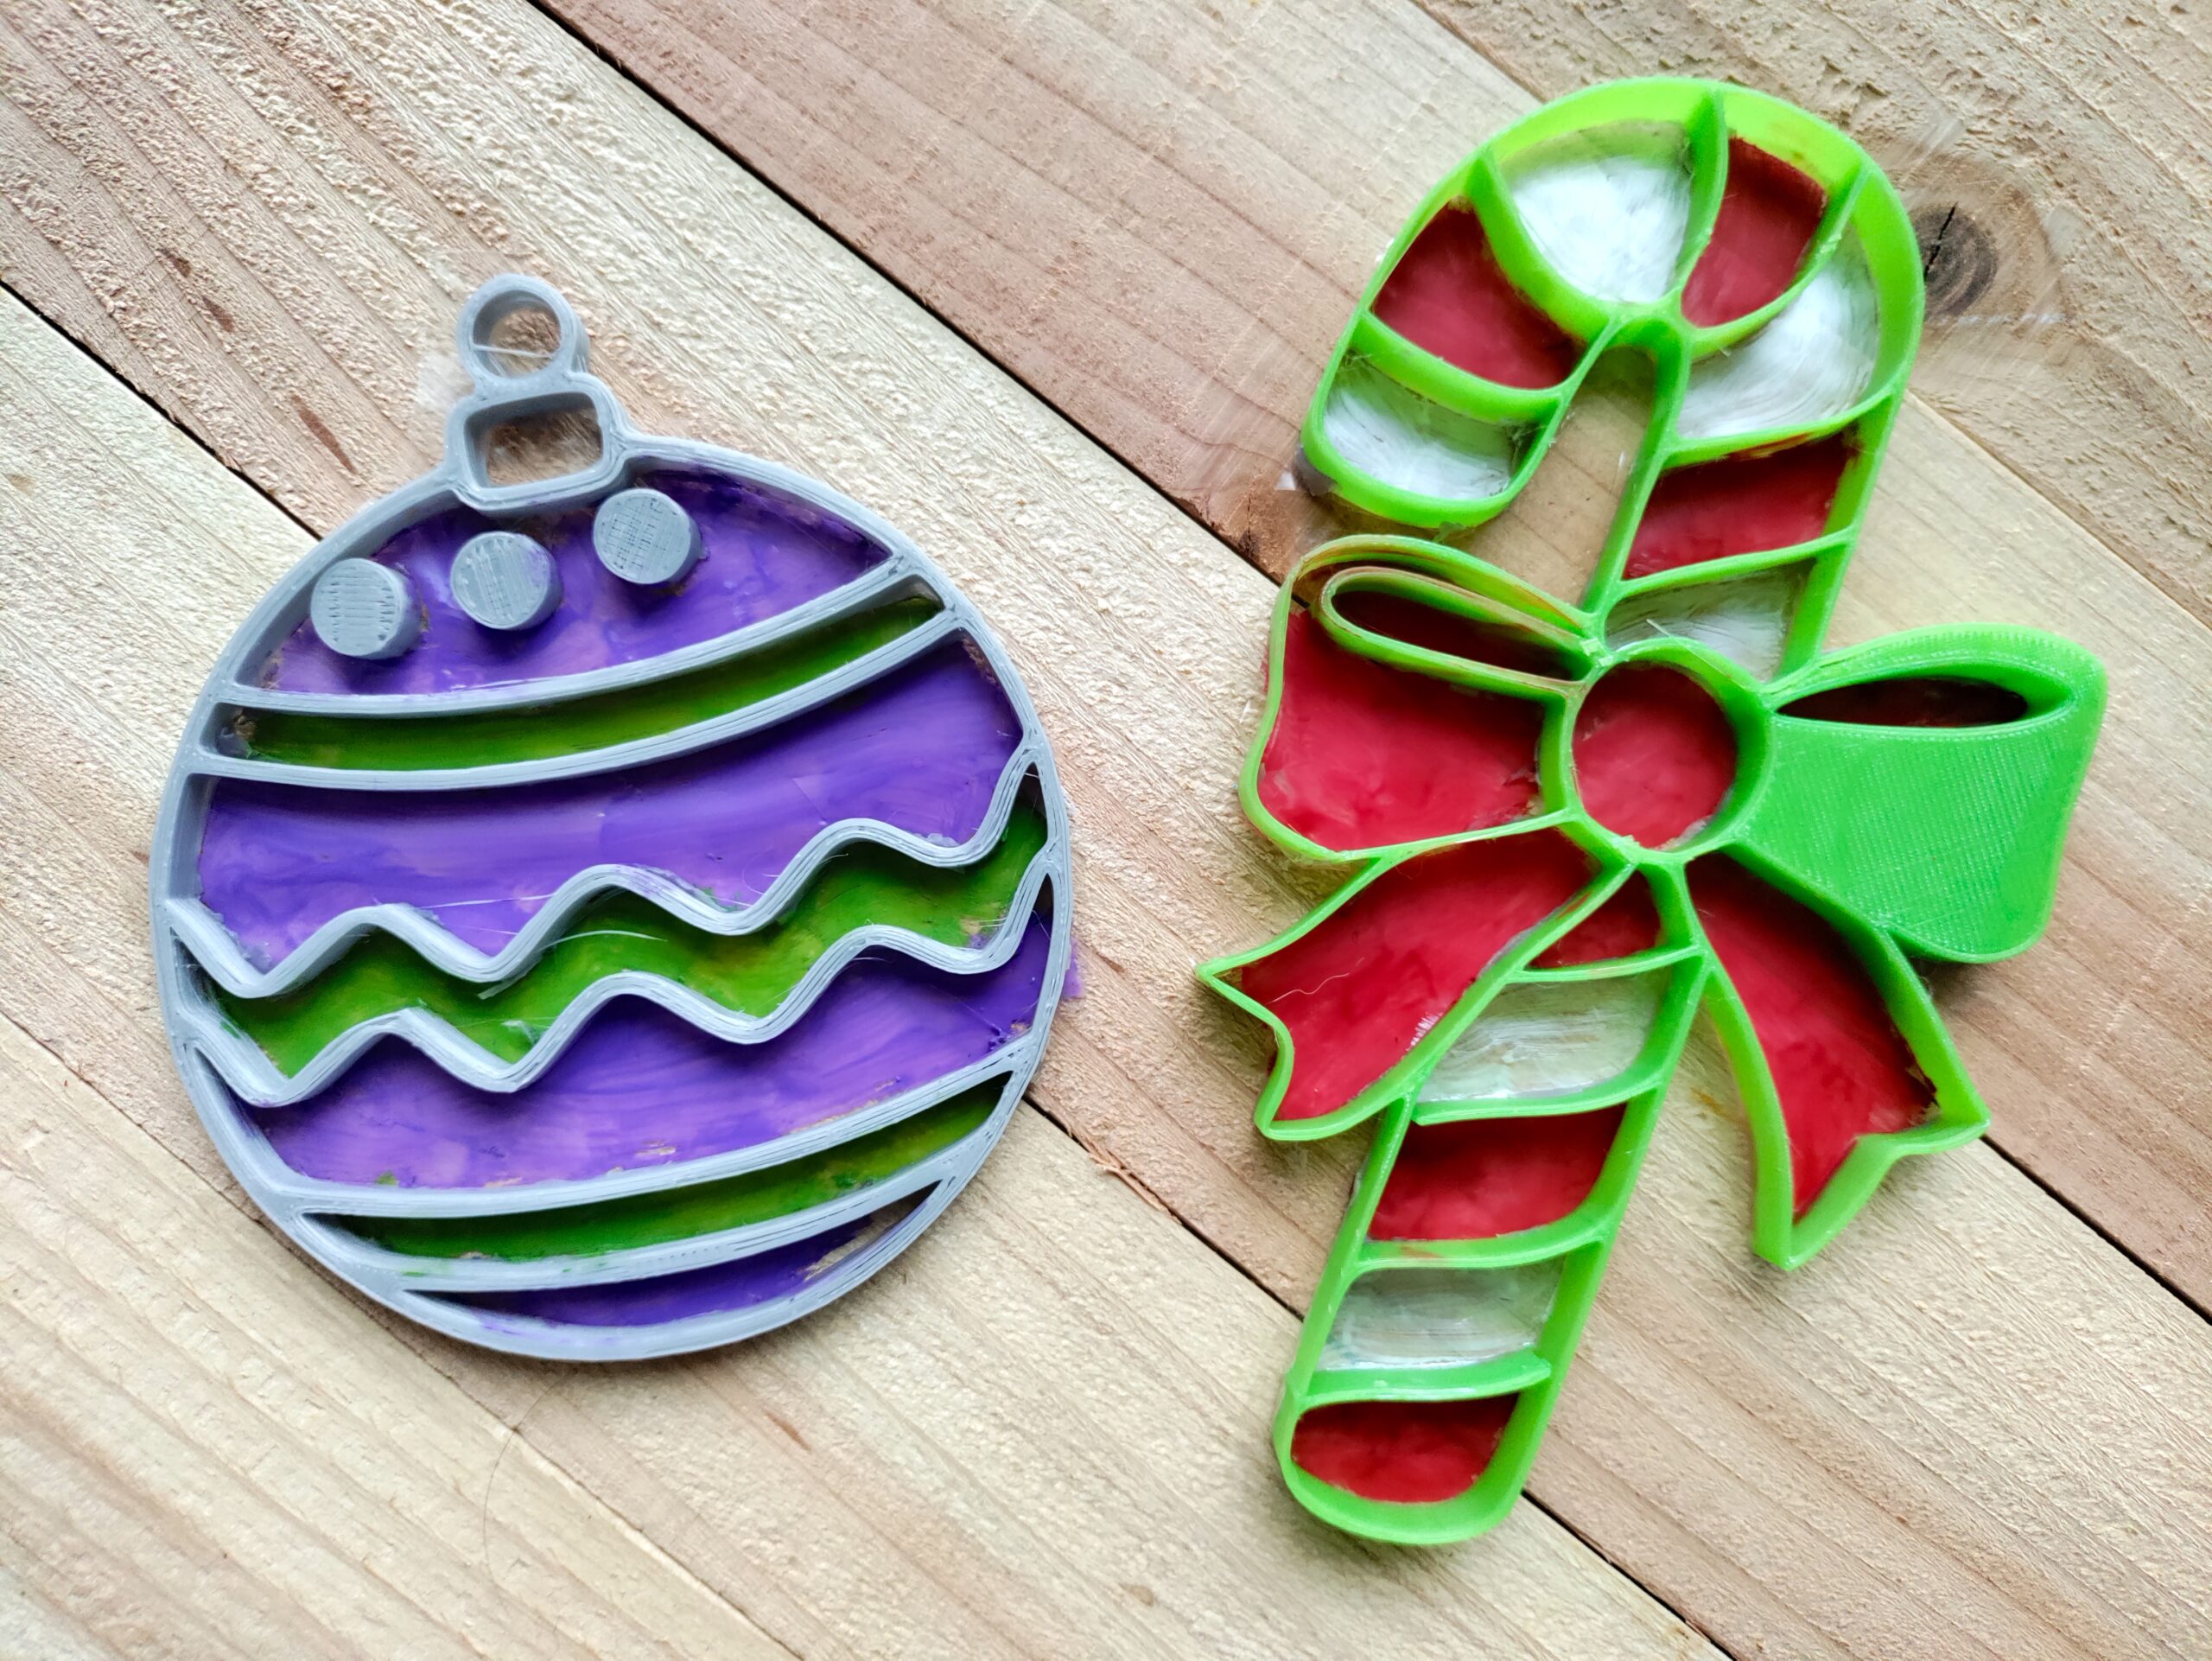
You can see in the image below some of the variety that we have 3d printed. We’ve used this same concept for stained glass ornaments at Christmas too! It’s a great way to use the same exact activity but recycle it for various holidays and themes! You can even have kids create something that represents a book they’ve chosen to read or a themed lesson you’re teaching about!
How to add a back onto your stained glass sun catcher:
You wouldn’t believe how easy this is! To add a backing onto your sun catcher we literally just traced the outline of the 3d printed sun catcher onto a sandwich bag, then cut it out and glued it onto the back of the 3d printed sun catcher!
We actually tried several things including plastic container lids, laminating sheets, and dollar store thin cutting boards. The sandwich bags were absolutely the best choice every time! Which was perfect because they’re the cheapest and easiest to make!
What type of paint to use for sun catchers:
We tried three different types of paint for our faux stained glass sun catchers! If you’re looking for the CHEAPEST option AND the BEST option for working with kids or large groups – hands down you’ll want washable paint every time.
If you have a student that doesn’t want washable paint, then I tell them they can take it home as is and paint it later. OR they can even just make a new backing at home later and re-paint it on their own.
Sun Catcher Paint:
Sun catcher paint was the next paint we tried after washable paint, because, well, these are sun catchers! You can buy sun catcher paint in bulk on Amazon if you want to go this way.
Using sun catcher paint gives it that traditional sun catcher look and feel which is fun. The colors all worked well and you could easily see the colors when the sun catchers were held up against the light.
Acrylic Paint:
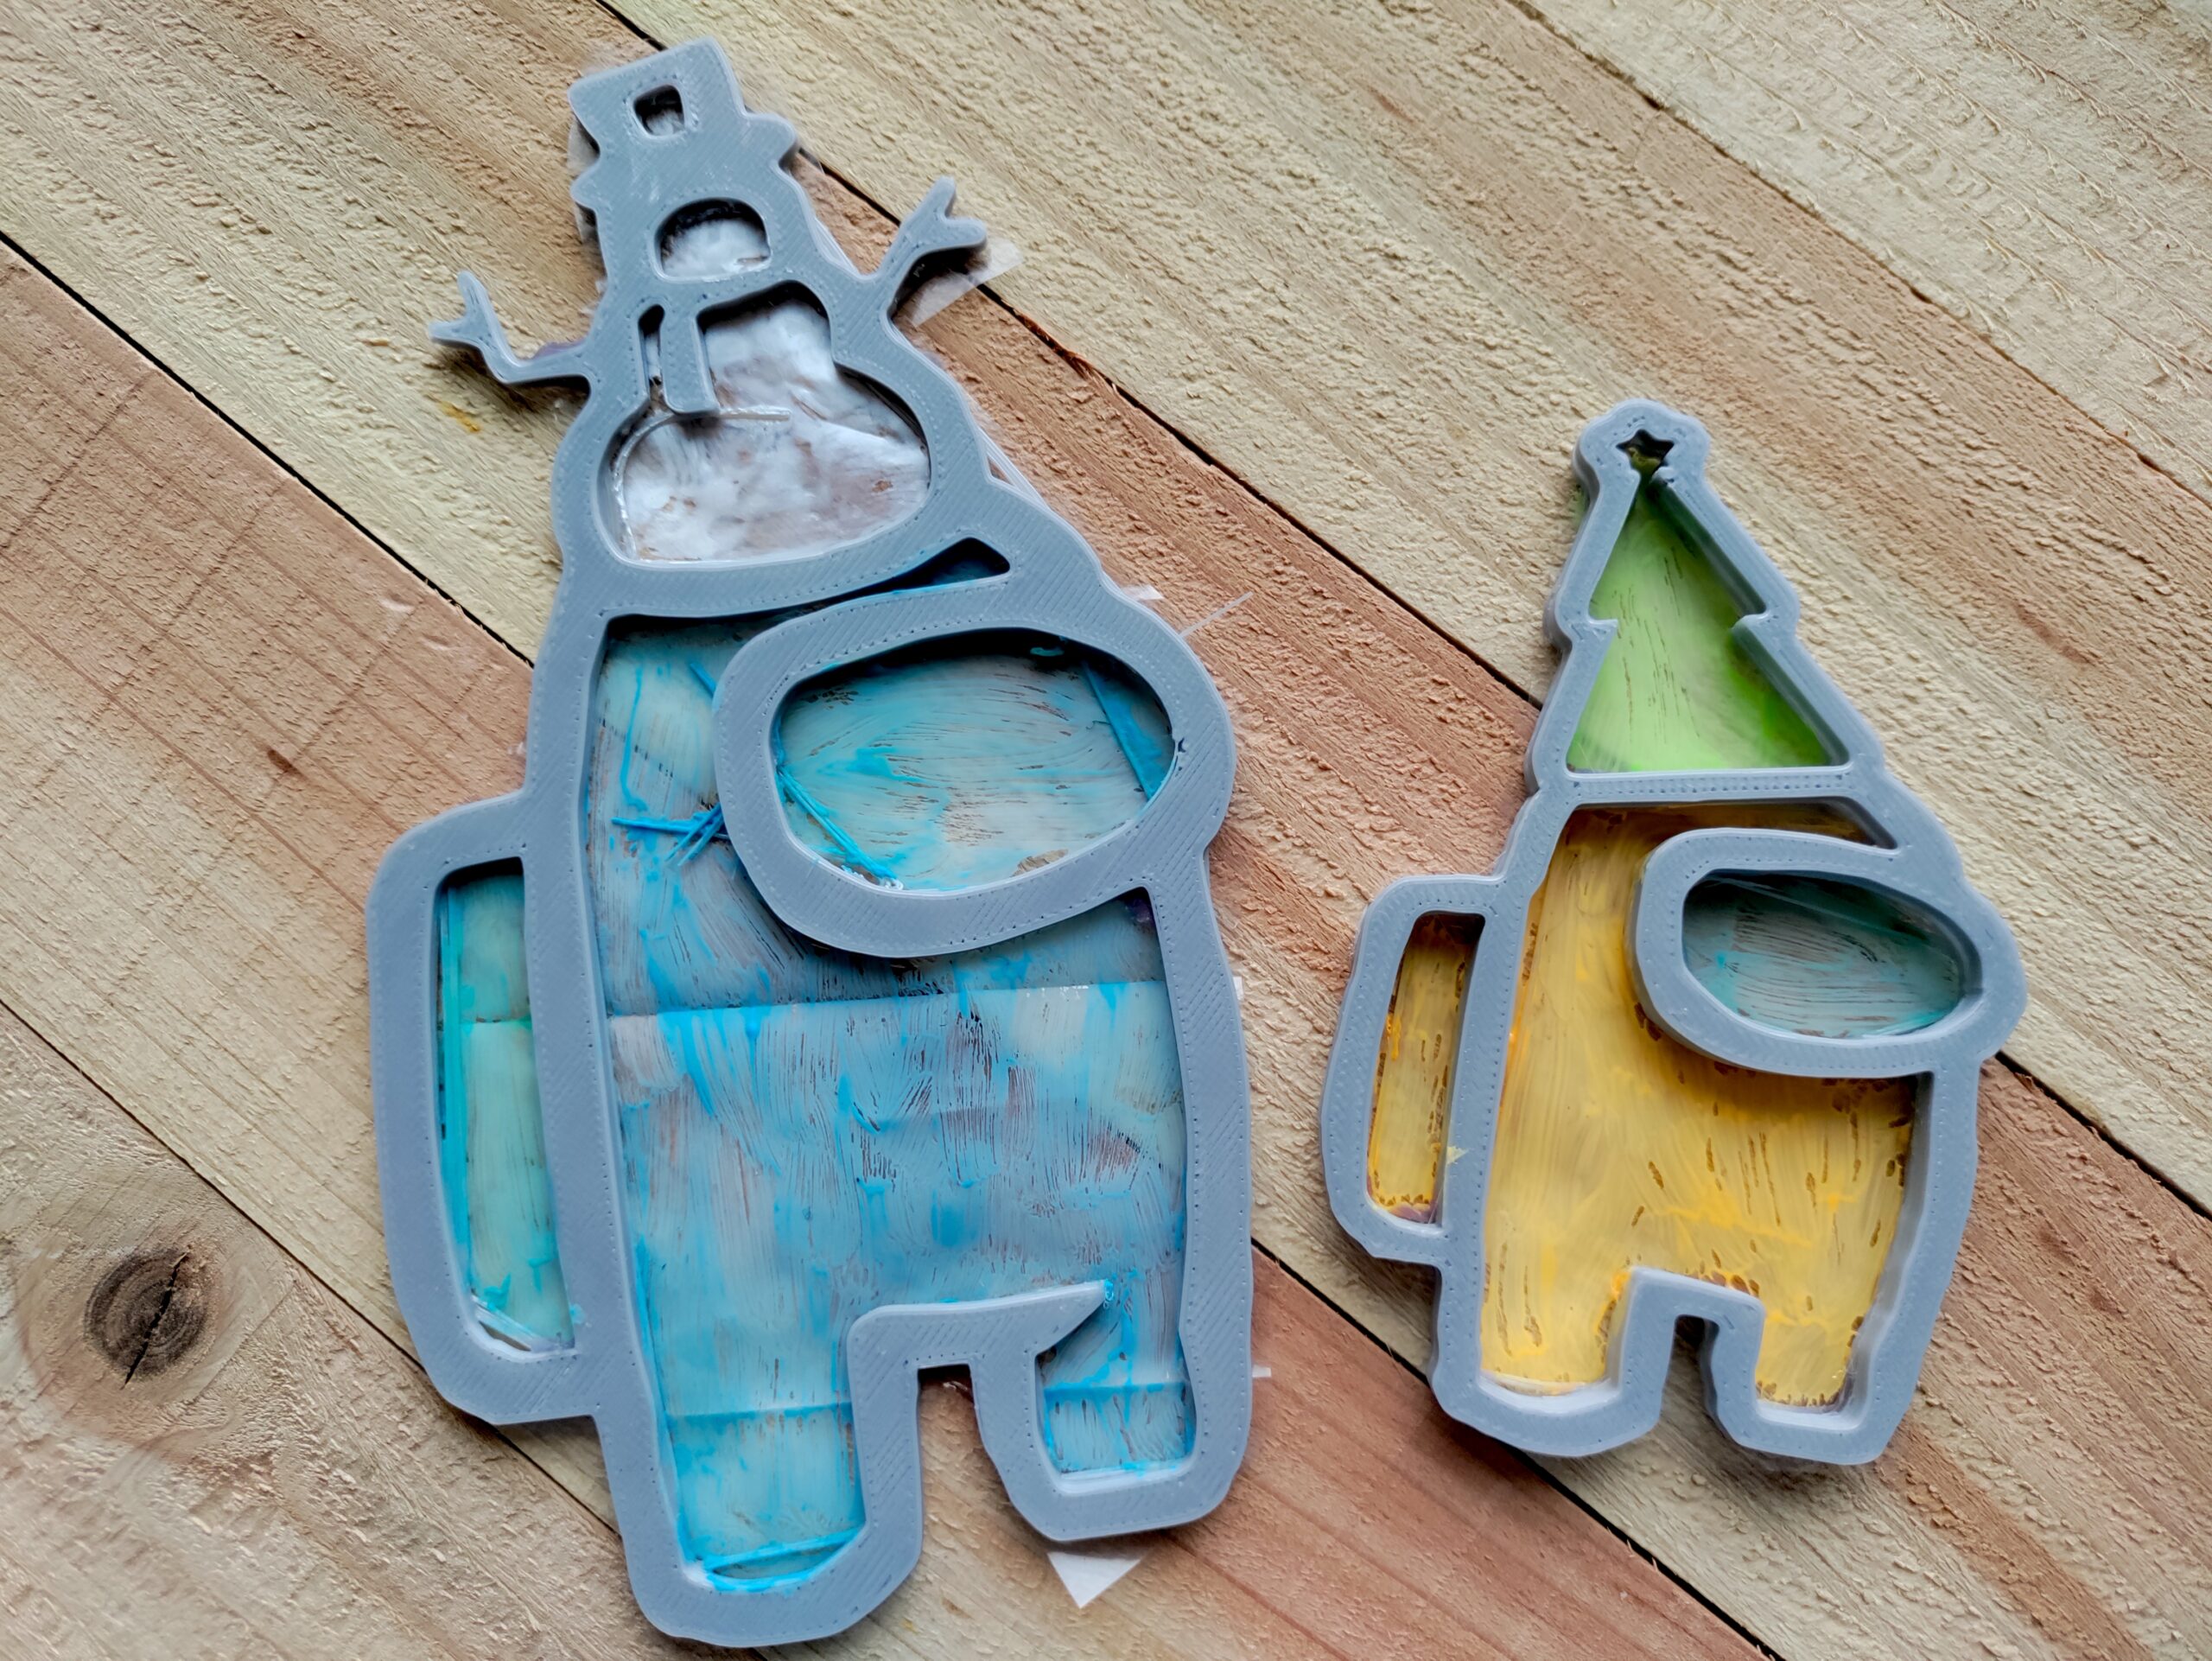
Because I love bold bright colors, acrylic paint was my favorite choice for these 3d printed sun catchers. I wasn’t sure how well they would show through the light but they look amazing! This was my personal favorite paint to use but if I’m working with kids it’ll always be washable paint!
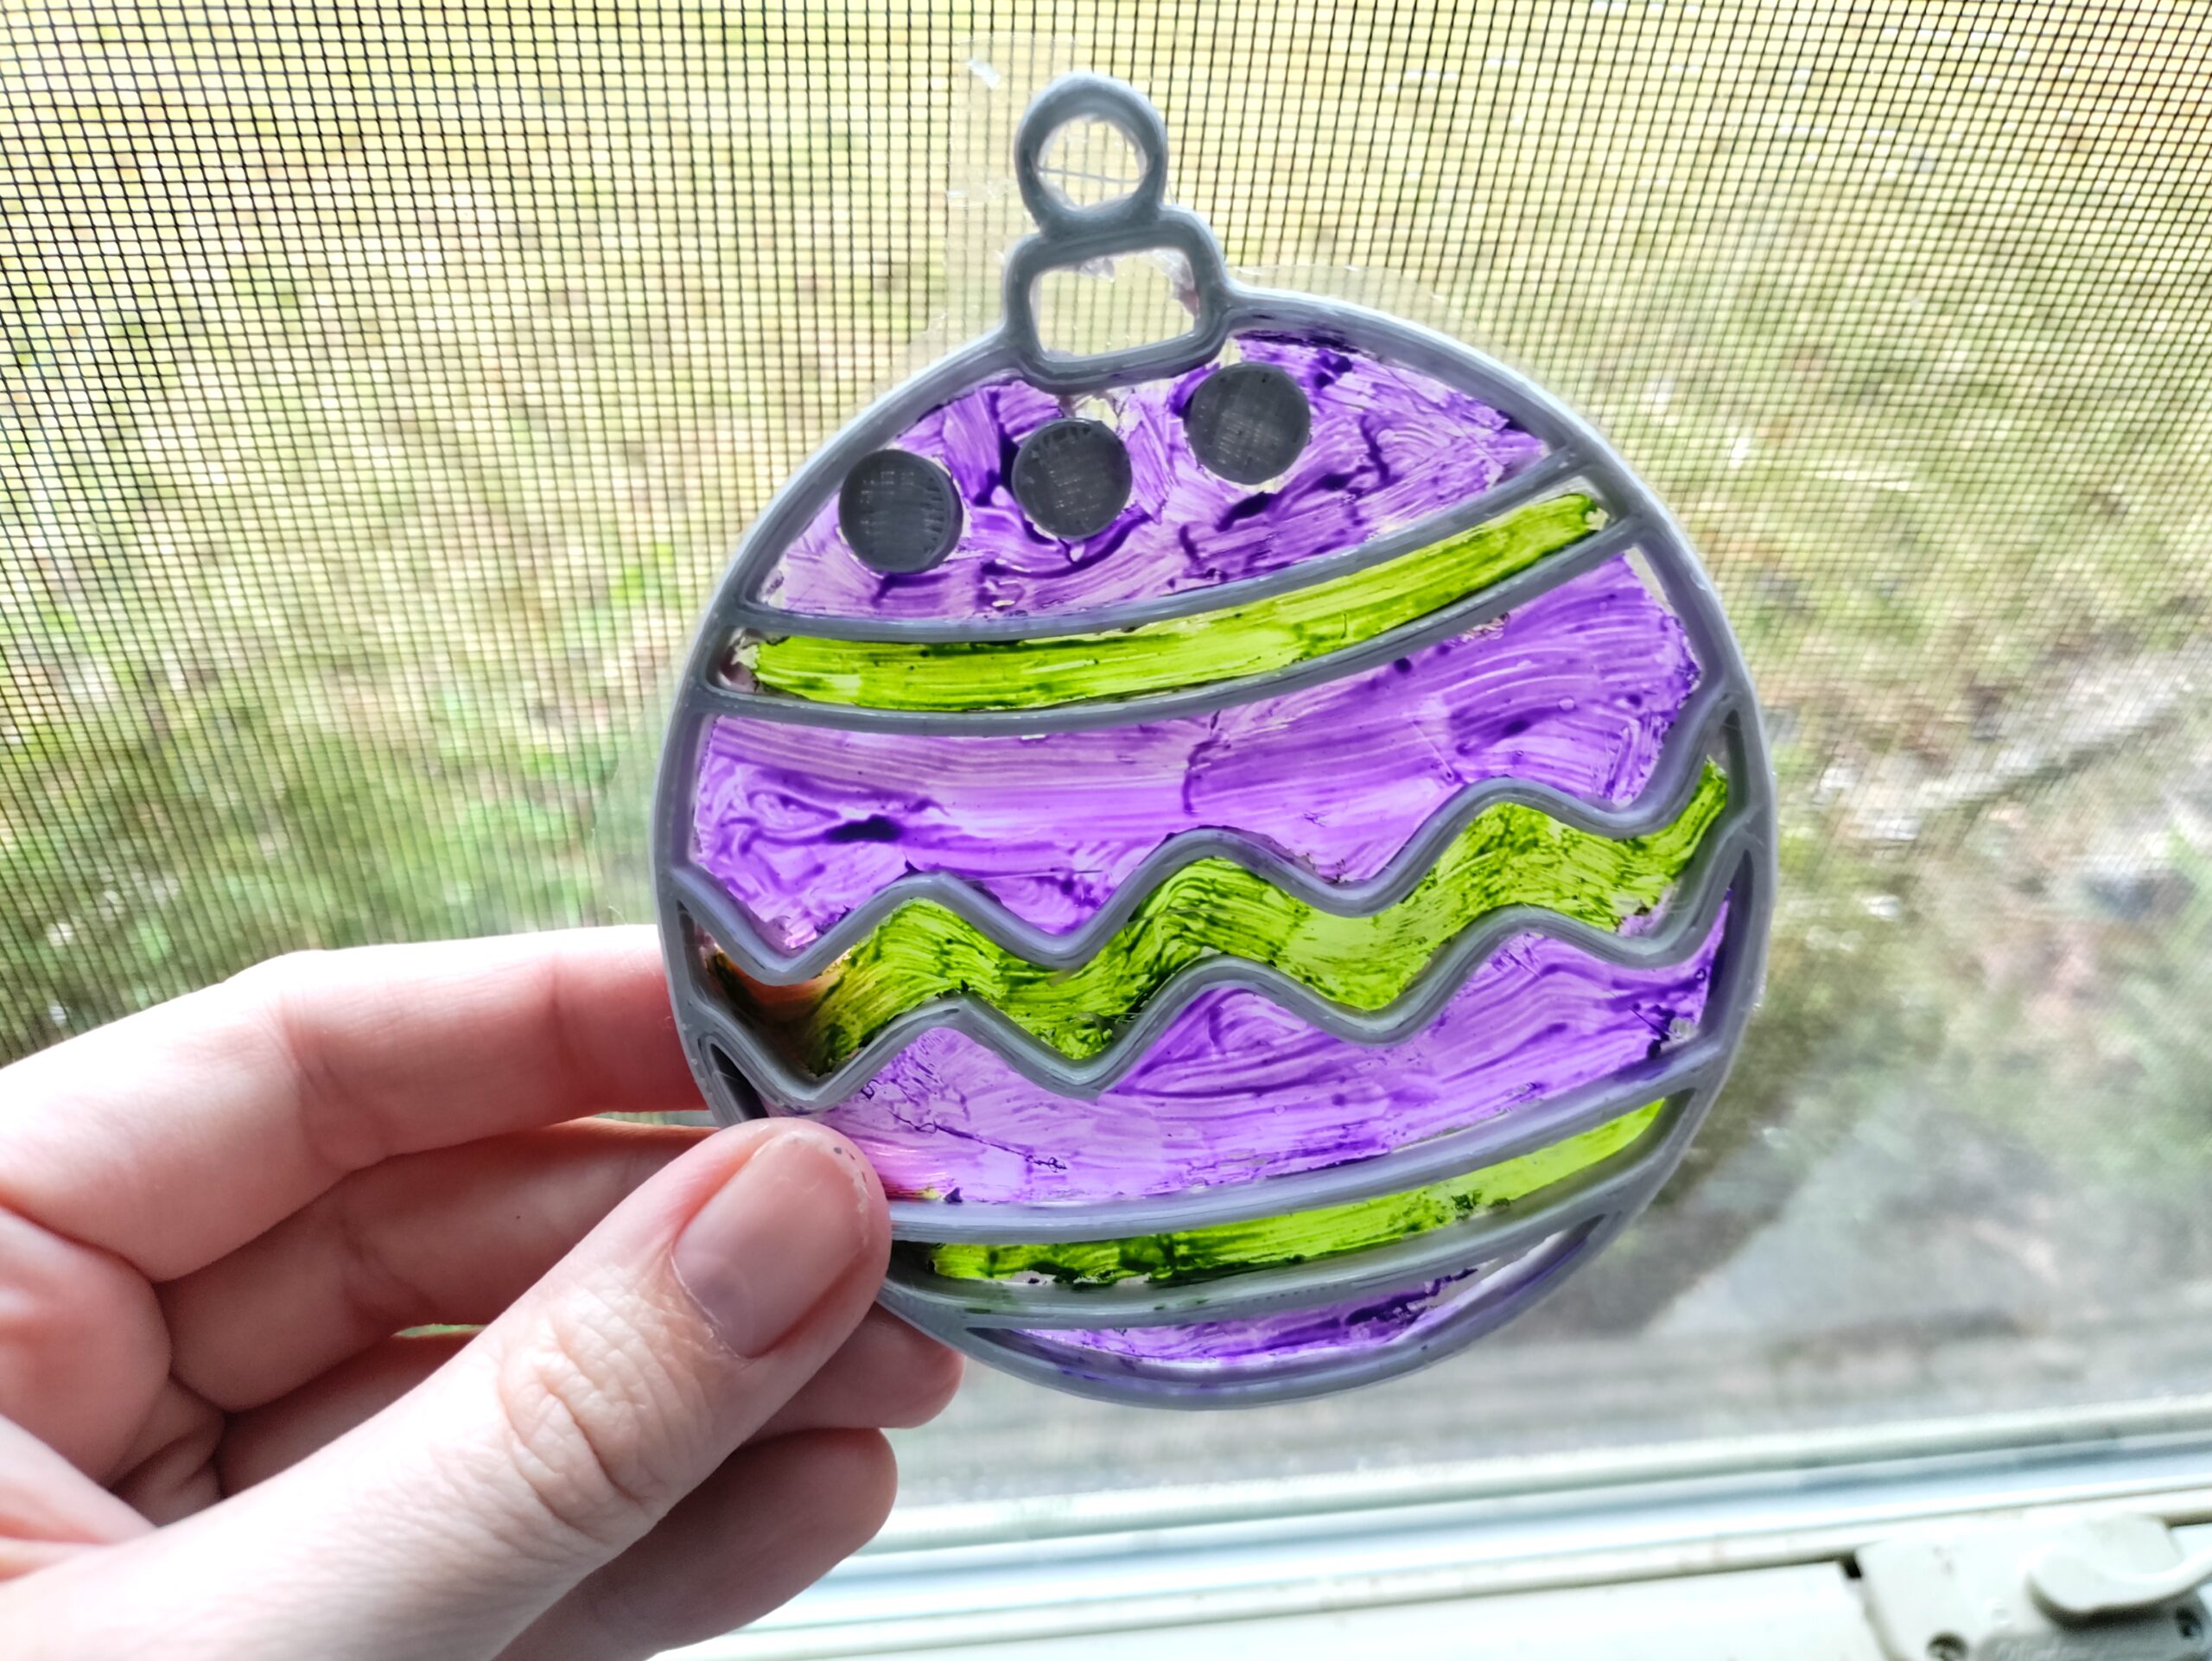
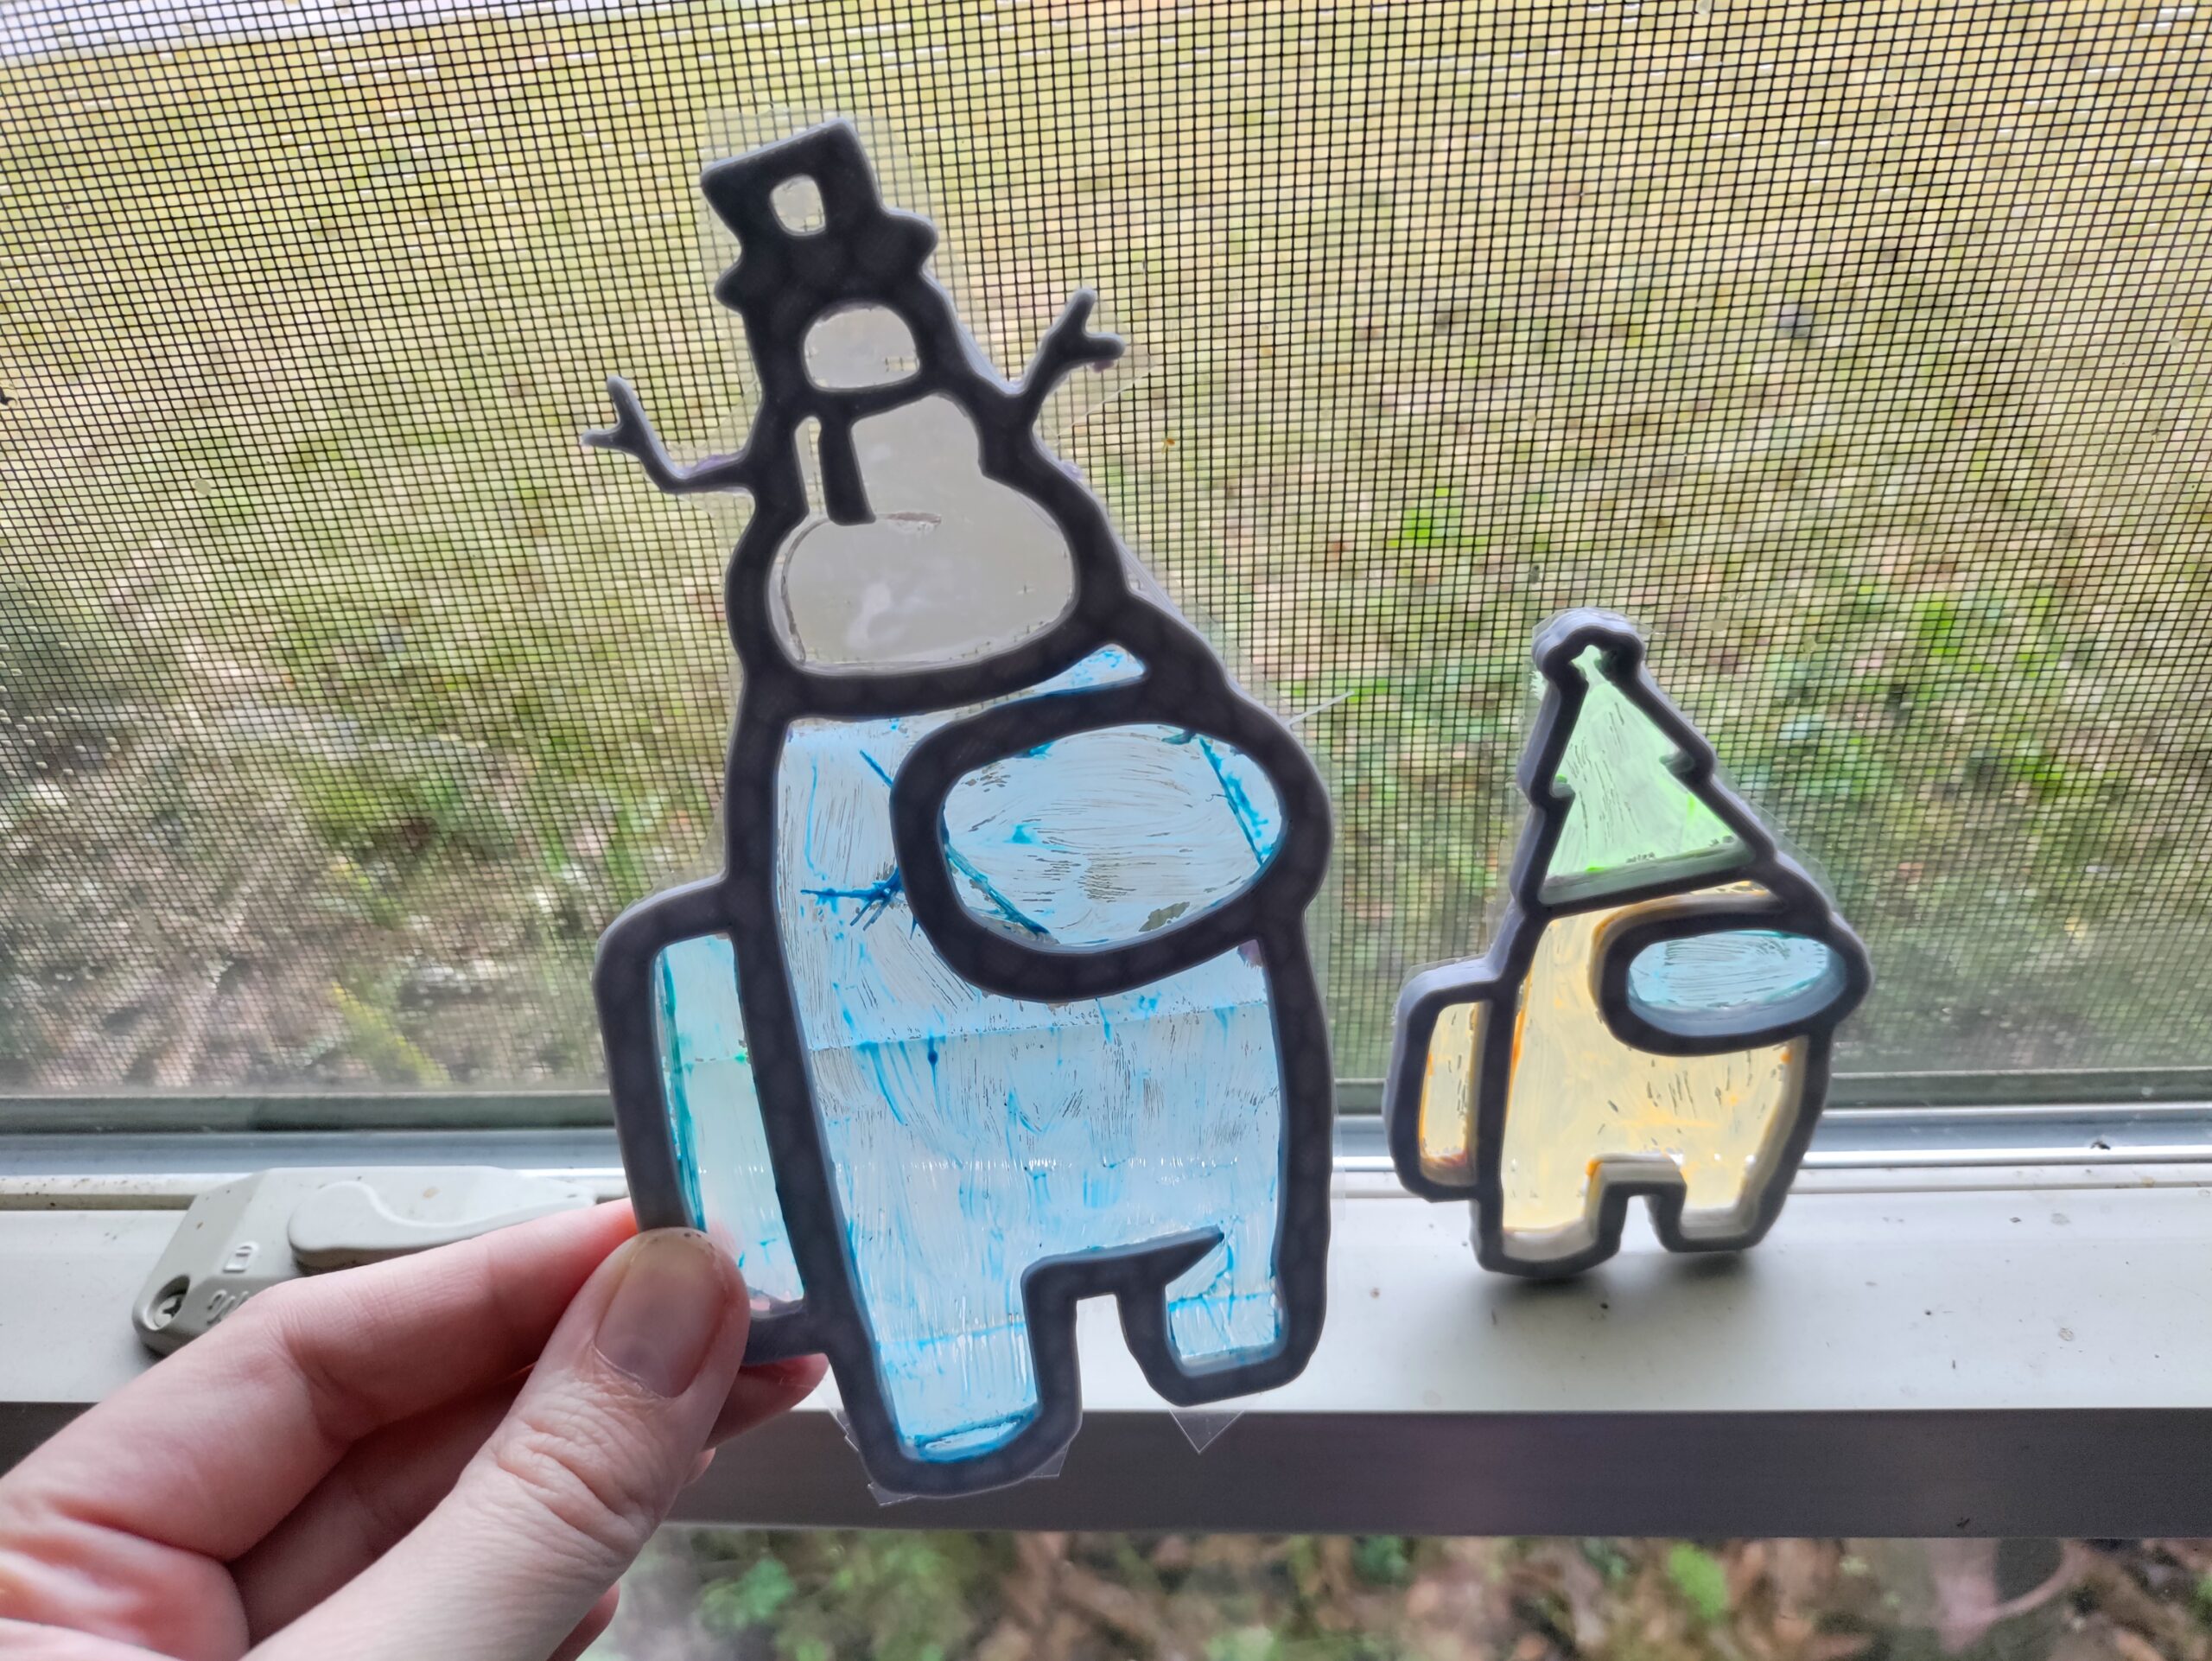
This is how the acrylic paint looks on the sun catcher in the light – isn’t it pretty?!
And that’s it! Making your own 3d printed sun catcher is SO easy and you really only need minimal supplies. This is a fun way to bring some of your science and history lessons to life for your students, and let them take home their project too!
 |  |
 |  |