DIY Flower Gift Tote Bag Tutorial
This post may contain affiliate links, view our disclosure policy for details.
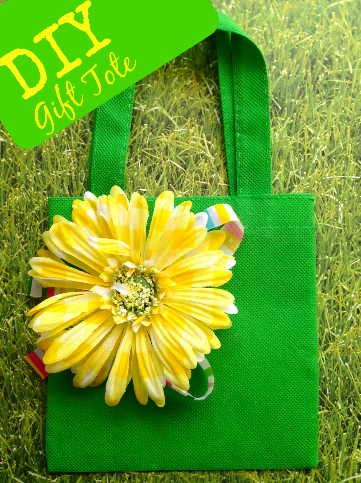
Whether you are planning a garden party or just want a sweet way to carry around your swag, this easy spring tote bag is the perfect spring time craft. It makes great Mother’s Day gifts, thoughtful gifts stuffed with homemade goodies, crafty tote organization, little party favor bags, and pretty much anything else you can come up with. This easy flower tote bag can be whipped up in minutes and is even a great craft for little hands. Take a look below and see just how easy it is!
Supplies needed:
Green mini tote bag (buy cheap ones here!)
Assorted silk flowers (the brighter the better!)
Assorted spring ribbon
scissors
craft glue
Directions:
1. Begin by preparing the flower embellishment that is going on the bag. Begin by removing the flower blooms from their stems. Cut as much stem off as possible.
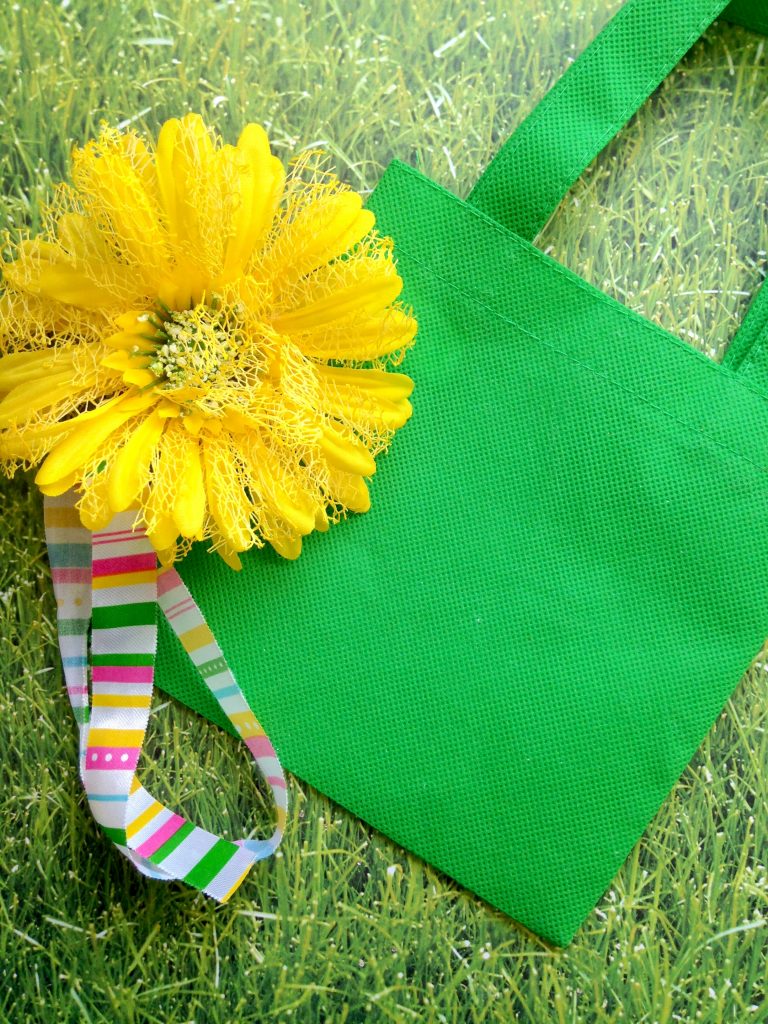
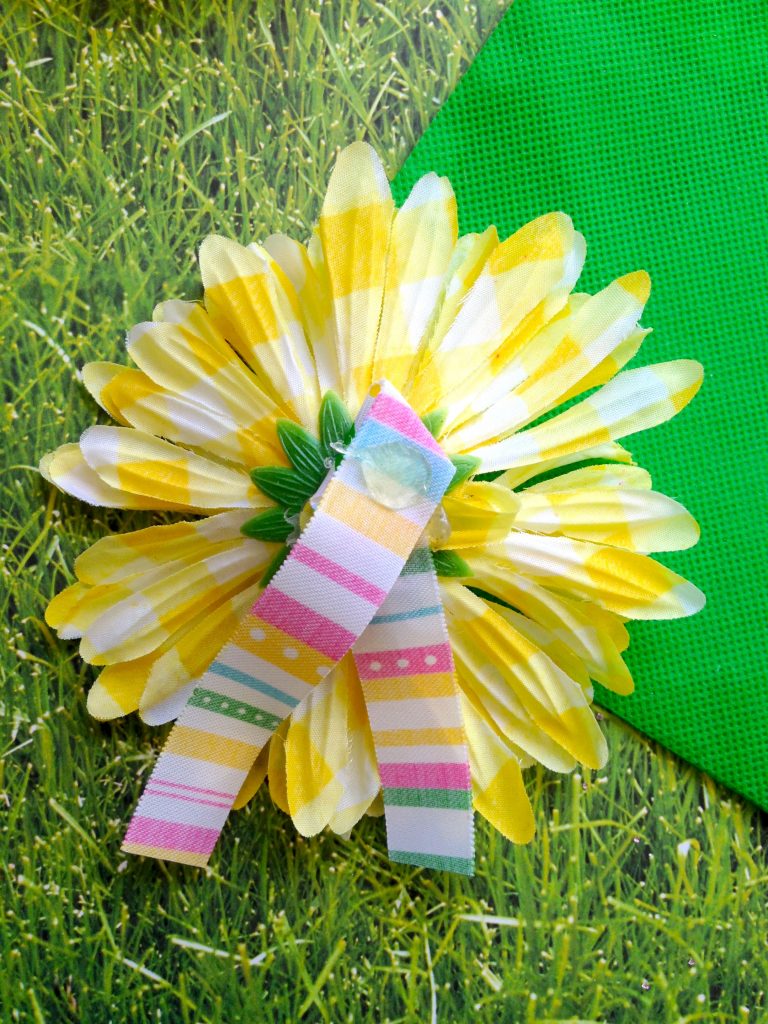
2. You can now start cutting some lengths of spring ribbon and looping them over. You can cut as many lengths as you wish and embellish with as much ribbon as you wish. Once you have cut the ribbon, apply some glue and press it to the back of the flower.
3. Turn the flower over and see if you like the look. You should have a single bloom with bright ribbon poking out from underneath. If you like it how it is, add some additional glue and press it to the top corner or center of the bag. Hold in place until secure. If you don’t like the look, add or remove ribbon as needed until the look you wish is achieved.
Your spring tote bag is now complete. It is the perfect favor for garden parties and even makes an excellent kid’s craft. Plus, the ways you can use this bag are endless. Gather your supplies and give this easy spring time DIY a try!
If you’re looking for spring crafts you’ll love these!
DIY Spring Clothespins
Spring Flower Cupcake Paper Bouquet
String Art
Butterfly Wreath
Egg Carton Bugs for Kids
Sunshine Craft for Preschoolers


