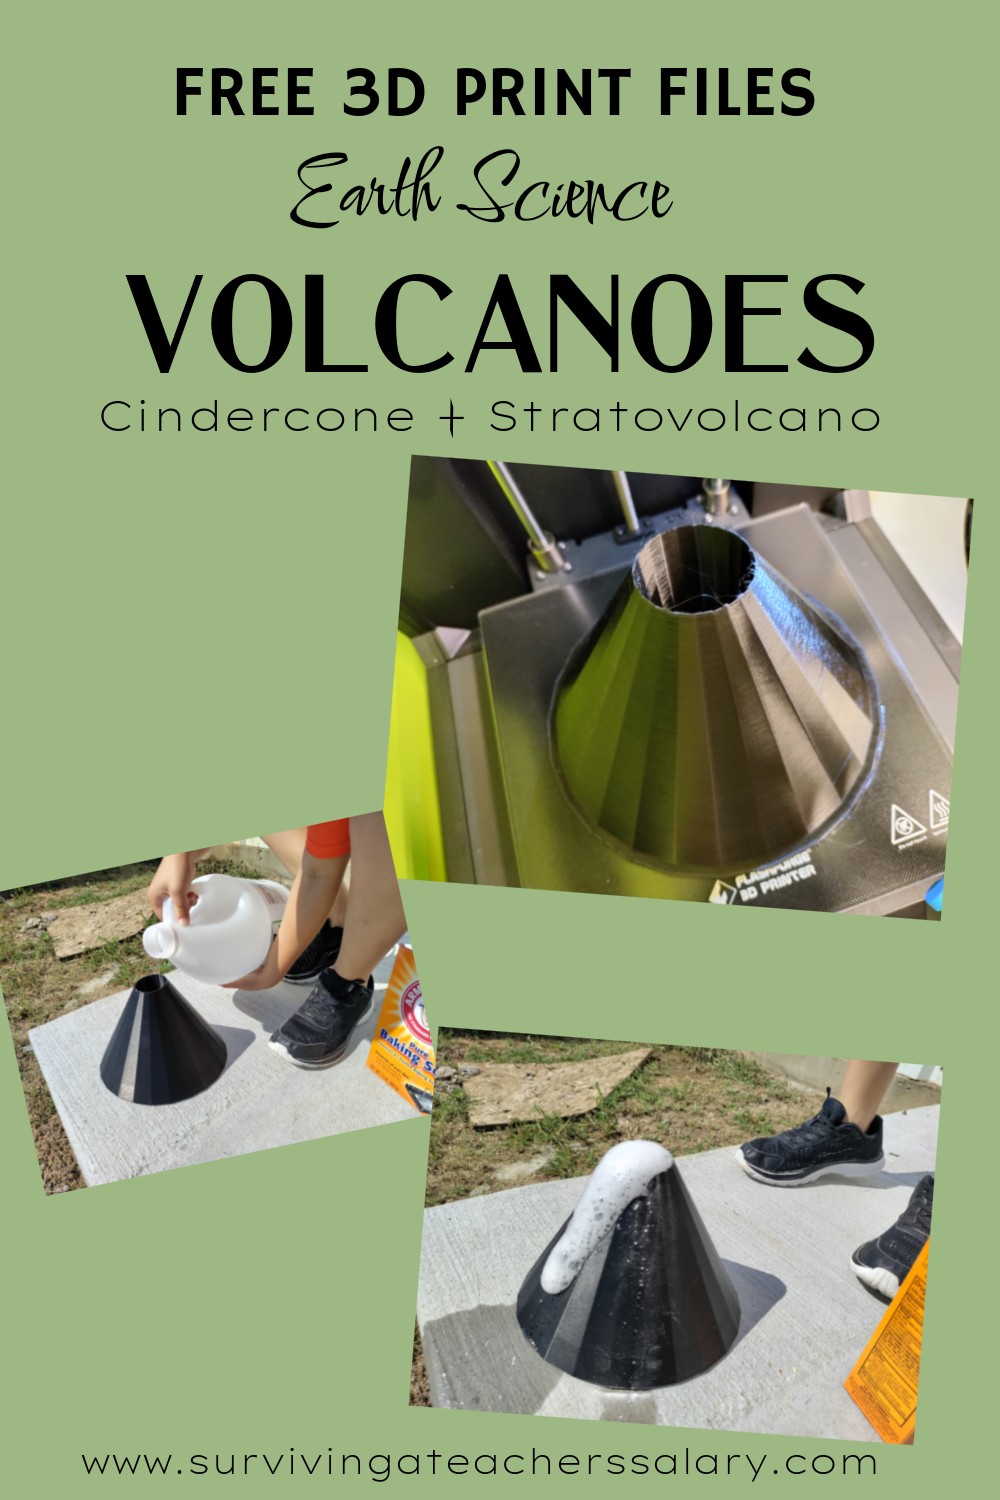
3D Print Files for Earth Science Volcano Lesson
This post may contain affiliate links, view our disclosure policy for details.
I’ve been using 3d printers for over 10 years, but once I got over the novelty of having a 3d printer, I realized how much we could use it in education and every day teaching to customize our students’ learning!
For this earth science volcano lesson we’ve partnered with FlashForge which have awesome 3d printers perfect for educational use in your classroom & clubs!
Whether you’re teaching earth science or planning a mad science birthday party, our custom made volcano 3D print file is FREE and will work perfectly for you!
I was trying to figure out how to not only cut supply costs of clay, tape, etc. with a big group that you might normally make homemade volcanoes out of, but also cut extra time in our science experiment activity.
That’s when I came up with the idea of 3d printing ourselves a classroom set of volcanoes to use year about year in our earth science lessons! We were also hosting a mad scientist birthday party so these worked great for that too!
Our FREE 3d print volcano STL file and earth science lesson idea below is sponsored by FlashForge! They have an incredible line of 3D printers great for educational use, hobbyists, and commercial!
We purchased a FlashForge Adventurer 3 last year and it was by far a step up from another off-brand we were using. Then they sent me a FlashForge Artemis which is definitely my go to in large group school settings! (Read my review here.) The Artemis also comes in a great 3D Printer Education Bundle.
Our Artemis 3D printer requires less maintenance and tweaking than our other 3d printers and it’s quiet enough it doesn’t bother our kids while printing. It also automatically pauses AND the project will resume at the same spot with power outages and low filament levels.

We designed and printed several types of 3d printed volcanoes before settling on our final models. The one printing above on our FlashForge Artemis 3D printer is partially hollowed on the bottom to save on filament and has a large deep vent making it easy to add baking soda into.
The biggest decision in designing these 3d volcanoes was how big to make the vent at the top of the volcano. I typically use a spoon to add baking soda into the top so our design needed to allow for a spoonful of baking soda to actually make it inside the vent, but not have the volcano so large that it would take forever to print a class sized amount.
This specific model above also is designed after a cinder cone volcano which is the most common type of volcano in the world. It has a tall narrowing shape towards the top and is immediately recognized as a volcano.
Cinder Cone Volcanoes in the United States:
- Capulin Volcano National Monument
- Sunset Crater National Monument
- Crater Lake National Park
- Craters of the Moon National Monument
- Lassen Volcanic National Park
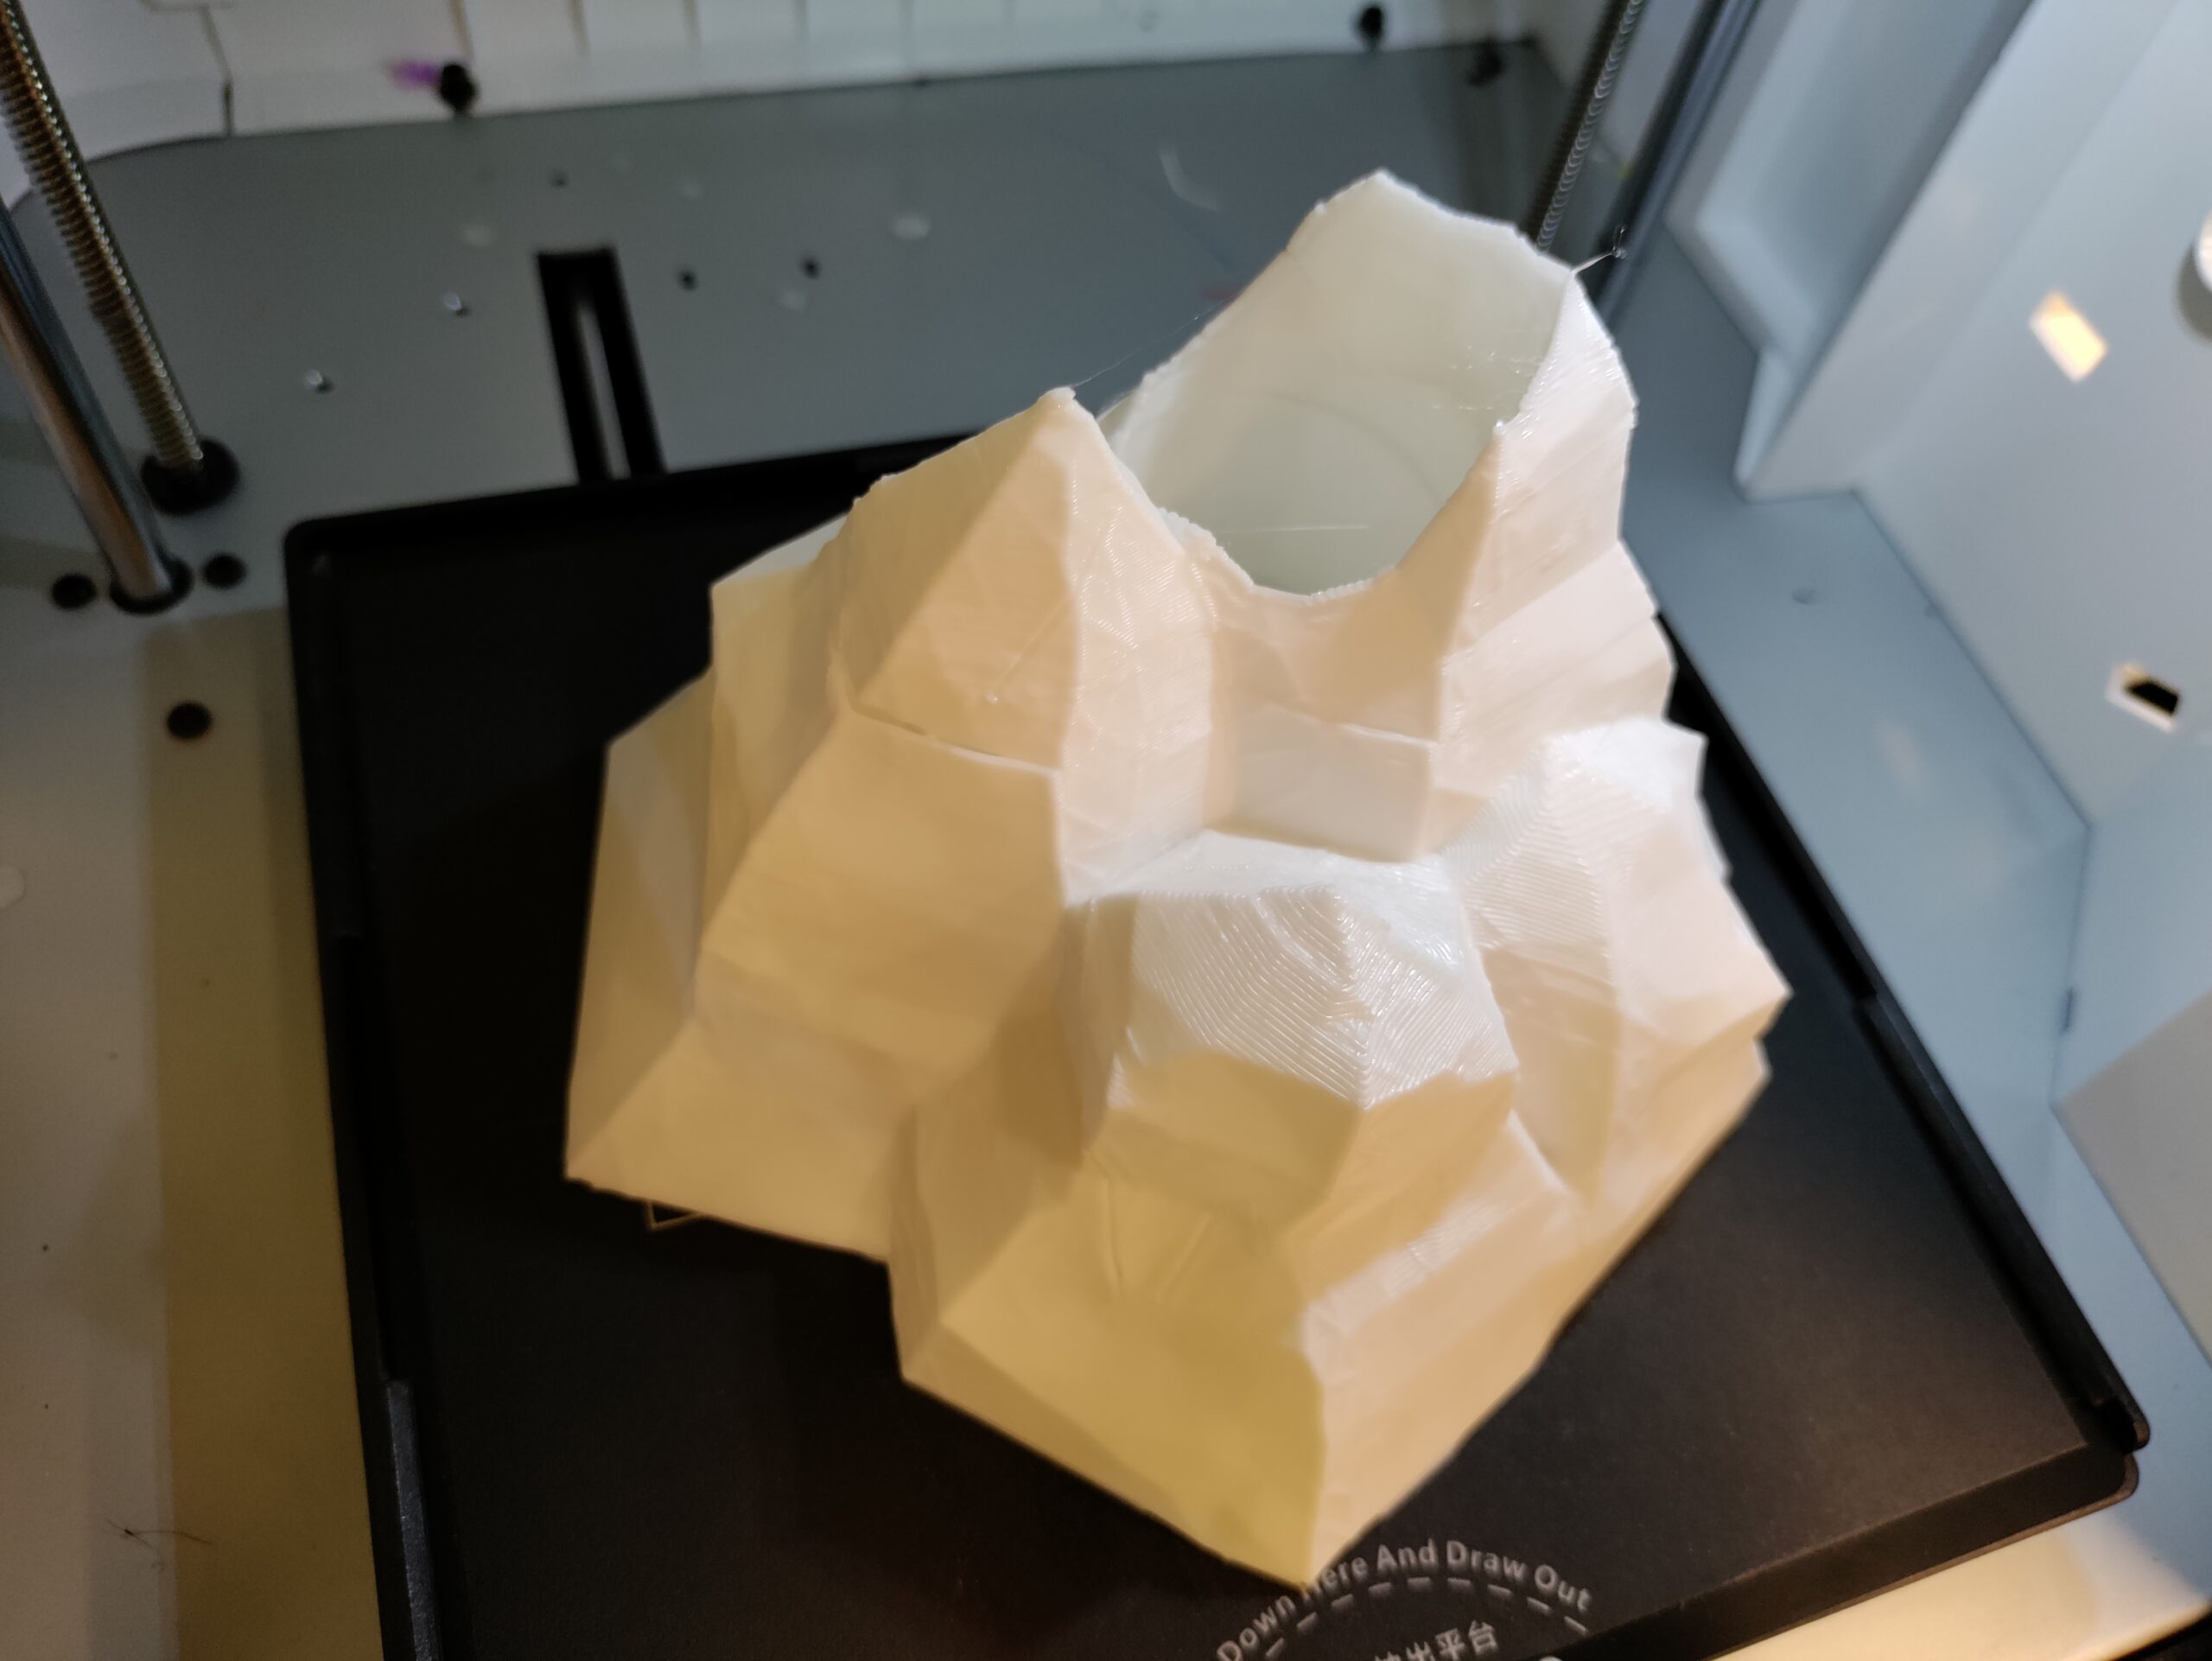
This specific model above also is designed after a stratovolcano, also known as composite volcanoes. Composite volcanoes look most similar to a mountain from a distance and are made of multiple eruptions of different types of composition of lava. They can even cause landslides and large blasts of eruption.
They are also subject to erosion which increases the possibilities of avalanches and landslides. They are a much more complex study than cinder cones.
Stratovolcanoes in the United States:
- Mount Rainier National Park
- Lassen Volcanic National Park
- Lake Clark National Park
- Katmai National Park
- Aniakchak National Monument
- Yellowstone National Park
- Wrangell-St. Elias National Park
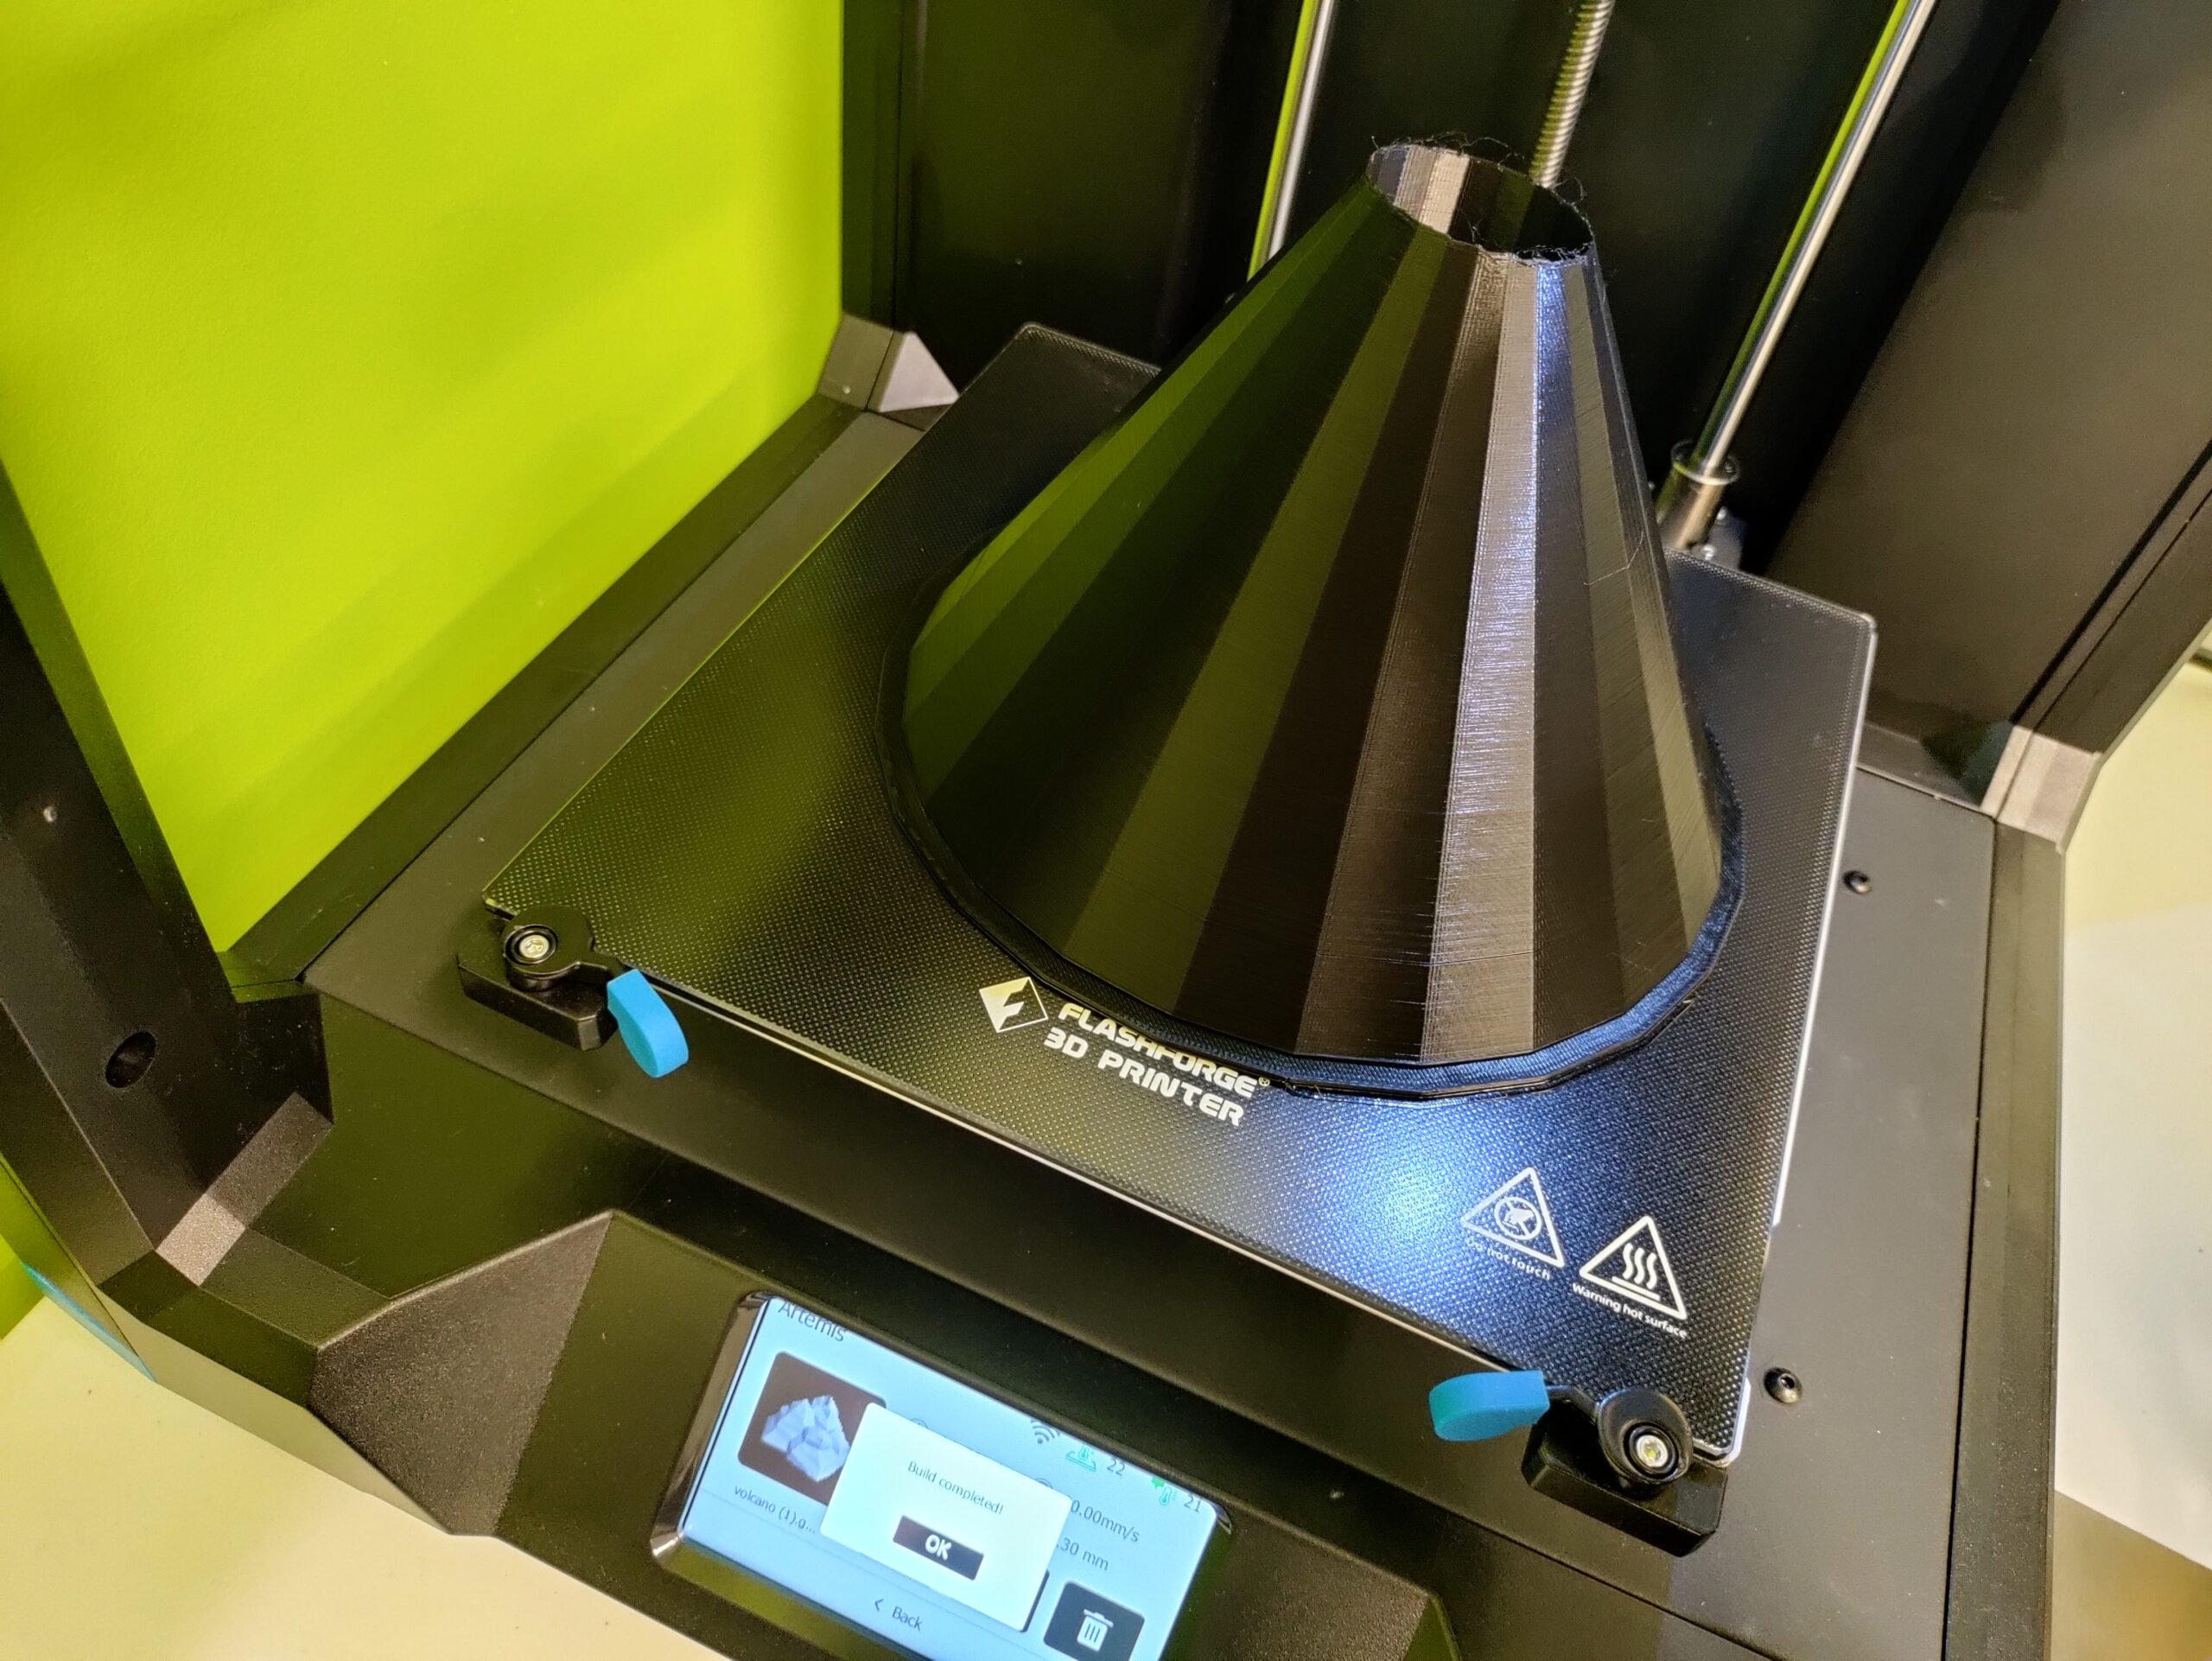
As you can see above the print turns out beautifully! I recommend using the cinder volcano over the composite volcano when working with kids. There are no sharp ridges and clean up is a breeze since it’s so smooth.

3D Print Volcano STL Files:
STL FILE: Cindercone Volcano Tinkercad File
STL FILE: Stratovolcano Tinkercad File
Baking Soda + Vinegar Volcano Science Experiment:
If you’re working with a large group and don’t have time for exact measurements don’t worry! This is one of those science experiments that you can estimate and still have a great effect!
If you haven’t done the simple baking soda and vinegar volcano science experiment before – it requires very little planning and supplies! Although it can require a little bit of cleanup.
You’ll need:
- baking soda
- vinegar
- plastic spoon or small scoop
- small Dixie cups
- 3D printed volcano
I place a bowl of baking soda on a table with a plastic spoon and instruct each child to spoon one spoonful of baking soda into the vent of their volcano. Then I pour vinegar into each child’s small Dixie cup – as much as I’m comfortable with them handling without spilling!
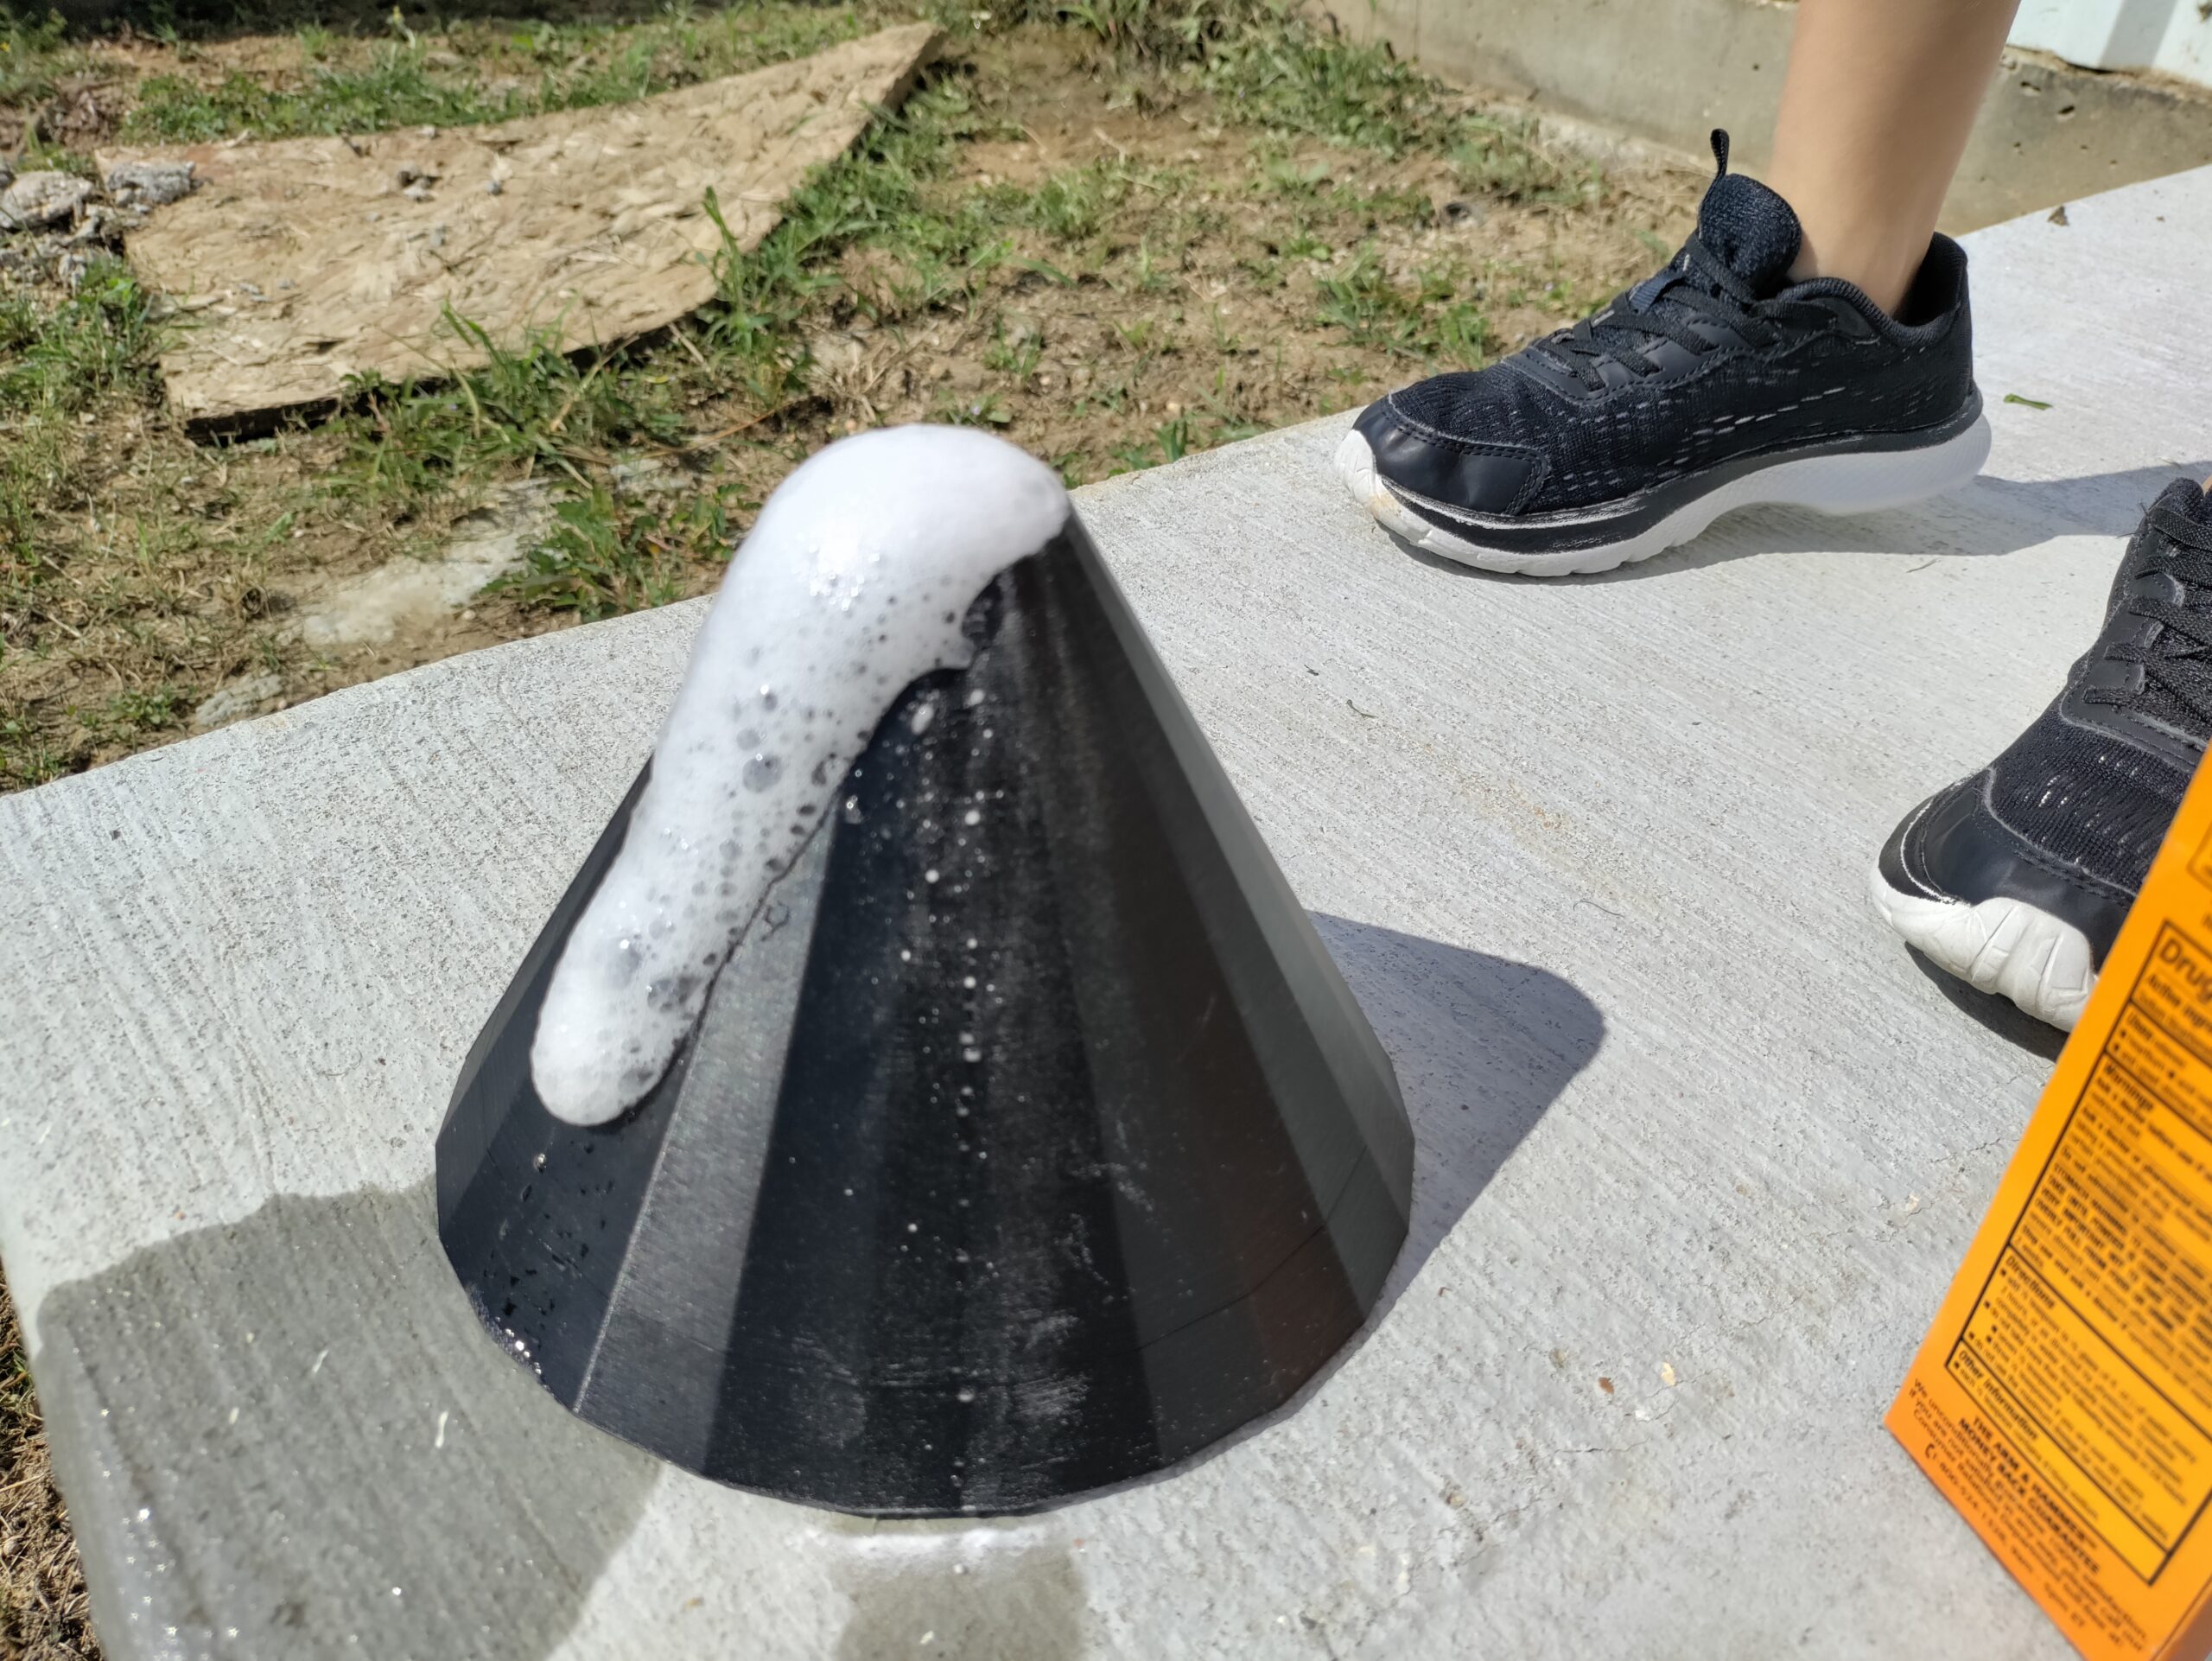
Then all they need to do is pour the vinegar into the vent on top of the baking soda and voila – an eruption occurs! If you’ve got plenty of supplies the kids can do this over and over and over until they tired of it!
Encourage the students to try different amounts of baking soda, then different amounts of vinegar, and correlate what the relationship is of each based on its reaction.
Option 1: Add a drop of food coloring into the baking soda for a colorful eruption! I have not tested this with lighter color 3d print filaments however so be prepared for white filament to be possibly stained.
Option 2: Instead of going outside with this activity you can purchase aluminum roasting pans or trays to contain any mess inside the classroom. You can even have an 18 gallon bucket to slide around the room and slide the mess into if needed.
Extended Earth Science Volcano Lesson Idea:
- Research volcanoes in the United States (or your country region), then design and map out it’s geographical space.
 |  |
 |  |