

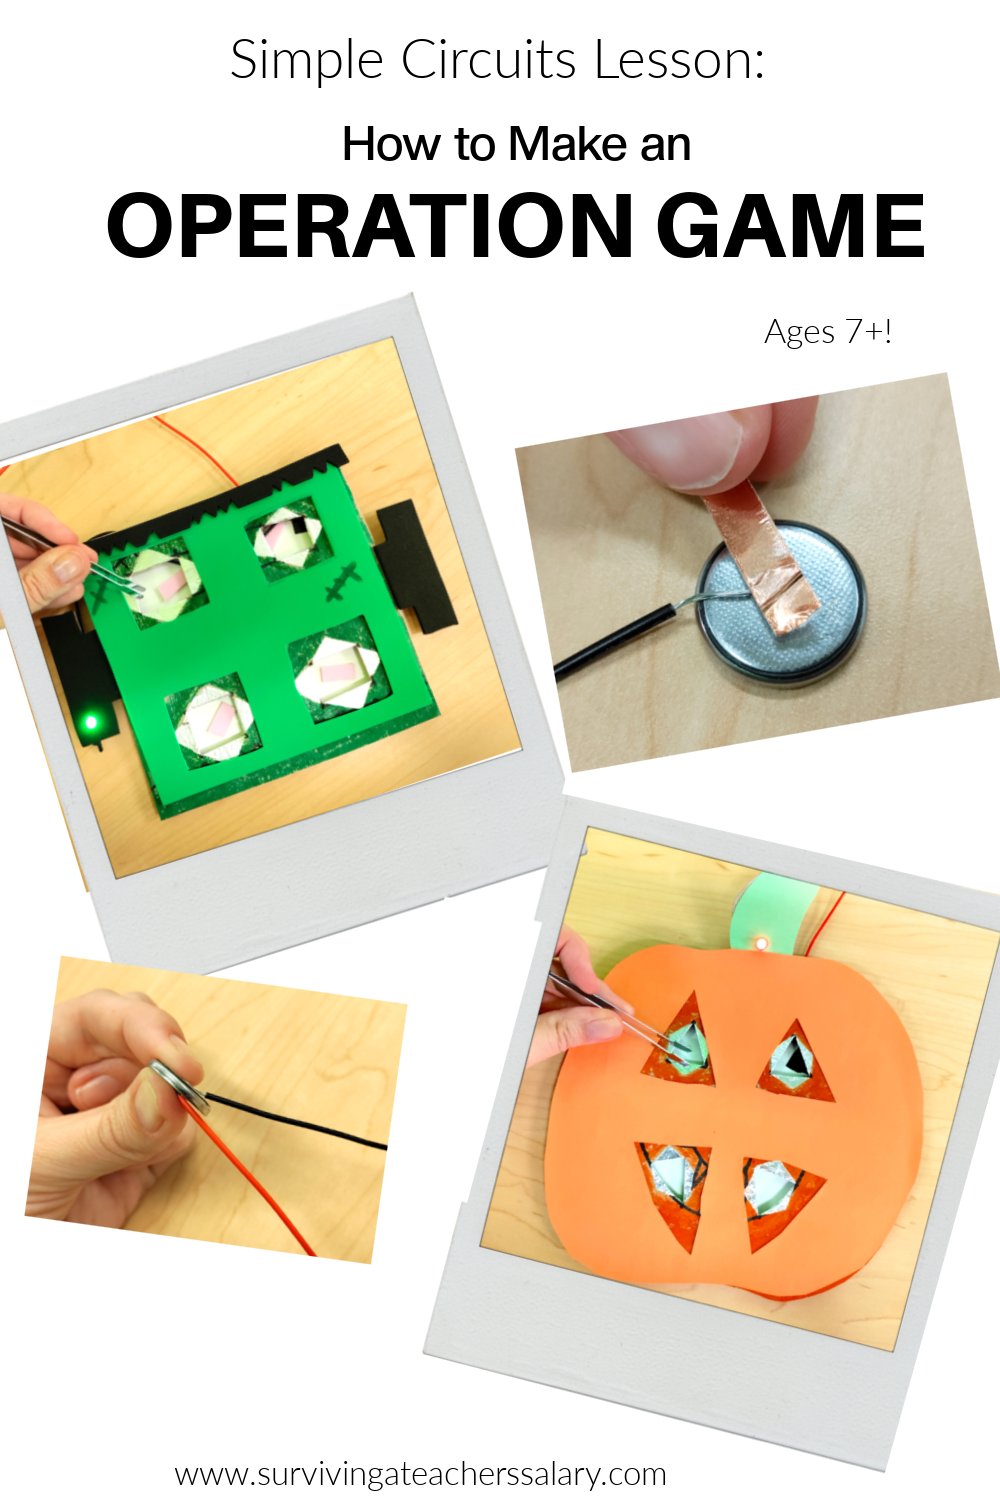
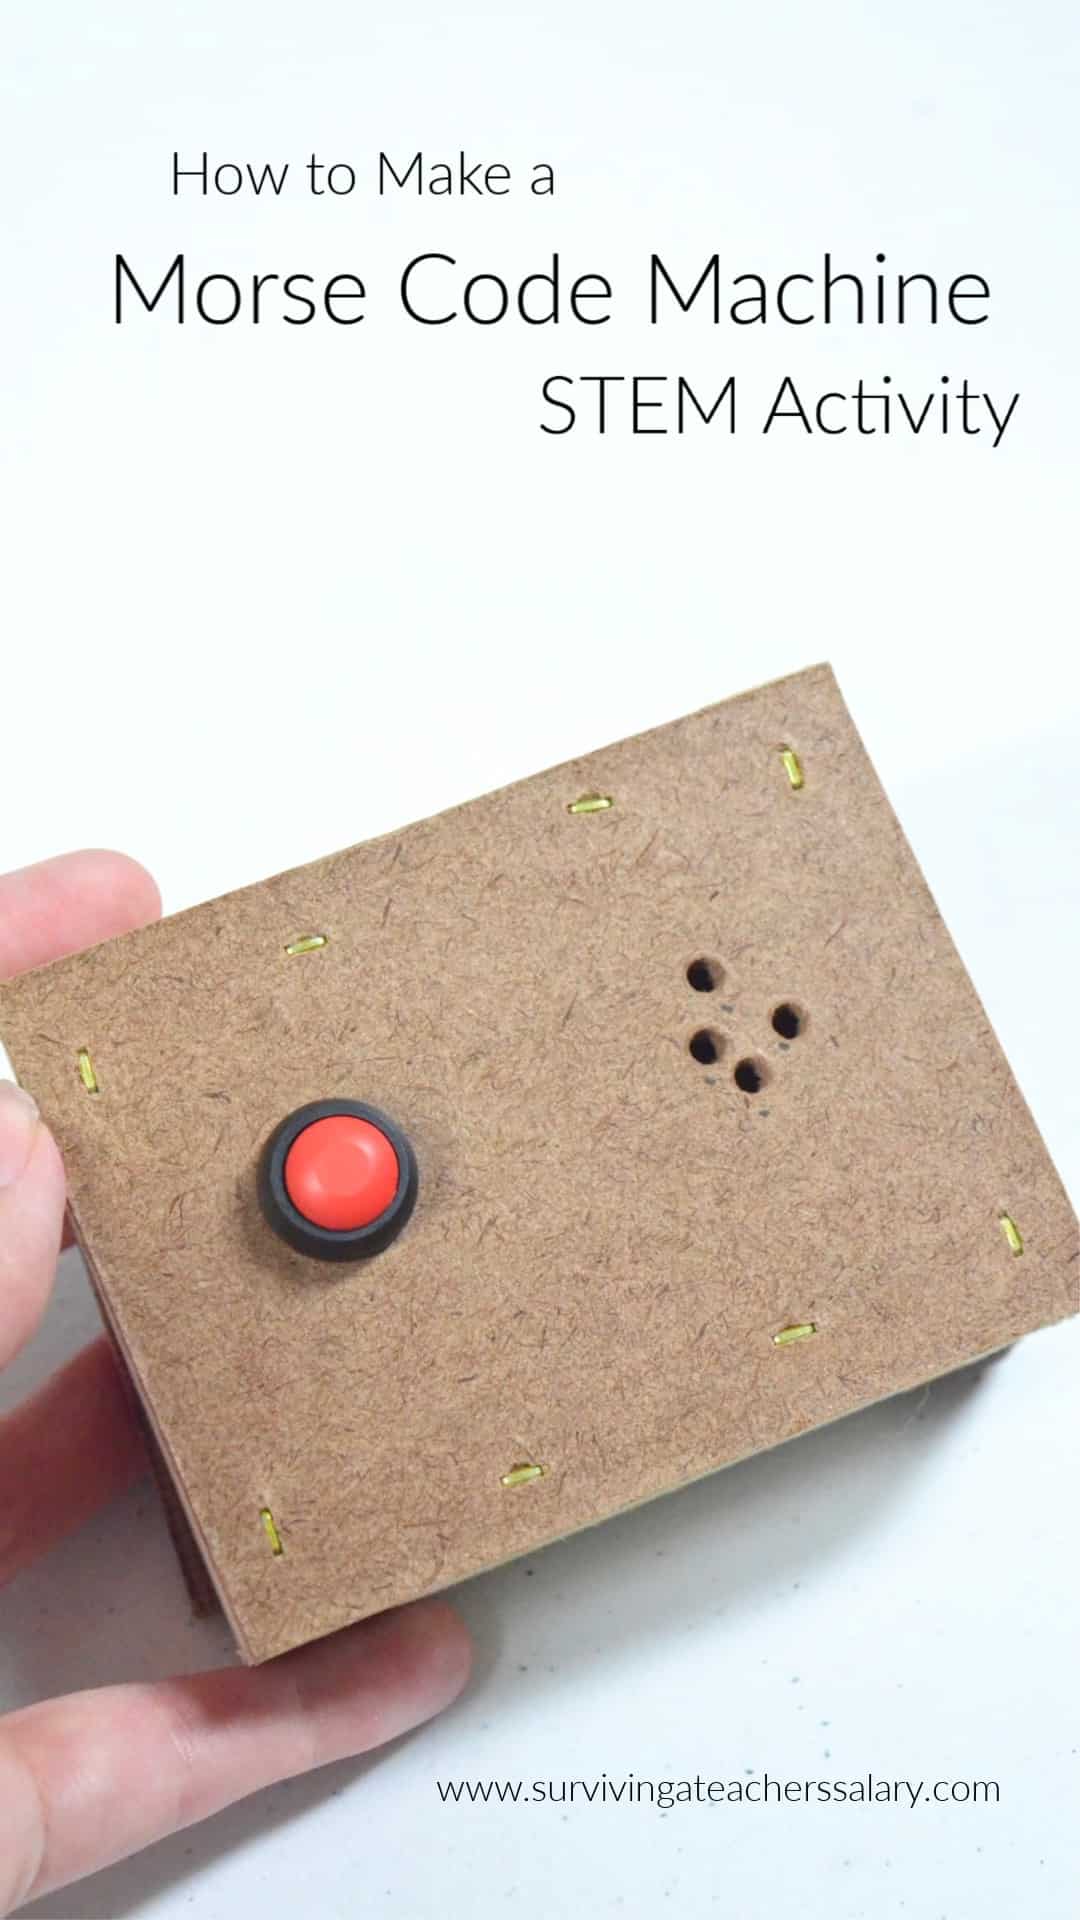
How to Make an Operation Game Circuits Lesson
This post may contain affiliate links, view our disclosure policy for details.
We’ve been working with simple circuit lessons and game design lessons. Below you’ll learn how to make a DIY Operation game using circuits and an optional 3D printed frame! You can make any shape/theme you want!
For this specific circuits lesson we recommend it for ages 8 & up. You can do it with younger kids but they will require far more hands-on assistance. We found older kids do best with this simple circuit lesson simply because there are a lot of steps to put together and fine motor skills and creativity skills are more advanced.
For this specific post we were making Halloween themed Operation games to do in a classroom large group setting. This is a great activity that can take an hour (or longer) depending on the age group you’re working with. We’ve done this with kindergarten through high school age.
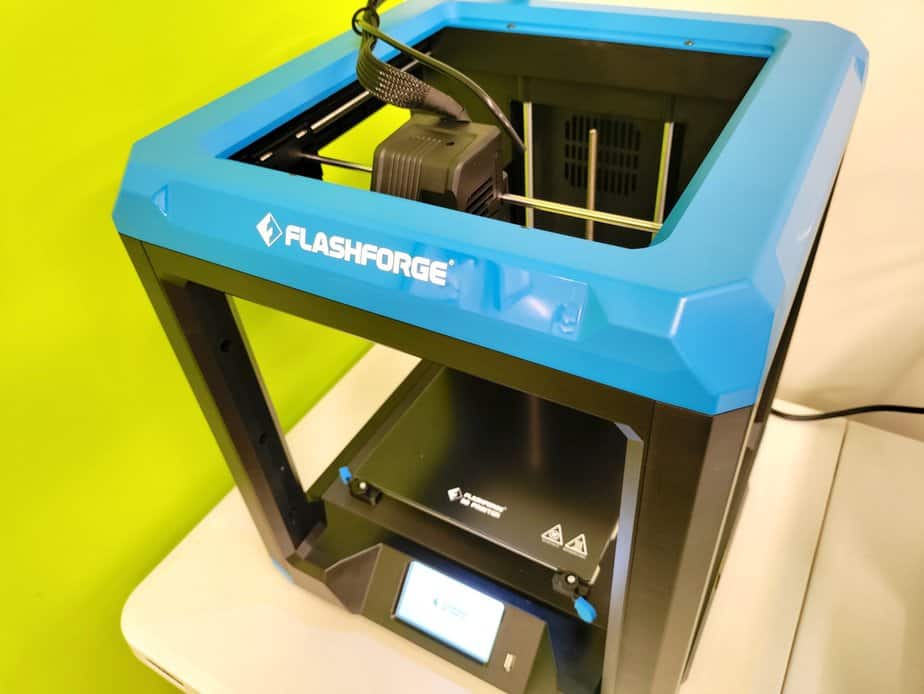
We are also featuring our FlashForge Artemis 3D printer (which is completely optional for this activity) as they have partnered with us for the remainder of this school year to promote tech & 3d printing in education! This FREE activity is shared with you in conjunction with my partnership with FlashForge.
Materials Needed:
- two pieces of cardboard or chipboard at least 5″x5″ in size
- 3d printed frame, foam, etc. (see note below)
- tweezers (we buy in bulk at the Dollar Tree – 4 for $1.25!)
- aluminum foil
- copper tape
- 1 LED diode
- 1 button cell battery (we use CR2032)
- 3 pieces of bell wire approximately 6-10 inches long
- coloring / craft items (markers, construction paper, craft foam, etc.)
- OPTIONAL – 3D Print file here for Quadrant Frame we used
We pre-prepped an organized pile of materials which is easiest in large groups, especially with younger children, but you can have your students create everything on their own – it will just require more time.

We began by cutting a square shape out of cardboard or chipboard. You’ll need two pieces per student. (You can opt to save a few pennies here by making one of these two pieces out of construction paper but it will not be as durable.
The shape and size here doesn’t matter but I recommend at least a 5″x5″ square at the smallest. You’ll need a little bit of room to work with so I do not recommend having a smaller project size.
You can either choose to keep all of the chipboard cutouts square shaped (which is what I recommend) or if working with middle/high school students you can let them create their own shape. This is more of a preference thing here.
PRINT OUR 3D Quadrant Frame here!
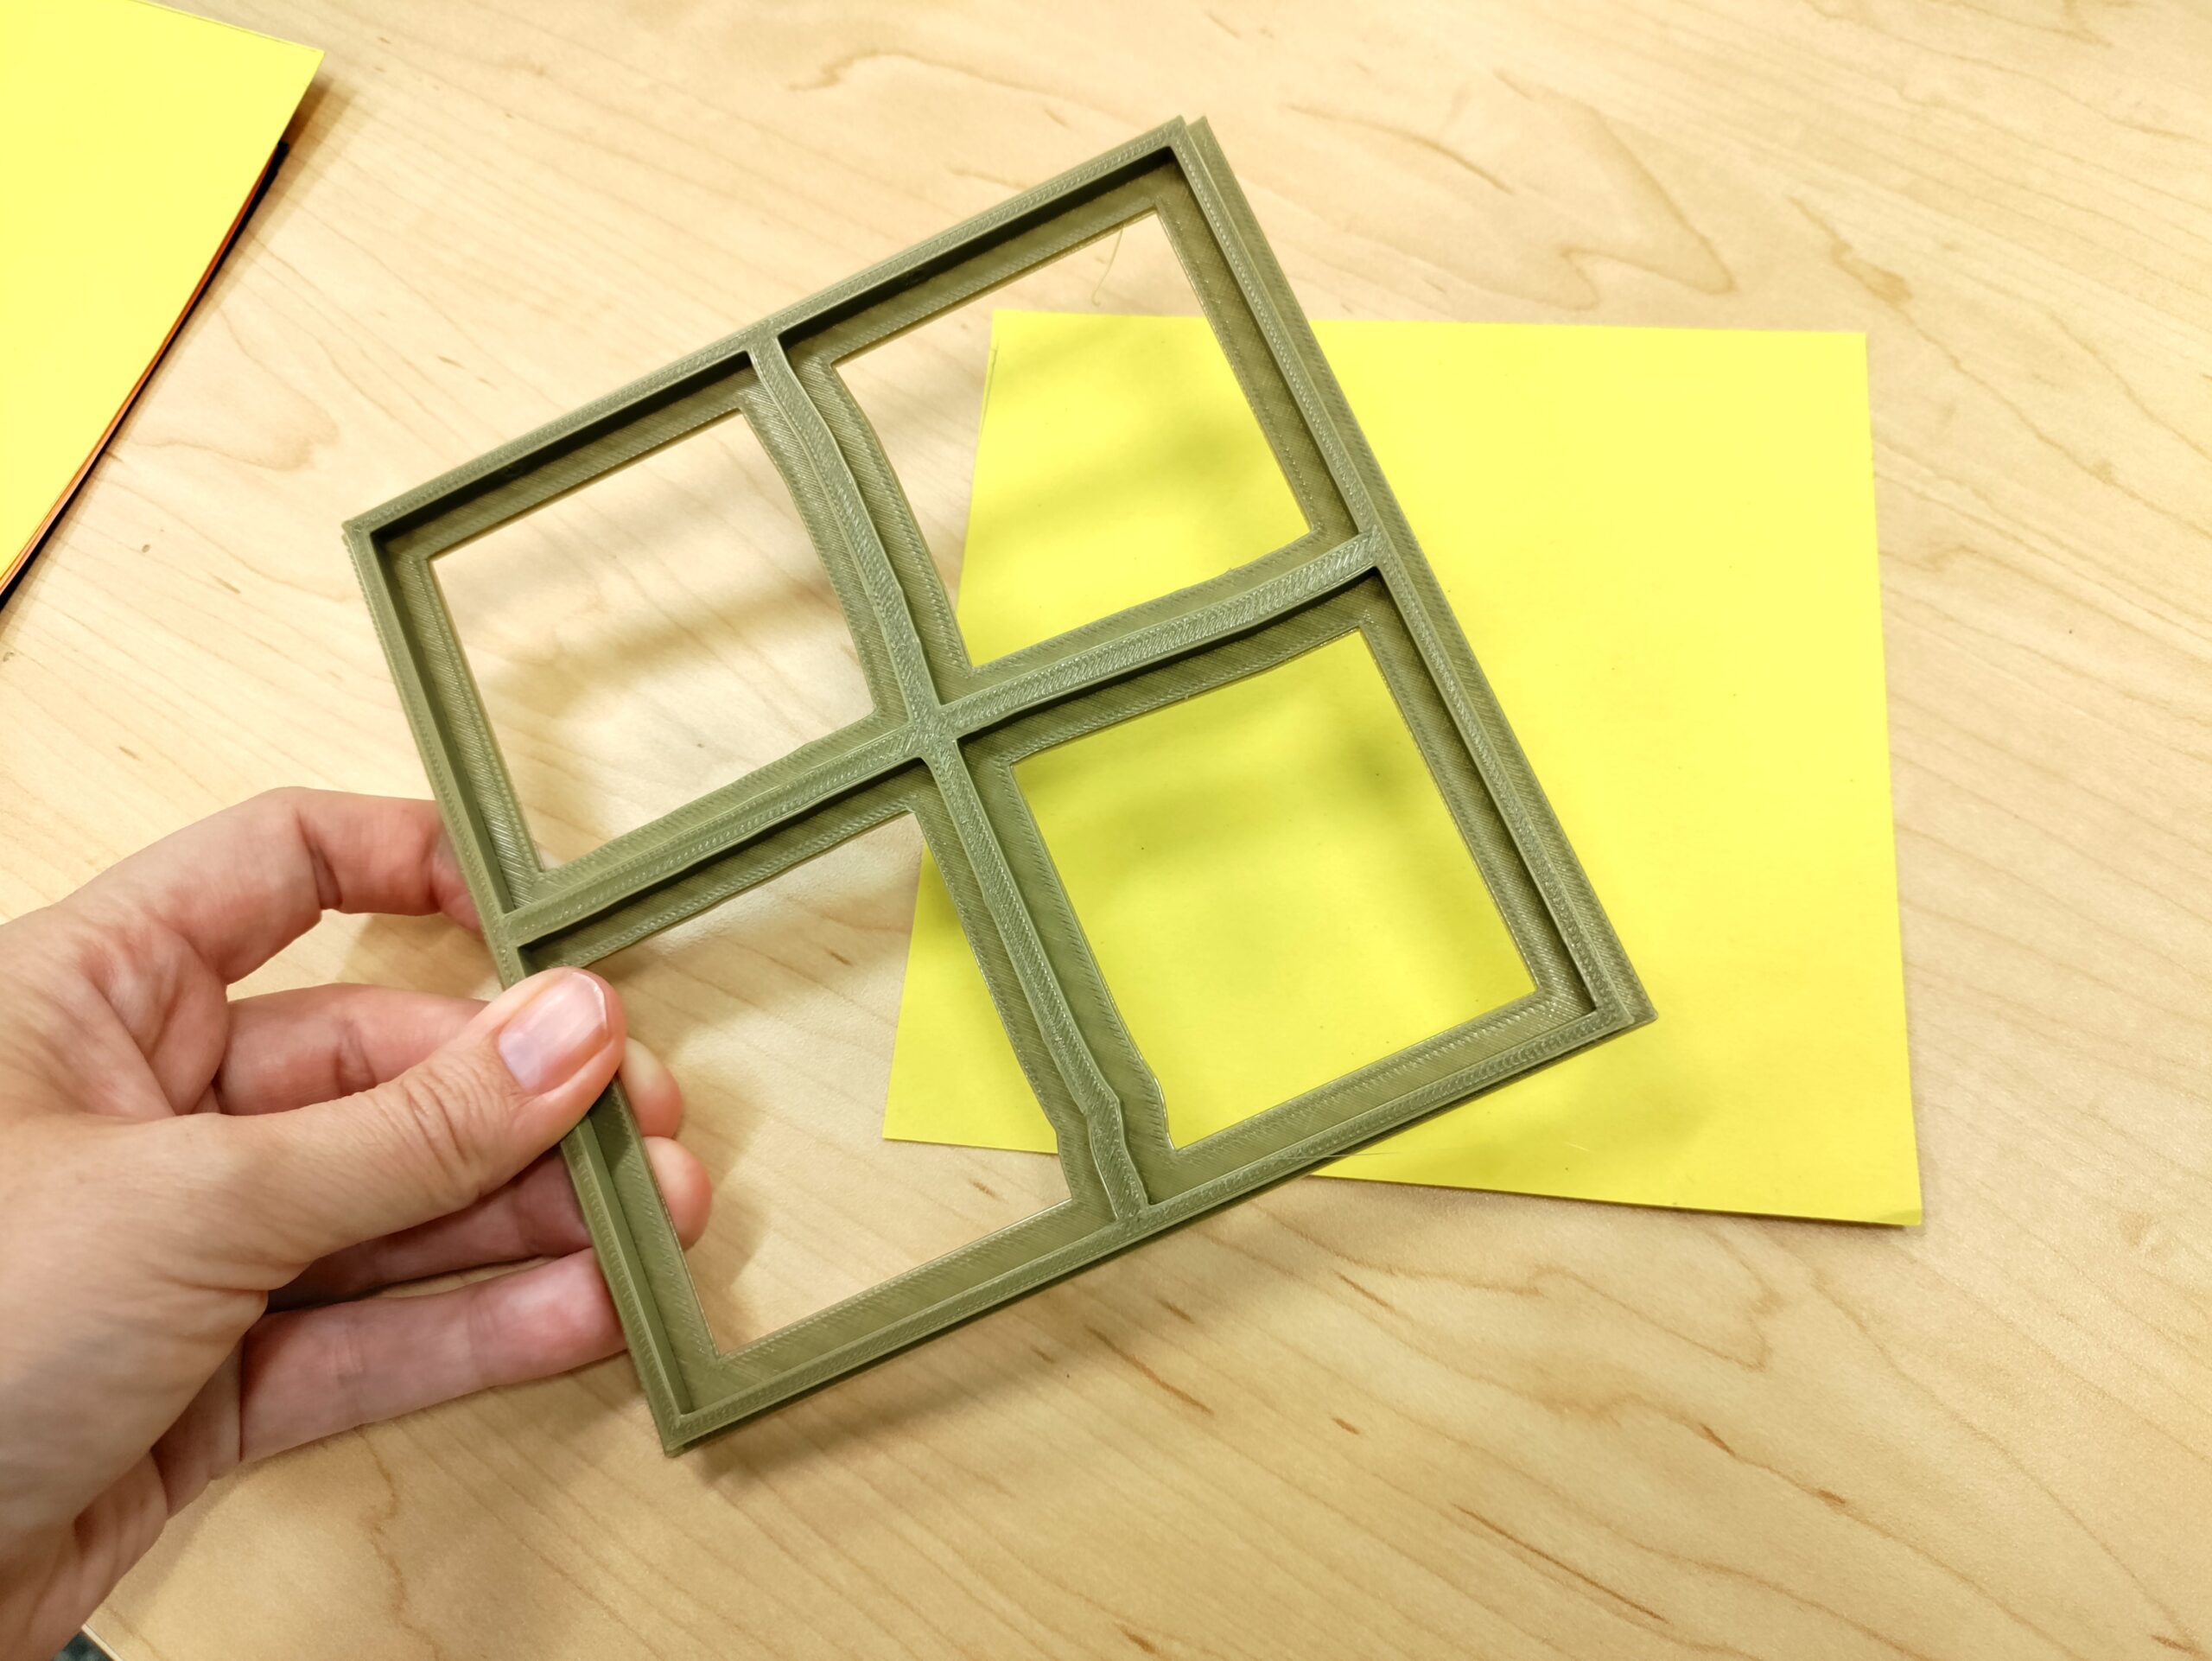
Notes about 3D Printed Frame & Options for Thickness:
As you can see above we used our FlashForge Artemis 3D printer and our FlashForge Adventurer 3 printers to print these simple quadrant frames we designed. They’re nothing fancy, but they are functional do have tiny holes for you to thread your wires through.
If you do not have access to a 3D printer you can line the border of your game frame with bits of craft foam or cardboard to give it some thickness. Just make sure you close any gaps around the borders that your game pieces could slip out of.
Bottom Piece of the DIY Operation Game:
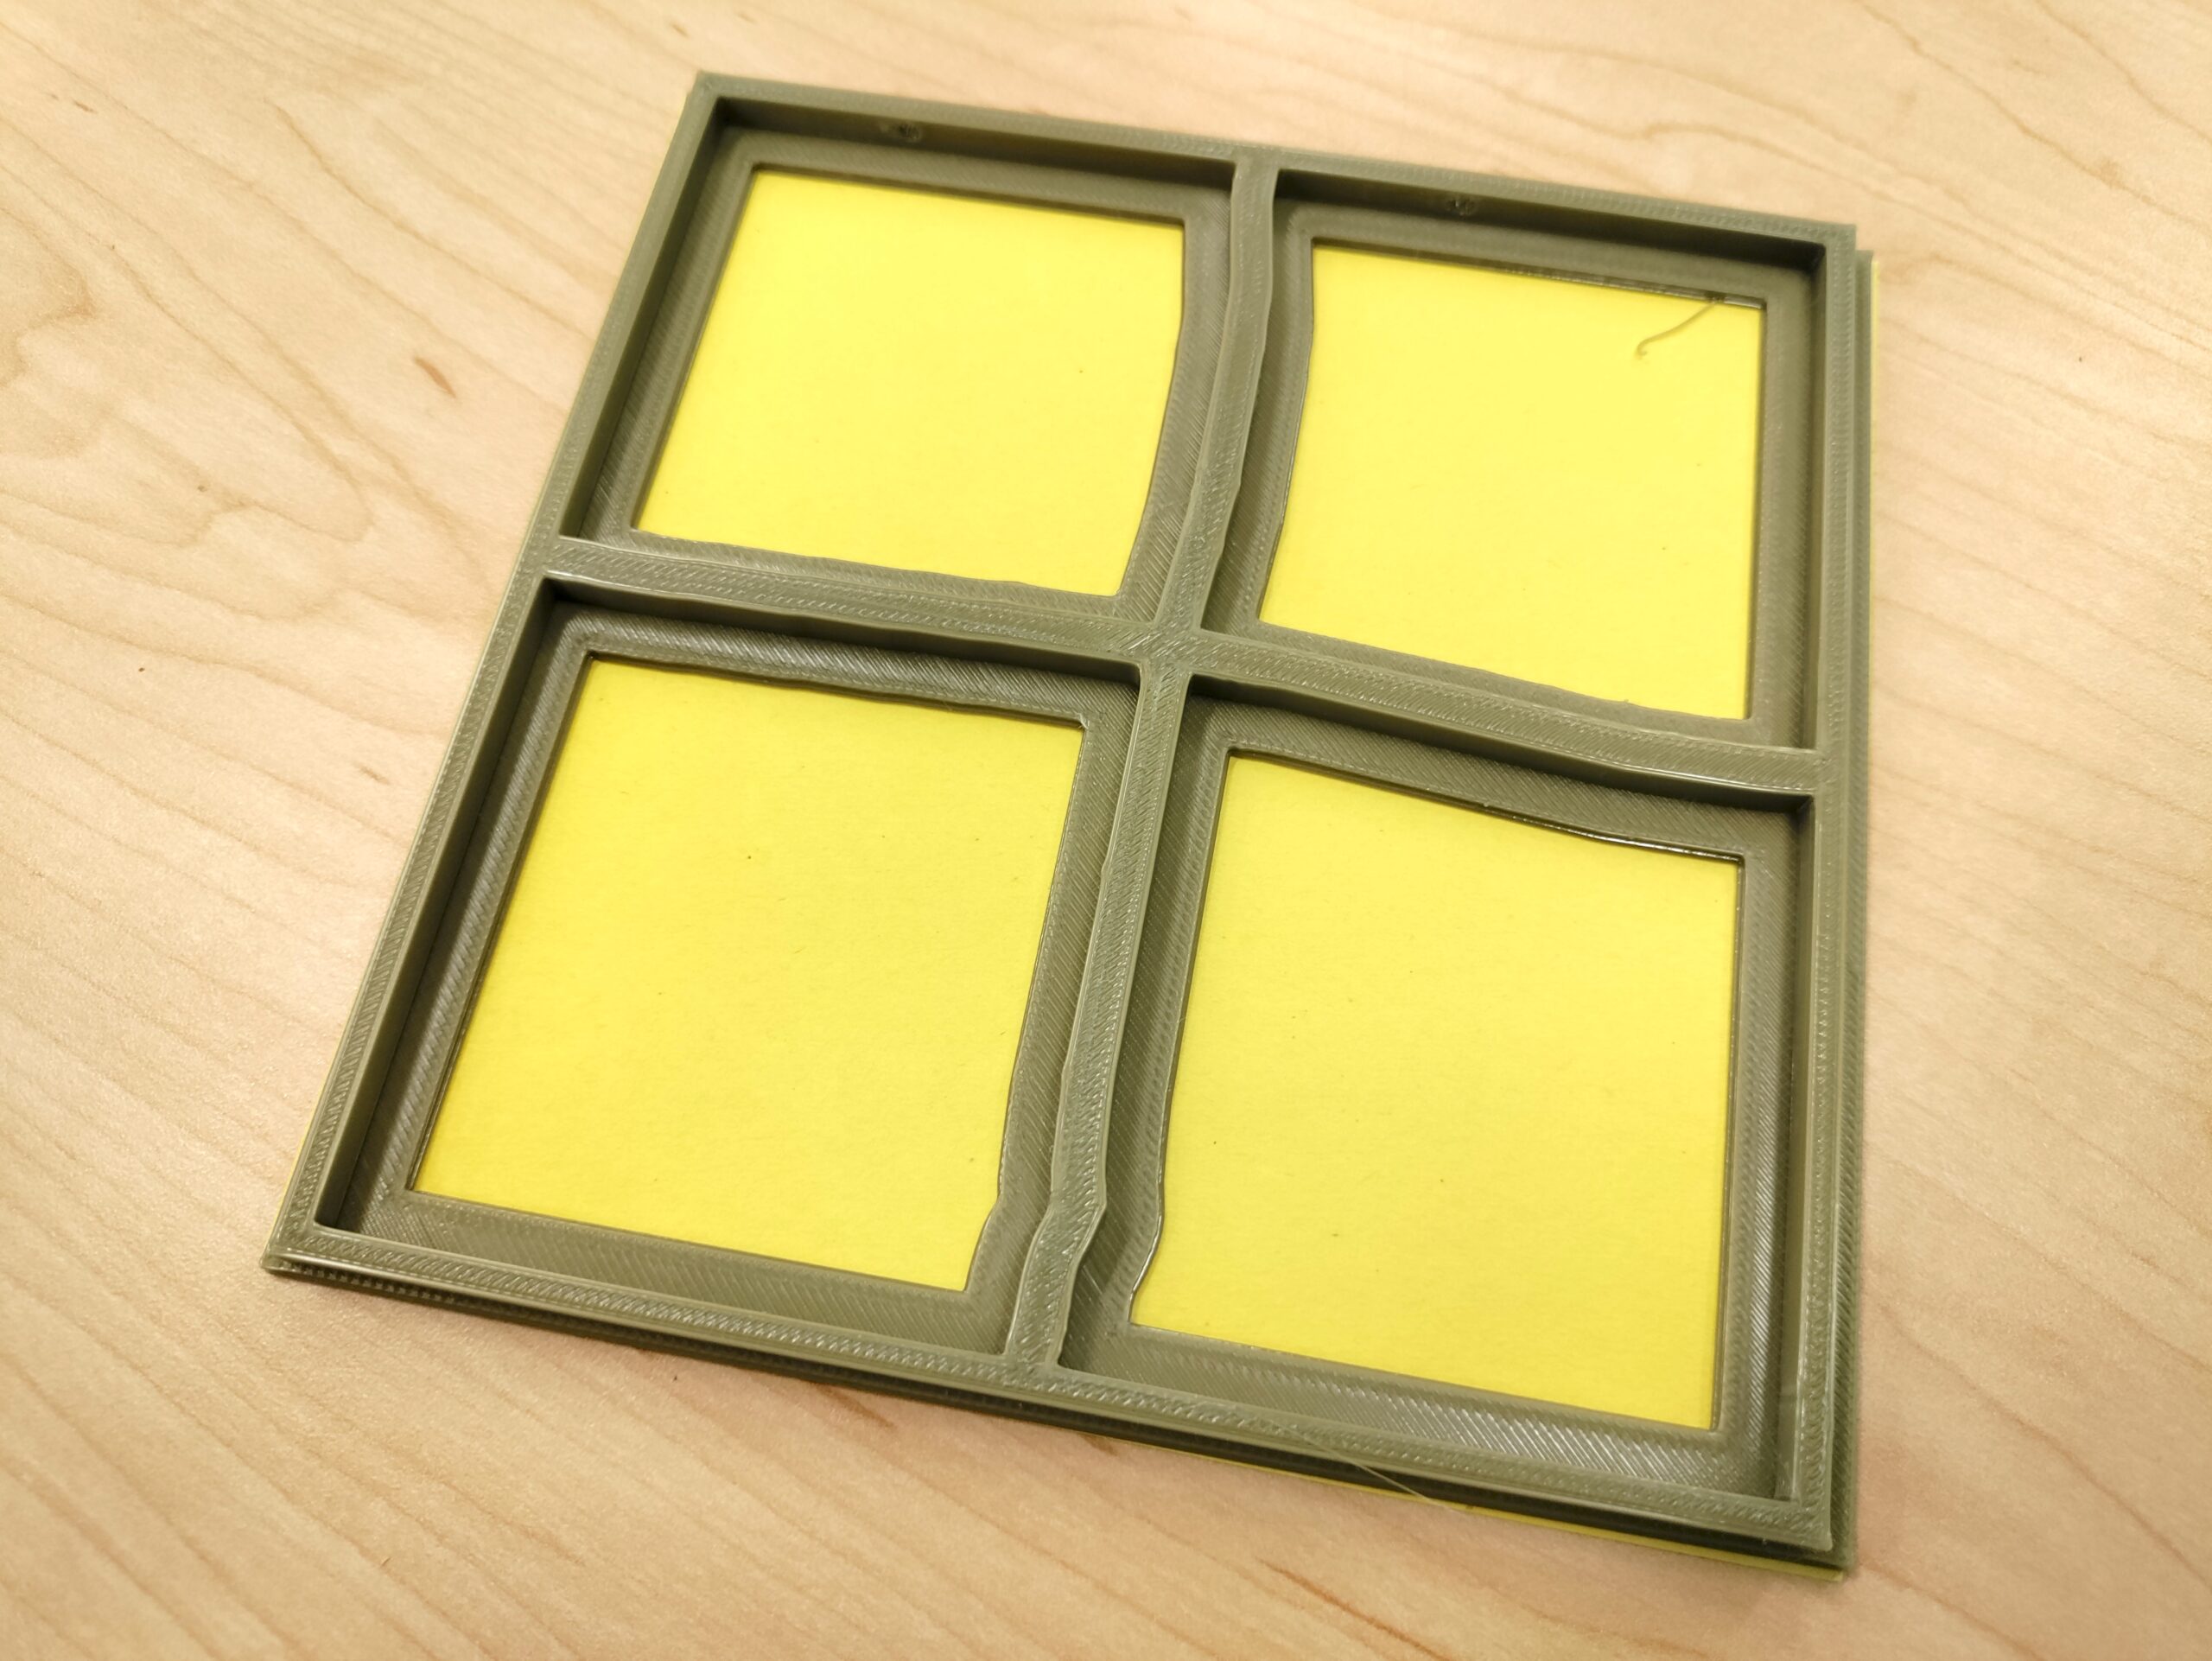
One piece of chipboard will stay as you’ve cut (or construction paper if you are going the cheaper route). Glue it onto the bottom of your 3d printed frame OR whatever you will be using to add depth to your game. (foam, cardboard, etc.)
Top Piece of the DIY Operation Game:
The second piece of chipboard will be for the top of your Operation Game. You will need to cut 2+ holes, squares, rectangle or triangle shapes in this piece. This will act as the top of your game where you will be “tweezing” the pieces out of the game in Operation.
For kids in elementary school I pre-cut holes as this can require a little finesse. X-acto knives are easiest but we’ve had elementary students use scissors before successfully too.
This is where a bit of game design application comes in. If you make the holes too big your DIY Operation Game will be too easy, but if you make the holes too small it’ll be too difficult to play. Don’t forget that you’ll need room to drop a small object in there and remove it with tweezers!
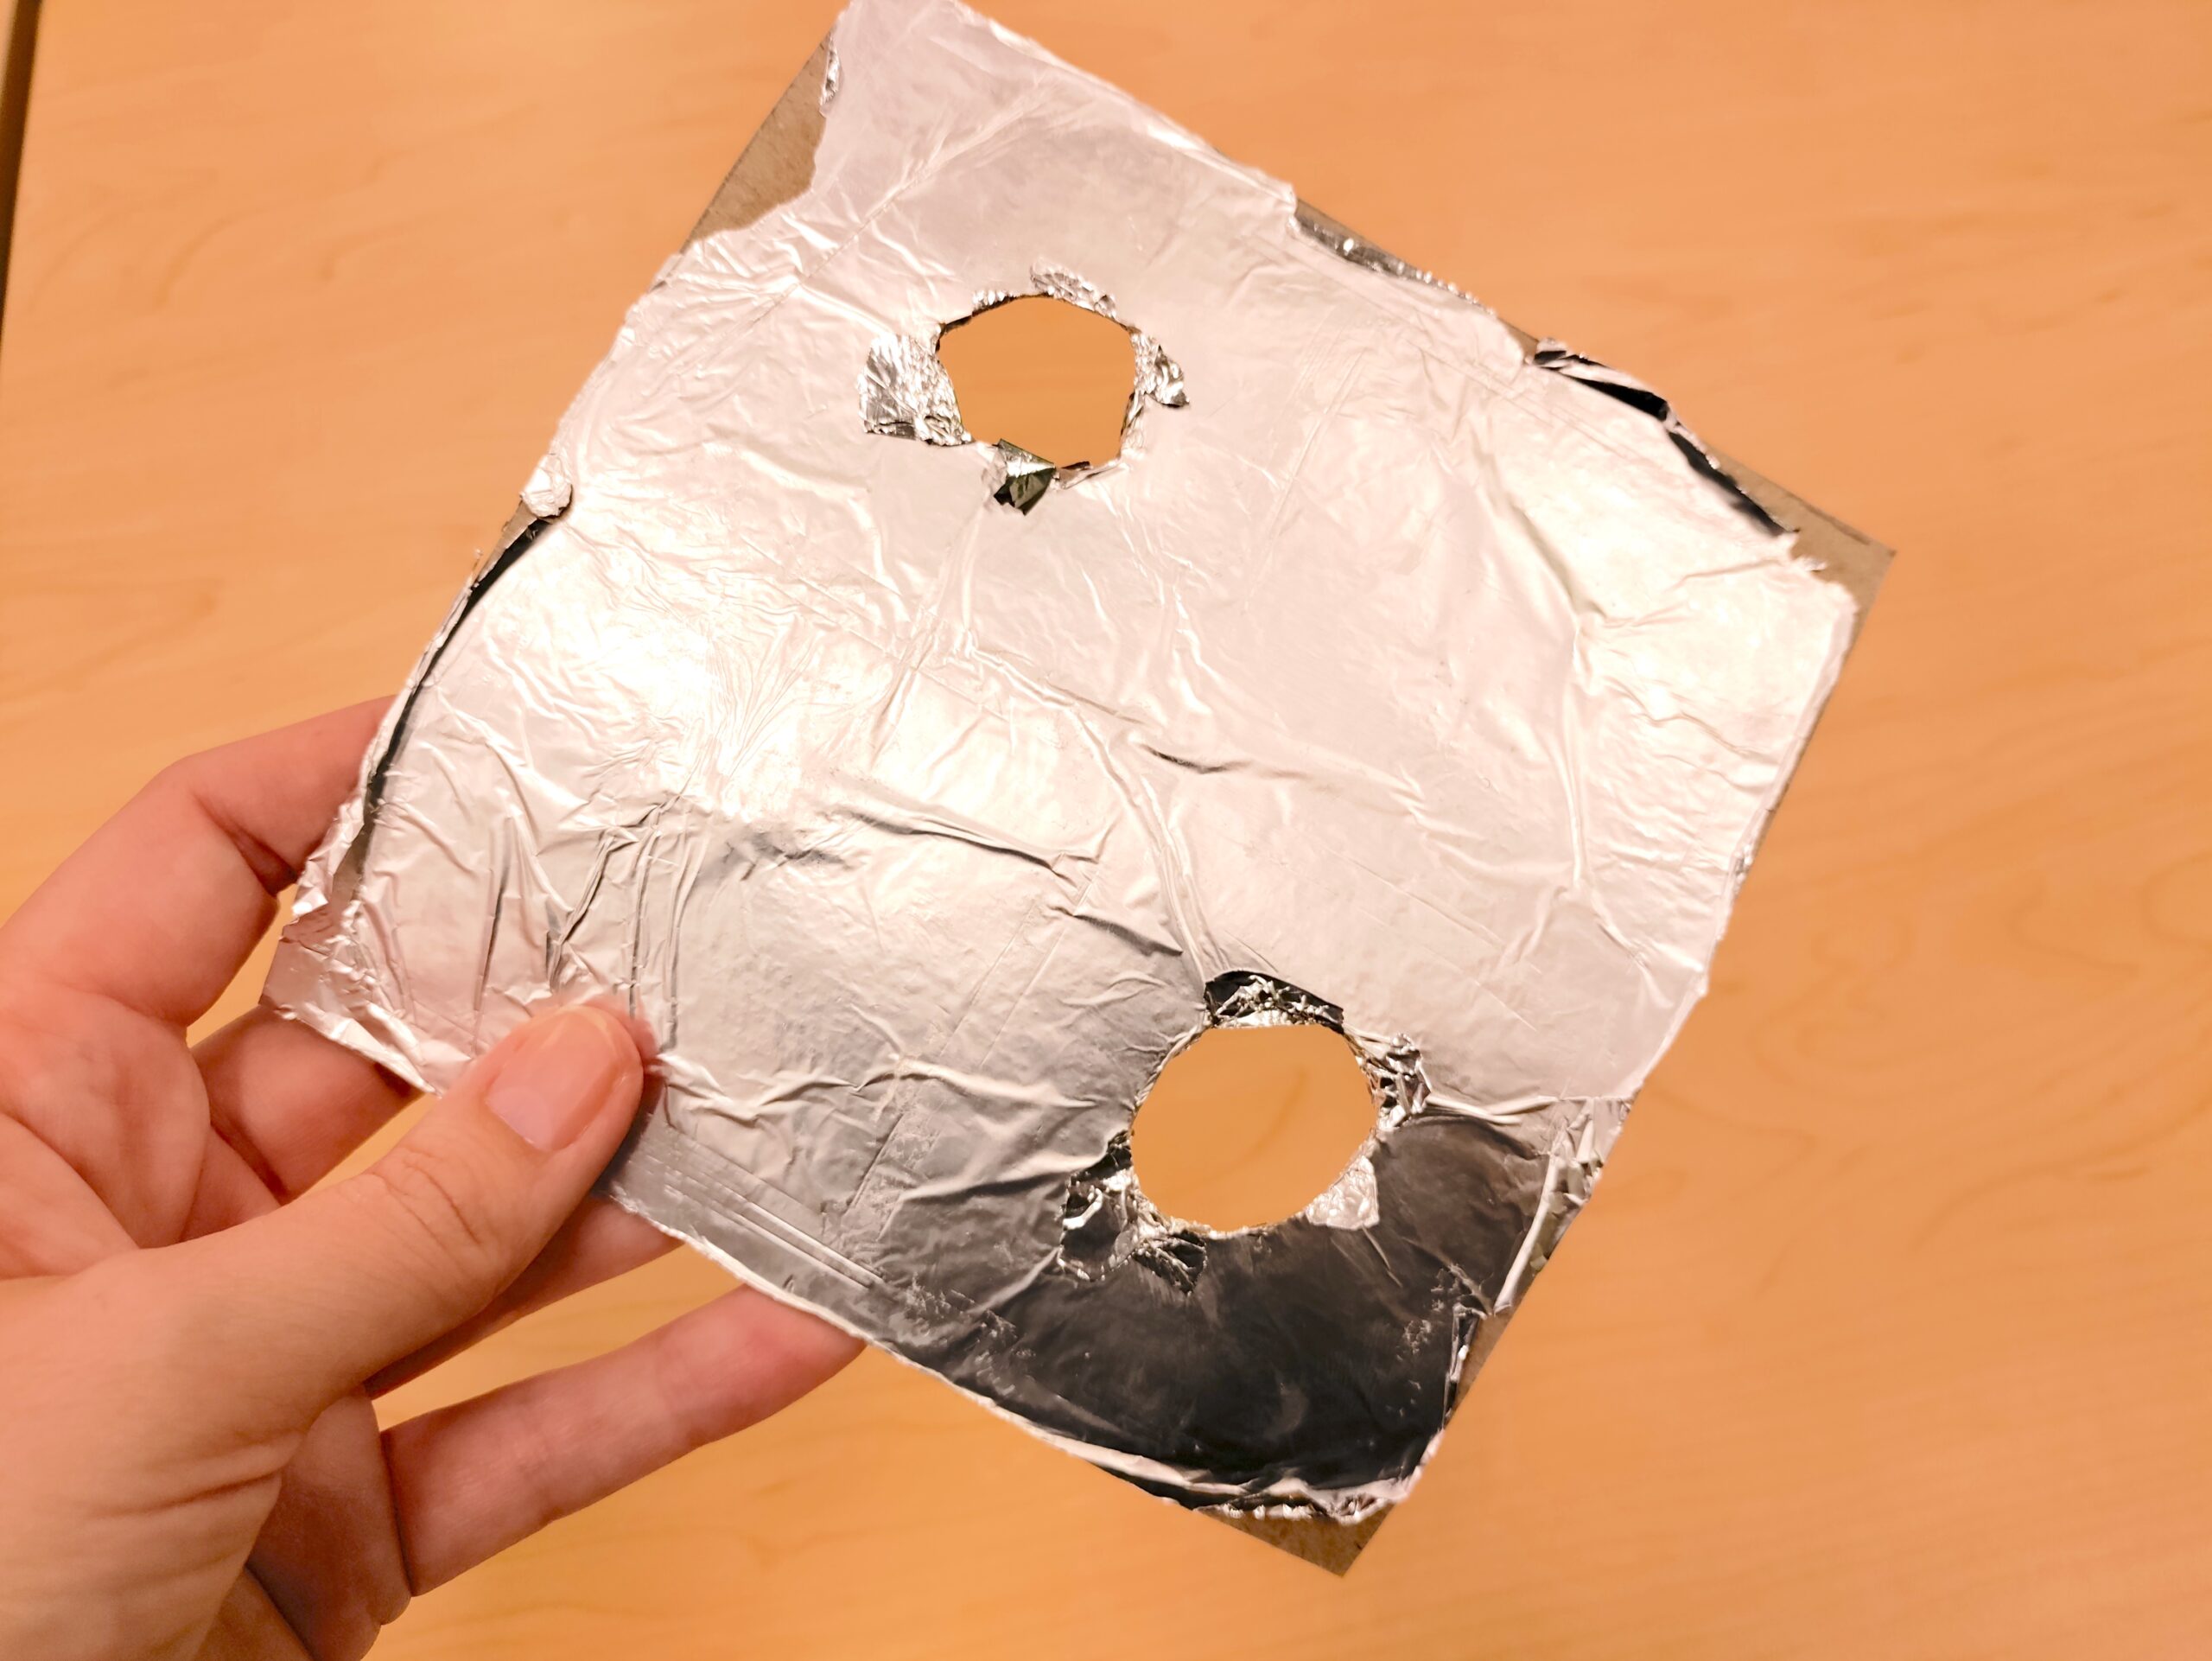
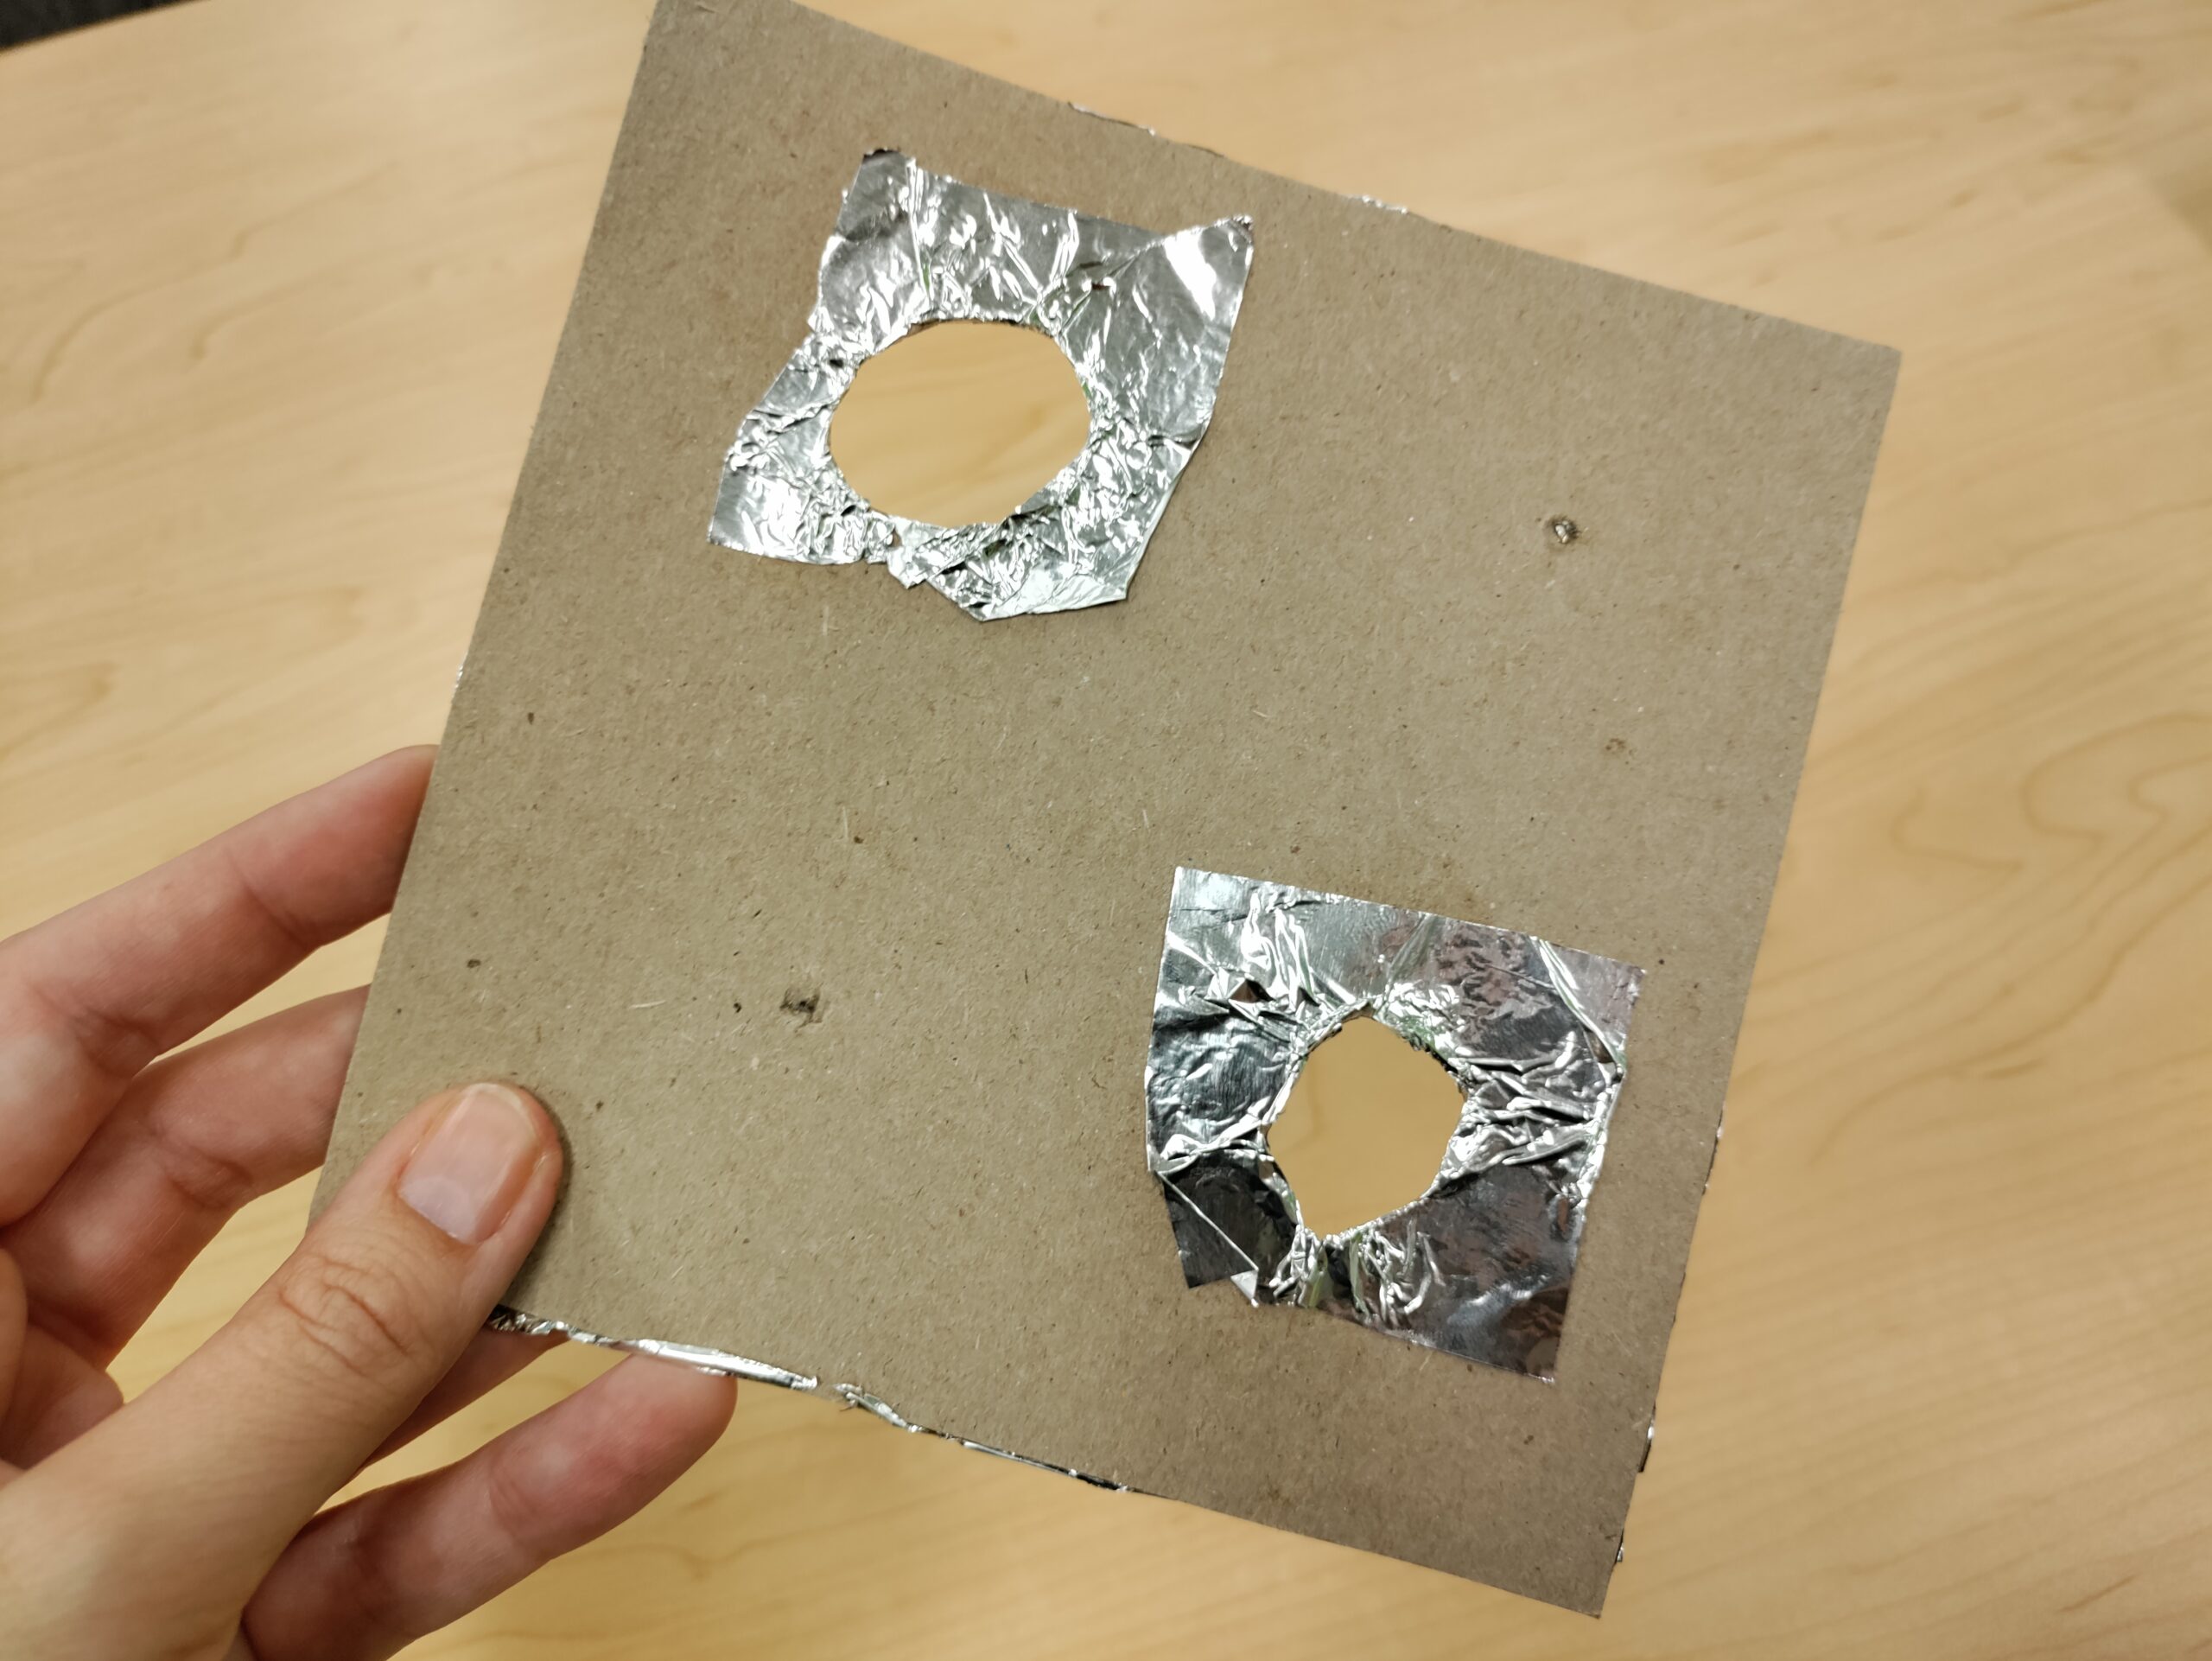
Once you’ve got your holes cut out of your “game board”, you’ll want to glue a sheet of aluminum foil over the holes (we find it easiest to just lay foil over the entire game board piece.
Then carefully poke a hole through the foil into your pre-cut holes and FOLD the foil so that it covers the top AND bottom of the cardboard around your hole. This is VERY IMPORTANT for the game to work as we need the aluminum foil to complete the circuit, or conductivity, for the game.
If your foil breaks then just use some extra pieces to glue in place wrapping from the top to bottom of the cardboard inside your holes.
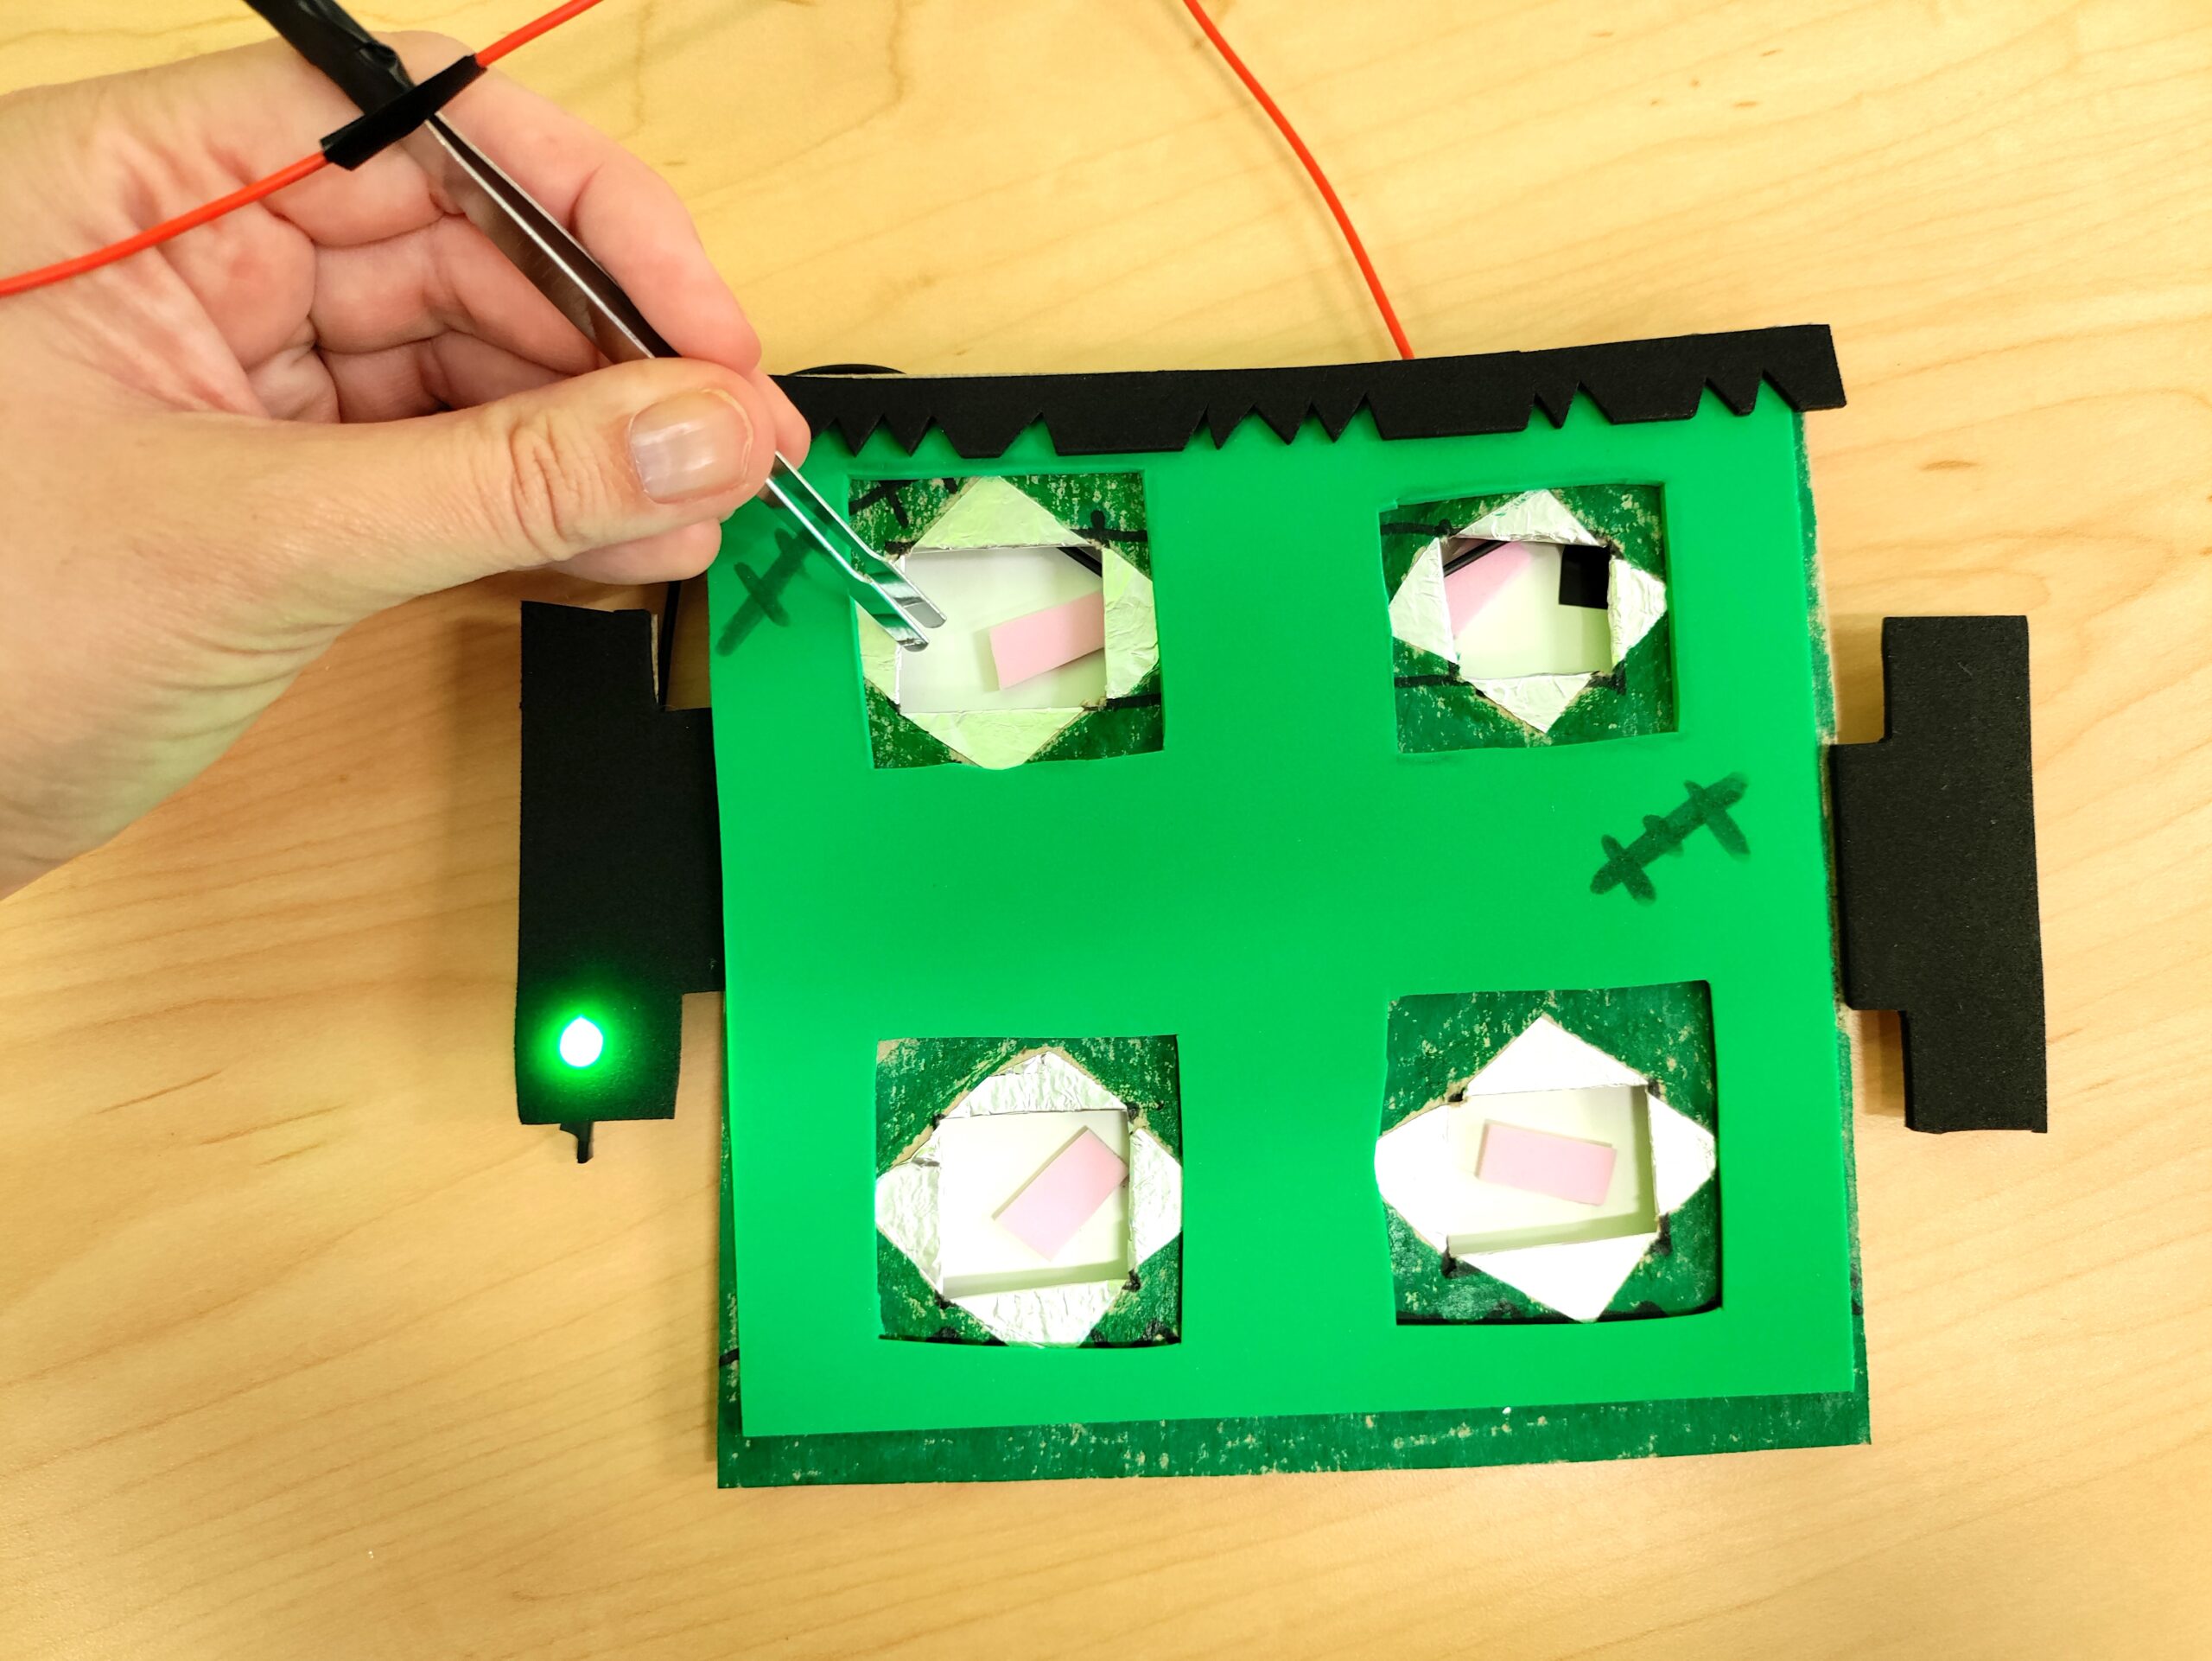
While all of our photos feature four holes in our DIY Operation Game, we’ve also had kids use only two holes for “eyeballs” which turned out great too! Let the students decide how easy or difficult the game is! They’ll need to think about about their game design before beginning their work.
Middle Piece of the DIY Operation Game
Ok so we’ve got the decorative structure out of the way. Let’s get our circuits in place!
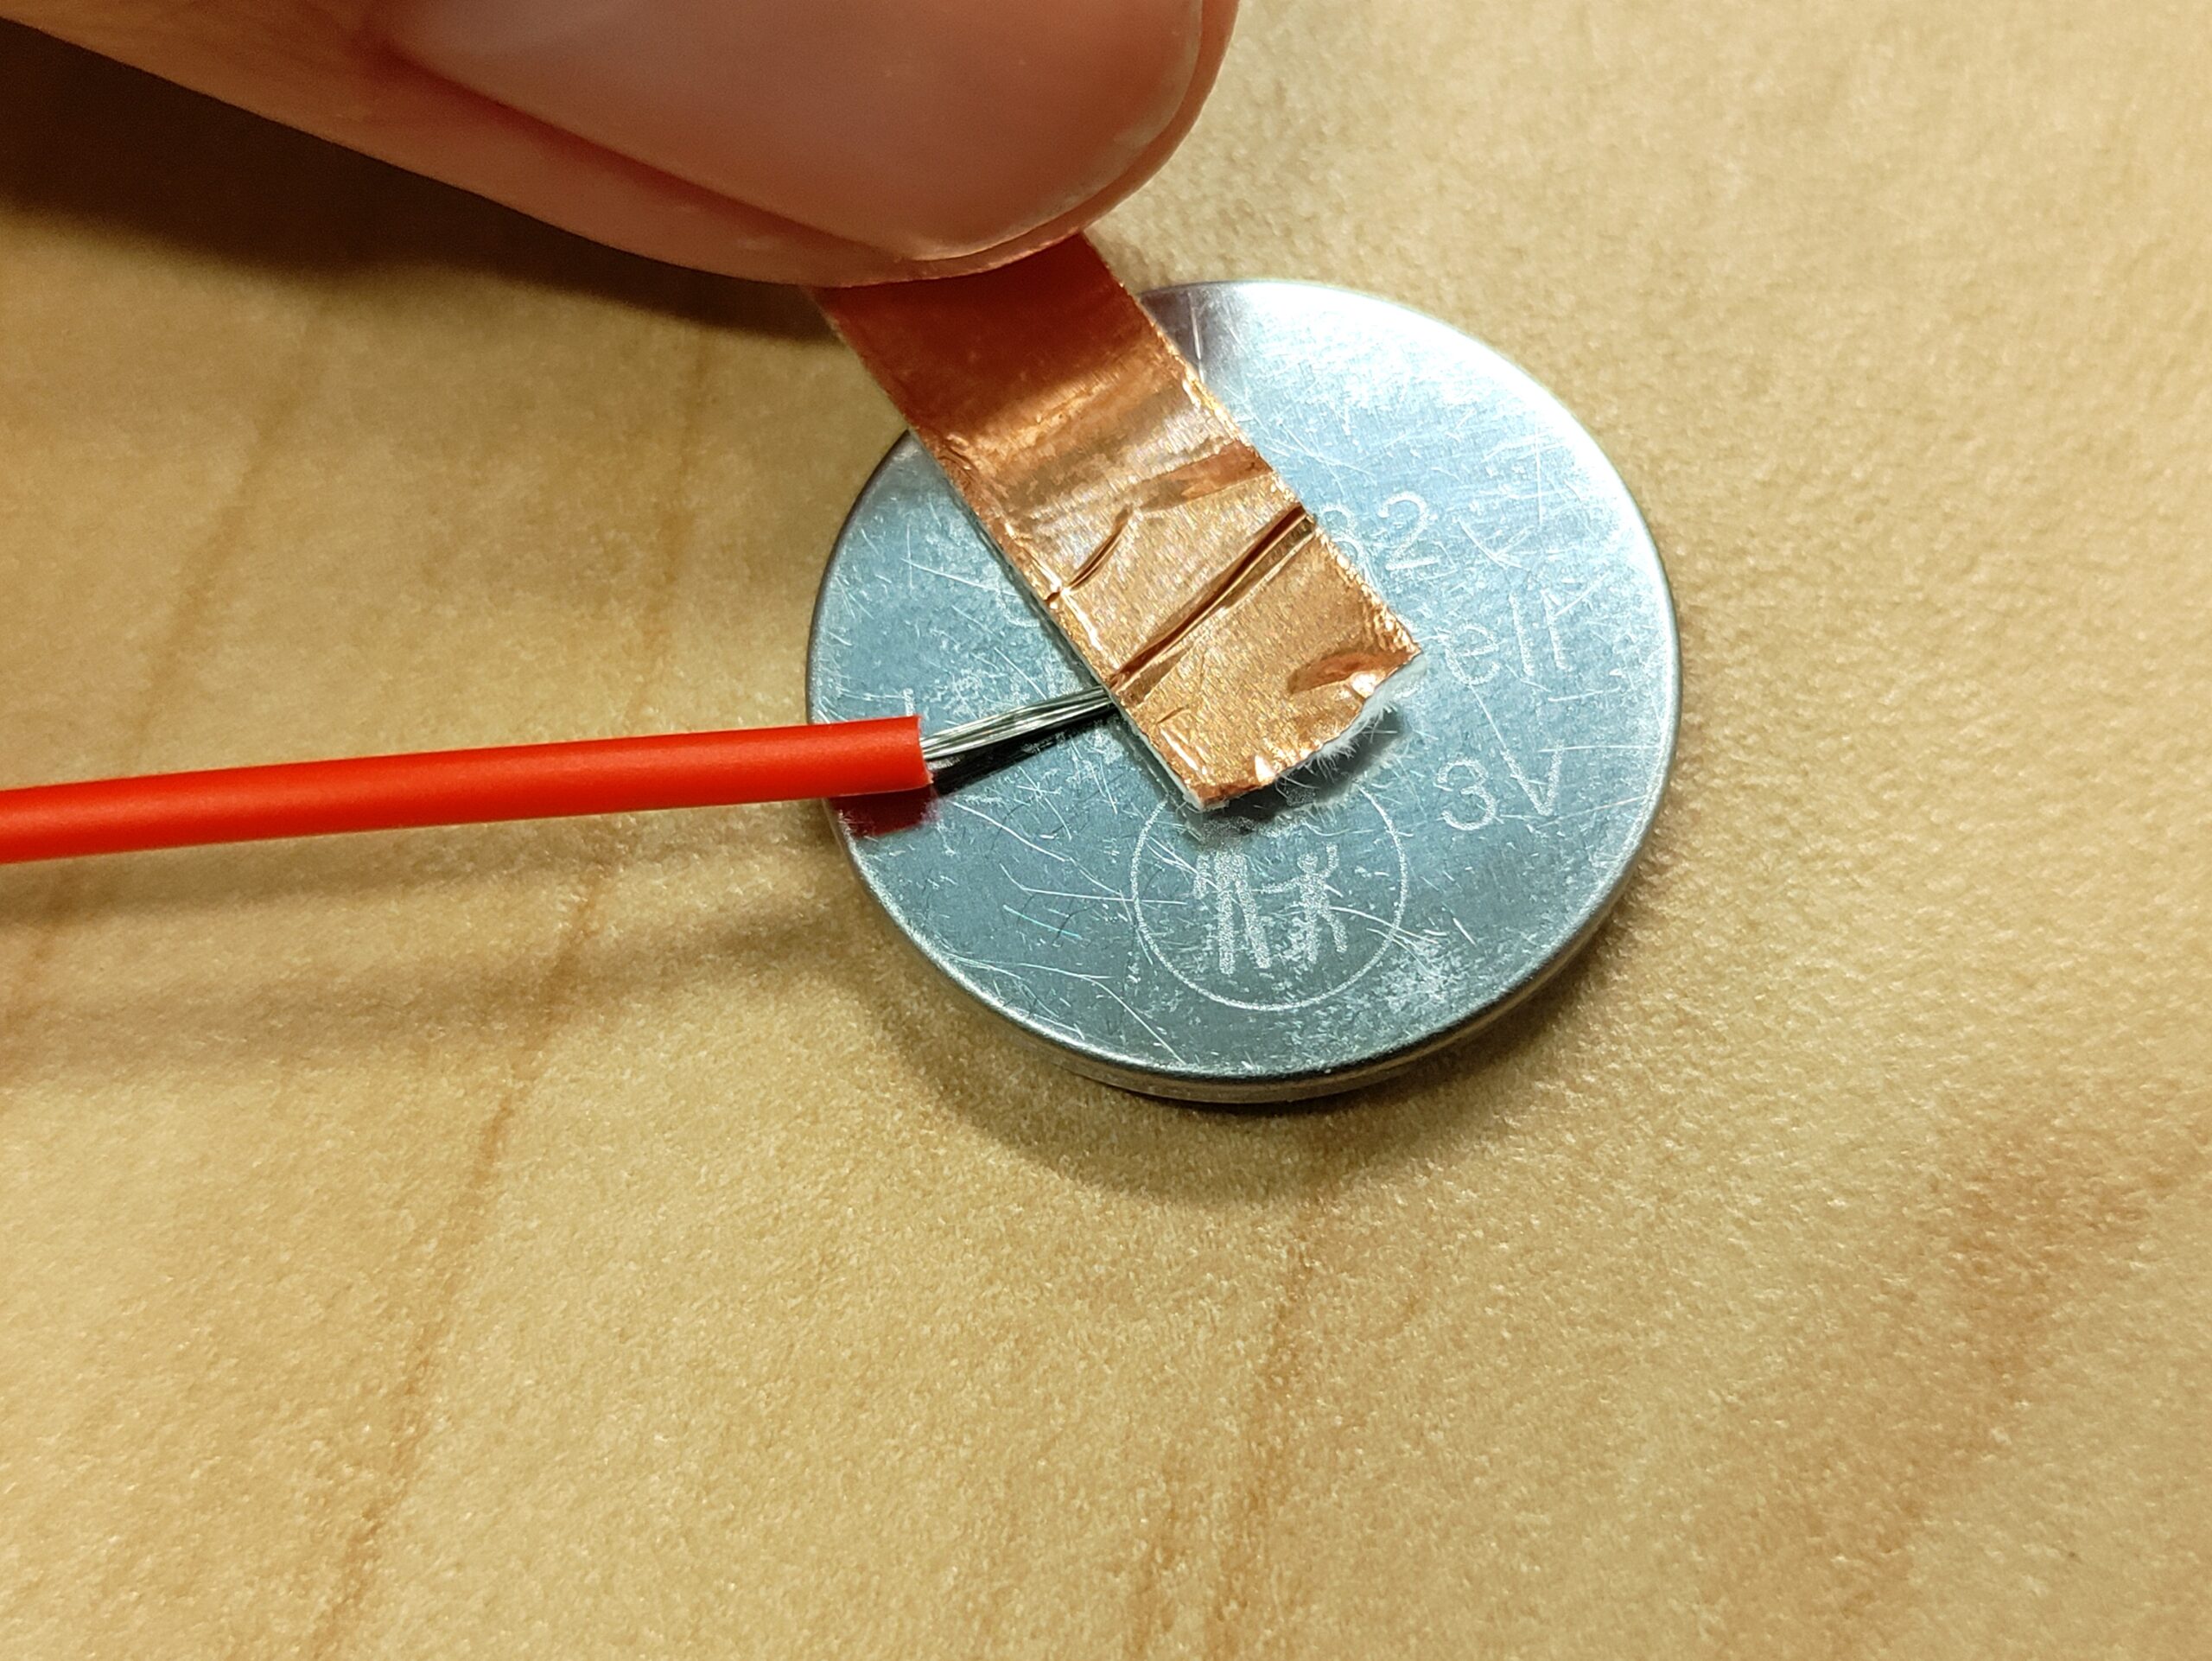
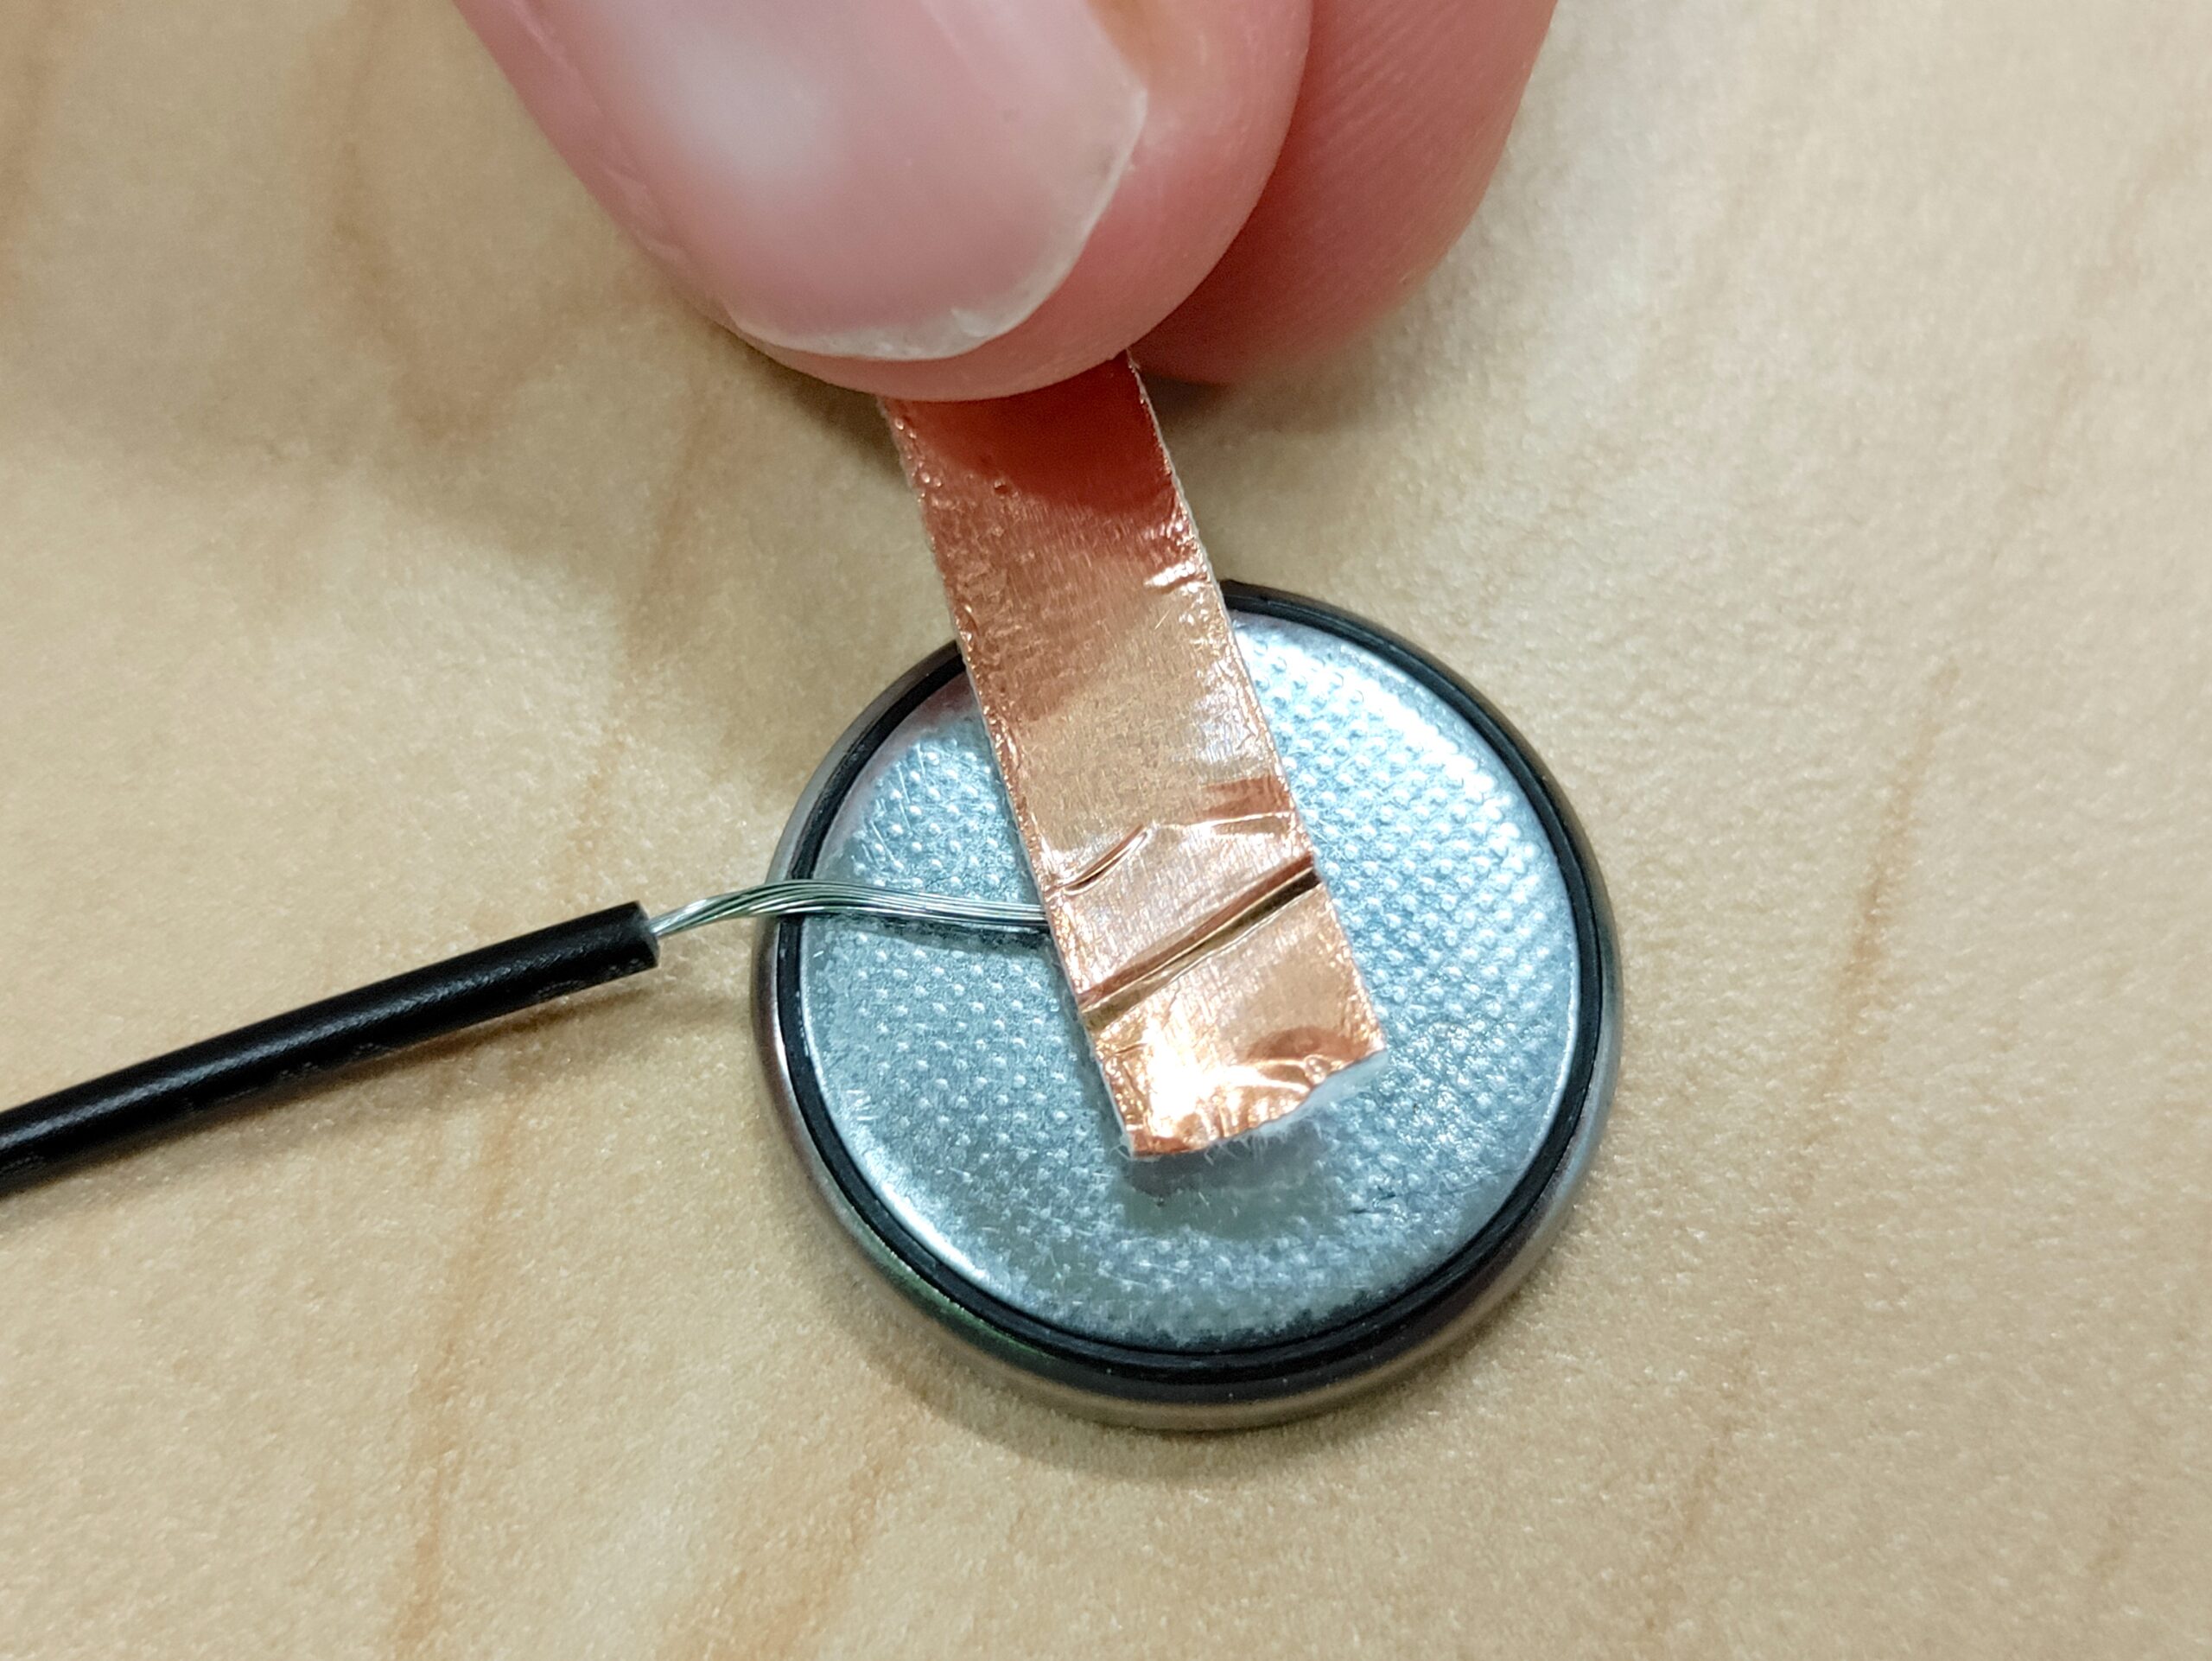
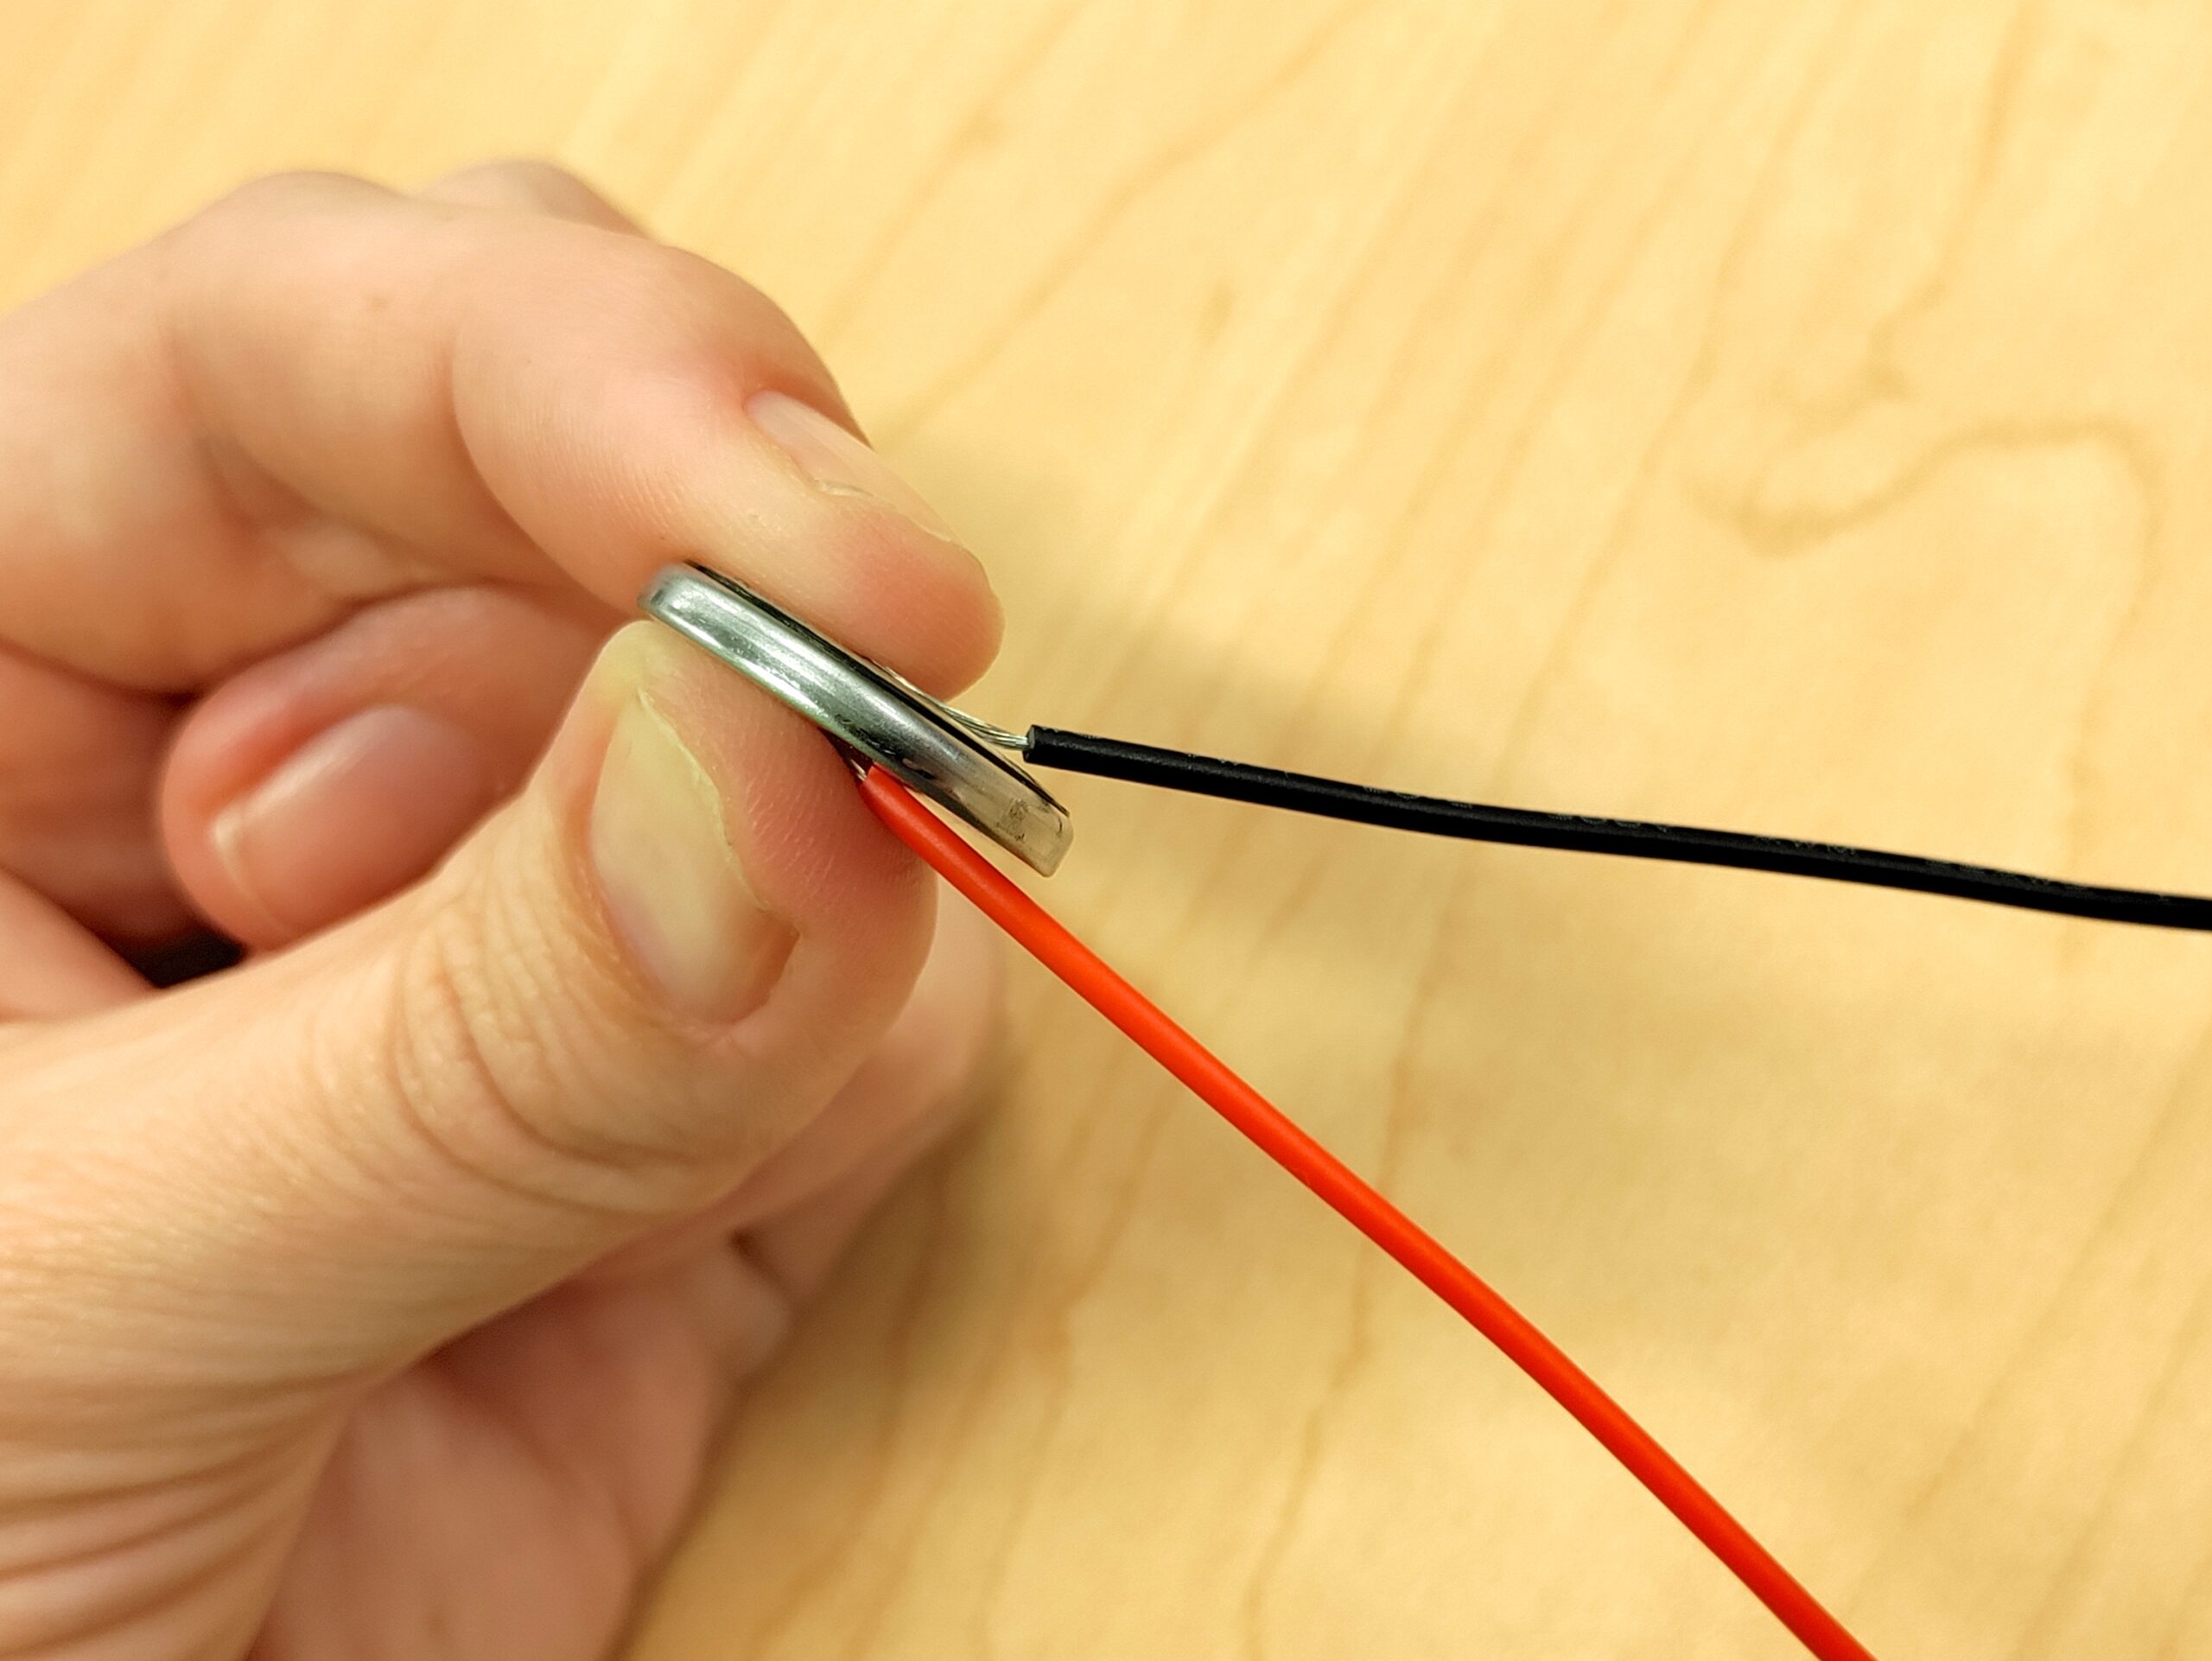
Using a very small piece of copper tape, tape the metal end of one wire to the positive side of your button cell battery, and another wire to the negative end of your button battery. The wires do NOT need to be different colors, but when you’re building this with a group it is MUCH easier to designate the red wire for positive and the black wire for negative to keep track of things.
NOTE – The copper tape MUST NOT be touching BOTH sides of the battery or your LED diode will NOT light up. This is very important!
Wrap the entire battery in electrical tape to help ensure the wires do not come out.
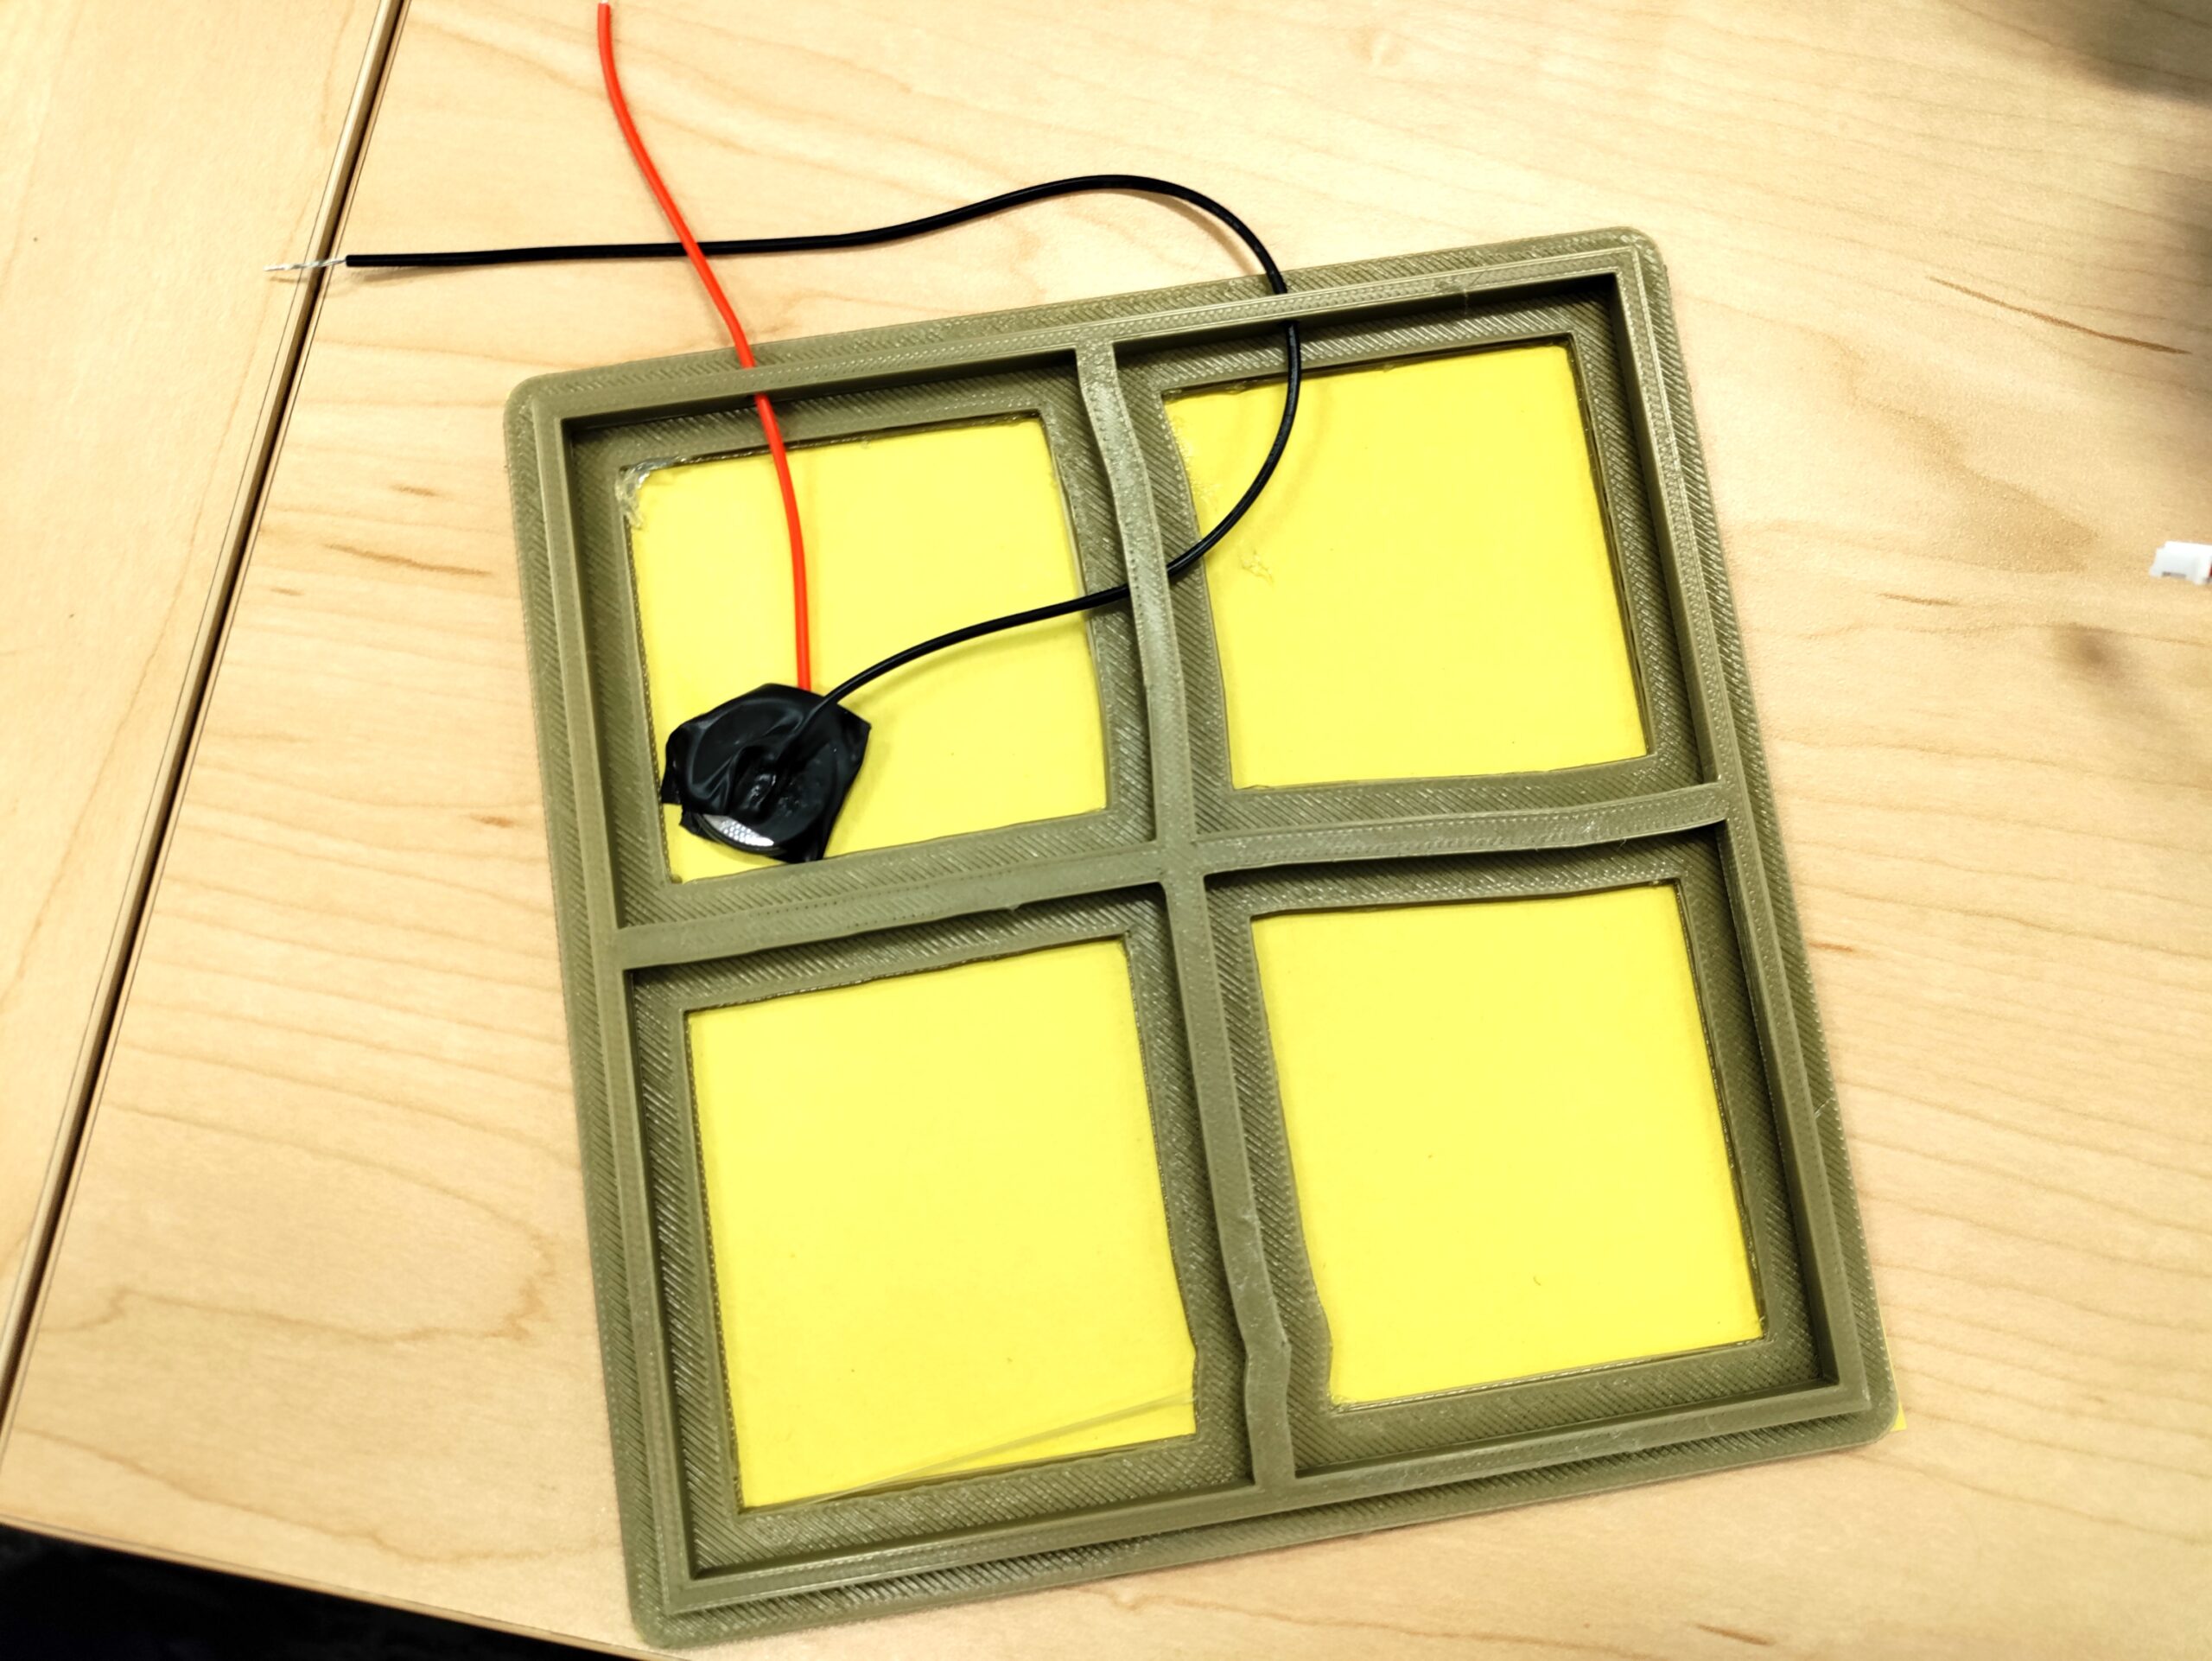
Then tape your battery + wires down into a corner inside your Operation Game. Preferably NOT blocking where your game hole will be but sometimes it’s unavoidable.
If you are using our 3D printed frame we have small holes in the side of the frame to feed your wires through as soon above. It doesn’t matter which wire exits which hole in the frame.
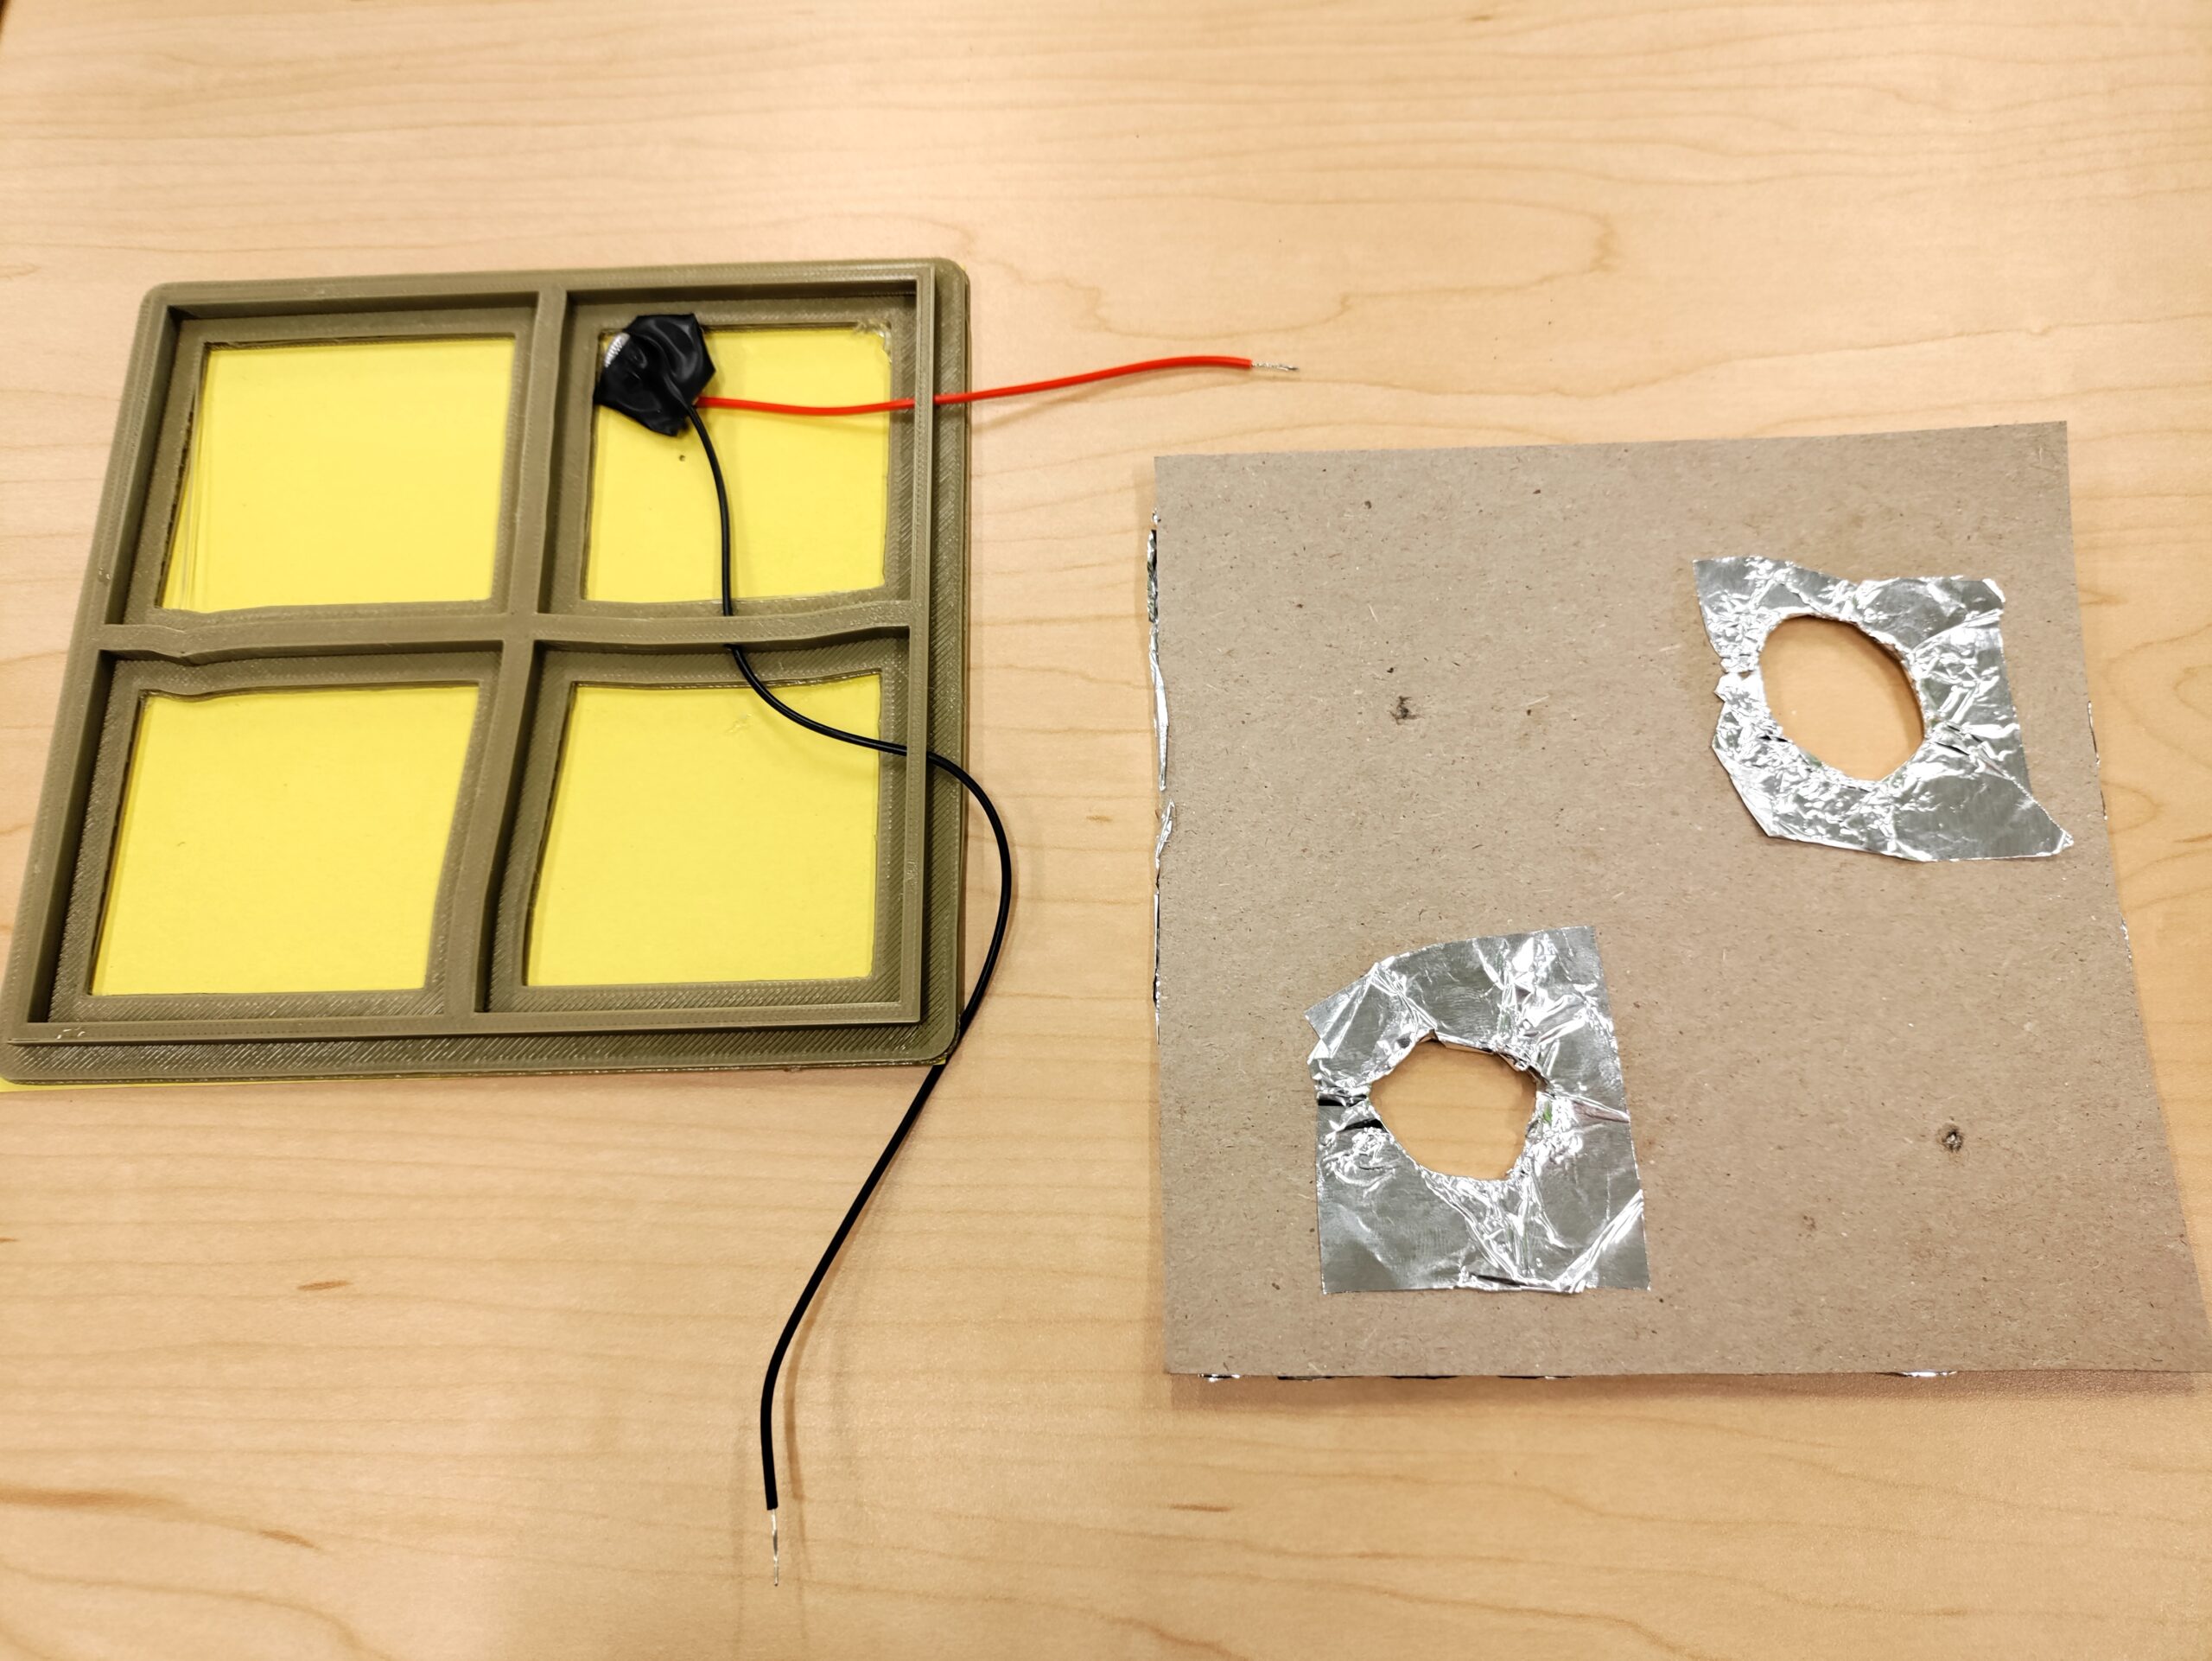
Once you’ve made it this far this is what you should currently have at each students’ desk. The bottom piece of the game, the battery & wire combo, and the top piece of the game with holes and foil prepped.
You can now glue the top chipboard with the holes in place onto the middle and bottom frame of the DIY Operation Game.
Operation Game Decorating & Finishing Touches!
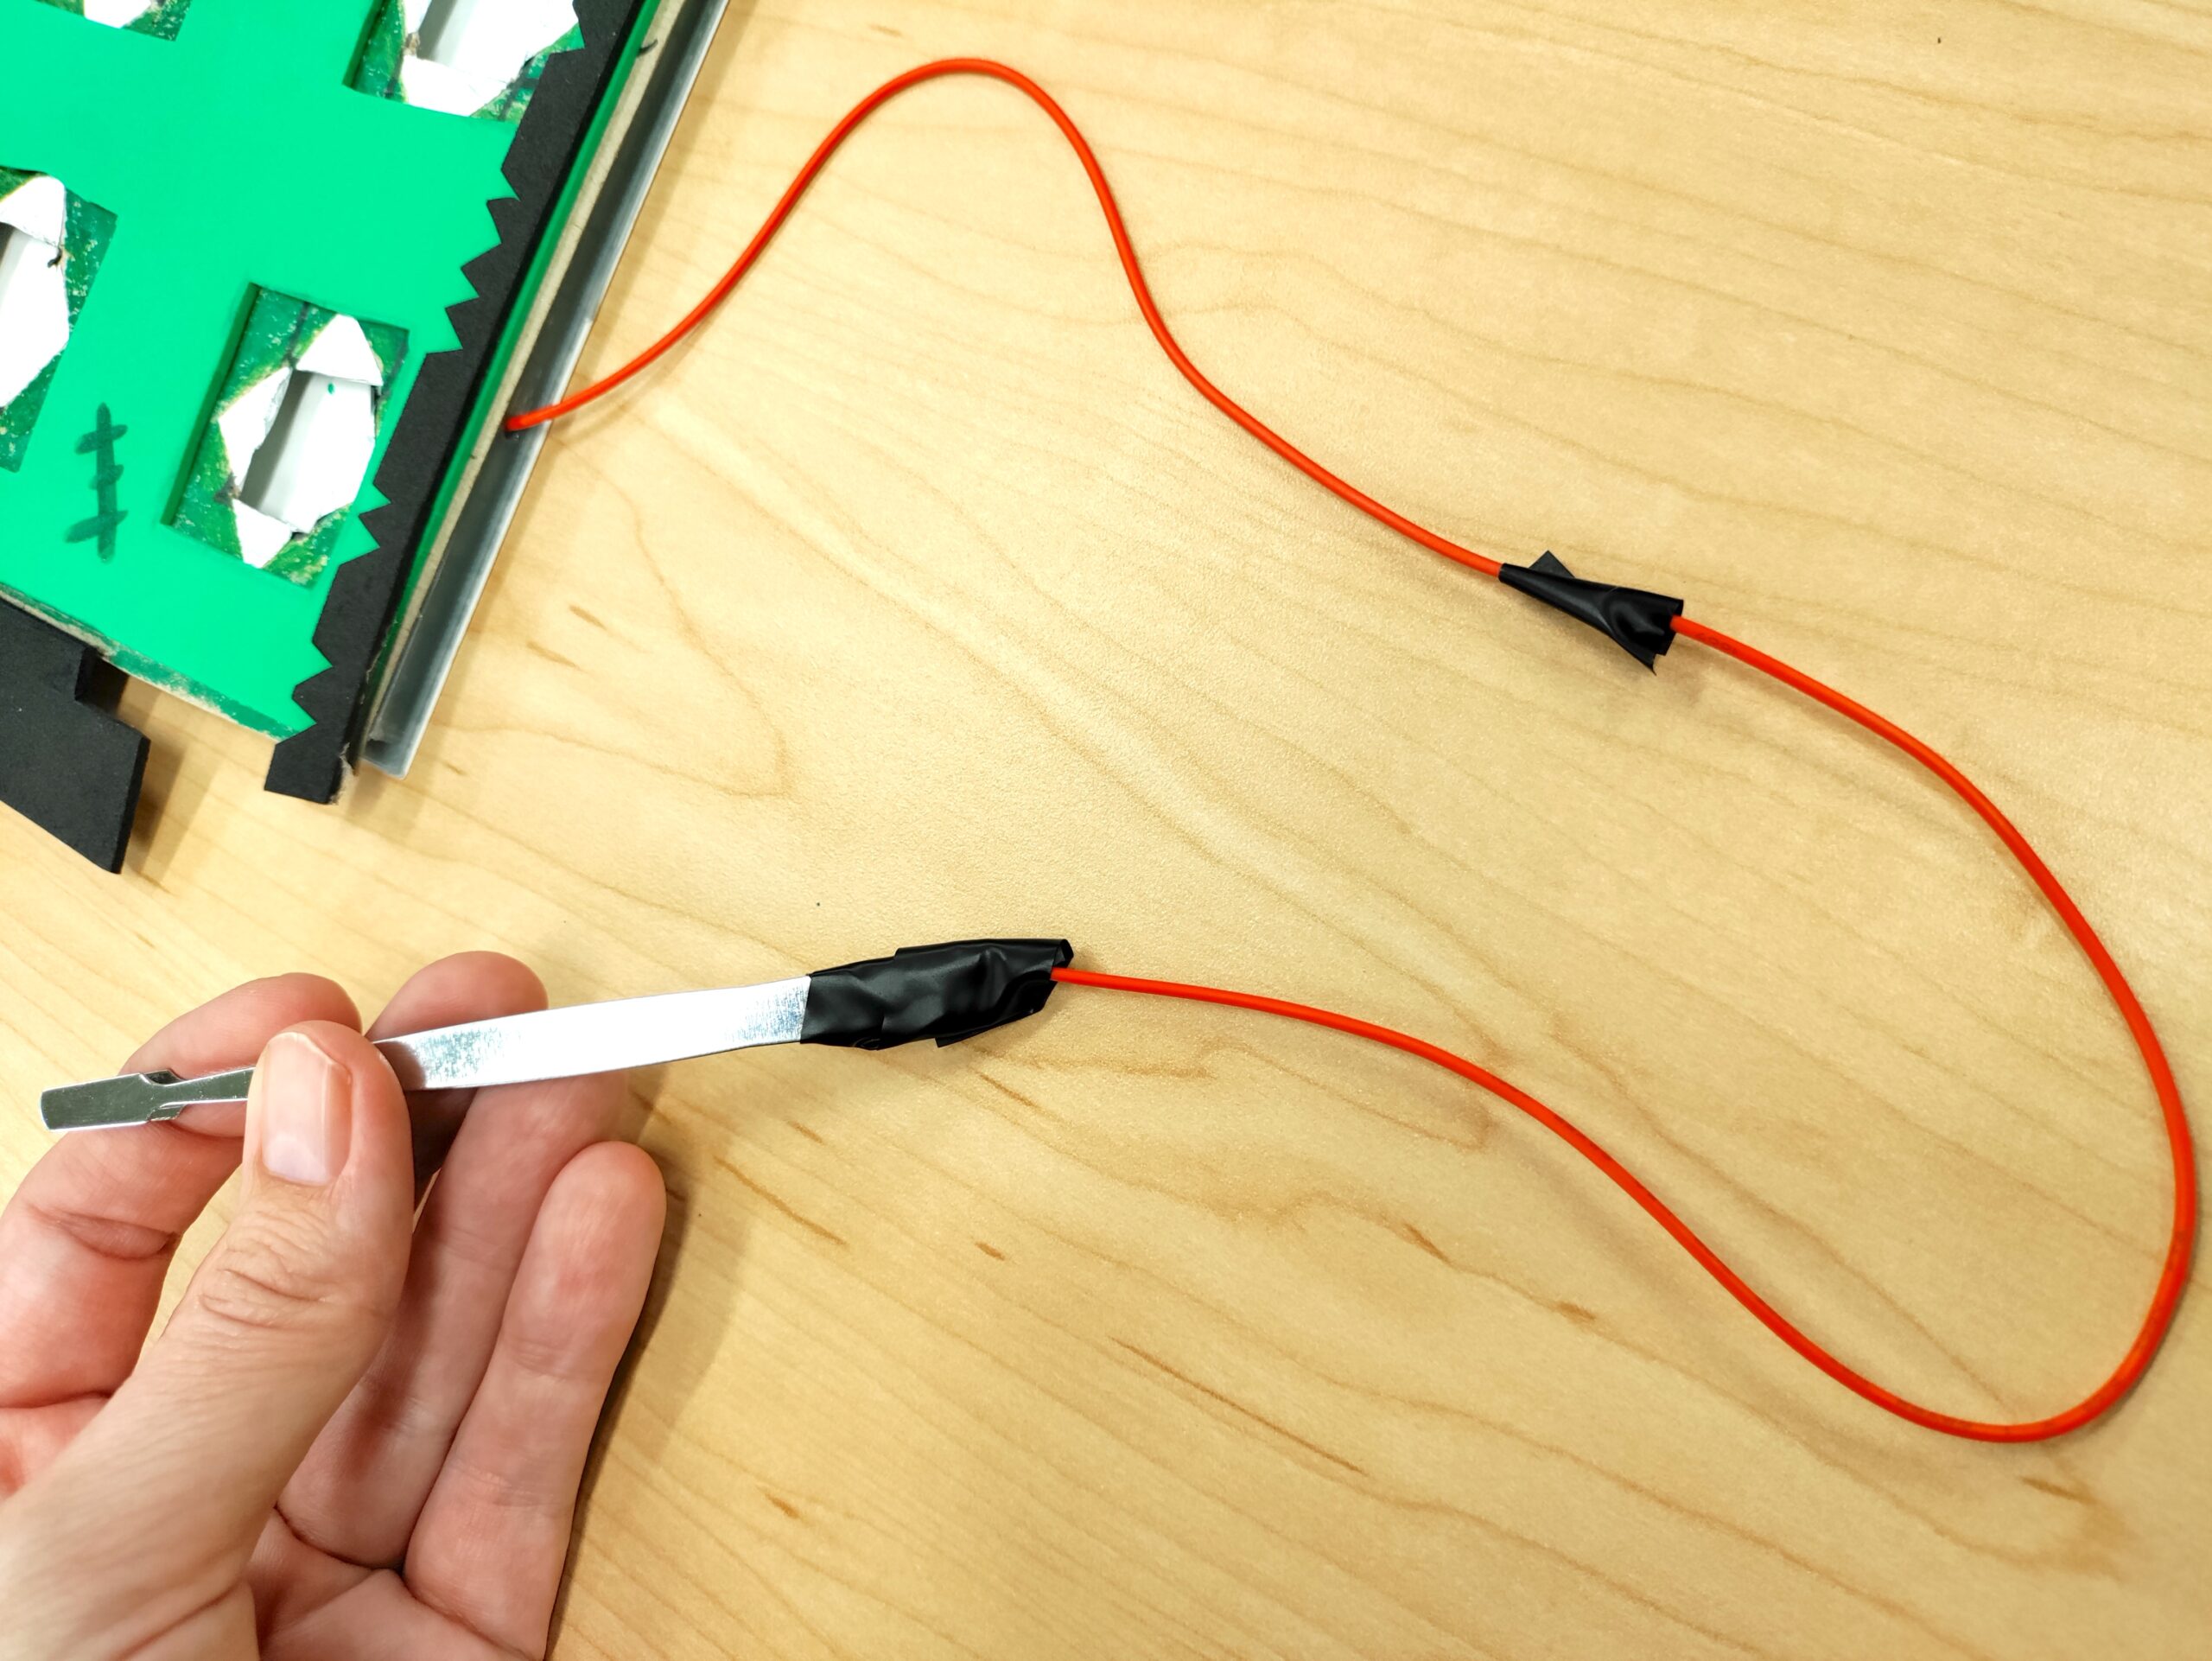
First, let’s connect the tweezers! Twist the end of the wire taped to the positive side of the button battery to a new wire and use electrical tape to fasten tight. Then use additional electrical tape to tape your positive wire to the metal end of a pair of tweezers.
NOTE – I bought a 4 pack of tweezers for $1.25 at Dollar Tree! They are also great for using with MakeyMakey STEM sets.
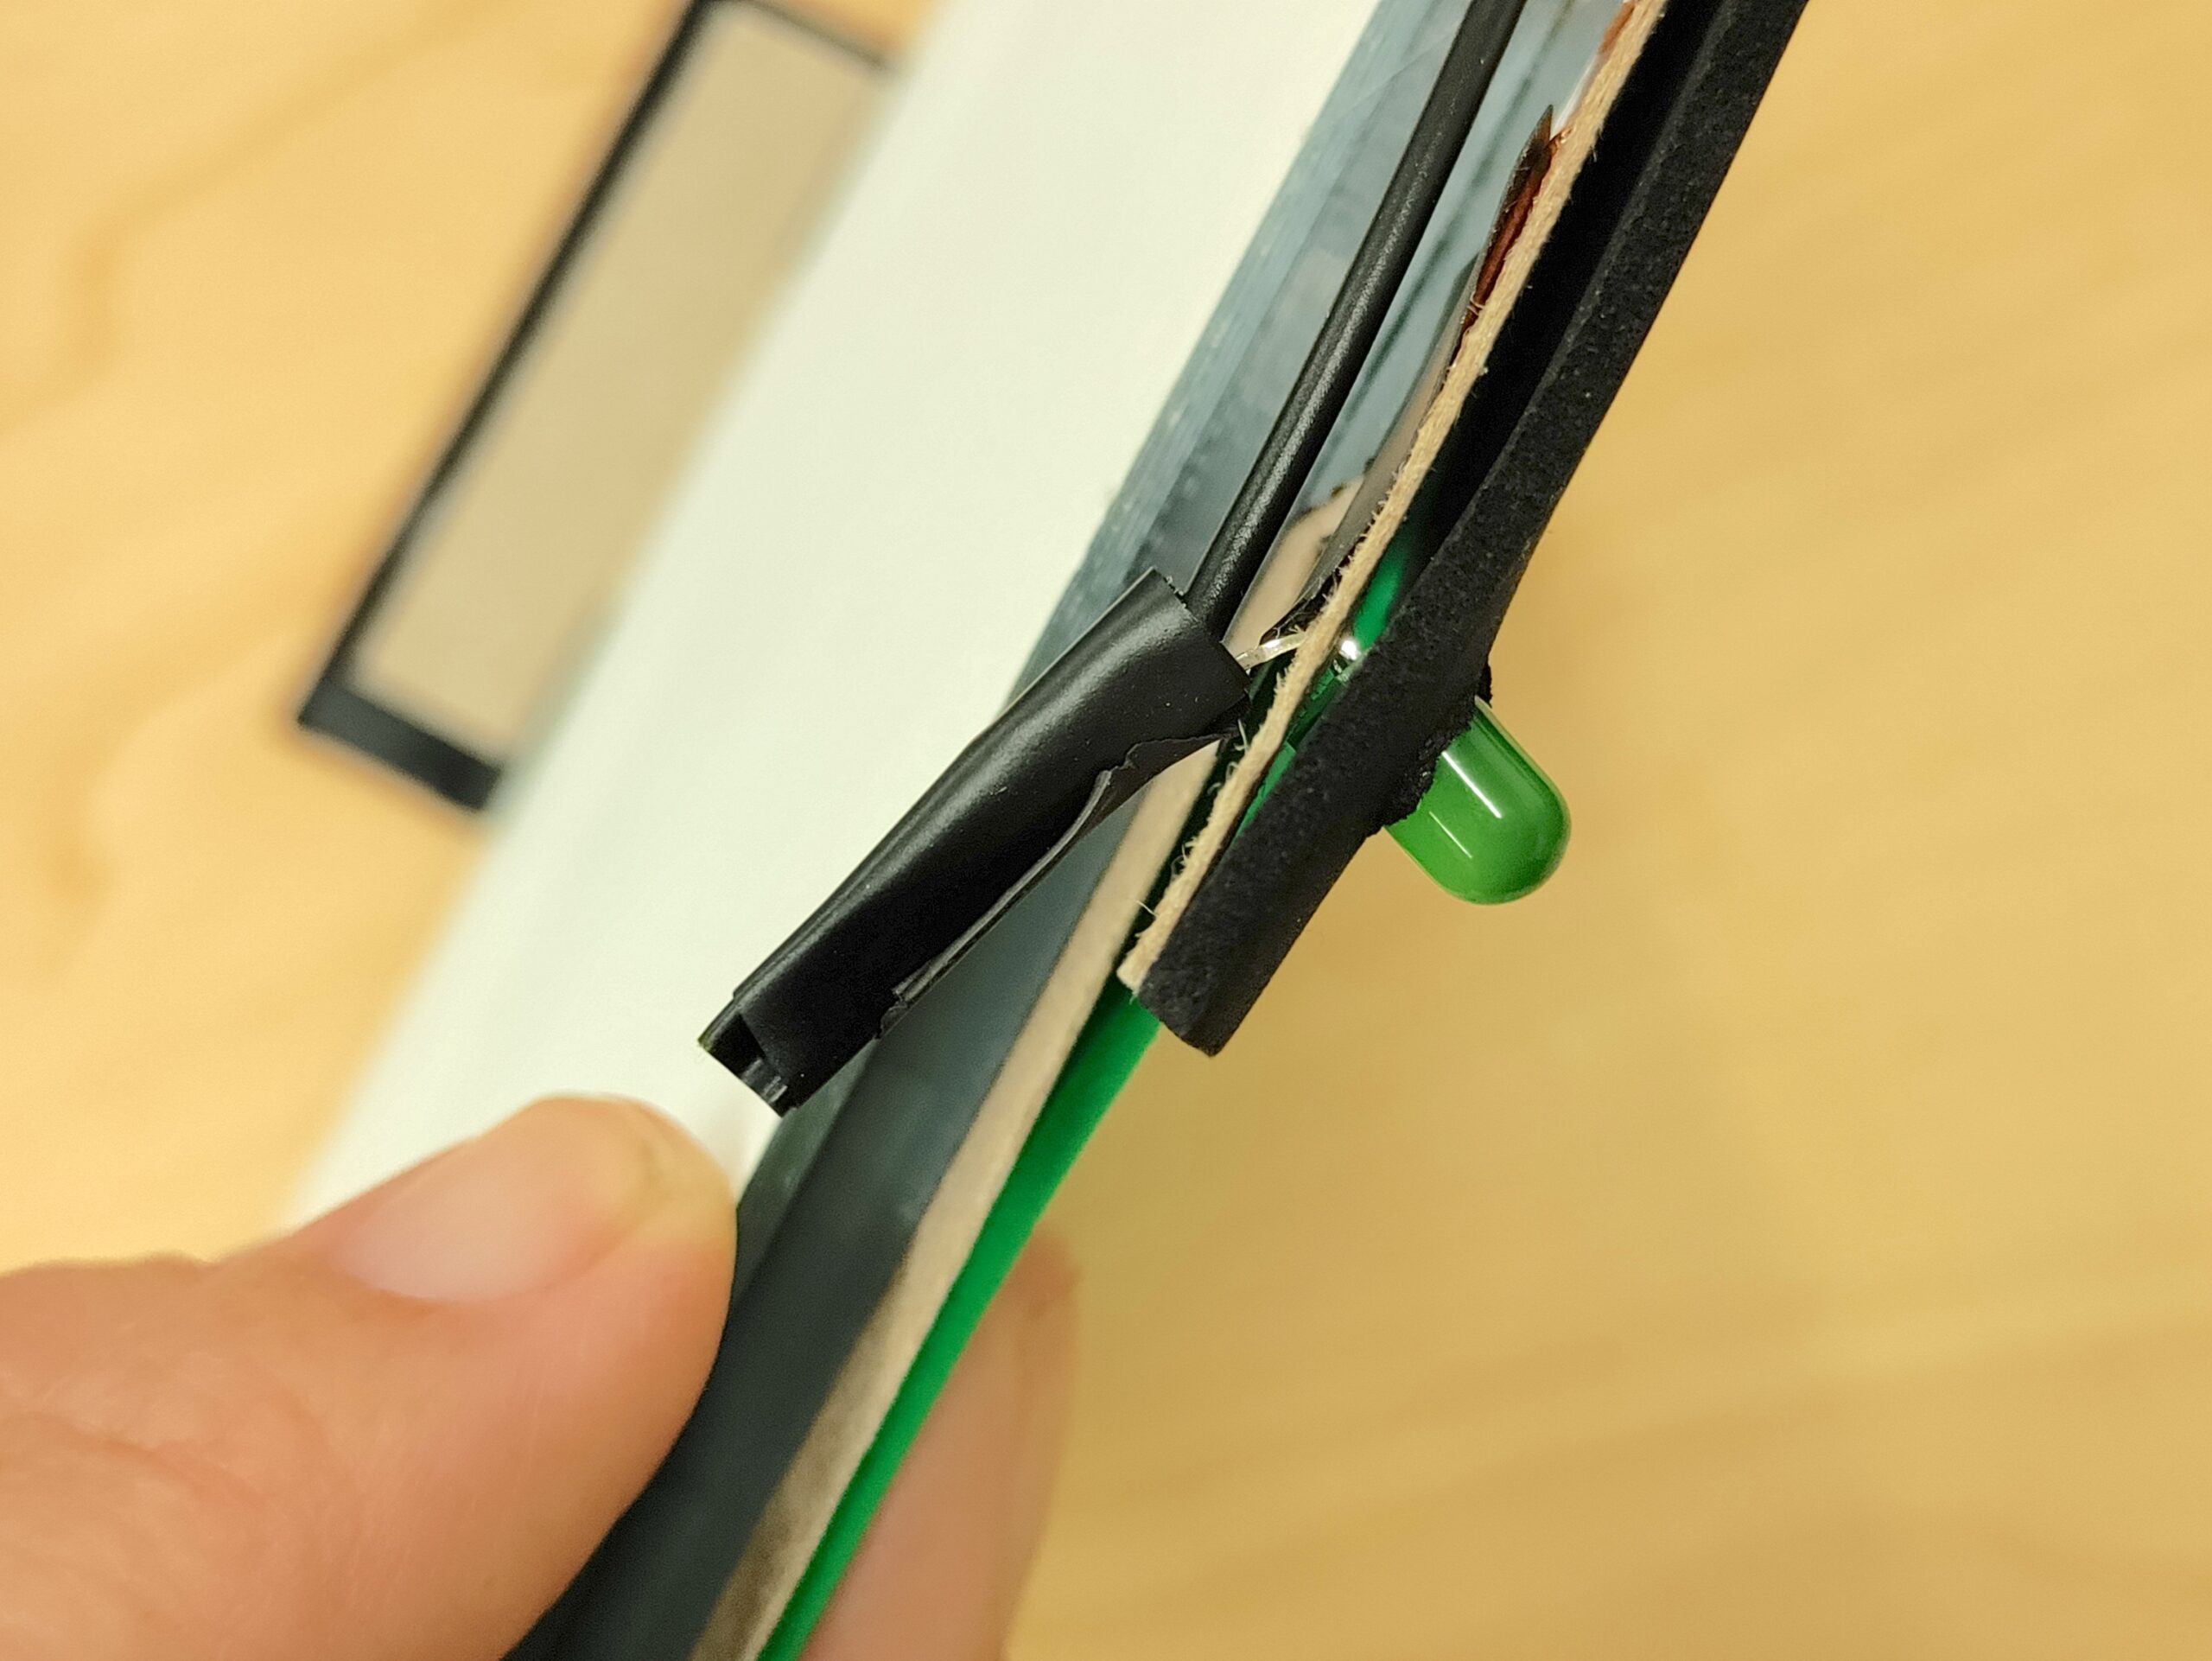
We’ve made it to the very last step! Due to cost, for our DIY Operation Game we used a single LED diode to designate when an electrical connection has been made instead of a buzzer. The process would be the same regardless of which you are using.
You’ll want to poke a small hole in your design somewhere for your LED diode. Then using your electrical tape, attach the negative side of your LED diode (the shorter side) to the negative wire. Tape the positive side of your LED diode (the longer side) to foil.
Making the Game Pieces for Operation:
You can absolutely design your own little theme-based characters on Tinkercad to print on your 3D printer, but when you’ve got a big group the easiest way to do this is cut little shapes out of craft foam. This gives your game pieces some thickness and it literally takes just a few seconds to do.
VOILA! You’ve now made your very own electrical circuit and homemade Operation Game! I hope you’ve enjoyed this simple electrical circuits lesson! Check out some of our other STEM activities below!
 |  |
 |  |