Inside Out Teaching Emotions Activities-Social Skills & Autism
This post may contain affiliate links, view our disclosure policy for details.
Teaching emotions has been a constant work in progress for my oldest son with Asperger’s over the past few years.
Although we’ve spent thousands of dollars in therapy helping him strengthen his social skills awareness and understanding how to respond to things perhaps our most easily relatable tool is anything related to the Disney Pixar movie Inside Out because it’s so visual.
My kids LOVE that movie and it absolutely gave my son a more visual understanding of the feelings he goes through and has been a great tool in teaching emotions. Especially when there’s more than one emotion involved.
It’s also a fantastic reference and visual for children who are non-verbal since Inside Out not only goes through a small myriad of emotions but they are color coded as well! The Mixed Emotions book set is also a great one!
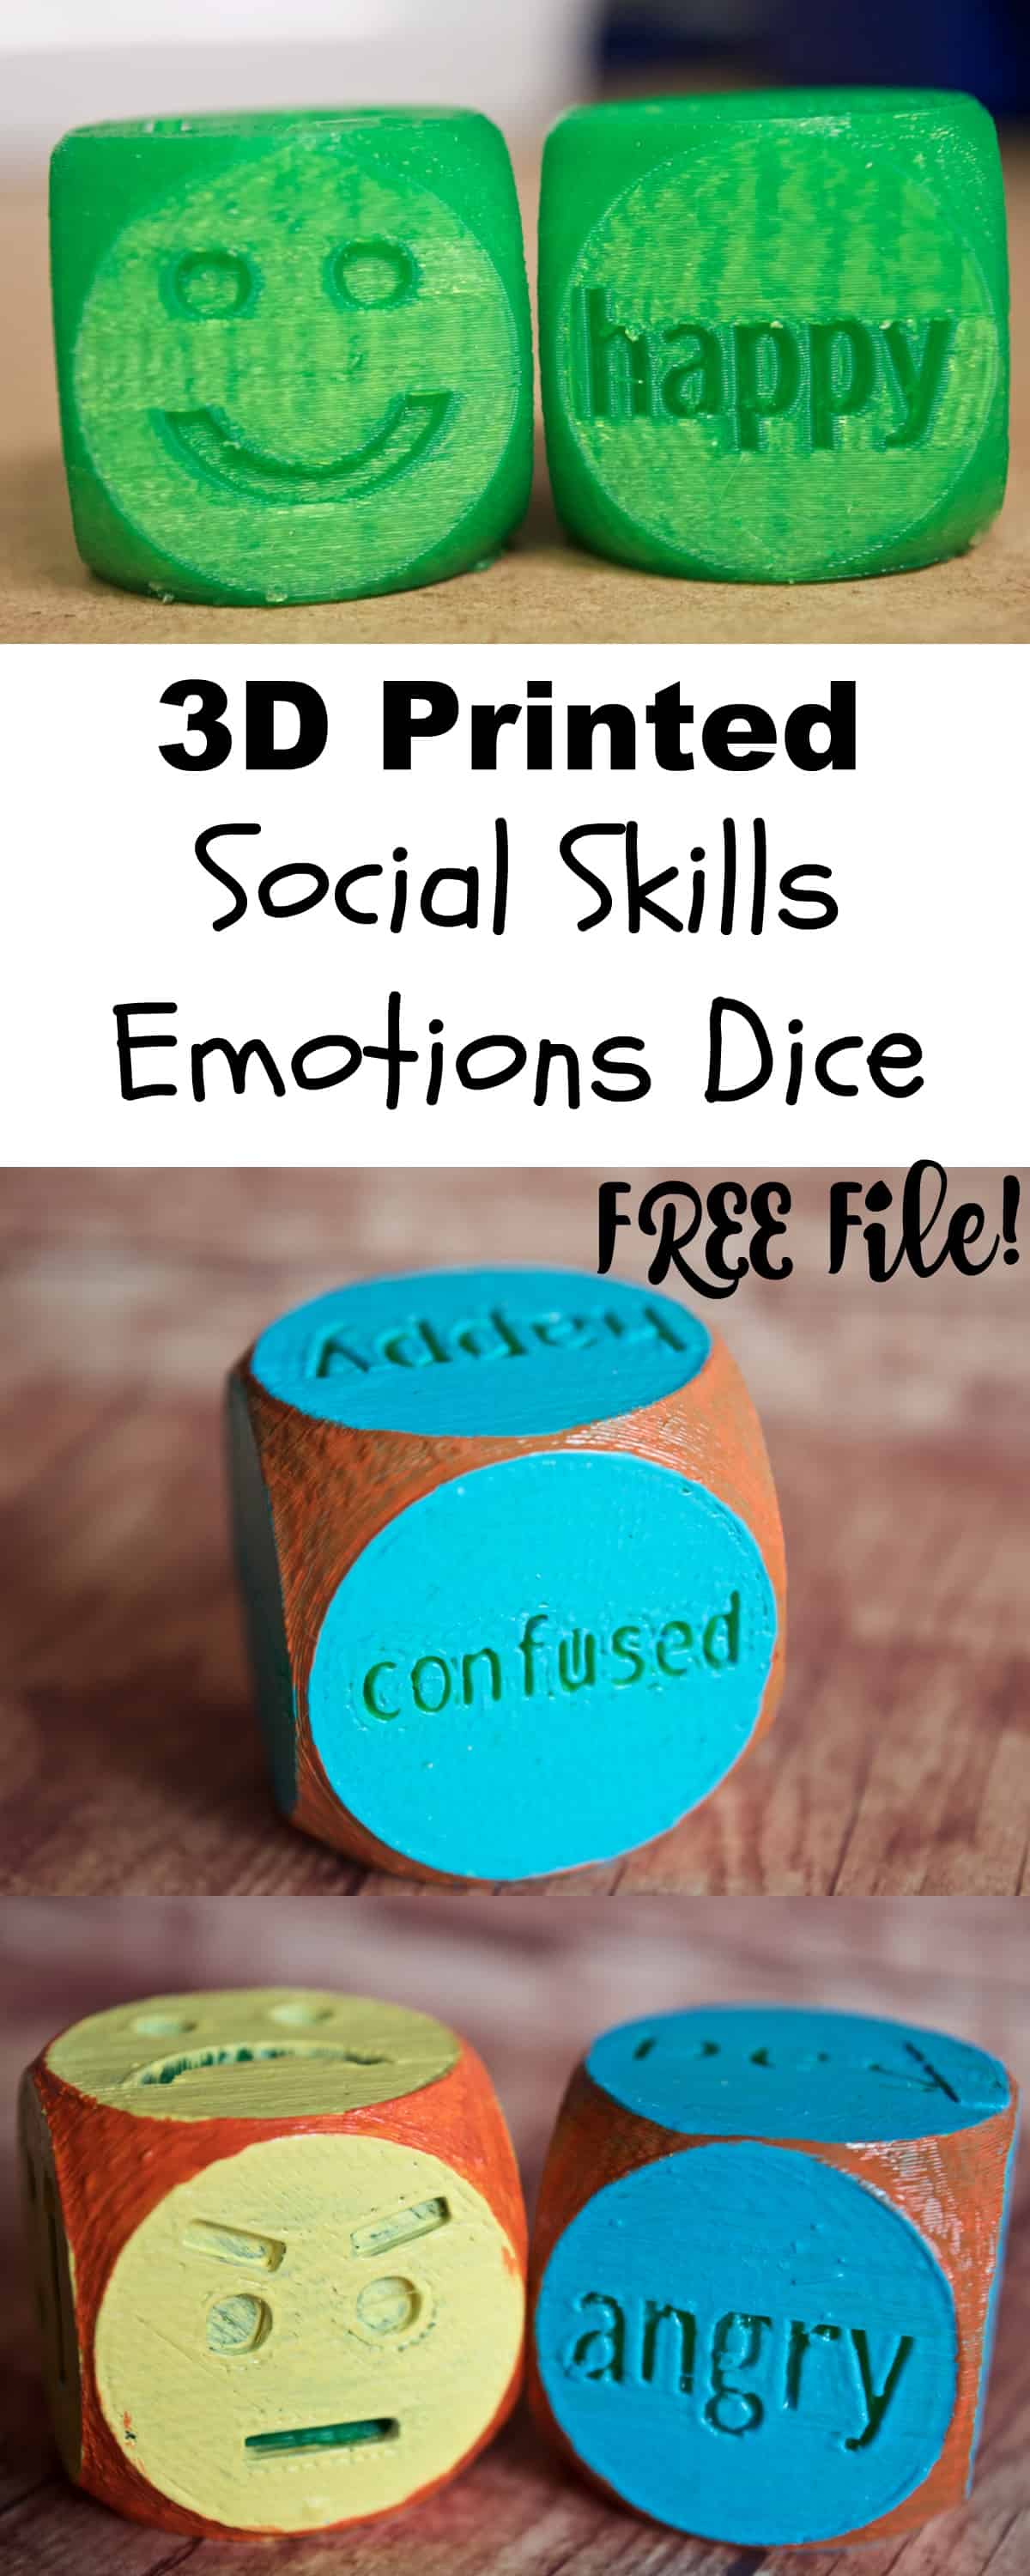
Get our Social Skills Emotions Dice 3D Printing File FREE here!
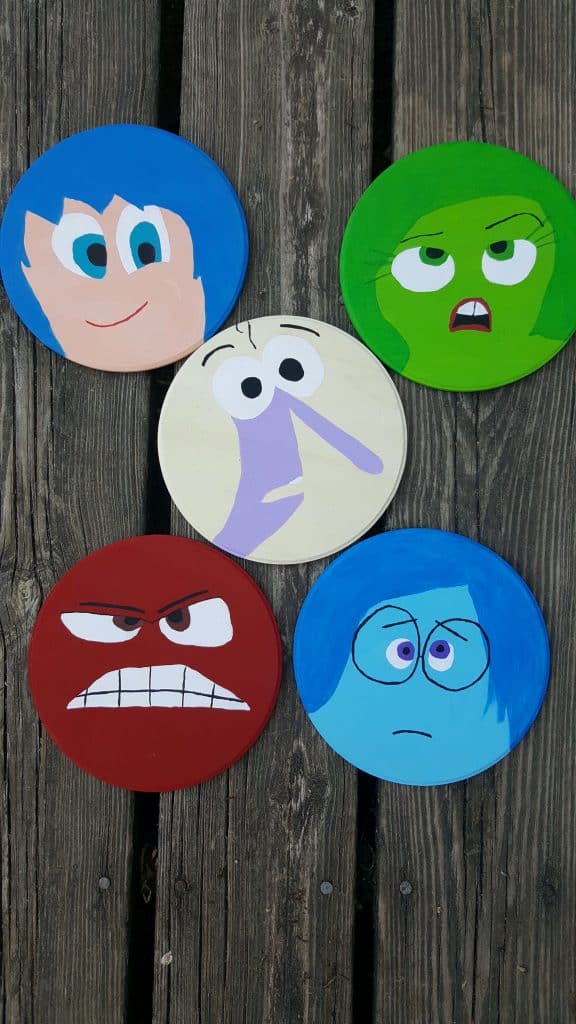
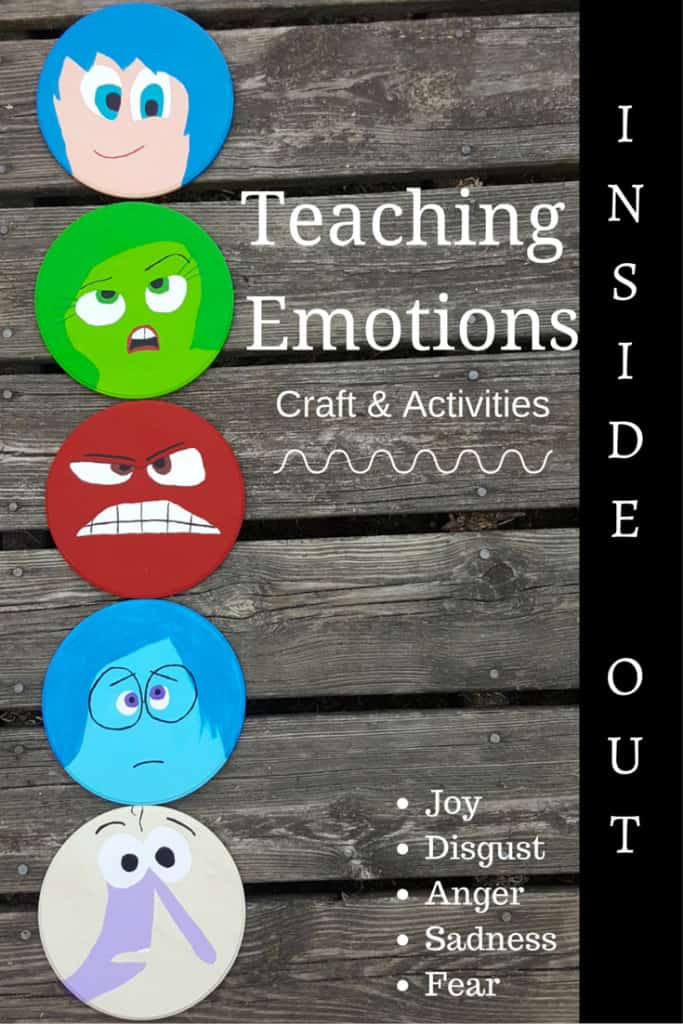
I found these wooden circles (you can find larger ones at Walmart for $.97 each) and came up with the idea of painting a face on each of the wooden circles to correspond with one of the emotion characters in the movie!
Don’t fret – I can’t draw worth beans but it was REALLY simple to do! And if you’re too worried about how they’ll turn out and don’t want to try painting them then just google images for each Inside Out character, print it out, then mod podge it onto the circle instead!
I recommend painting the wooden circle first though with the corresponding color scheme. It’s such a strong visual with the additional color coding for teaching emotions.
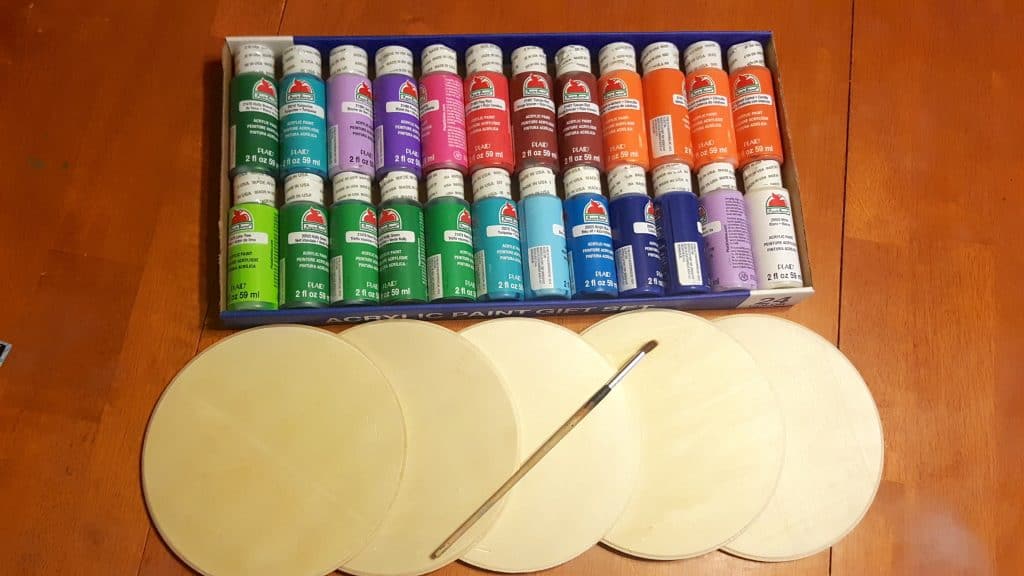
I started by choosing all of my colors in acrylic paint first to make sure they would match up. Then I simply painted the base colors – 1 color for each emotional face (5 circles total).
Red for Anger, light blue for Sadness, peach colored or yellow for Joy, lime green for Disgust, and light purple for Fear.
(Side note – since fear is so thin and shrinking I decided to pencil draw his face and then paint that light purple instead of painting the entire wooden circle. Start with the eyes first, then the long skinny nose – everything else is easy to follow!)
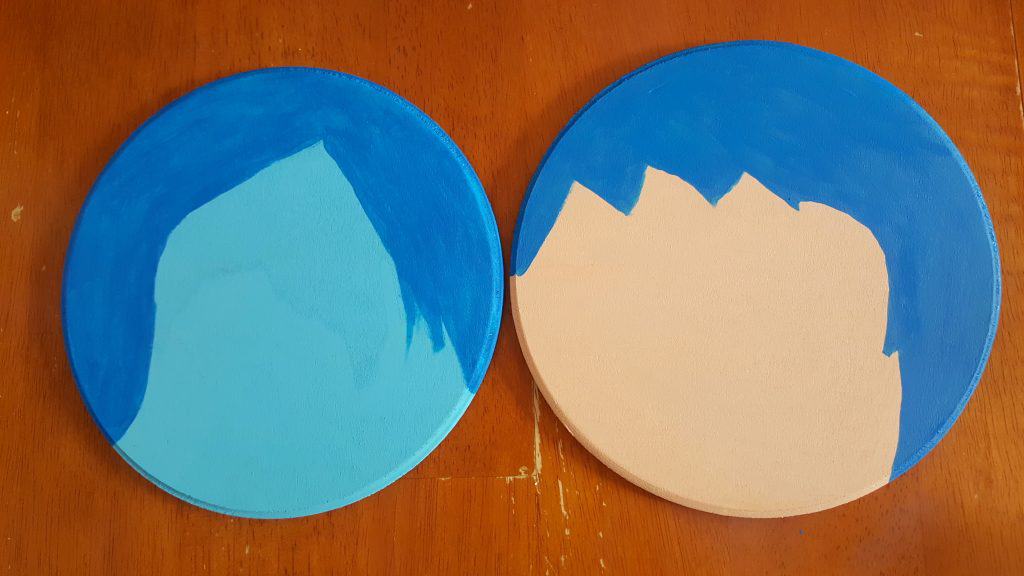
After your base coat of paint is dry the next step is to start with the eyes (except for Joy, Disgust, & Sadness – then start with the hair first). They are easy to draw, don’t have to be perfect, and give you a great point of reference. I drew mine in pencil lightly and just painted over the pencil.
Next start with the hair line and noses and work your way down from there.
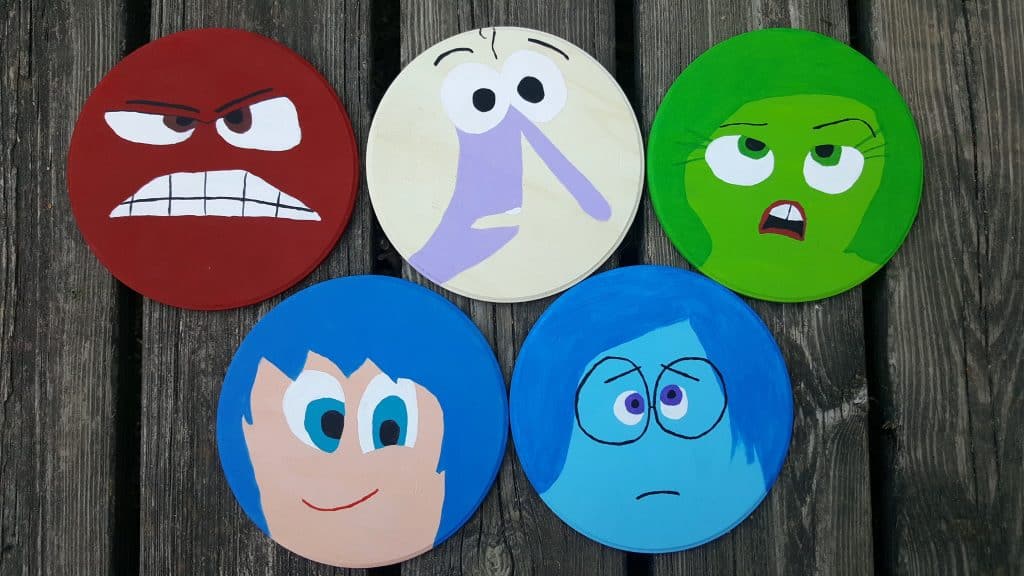
Once you have completed drawing and painting all of your Inside Out emotion character faces (or glueing and mod podging!) you have a couple of options depending on your space.
You can add magnets or velcro onto the back of each circle so that you can mount it onto your refrigerator, whiteboard, bulletin board, etc. depending on if you are using it at home, the classroom, or a therapy office.
To further relate it to your specific child you can also take photos of your photo creating each face (anger, joy, sadness, fear, and disgust), print the photo, then attach it onto an additional set of wooden circles and mount those directly above or below your Inside Out characters. (PIN this idea here!)
Teaching Emotions with Color Coded Paint Cards
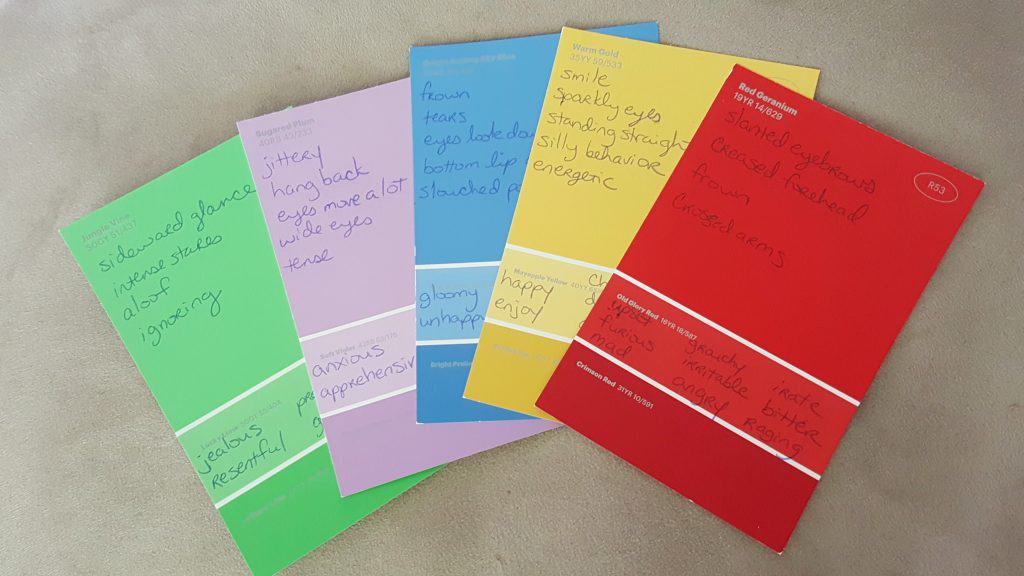
Grab a few paint chip cards in green, purple, blue, yellow, and red and sit down with your child to discuss each emotion. On the paint chip card write down your child’s responses on what cues to look for in the face or body language for each emotion.
For example, when talking about Anger maybe the child can look for furrowed scrunched up eyebrows, a frown, etc. Then at the bottom of the paint chip card write synonyms to help give your child other words to describe their feelings like anger, upset, grouchy, furious, temper, tantrum, mad, irritable, etc.
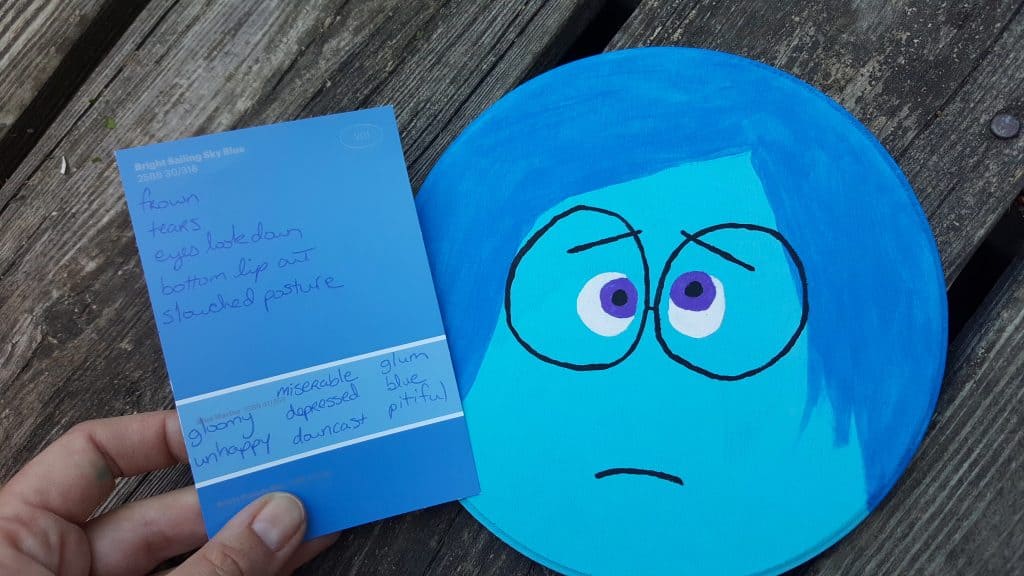
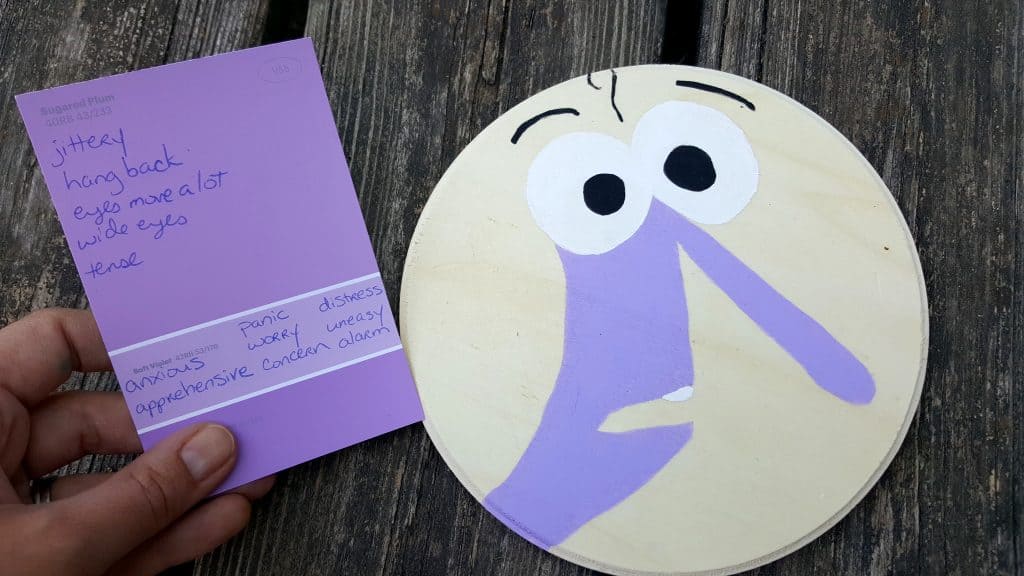
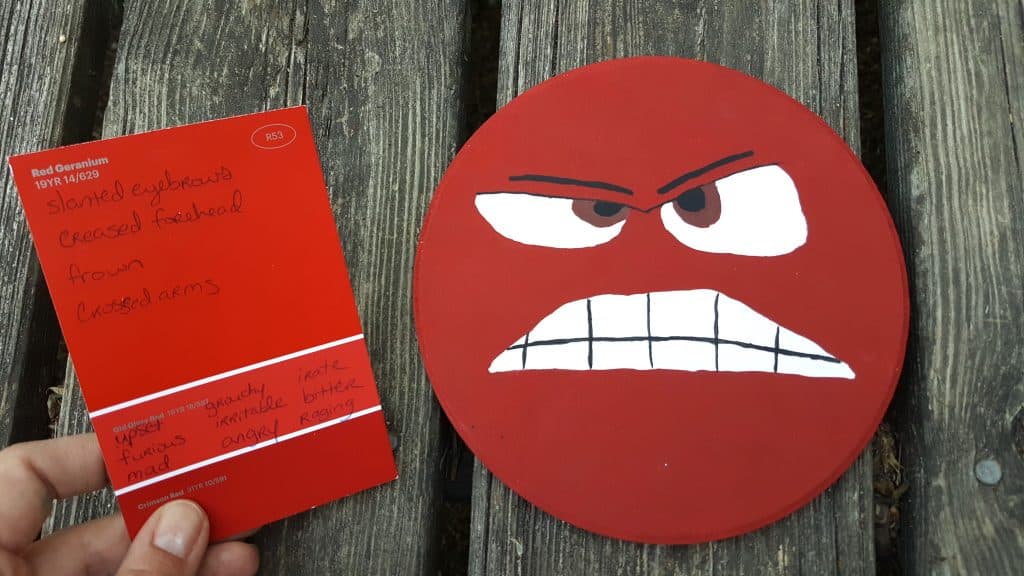
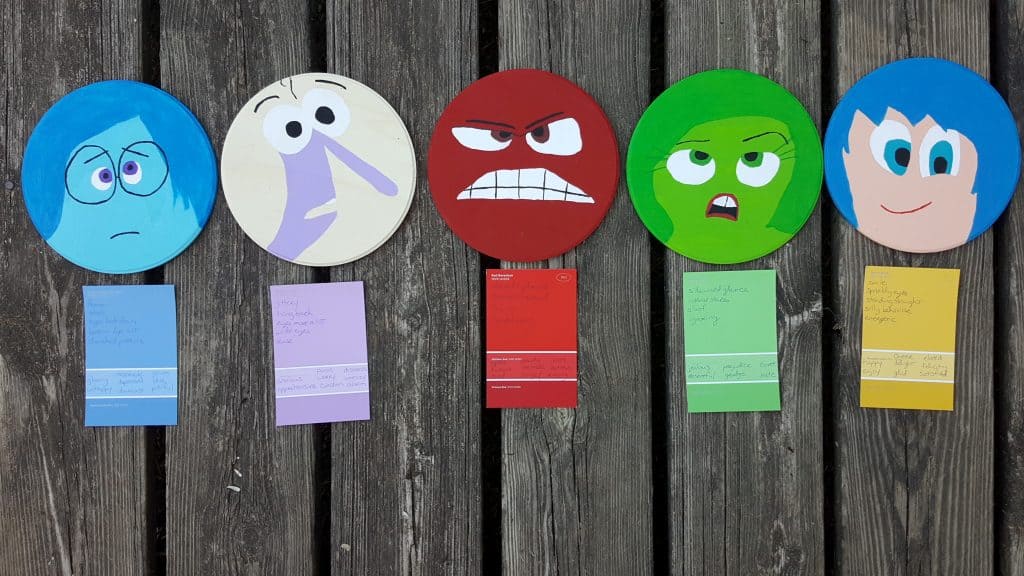
Walk through various scenarios (real and made up) on how your child felt or might feel if something specific happened and allow them to explore the new words to describe it.
Anytime they are having problems understanding or describing how they feel you can direct them to the “emotions board” to help prompt them with the appropriate words and feelings they are going through. Teaching emotions can be difficult to navigate.
If you’re working with a group of children who need guidance it’s great to have them look at each other’s faces to detect social cues and determine attitude. Another fun idea to have on hand is this set of Inside Out stickers that the kids can wear depending on their mood before discussion.
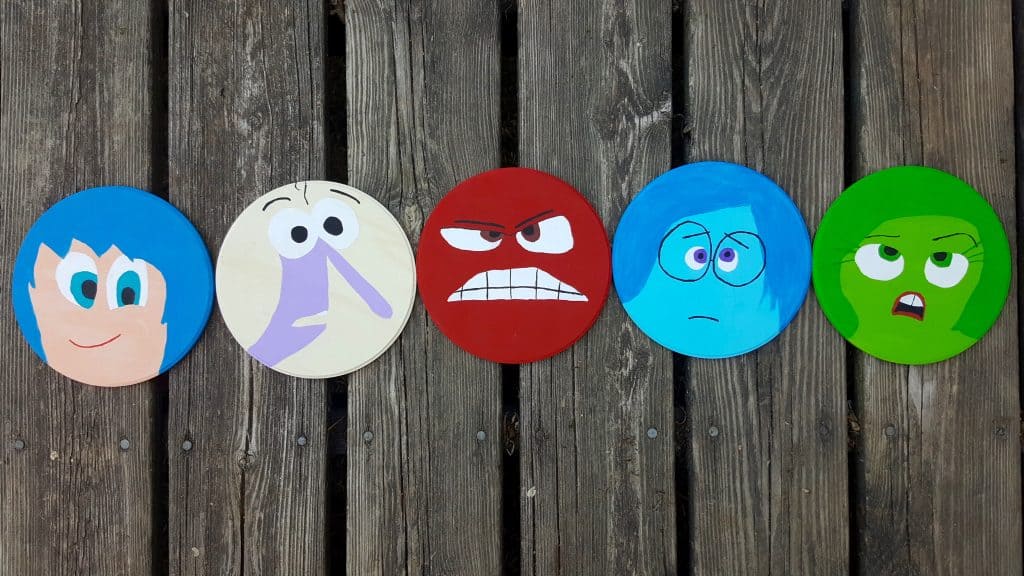
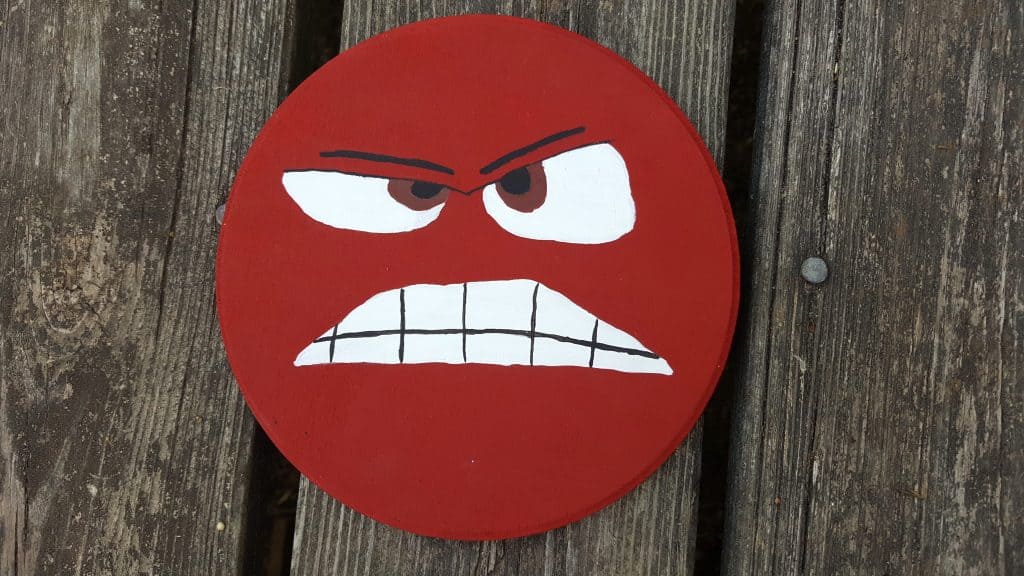
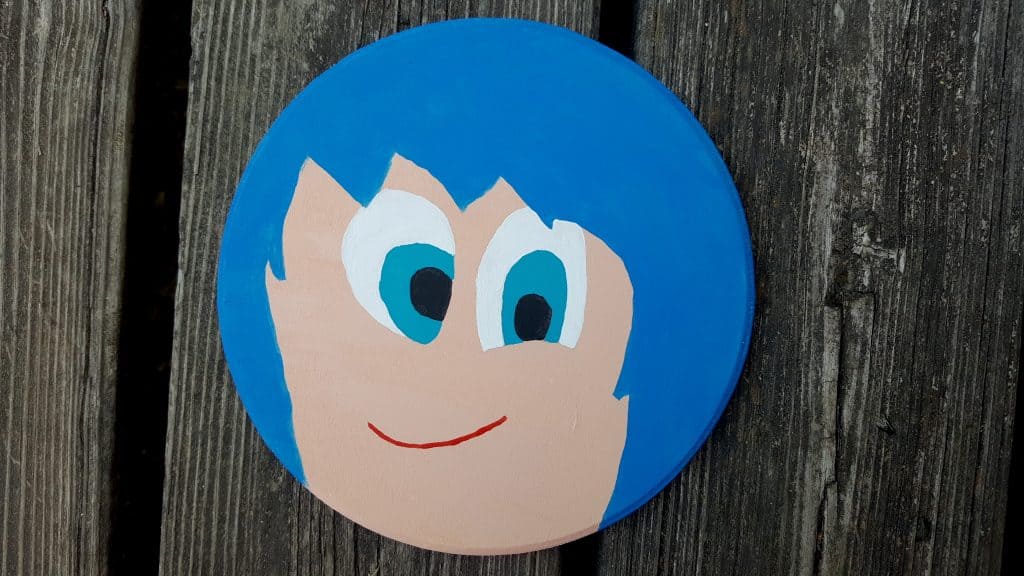
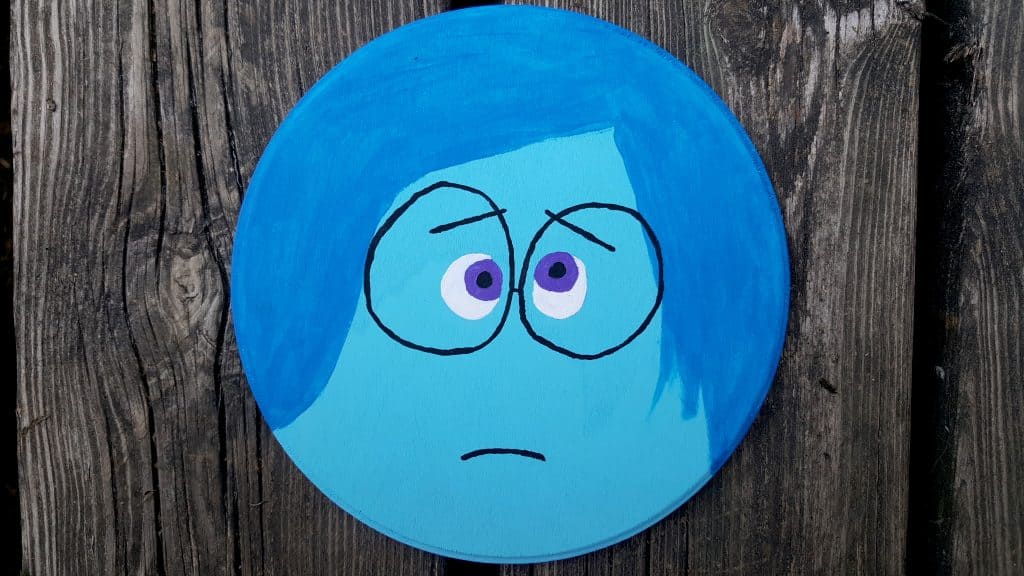
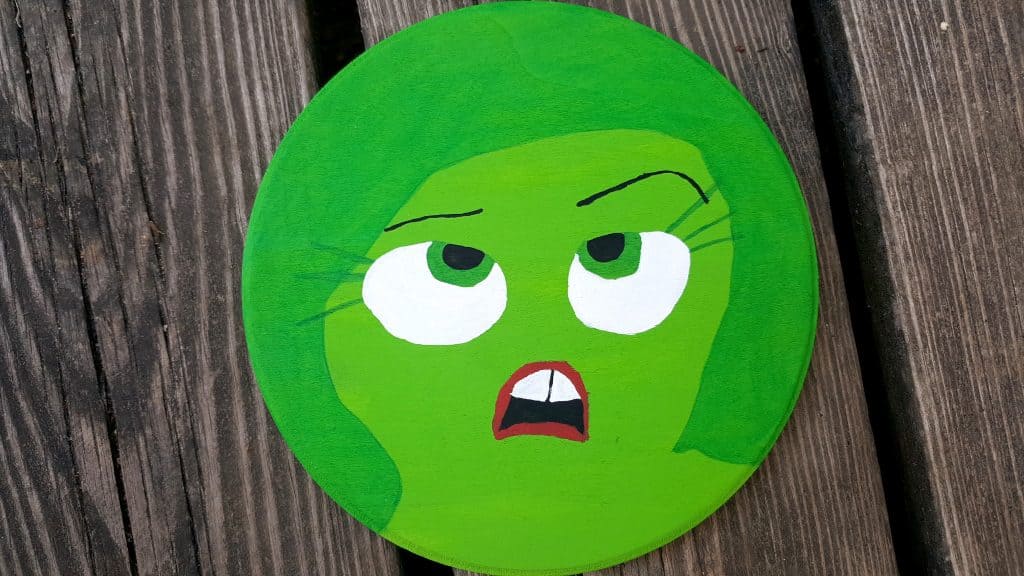
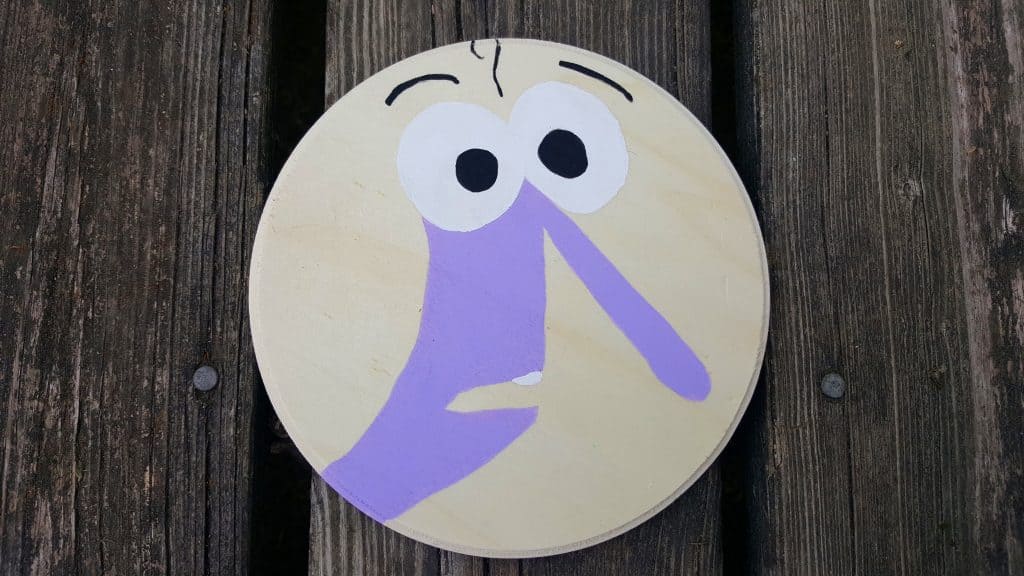
I added these extra photos so you could have a close up in case you wanted to try and reproduce them! Although I started out trying to make Joy look from a side view and she ended up looking pretty lopsided!
Yeah I know she’s supposed to be yellow but a peachy color was all I had on hand! 🙂 I’ve seen so many great ideas for teaching emotions on Pinterest but I liked this because it’s so brightly colored and every kid I’ve met love this movie so it’s definitely relatable!
