Simple Tutorial on How to Reupholster Dining Room Chairs – DIY on a Budget
This post may contain affiliate links, view our disclosure policy for details.
When we were married 8.5 years ago my husband’s grandmother told us to pick out a dining room table set for our wedding gift. Someone should have slapped us upside the head and said –
IF YOU WANT TO HAVE KIDS DON’T BUY WHITE CHAIRS!!!
WHAT WERE WE THINKING!?!?
SO 5 years after having kids, many pets, muddy yards, spills, and other nameless accidents my poor white chairs have become – well, to be totally honest absolutely grotesque. Blessings go to the kind people who haven’t said anything to me about my horribly disgusting chairs! A few years ago we called around and received a quote to have our chairs reupholstered. But at $60+ PER CHAIR times 8 chairs that was completely out of the question! SO we just lived with VERY white black chairs. I had thought about reupholstering it myself but had absolutely NO clue how to do so until a friend finally talked me into trying it.
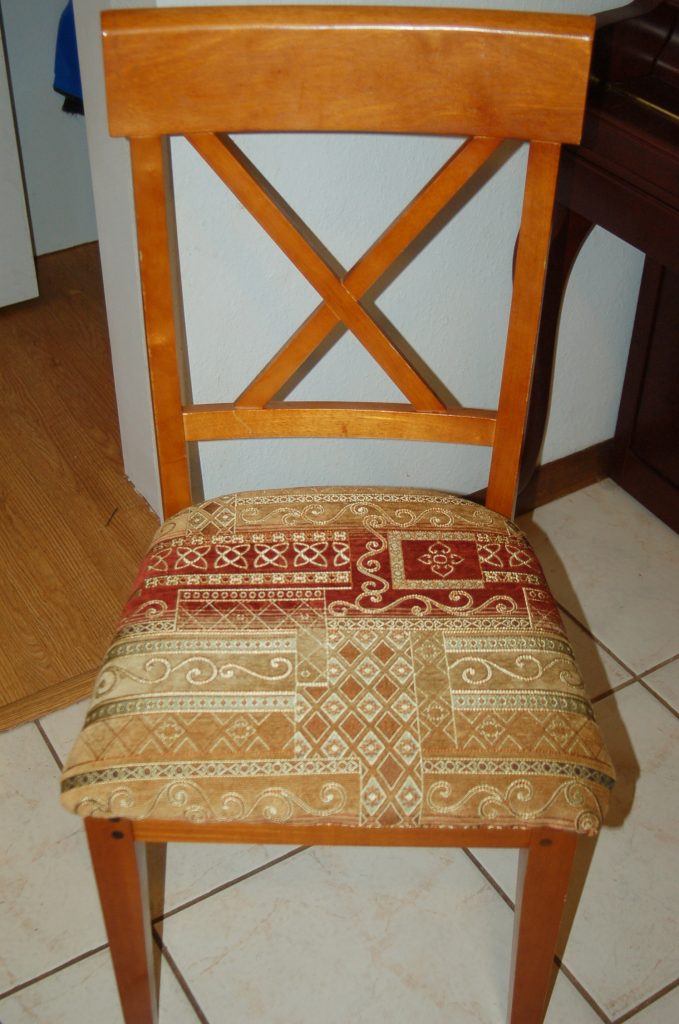
Look at the difference!! The “BEFORE” chair had been steam cleaned so many times I’m surprised that my fabric wasn’t falling apart and it was STILL hideously stained! It was much worse than the photo makes it appear. The AFTER photo is a beautiful chair that I am proud of an no longer embarrassed to have people sit at my table!!
The first step was to find a fabric that I wanted to put on the chair. I visited Walmart, Michael’s Craft Store and JoAnn Fabrics. After MUCH debating and price comparing I decided to go with a much more expensive fabric for 2 reasons:
1. After all of the abuse my chairs had endured they deserved it.
2. Typically the higher the price for fabric the better quality.
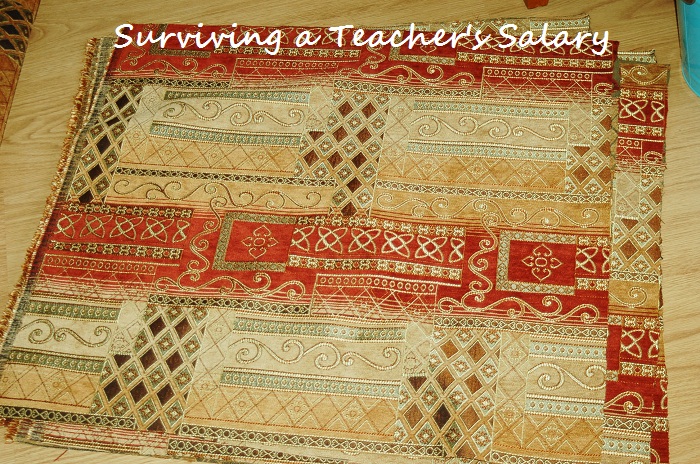
So I ended up with this fabric from JoAnn’s which was originally almost $50 a yard – I found it on sale for about $22 per yard. Still VERY expensive but a great deal. Especially after looking at the VERY thing $10 a yard fabric that I knew would get torn to shreds in my house! Overall I spent about $80 on fabric which covered my 8 chairs plus I have 2 extra panels. So let’s get started!
First you’ll want to flip your chairs upside down.
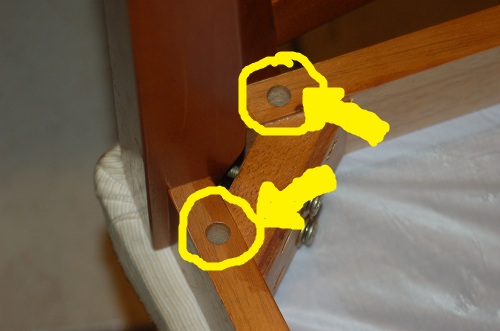
Locate the holes for the screws and unscrew! The seat to your chair should come right off.
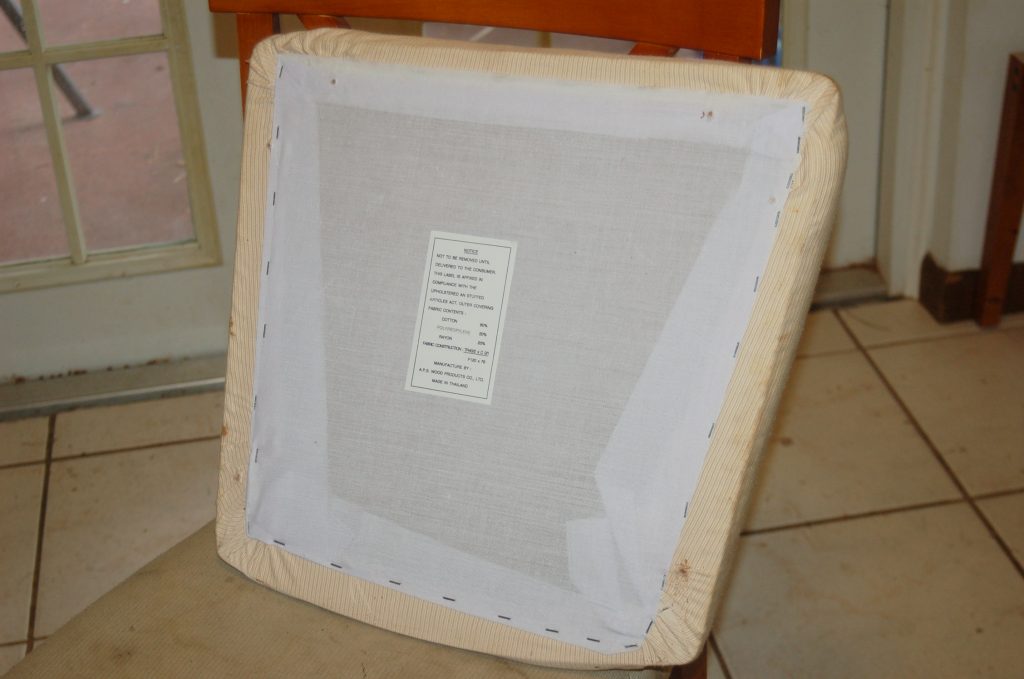
Tada! Next you’ll need a staple remover to yank all of the staples out. Let me tell you that this part takes the longest! It sounds easy, and it is, but it was really hard to get SO many staples out! For my chairs the white decor fabric was stapled on, and there were a zillion more staples underneath tacking on the seat fabric. My hands were SO cramped by the time I was done!
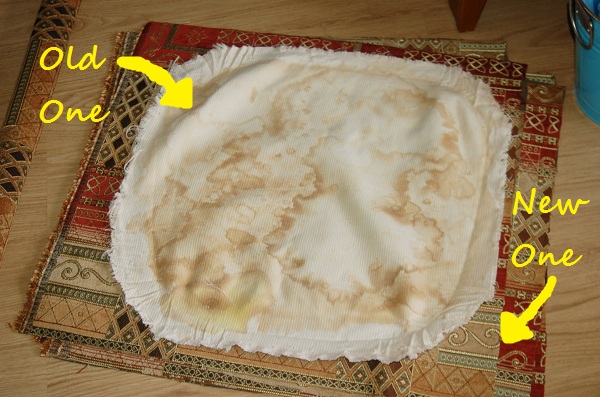
Once you’ve gotten all of your fabric off you can cut your new fabric! Now I am NO professional and not that great at super crafty projects so I simply laid my old fabric down (GROSS!) on top of my new fabric and made sure to cut a bigger square to work with in case I did something wrong. By this point I was getting pretty excited because as you can see there is a BIG difference in quality (and cleanness!) of the fabric.
Once you have your new fabric cut you are ready to have a little fun!! Place the fabric how you would like it to look over the seat of the chair, and hold it onto the seat while you flip it over onto the underside. I HIGHLY suggest using a air stapler (it cost about $20-$30) as it makes this project a TON easier! Just pull your new fabric over the seat and staple onto the back. You’ll want to pull the fabric as tight as you can so that it doesn’t bunch up on the seat. It’s VERY simple – don’t fret! Start by stapling the sides FIRST and leaving the corners to do last – I found this was the easiest for a beginner! Once all four sides are staples you can work on the corners without having to hold the rest of the fabric. Try to smooth the corners out without folding the fabric as much as possible then staple it down!
Screw the seat back onto the chair frame and you’re done!! Although a bit time consuming it was VERY simple to do! This was my very first chair that I upholstered for our dining room and I am pretty darn proud of it! Don’t worry if it’s slightly creased on one corner or the cushion is a little flattened in one spot – you have just saved yourself hundreds of dollars and have a fabulous looking dining room set!


