5 Ways to Use Digital Art in the Classroom
This post may contain affiliate links, view our disclosure policy for details.
When you first think of art class, you don’t necessarily think of technology or digital art. But it’s a fantastic way for art teachers to incorporate technology into their classroom with minimal supply need – often times free! In fact art and coding are a cross compatible skill with surprising technical overlays!
It’s also a great change of pace for kids who hate art or are difficult to engage in the process of art design. The below ideas to use digital art in the classroom provide far more than just creativity skills for kids! I hope these 5 ideas for digital art below will provide you a fresh perspective of using technology to create and explore!
I work with a lot of kids ranging from ages 5-14 in the areas of STEM, coding, 3D Printing and other creatives hands-on activities. And the more time I spend in these areas the more I can clearly see the overlaps in learning skills and applications.
Below are some ideas specifically for art teachers and other educators to bring digital art into the classroom. This can also provide a cost effective less messy way of creating art as well!
3D Print Designs – Digital Art with Shape Manipulation
3D printing has come far beyond “just” a fun hobby and has made strides with children and educators in schools across the country. It’s so much more than digital art – it helps with spatial awareness, basic computer skills, math skills, problem solving skills, shape manipulation, and more!
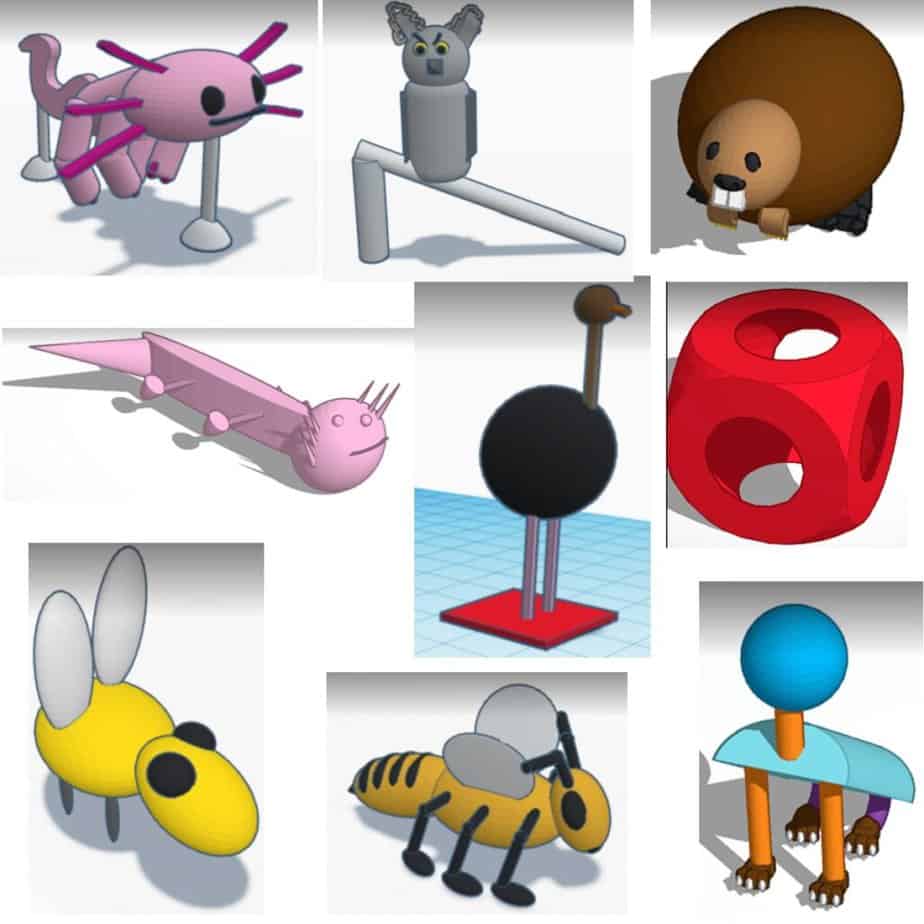
While you may not be able to print 3d projects for every project your classroom makes, we typically spend time designing 3d models, and will then give the kids a choice of one item they want printed.
While there are a variety of 3d printing programs out there, we predominately use Tinkercad (it’s free!) with our kids. (Did you know you can also code and use circuits in Tinkercad?!) Here are a few simple starter ideas for students who are beginners are 3d printing:
- Name tag keychains
- Abstract Animals
- Bubble Wands
- Flower pots
- Snowman
While I use several different brands of 3D printers, my go to brand is FlashForge for a lot of reasons. I purchased my first FlashForge 3D printer (Adventurer 3C) earlier this year and am now thrilled to be working with FlashForge in partnership to promote their 3D printer usage in education!
Their 3D printers are a fantastic choice for both beginners and advanced builders and come with some “luxury” features that make 3d printing so much nicer! You can read more about our FlashForge Artemis 3D Printer here.
I’m currently using their FlashForge Artemis 3D printer that they sent me which has a much bigger build volume than our FlashForge Adventurer 3C. You can see our comparison of the Artemis vs. Adventurer 3C here and my review of the Artemis 3D printer here (coming soon). If you’re looking for the difference between Artemis and Finder 3, FlashForge has a great graphic which breaks that down.
Pixel Art Makers
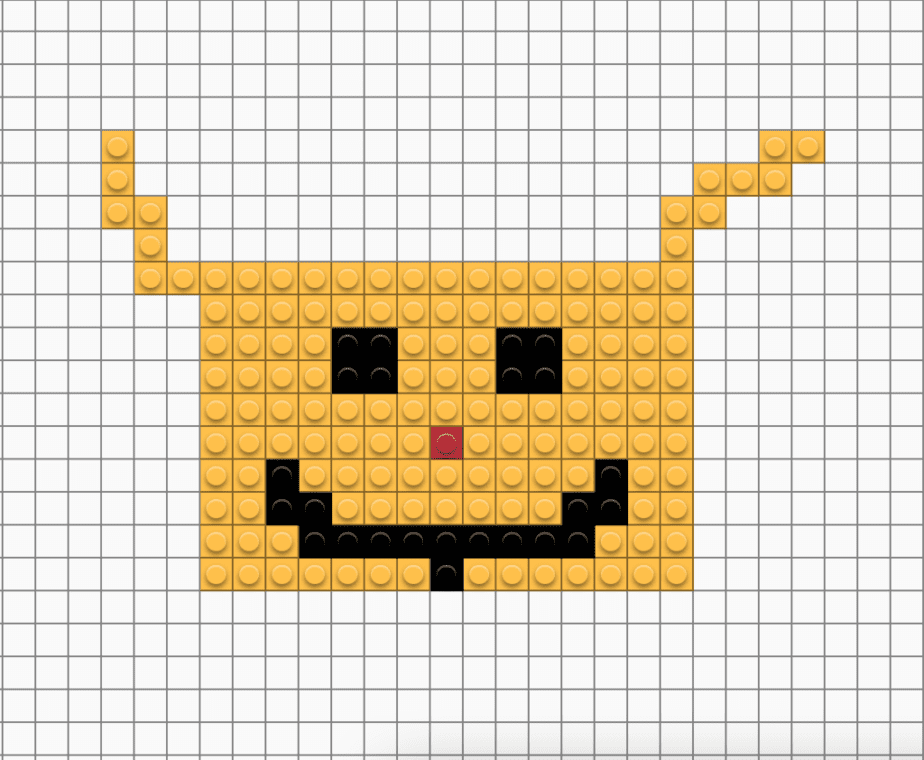
There are plenty of free pixel art programs out there you can research and look for but I personally use Brik.co – it’s EASY but you will need to make a generic account in order to use the program. While it is intended for designing your own pixel art to order brick building pieces, it’s a fantastic tool I’ve used with kids of all ages.
Pix Brix is also a company that has a free pixel generator based on a photo you upload, although the best images here are single subject images with high clarity and simple subject matter. This would be a fun activity for a photography class!
Roblox Studio
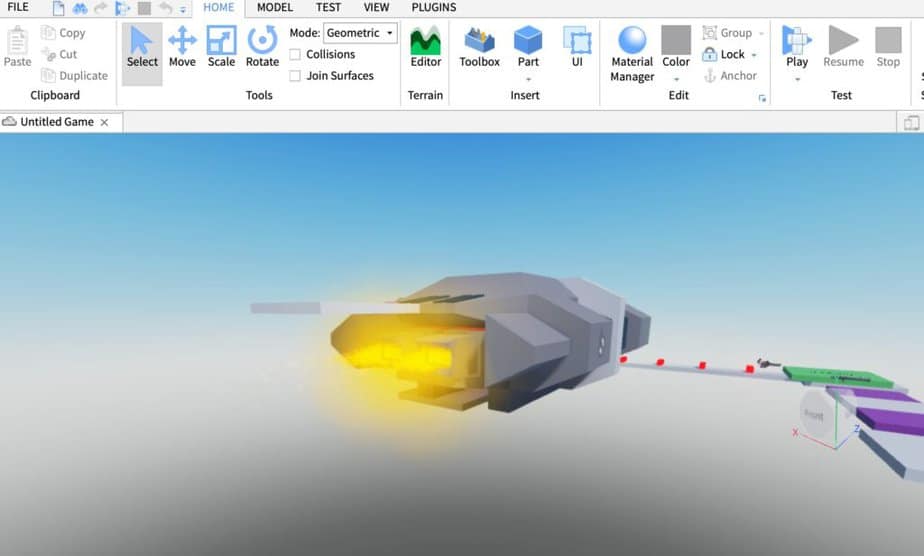
I know I know, video gaming for kids as art? Actually YES! But don’t groan yet – Roblox Studio is NOT gaming and in fact is a great mirror of the same shape manipulation you will learn in various 3D printing software programs! Not to mention that it’s incredibly engaging for your gamer kids and great for spatial awareness!
Roblox Studio is a FREE software online where kids can build and design worlds but NOT access actual gaming platforms unless you connect accounts and leave the “studio platform” area. This makes it safe for school! I have seen some absolutely incredible designs come out of teaching kids how to use Roblox Studio.
Virtual Graph Paper
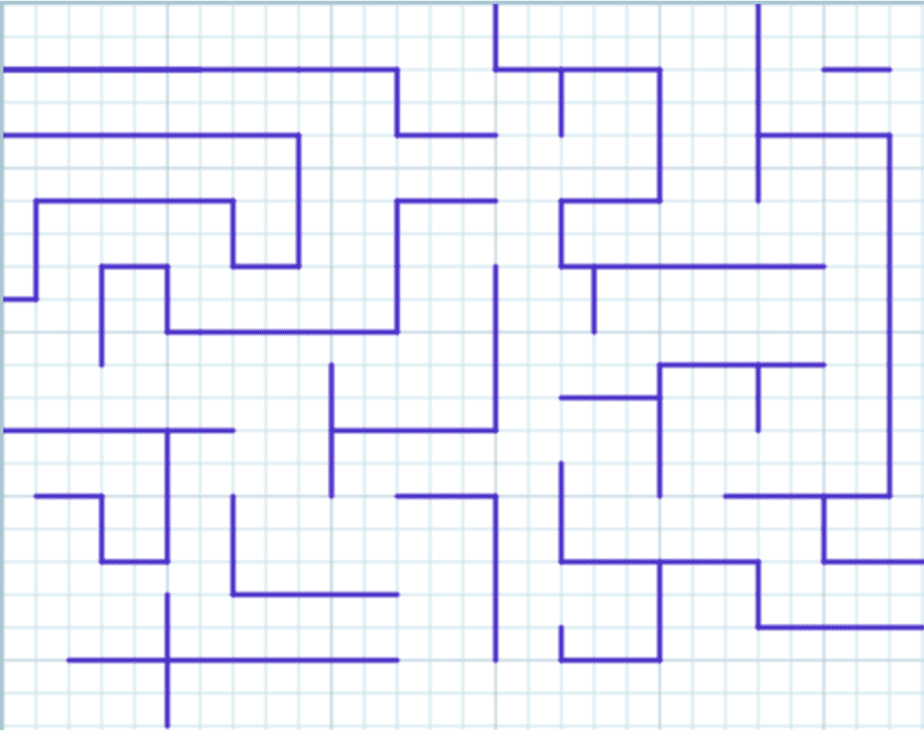
Another great digital art project is creating mazes and symmetry using free Virtual Graph Paper online. There are of course numerous ways you can use this, but I typically use it for designing mazes for which we then load into Scratch for coding. You can of course also decide to print it out and continue designing, use it as a template to create mazes from cardboard, etc.
Design Video Game Art – Hack it without Learning How to Code!
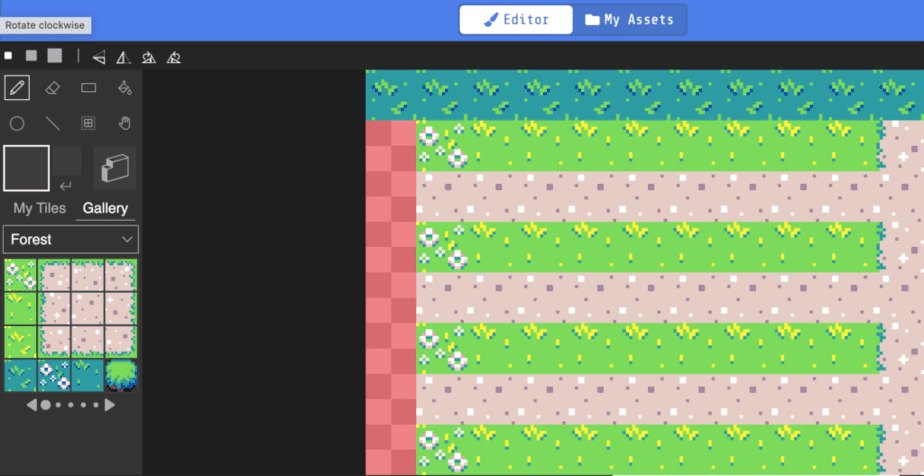
If you’ve got a few minutes to watch some basic tutorials, you can easily set your students up to design their own video game! You can use pre-made and pre-coded games and simply alter the characters (sprites) and backgrounds or tile maps without needing to learn any coding!
The easiest programs to do that are Scratch and MakeCode. The programs can be used without signing up for an account, although if your students want to save their work they will need to be using a free account. I typically make one “house” account for everyone I work with and they just save it in my account. You can then copy their URL link to their game and send it to their parents to play at home!
PRO TIP: You can even turn this into a multi-step process where after kids create their video game characters in Scratch or MakeCode, then they work on 3D designing their projects which is what we did with our FlashForge!


