How do they Make a Dixon Ticonderoga Pencil?
This post may contain affiliate links, view our disclosure policy for details.
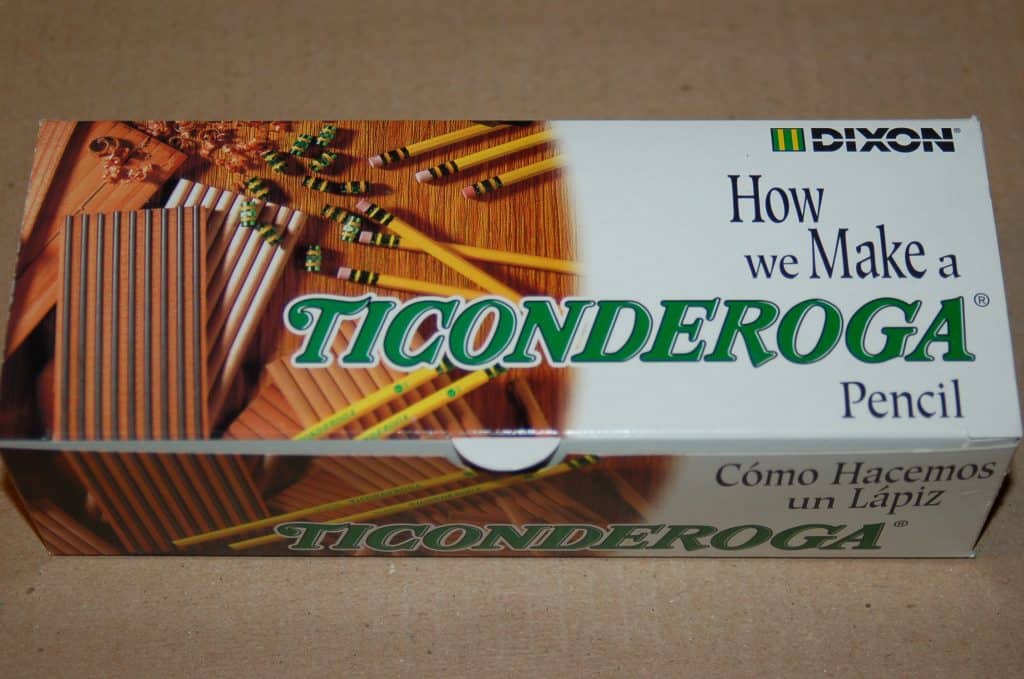
I would bet that you have all heard of Dixon Ticonderoga and are at least familiar with their pencils! They sent me a great little package in the mail the other week and the most intriguing part of it was this cool “How We Make a Ticonderoga Pencil” box!
When I opened it up I realized that they had materials from every step in the pencil making process! It was something I had never seen before so I wanted to share it with you guys!
They sent a great illustrated guide so that I understood what each step was. I’ve taken photos from each step in the process and am using the guide to help me explain to you how it is made!
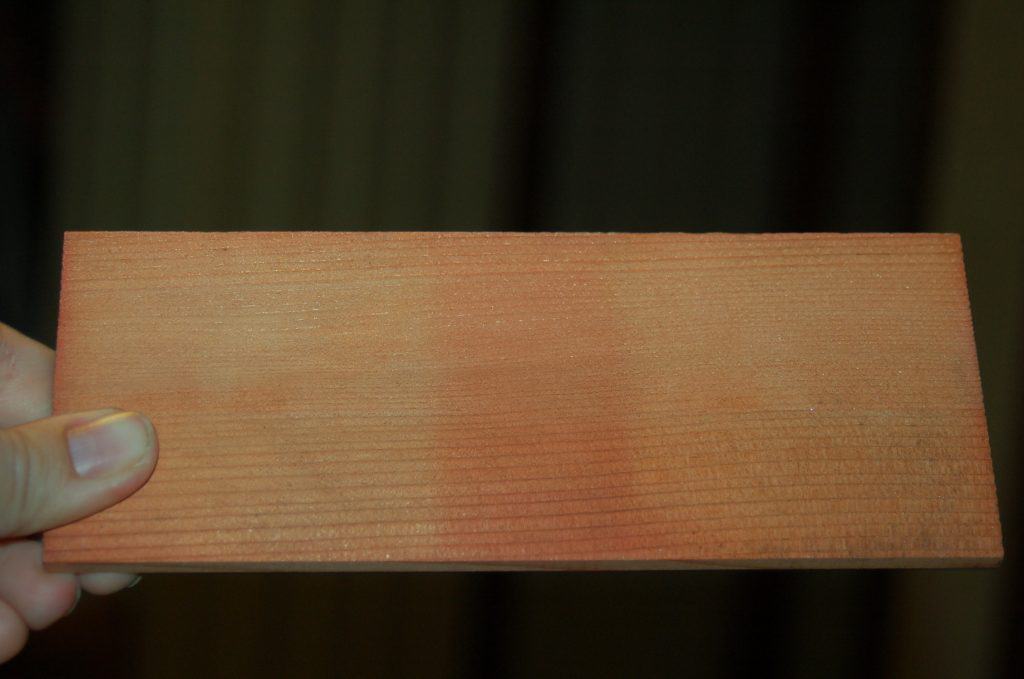
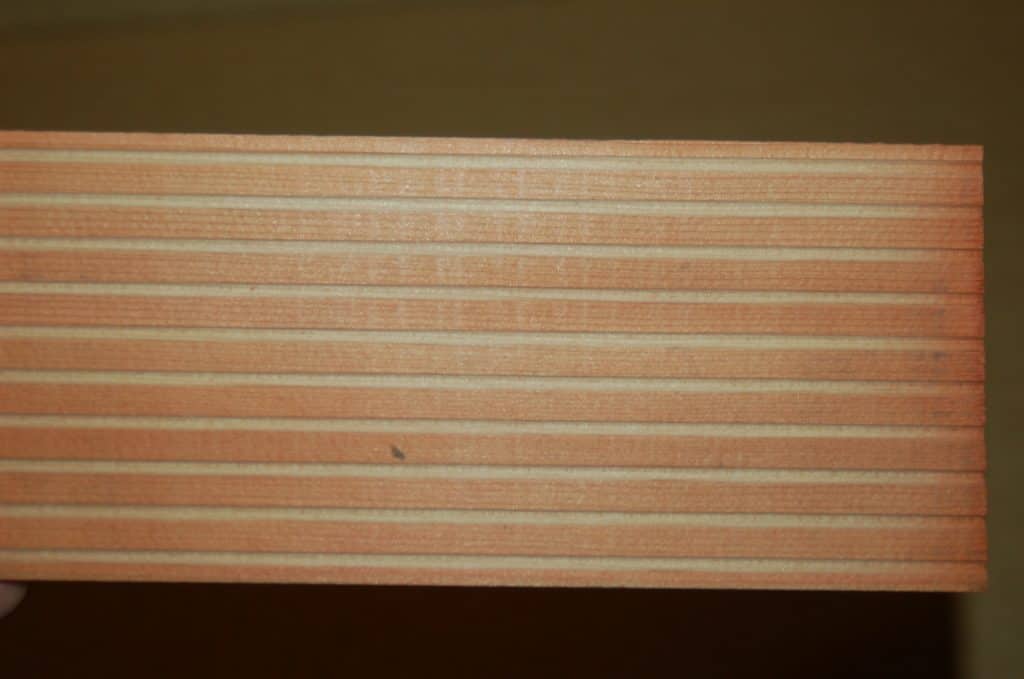
Step 1- Wood is cut into “pencil blocks” as I’ve shown below and then into “pencil slats”. Pencils can be made from different types of wood, however Ticonderogas are made from California Incense-Cedar.
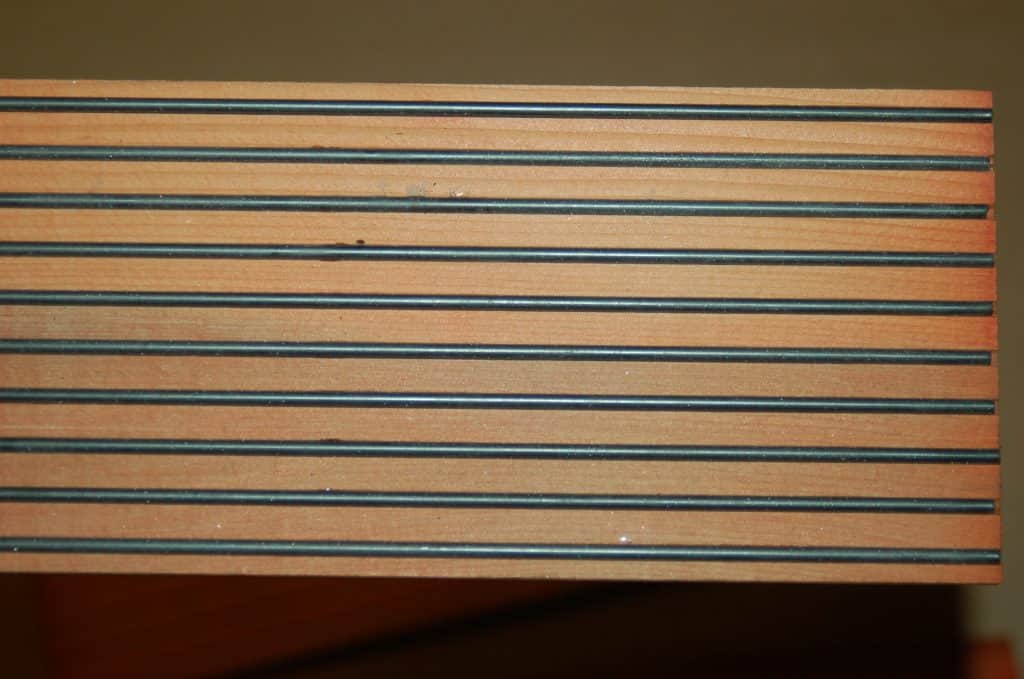
Step 2- A machine cuts grooves into the slats so that the pencils can hold the graphite writing core (aka lead even though there is no lead in it).
Step 3- Glue is placed into each grove and the sticks of graphite are placed into this.
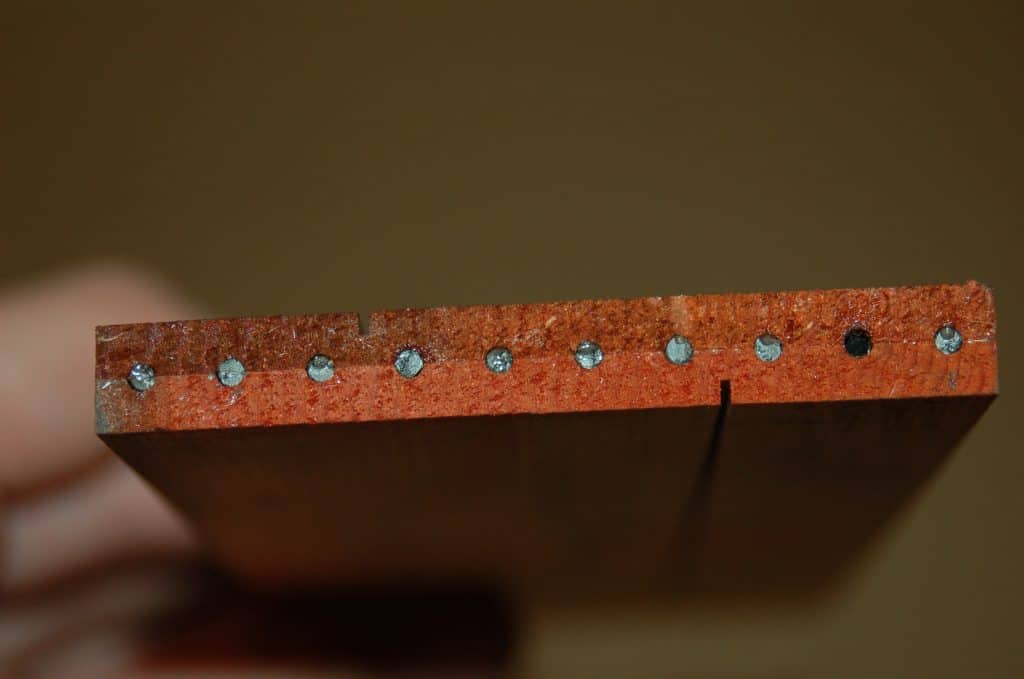
Step 4- You can see below on the bottom of the pencil block that a second grooved slat is placed creating a “pencil sandwich”.
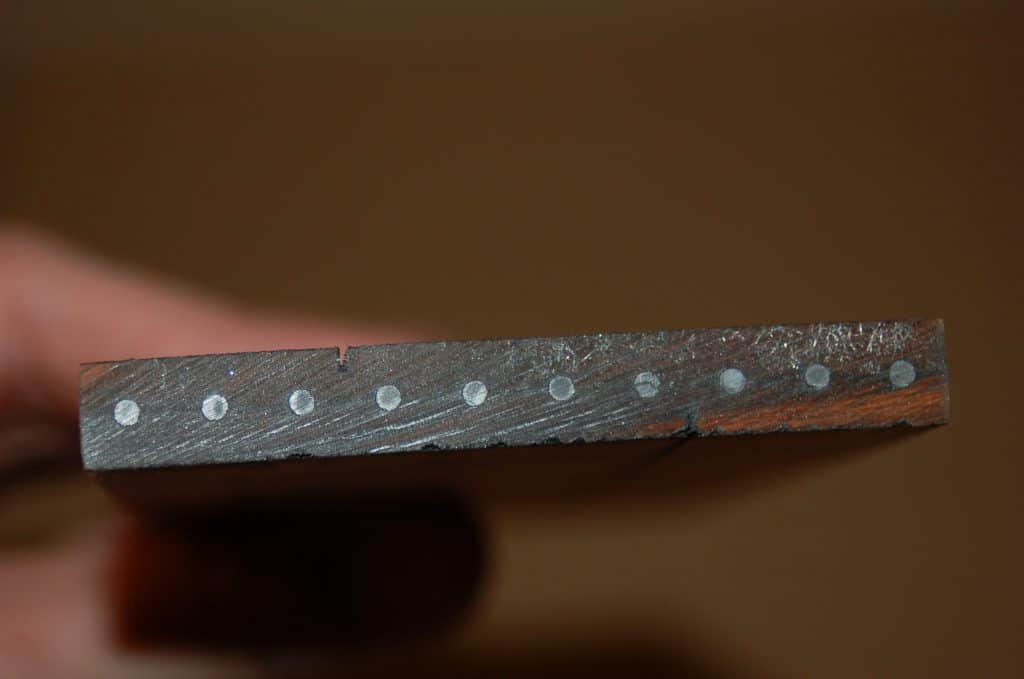
Step 5- The sandwich slats are trimmed on both ends to make the exact length of a pencil.
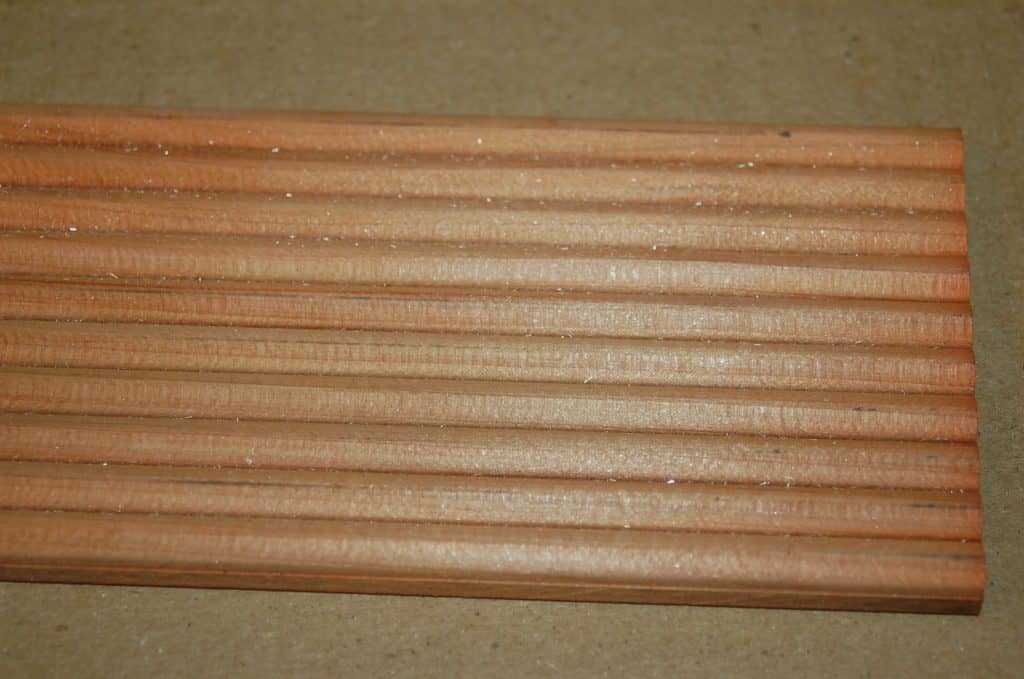
Step 6- Both sides of the slat are shaped with cutting knives so that it looks like a row of ten pencils.
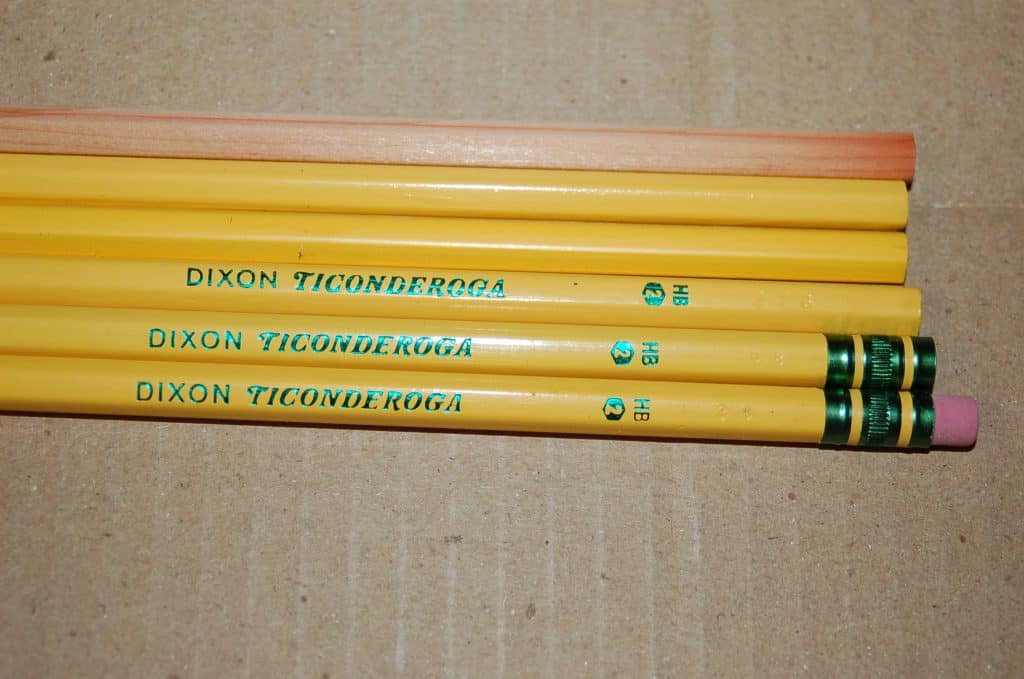
Below you see Steps 7-12 (with Step 7 being the top pencil and working it’s way down to the bottom pencil, Step 12).
Step 7- The pencils are cut apart out of the ten pencil slat block.
Step 8- The pencils are put through a painting process that adds many coats of special Ticonderoga yellow lacquer.
Step 9- The newly painted pencil is sanded on one end.
Step 10- Ticonderoga’s name is imprinted on the pencil with green foil.
Step 11- The ferrule is glued onto the end. This is the green & yellow part that holds the eraser.
Step 12- The eraser is added and TA-DAH! You now have a Ticonderoga Pencil!
Pretty cool huh? My son really loved this as he is totally obsessed with the show “How it’s Made” so this was a great hands-on version for him! Have you ever seen how a pencil was made?
 |
 |
 |
 |



This is awesome. How did you get these? I would love to share it with all my kiddos!
They sent them to me in the mail to share with you guys – you could always write them and ask them about it?
That is very cool. Thank you for sharing with us.
Thanks got sharing! That was really neat!!
Best post! i love you blog