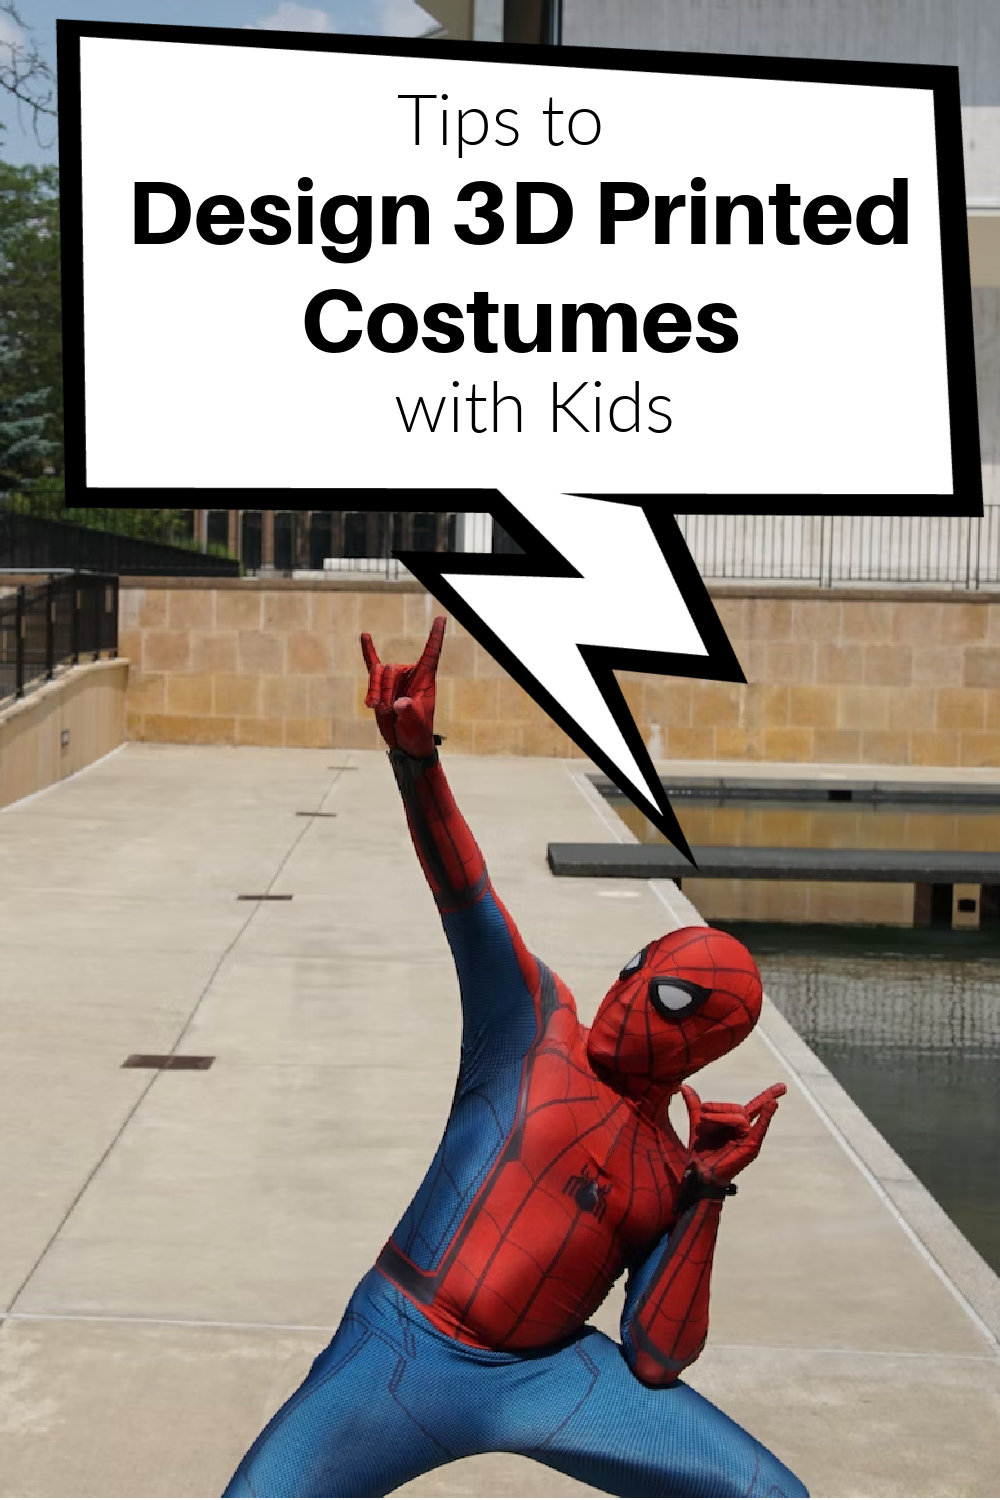
Tips to Designing 3D Printed Costumes with Kids
This post may contain affiliate links, view our disclosure policy for details.
Whether your kids have book character day coming up, a “dress like a character” book report, a school play coming up, or just want to design a DIY Halloween costume, get your kids involved by letting them design 3d printed costumes & accessories! Here are some tips to designing 3d printed costumes with kids!
3D printing costumes with kids is a fantastic expression of creativity and also an incredible way to work on math skills hands-on! Kids of all ages can work in 3d modeling! We start with kids at 5 years old!
I’m so excited to have partnered with FlashForge this year to promote the use of 3D printers in educational settings like classrooms, schools and academic clubs! You can check out our tips on how to run a 3d printing club for kids here and our review of FlashForge’s newest 3d printer – Artemis!
Begin by brainstorming ideas!
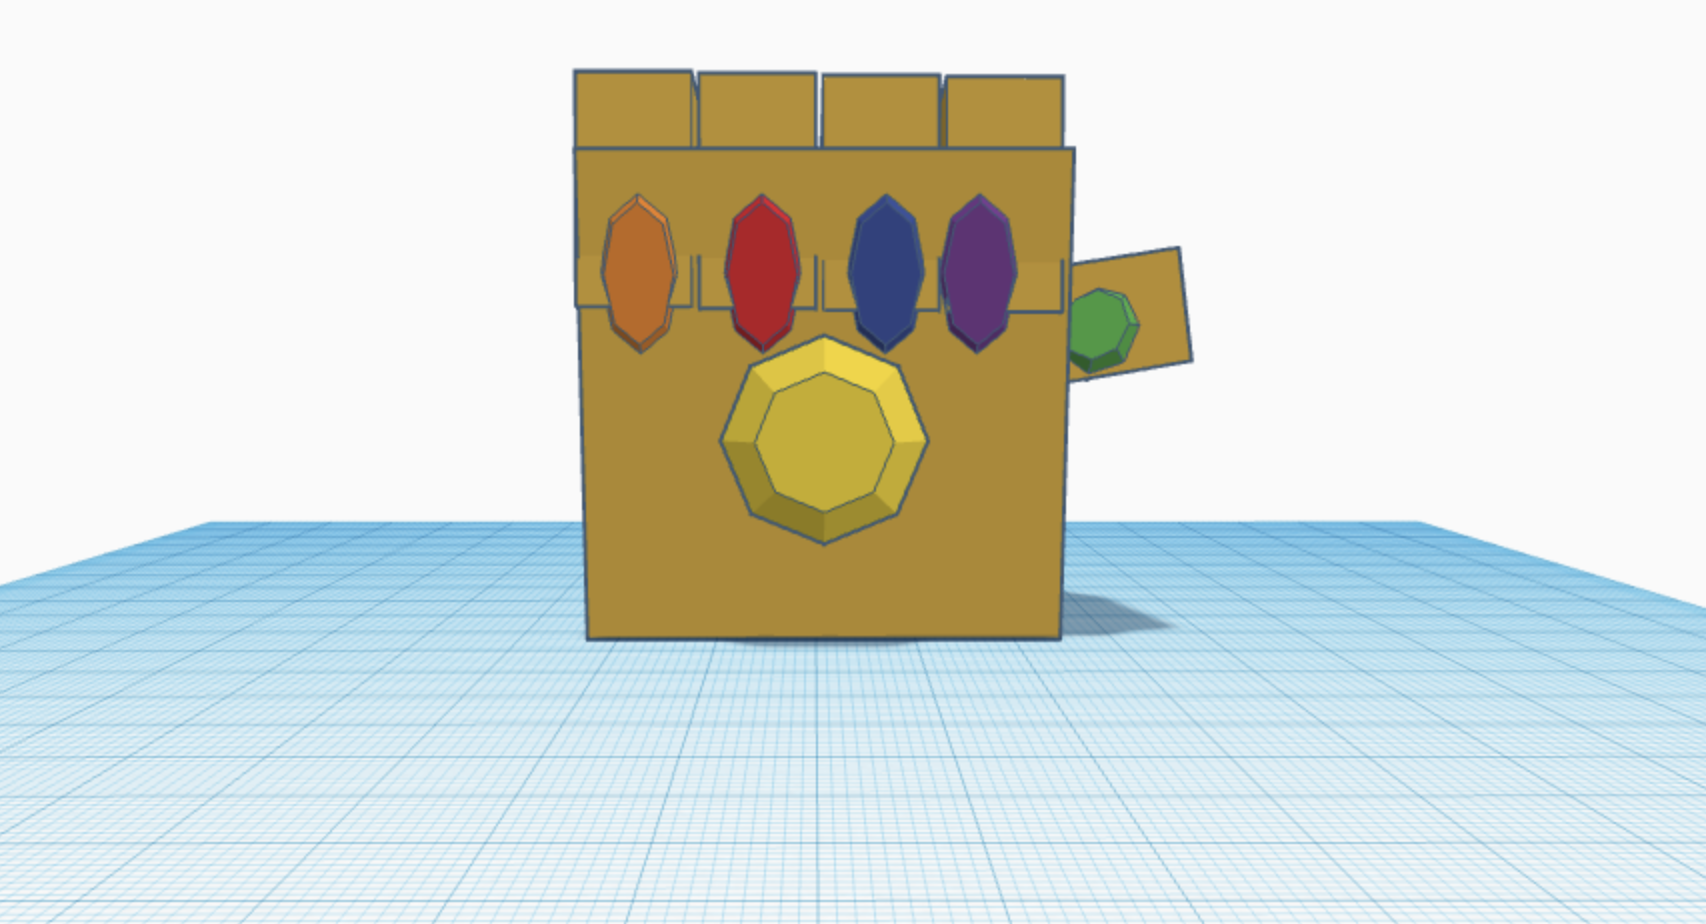
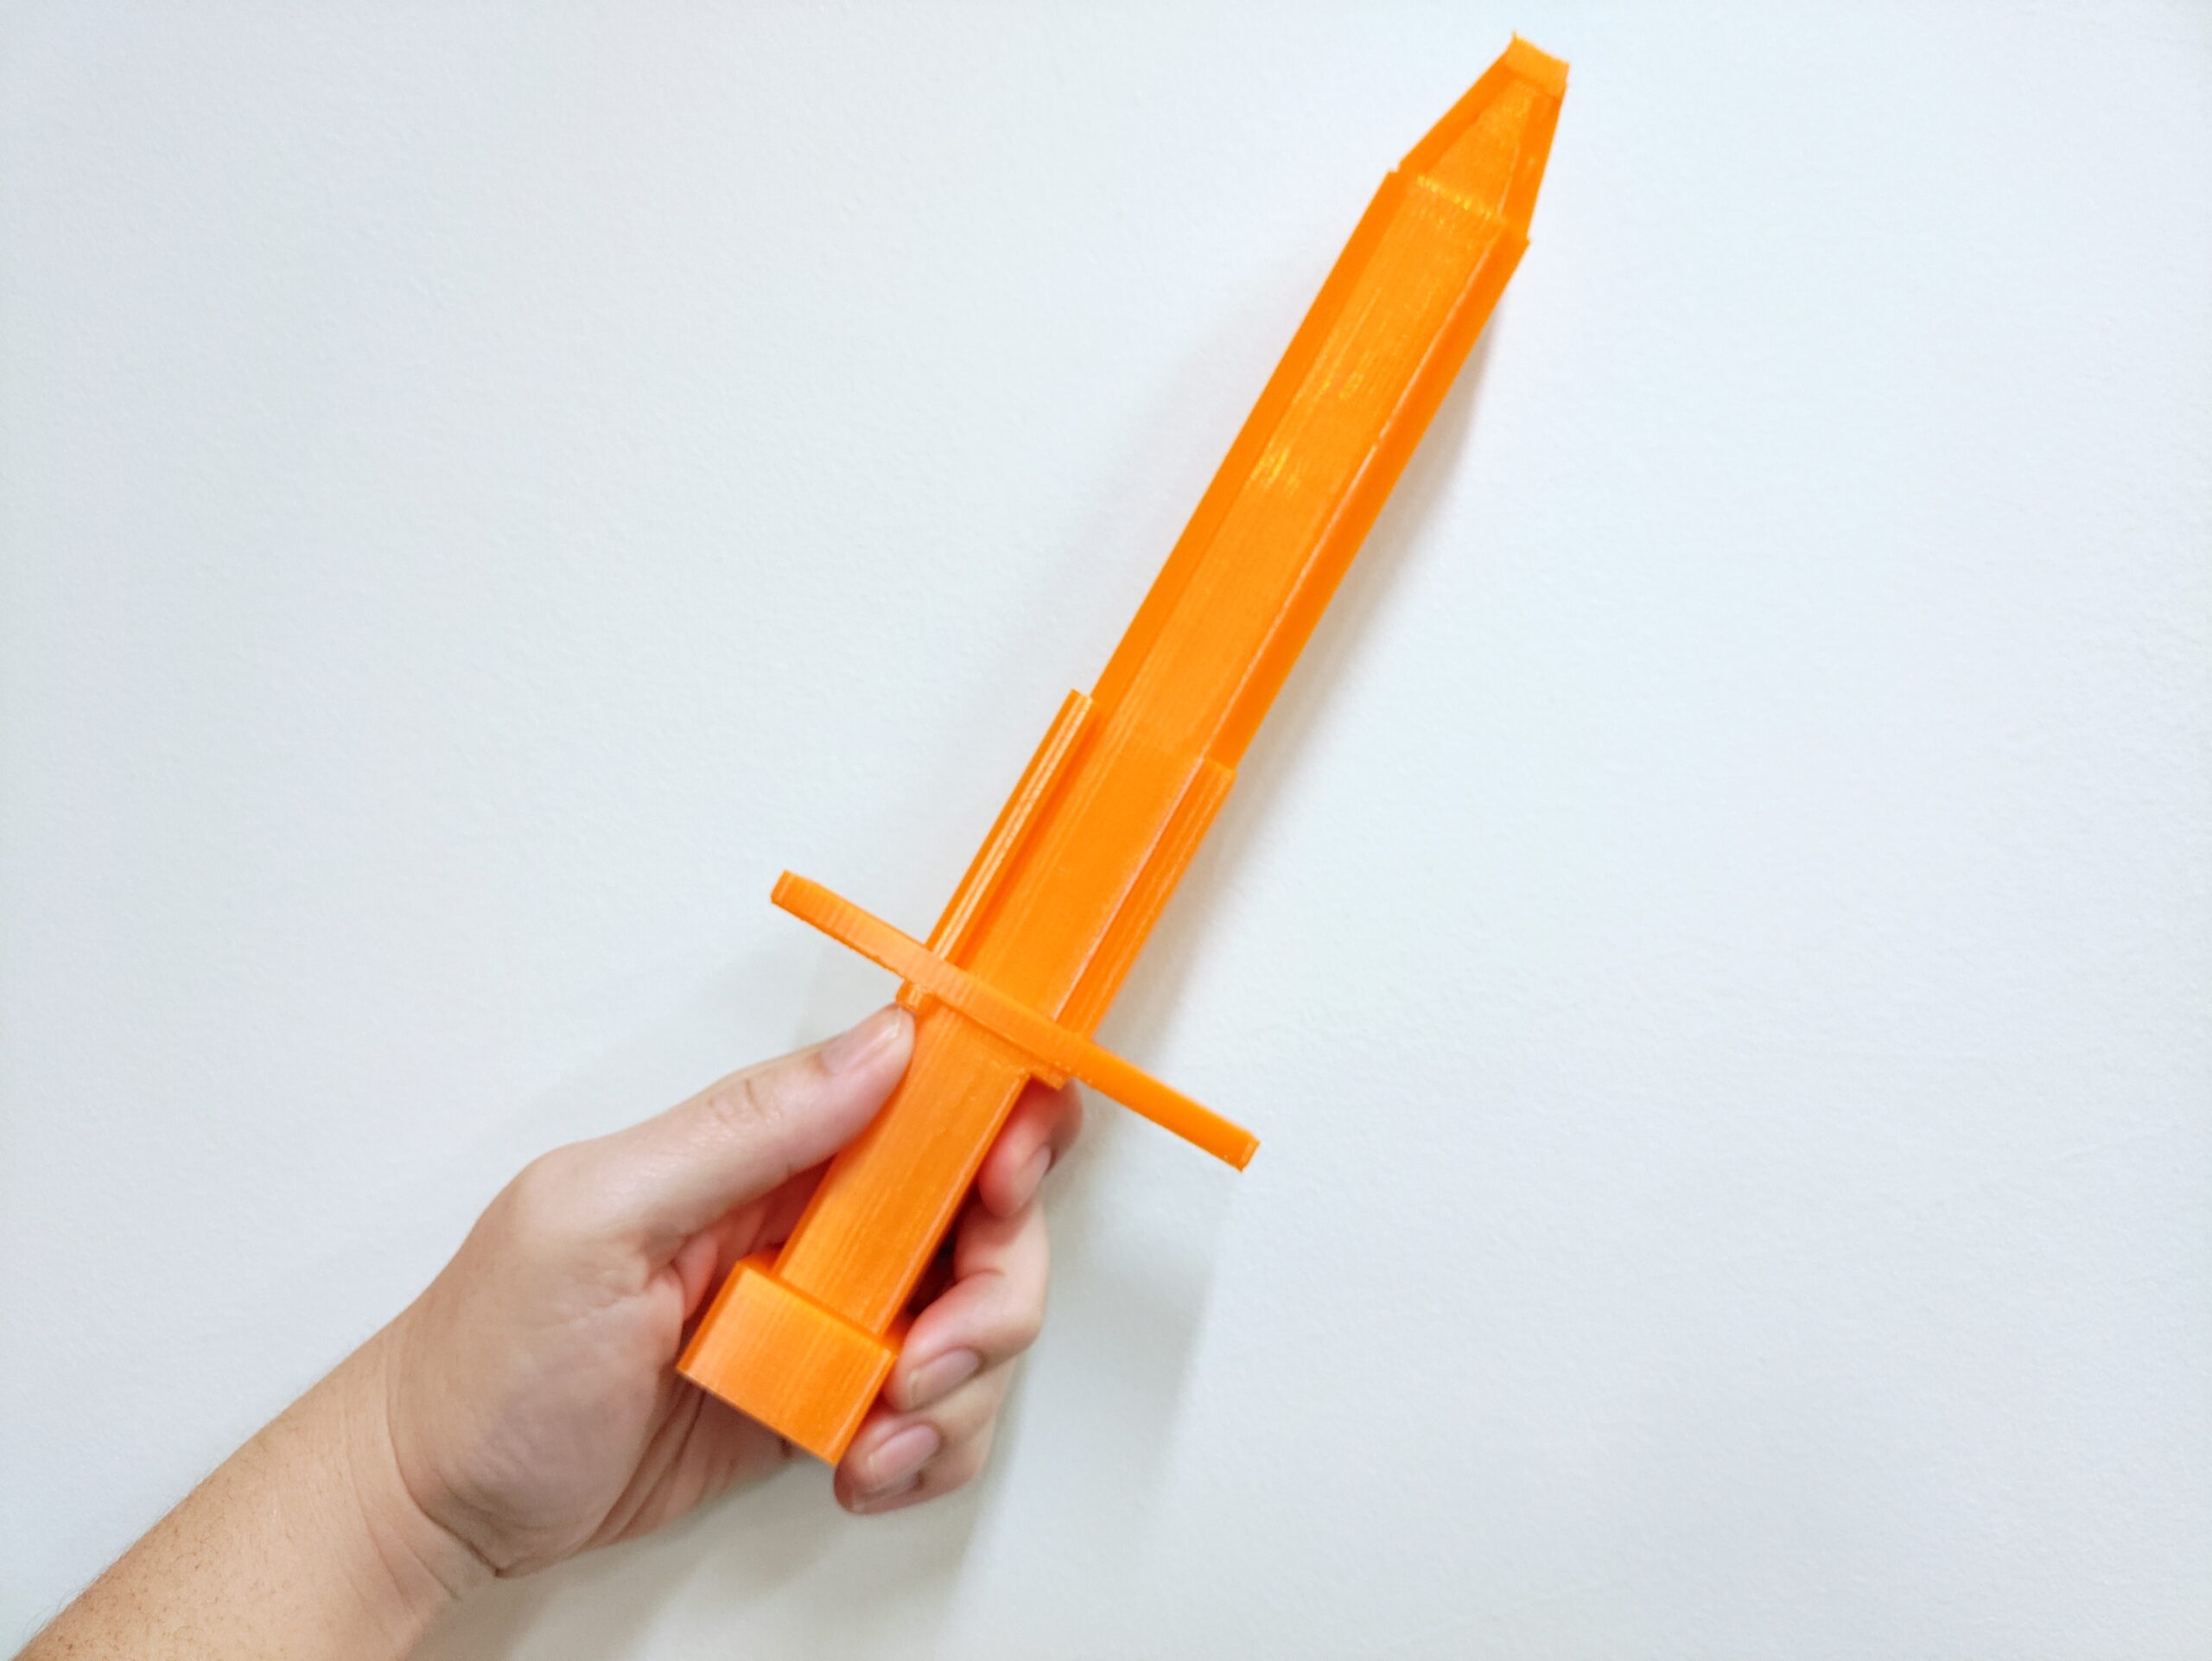
Before actually designing anything, kids should know what their Halloween costume or book character costume will be! Think of things like glasses, cane toppers, jewelry, props (books, flames, axe, fruit basket, etc.), and costume pieces like buckles, pins, buttons etc.
Start with accessories – not full costumes!
Unless you have some mad 3D printing skills or are gung-ho about printing a file someone else has made, then I highly recommend starting simple. Especially for younger kids. Simple doesn’t mean that it won’t add awesome effect to your costume though!
I definitely recommend laying out any rules or boundaries for your kids before getting started with your project! Whether it needs to be a specific type of prop, restrictions on weapons or questionable items, size or print length recommendations, etc. Make sure you discuss all of these things before the design phase!
Remind new students of 3D printing basics!
- Just because kids can design their models in multiple colors, does NOT mean they can print in multiple colors! (Unless of course you print multiple pieces to glue together at the end, but doing this in various colors can be a big task when working with a group and is a skill for the older kids.)
- The biggest step kids that are new to 3d printing don’t realize is that you cannot have parts “hovering” above the work plane or hovering about their designs. Often times I’ll see eyes that are unattached properly to faces, car wheels not attached properly, clouds in a sky, etc.
Personally, we use Tinkercad for 3d model designs as it’s easy to work with for even your kindergarten age group to learn basics of 3d designs – and it’s free. There is a LOT you can do in Tinkercad from smart duplication, coding, and more! If you don’t already use a CAD software I highly recommend starting in Tinkercad. There are plenty of tutorials out there to get you started.
You can also create classrooms in Tinkercad to help keep your groups organized as well!
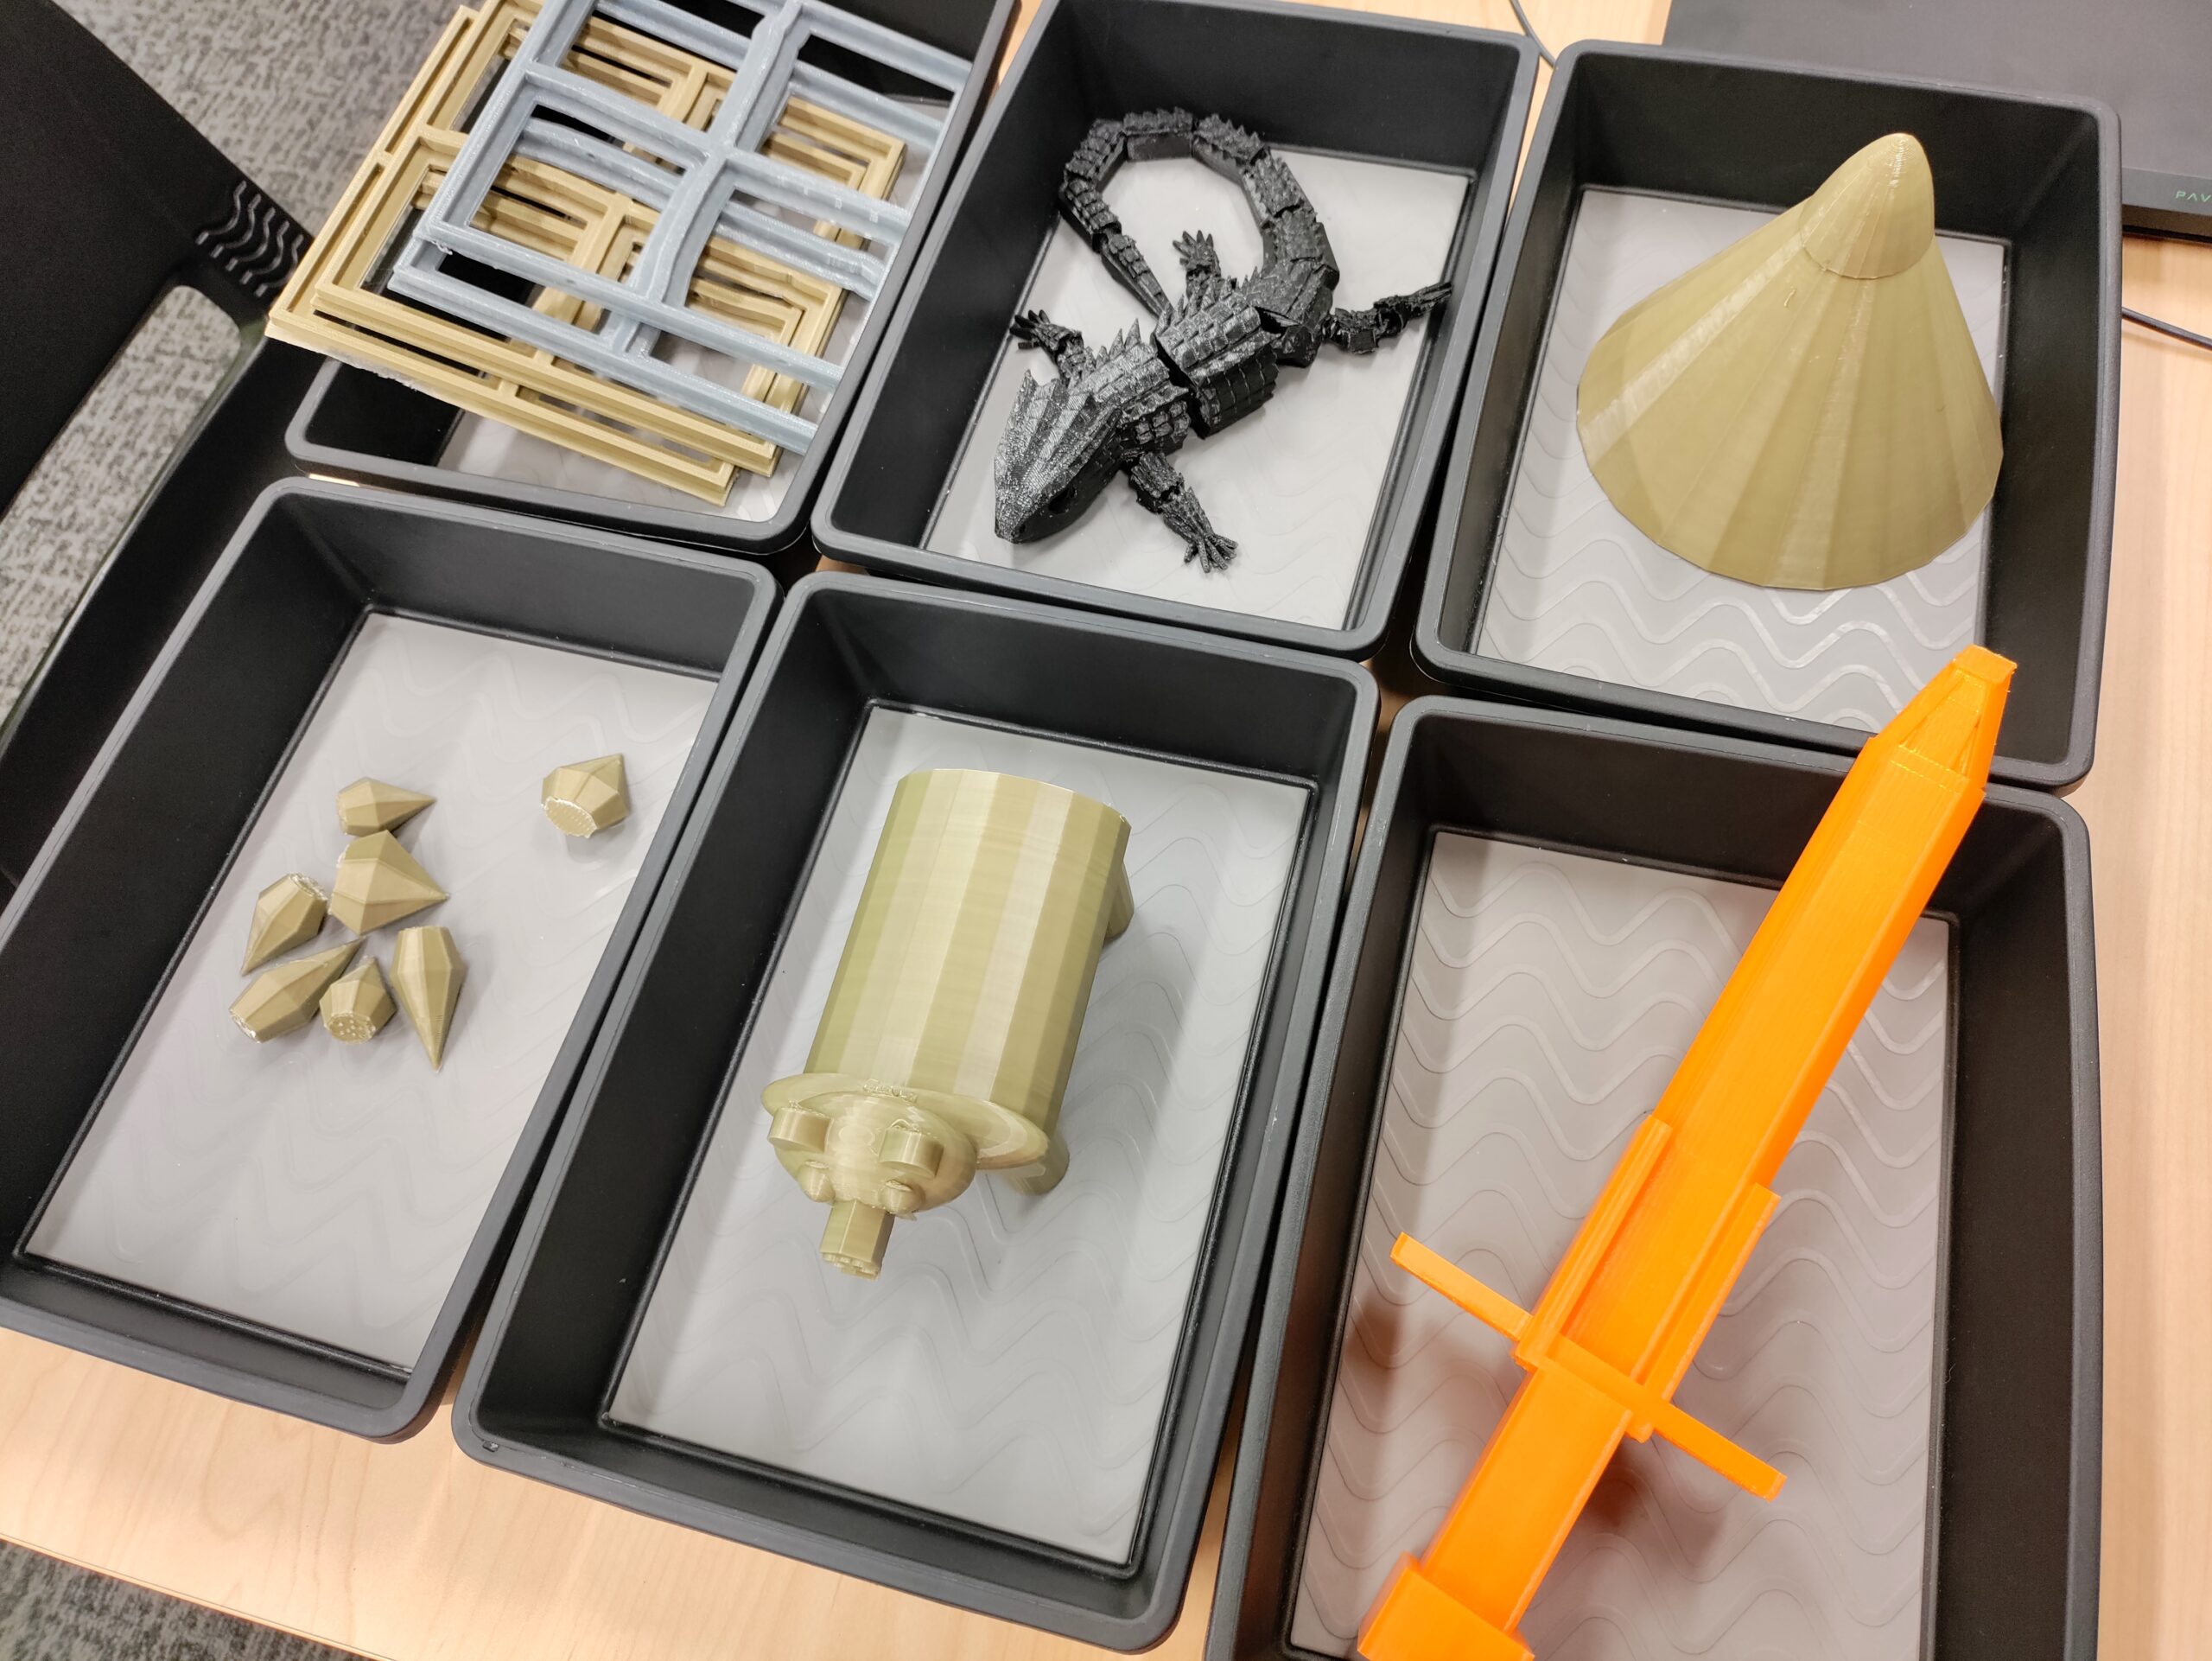
A Few Examples of 3D printed Costume Accessories:
- A simple tea light Lantern (great for pirates, witches, explorers, and more!)
- A parrot (for pirates) or crow (for witches) that can sit on a shoulder, hat, or cane top
- Headband – can be used for ears, horns, monster features, etc.
- Unicorn / Narwhal horn
- Hair clips – accessories can enhance special hair styles for costumes!
- Claws – great for Wolverine, monsters, animals, witches, and more!
- Jewelry & costume embellishments for soldiers, gladiators, pirates, shields, etc.
- Space ray neutralizer or telecommunication device
- Sheriff’s badge pin
- Accessories for belt loops
- Glasses and/or monocle
- Cane Topper
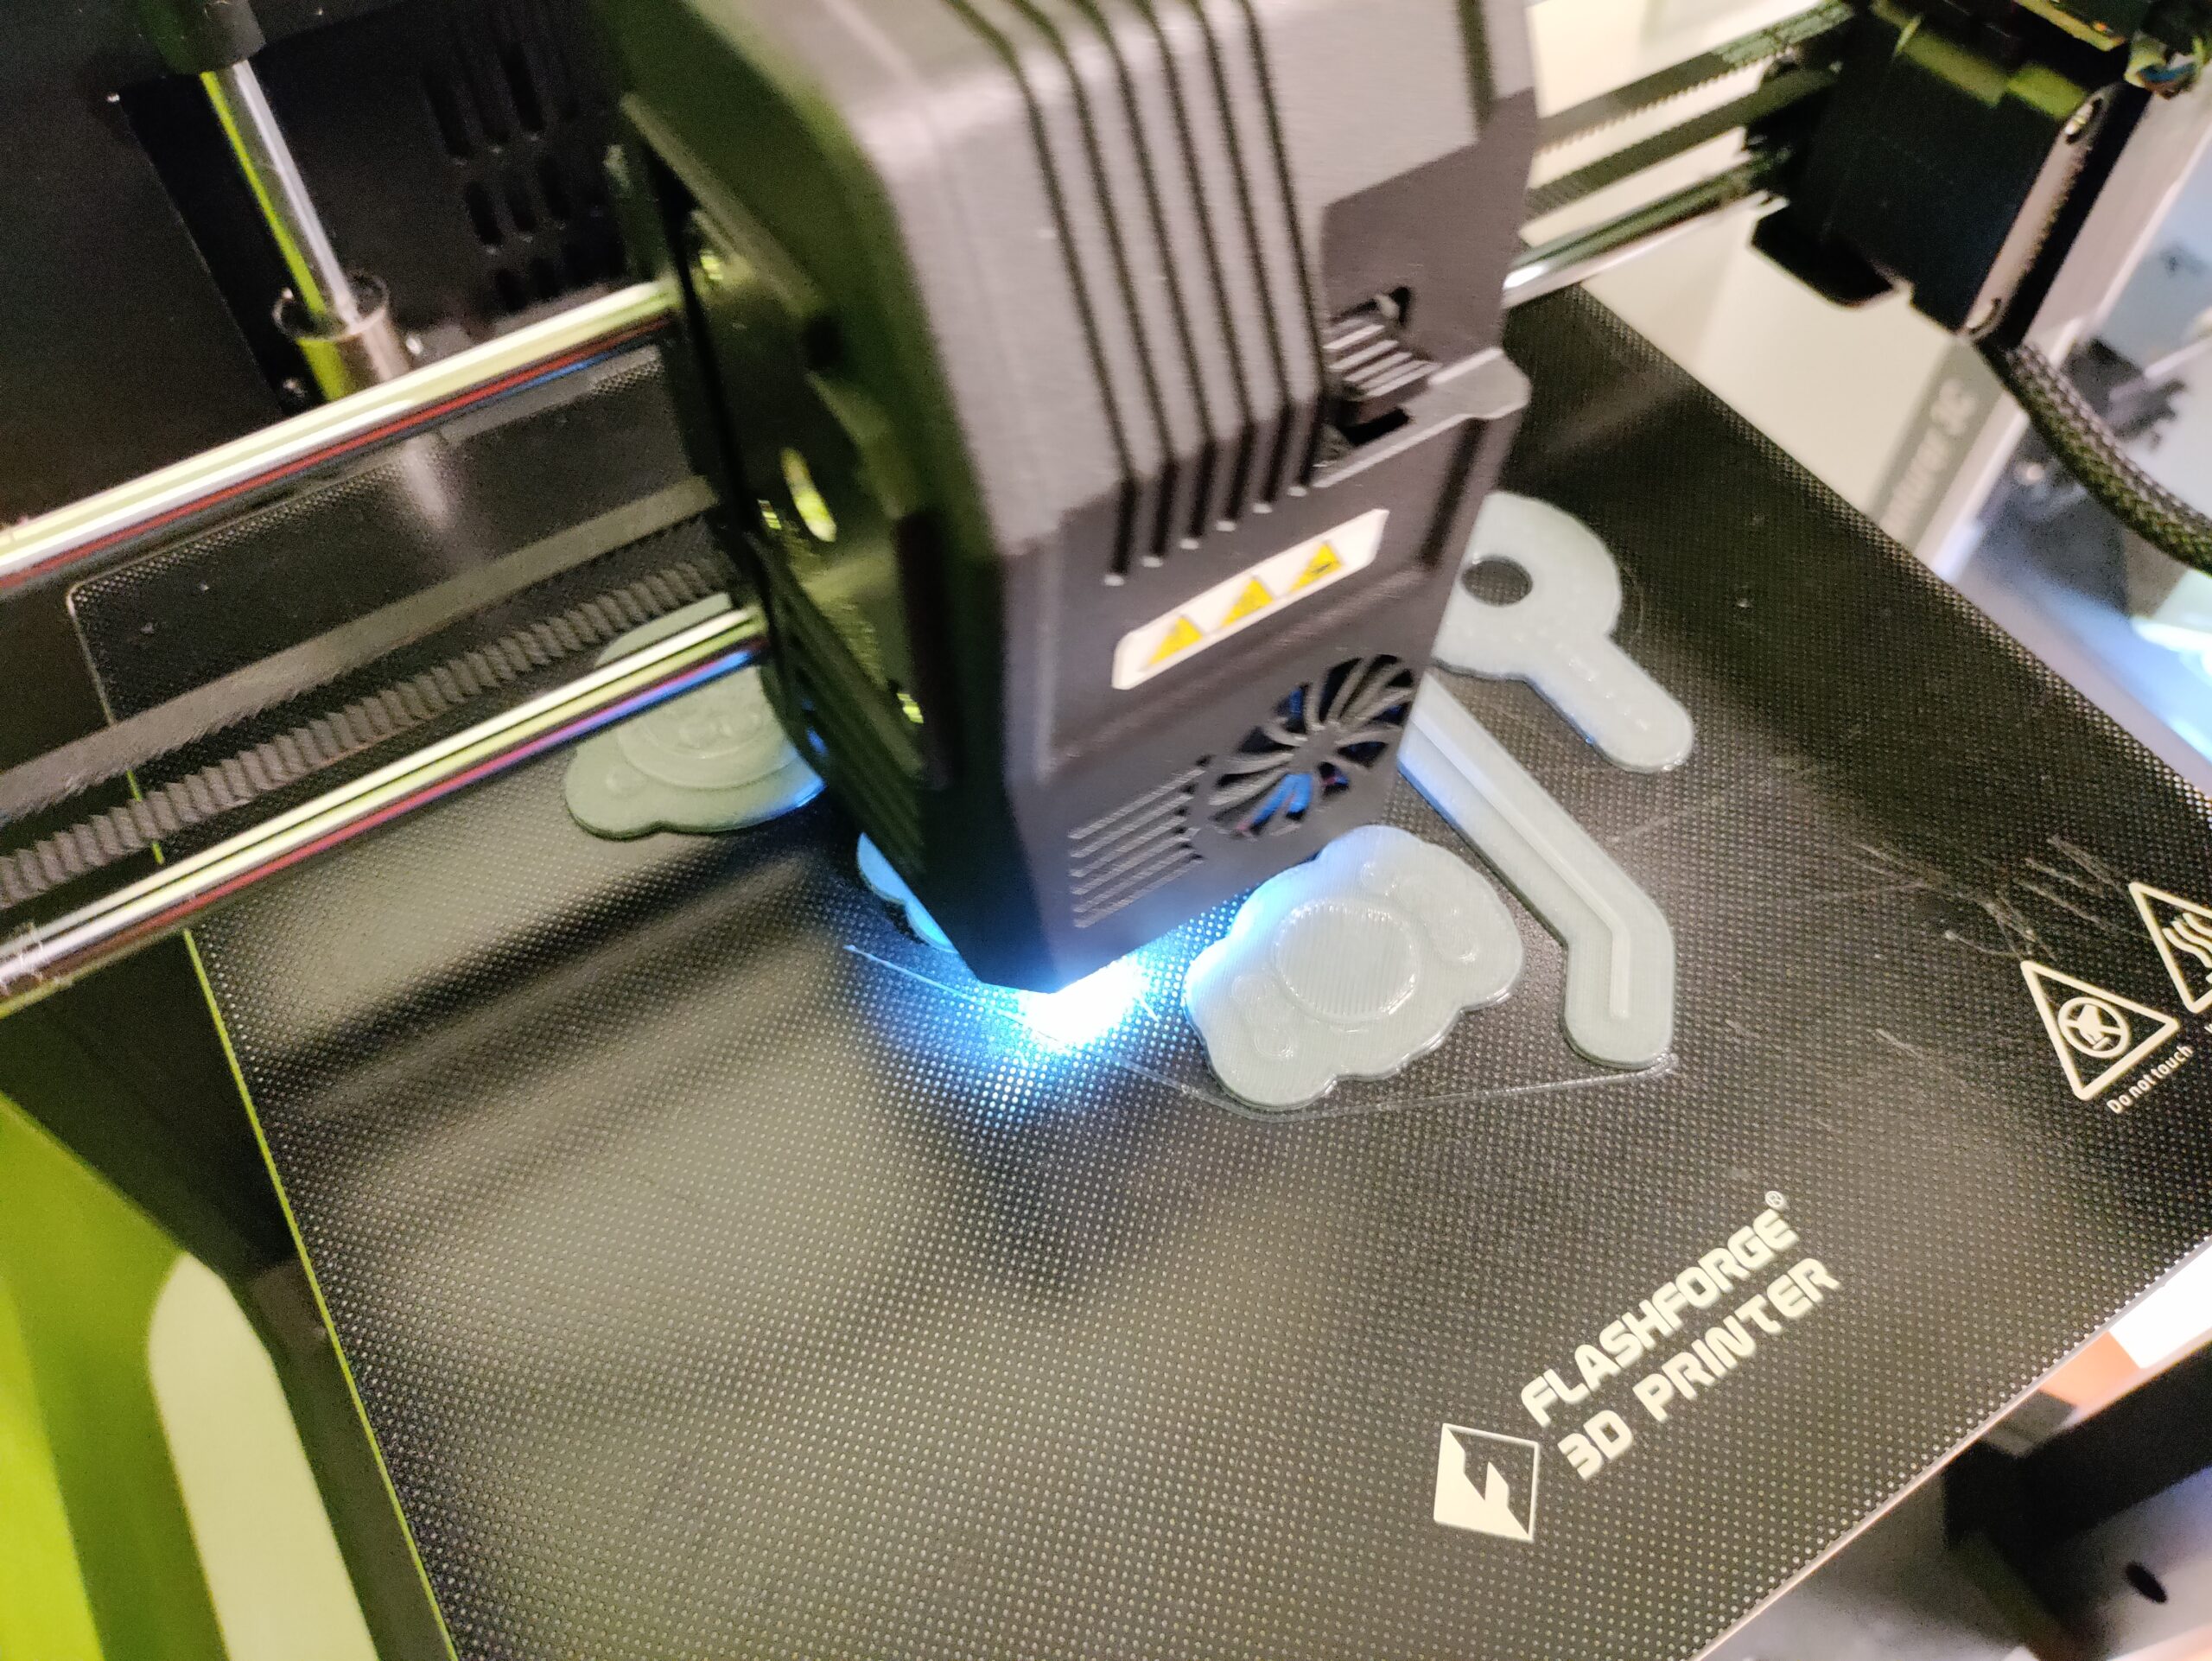
- Keys (great for belt loops or attach to Halloween bucket!)
- Seashells – great for mermaids and sea creatures!
Walk through a storyboarding process – but for your costume!
If you know what storyboarding is it’s basically mapping out a story line visually – you’ll want to do something similar for your costume! Print out a basic storyboard outline for the kids and have them begin to draw out what they want their 3D design to look like. It doesn’t have to be perfect!
Include specific details about design, color preference, and any other important specific ideas they want to incorporate. How will is be attached to your costume? Does it need any additional lights, wiring, or special effects? What additional materials will you need? What size will it need to be?
Share the idea with others and get peer feedback!
This step is especially important when working with kids in 3D design. Don’t tell the kids they have to do a specific idea suggested, but many times the perspective of others will spur additional ideas to enhance that child’s project! Peer review and feedback is a valuable part of the process when working with kids and custom projects.
Cover the basics of 3D printing design.
For any children that have never created 3D models, you’ll need to cover the basics of shape manipulation, grouping, creating holes, scaling, etc. Make sure to cover tips on providing solid structure (nothing hovering) and best print practices as well.
If your group already has basic 3D printing skills down, then prepare some creative “hacks” or ideas of inspiration for them to incorporate in their designs. Ideas might include things like using coding blocks to 3D design, smart duplication, scaling hacks, using links and hinges, “hidden” secrets like lithophane or even QR codes, making a mold, etc.
Let’s start designing!
It’s design time! Once the children’s designs have been completed, they’ll need to “submit” their design(s) to the teacher or club director for inspection. I recommend if you have the time inspect each file with the child next to you.
You can then check for any “hovering” features that will affect the print, weak supporting structures, rotate any props for better printing on the build plate, etc. This is a great learning process for the student and will only help them make better and stronger designs the next time!
Organizational Tips for 3D Printing in the Classroom:
- I HIGHLY recommend building a “classroom” in Tinkercad as opposed to just signing up for a free account that everyone can access. A few months into our 3d printing club we actually had a kid get into our profile and delete the entire account. We lost months of other student designs. Needless to say we learned our lesson pretty quickly! A classroom account is free and will disallow kids to gain profile access to any account other than their own name.
- When working with a group or class, design a simple spreadsheet with each child’s name on it and “checkmark” what you’ve printed. This allows multiple people to continue the printing process without confusion of what has already been printed.
- The BEST organizational tip I can give you when 3d printing is to invest in dollar store containers for a buck each. We write each student’s name on a piece of paper and then place their prints inside their bucket so there is no confusion.
I’ll be adding a lot of new 3d printing articles thanks to our partnership with FlashForge this year. You can find all of our new 3d printing articles here on this site!