How to Run a 3D Printing Club for Kids
This post may contain affiliate links, view our disclosure policy for details.
Below are some great tips on how to run a 3D printing club for kids. I’ll share with you a breakdown of our October 3D printing club this year and how I set it up. You can easily replicate the process from month to month with various themes based on the age of the students in your 3d printing club.
At the bottom of this post I’ll also address how to motivate kids who simply aren’t participating during your 3D printing club and some pro tips to be aware of based on my experience working with groups of kids during the entire process.
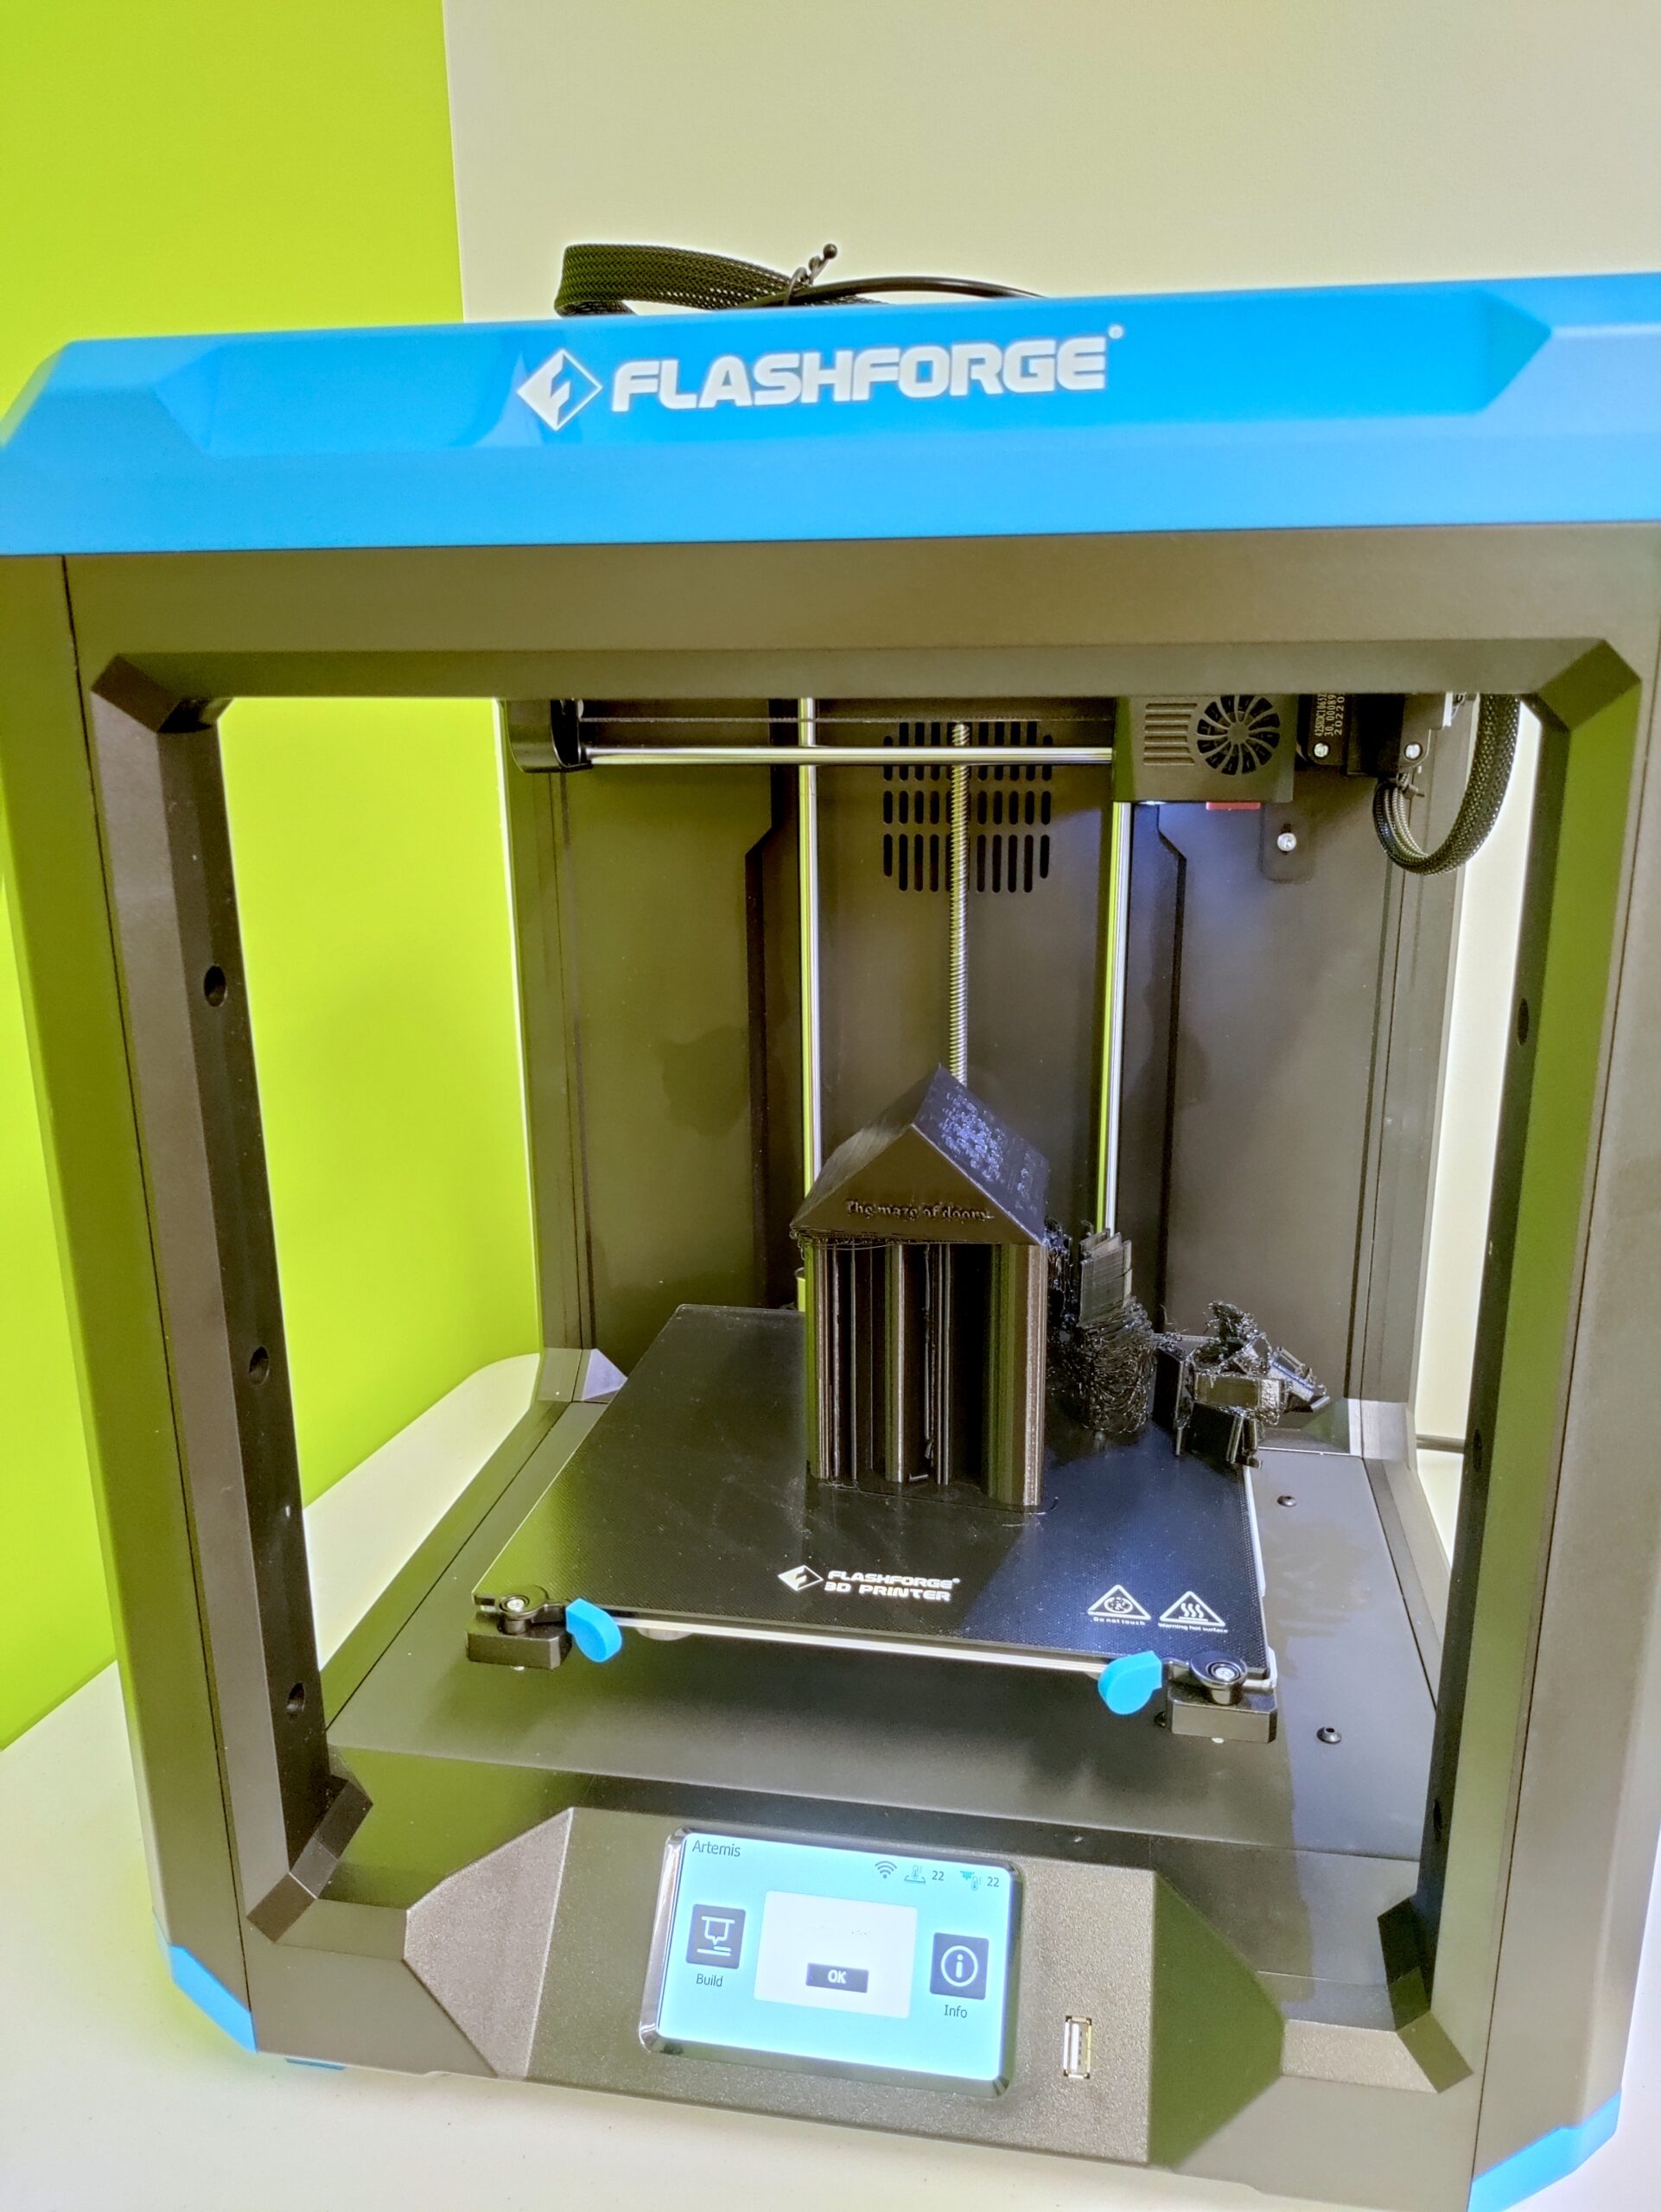
*A special thanks to FlashForge for sending us the filament and FlashForge Artemis 3D printer needed to run our club this month!*
We started a 3D printing club for students in October and our theme was to design and print our own costume props, but you can swap out Halloween/costume themes for anything you are working on! For this club we used our FlashForge Artemis 3d printer that FlashForge sent to us to review here, as well as our FlashForge Adventurer 3C that we purchased earlier in the year.
Our 3D printing clubs for kids are a collaboration largely led by the kids (our group runs from ages 8-15 years old and uses Tinkercad) and assisted by the teachers.
If you’re a pro at 3D printing skills with kids then this post probably isn’t for you, except maybe for some inspiration. But if you’re new to working with kids and 3D design, or need some simple tips to encourage and motivate kids in your 3D printing club, read on!
October 3D Printing Club Weekly Breakdown:
We will be using the entire month of October to walk through the process of planning and printing our 3D model props and accessories! This idea can be adjusted for your own group needs and timeframe. Here’s a basic weekly breakdown for our club:
**BEFORE you start your club – set your boundaries & rules! 3D printing is so fun but you’ll need to lay out your ground rules for club time! Things like maximum size or time of print, specific subject areas that you will not print, originality vs. pre-made creations, etc. This was your students will know immediately what their boundaries are for designing & printing throughout the month.
Week 1: – Inspiration and Brainstorming
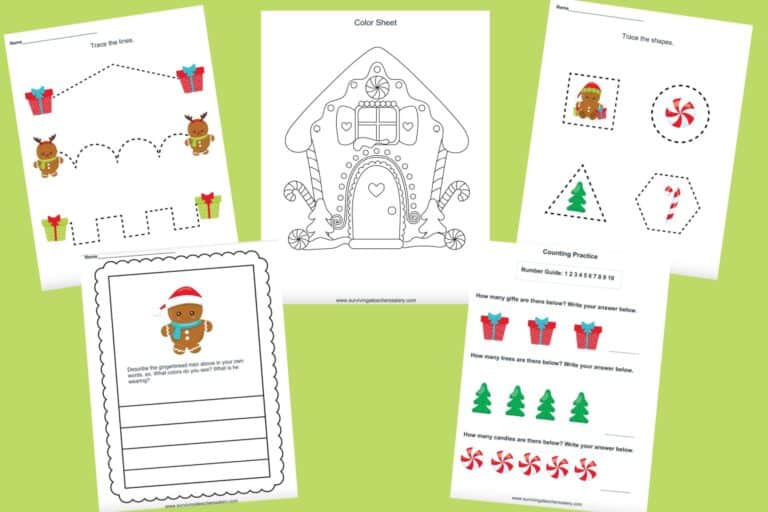
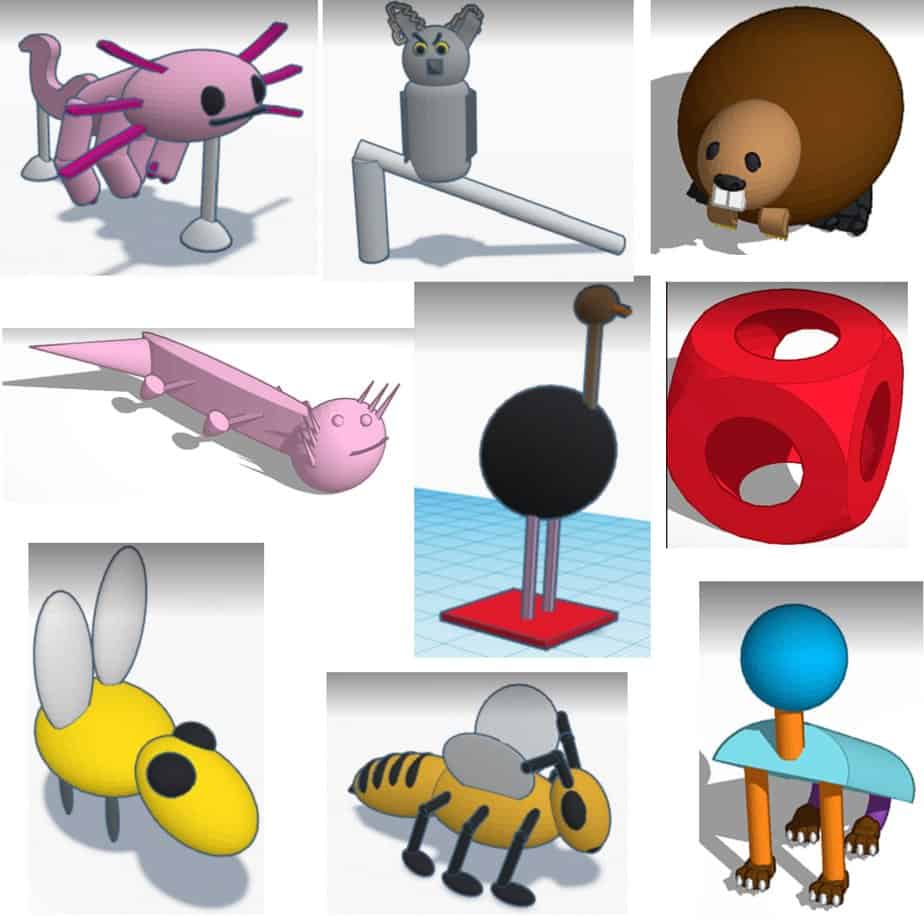
It’s all about the inspiration! This club is all about brainstorming, researching ideas, and getting inspired! It helps to have pre-printed several costume prop ideas for the kids to see. Keep it simple! Share some of our costume prop examples below. Even better – compile a simple PowerPoint full of pictures with prop ideas for the kids to visually see!
These are some of the recommendations I made to our students:
- Lights (lanterns, glow stick holders, flashlight cones, bike light holders)
- Wearable Accessories (headbands, crown, jewelry, claws, horns, pins, glasses)
- Costume Accessories (cane toppers, shoulder pets, belt loop accessories, seashells, gears, steampunk, food, name tags, etc.)
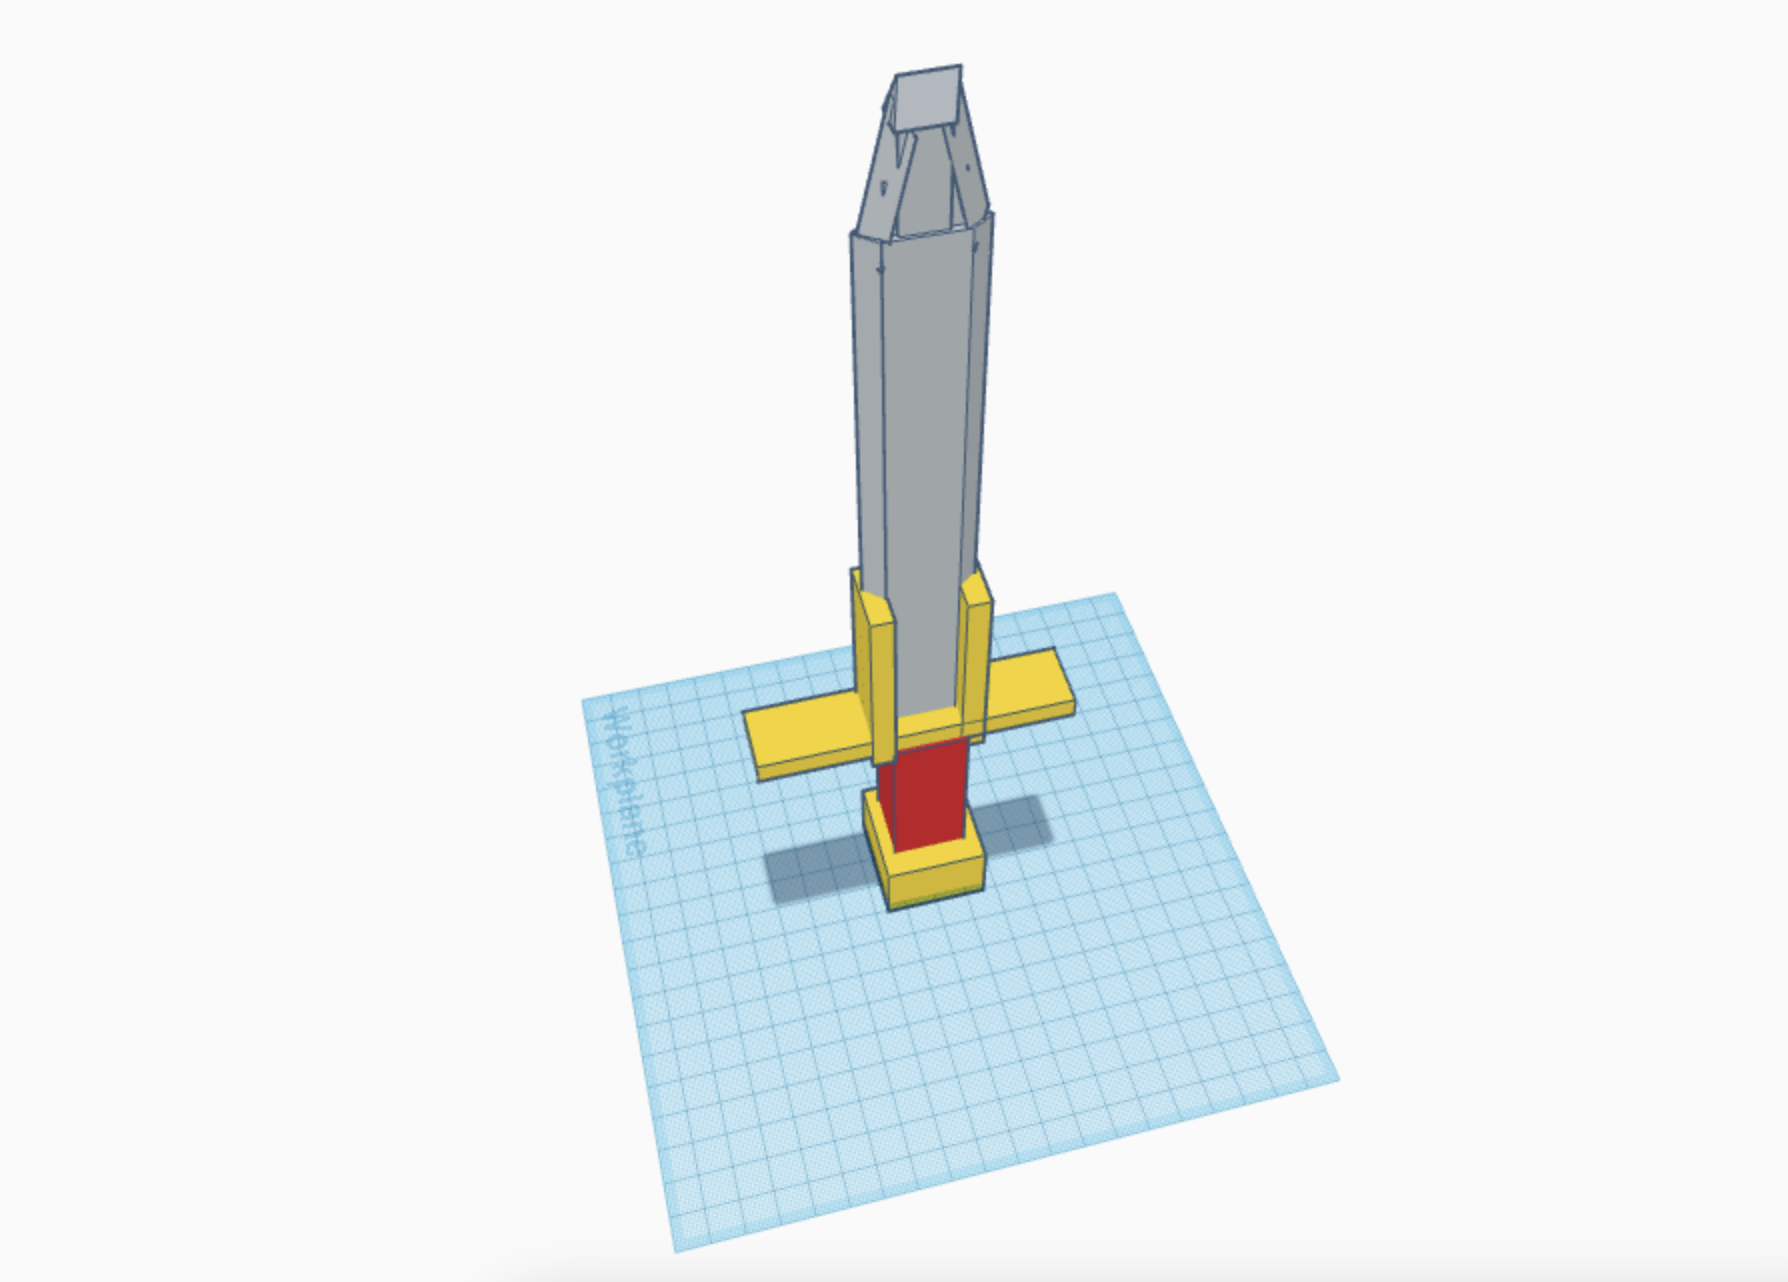
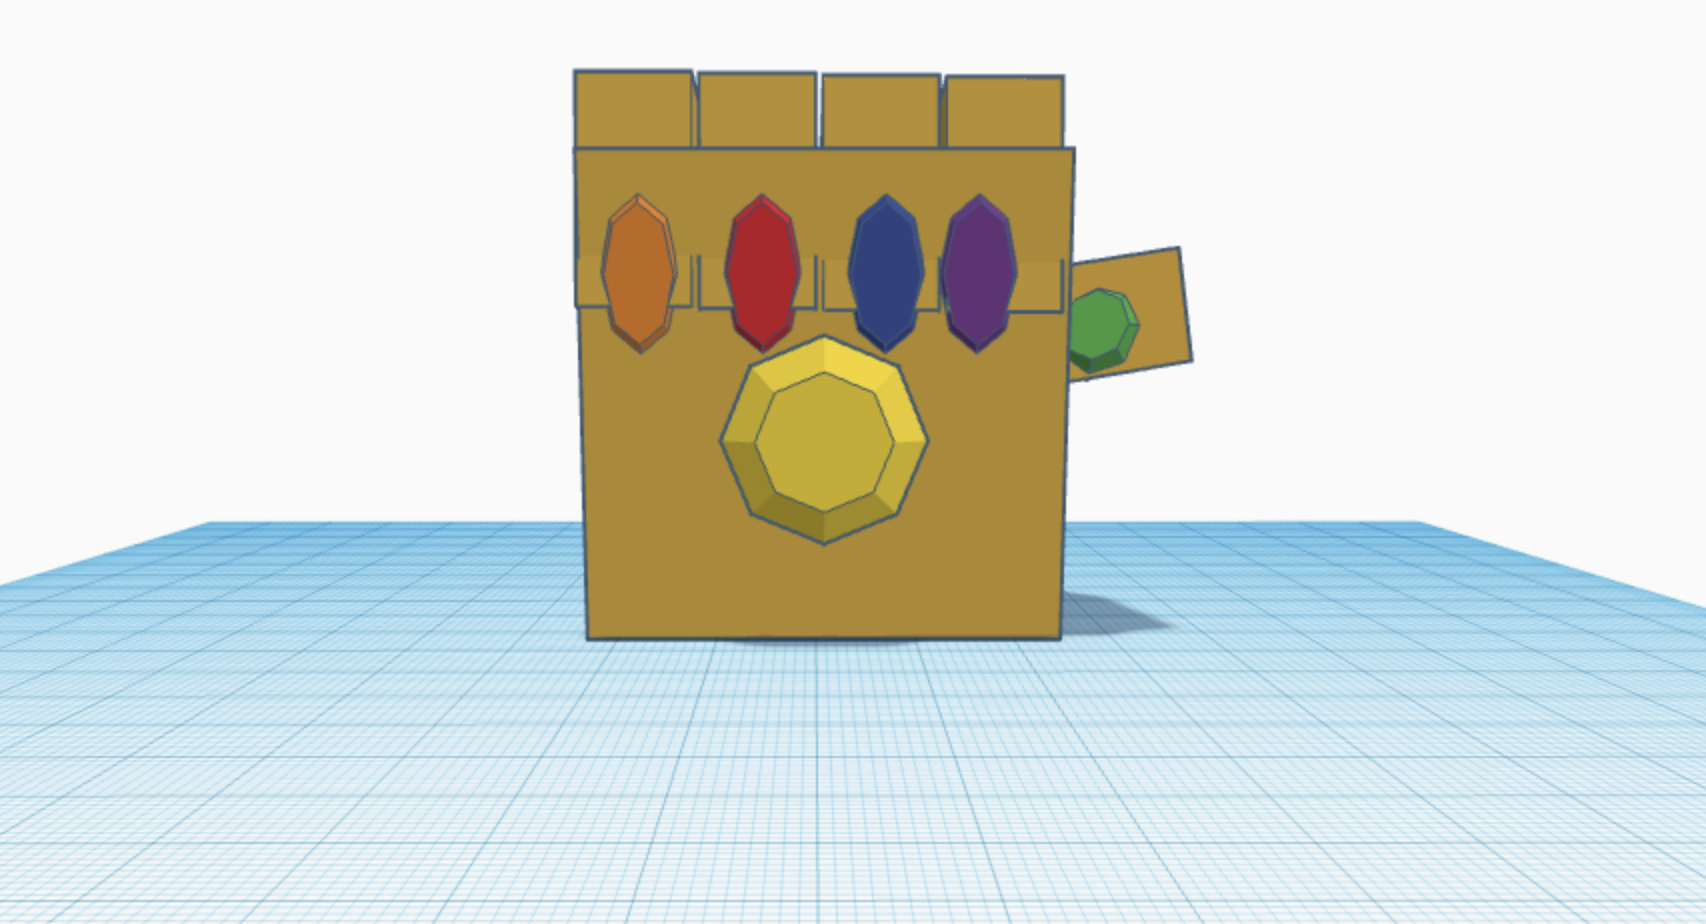
- Costume Props (skeleton keys, wands, binoculars, radio, faux hands, frames, animals, crown, cross, fork, chains, etc)
- Weapons (space raygun, proton pack, nunchucks, cannons, cleaver, shuriken, scythe, etc.) – this category had to be pre-approved and NOT a street-weapon
This is also a great week to begin drawing out your concepts and getting peer feedback. (Drawing concepts & peer feedback can spill over into week 2 if time is an issue.) Brainstorming skills and mapping out ideas are a great skill to practice here!
Week 2: Basic 3D Modeling Skills
If you haven’t already, cover mapping out concepts and peer feedback. Once this step is completed, covering the basics of 3D printing is the next step! If your group already has basic 3D printing skills down, then prepare some creative “hacks” or ideas of inspiration for them to incorporate in their designs.
Ideas might include things like using coding blocks to 3D design, smart duplication, scaling hacks, “hidden” secrets like lithophane or even QR codes, making a mold, etc. Ideally your costume designs would being this week as well or in the beginning of week 3!
You’ll need to take into account how many props you will be printing and how much time is needed so that you are done by the 31st of October!
The biggest hurdle many of our students had was properly sizing things like headbands and masks.

Week 3: Designing & Preparing
It’s 3D design time! Our rule of thumb for our 3D printing club is that they cannot use any pre-made files (they can always do that at home on their free time if they really want!). During club time is a great way to use the resources and expertise in the room to learn and hone in on 3D print design skills. If kids have a concept in mind we will help them troubleshoot to re-create it in the software.
This week I also sent home the information for them to access their projects at home as “homework” which is especially beneficial for complicated designs. You can easily run out of time designing 3d printing projects and if you’re on a deadline like Halloween, running out of time is not an option!
If the child needs additional materials like wiring, lights, etc. they will need to bring that to the next club meet. If we have a kid who needs extra time to incorporate lights, wiring, etc. I ask them to send us the 3D print file BEFORE the next club so we can go ahead and print out their design.
Week 4: Printing & Project Completion
By this week we try to have already printed some of the designs before class. Especially any designs that need additional steps (wiring, lights, etc.) or if it’s part of a costume that needs to be prepared. Everyone else can come in to continue designing the props. They must be ready to print before they leave that day!
We have multiple FlashForge 3D printers (some purchased some provided as part of our partnership with them) so if you are working with an entire club and only one printer, you’ll need to plan ahead and begin printing as much as possible in week 3 of your club.
Our last club meet during week 4 is a “finishing touches” club. Whether kids are finishing up their 3D models so we can print them, or they are bringing in other supplies to continue working on their costume after printing, it’s a very fluid club where adults are on hand to support the process of whatever each child has envisioned.
This specific week may be a week to pull in extra adult expertise depending on what each child is designing.
If you’ve made it to this point and find you have loads of time leftover, which is unlikely but possible, you can explore extended learning ideas such as painting, sanding, smoothing/glossing 3D prints, etc.
**PRO TIP – Check every single 3d print file for the following things BEFORE printing:
- Hovering objects – all parts of designs must be properly attached & seated on the workplace
- Proper sizing – if anything is being worn (masks, gloves, headbands, etc.) verify all sizing.
- File names – this seems basic but is very important! Make sure to rename each file during design time with the child’s name.
- Supports – Various 3d printers offer various support systems for printing. Our FlashForge Artemis 3d printer has two different support systems.
What to do when your students won’t participate:
Much to my surprise, our very first club session was quite a struggle – I was surprised! We had students attend that really enjoyed 3d printing. I had created a fantastic PowerPoint full of inspiration and ideas – not to be trite but the world was their oyster! Their sandbox of creativity to play in! And they just weren’t having it!
The students really struggled with just coming up with an idea they wanted to stick with so we had to help them get started.
Basic Challenges:
If your students are struggling with creativity and sticking to the task at hand, consider choosing the design for the class and then having them build it as a challenge. This more structured direction usually helps with any creative distractions they are struggling with.
We created challenges using the free-form drawing tool in Tinkercad. Challenges of creating animals, bubble wands that we printed and used at the end of class, haunted diorama scenes, designing pumpkin decorating pieces, etc.
Mystery Challenge:
Mystery challenges are one of my favorite things to do with the kids – and it’s their favorite too! (This works great in Minecraft Education lessons as well!) Before class I write down random ideas to build and then each student will blindly choose a project to work on without telling their neighbor.
At the end of the club session each student can walk around the room to see and guess what their classmates’ designs were!
Collaboration:
You can work on a collaborative project in several different ways. You can work together as a class to design something – such as everyone building Frankenstein’s laboratory or a haunted cemetery together that will go on display in the classroom during October.
You can also choose to have teams pair up into two or three and have each student work on a different part to the same project. Maybe designing a part of board game where each child has a task to complete for the entire class to enjoy.
A note about 3d printers in the classroom:
There are a lot of different types of 3d printers out there, as well as grants for technologies in the classrooms, and you’ll see all sorts of opinions about them all as there are a lot of choices. I am personally very happy with all of our FlashForge 3d printers – they have worked well in a large group setup for us! We have both purchased our own as well as received a 3d printer from FlashForge in partnership to promote 3D printers in schools and education.
If you’re brand new to 3D printers and you’re specifically buying one for your classroom – don’t go for the cheapest brand – you want quality. Buy from a good solid brand like FlashForge, and I’m not just saying that because they sent us a 3D printer. We’ve purchased multiple other printers and brands and it shows when working with kids in group sizes. We default to our trusty FlashForge printers every time.
Our FlashForge Artemis specifically comes with premium features like resuming prints after power outages or low filament that will make your life so much easier (and ultimately save you money on filament!) when working with groups of children. Leveling the base is also much easier with our FlashForge printers compared to cheaper brands. Even the file printing process is easier.
Trust me when I say that if you’re working with 10-30 kids at a time and 3d printing you do not have time to spare to mess with unnecessary maintenance or tweaking on lesser printers. We got so tired of wasting prints that stopped printing due to power outages and needing to set aside hours to tweak level bases and other things to get our cheaper printers working good enough for our group prints.
I’m working through other posts but you can read my review on the FlashForge Artemis printer which is a great place to start.