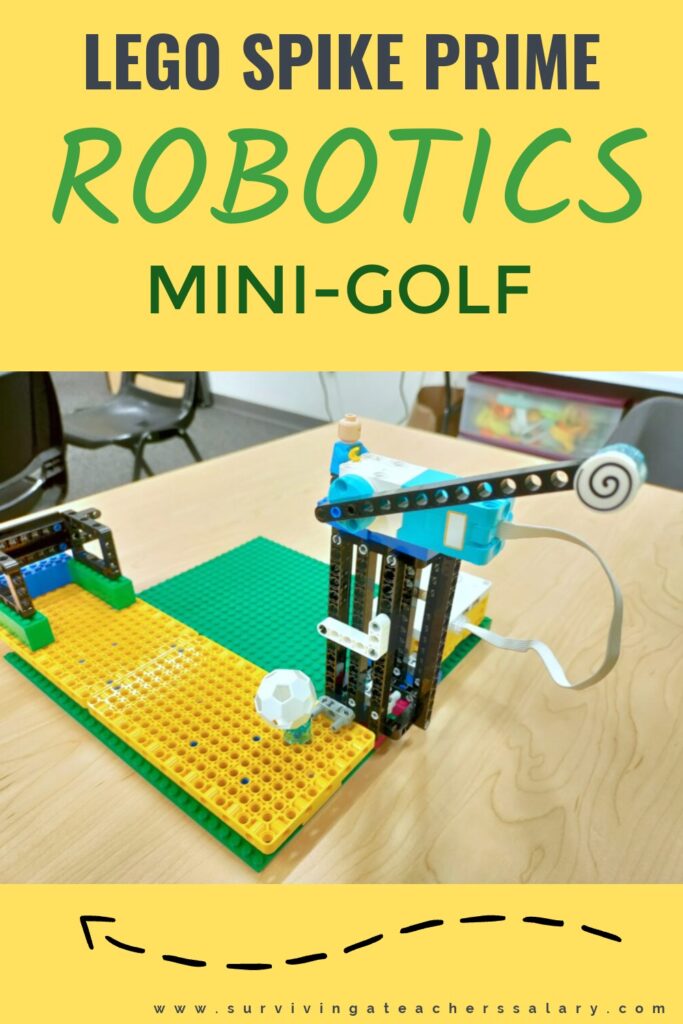
LEGO Spike Robotics Mini-Golf Machine Tutorial
This post may contain affiliate links, view our disclosure policy for details.
Every month for Robotics Club we have a theme, and this month our theme was Entertainment & Carnivals! We used our LEGO Spike Prime robotics kits to design this simple mini-golf machine!
If you’re looking for another awesome idea to build with your LEGO Spike Prime robotics kits check out our art drawing machine tutorial!
For this project you will need a LEGO Spike Prime robotics kits. (You can purchase them on Amazon but they are much cheaper purchasing them directly through LEGO here.) You’ll be able to figure out the exact pieces needed from our detailed photos below, but right off the bat you’ll need:
- 1 LEGO Spike Hub (plus parts)
- 1 Small LEGO Spike Motor
- 2 Yellow LEGO Spike “base plates”
- 1 regular LEGO Base plate (cheap at Dollar Tree!)
- Optional – LEGO Mini-figs (cheap at Dollar Tree!)
LEGO Spike Mini-Golf Video in Action:
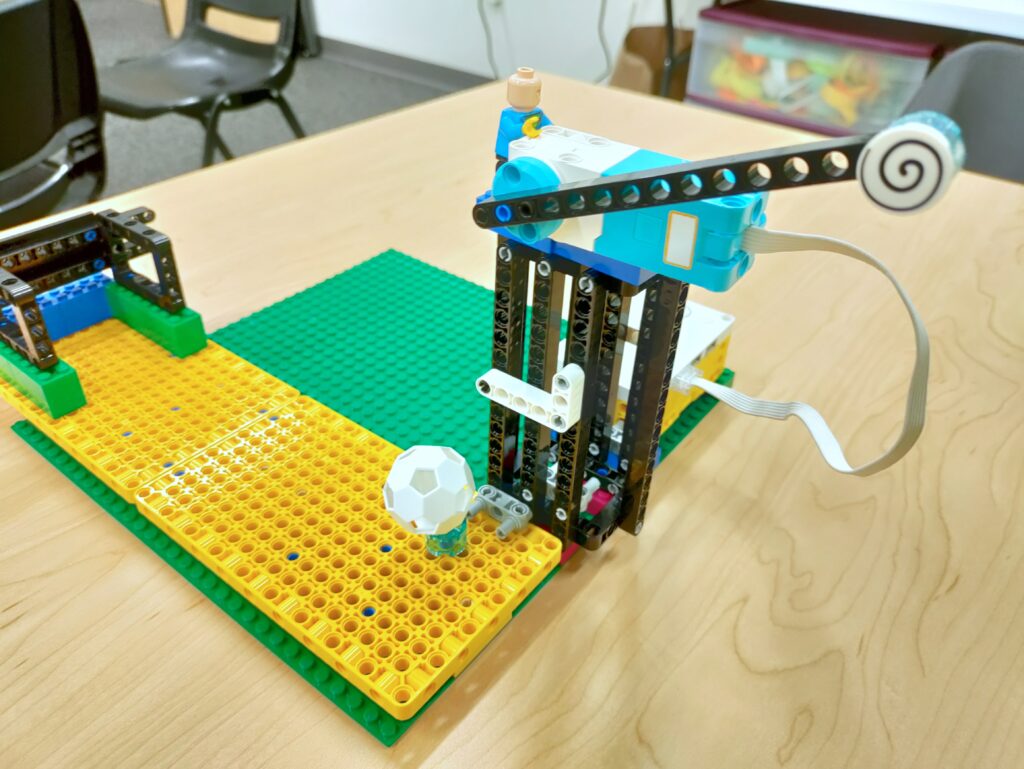
I have taken photos of every single angle for you to recreate your own mini-golf machine! You can also watch the video above to see a basic build in action.
For our robotics club, we use a mix of following tutorials, seeing inspirational projects like this one to try and copy and design your own, and then projects where the kids have the complete freedom to custom create their own design!
Believe it or not copy / design skills are extremely important to practice and excel in.
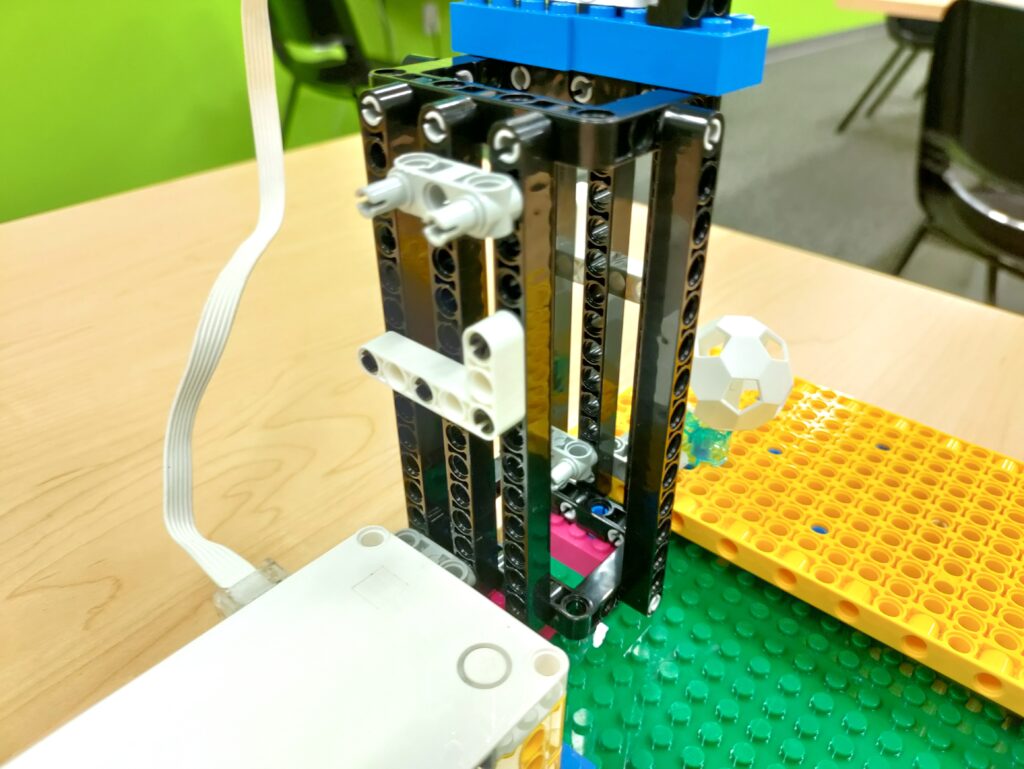
For our basic mini-golf machine, you’ll need one LEGO Spike Prime hub and a small motor. As with all LEGO Spike robotic projects, make sure your motor is plugged in to the same port as you have in your code to make sure it works properly!
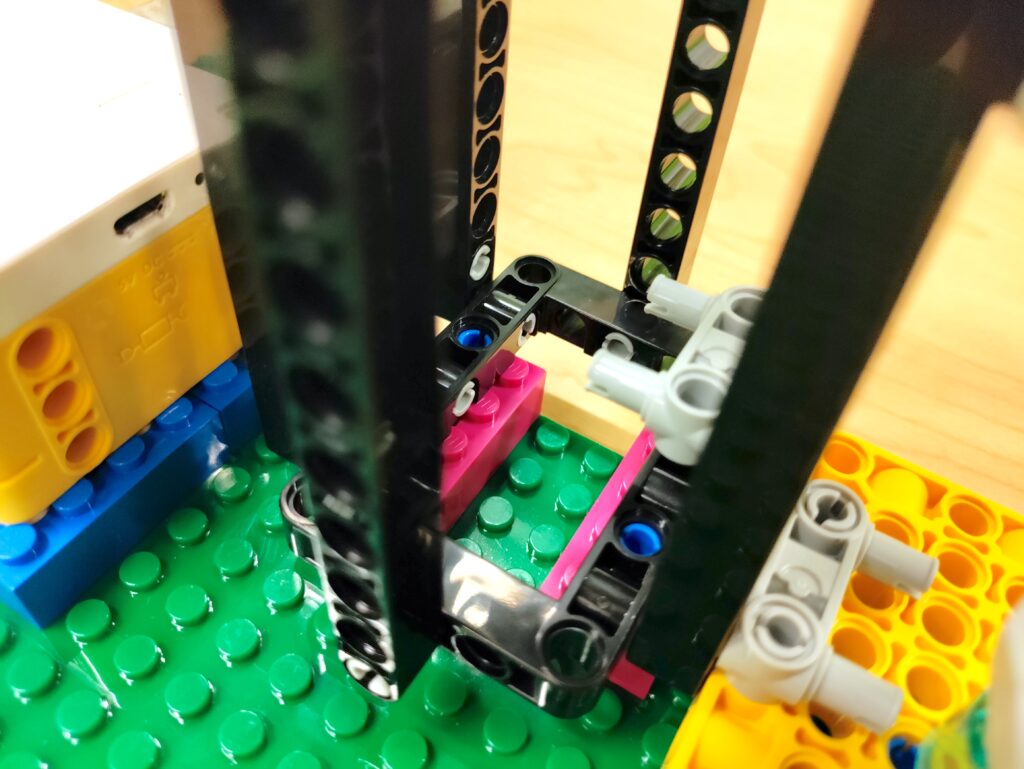
The nice thing about this project is that the “tower” where the golf-arm is attached can really be built with any pieces. As long as you have the height built correctly so that the golfing arm does not hit the ground, but it also doesn’t swing above the ball, then you’re set!
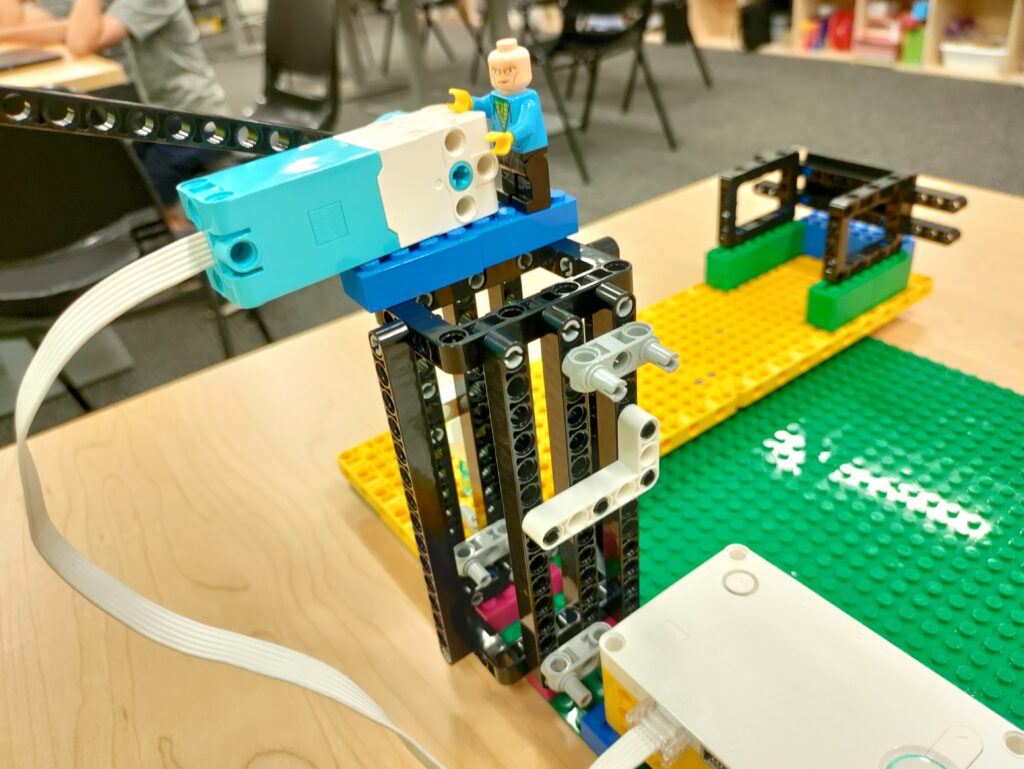
Our kids also made good use of LEGO minifigures on their golf set! Remember, this is just a basic model so custom creating your own tower and decorations is paramount to making this robotic project your own!

“L” pieces were added for further stability for the tall tower pieces. The grey “H” pieces are really just there to add further attachments and stability, this particular project does not need to be replicated exactly which makes it fantastic for beginners exploring their own builds!
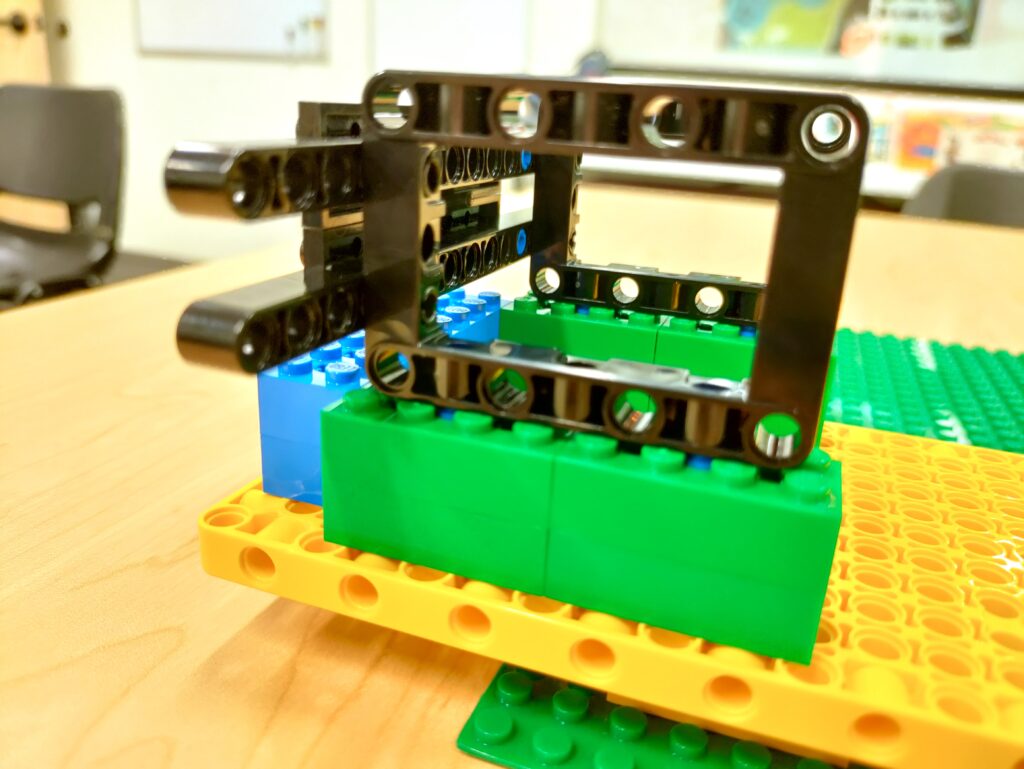
Here’s an up close of the goal area. Although we call this a putt putt mini-golf arm, it can also be considered a soccer goal replicate as well. We used the Spike PRIME building blocks as a base, then added frames and panels since our ball was a larger ping pong ball size.
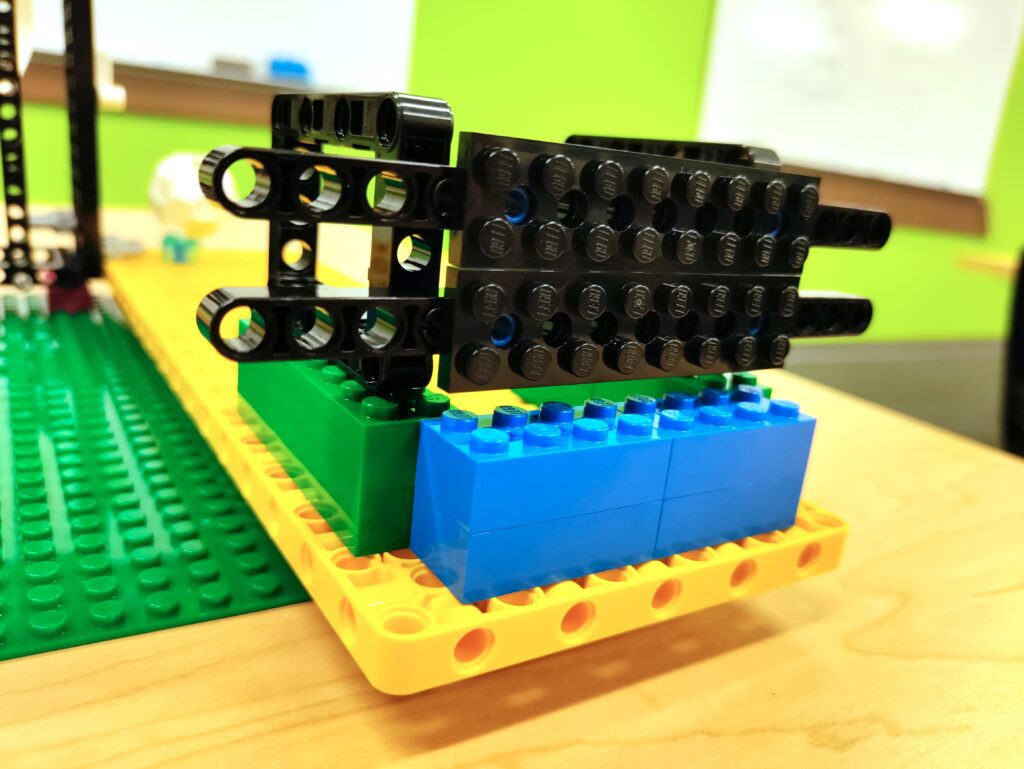
We added additional building bricks onto the outside of the ball goal so that we could decorate and add pieces later. This would be a cool place to add some circuits and lights if you know how to build basic light setups!
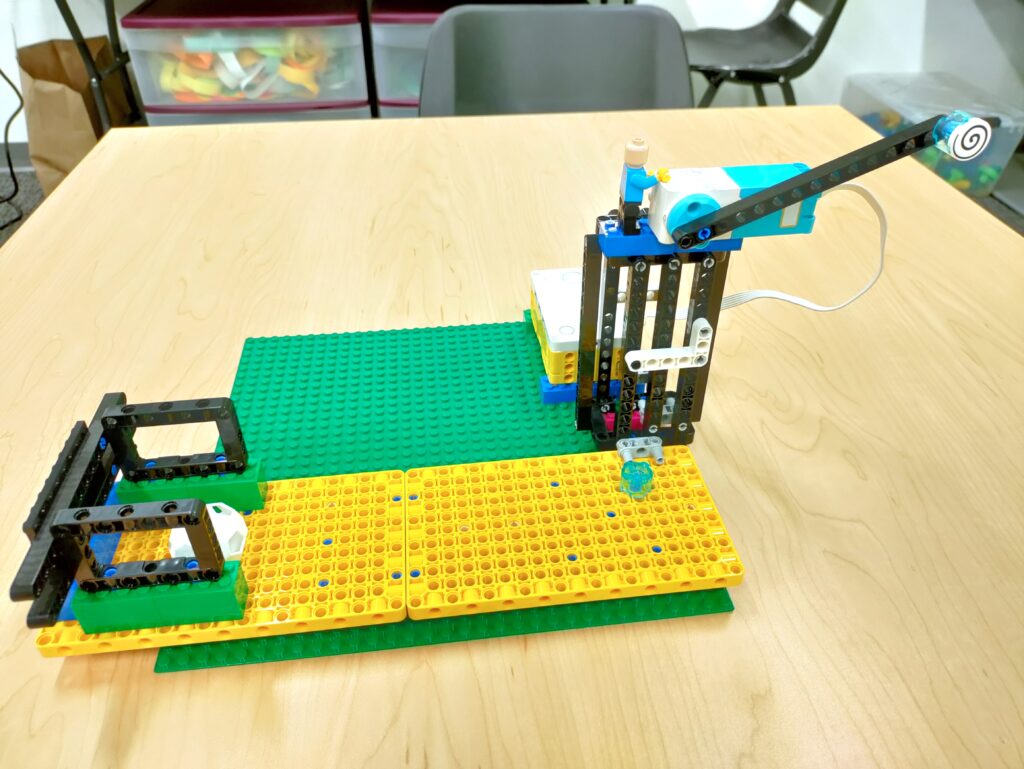
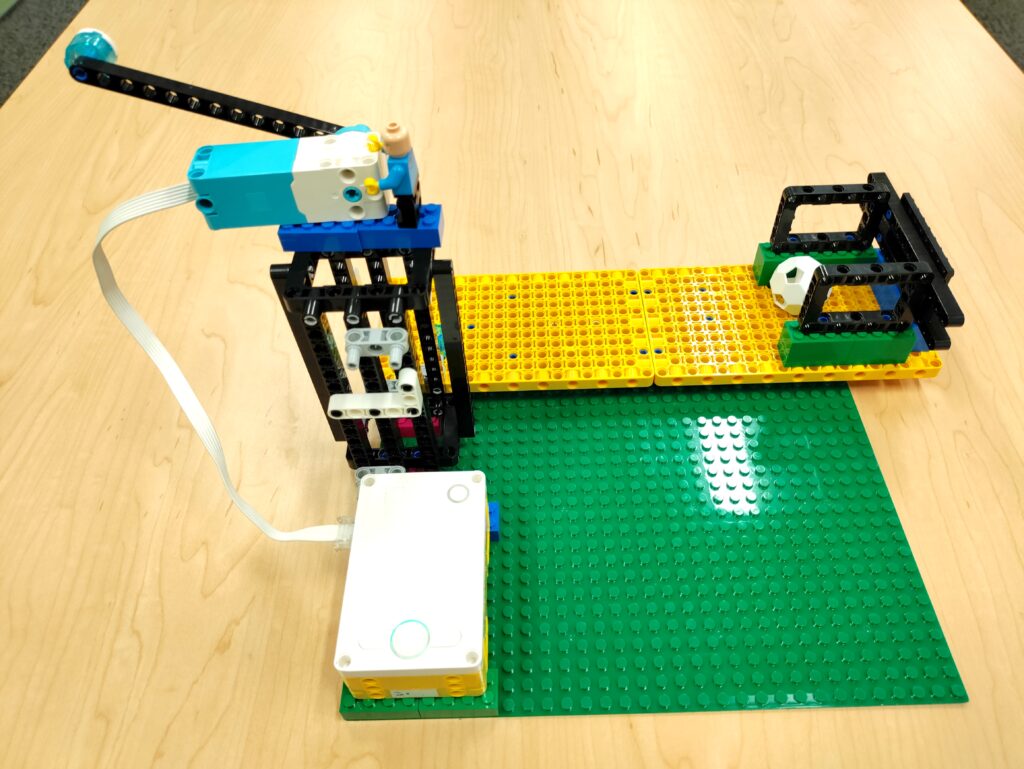
So remember, as long as you have a tower at the right height built, and some sort of goal to catch the ball, you’re pretty much all set except for the code! For our code we just rotated the motor and arm to make it down to the ball. That’s it!
TIP – You can check out these Carnival Game robotics ideas from LEGO Essentials and try to modify them for your LEGO Spike robotics sets like we did!
If you appreciate this free content and would like to help contribute in a small way in helping me continue providing free educational resources for others, feel free to send a token of your appreciation via Paypal here. Any amount helps and is greatly appreciated.


