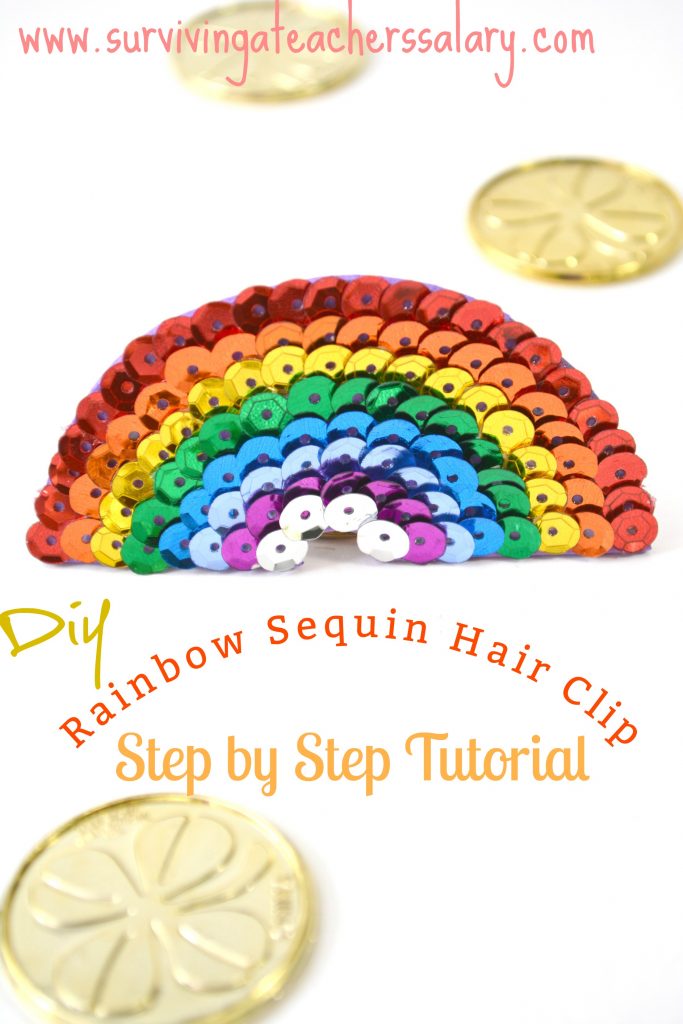
How to Make Your Own Rainbow Sequin Hair Clip for Girls
This post may contain affiliate links, view our disclosure policy for details.
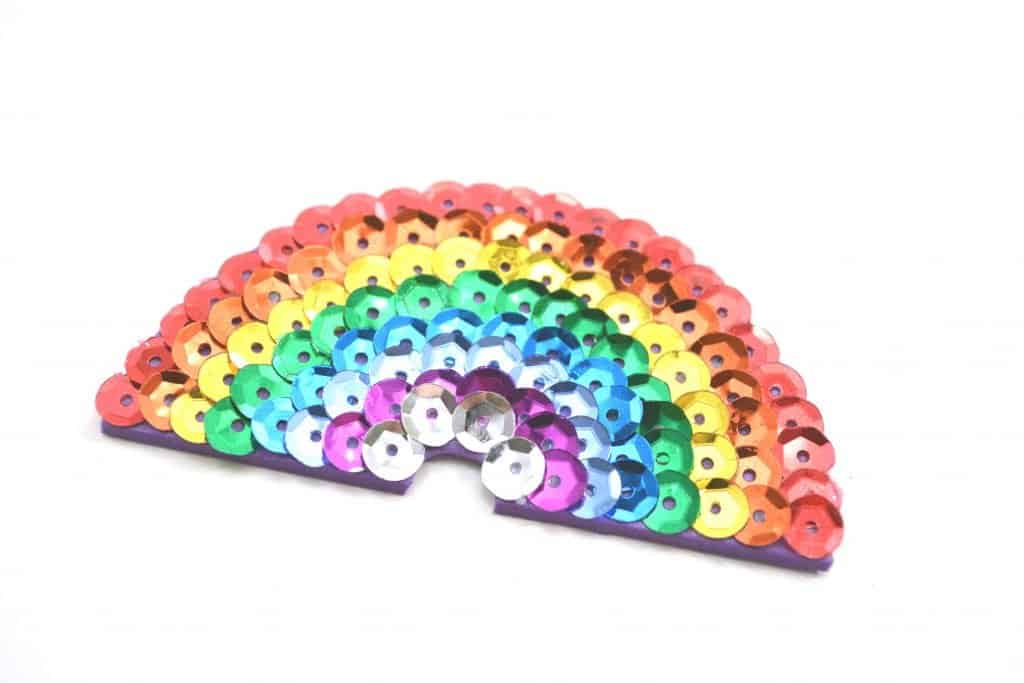
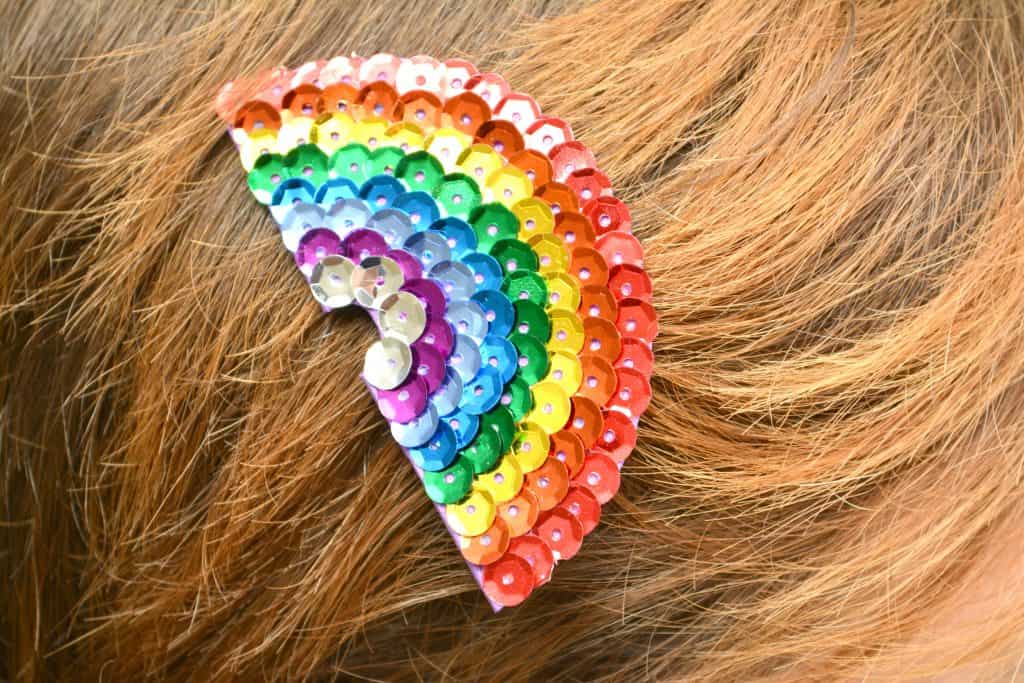
My daughter is just 3 years old but already loving all those cute girly accessories! I don’t want to spend much money yet buying a bunch of things because she just loses them all – but this diy rainbow sequin hair clip is super easy to make! Older kids can make this by themselves!
Below are all of the instructions with step by step photos so you can try and make your own!
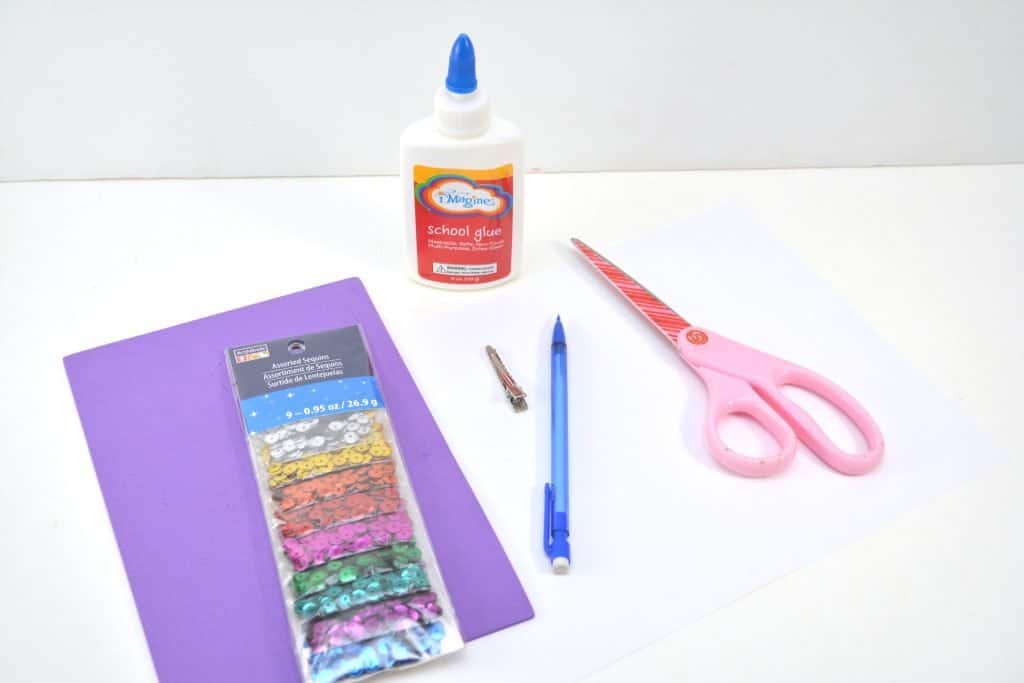
Rainbow Sequin Hair Clip Materials:
● Sequins in rainbow colors
● White paper
● Pencil
● Purple craft foam
● White school glue
● Plain hair clip
● Hot glue gun (optional)
Rainbow Sequin Hair Clip Directions:
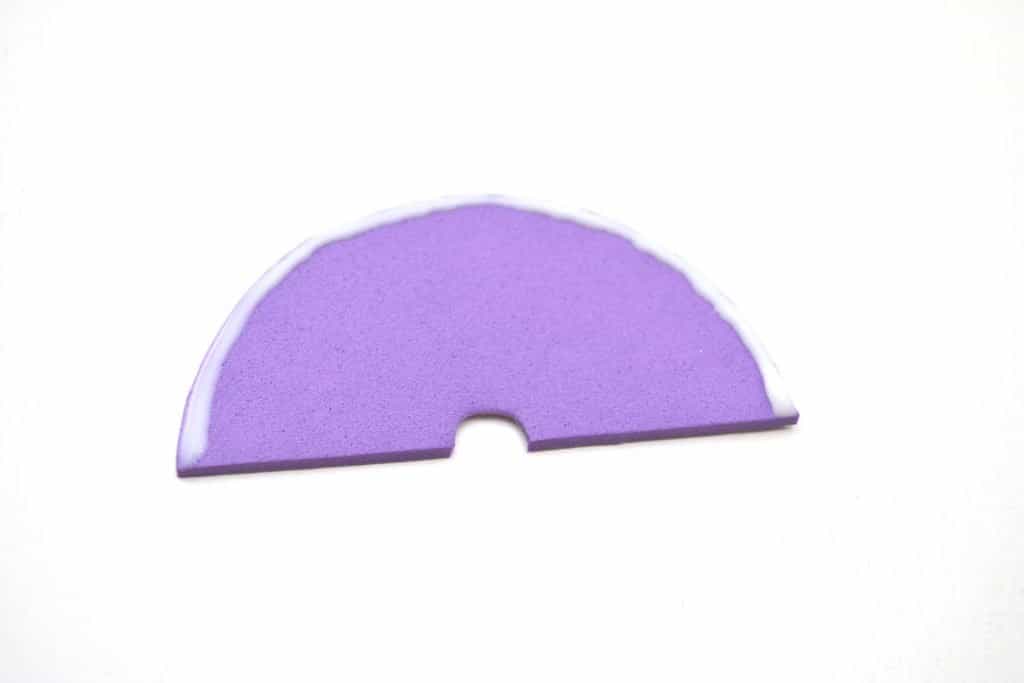
1. Draw the shape of a rainbow on a piece of white paper. Make it more of a block-type rainbow, that will make it easier to fill in with the sequins. You also want to adjust the size of your rainbow according to the size of your hair clip. You can view the photo for reference on how to make a simple rainbow shape.
2. Cut out the rainbow shape from the white paper.
3. Using the rainbow shape as a template, trace it onto a piece of purple craft foam.
4. Cut the rainbow from the craft foam.
5. Place a thin line of white school glue along the outside edge of the craft foam rainbow shape. This is where you will place your first row of sequins.
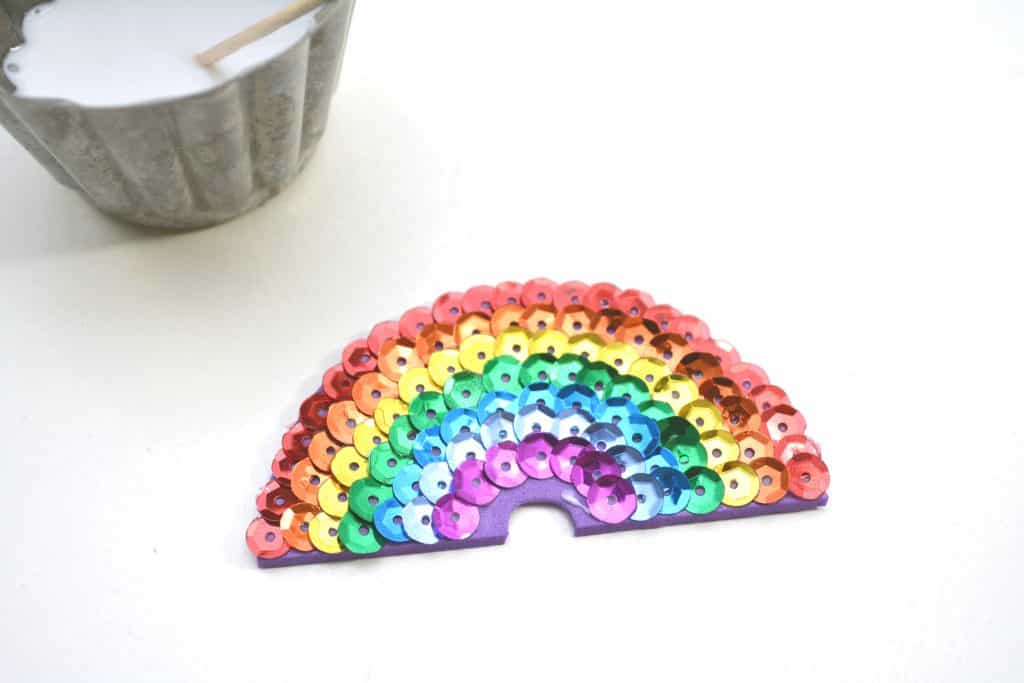
6. Starting with red, place the sequins carefully, one by one onto the glue line that you just made on the craft foam rainbow.
7. Let the glue dry completely, and then repeat step six for each color of the rainbow until you have covered the entire surface of your craft foam rainbow shape with sequins. Be sure to let the glue dry completely before continuing on to the next row of sequins or they will slip and slide all around.
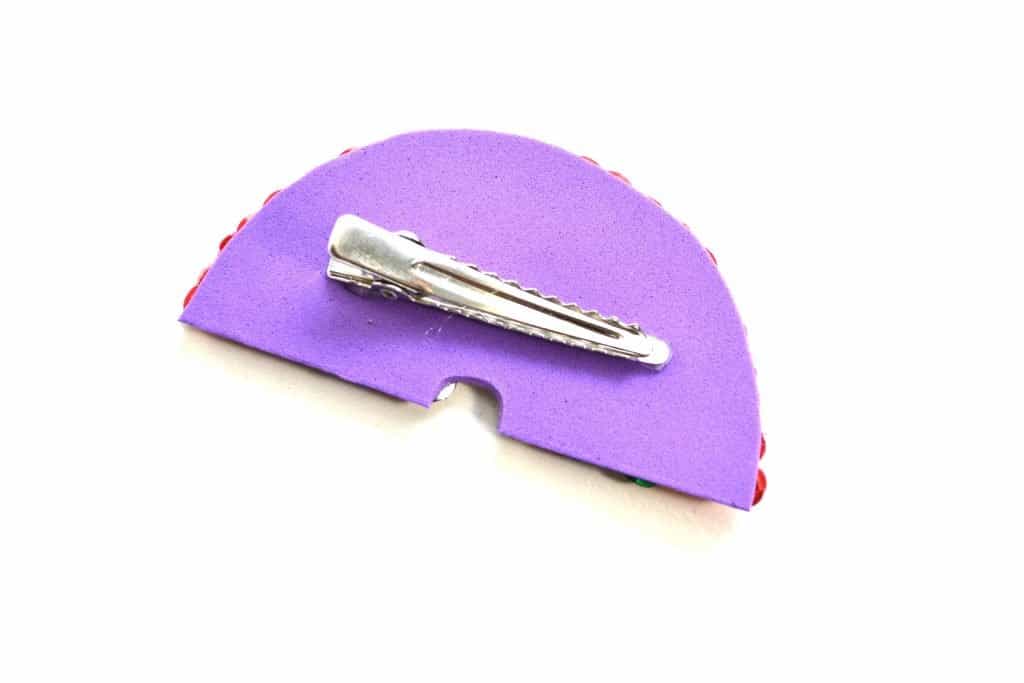
8. Use glue to attach the plain hair clip to the back of the sequined rainbow. This is where you might find it more handy to use a hot glue gun if you like. The glue will dry much faster and will form a stronger bond.
Related St. Patrick’s Day Posts:
 |
 |


