DIY Sports Team String Art Craft – Chicago Blackhawks
This post may contain affiliate links, view our disclosure policy for details.
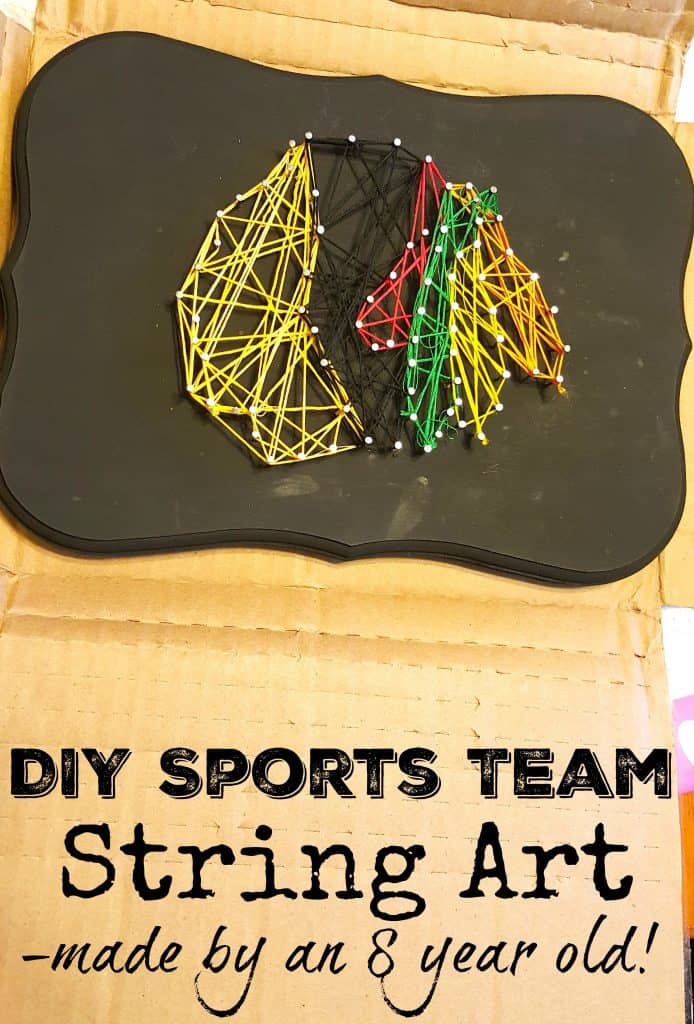
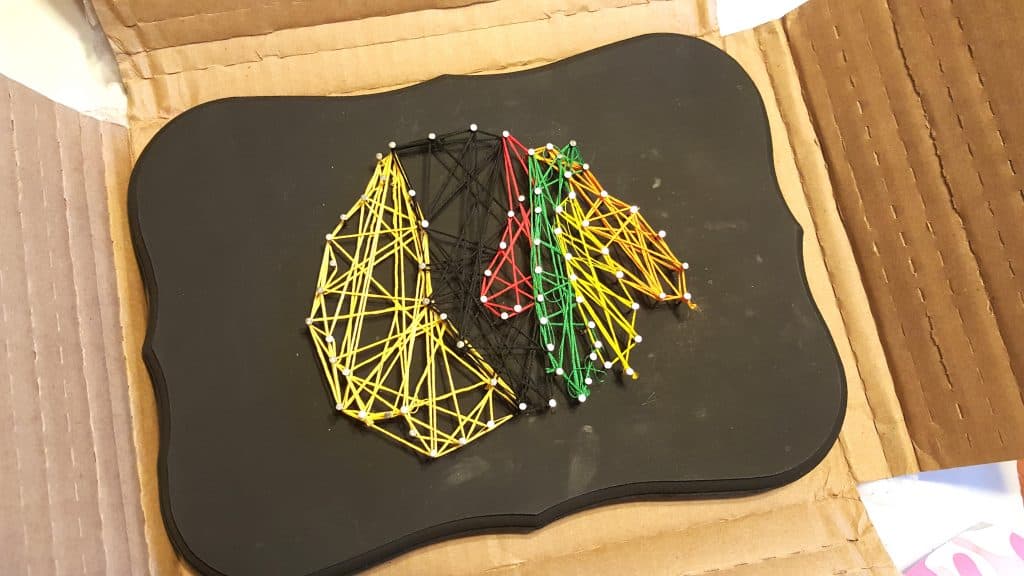
My 8 year old son wanted to get his favorite cousin a special gift this year with her all time FAVORITE sports team on it – the Chicago Blackhawks (hockey for those of you not into sports!). But if you know anything about sports team gear it is NOT cheap – especially when looking for something that is licensed! I was browsing for some affordable ideas on eBay and Etsy (and of course Amazon) but I just couldn’t find anything that seemed to suit the personality of our non-girly tween cousin who is a die hard Blackhawks fan. I did, however, come across this gorgeous Chicago Blackhawks string art on Etsy but about died when I saw that it was $38! I definitely didn’t have that kind of budget for one tween gift so I showed it to my son and he decided to make his own! He did 100% of this artwork (and he is NOT an artsy crafty kid!) so I’m pretty proud of how it turned out for him! So not only will she love it because it’s her favorite sports team but her besty cousin made it for her which is pretty special! Here’s how to make your own DIY sports team string art:
To start I bought him a good quality heavy duty wood unfinished plaque for a couple bucks that he painted black with acrylic paint. He painted the front sides and back.
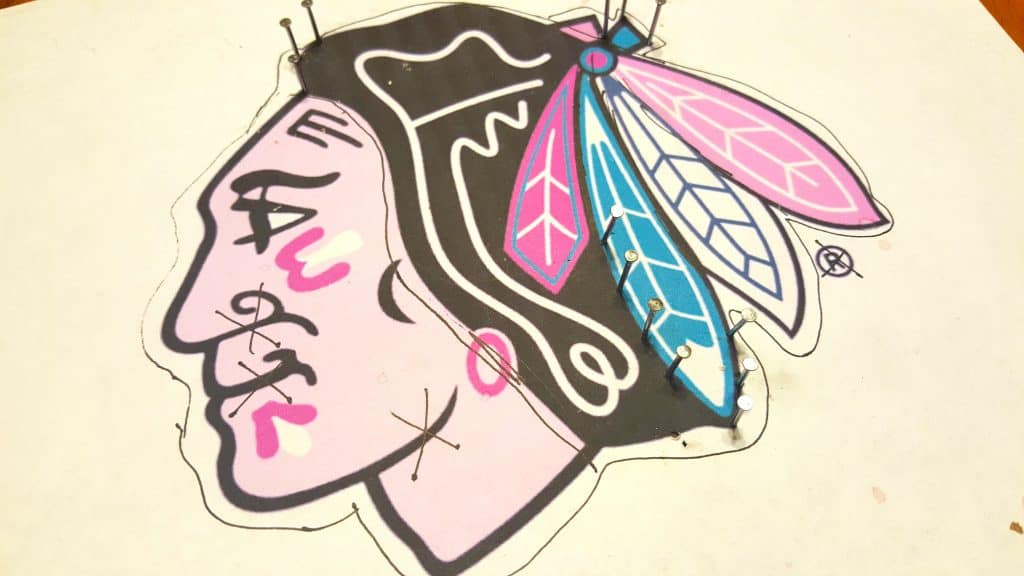
He then found an image of the sports team logo on Google images that I helped him size and print. We made sure it covered most of the plaque so it was nice and big. Do NOT cut out the logo – lay the entire printer paper directly on top of the wood plaque! So that he didn’t get confused I drew a line around the areas he needed to place a nail – basically around the entire head and feathers. You can absolutely get more detailed if you want to! You’ll want to take small nails with heads on them and nail them directly into the paper and wood plaque spacing fairly close together around the entire outline.
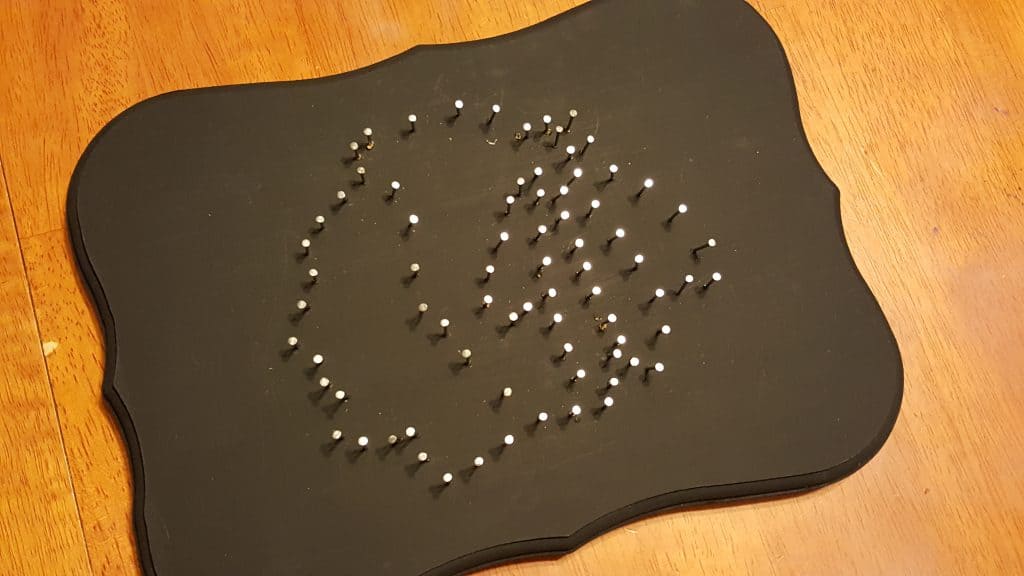
Once you have finished simply lift the printer paper up off of the nails being careful to leave no chunks of paper behind! You should have a nice basic outline of your favorite sports team or whatever it is that you have chosen for your art piece!
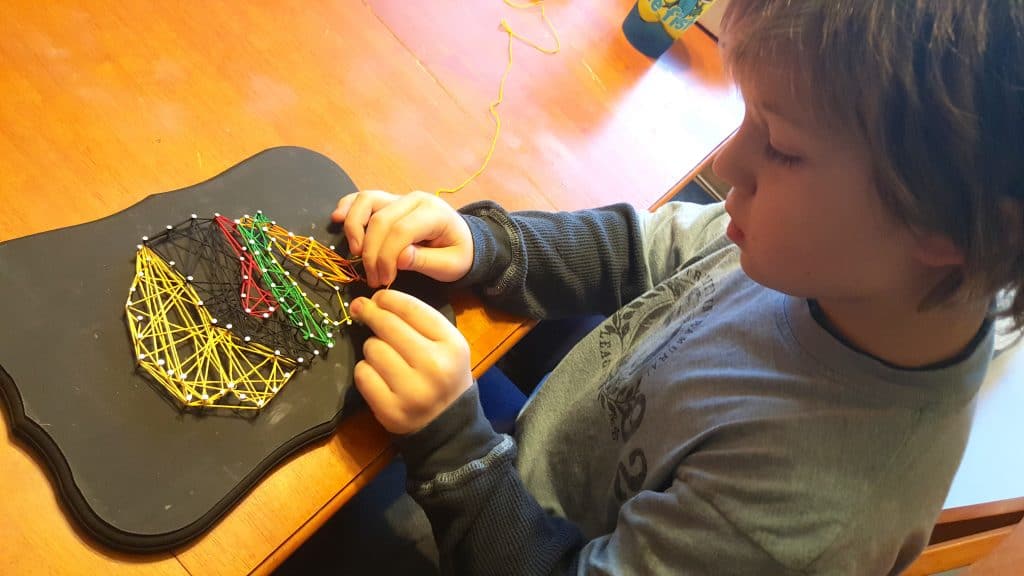
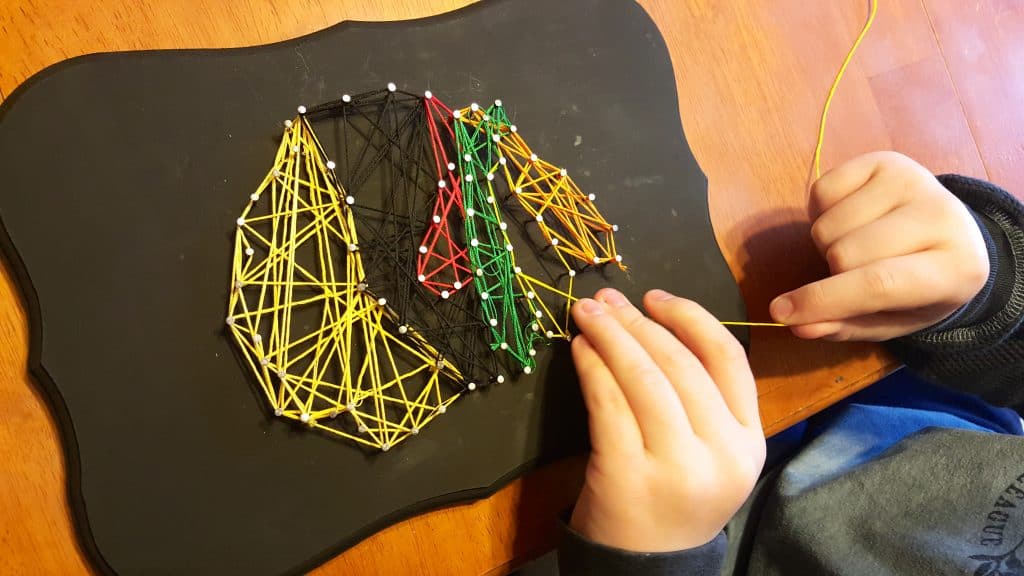
He then took the appropriate colors of Embroidery Floss and wrapped them haphazardly around the nails in the section of the face that corresponded with the correct colors. For example – he started with the face so we tied a knot with the embroidery floss around one of the nails, weaved around the nails to make the basic face outline, and then simply weaved the string randomly back and forth through the nails in that area. He just kept weaving the string back and forth till he was happy with how it looked, then tied a knot on the nail to finish off that color!
Then he moved onto the black hair, then onto the feathers! You can see how he outlined the feather he is working on and is now just threading the string between nails to cross over the area!
If you’re handy with vinyl or a Cricut (or up for some very detailed string art design) you can add the name or letters of your favorite sports team on the plaque as well but this was a pretty good sized project for my son! He worked on it on and off over a few weeks but I imagine it would have only taken under an hour to complete (plus paint drying time) if you were to sit and do it all at once. Not too shabby for an 8 year old boy who isn’t very artsy huh?! In fact I LOVED the way his turned out so much I’m planning on making a diy sports team string art piece for my father in law for his favorite team!
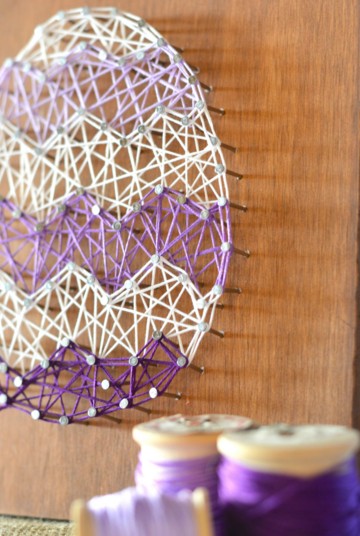
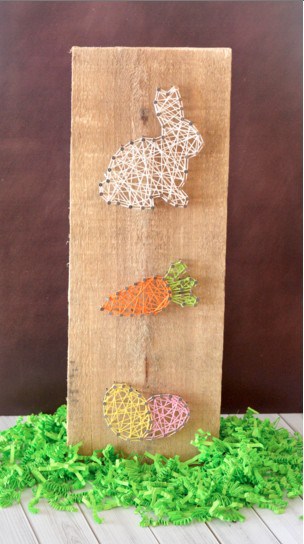
You can absolutely use this idea to make string art phrases, monograms, characters, holiday designs, and pretty much anything else you can dream up! It’s a fantastic fine motor skills activity for kids that can be as detailed or simple as you need it depending on the age of the creator! Check out our Easter String Art (with free printable templates!) that make beautiful gifts and home decor!


