DIY Pine Cone Tree Home Dollar Tree Decoration Craft
This post may contain affiliate links, view our disclosure policy for details.
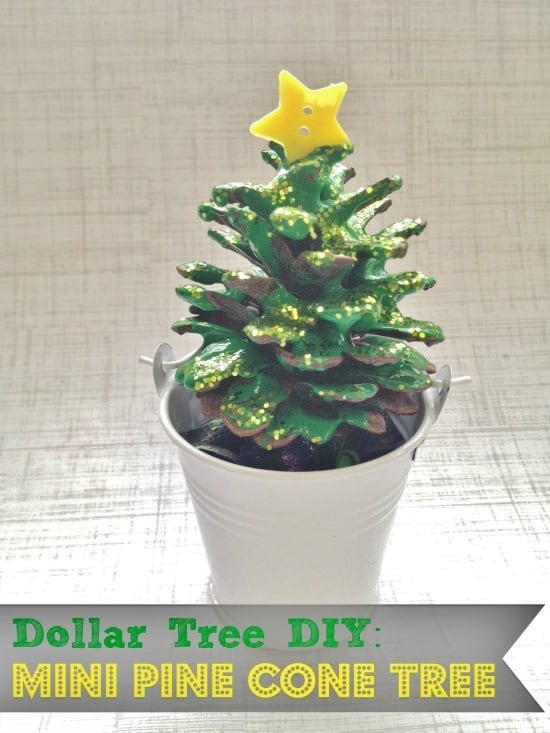
Some DIY projects are just too sweet for words and this mini pine cone tree is one of them! Plus I LOVE Dollar Tree crafts and you can find everything you need there and whip one of these beauties up in no time. Take a look below for instructions on how to make your own – it is the perfect craft for kids (or adults!) to enjoy this holiday season.
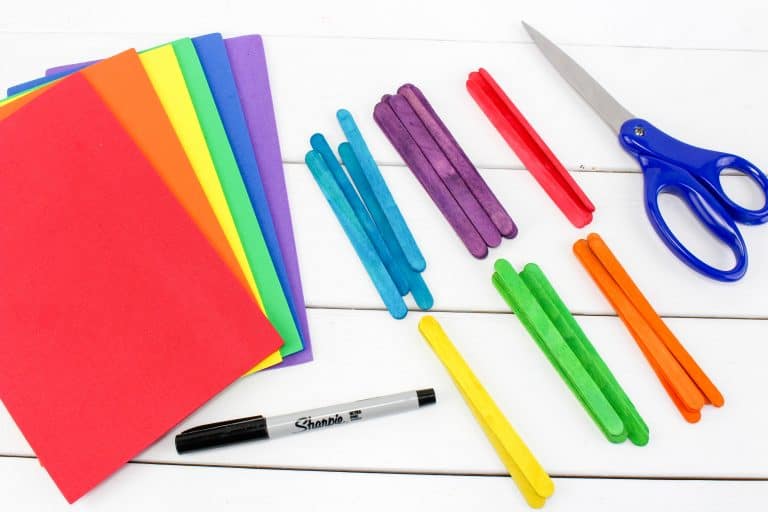
Supplies Needed:
Small white metal bucket (sold in packs of 3 for wedding favors at Dollar Tree)
Green paint
Yellow Star Button (craft aisle)
Pine Cones
Glitter
Tissue Paper
Hot Glue & Glue Gun
As mentioned you can find everything you need at your local Dollar Tree or perhaps in your craft room!
Directions:
1. Begin by placing the pine cone on a piece of newspaper. Paint it green until it is covered as desired. We left a little brown on the pine cone showing through but you can paint it as little or as much as you want.
2. While the paint is still wet sprinkle it generously with glitter. Set the pine cone aside to dry.
3. Stuff tissue paper into the white bucket. This is what the pine cone will stand on.
4. When you pine cone is dry, apply a generous amount of glue to the bottom of it and press it to the tissue paper. Like a real tree, you may need to adjust it a bit to make it stand straight.
5. Add a drop of hot glue to the top of the pine cone and press one of the yellow star buttons to it.
That’s all there is to it! You know have a sweet little pine cone tree to call your very own! Enjoy!