

DIY Groovy Button Crayons Tutorial for Kids
This post may contain affiliate links, view our disclosure policy for details.
Even though it’s the summer and our schedule seems even more insane than the school year I can always find a little time here and there to squeeze in some fun activities. This week we made our own button crayons and they turned out incredibly adorable!
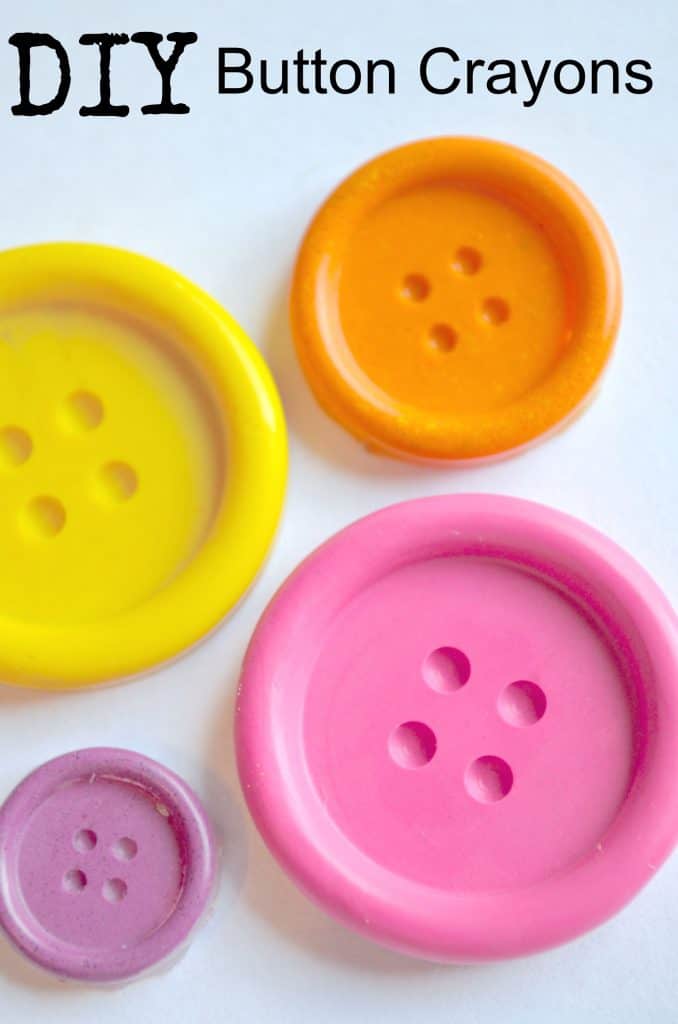
My kids helped make these so you can create them yourselves to spin them into a thoughtful gift or let your kids make the button crayons just for fun! The awesome thing is that they look just like REAL buttons! Here’s our tutorial:
Materials Needed:
Button Silicone Mold (buy on Amazon or eBay)
Crayola Crayons

You can use any brand crayons you want BUT after several experiments I have found that Crayola crayons are by far the best choice and quality. Other ones tend to separate liquids out and not be uniform.
Start by grabbing your button silicone mold (or other silicone mold ) and removing all of the paper off of your crayon. A quick easy way to do this is to soak them all in a bucket of water making the paper super easy to peel off. Otherwise you can enlist some kids to help you!
Break off the crayons into little pieces and place them in your molded buttons. Put the entire mold on a flat cookie sheet to help you move it without spilling the crayons or hot wax.
Heat your over to 200* and monitor it ever 5 minutes or so to see where you are at in the melting process. You may find you need to add some more crayon pieces (or that you’ve put too much in!).
Once your crayons have completely melted into the mold in your oven carefully remove the cookie sheet they are laying on. Move slowly so you don’t spill the wax out of the mold!
Let it sit and completely cool on your countertop. If you can you can slide the mold off of the flat cookie sheet but I do not recommend trying to pick the mold up at all as it is very thin!
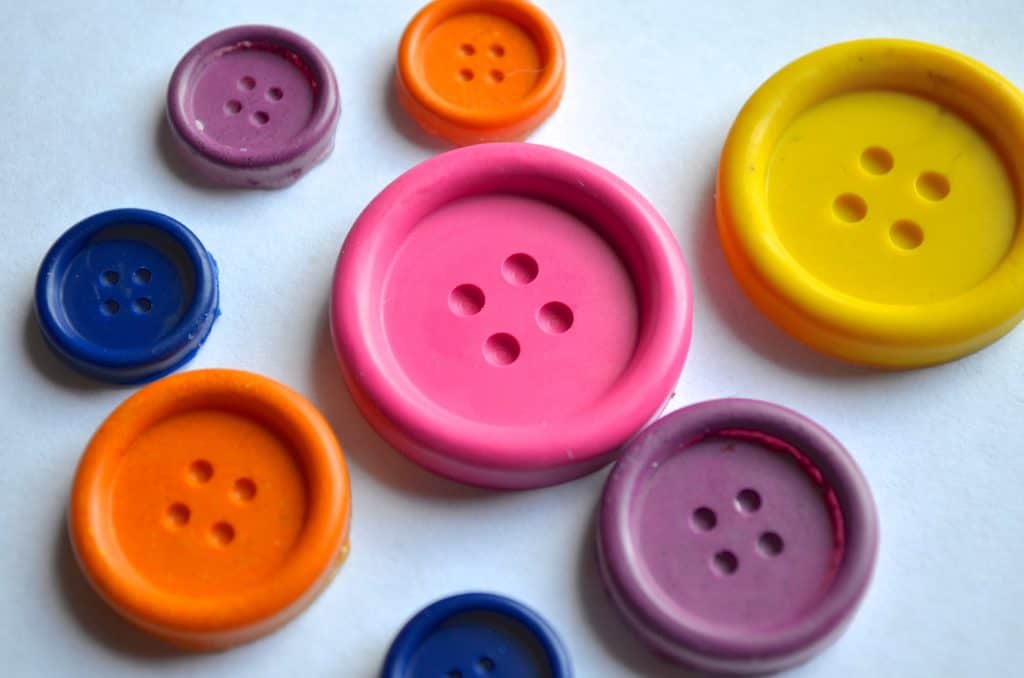
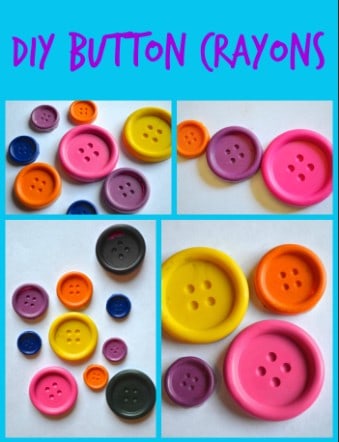
Once your wax has completely cooled off you are ready to pop the buttons right out of the mold! Lighter colors tend to look the best if you’re taking photos of your buttons.
Make a couple batches and color coordinate them for parties (red and white crayons for Dr. Seuss, black and yellow for Batman, etc.).
I was SO impressed with how EASY these were and how well they turned out! And the silicone mold was super simple to clean up at the end.
In addition to making your own crayons (after you’ve thoroughly cleaned your mold) you can also use it for ice, candies, frozen yogurt, gelatin, soap, bath fizzes and more!
Check out our LEGO Frozen Yogurt Snacks or our DIY Pete the Cat T-shirt Tutorial which pair nicely with these GROOVY buttons!
BELOW are other Silicone Molds GREAT for Crayon Shapes. Just CLICK on them to BUY!