7 Cardboard Easter Egg Art Activities for Preschoolers
This post may contain affiliate links, view our disclosure policy for details.
Easter egg art activities for kids don’t have to be expensive or complicated at all! All of the preschool art ideas below simply come from recycled cardboard boxes that I used from the craft supplies that Oriental Trading sent us for this post!
Scroll through our cardboard Easter egg art activities for preschoolers below and try out some new sensory Easter activities!
How to Make Cardboard Easter Eggs:
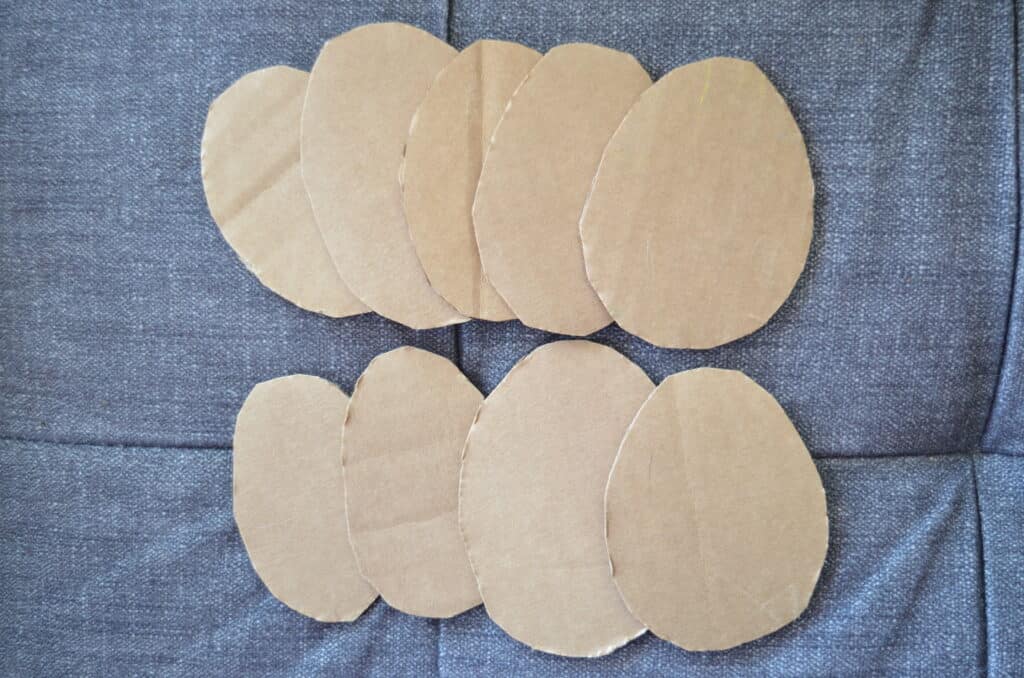
The main prep for these Easter preschool art activities is making a pile of cardboard easter eggs. The great thing about preschoolers is that nothing has to be perfect! You simply need to create an oval shape out of cardboard and they’ll automatically see an egg shape!
You’ll see below that some of my cardboard “ovals” are more egg shaped being slightly smaller on one end than the other, but many are simply an oval shape cut out of cardboard.
If you have thin cardboard sheets available your hands will thank you but I made all of mine out of boxes that I received in the mail. It’s a great way to repurpose cardboard boxes and turn them into free art supplies!
You can simply free-hand cutting out an oval shape with scissors, or you can use an X-acto knife on top of a cutting mat or hard surface. Either way works well!
1. Dot Paint Markers Easter Eggs Art Activity
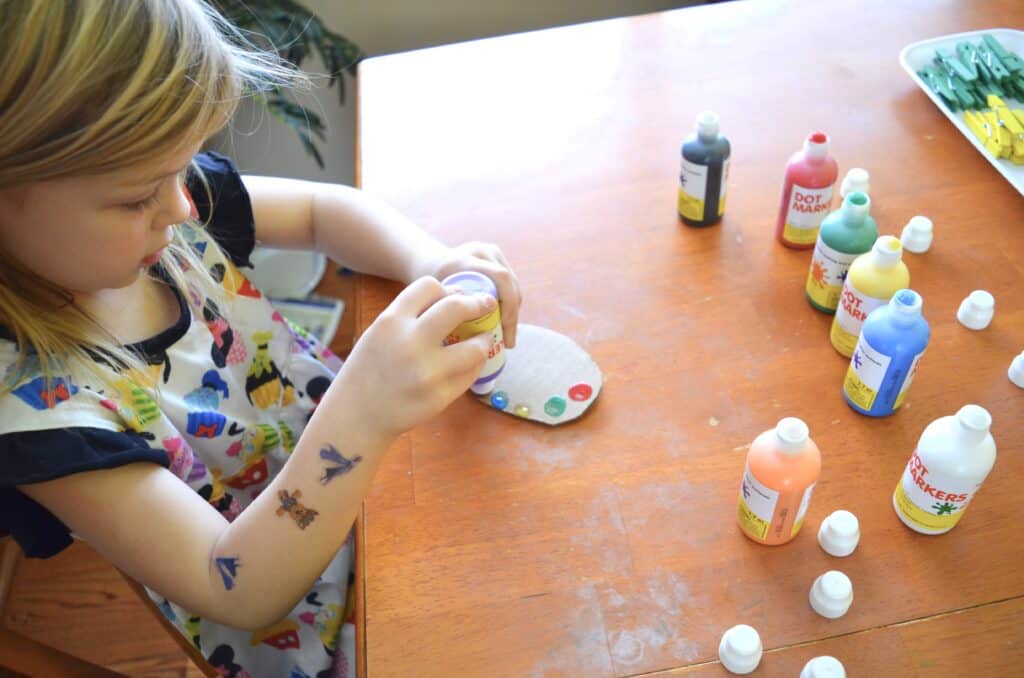
How is it that I am 3 children in and we’ve never had Dot Markers? I have no idea but my daughter LOVES them! Oriental Trading sent us a full set of these Dot Markers which are easy enough for her to open and close herself at 5 years old.
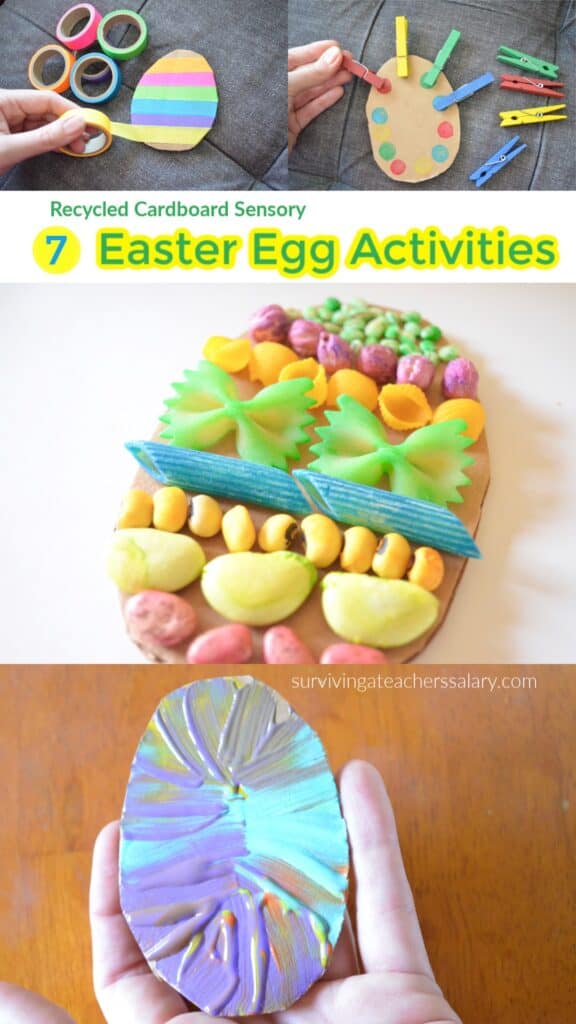
You can have the children add dots around the edges of the egg for our color matching activity below or just let them fill their cardboard Easter egg full of brightly painted dots!
2. Yarn Wrapped Easter Eggs – Fine Motor Skills Activity
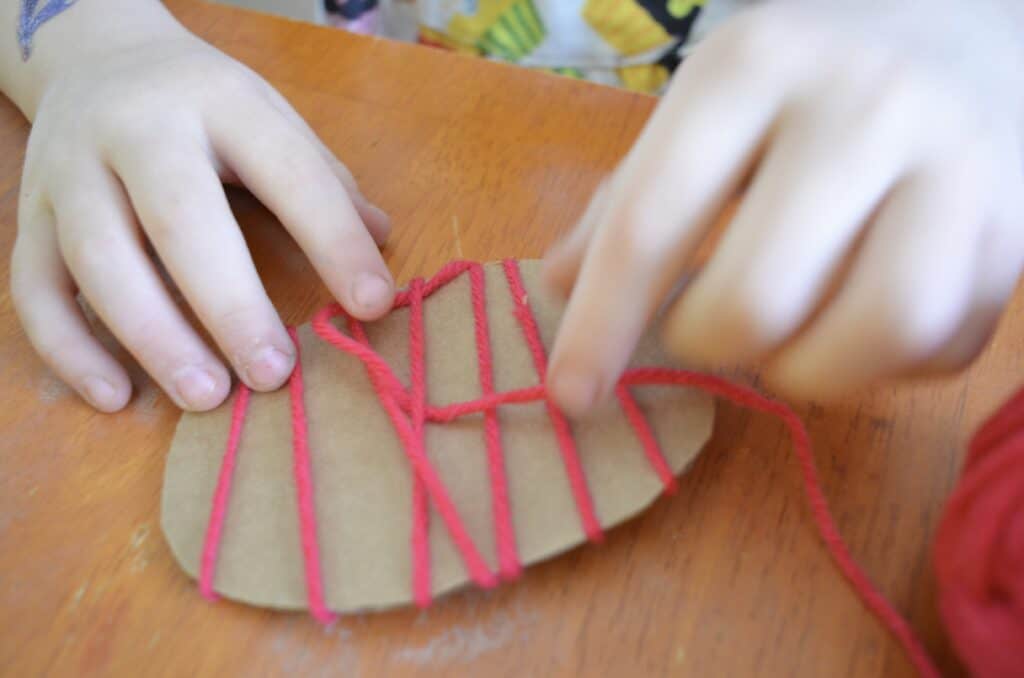
Yarn wrapped Easter eggs are all the rage on Pinterest but it’s actually more difficult that you might think! Not only is starting the wrap difficult if you don’t tape or tie the yarn down, but wrapping it on a round surface can provide problem solving skills for preschoolers to work on.
We used several different colors of yarn for this project! I had a lot of fun sitting next to my daughter creating my own yarn wrapped Easter egg while she did hers!
When you’re done you run some clear school glue around the edges or in any loose areas to help the yarn hold in place. Paste it onto a cardboard, make several to fill an Easter basket gift, or string it on a piece of yarn and hang it up somewhere!
3. Color Matching Activities
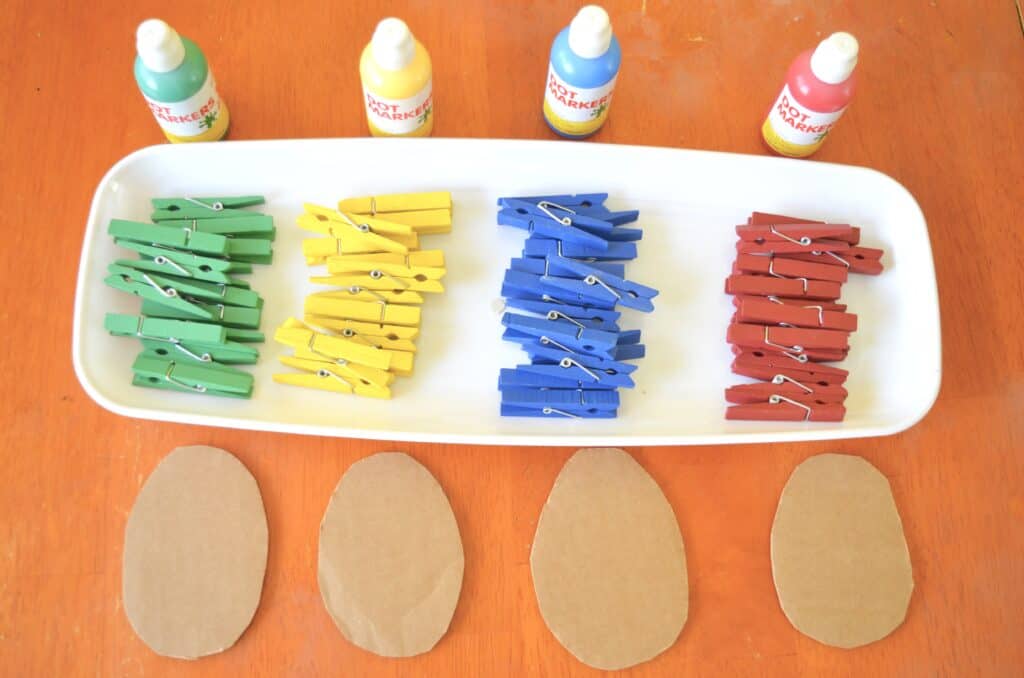
Perhaps even more than just painting activities my daughter loves interactive preschool crafts! This is a GREAT way to make learning FUN for kids! Set aside specific colors of paint that match your colored clothespins and have your kids paint dots or swatches of colors around the outside of the cardboard eggs.
You can pre-paint clothespins if you don’t want to order colored clothespins.
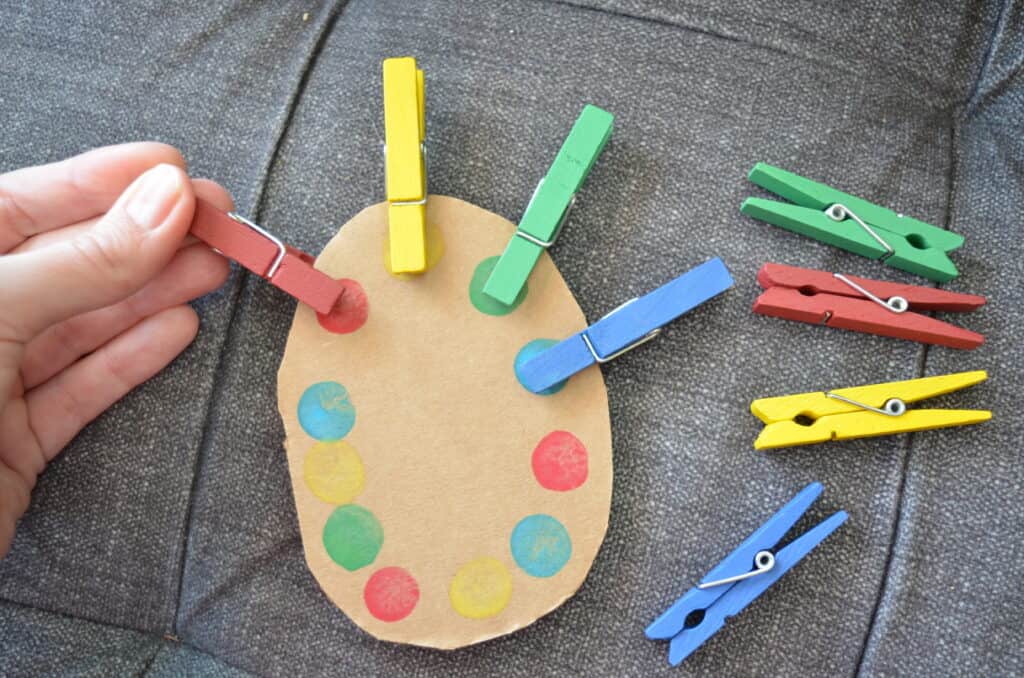
Once the cardboard Easter egg is dry from paint then your kids can use the corresponding colored clothespins to grasp onto the Easter egg color swatches to match them! This is great not only for fine motor skills activities but also for color recognition.
If you modify this to a large super sized cardboard egg you can also add numbers 1-10 inside the color swatches and have your child count and add that many clothespins to each colored area.
4. Sponge Painting Easter Egg Silhouette
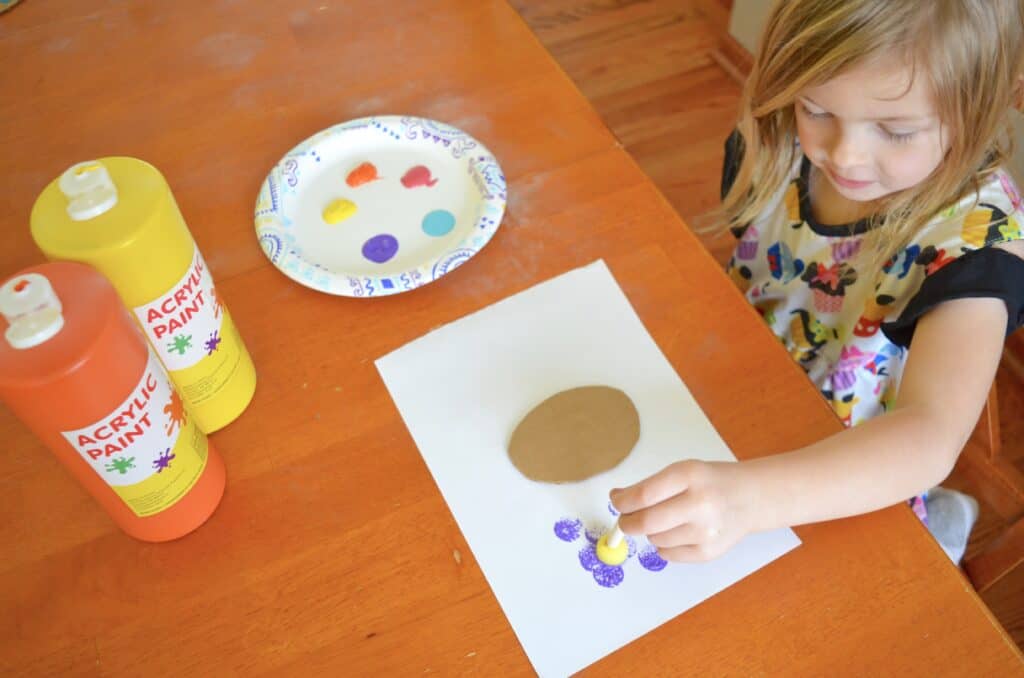
This Easter egg silhouette activity takes a little bit of coordination skills unless you want to affix your cardboard egg to the paper. I told my daughter that the cardboard egg was going to “live” in the middle of her art paper and that she could paint ALL around the egg but not to move it.
Once she was done sponge painting around her egg (which gives great texture!) we removed the cardboard egg to have a beautiful piece of art with a white Easter egg in the middle! After the paint dries you can let your kids decorate the center white egg shape however they want for Easter!
5. Washi Tape Easter Egg Decorating
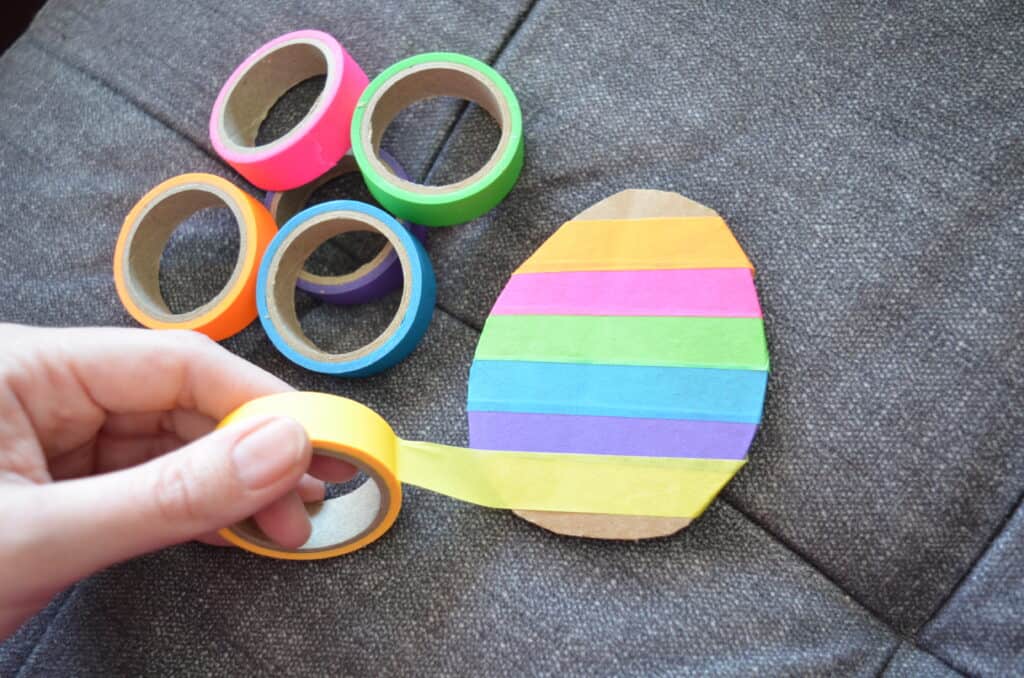
Washi tape provides are great “less mess” activity for kids and comes in all sorts of colors, designs, and even sizes! This is another fabulous fine motor skills activity for kids where they can show off their creative side by decorating cardboard Easter eggs in any colorful way they want!
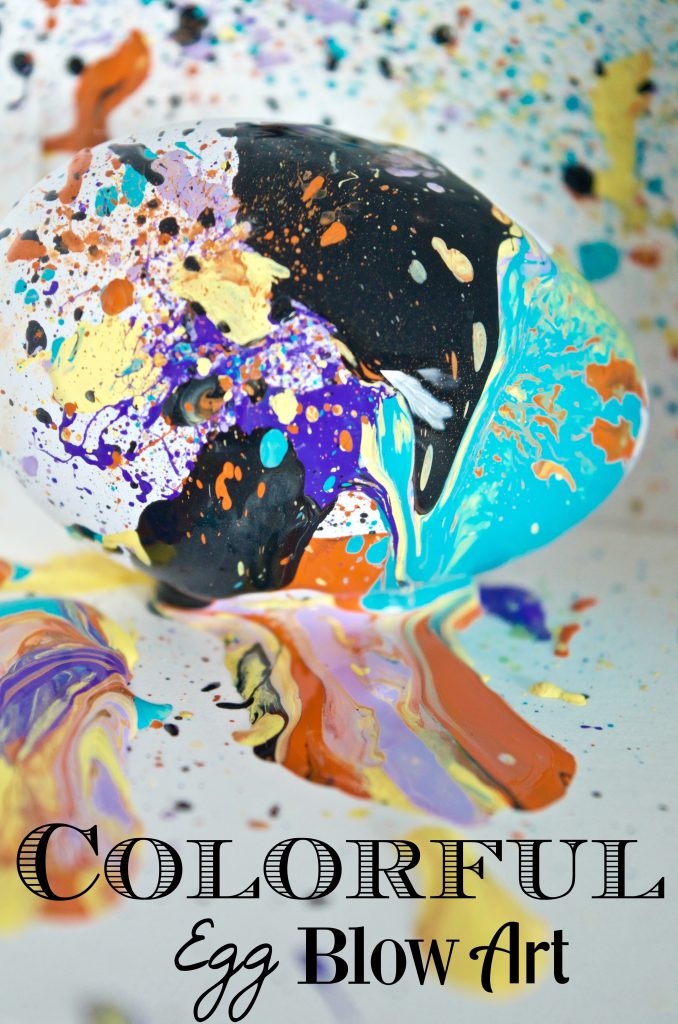
6. Mesmerizing Tie Dye Art Swipe Easter Egg Painting
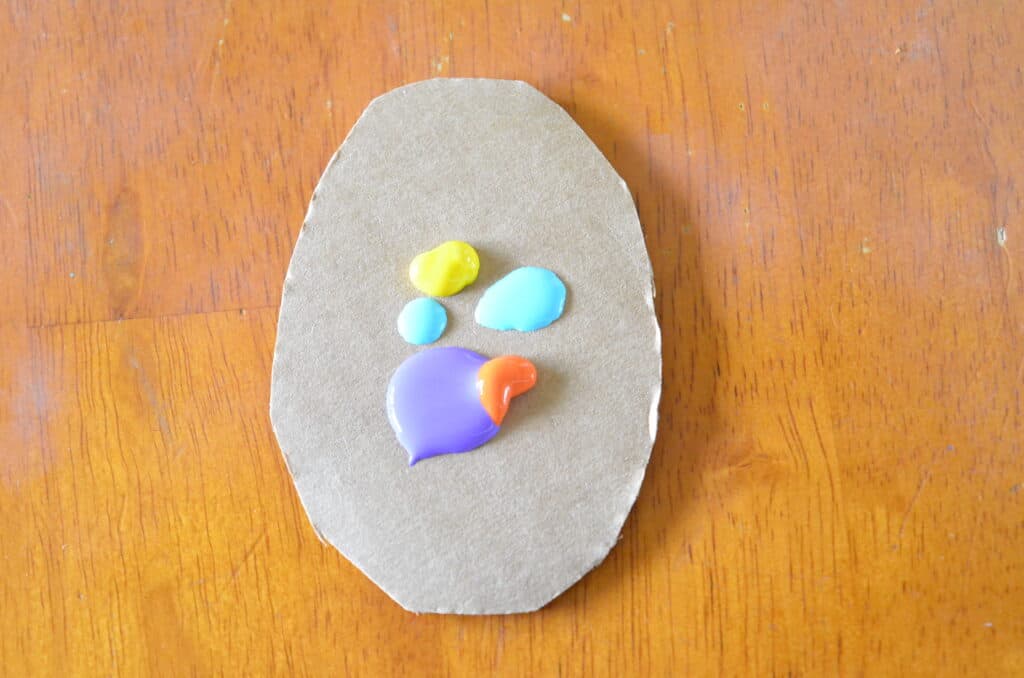
This simple concept works best with kids ages 6+ but you can certainly attempt it at any age! After all – art is beautiful to the one who created it! You’ll want to add small drops of paint directly onto the cardboard in a tight circle around the middle of the egg the best you can as you can see in the image above.
Some of my acrylic paint globbed out and that’s ok, just add paint in small bits the best you can near the middle. Place all of your paint on the cardboard egg before moving to the next step.
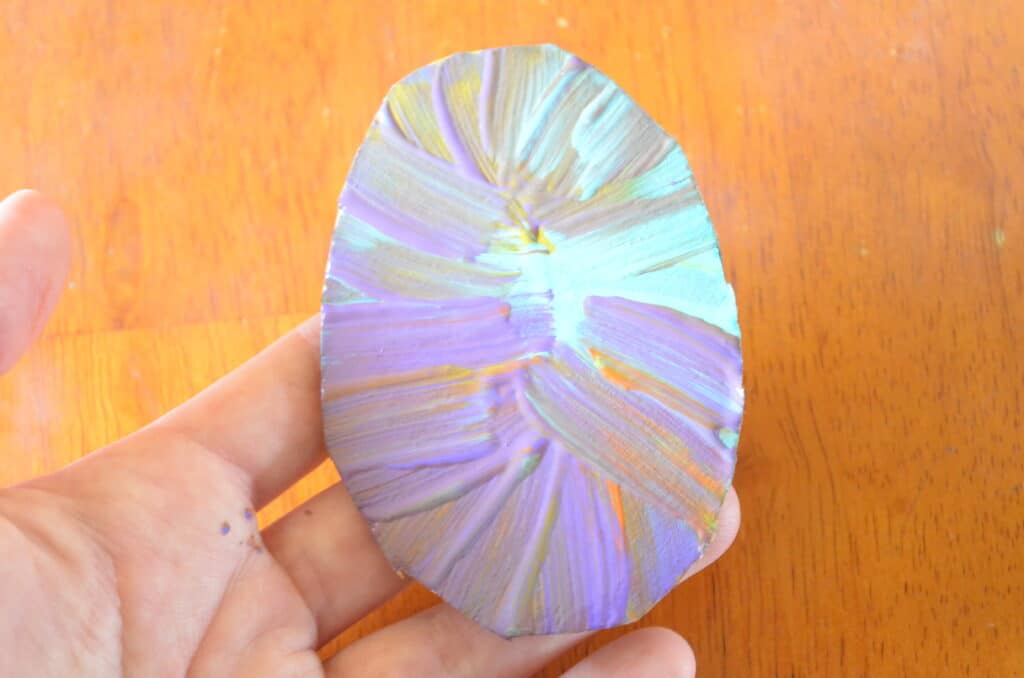
Next take your paintbrush and swipe each color of paint from the inside of the egg towards the outside of the egg as you see above. Continue doing this for each color of paint that you have placed on your cardboard egg until all of the colors have been swiped and painted.
Don’t worry about paint overlap or mixing! That’s what gives it such a creative and mesmerizing appeal! Sticking with a quick swiping method keeps the cool tie dye color streaks in the painting as opposed to actually mixing the paint in a swirling motion.
7. Pasta Noodle & Bean Designs
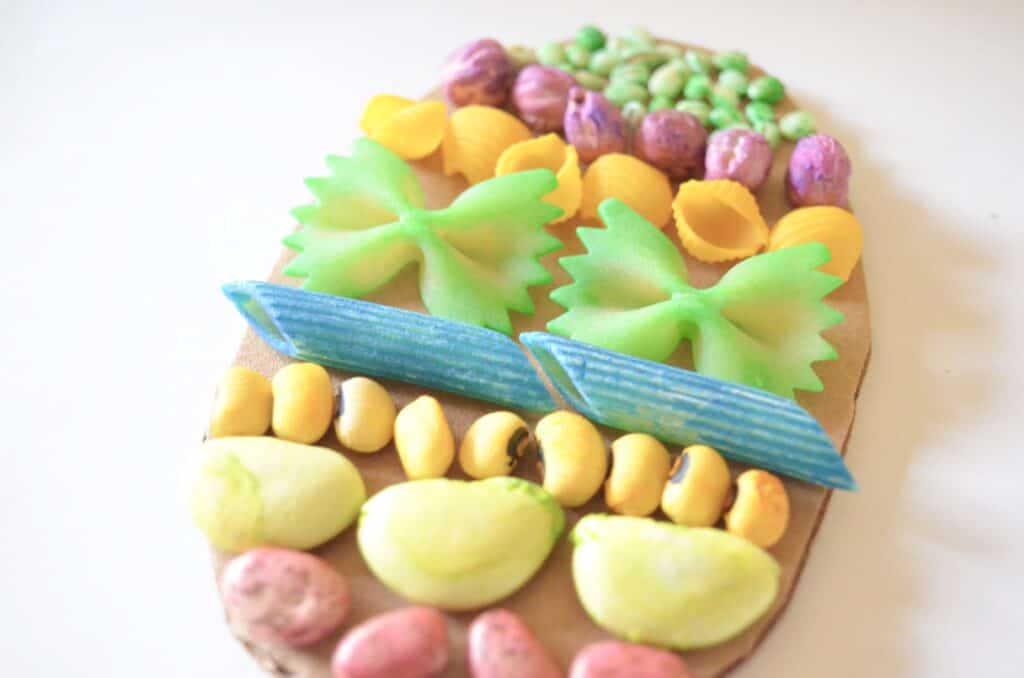
If you really want plenty of texture on your Easter sensory activity let the kids glue on beans and pasta into whatever pattern they want! This is great for sensory activities, art, fine motor skills, math (counting and patterns), etc. You can let the kids paint their creations afterwards or pre-dye the beans and pasta before glueing.


