

Make Your Own Homemade Milk – Milkmade Non-Dairy Milk Maker Review
This post may contain affiliate links, view our disclosure policy for details.
Most of my family has been gluten free AND dairy free for years now because of food allergies. I’ve found some great ways to save money on allergy friendly foods, but saving money on milk has been near impossible – till now! Did you know that they make machines where you can make your own homemade milk?!
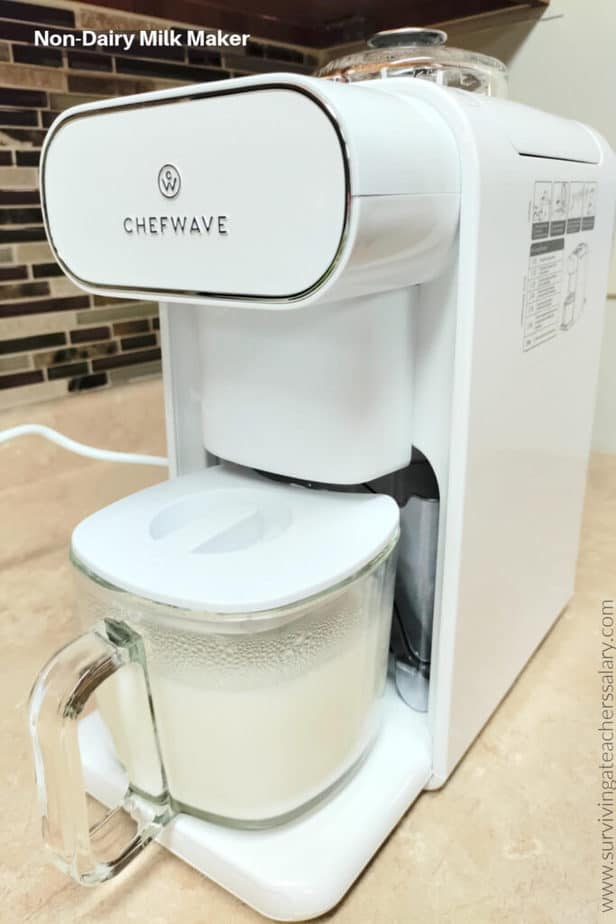
Non-dairy milk can be made in just minutes with a Chefwave Milkmade Non-Dairy Milk Maker! It is seriously the BEST appliance we have in our entire house! This will never leave my countertop! After reading a press release they sent me I was so intrigued and needed to know more! They sent me the machine you see in the review below.
Use THIS Milkmade code on Amazon.com or MyChefWave.com to get 20% OFF! —-> STSMILKMADE
The Milkmade Non-Dairy Milk Maker machine retails for around $200. This is not an appliance that is a splurge if you are dairy-free, this is a MUST for saving money and choosing better ingredients! If you buy 2 cartons of dairy-free milk a week, the Milkmade will pay itself off in UNDER a year in savings which is an awesome investment. It literally could not be easier to use – I was absolutely shocked!
The machine even CLEANS ITSELF out so I literally don’t need to do anything to it except rinse the milk pitcher! I’m SOLD!
What ingredients can you use to make non-dairy milk?:
-
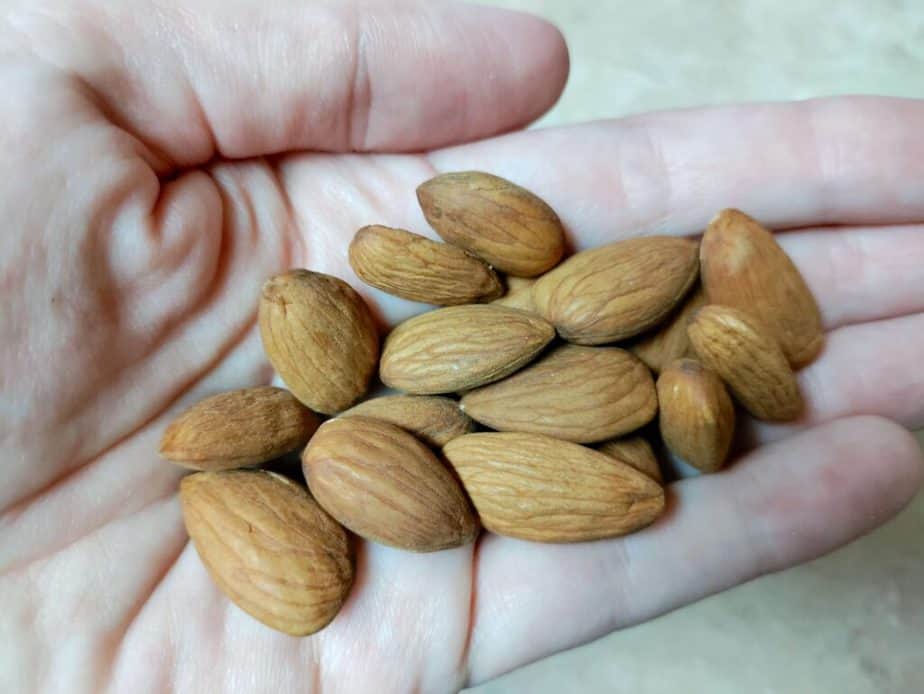
almonds
-
coconut
-
oats
-
soybeans
-
cashews
-
macadamia nuts
-
hazelnut
(I’ve heard you can use rice and walnuts too but I haven’t tried it yet!)
How much milk can the Milkmade Non-Dairy Milk Maker make at a time?
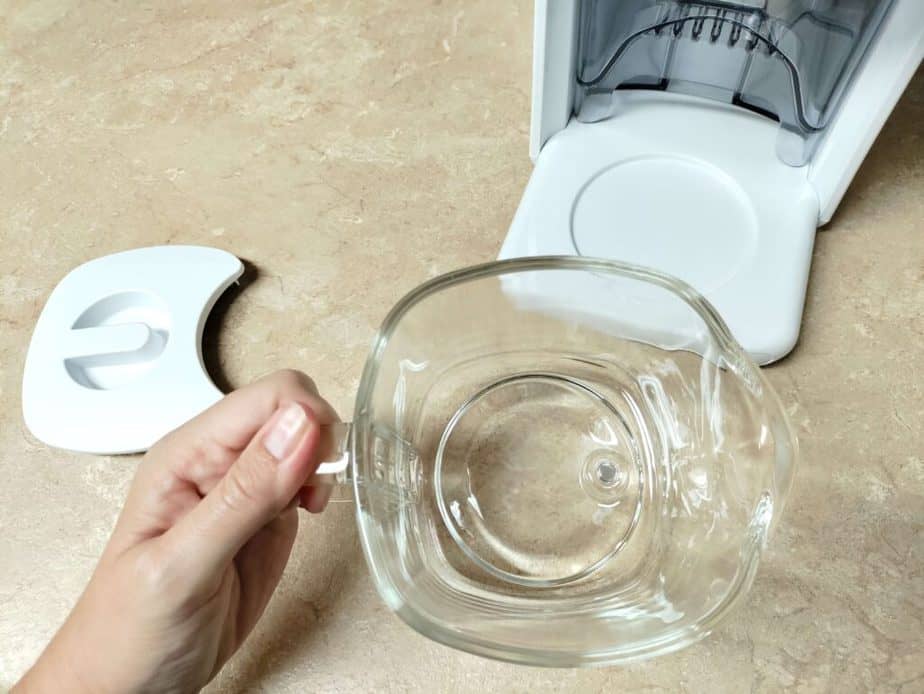
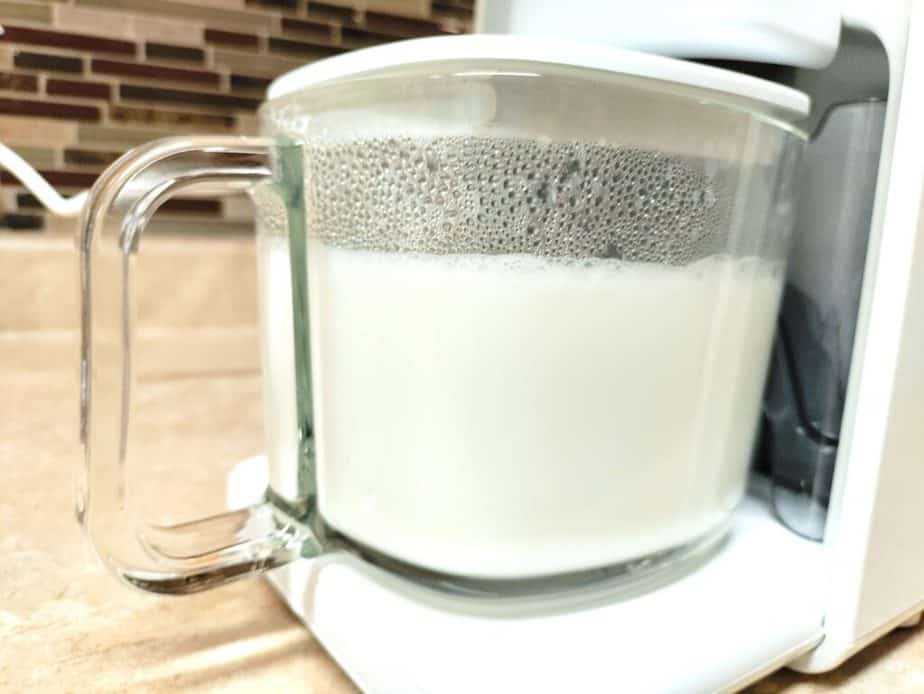
You can choose between two amounts of milk for your Milkmade to make at a time – 10 oz. or 20 oz. It includes a glass pitcher with a handle (and with a splatter lid) that the machine pours milk into. You can then choose to refrigerate the milk in that pitcher (it kind of looks like a large measuring cup) or to store your milk in your own pitcher.
How long does it take to make homemade milk with the Milkmade?
Your actual prep time is maybe 30 seconds? Literally however long it takes you to measure out a tablespoon or two of ingredients and fill the water reservoir. (and press a few buttons of course!) The machine itself takes about 15 minutes to make your homemade milk AND to self-clean itself! There is NO NEED to clean your machine every time you use it! It’s a stunning ingenious process.
How Do I Use my MilkMade Non-Dairy Milk Maker?:
Thankfully the MilkMade includes an extremely handy recipe book that includes great starter recipes for you when you first open up your box. I HIGHLY recommend spending a week or two “getting to know” your MilkMade.
Try a different batch or two of milk every day until you find the one you love! Remember, this is NOT commercially made milk so it may taste different than you are used to. See our tips below to help you navigate finding what works best for you!
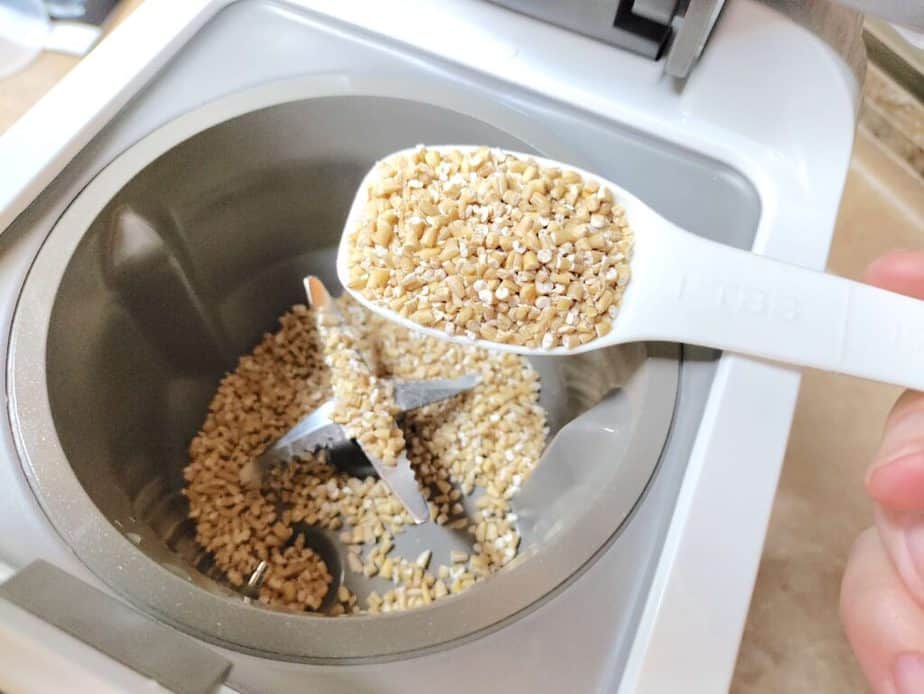
First, get your recipe! Typically you’re looking at 1-2 Tbsp. of ingredients (except for coconut milk which requires 6.5 Tbsp for the 20 oz. size). Simply measure them out and dump them in the grinder compartment.
*You do NOT need to pre-soak beans or nuts overnight! However I do blanch my almonds before adding them to the grinder. The awesome thing is that you can use raw OR roasted nuts!
Second, fill up the water compartment (similar to a coffee machine!) to the 10 oz or 20 oz line.
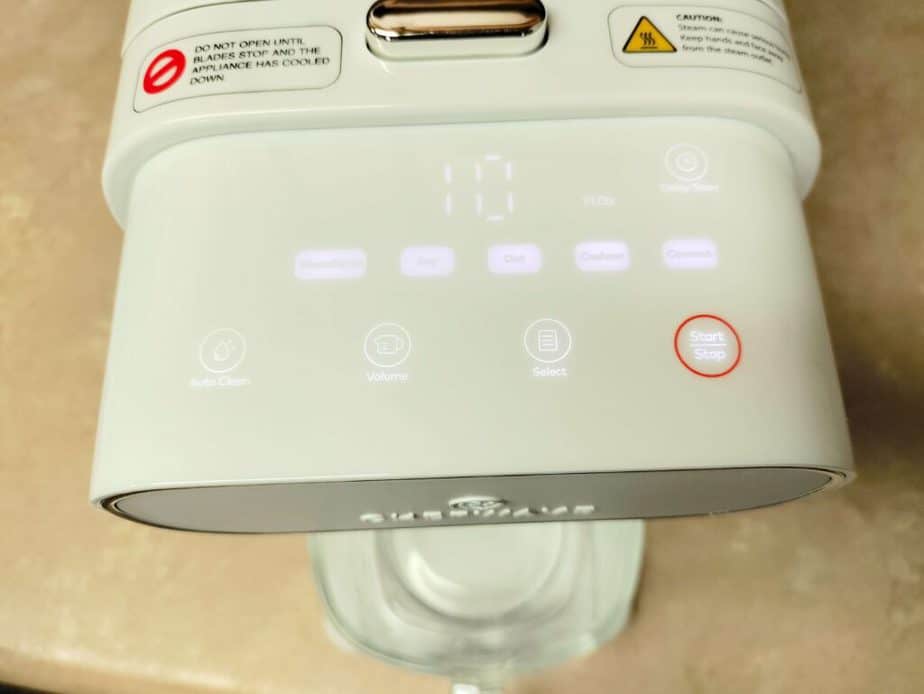
Third, plug in your Milkmade and select the type of ingredient (Macadamia Oat, Coconut, Almond, etc.) and the size of milk you want (10 oz. or 20 oz.). Then hit START!
*You can also DELAY start so that it will run at a later time!
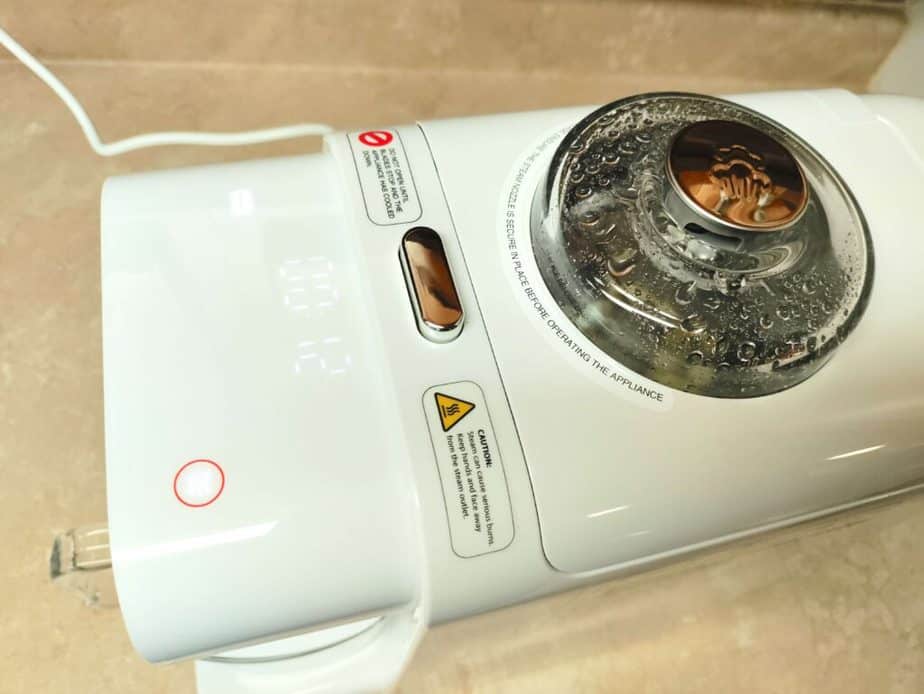
Then sit back and wait, or go do something else! You no longer need to do anything at this time for the machine! It does everything itself! You’ll see that clear compartment area (where the grinder is) hot steam and mix the water and ingredients to make your milk! It’s fun to watch actually! You’ll be able to observe it going from gritty pieces to smooth fine milk.
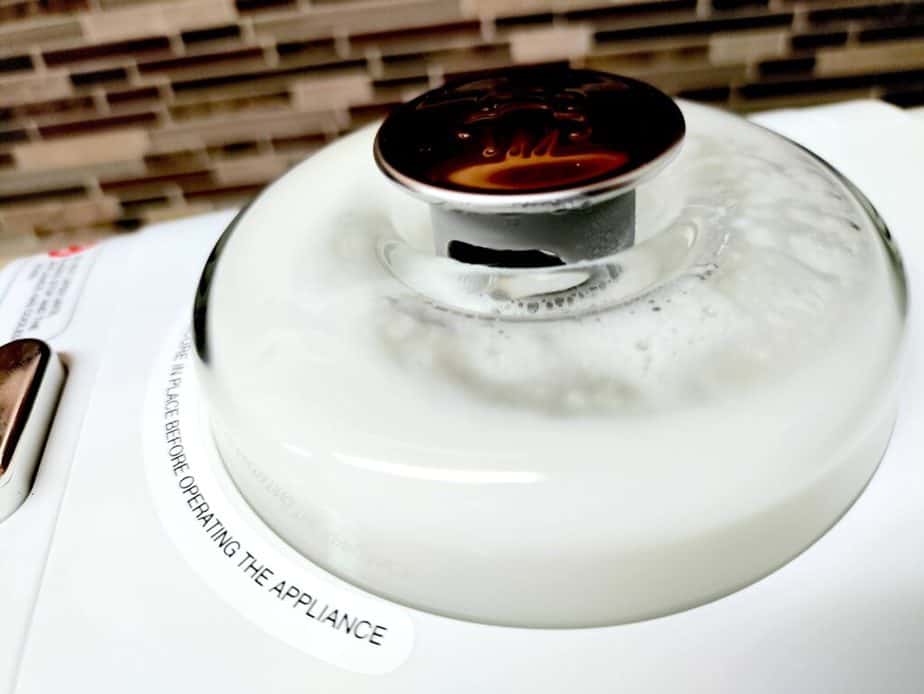
Above you can see some smooth oat milk being made! Once the milk has filled the pitcher the Milkmade machine will run the rest of the water through the grinder compartment and clean / rinse it out! Underneath the machine is a simple container that holds this rinsed waste that you can just dump down the sink or pour into your plants!
You can add cocoa, sugar, honey, or other ingredients directly into your glass pitcher and stir the milk after it has been made. Remember this is fresh milk so it will be very hot until it cools down!
Tips for using your MilkMade Non-Dairy Milk Maker:
I mentioned that using your Milkmade is a great way to ensure you are using fresh clean ingredients with less fillers, which will also make your milk taste different than you are used to! I personally found that we prefer a mixture of different ingredients to balance out single ingredients. For example, I found that the almond milk seems very thin like water but the oat milk is so thick and creamy – so I mix the two for the perfect balance!
I highly recommend you make a batch of each different ingredient and let it cool completely in your fridge before tasting (since hot milk tastes very different than cold milk!). Once you learn what you do or don’t like about each individual ingredient then you will learn how you want to mix them! My first week I made a different type of milk every day, then poured it all into one big pitcher mixing the different types of milk.
Making a batch of fresh milk is SO EASY that it allows you to make all sorts of recipes and blends to test! I still have a lot of experimenting to do (using the Milkmade to create homemade ice cream batches!) but I can’t think of a single reason I would ever buy regular milk again. Ever. We absolutely LOVE our Milkmade non-dairy milk maker and it will always be a MUST in our household! Not only does it allow us to take out the fillers of commercial milk for our son with health issues, but it is SO much cheaper in the long run than actually buying milk.
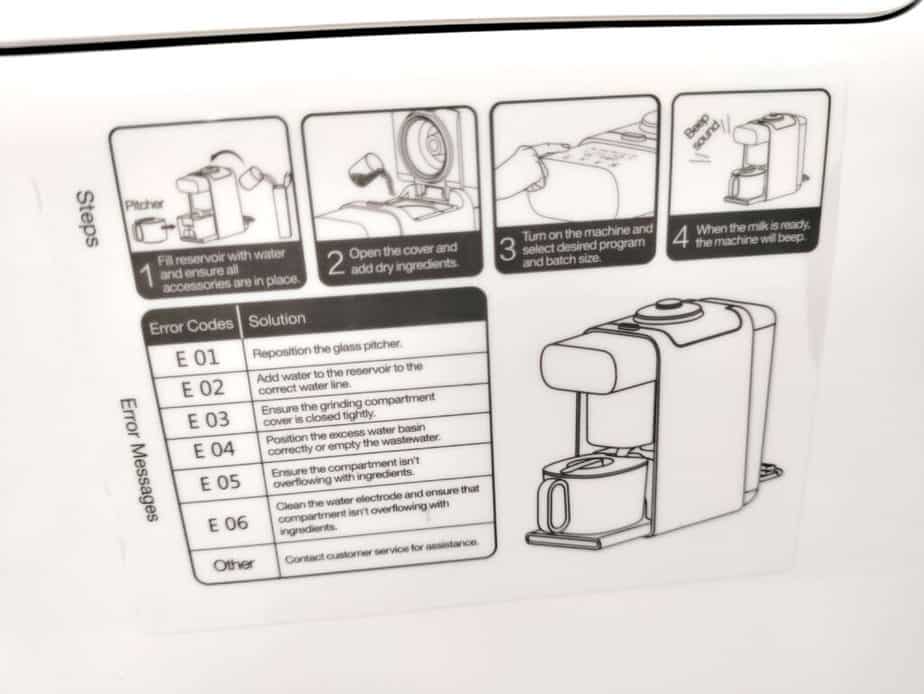
Troubleshooting your Milkmade Machine:
If I wasn’t already 1000% percent in love with this self-cleaning homemade milk machine, I noticed on the side of the machine is a large troubleshooting sticker so if your digital settings area throws you an error code, you don’t need to frantically search for your manual in a box up in the attic. You can literally just refer to the sticker on the side of your machine!
Once I accidentally forgot to empty the waste water container and it alerted me before making a mess and starting a new batch. Another time I ran out of water in the reservoir and it alerted me. You’ll hear a loud beeping noise if there’s an issue with your machine so if you’re anywhere nearby you’ll know right away.
Use THIS Milkmade code on Amazon.com or MyChefWave.com to get 20% OFF! —-> STSMILKMADE
Overall Review of the Milkmade Non-Dairy Milk Maker?:
I cannot express enough how much I freaking love this machine! It’s no bigger than a Keurig coffee machine in size (slimmer and deeper perhaps depending on your model). We have an insane amount going on in our lives right now and it sounds silly but something as little as saving money on milk every week and NOT needing to clean a machine are pretty big wins for me right now!
Discovering the EASY troubleshooting guide sticker on the side was a HUGE bonus! If you have the time to measure out a tablespoon or two of ingredients you have the time to make homemade milk! I highly recommend this product! Take the time to mix recipes around and find the right milk for you.
Personally I prefer the milks I make with multiple ingredients if you’re drinking it by itself. (like mixing coconut and oat, or oat and almond, etc.) This allows us to avoid food allergens which is huge for us.
I have NOT used this milk yet to make ice cream but we use it for everything else when it comes to cooking, baking, eating cereal, coffee, etc.