Finding Dory Halloween Activities, Party Tips, & Pumpkin Carving
This post may contain affiliate links, view our disclosure policy for details.
I was invited on an all-expenses paid trip with Disney for the opportunity of meeting/interviewing the cast and attending screening events. All opinions are my own.
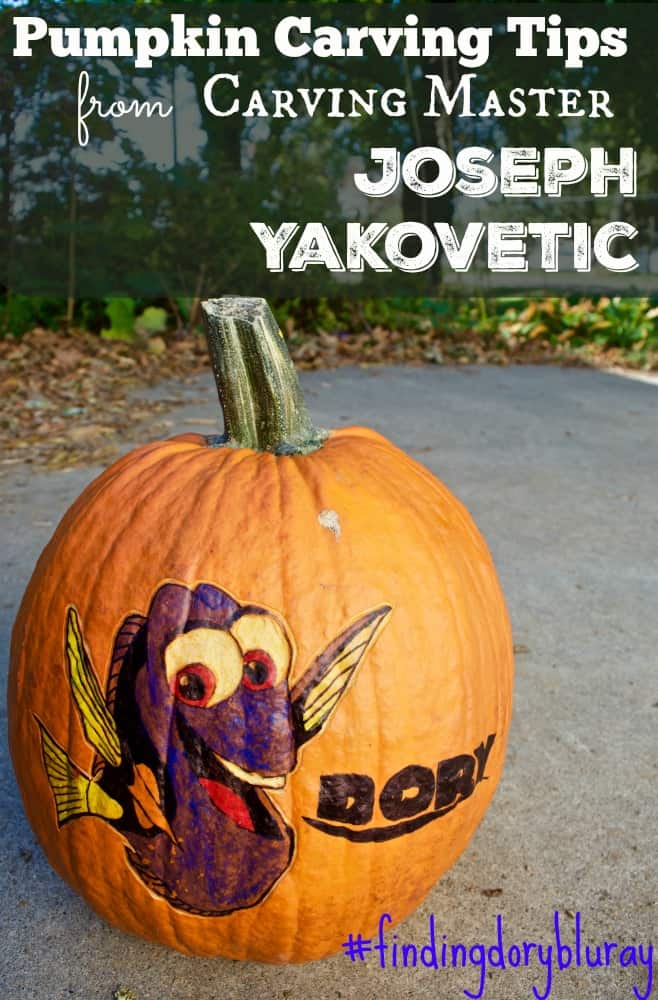
Recently I attended a Finding Dory pumpkin carving party as part of a Disney press trip and it was one of the BEST times I’ve ever had! If you know me you know then you know that I spend about 6 hours every year carving my own jack-o-lantern! In fact I had 3 big fat pumpkins at home waiting for me to carve after this event! I was really intrigued to try this new way of pumpkin carving because it looks so stunning.
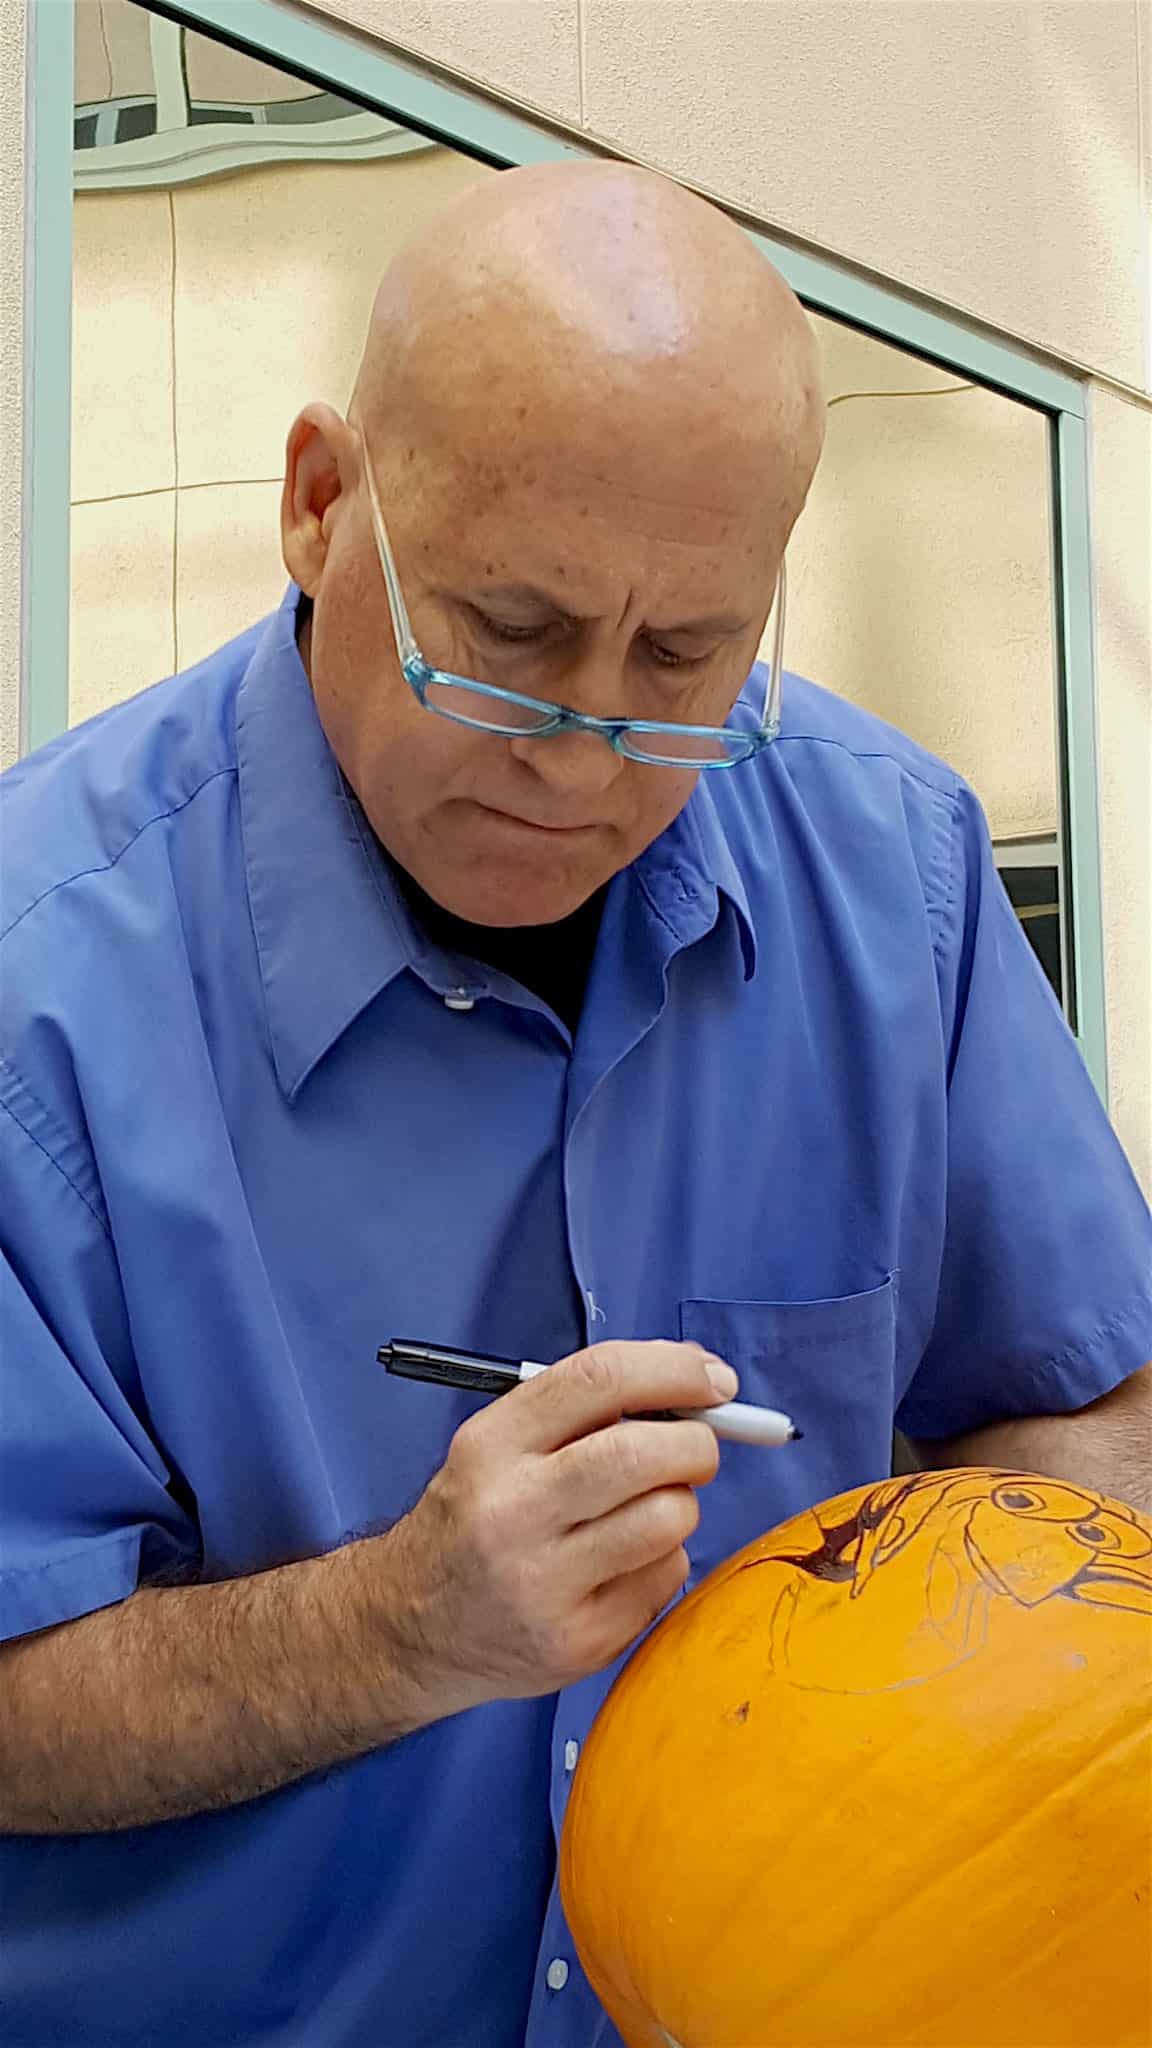
To me, it’s that one time of year I can just relax. It’s sort of the same therapeutic feel as some people have with coloring books! Anyway, pumpkin carving master Joseph Yakovetic carves magnificent pumpkins for Disney and he walked us through the process of creating our own special pumpkin. You can see his work here.
Before our pumpkin carving party started we had the opportunity to watch Joseph Yakovetic in action which was fascinating to see. He made this type of pumpkin carving look so easy!
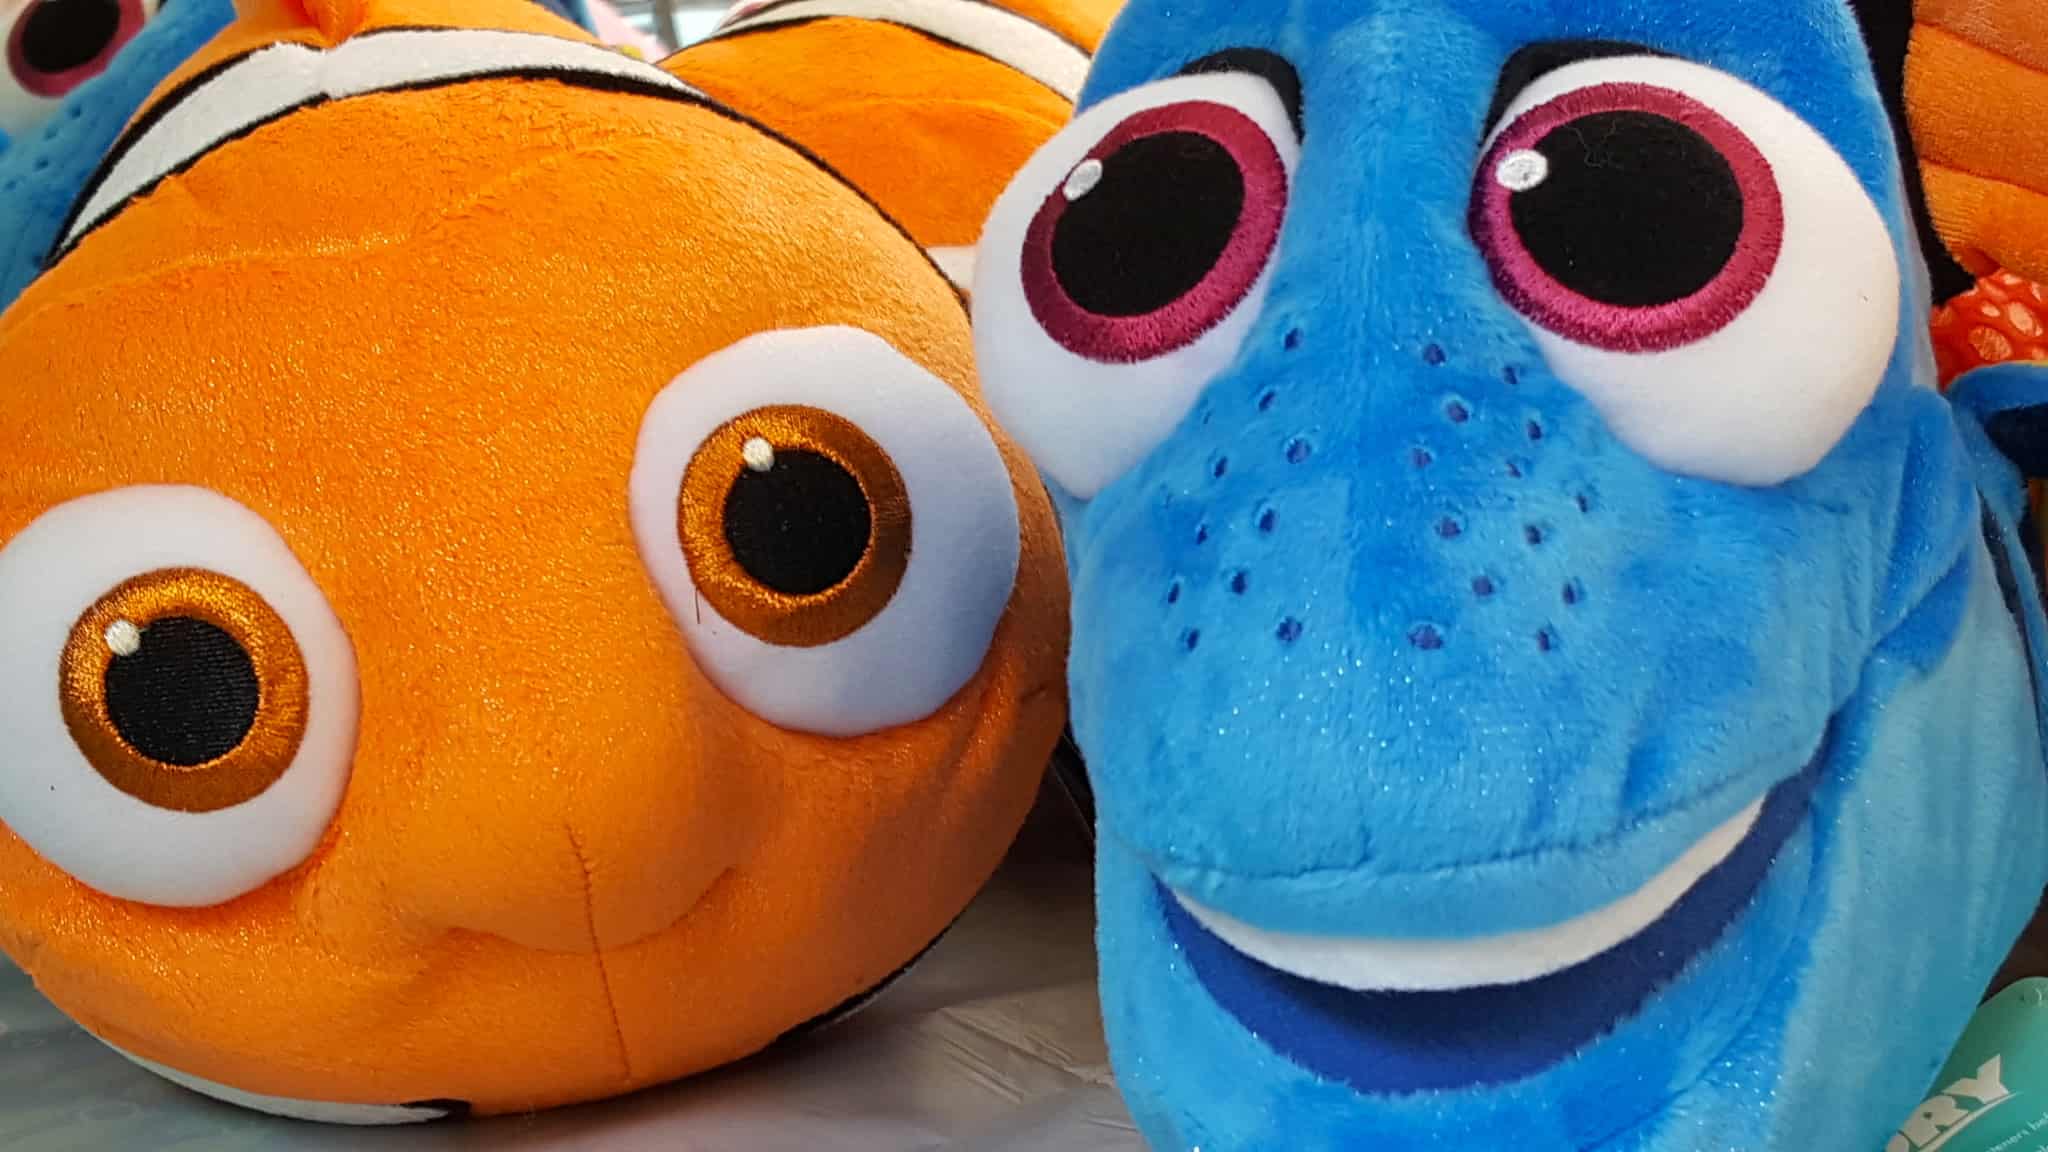
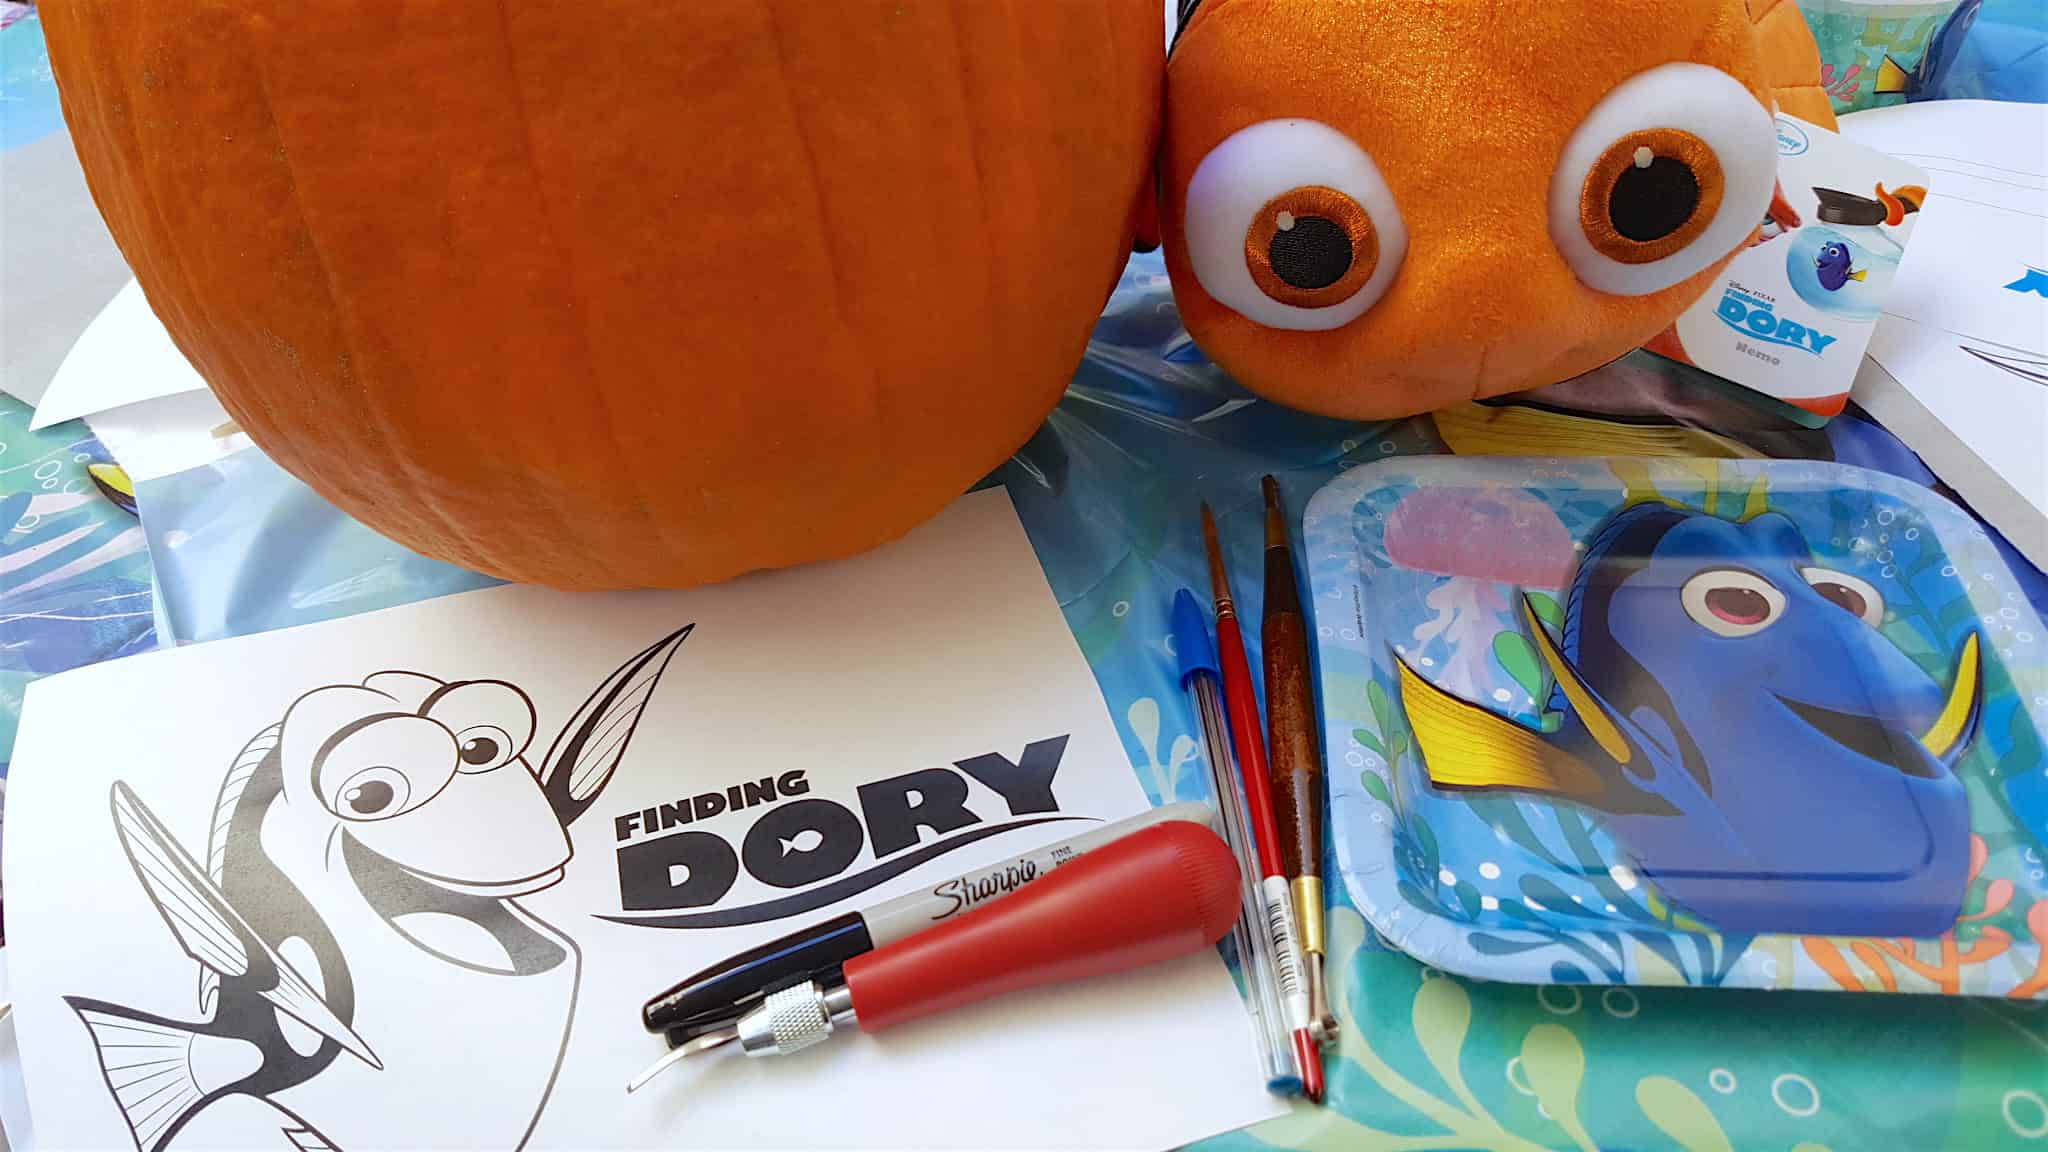
There were so many festive Finding Dory decorations and plush animals out for everyone! I couldn’t wait to get started! Not only did we get to pick out our own pumpkin but everything we needed was waiting for us.

In about 2 hours my very first specially created pumpkin was complete and I’m going to share with you guys step by step how to do it! I was thrilled with how it turned out!
Materials Needed to Carve your Own Pumpkin:
Pumpkin (choose one with a healthy stem)
Printed image of what you want to carve
Graphite Transfer Paper
Pencil
Sharpie Marker
Acrylic paint of choice
Pumpkin ribbon Tool
Linoleum cutter tool
Antibacterial Wipe(s)
Pins
How to Carve your Master Pumpkin:
- Begin by wiping down your entire pumpkin with an antibacterial wipe. It will help not only to clean your pumpkin but also minimize the bacterial contamination which will ensure your pumpkin will rot quicker.
- Place a layer of graphite transfer paper underneath the printed image of the character or object you want on your pumpkin. You may want to print several sizes of your image to determine which will fit best on your pumpkin.
- Using 4 pins carefully pin down the printed image of the character or object you want on your pumpkin. Begin by flattening the center of the image onto your pumpkin and fold flat moving towards the edges as you pin.
- Trace the outline of your image with pencil so that the graphite will transfer directly onto your pumpkin.
5. Remove the pins, printed image, and graphite transfer paper.
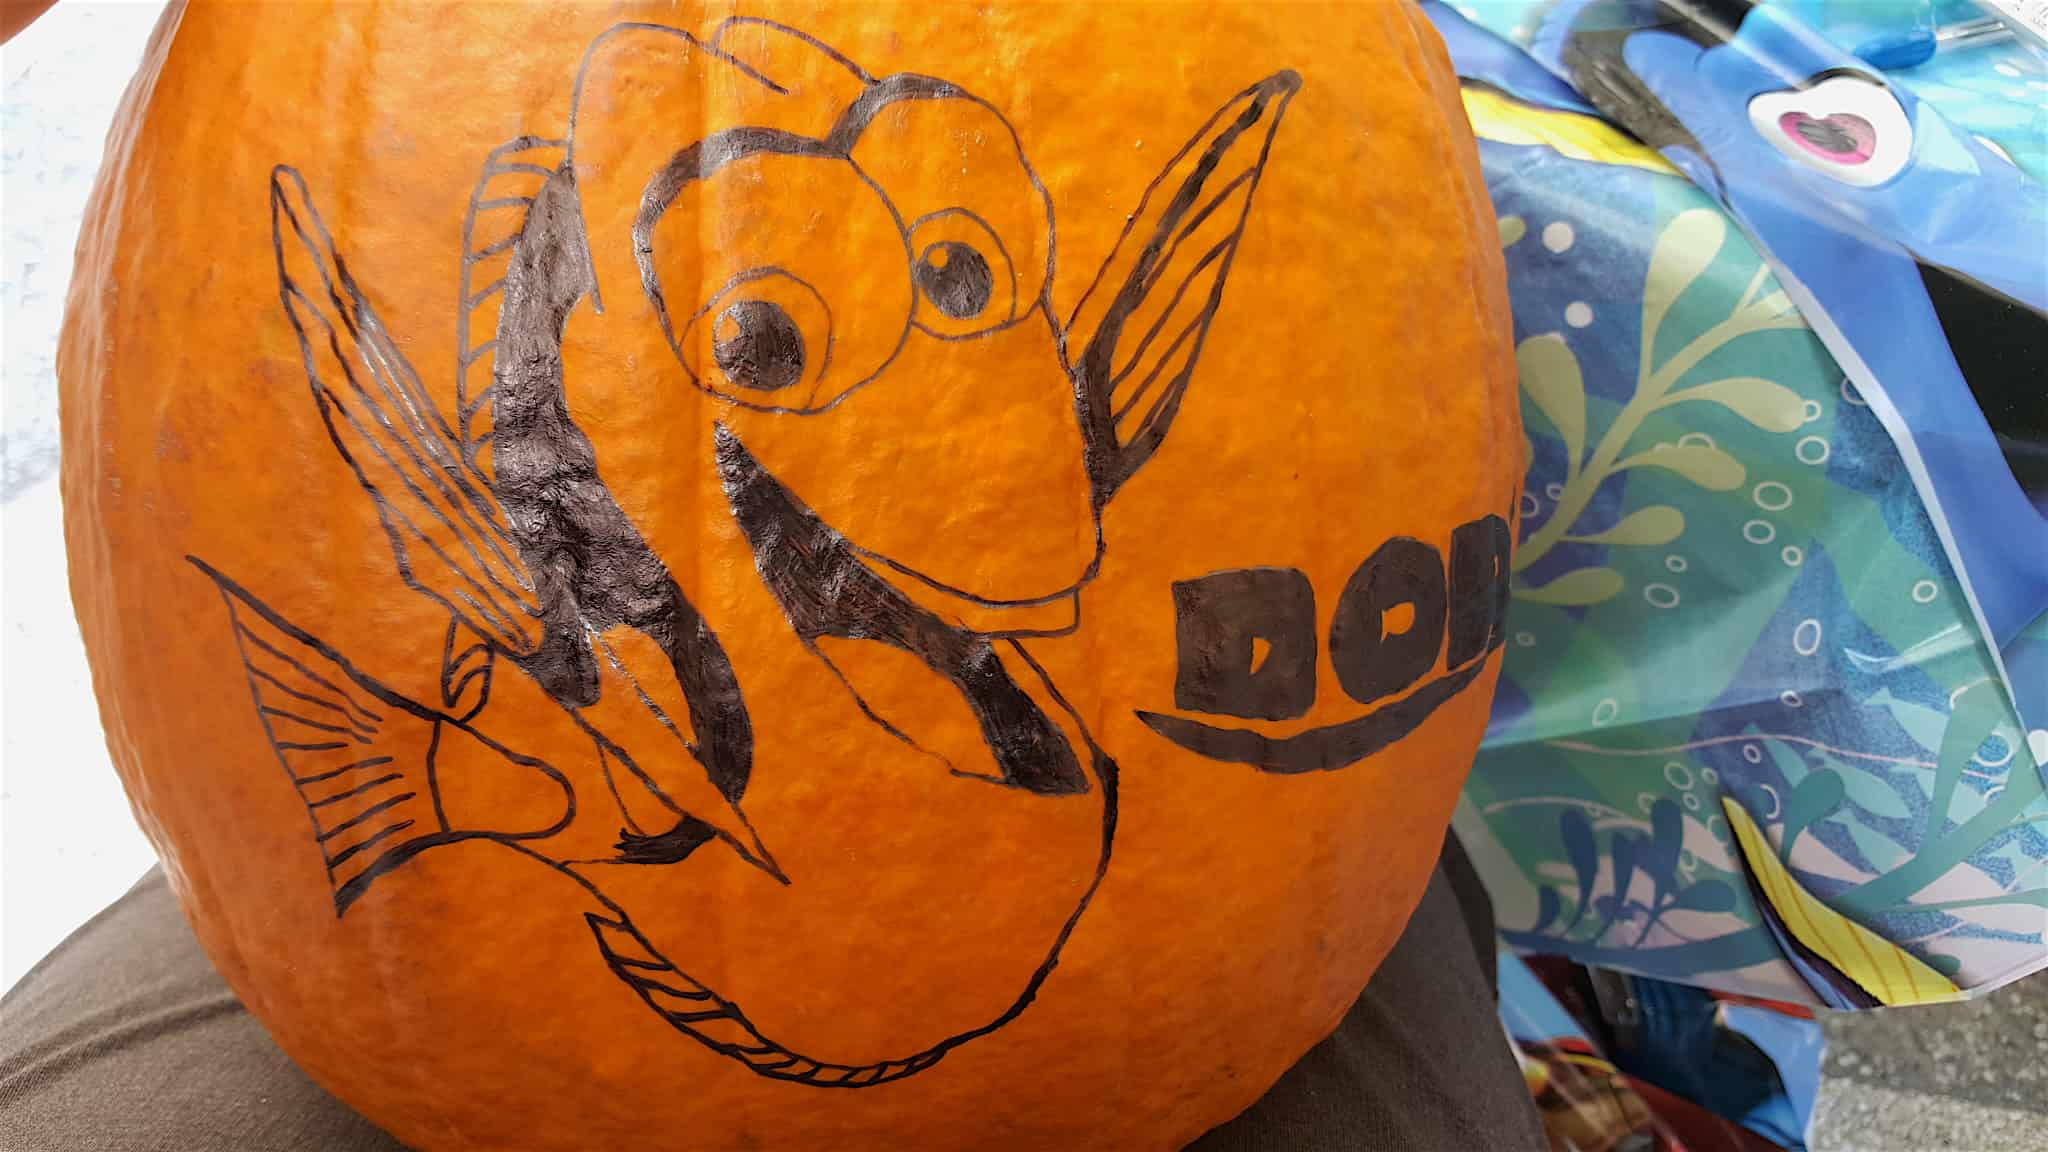
6. Using your Sharpie permanent marker trace over the graphite transfer outline directly onto your pumpkin. Make sure to shade any dark areas with the Sharpie. Make sure to leave all white areas (such as eyeballs and teeth). If your Sharpie gets too much graphite on it just wipe it on a piece of paper and continue.
7. Paint any colored areas with your acrylic paint based on your character. You can also use black acrylic paint instead of your Sharpie marker to fill in the dark areas. Leave any white areas unpainted.
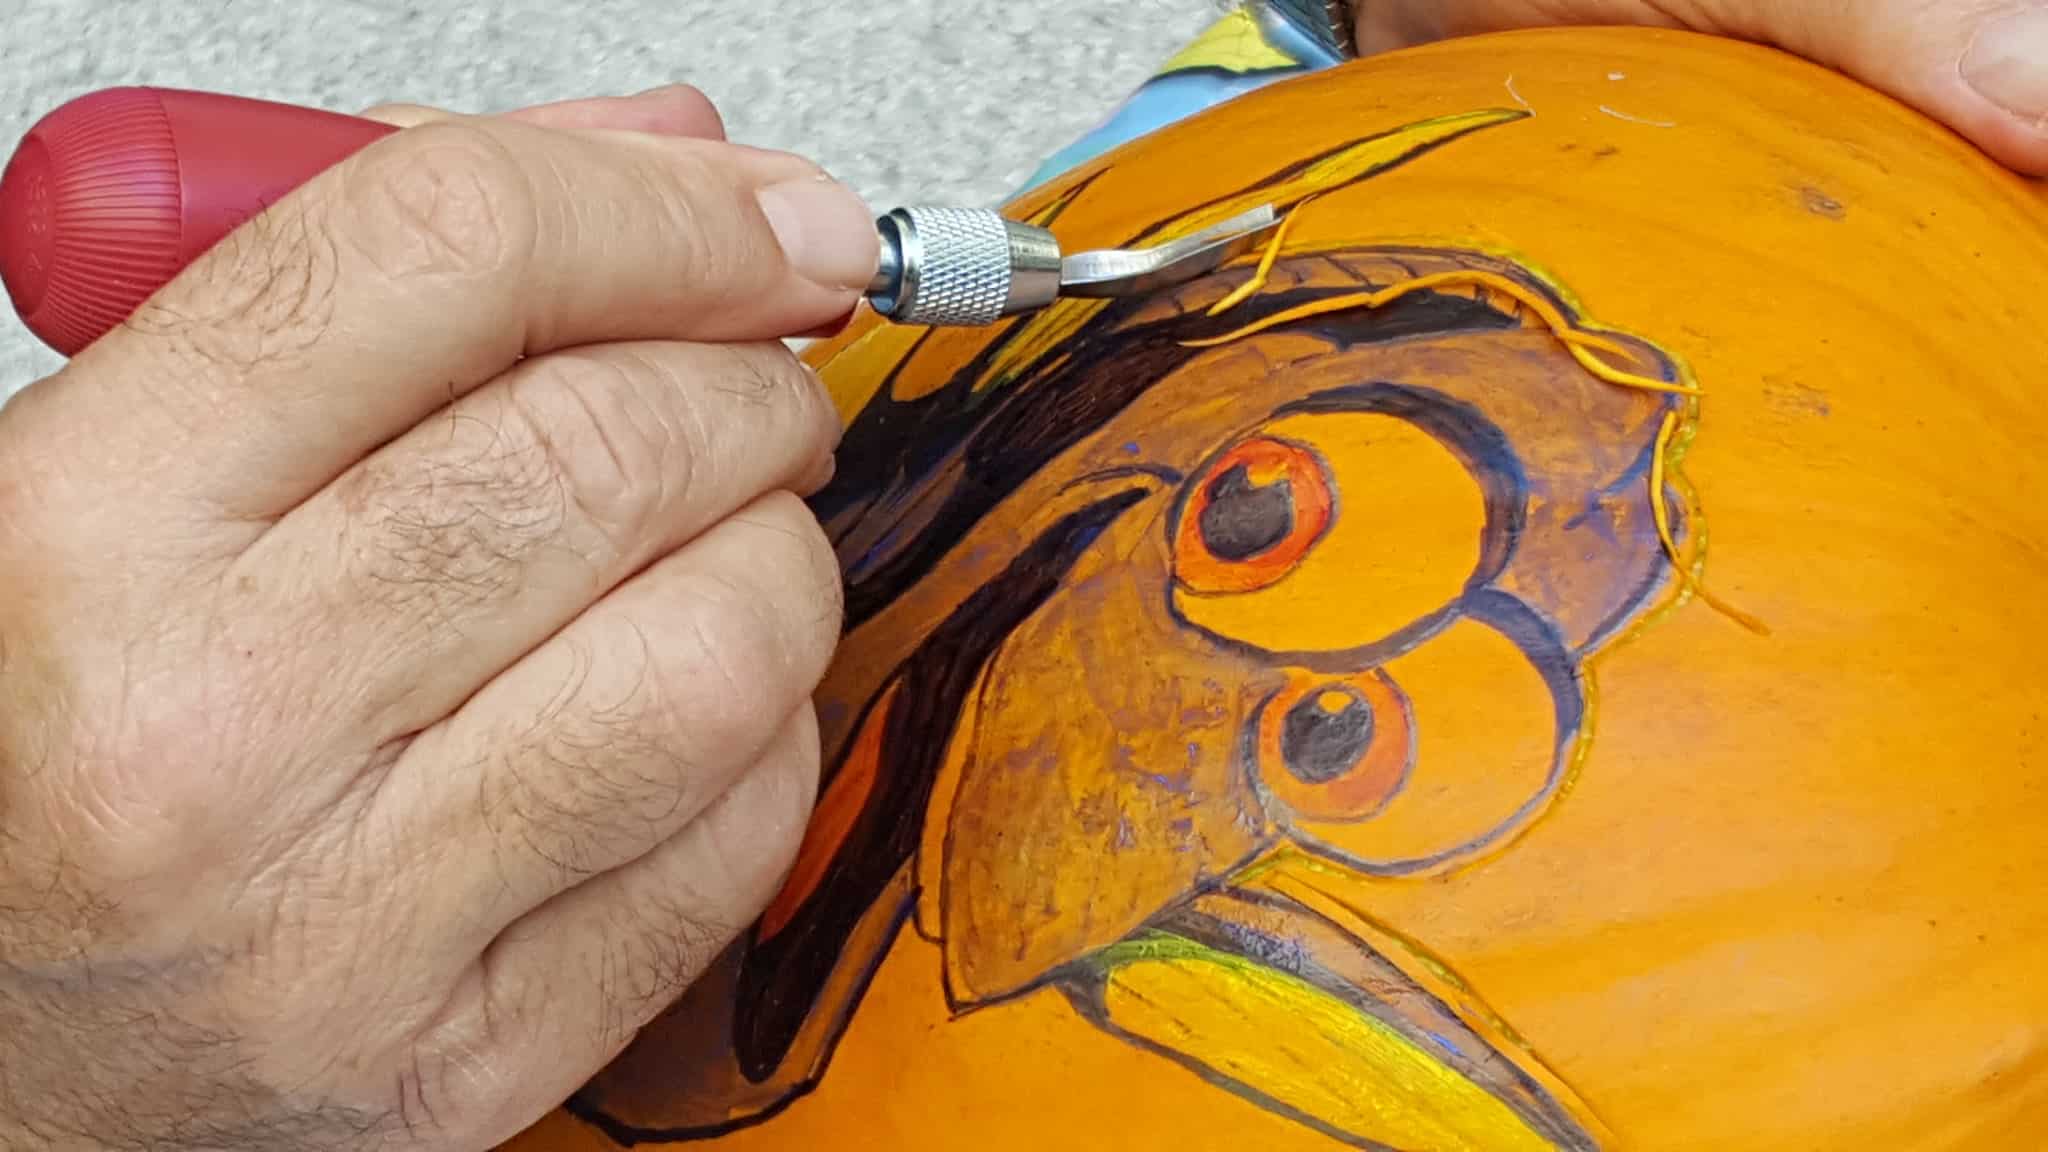
8. Using your linoleum cutter tool press firmly into your pumpkin and slide the tool completely around the outside outline of your character. You should be cutting into the pumpkin just outside of your black Sharpie marker lines. After you’ve used the linoleum cutter tool completely around your image make sure you also outline any of the white areas such as teeth and eyeballs. You can see a close up below of what this will look like.
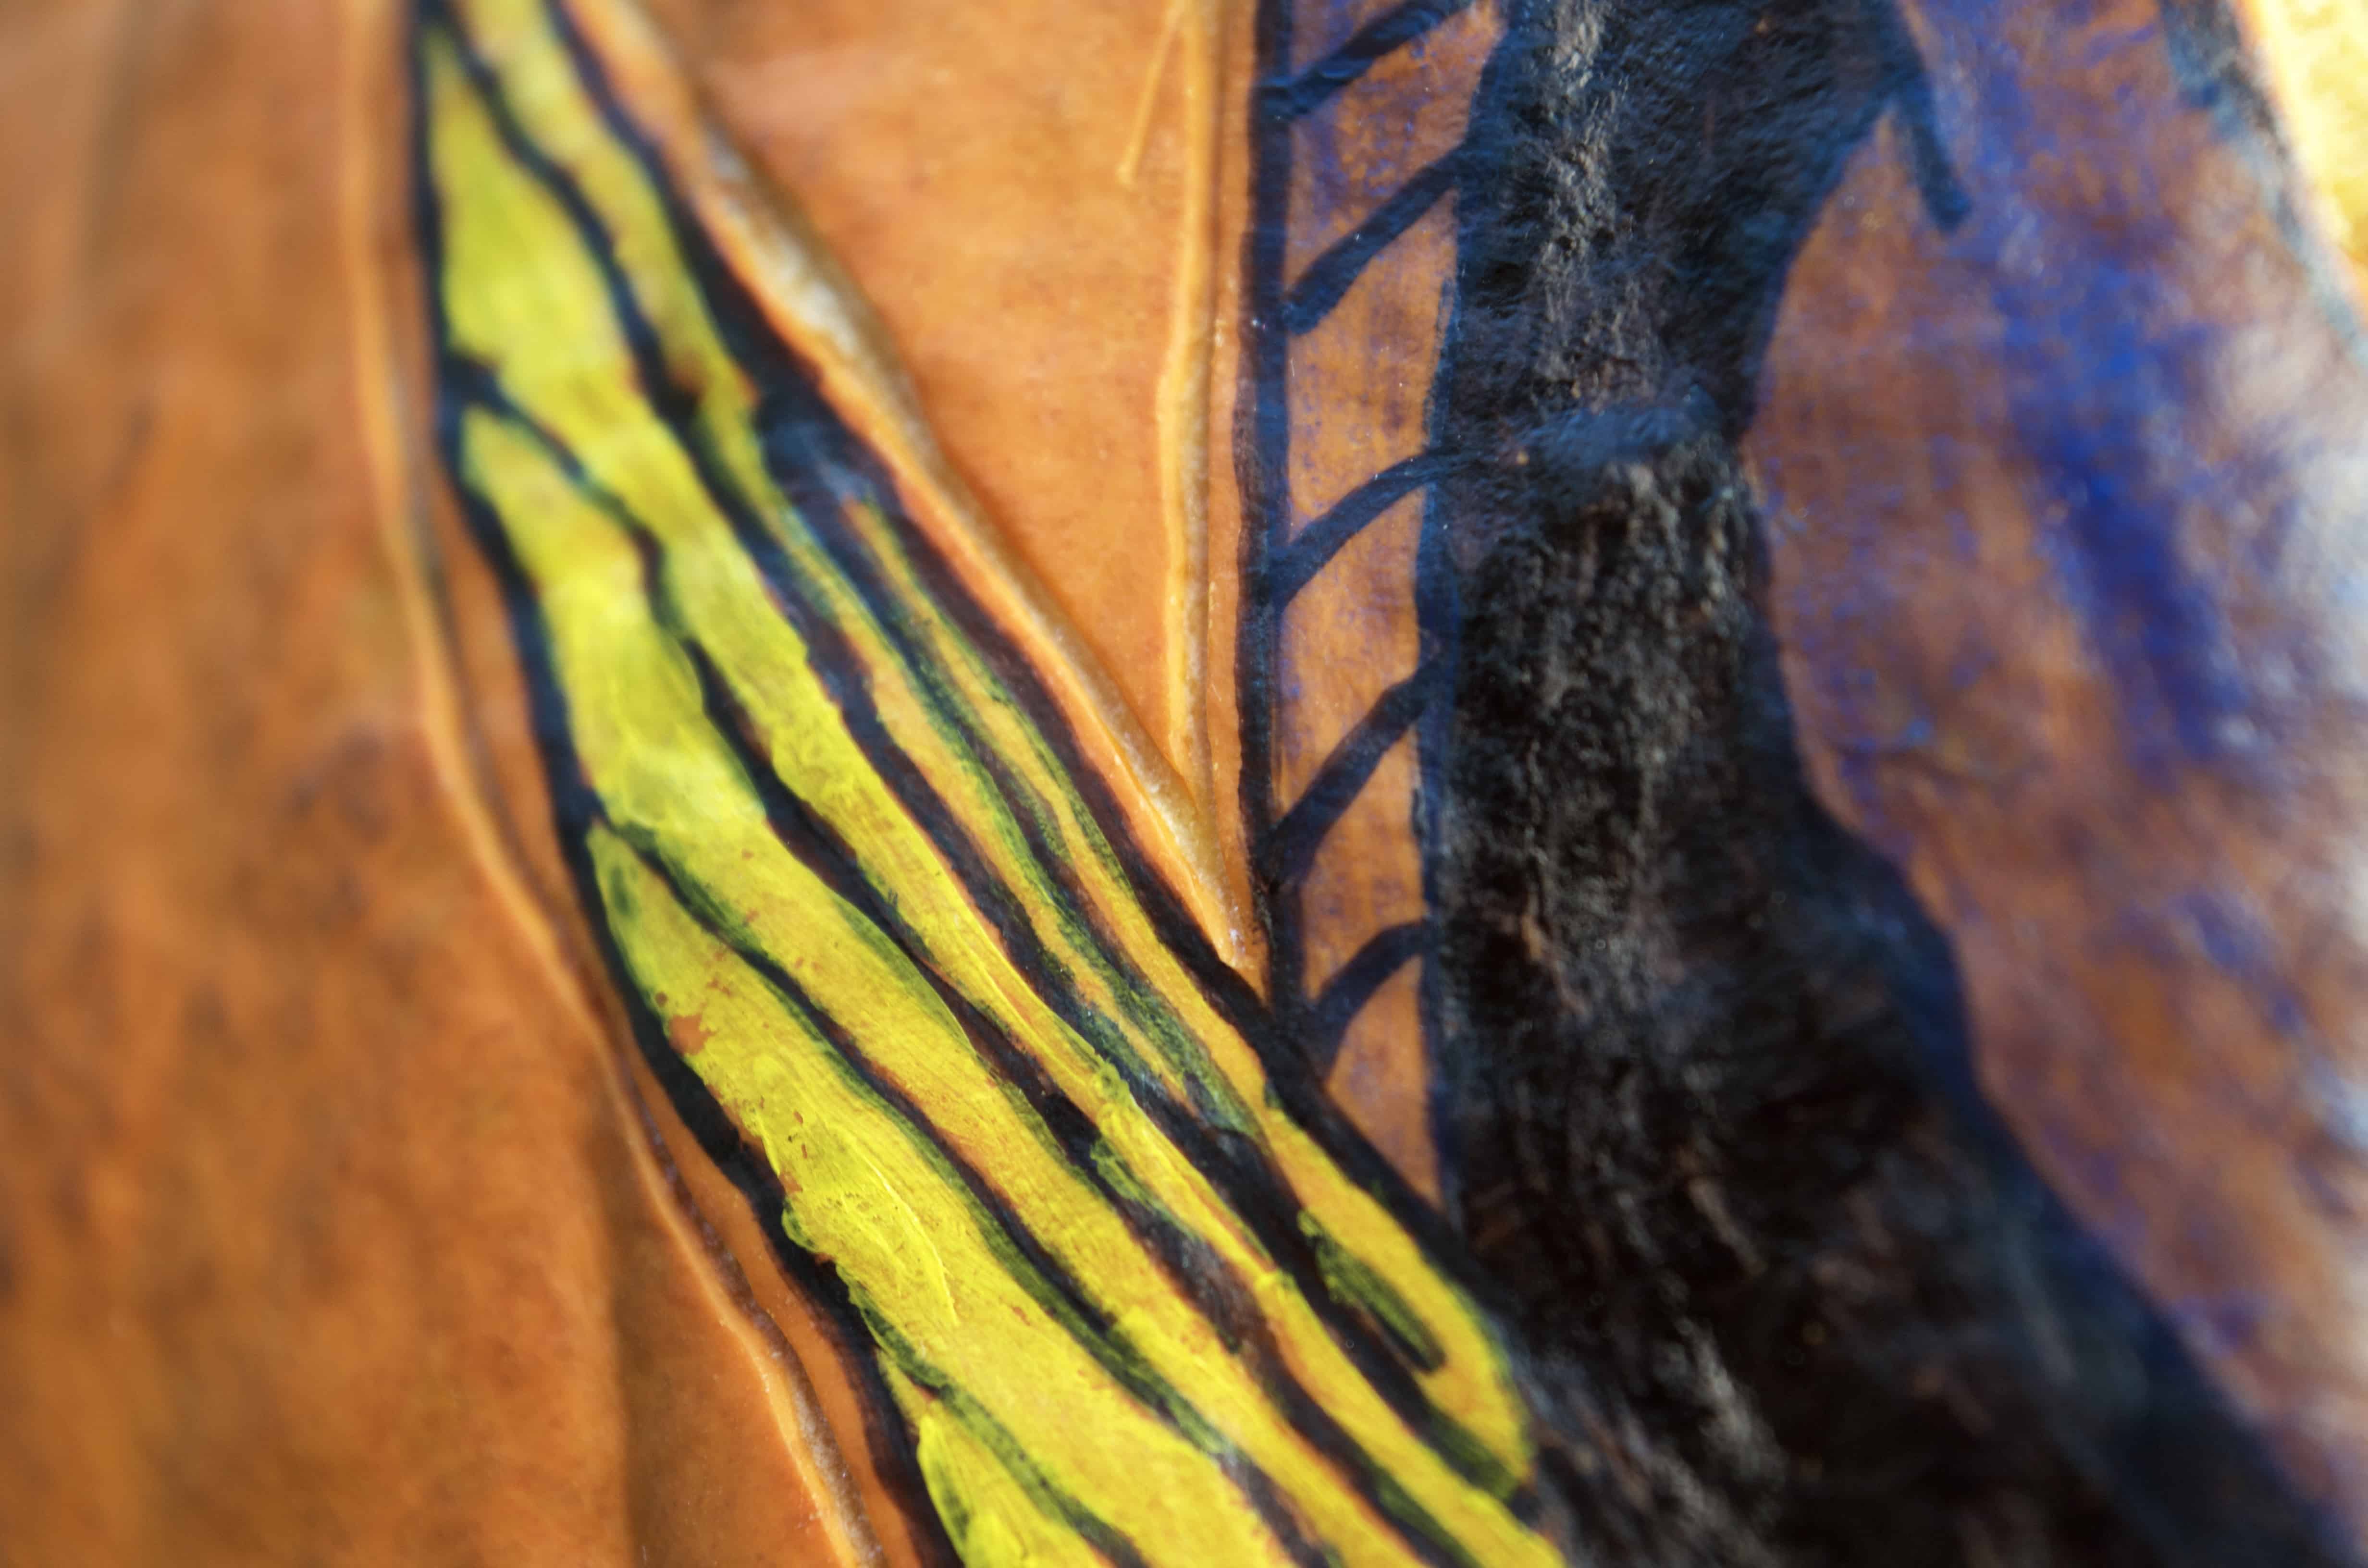
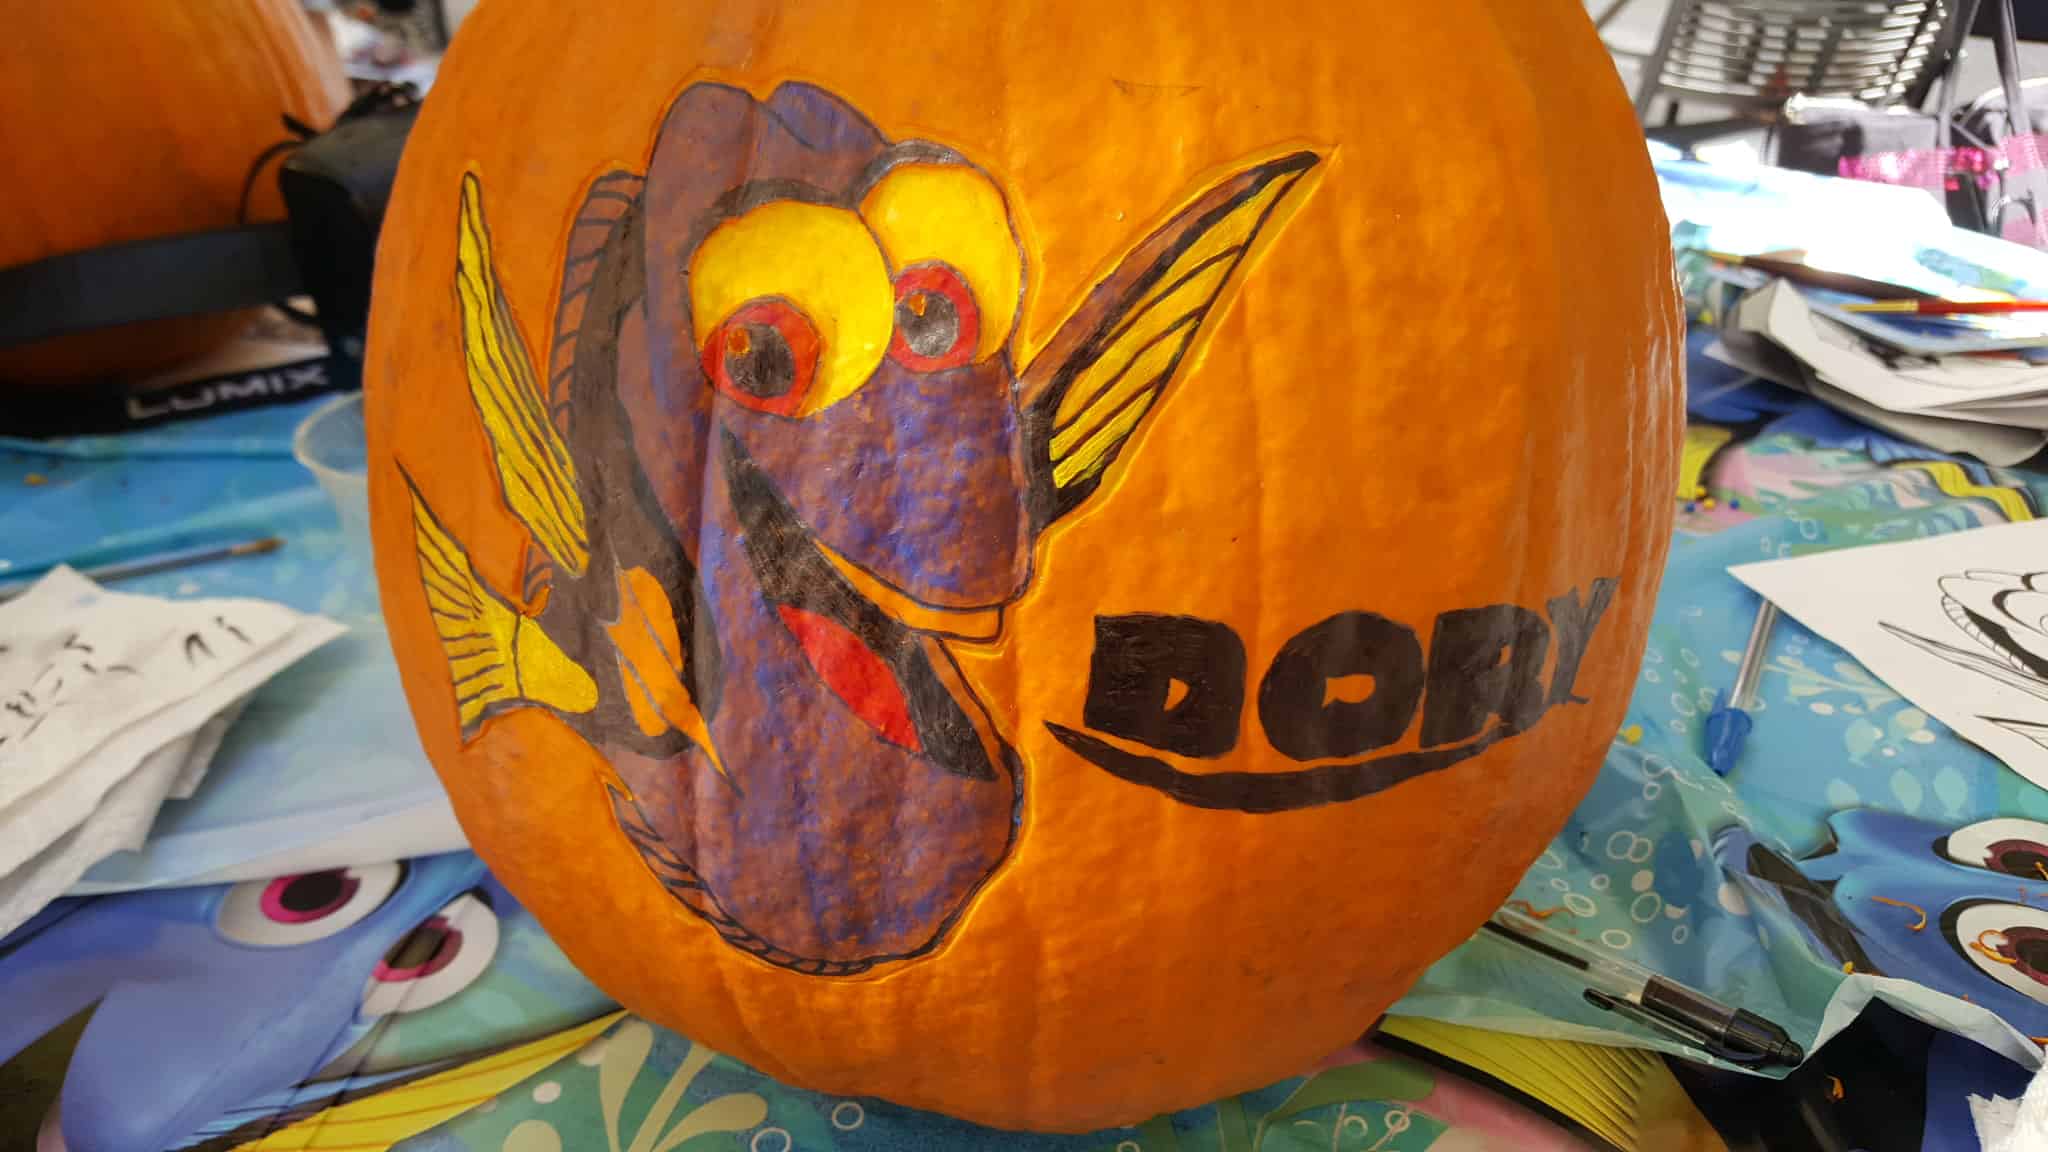
You can see very closely here my Sharpie marker outline, the acrylic paint on Dory’s fin, and the carved outline around Dory that I did with my linoleum cutting tool.
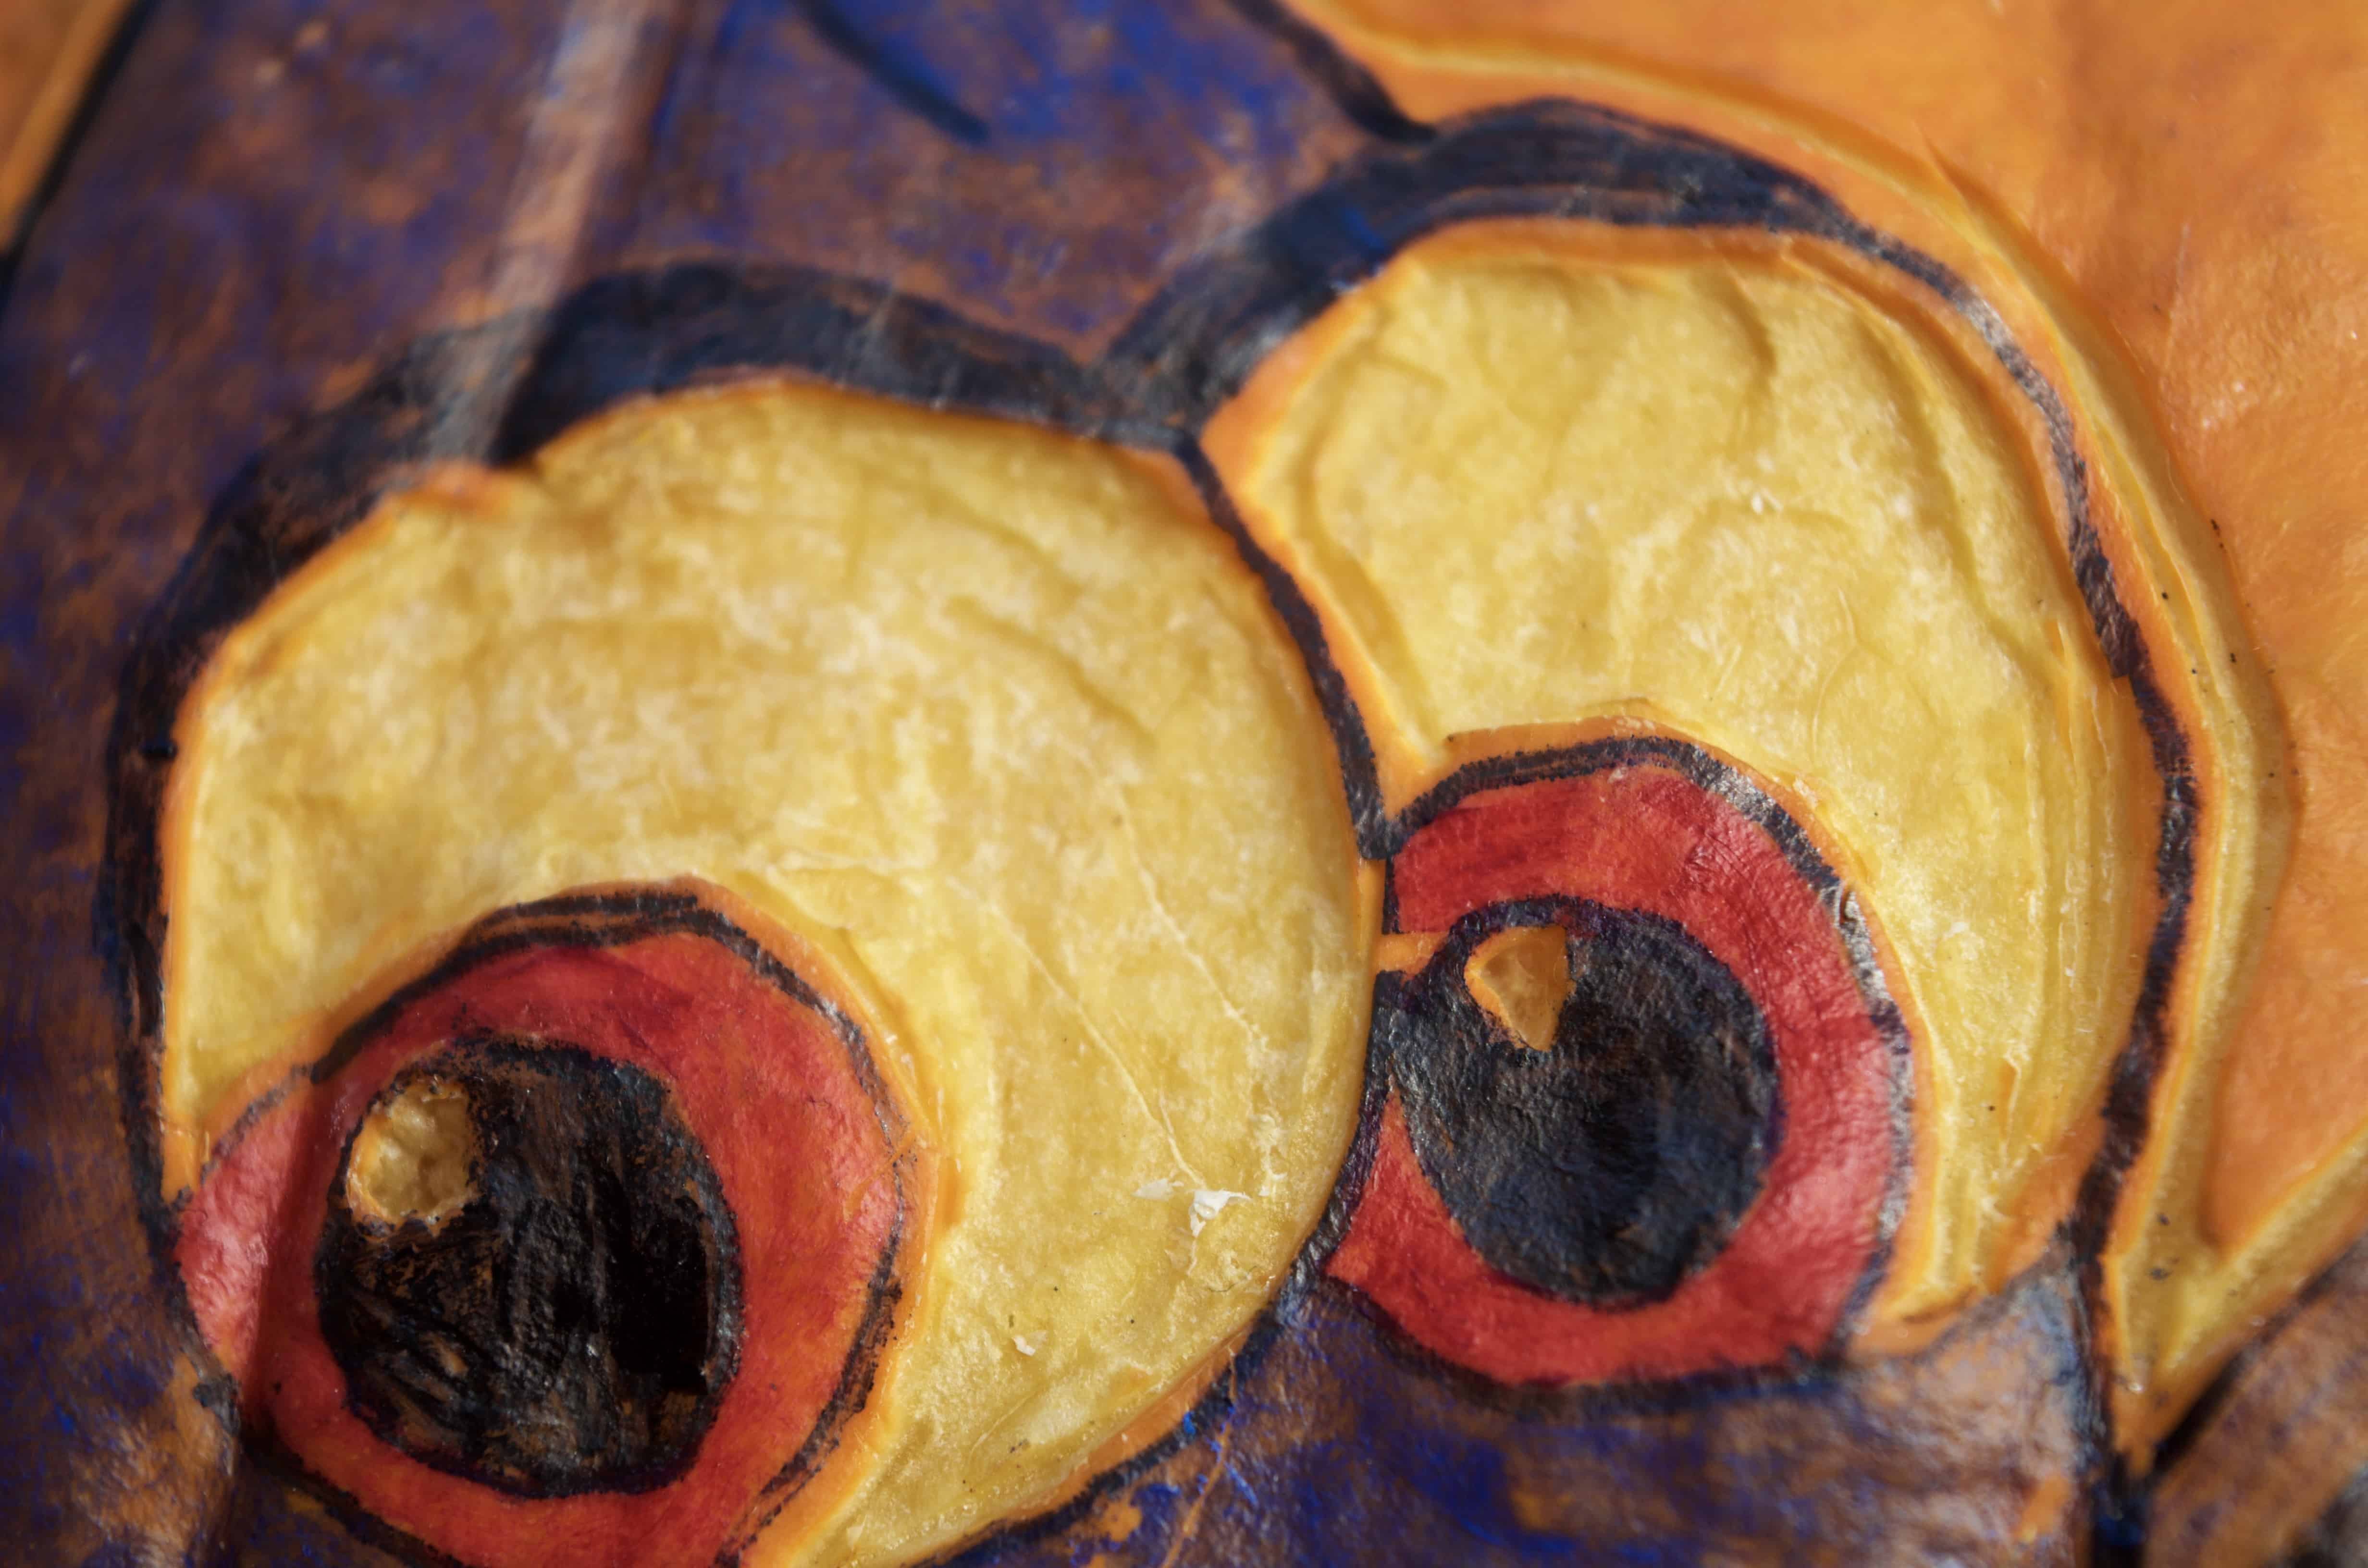
9. Using your ribbon tool carefully scrap away the orange pumpkin “skin” out of the white areas (teeth and eyeballs). You can see this above in my Dory’s eyeballs. When you add light inside of the pumpkin it will show through these “white” scraped off areas as translucent!
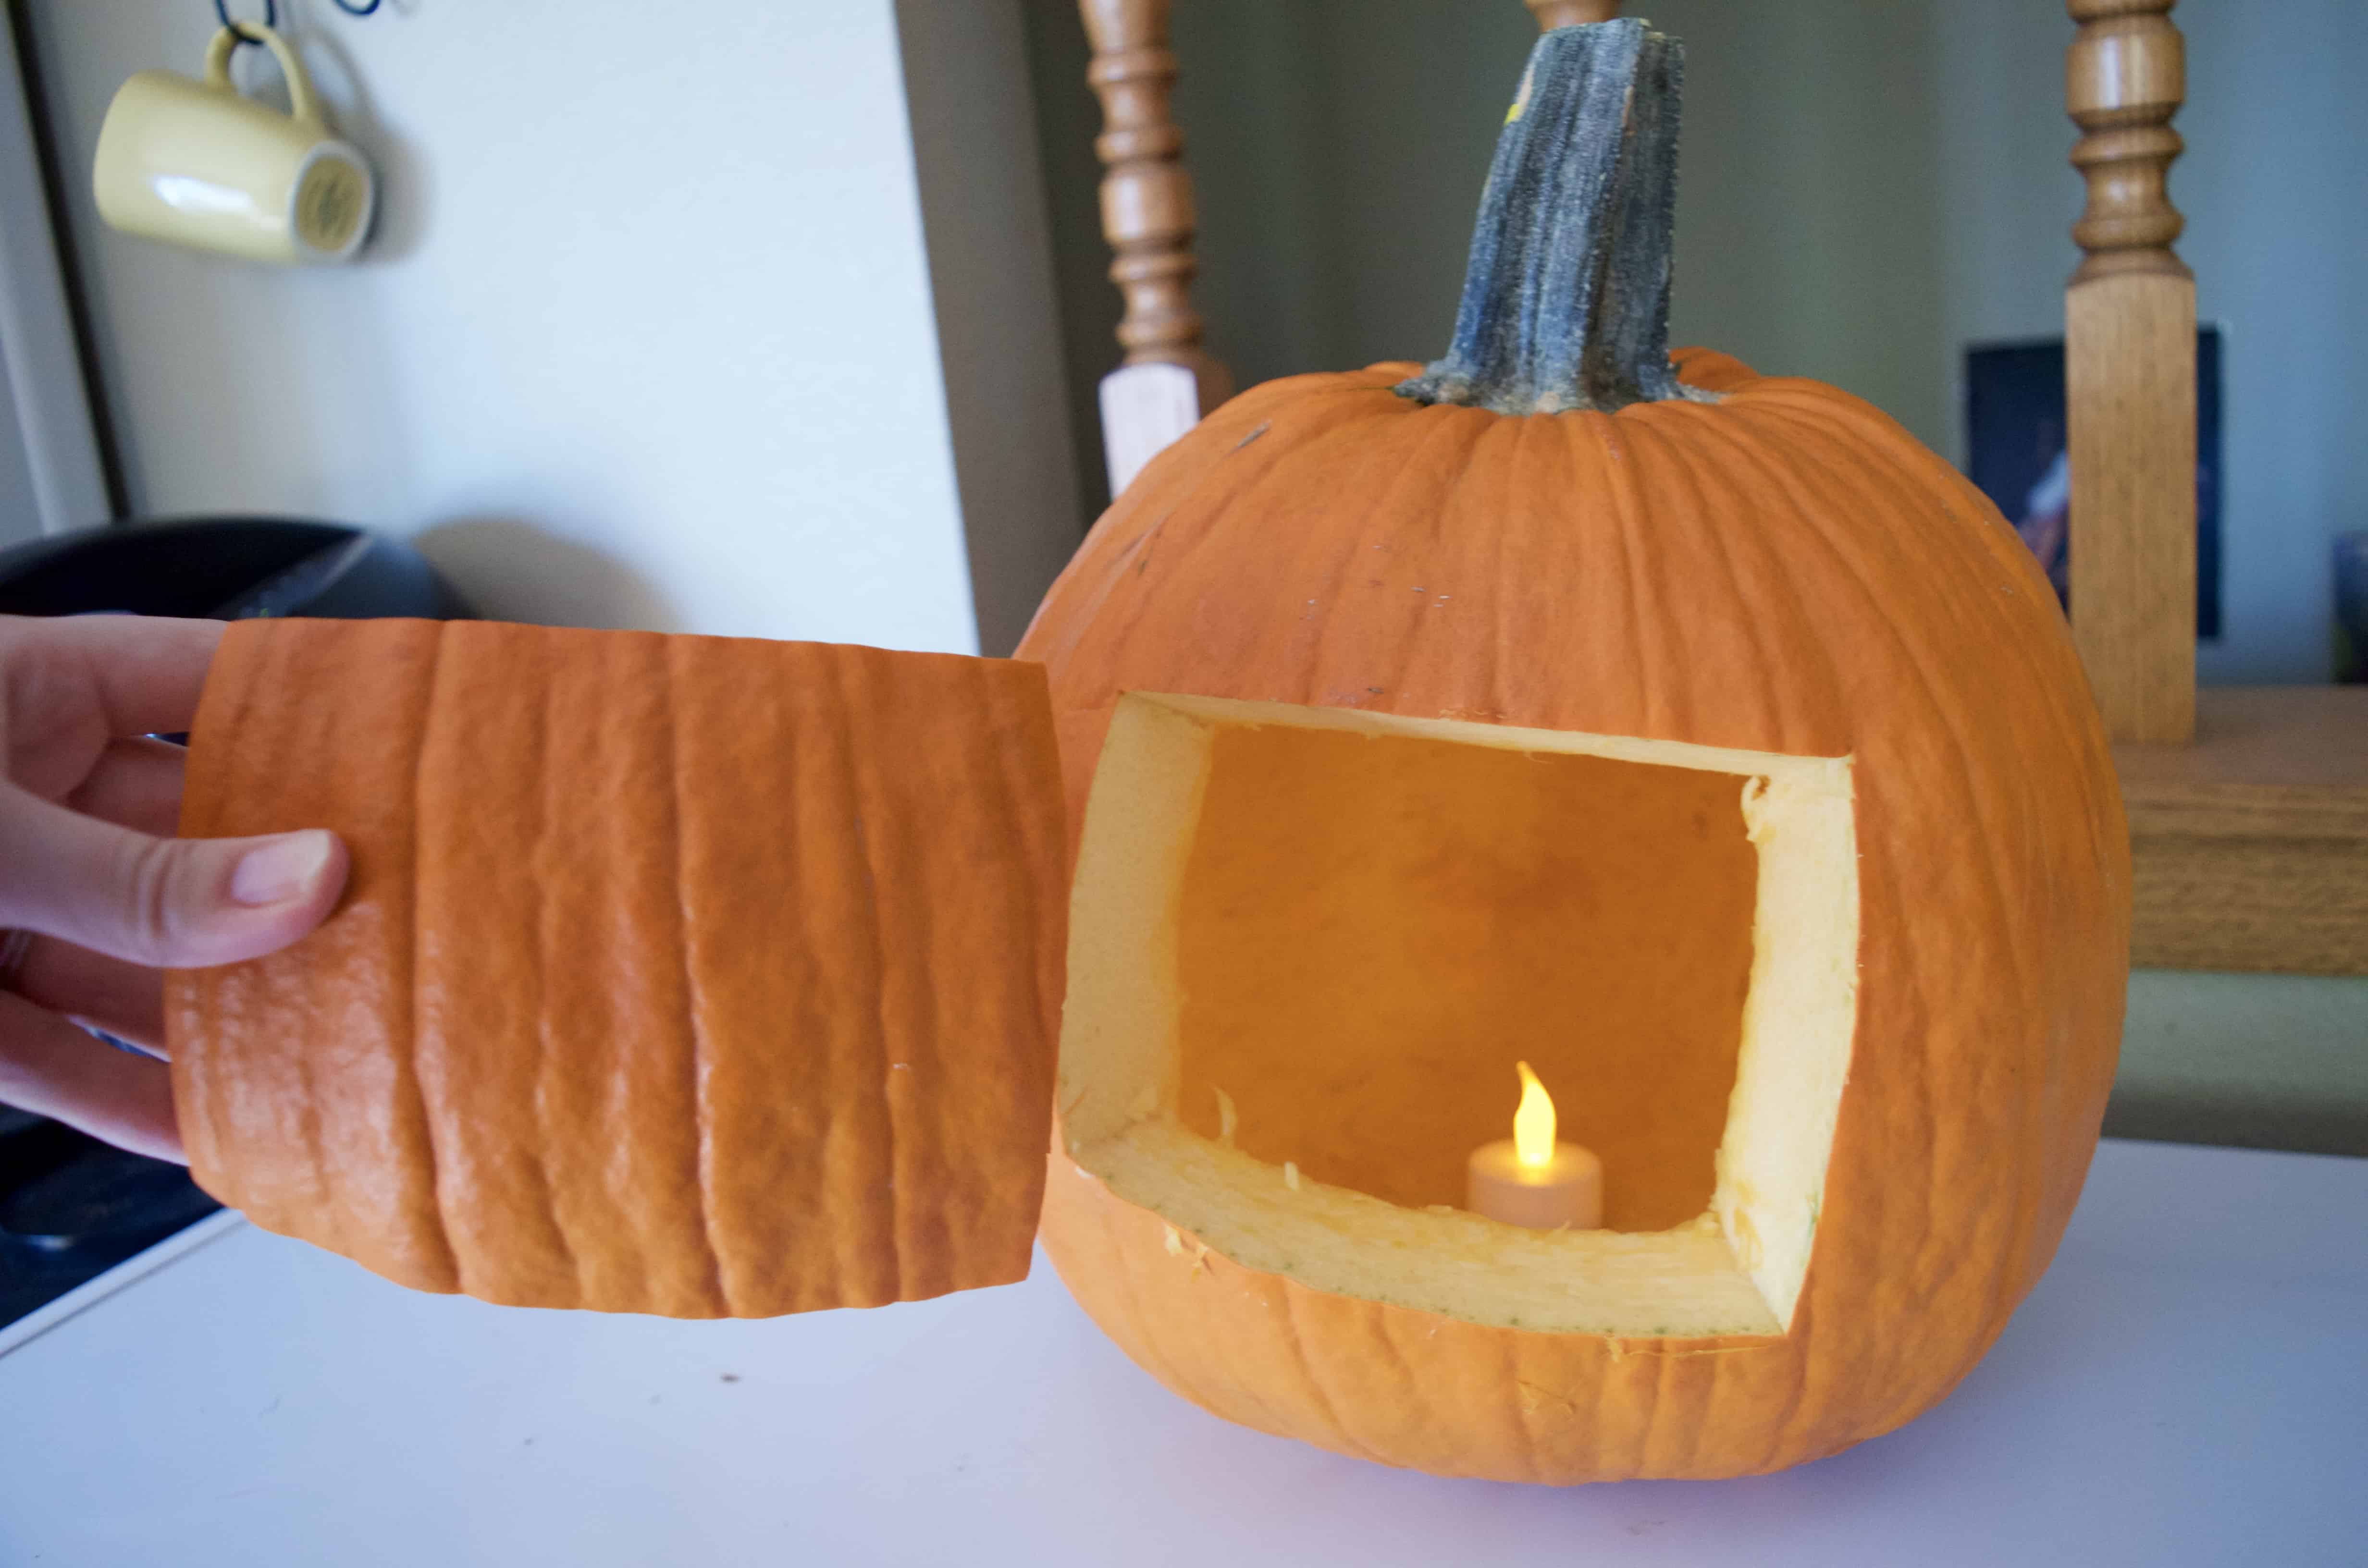
10. When you have completed your character image on the front of your pumpkin you’re ready to clean out the inside! Using an old CD as your guide for size, cut a square shaped door in the BACK of your pumpkin. According to Joseph Yakovetic don’t EVER cut around the stem! You can use your old CD to also scrape out the insides of the pumpkin.
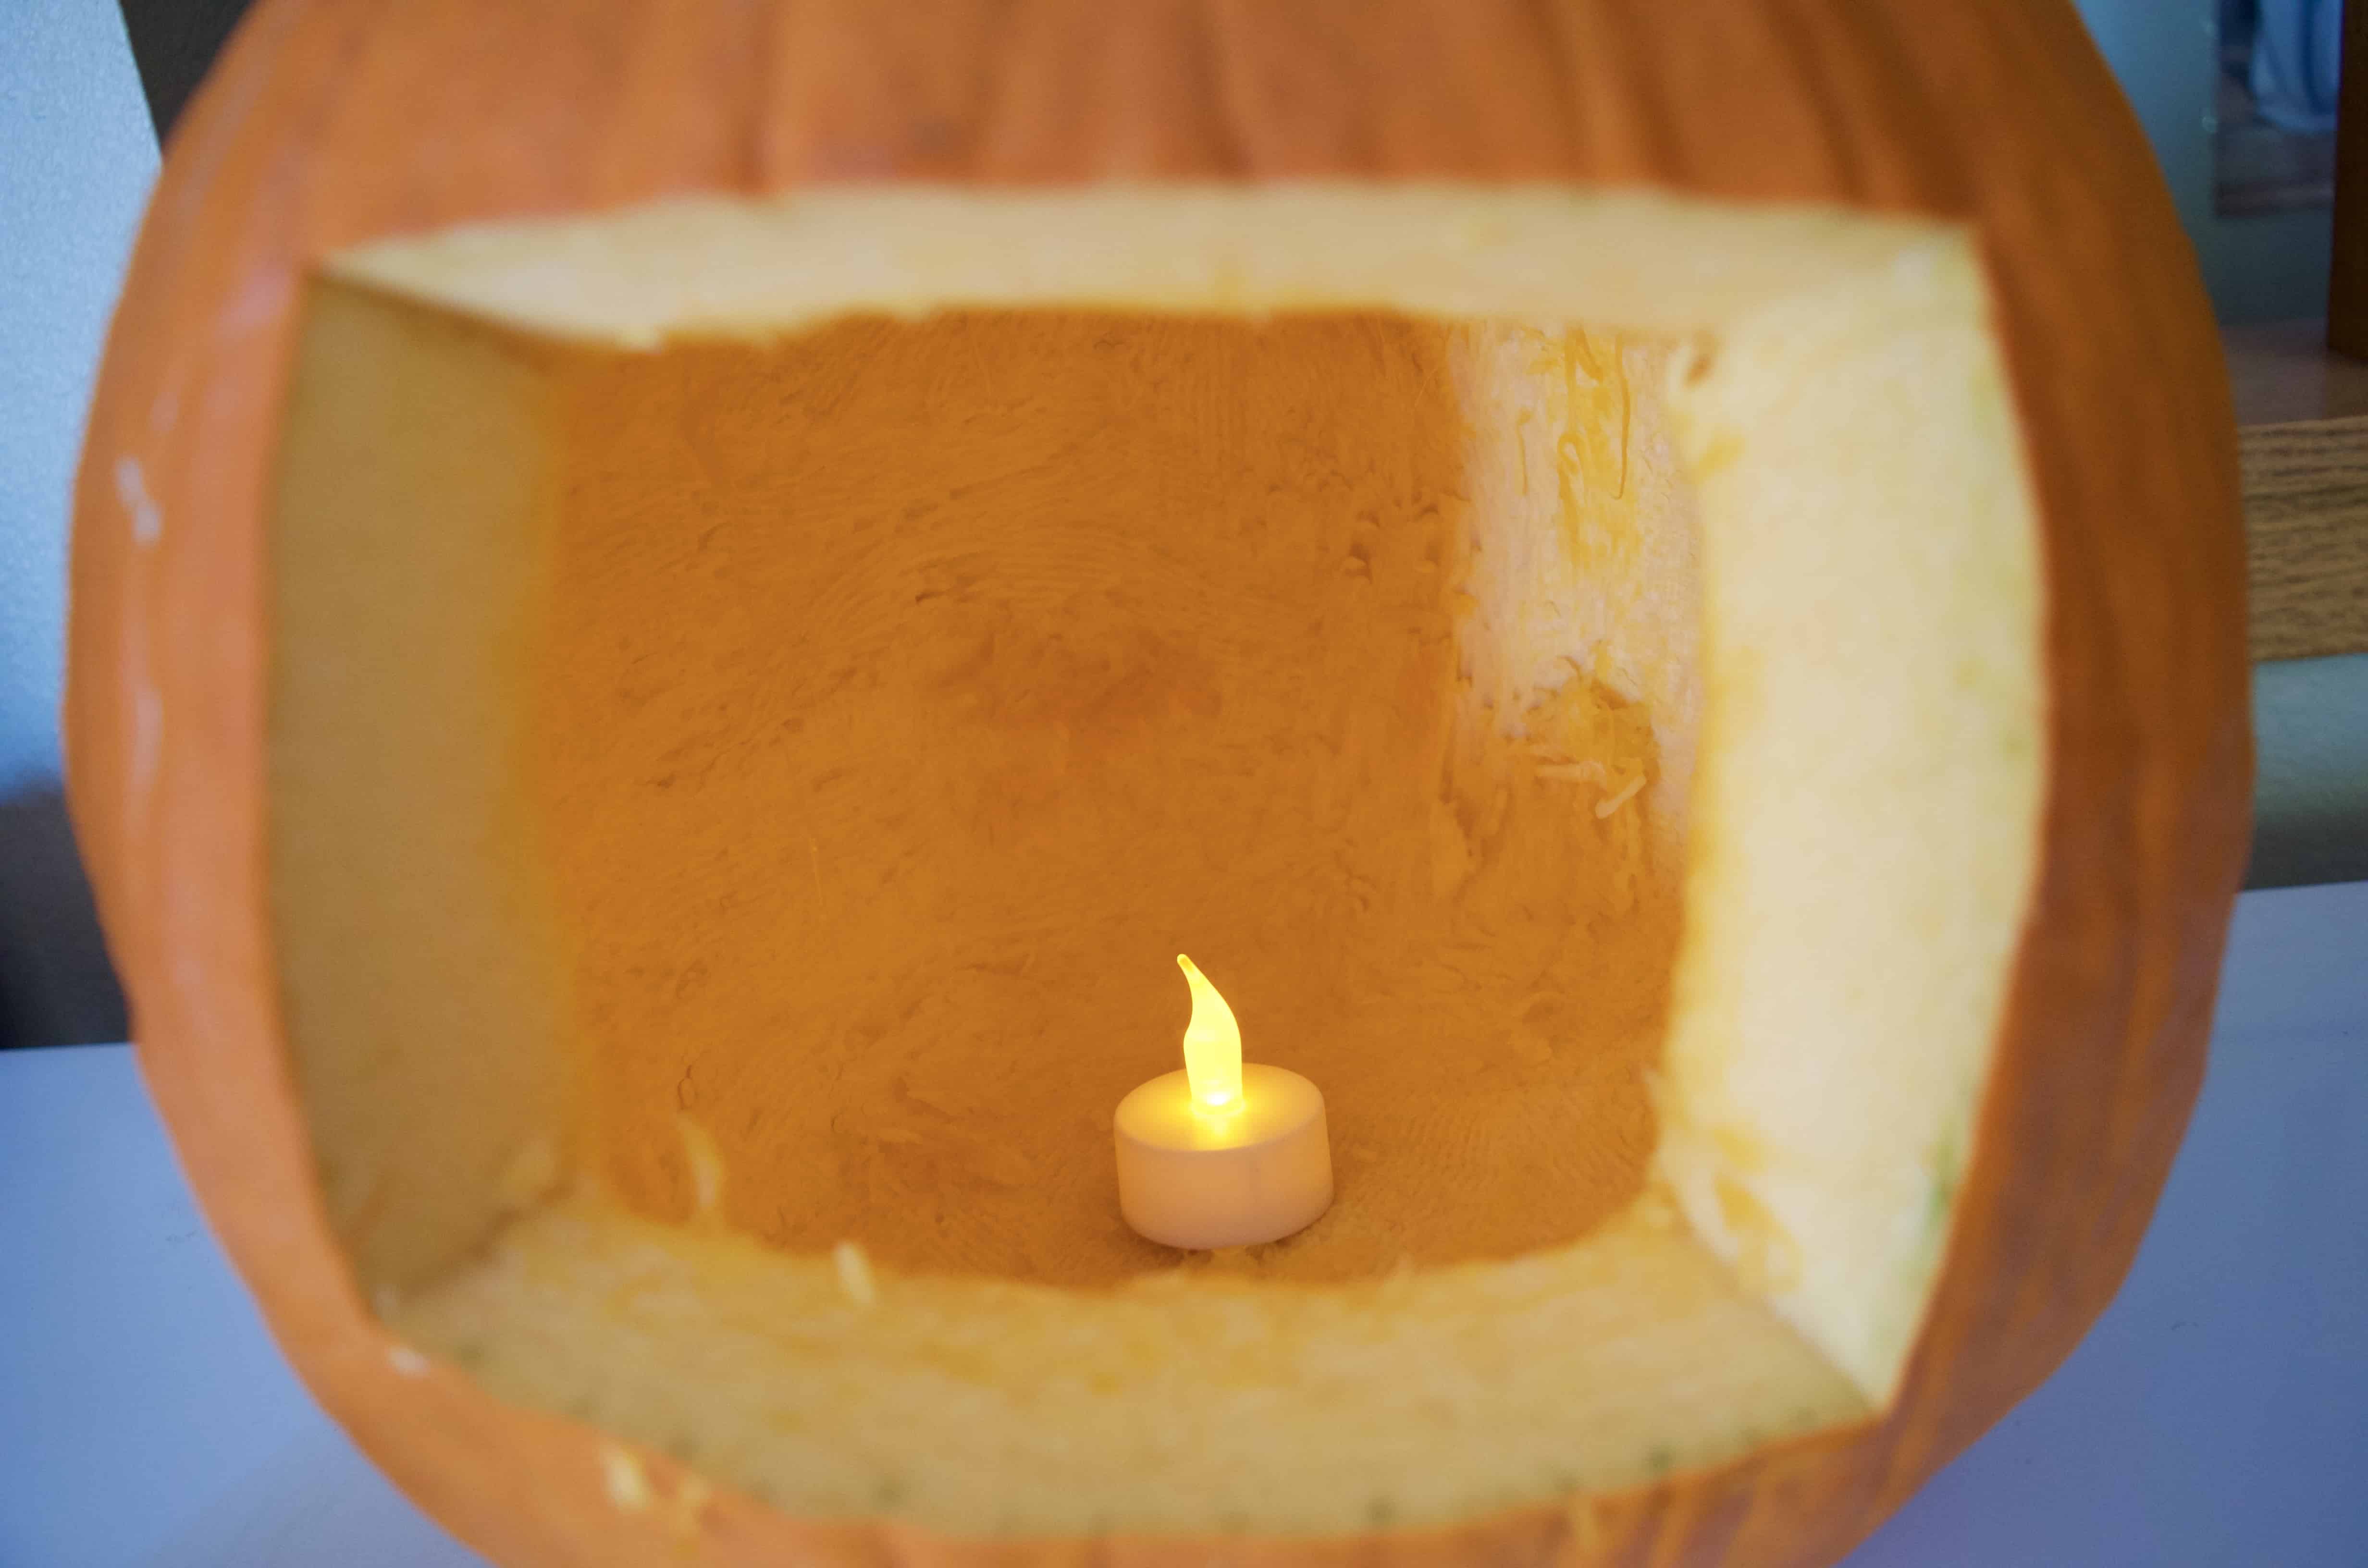
11. The last step is to add your light! You do NOT want to heat a real candle inside the pumpkin as it encourages bacteria to grow and can be a hazard. Right now at home all I have is a tiny tea light but I’ll be purchasing a larger battery operated lantern to fit inside my pumpkin. Just turn it off when you’re done!
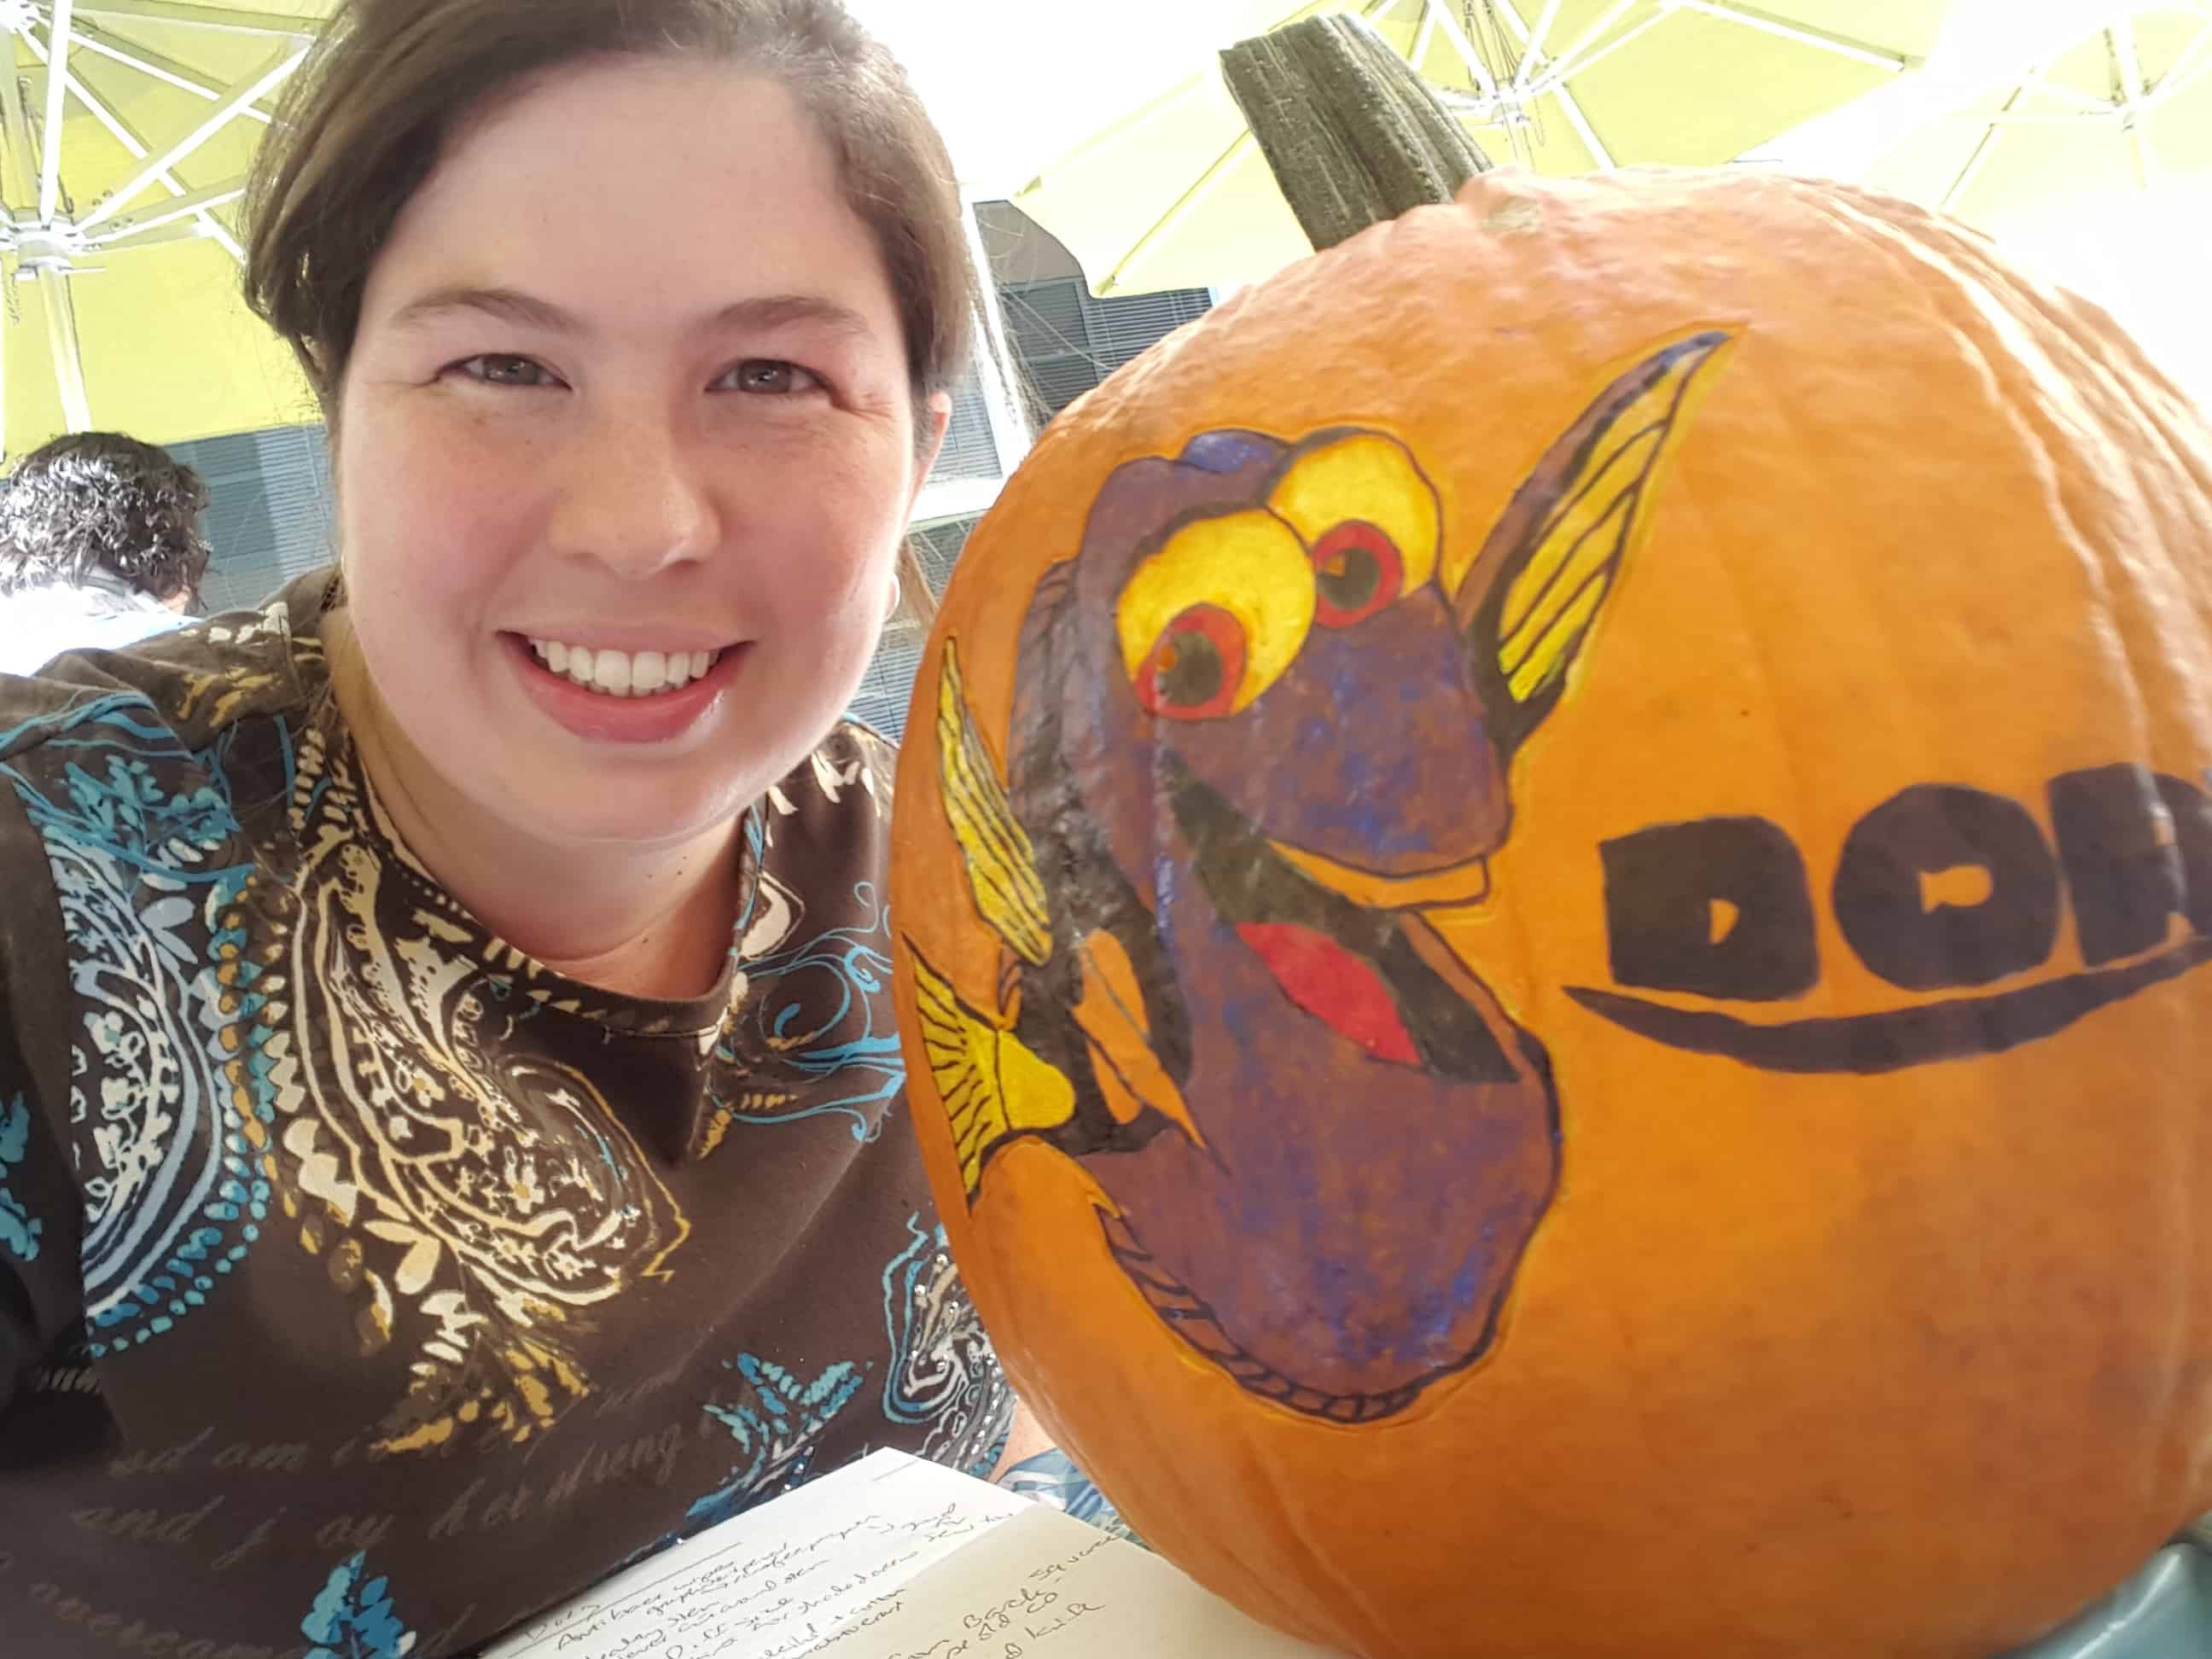
Didn’t it turn out fantastic for my first try? I was able to follow Joseph Yakovetic step by step through the entire process and create this in about 2 hours. Now that I’m home I’ve picked out 2 other designs and am heading to the store this week to purchase some acrylic paint and transfer paper so that I can make some more! This method has ROCKED MY WORLD! I no longer have to spend 6 hours with cramped hands carving out my pumpkin – these look WAY better and are SO much easier to do!

TIPS from Pumpkin Carving Master Joseph Yakovetic:
ALWAYS:
*Choose a pumpkin with a healthy stem on it.
*Wipe the pumpkin down with an antibacterial wipe.
*Cut the pumpkin open from the back.
NEVER:
*Cut around the stem of the pumpkin.
*Burn a candle inside your pumpkin.
TRICK:
Use an old CD to guide you on the size of your hole that you cut into the back of the pumpkin – although cut a square not a circle! You can use that same CD to actually scrape out the inside flesh & seeds easily.
 Don’t forget to order your copy of Finding Dory on Blu-ray HERE! Available on Nov. 15th!

For more Finding Dory fun check out some of our favorite posts below:
|
|
|
|