How to Make Your Own Graffiti Art Canvas Home Decor for Kids Bedrooms
This post may contain affiliate links, view our disclosure policy for details.
Saving money sometimes means trying new things. When we moved into our new house last year my son asked for a bedroom makeover for his birthday. I love getting my crafty on (you may remember our DIY dungeon castle bedroom tutorial) so I was excited….until he said he wanted a graffiti bedroom! I don’t mind graffiti art themed but I had NO clue where to start! After oodles of hours searching for ideas that I could do on a budget (without totally trashing his room!)
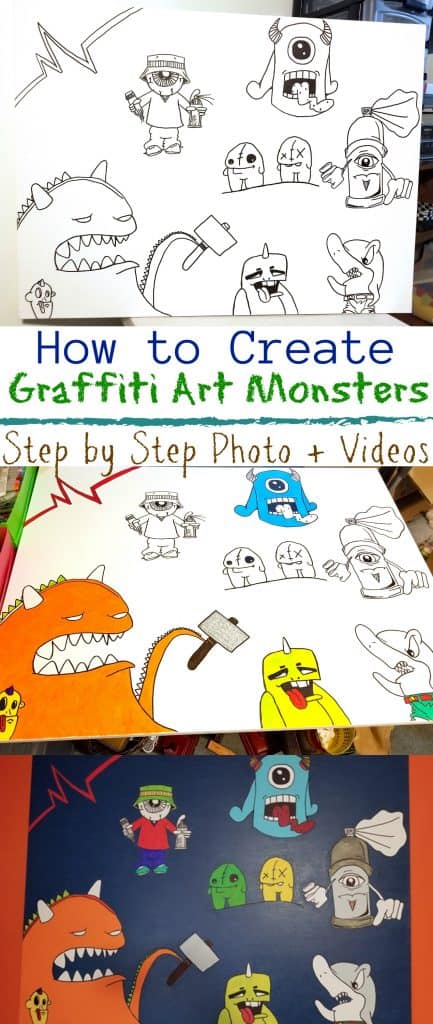
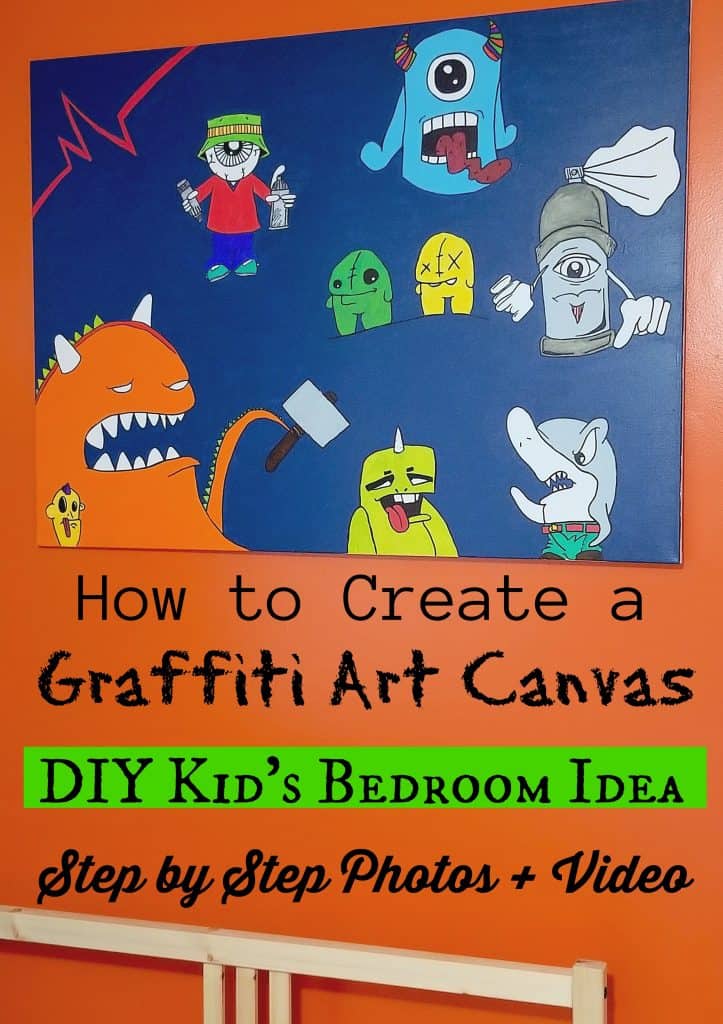
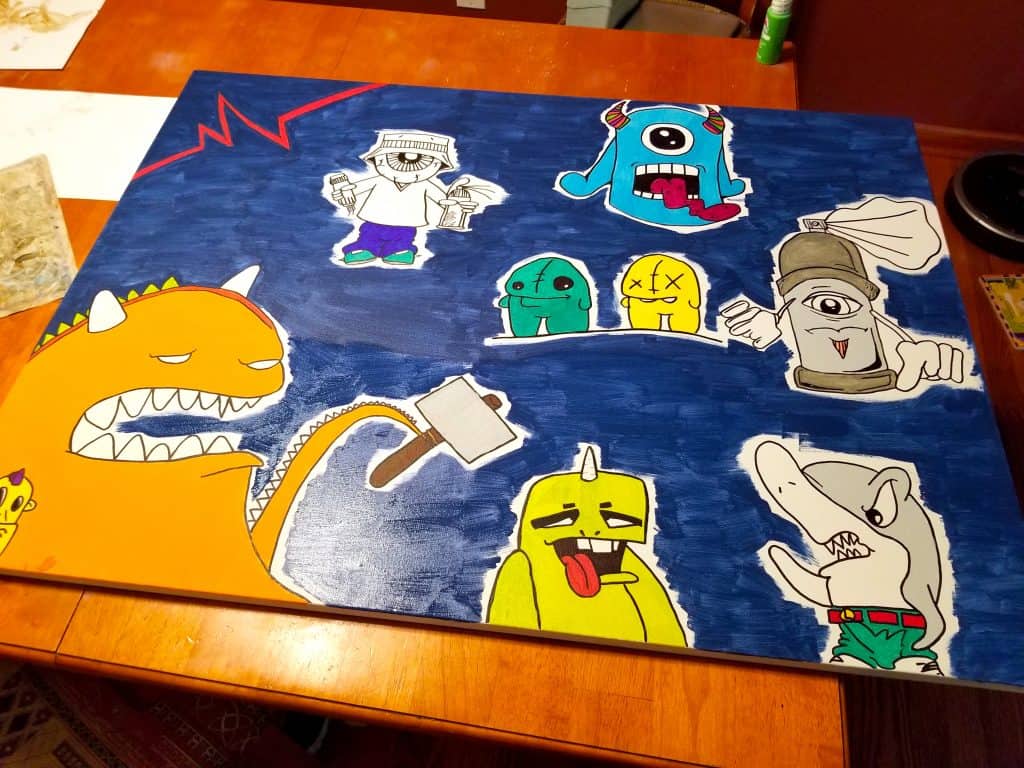
I was not comfortable trying to spray paint designs and graffiti onto the walls so I got creative. (not to mention how expensive graffiti spray paint can cost!) I decided to make him an extra large graffiti art canvas of monsters! I found some killer YouTube tutorials that helped make all the difference that I’ve included below along with some tips to help you out! I started out using some supplies and actually ended up completely changing my method which I will share with you below.
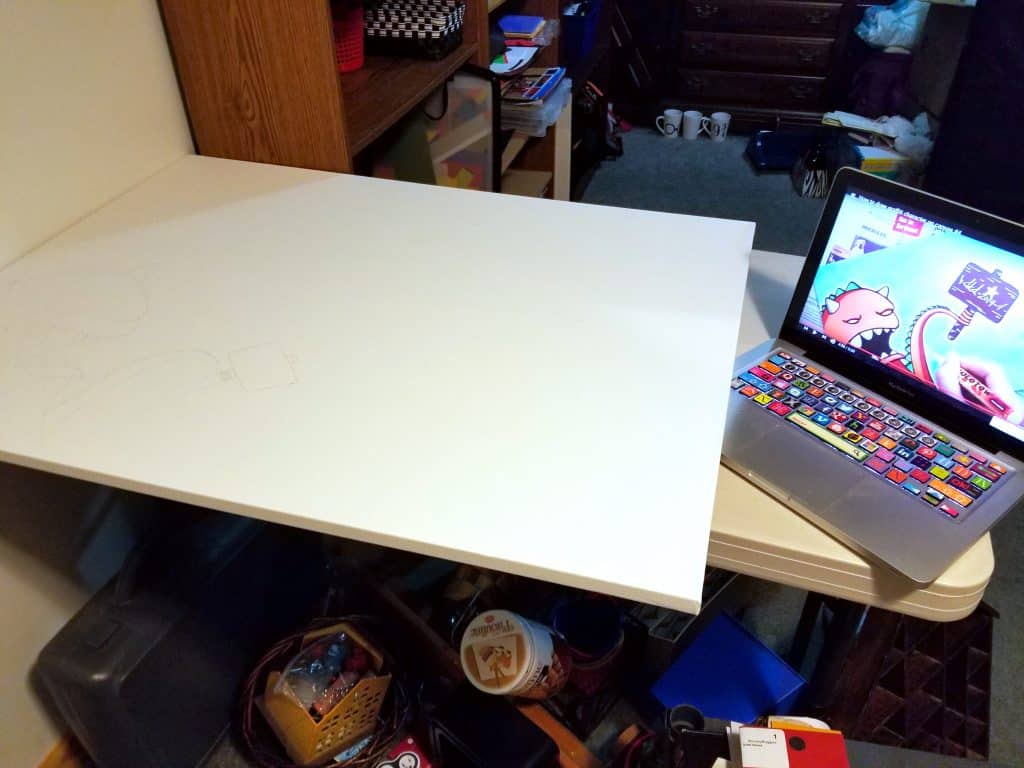
TIP: Do your artwork next to a computer so you can watch the tutorials while drawing!
TIP: If you have animals make sure to keep your canvas in a SAFE place! You don’t want a cat scratching on it!
Decide What to Paint On:
I started by deciding what the artwork would go on – this was a big decision! I found these awesome canvas rolls that I really liked for a full wall painting but ended up settling with a large (18×20 I think) canvas from Michael’s that I bought on a ridiculous sale with coupons. I think I paid $8 for the blank canvas. If you look around you can also buy really cheap blank canvas packs on Amazon! You can of course paint directly onto the wall as well or even on a giant poster board.
Collect Your Supplies:
For this graffiti art canvas I used:
blank art canvas
pencil with eraser
Sharpie markers
Elmer’s Paint Markers
Acrylic Paint (just the cheap bottles!)
computer to watch YouTube tutorials (see below)
TIPS for your Canvas Art:

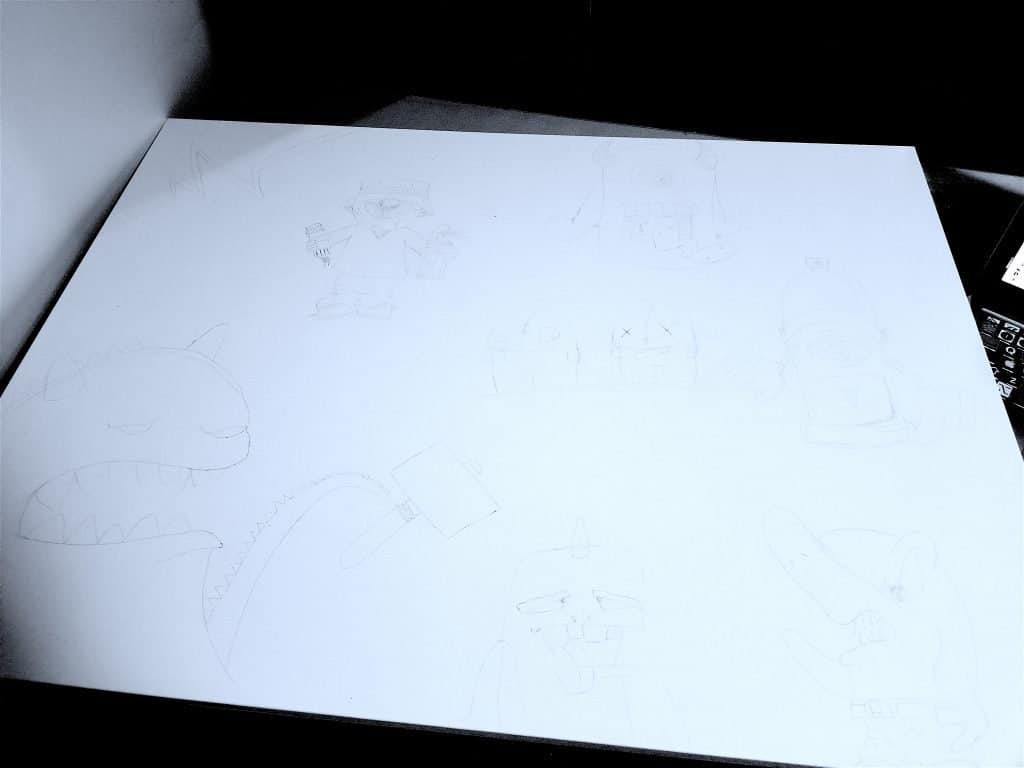
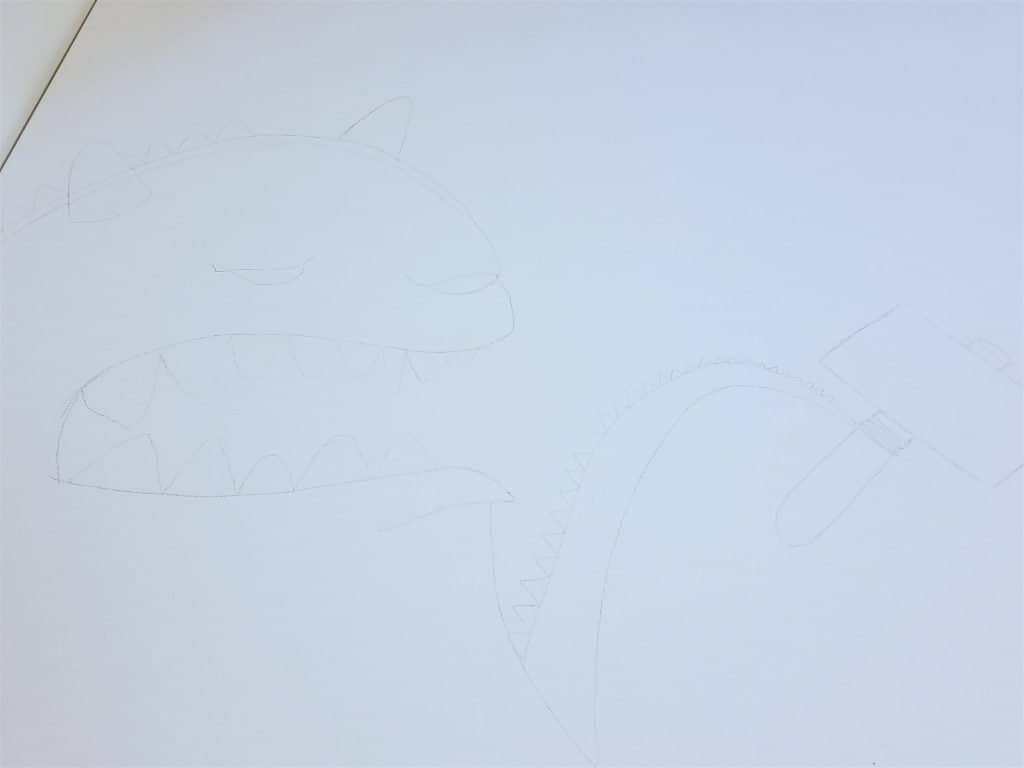
- I began by drawing with pencil directly onto the canvas while watching a YouTube tutorial. I would just pause as needed, erase as needed (it will get painted over!) and keep on drawing! Remember this is your own artwork so you don’t HAVE to follow the tutorial exactly!
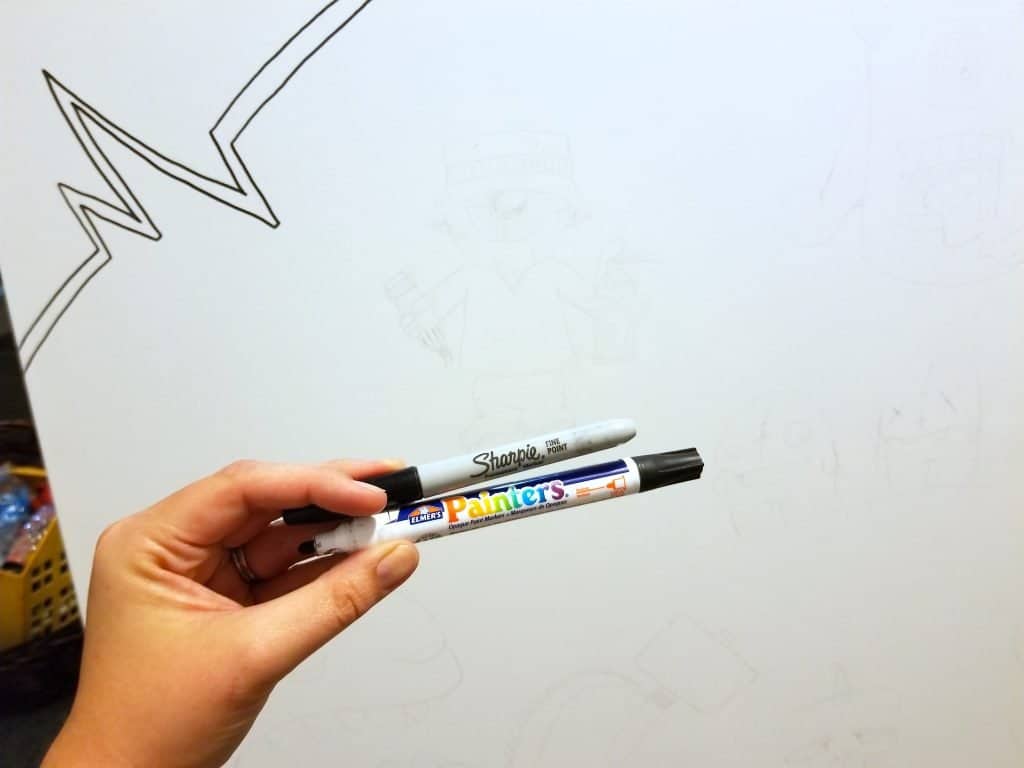
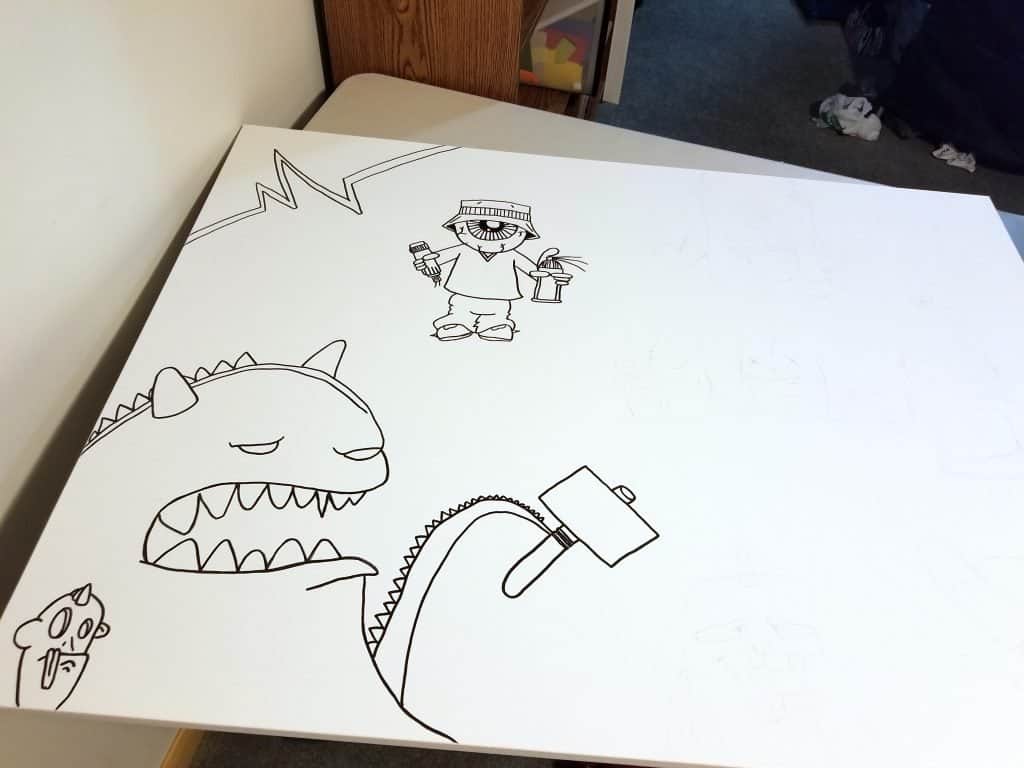
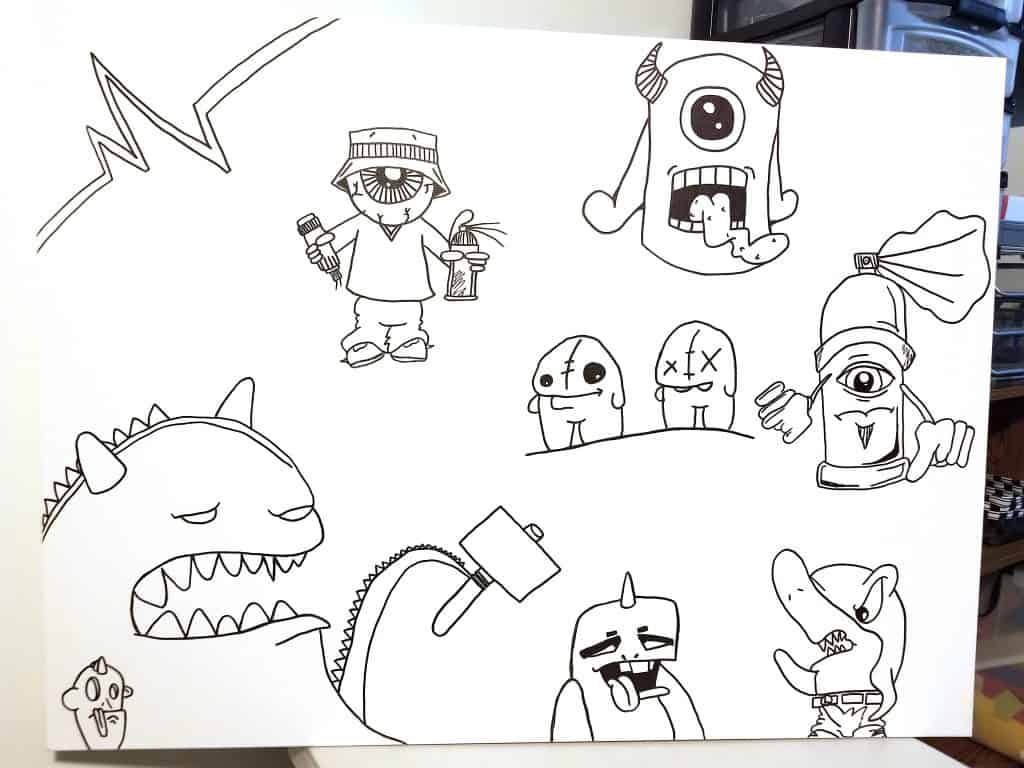
2. Outline your artwork with black! I started out this project using Sharpie markers to outline but actually switched over to my Elmer’s paint markers out of personal preference. I felt like they were more even and bolder. Make sure not to smudge or smear any markings! I really wanted this art to POP! I switched back to Sharpie on any areas I felt needed a small more controlled tip.
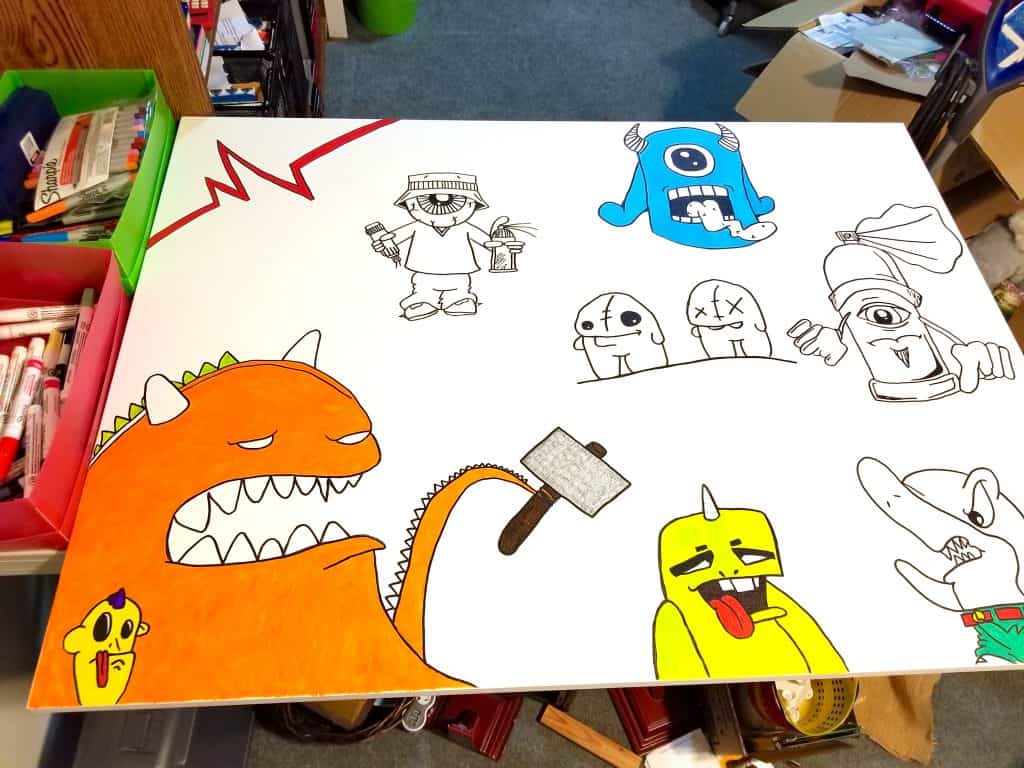
3. Color in your drawings! Because I chose to use so many different YouTube tutorials (see below) and ideas from different artists all on one giant canvas I decided to color my art NOT based on the tutorial. That way I could alter what colors would fit the room, what colored monsters were next to each other, etc. I was going to cover the ENTIRE canvas but to be honest this was a lot of work! And I was still trying to unpack boxes in the new house and arrange life with the kids getting ready for school!
I ended up using MOSTLY acrylic paint ALTHOUGH the darker blue background is actually wall paint that his other walls are accented. I also used Sharpie markers and Elmer’s Paint Markers to fill in some of the smaller areas depending on what colors I had. I also had one very small paintbrush to get around the edges and one medium sized brush for everything else.
YouTube Monster Graffiti Art Tutorials I Used:
