How to Make a Festive DIY No Sew Felt Ornament Advent Calendar
This post may contain affiliate links, view our disclosure policy for details.
I actually made these no sew felt ornaments for a festive diy advent calendar a few years ago, took pictures, and never got around to sharing them! I still just LOVE how they turned out so I really wanted to come back around and share them with you guys! Hopefully it will inspire a creative option that you perhaps haven’t seen yet!
To be upfront right away I did use my Ellison Die Cut machine to press out the ornament shapes and numbers, but you CAN make it without them – it will just take a lot longer! You can also cut felt with a Cricut and other similar machines too! Below are some ideas on how we made ours as well as how you can make your own, even without a die cut machine. Or if you have a Cricut machine you can customize this idea too!
DIY Ornament Advent Calendar Materials:
Die cut machine OR scissors or Cricut, etc.
Hot glue w/glue gun
Ornament template or die (printable ornaments here)
Numbers template or die
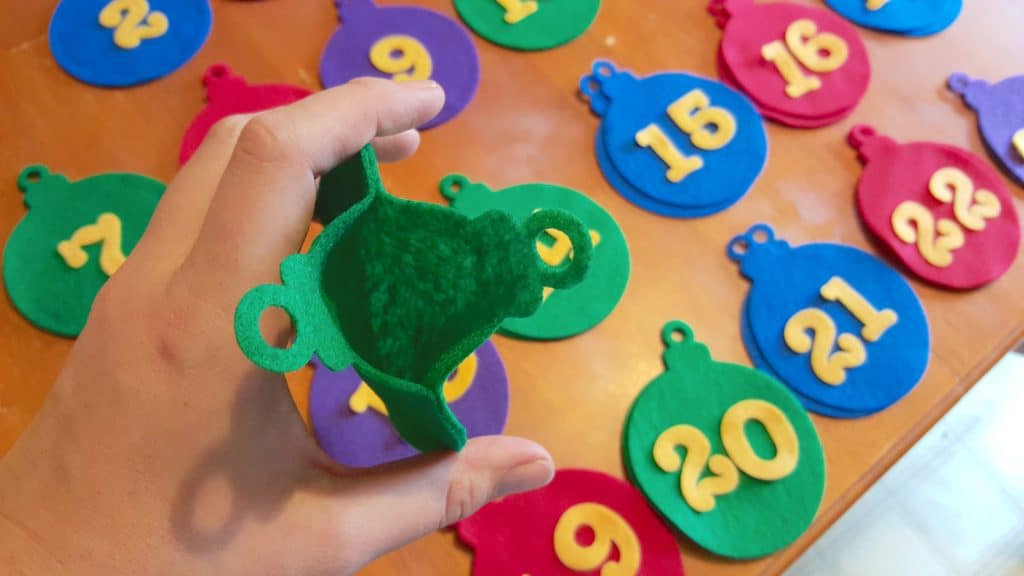
For each day that you’re counting you’ll need 2 ornaments made. Above you’ll see that I pressed out 2 felt ornaments, then used my hot glue gun to glue the sides and bottom together. It will form a “pocket” that you can slip some candy, paper, or other goodies into! It’s REALLY simple! You can use any color felt that you want! Next year I am going to make Hogwarts house colors!
**SECRET TIP: When hot glueing felt, always make sure that you not only press your felt firmly together but rub it and smoosh the glue down into the felt – it will hold a zillion times better!**
Other Ideas:
If you don’t have a Cricut or die cut machine
to use for cutting out ornaments you DO have a few creative options.
- Laminate paper ornaments and lace them together.
- Hand cut out sets of ornaments using the printable template in the materials list above.
- Make them out of construction paper!
- Just make 1 ornament (so no interior pocket) and velcro it onto a poster board for each day.
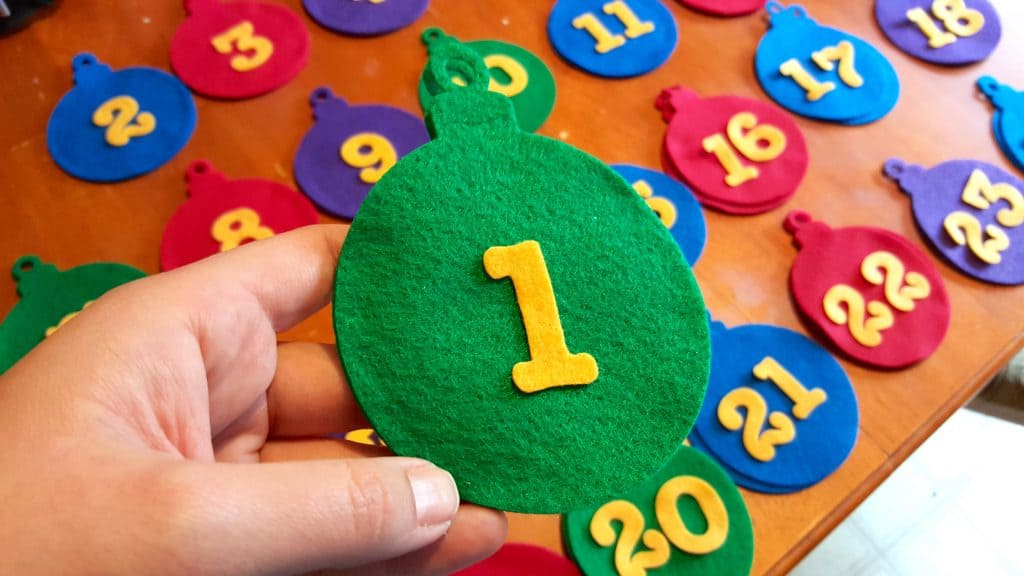
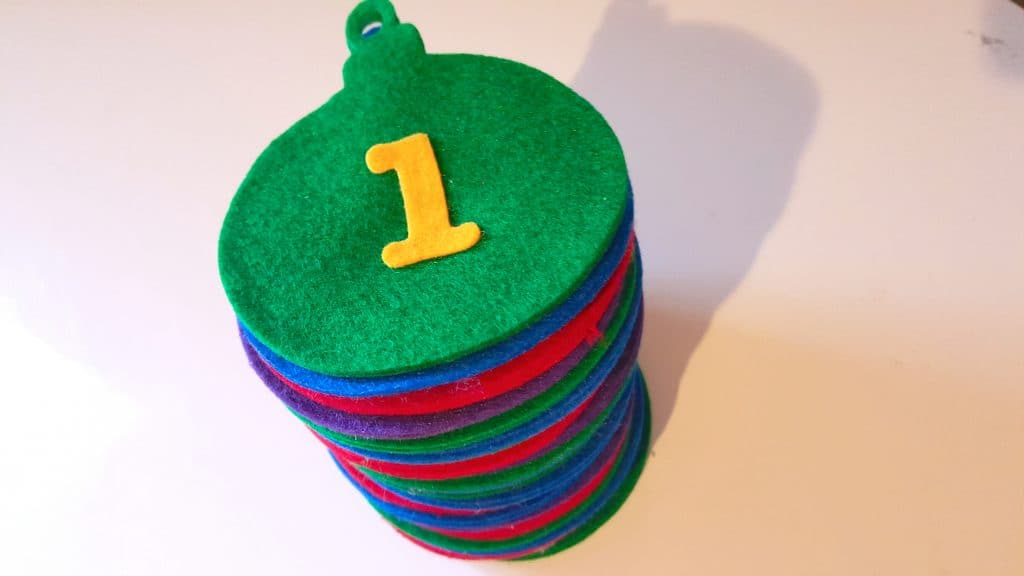
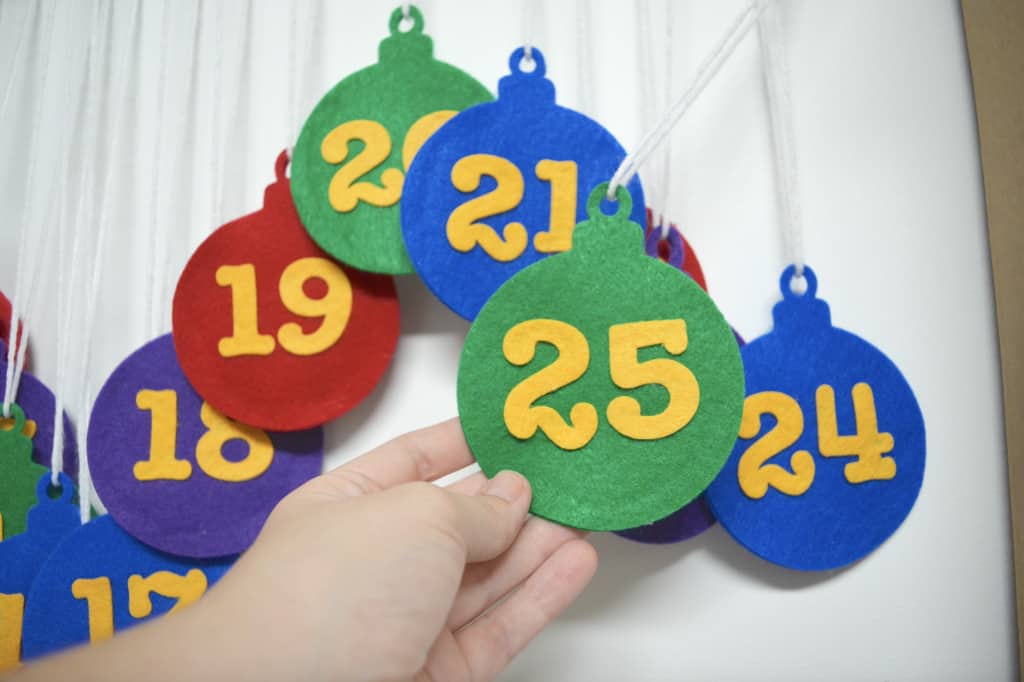
Here is a stack of our no sew ornaments for our advent calendar! I wanted a lot of festive colors so you can see that I chose to do a multi-color theme! Once your ornaments are pressed out and glued you just need to press out numbers and hot glue those onto the front!
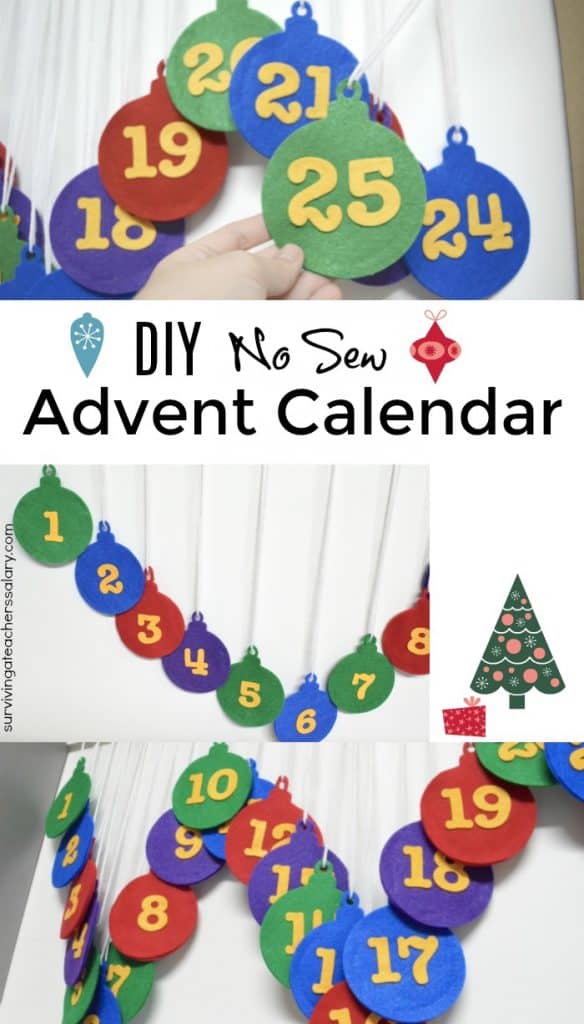
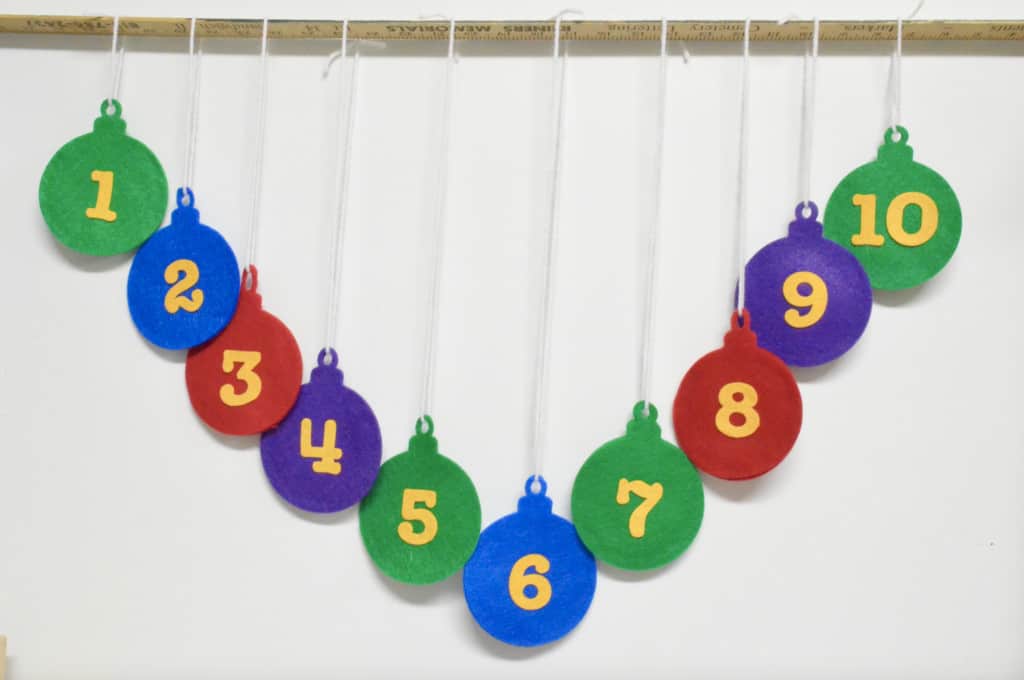
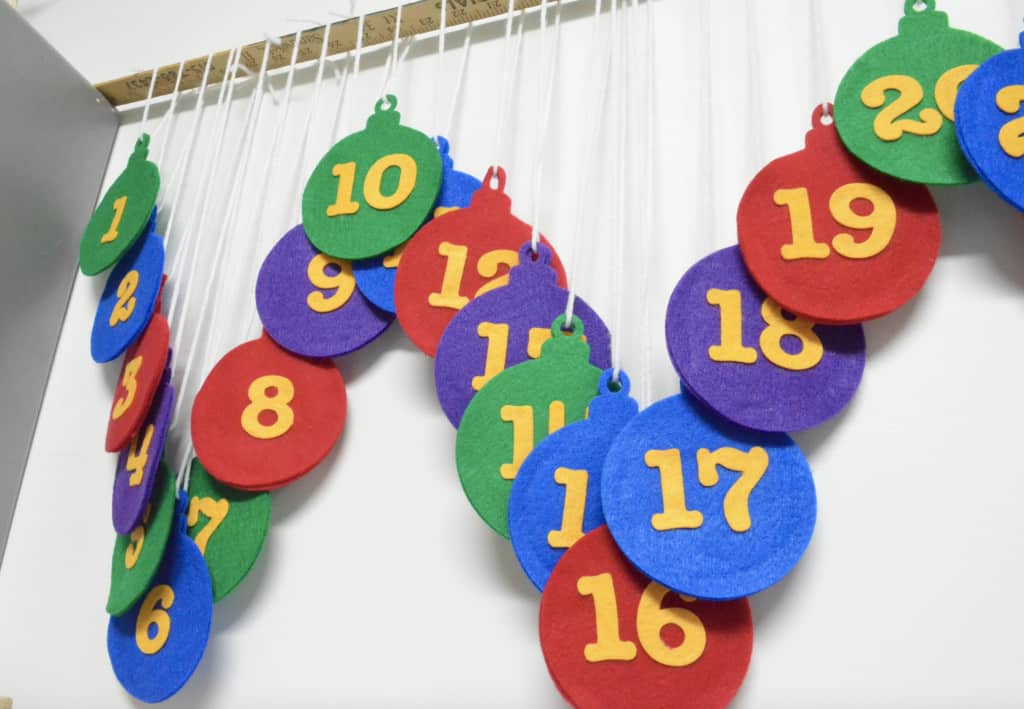
There are SO many different ways you can hang your ornament advent calendar! Above you can see that I hung them on a yard stick which is perfect for your classroom! Although it would fit much better on 2 yard sticks otherwise they overlap! For my house I am using a large thin tree branch from outside for more of a rustic decor! If you don’t want to mount it permanently to the wall (which I didn’t) then just rig it up between two items in your room. (bookshelves, a grandfather clock, a mantle etc.)
You can also hang them on a piece of treated wood with hooks all the way across for a more permanent decoration! That’s my ultimate goal but right now time is not on my side! (It DID take me several years to post this remember?!)
That’s it! There are a zillion ways you can make your own advent calendar with some creativity flowing! I’d love to see your spin off of this idea!! E-mail me a pic if you do and we’ll showcase it here on this post!
Other Winter Activities:
 |
 |
 |
 |


