

Tips for an Inexpensive Makeover to your Baby Nursery
This post may contain affiliate links, view our disclosure policy for details.
This post brought to you by FrogTape. All opinions are 100% mine.
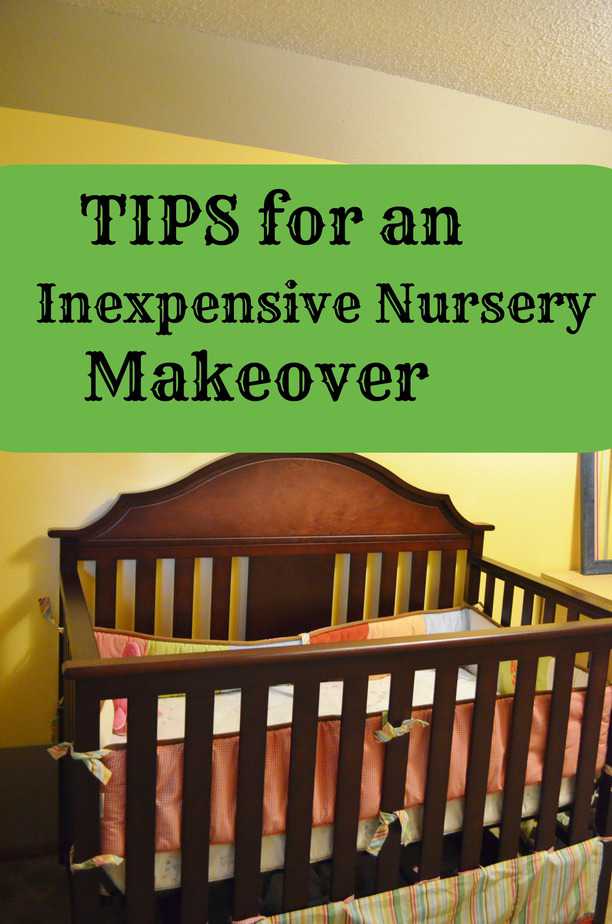
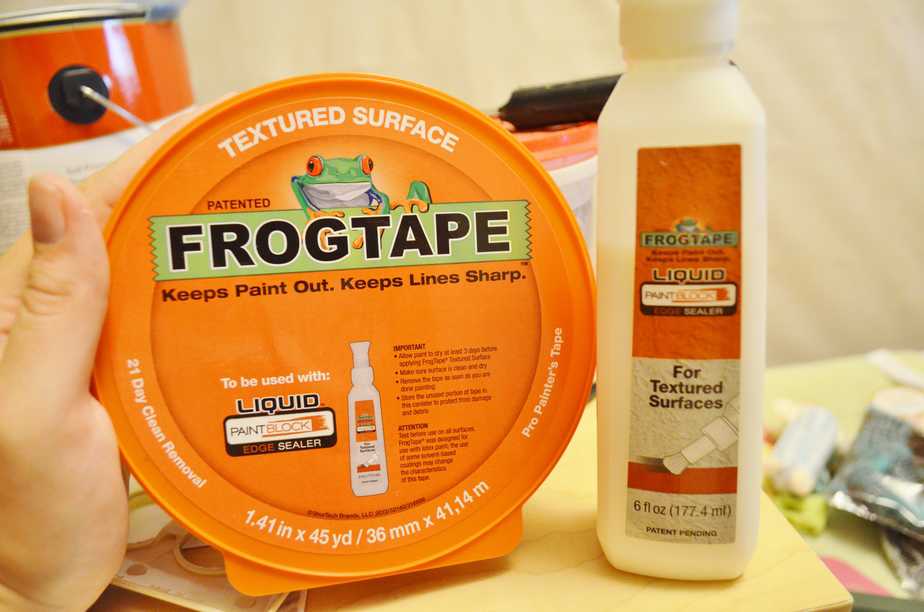
Just under 12 weeks till our 3rd baby arrives (our first daughter!) and I wanted so badly to decorate her nursery a little but have a tight budget to work on! The room used to be all plain grey and dreary looking and belonged to my boys until they moved to a larger room in the basement. As much as I would love to have decorated a gorgeous decked out nursery I knew it just wasn't going to happen! When I heard about FrogTape® and their PaintBlock® Technology I KNEW this was the perfect timing to spruce up my baby girl's nursery! You can find out more about Textured Surface by FrogTape here! Our walls in our house (and in the nursery) are textured which FrogTape® is great for! It is specifically designed for textured walls which is great because I had that smeary "blurry" lines of trying to paint on textured walls. Their PaintBlock® Technology is a super absorbent polymer that reacts with the water in latex paint and forms a micro-barrier to seal the edges of the tape….which simply means that the paint doesn't bleed down your textured wall like it normally would with regular painter's tape.
TIP: Instead of painting an entire room pick a complimentary color and paint just a portion of a wall or a strip around the center of the room.
The GREAT thing for this tired pregnant mama about FrogTape® is that I didn't have to worry about trimming around the ceiling, baseboards, windows and door frames – I just slapped on my FrogTape® (following the directions of course!) and not special trimming for me! PHEW! It was a HUGE time saver! First we decided on a paint color and picked up a gallon of Behr Premium paint for around $30. I was planning on painting a large yellow panel on about 1/3 of the wall but when we realized how many holes were in the wall from nails and such we spackled those and decided to paint 2/3 of the wall instead.
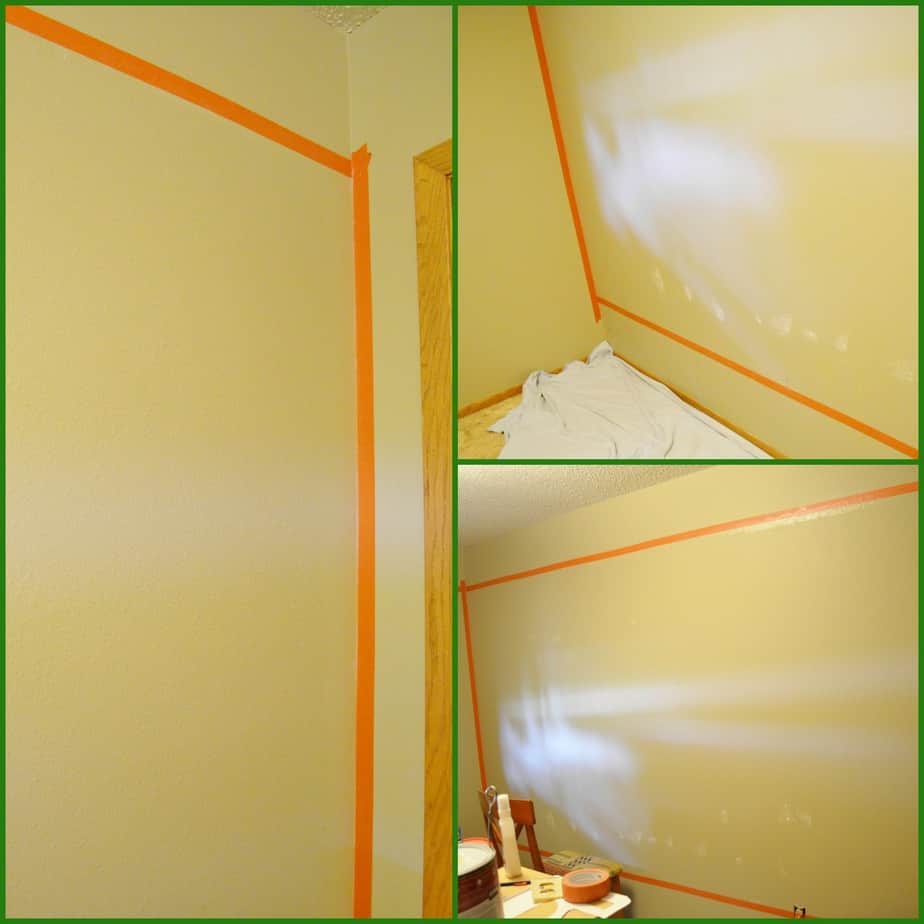
First of course is to make sure your walls are clean, and then we lightly marked with a pencil where we wanted our FrogTape®to go. I also applied the FrogTape® to the corners of the wall so I didn't have to worry about cutting a straight line on the corner. Remember my walls are textured! As per the directions we then took a lightly damp washcloth and wiped it over the top of the FrogTape® that we had just applied. After it was dry we then used the included sealer (similar to a glue bottle bottle with a brush on the end) and swiped it over the FrogTape® where we wanted it to seal closely to the textured wall. Once it dried we were ready to paint!
TIP: KEEP it SIMPLE! Just a few well placed items and spruced up areas can make a huge difference in your new nursery!

When you are finished painting make sure to carefully pull the FrogTape® off of the wall before the paint dries! Here's an up close of how perfectly our paint line looks using FrogTape®!! It's 100% WORTH taking the extra step of using FrogTape® to ensure that you have a straight paint line without the "blurrying" that comes with painting on a textured wall! When we painted our first nursery 7 years ago I didn't know about FrogTape® and just used regular painter's tape on our textured walls – it was quite disappointing! There was definitely NOT a straight paint line as it blurred and dripped down between the bumps in the wall but I just didn't know how to make it any better.
You can purchase LESS than a gallon of paint if you just want to paint a small strip around the room as an accent color to save more money!
TIP: Create and design your own homemade wall hangings!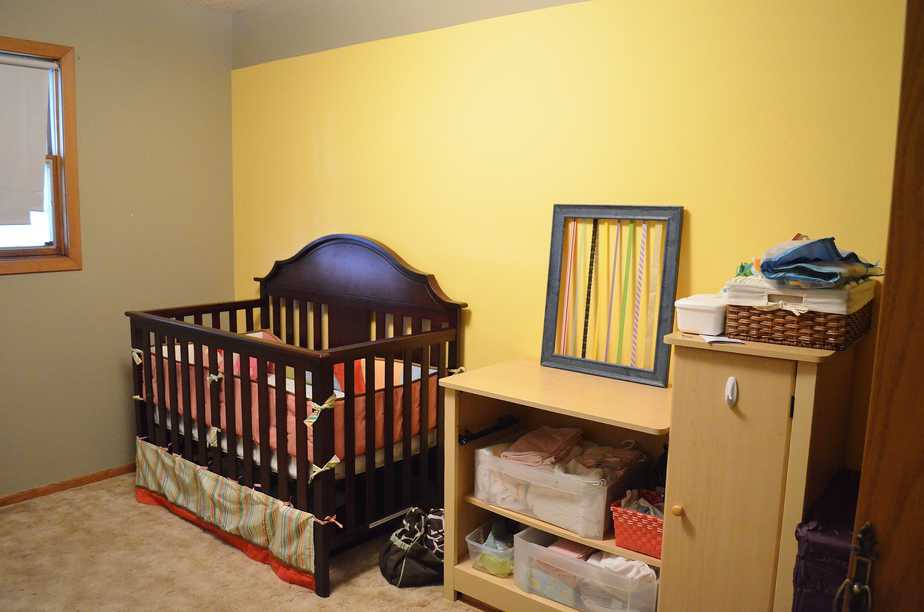
You can see above the blue frame with ribbon on it – I'll be posting a tutorial for it later but it's a DIY Hair Clip Holder project that cost me under $1 and took me literally just a few minutes to create! I will also be creating my daughter's name with cheap craft letters mod podged with scrapbooking paper to match her nursery! Pinterest is a FABULOUS resource for DIY Nursery Decor! I've also been considering creating fabric "panels" simply stretched over craft hoops and hung on the wall! Decals are another inexpensive option for nursery decor.
follow the FrogTape Textured Surface board on Pinterest for more REALLY awesome ideas!! We've already spotted quite a few fabulous projects that sparked some neat ideas for us!
What projects has this inspired you to do now?!