DIY Baby Girl Hair Clip Holder Picture Frame Tutorial
This post may contain affiliate links, view our disclosure policy for details.
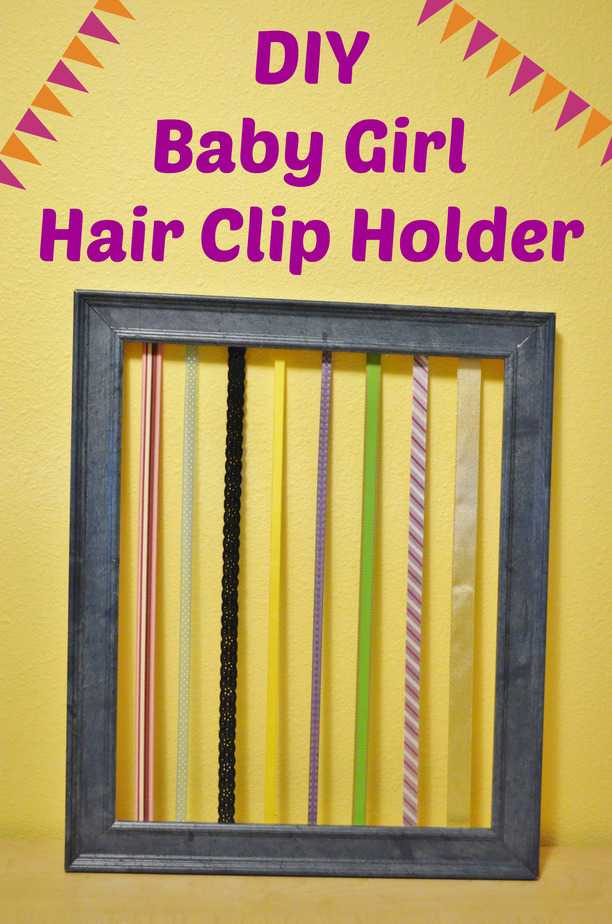
We’ve been anticipating the arrival of our 3rd child and first daughter. Having two boys I am totally new to the world of bows, hair clips, and all things frilly! Our last child was 5+ years ago so we had to start all over with collecting baby stuff which as many of you know can get rather expensive! I decided to spend the summer creating as many DIY baby items as I could to help offset costs and decorate our daughter’s nursery! This DIY Baby Girl Hair Clip Holder Picture Frame Decor was SO incredibly easy (it took me under 5 minutes to make!) and cost me less than $1.50!!
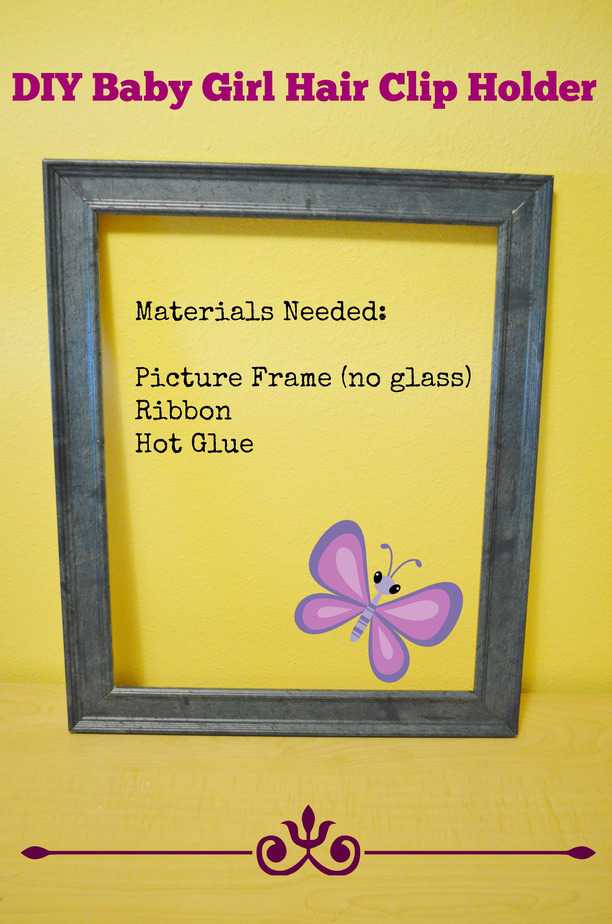
I bought the above picture frame (no glass!) for a quarter at a yard sale, found a bag of scrap ribbon also at a yard sale for under $1 and grabbed my hot glue gun!! I really wanted a gorgeous vintage picture frame with ornate decor but some of those can run rather expensive so I opted for cheap!
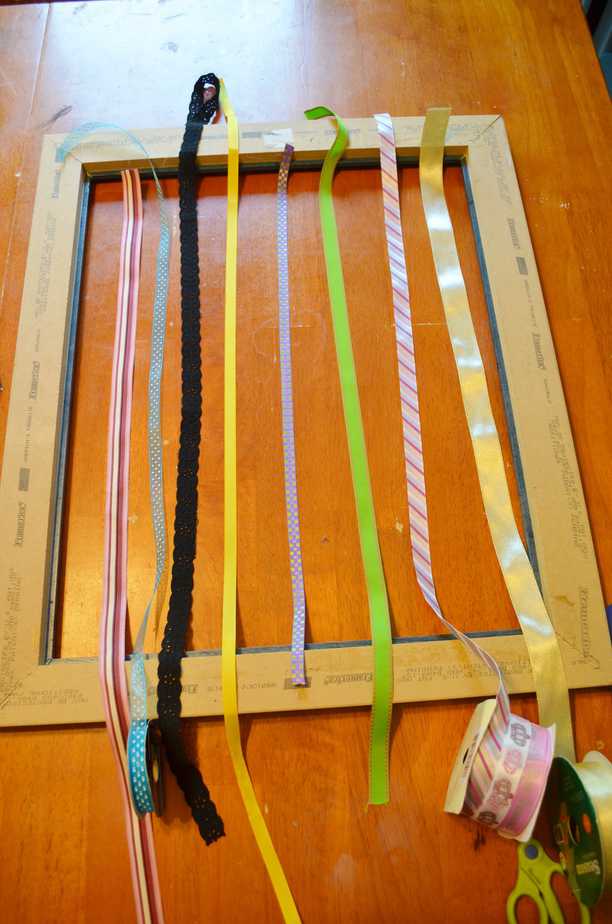
You can choose to use all one type of ribbon or like I did by collecting many different pieces of ribbon. Pre-lay them out over the back of your picture frame to ensure that they will reach all the way across! It doesn’t really matter which way you glue them (vertically or horizontally) – that is up to you and how you want your Girl’s Hair clip Holder to look!
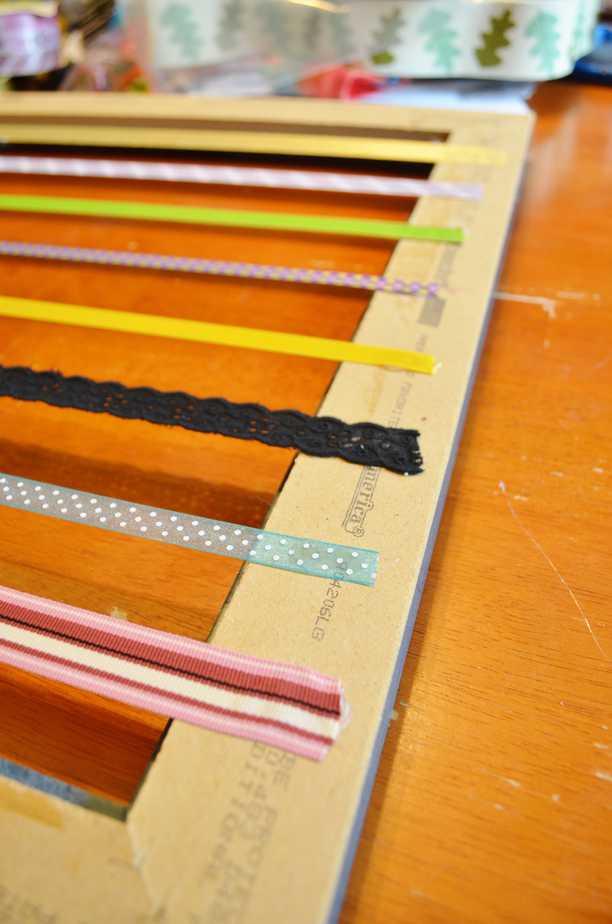
I simply pressed the end of each ribbon onto the back of the picture frame in a dab of hot glue, stretched it to the other side and applied hot glue with the other end of the ribbon as well. Easy peasy! It literally took me less than 5 minutes to lay my ribbon out, trim, and glue each end. It’s probably the quickest project I’ll ever do!
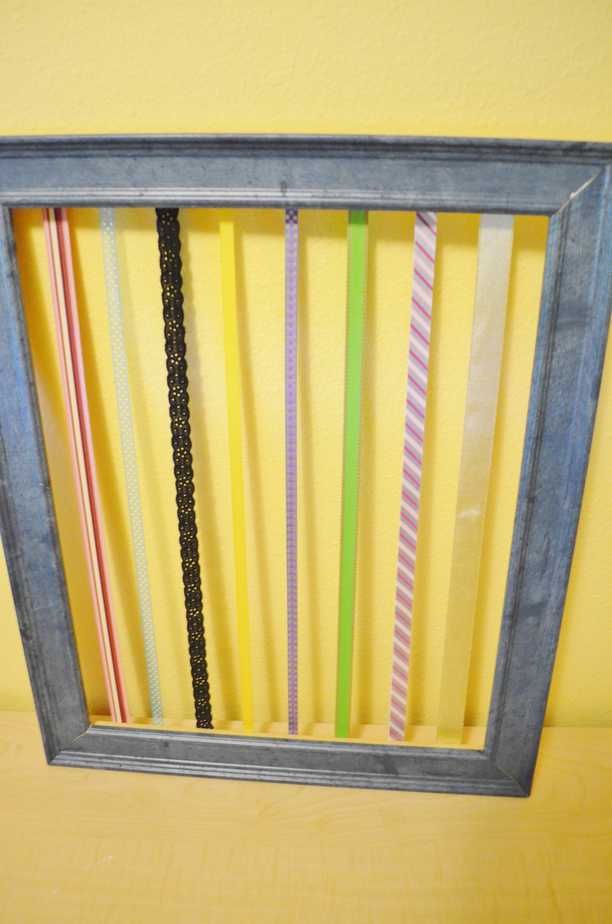
AND Voila! Here we go! You can choose to be finished with this project now, or glue some beautiful flower, pearl, or feather embellishments onto the corner of your frame!
To hang you can tie/staple ribbon onto the back depending on how heavy your frame is, or I chose to go simple and use a pack of velcro Command Strips.